In this article: I'll unbox and review both Sony's XAV-AX4000 and XAV-AX6000. I'll put them up head to head on my test bench, review some of their key features and, of course, call out some of their key differences.
Announced in 2022, Sony's XAV-AX4000 and XAV-AX6000 are the latest addition to their lineup of XAV car stereos. Preceded by the XAV-AX5600 and AX5500 before that, these new head units are a continuation of Sony's recent 2-3 year push to modernize their automotive lineup of stereo products. The most recent heavy-hitting feature on these units is the addition of wireless Apple CarPlay and Android Auto. Gone are the days that you need to plug in your phone or get a wired to wireless CarPlay and Android Auto adapter.
We recently received both units from Sony to unbox and review the two. In this review, I'll pull both of the units out of the box and point out some of the core features that I think are important to look at when researching a multimedia head unit or touchscreen head unit for your car. And for those of you who might be wondering “what's the difference between the XAV-AX4000 and XAV-AX6000”, I'll compare the two side by side and point out anything that differentiates the two. By the end of this review, you should know whether or not one of these Sony head units is for you.
Unboxing: Features & Specs Comparison
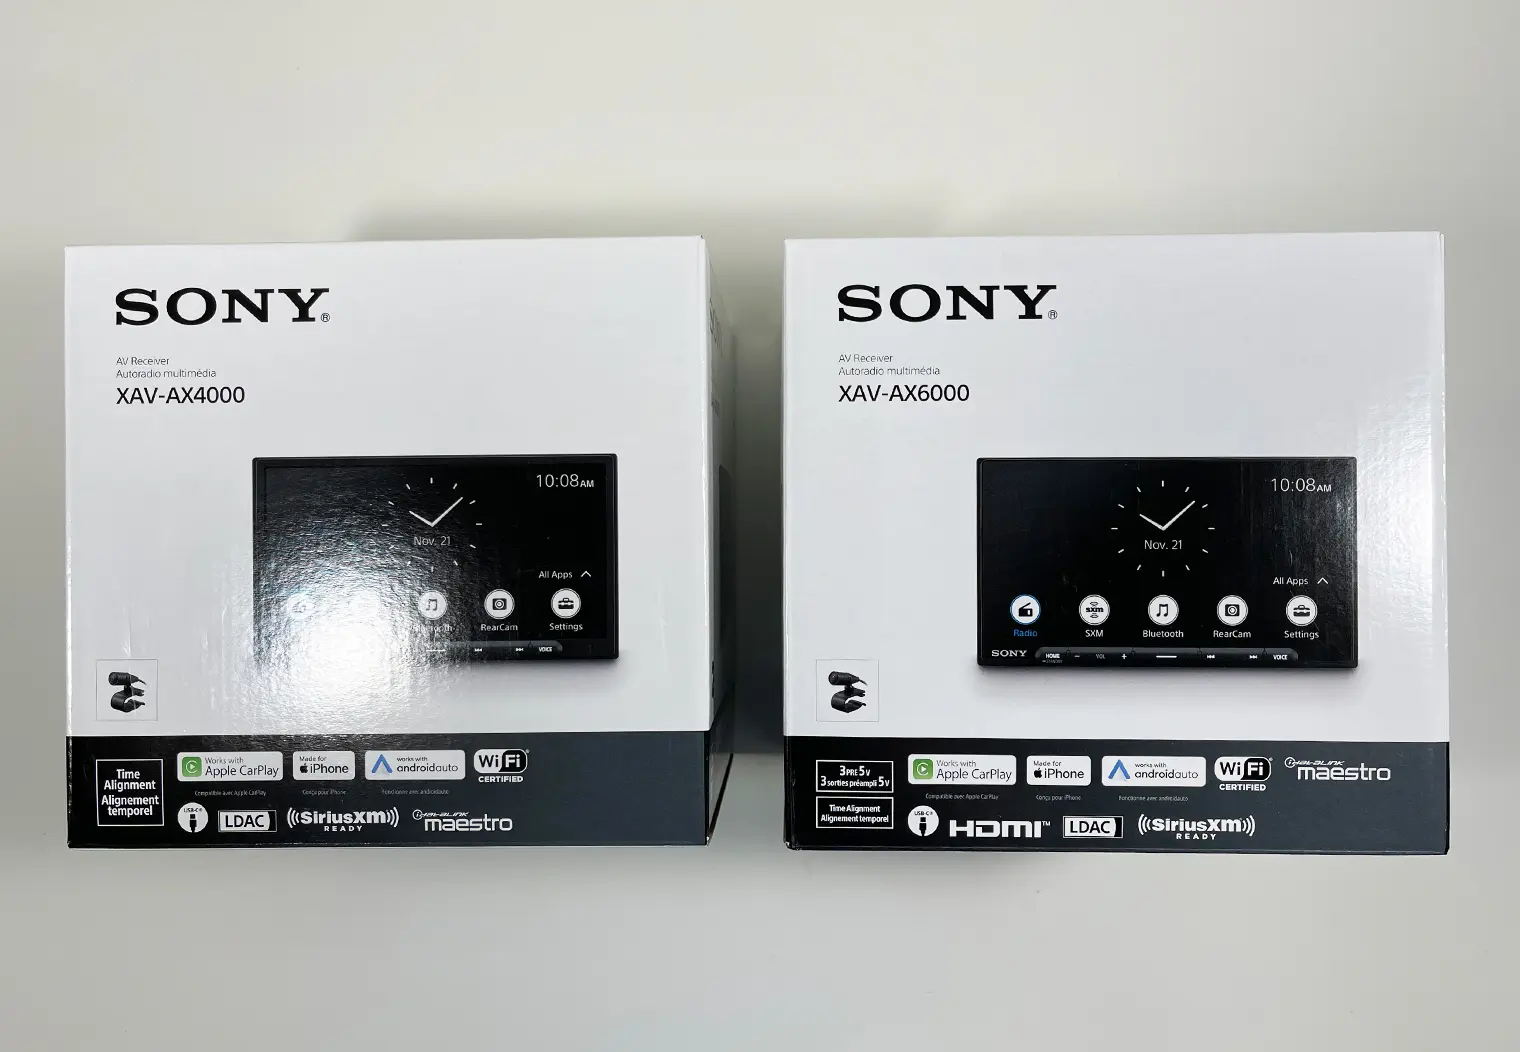
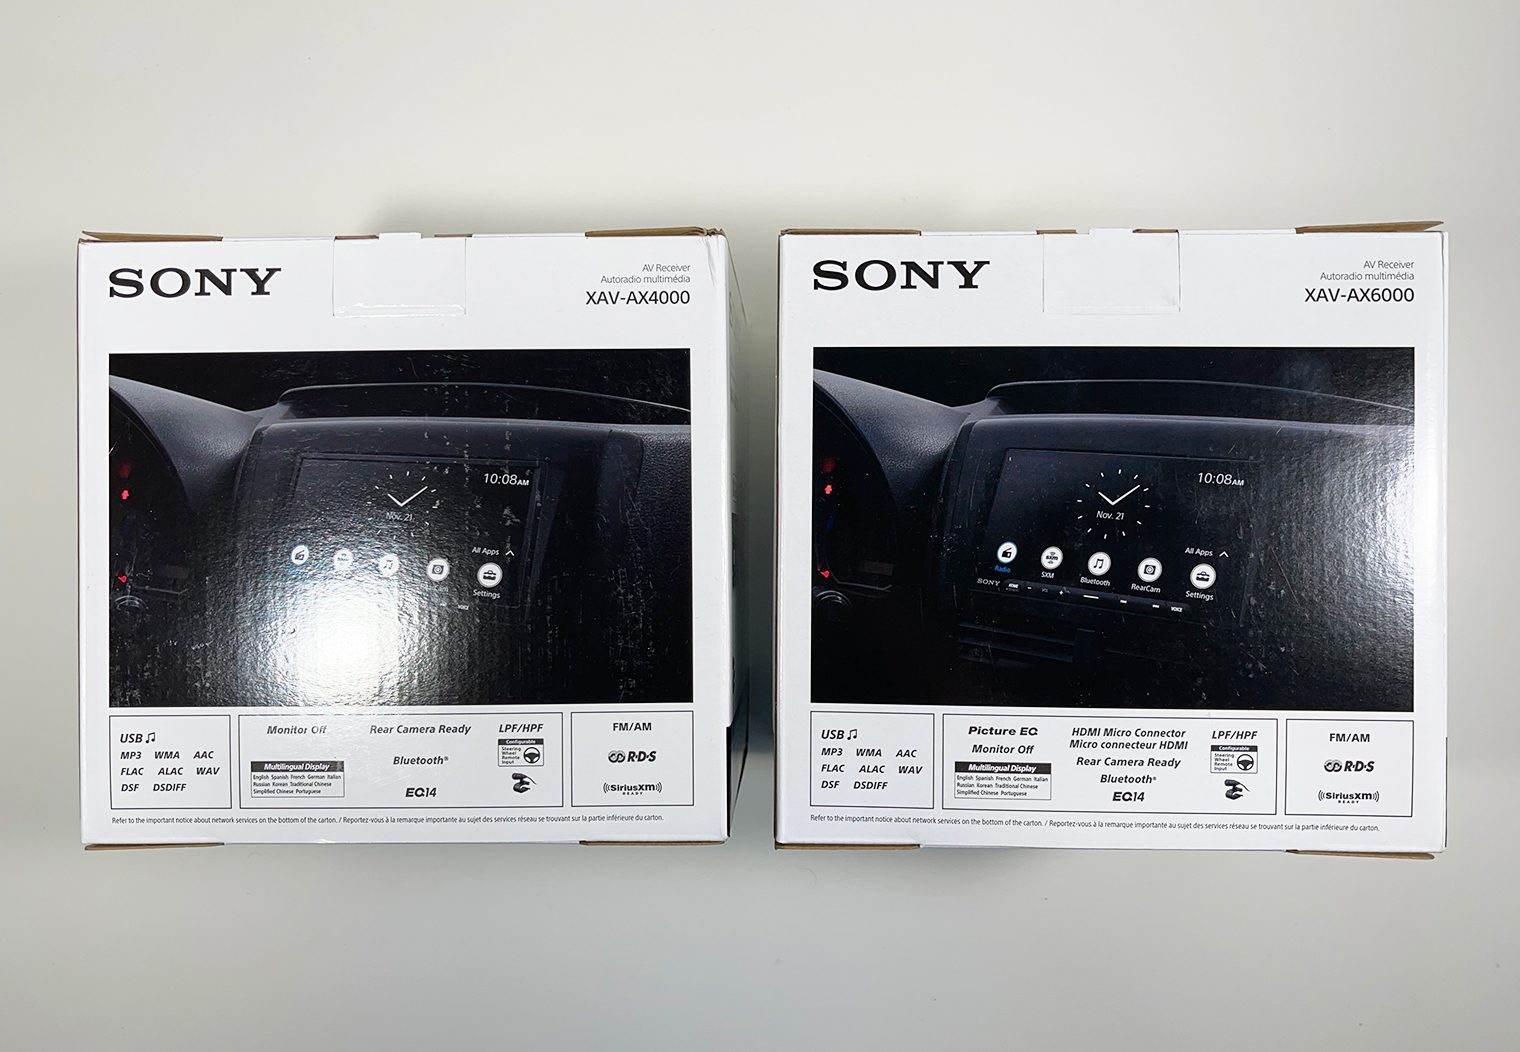
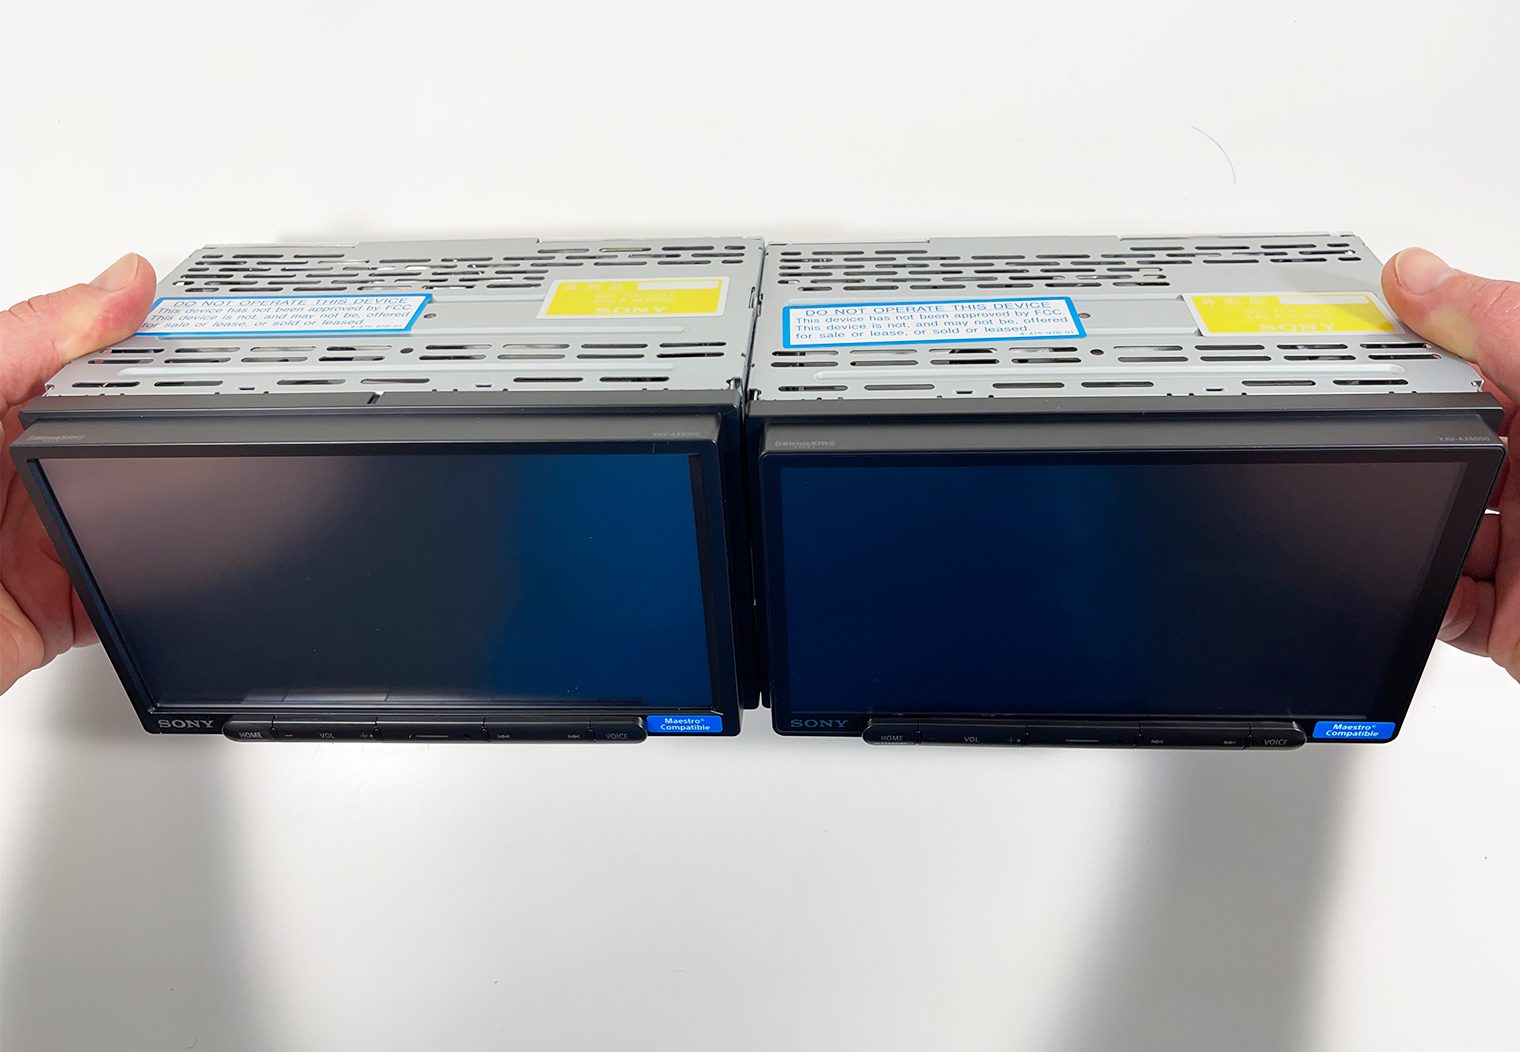
The AX4000 and AX6000 share a number of same features and specs. In fact, there's a lot more shared features than there are different. While unboxing them, it's pretty tough to tell the difference. They both share the same box with similar images. And when you pull them out of the box, they look near identical at first glance and share all of the same components and harnesses.

Components in the Box
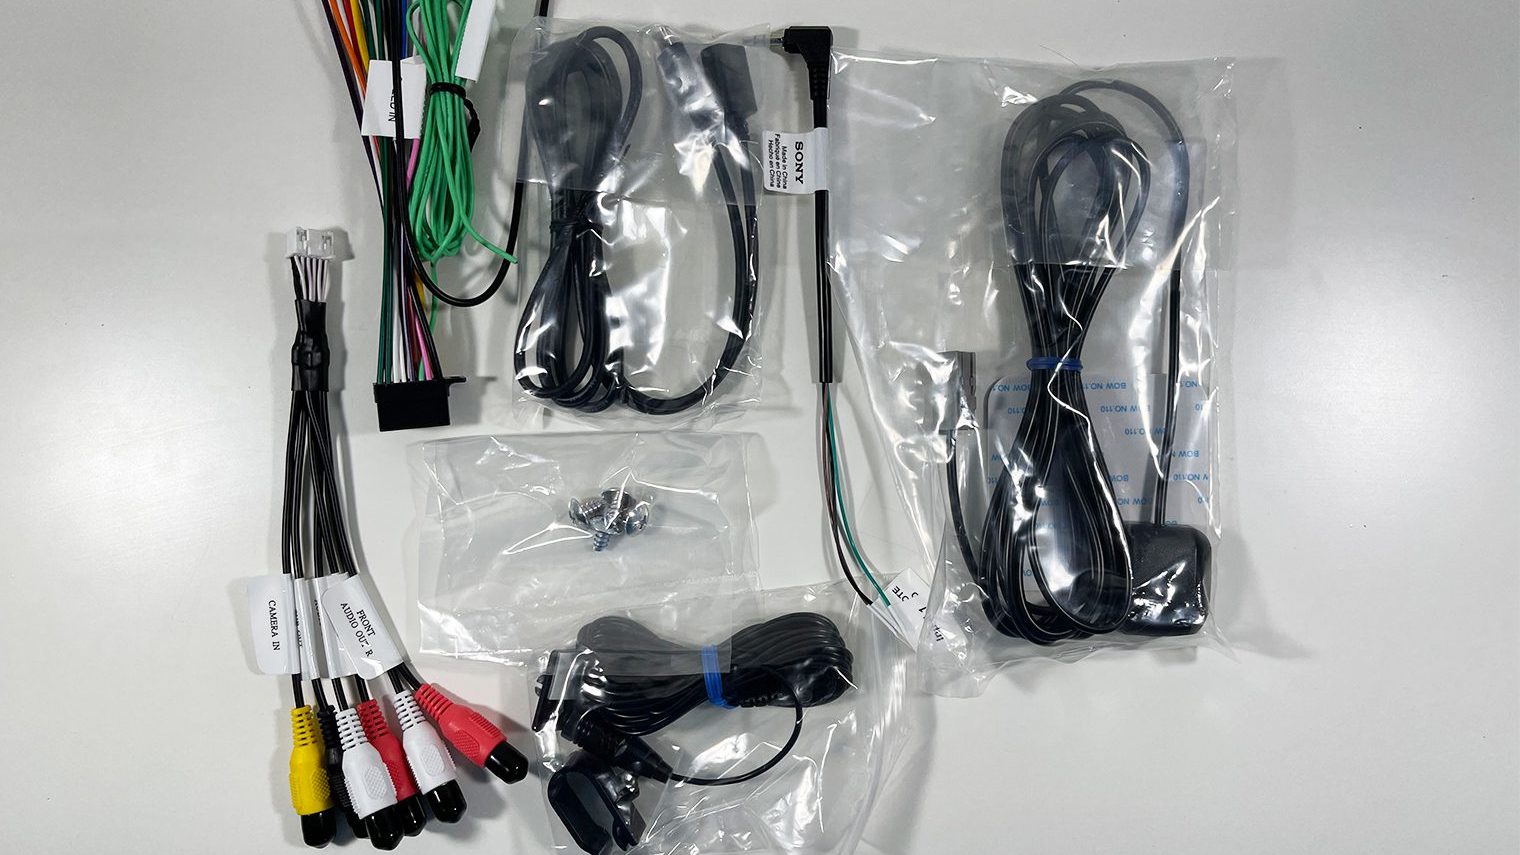
Inside the box of either unit, you'll find:
- Digital multimedia receiver
- Wiring harness (attached 6.5′ parking brake wire)
- Camera/Pre-out RCA harness
- 3-Wire to 3.5mm Steering Wheel Control adapter
- 59″ USB-C extension cable (USB-C to USB-C)
- GPS antenna (attached 10′ cable terminated by a FAKRA connector)
- GPS Antenna mounting plate
- Microphone with visor-bracket (attached 12′ cable terminated by a right-angle mono-3.5mm connector)
- Four M5x9mm ISO-screws
- 2 Cable-ties
- Operating Instructions
- Warranty Information
Screen Comparison
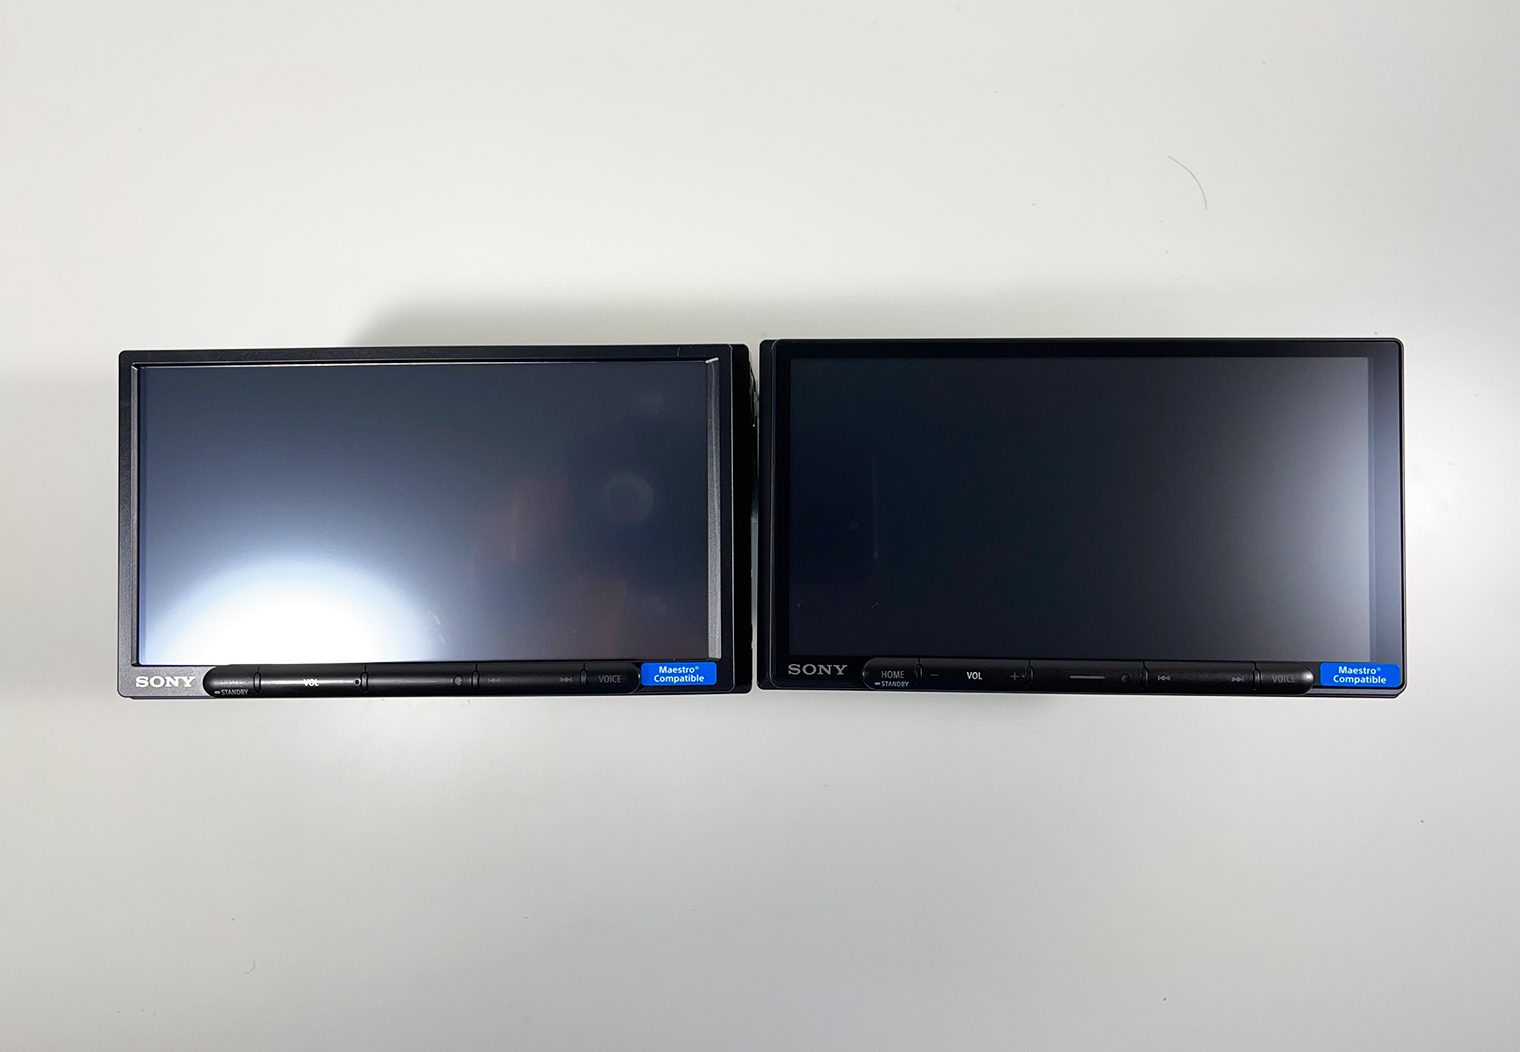
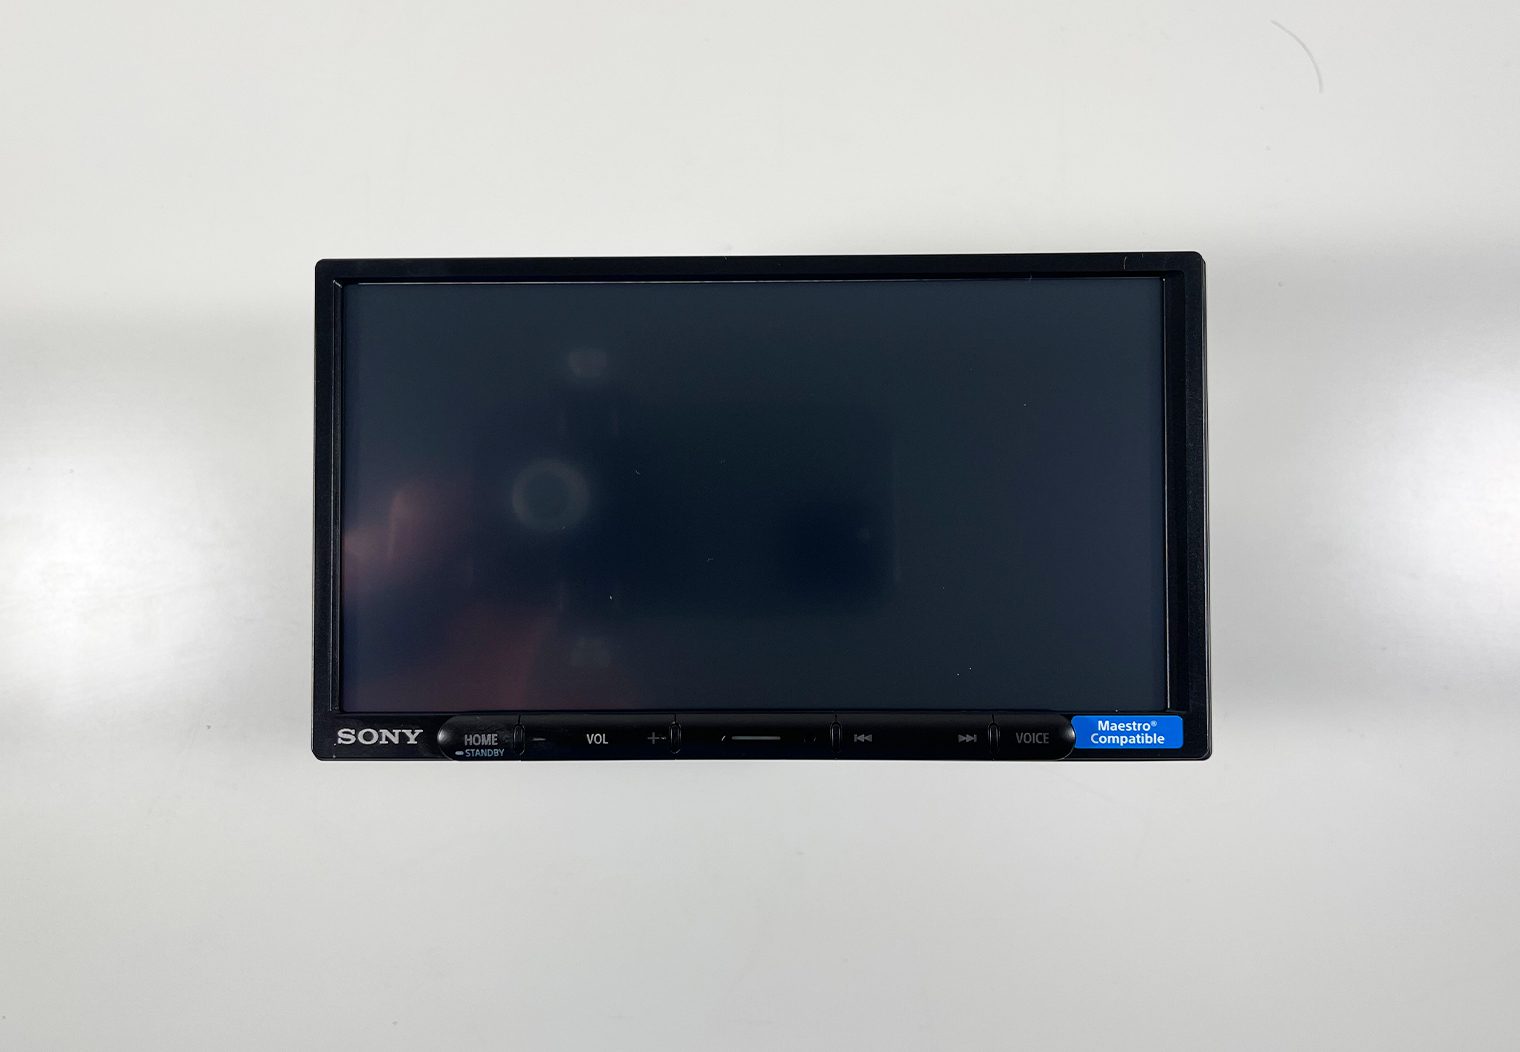
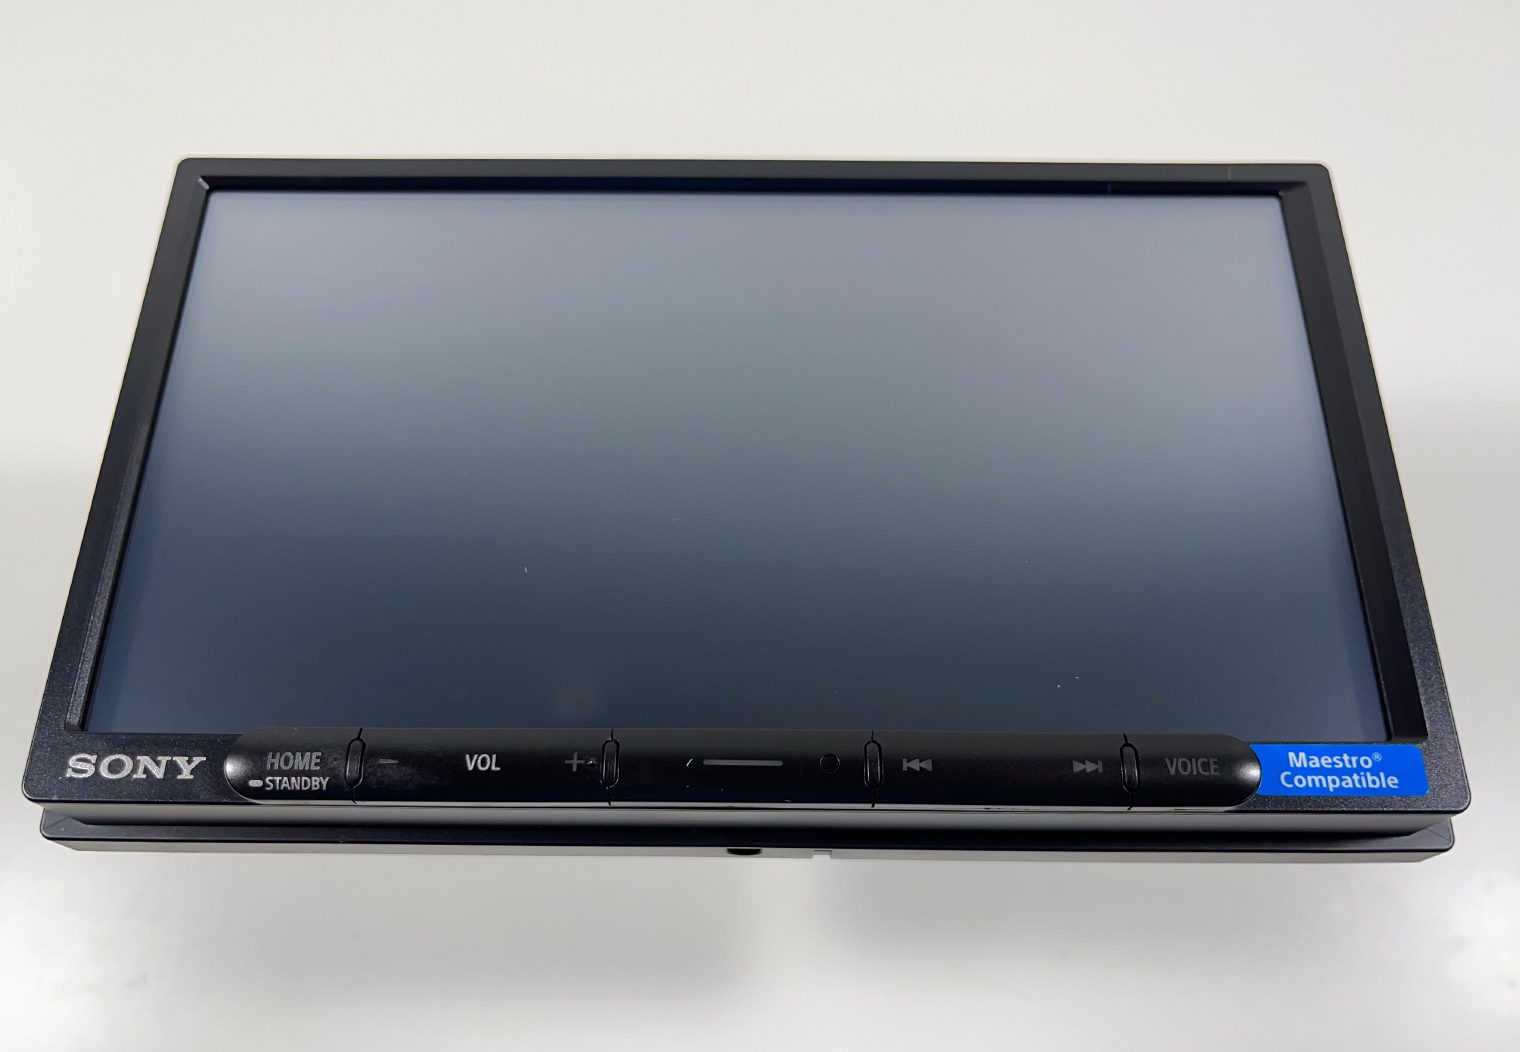
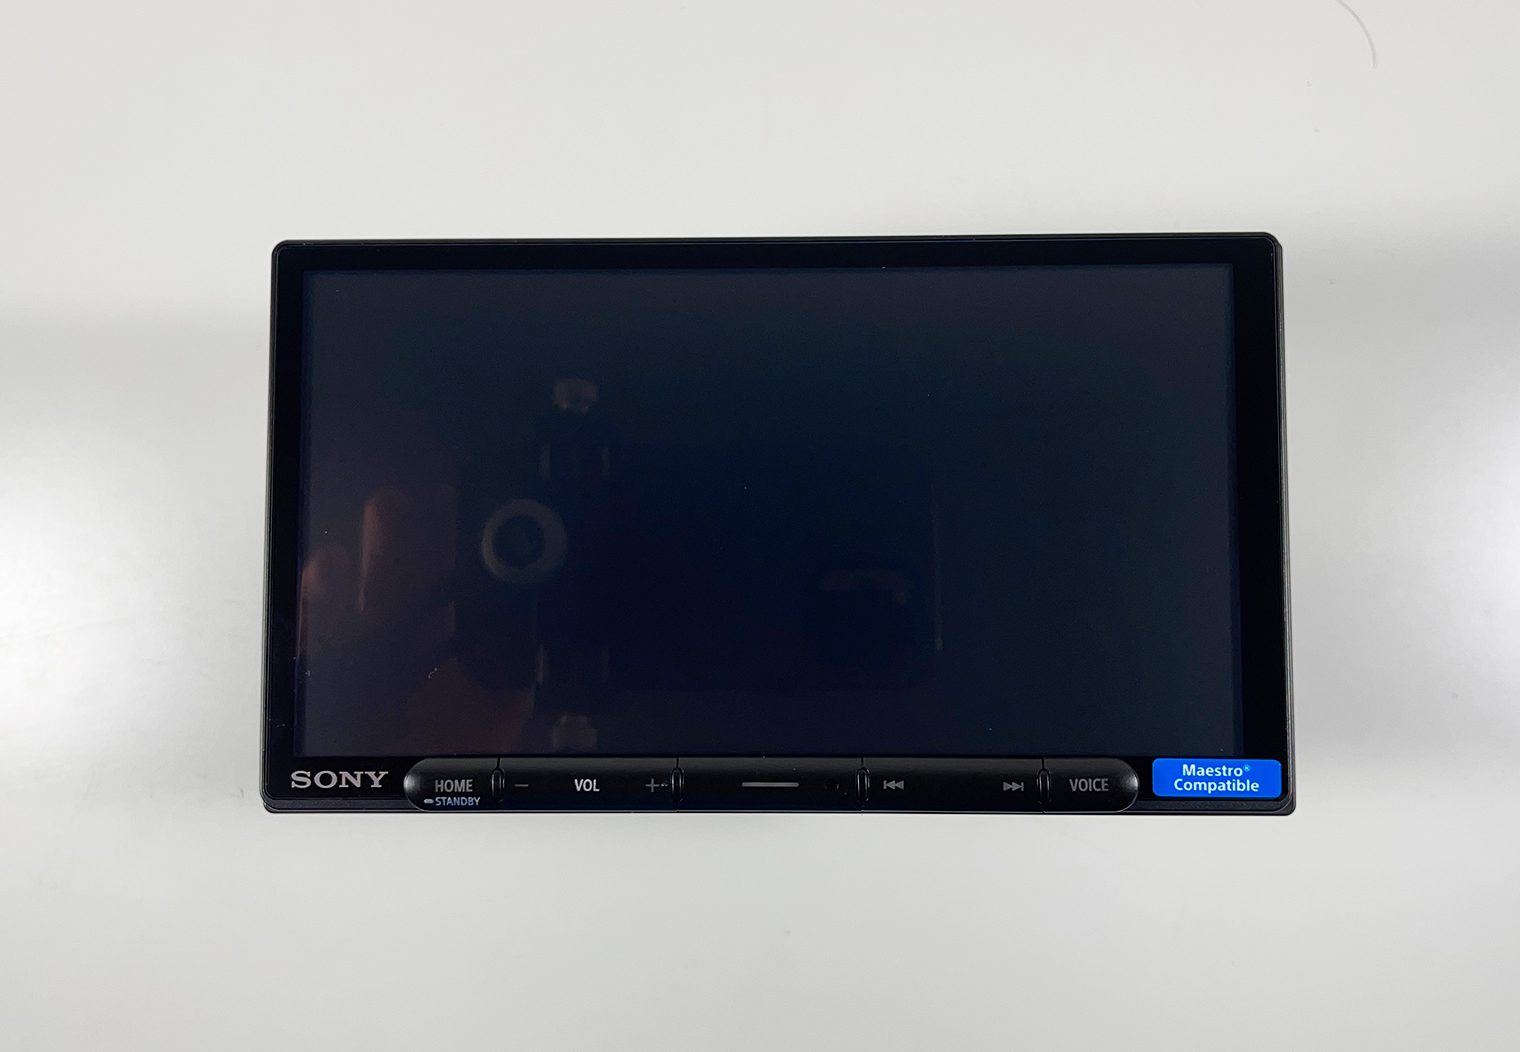
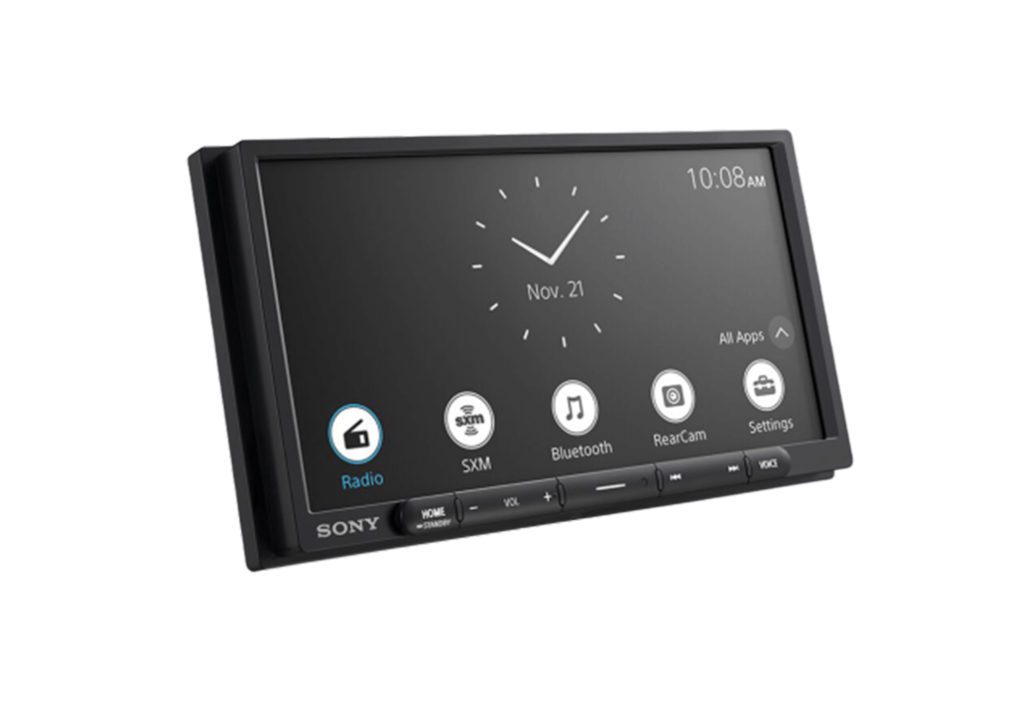
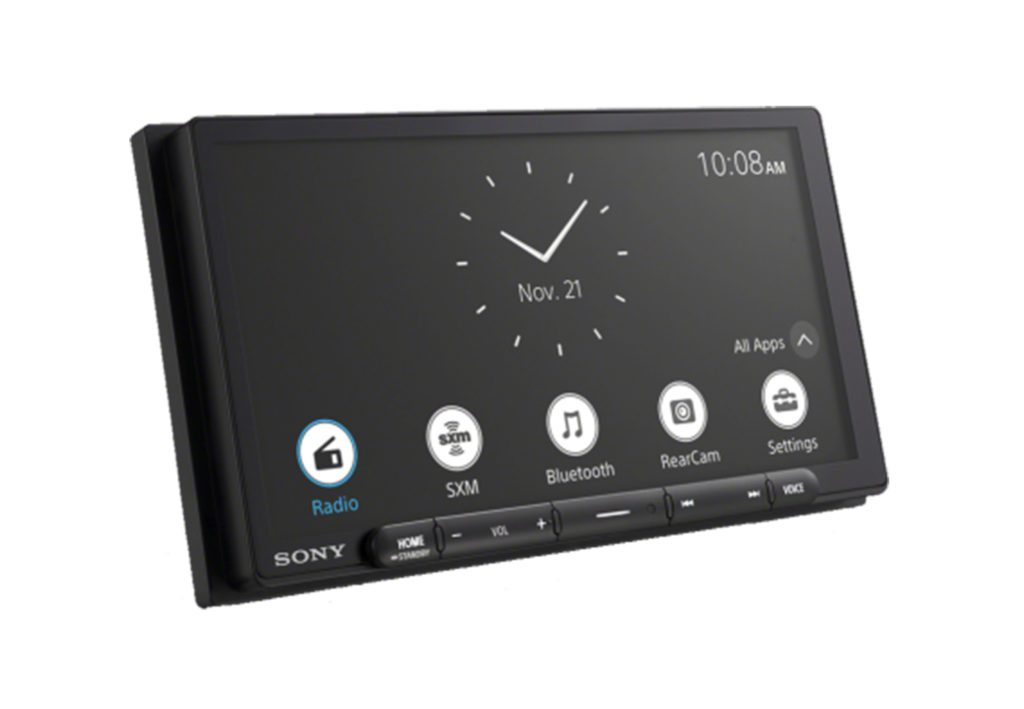
When you look at the front of the XAV-AX4000 and AX6000 side-by-side, they look very similar. They both share the same size screen, the same buttons below the screen, and so on. What differs between the two is the bezel design, touchscreen type and the underlying LCD screen that sits below. Both units have an anti-glare feature and even share the same 800×480 DOT resolution. Here's a couple of the key features listed out side by side so you can see where they differ:
| Feature | XAV-AX4000 | XAV-AX6000 |
| Screen Size | 6.95″ | 6.95″ |
| LCD Type | TFT Active Matrix | Transmissive, TN Type |
| Touchscreen Type | Resistive | Capacitive |
| DOT Resolution | 800×480 | 800×480 |
| Anti-glare | Yes | Yes |
| Bezel-less | No | Yes |
Here's a few photos of the two units to showcase their similarities and differences.

Resistive vs Capacitive Touchscreens
For those of you who are not familiar with the difference between a resistive and capacitive touchscreen, here's a 30,000 ft level overview. Resistive screens (like the one on the AX4000) use two flexible sheets that are separated by microdots or an air gap. Touching the screen will trigger an electrical signal that is translated into a touch. When you touch down on the screen you can feel a little bit of a flex/give to it. These types of screens are very universal and you can use any surface to engage with it, for example a long fingernail. They do, however, have a reputation for impeding the quality of the image in some cases.
Capacitive screens (like the one on the AX6000), use an electrical charge in order to sense touch. The surface that touches it must be conductive in order for it to sense it, like your finger tip or skin. The tip of your nail will not work on these types of screens. The easiest comparison is an iPhone or Android. It feels and looks a little more modern and is normally associated with higher quality products. They have a reputation for better touch-accuracy and clearer image since the surface isn't comprised of multiple layers.
I always say it's up to the user to determine which one's better. If you want to use any surface or nail to touch the screen and don't necessarily mind a slightly impeded screen image then resistive is the way to go. If you value clarity and are ok with just using your fingertip then capacitive is going to be your choice (if you want to pay for it). When I hook the two units up to power I'll show you a comparison of the two screens while they're on and what my observations are.
Chassis Comparison
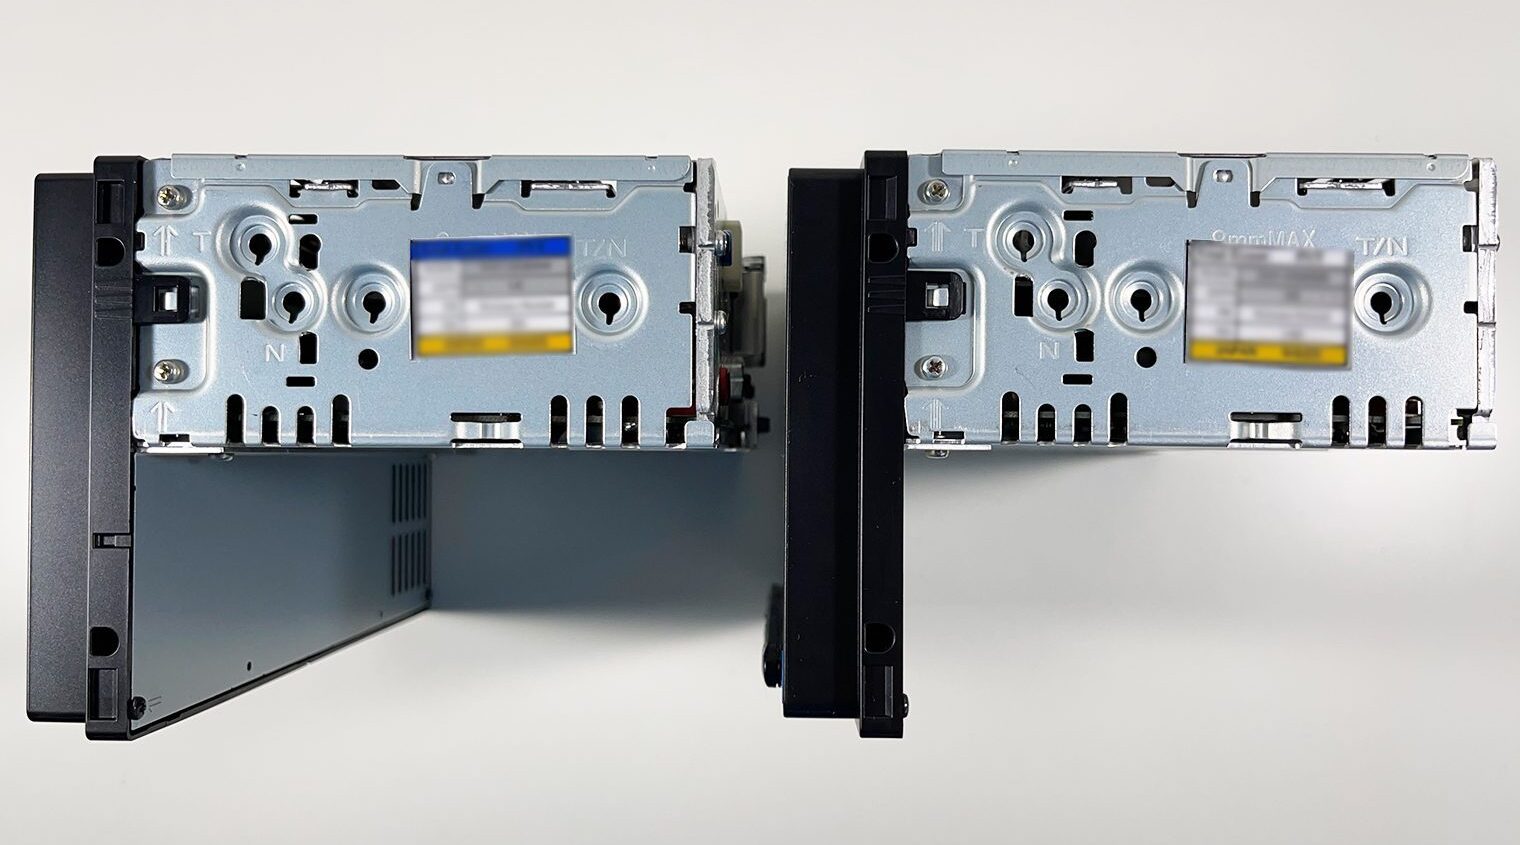
Both the XAV-AX4000 and XAV-AX6000 share the same single DIN chassis. They look almost identical from the side and rear. Single DIN chassis are great for installers and offer more flexibility in terms of the vehicles they can be installed in. They provide more room behind the dash for wiring too.
But just because they will fit into a single DIN chassis doesn't mean you can install it in a single DIN opening. The screen size is still meant to fit in a double DIN opening. It won't fit into a single DIN spot without modifying your dash to fit a double DIN screen. If you want a true single DIN head unit that has a touchscreen, you can check out Sony's XAV-AX8100. If you're not sure what size your dash is, you can check out our What Size is My Dash Article.
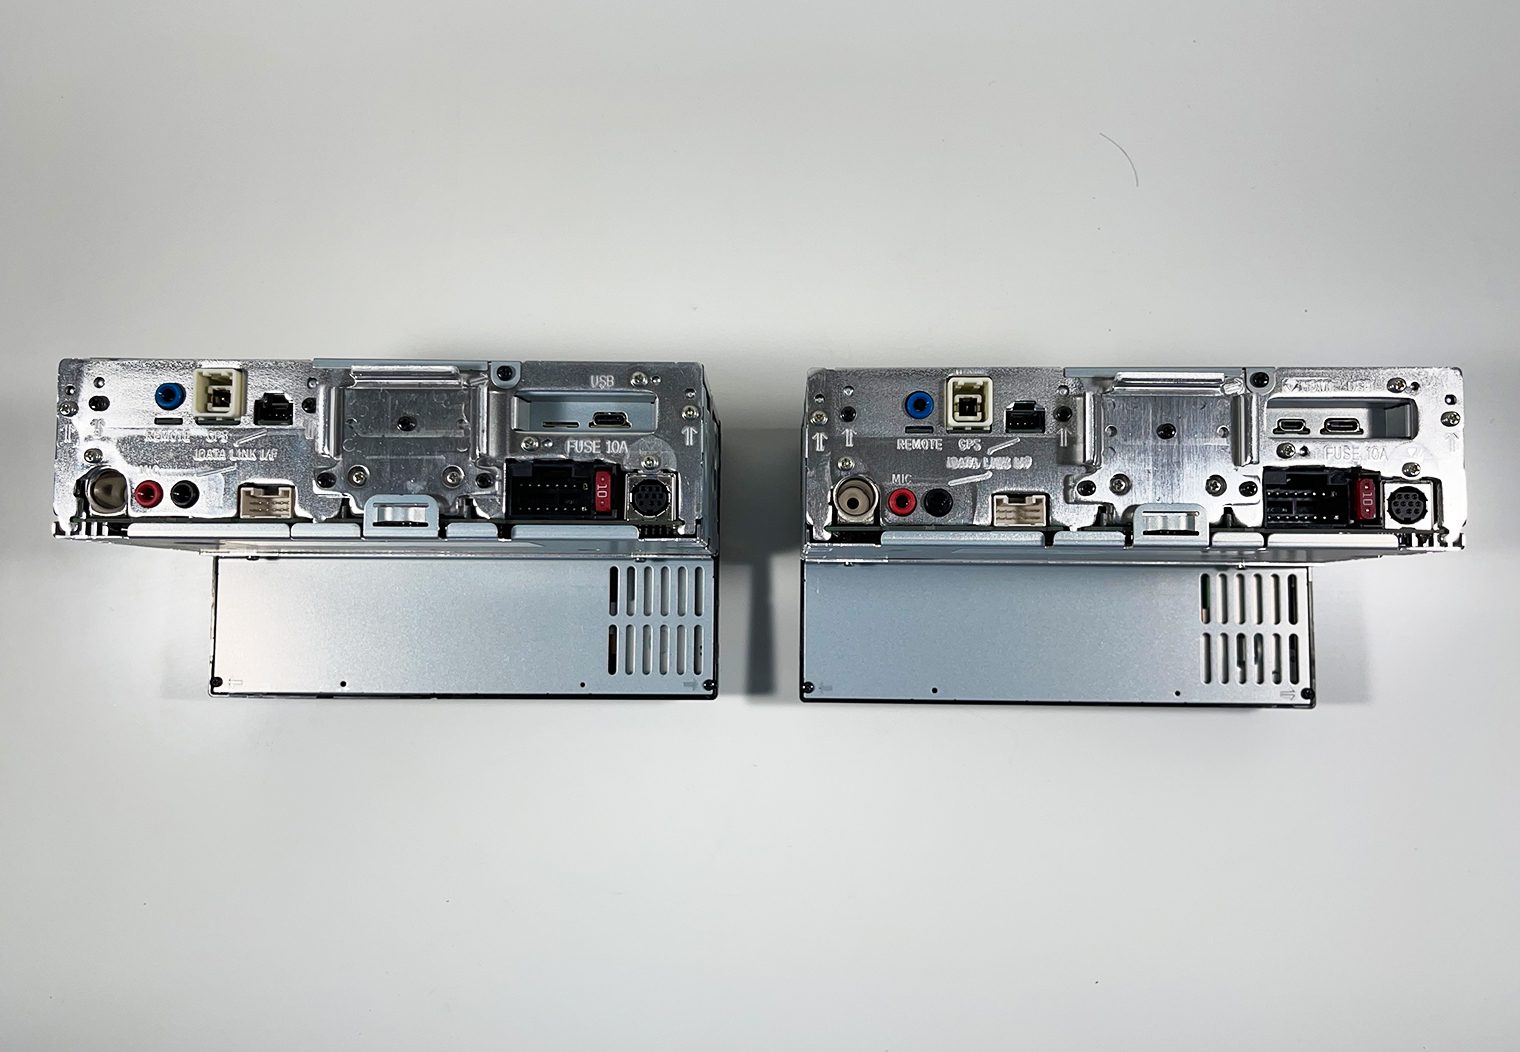
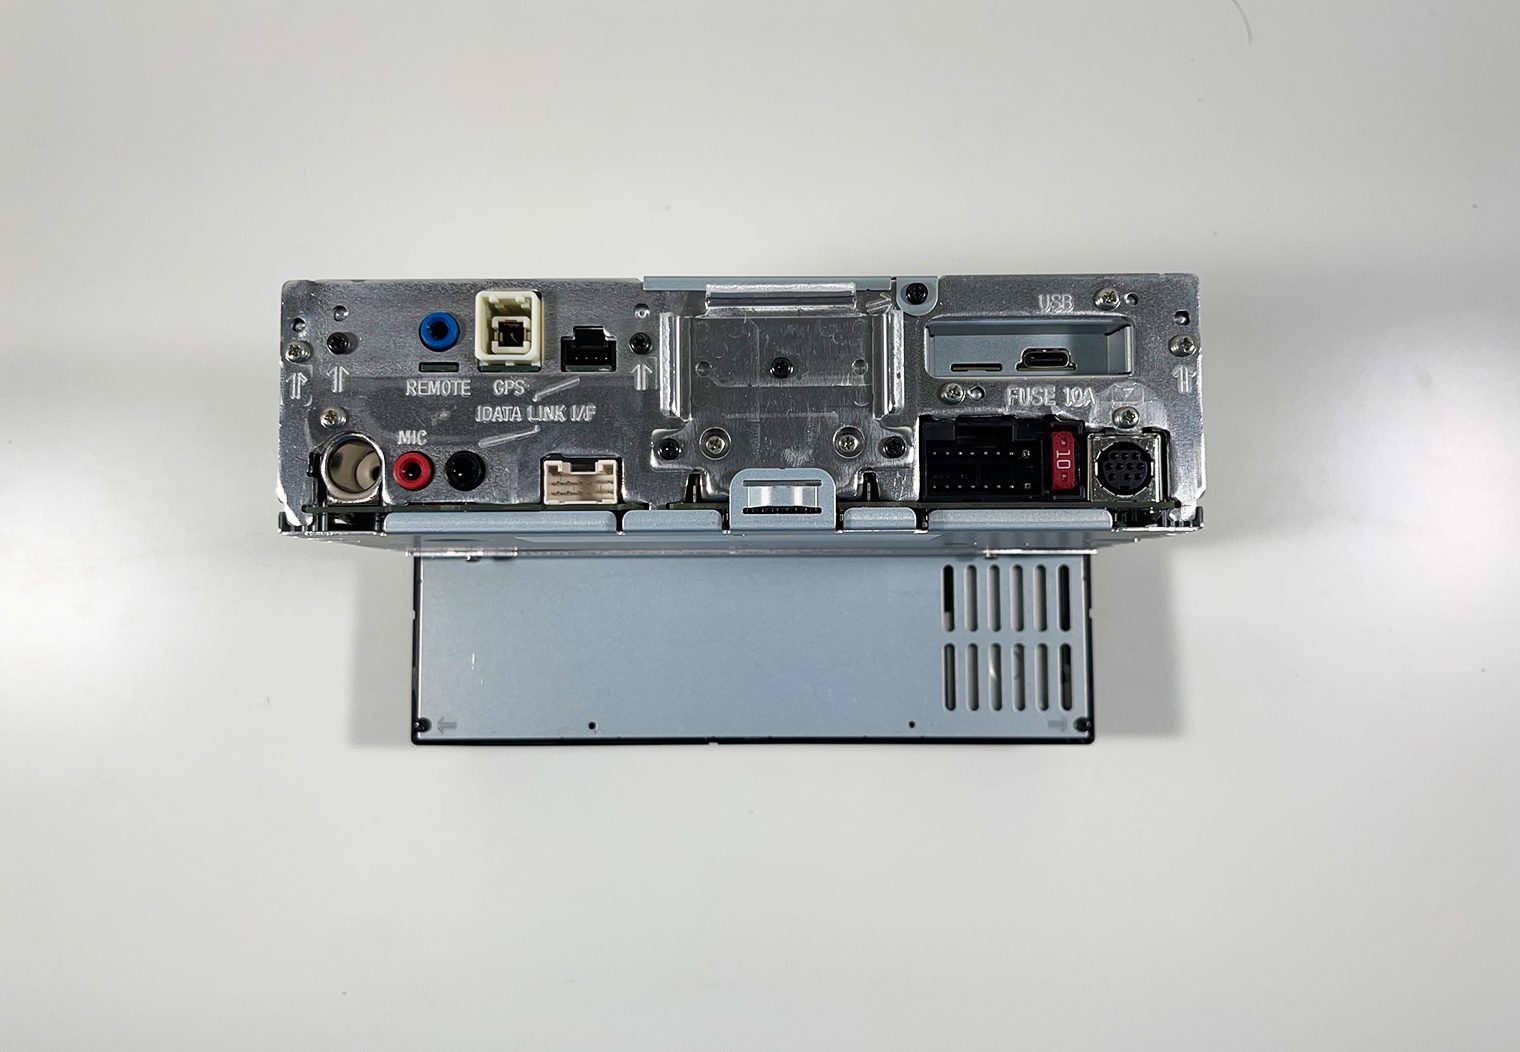
Inputs & Outputs
In terms of inputs and outputs, 99% of the specs are shared between the two units. Both have things like a USB-C input, a GPS antenna input, iDataLink input, SiriusXM input, Rear View Camera inputs, and etc. There are two areas that differ between these units with respect to their inputs and outputs:
- Pre-amp RCA Output Voltage: Although both units share the same RCA channel outputs (Front, Rear, Subwoofer), the AX4000 only offers a 2V pre-amp output while the AX6000 offers a 5V. If you're looking to amplify your system with an aftermarket car amplifier, my recommendation would be the AX6000.
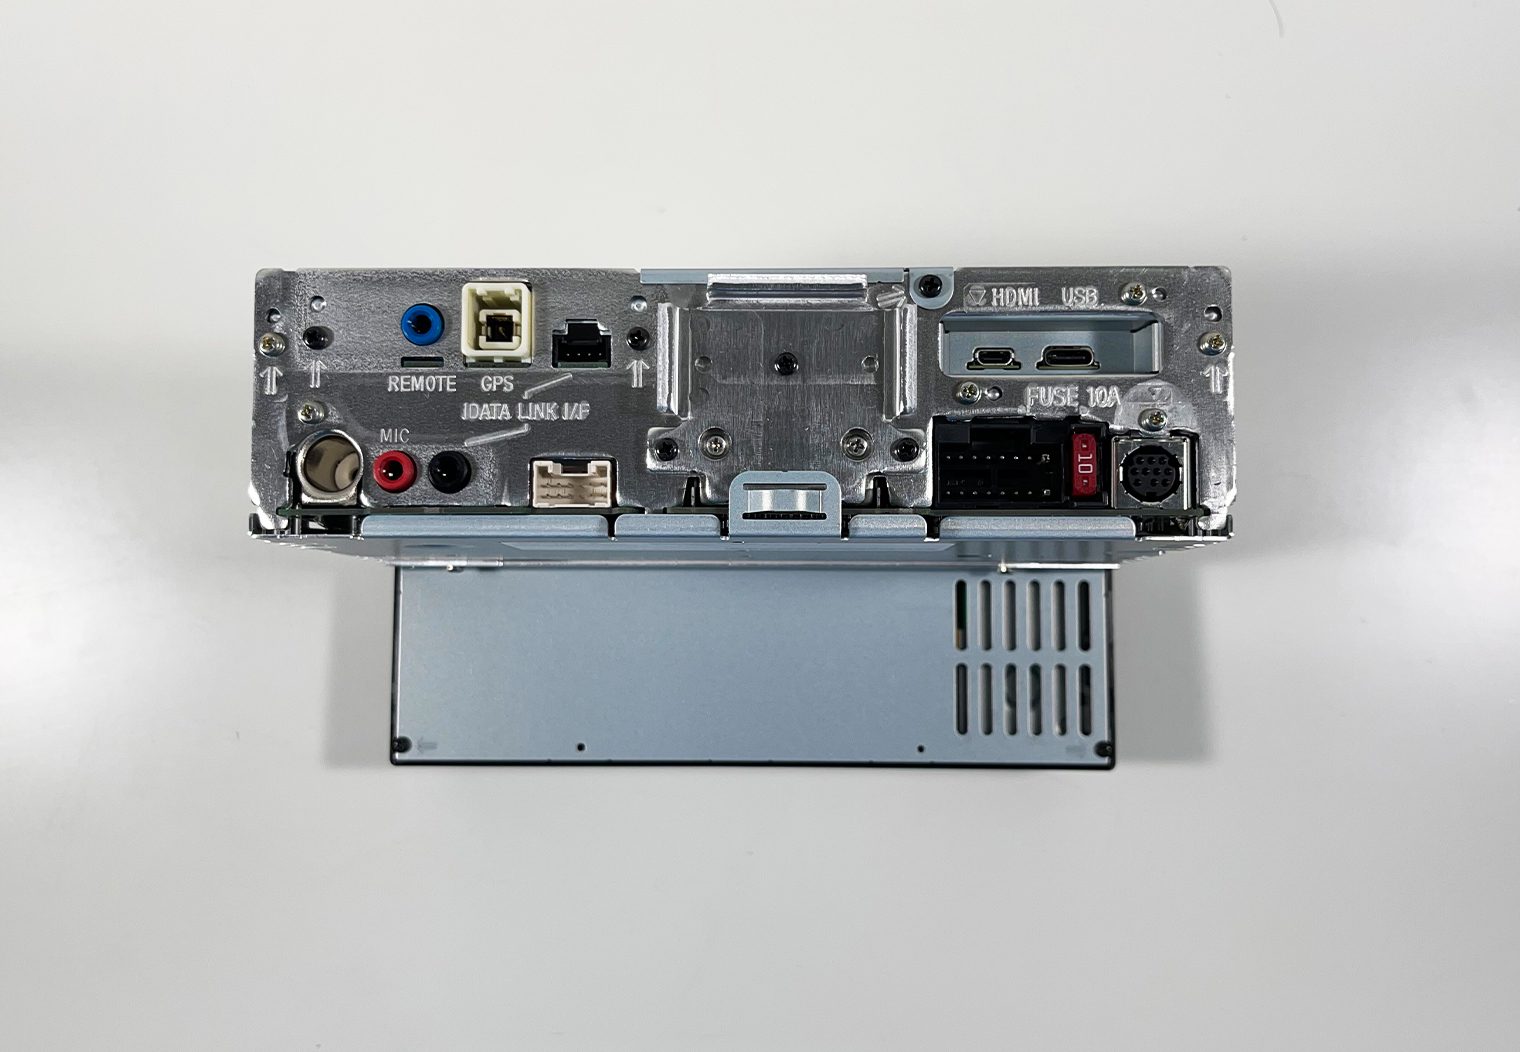
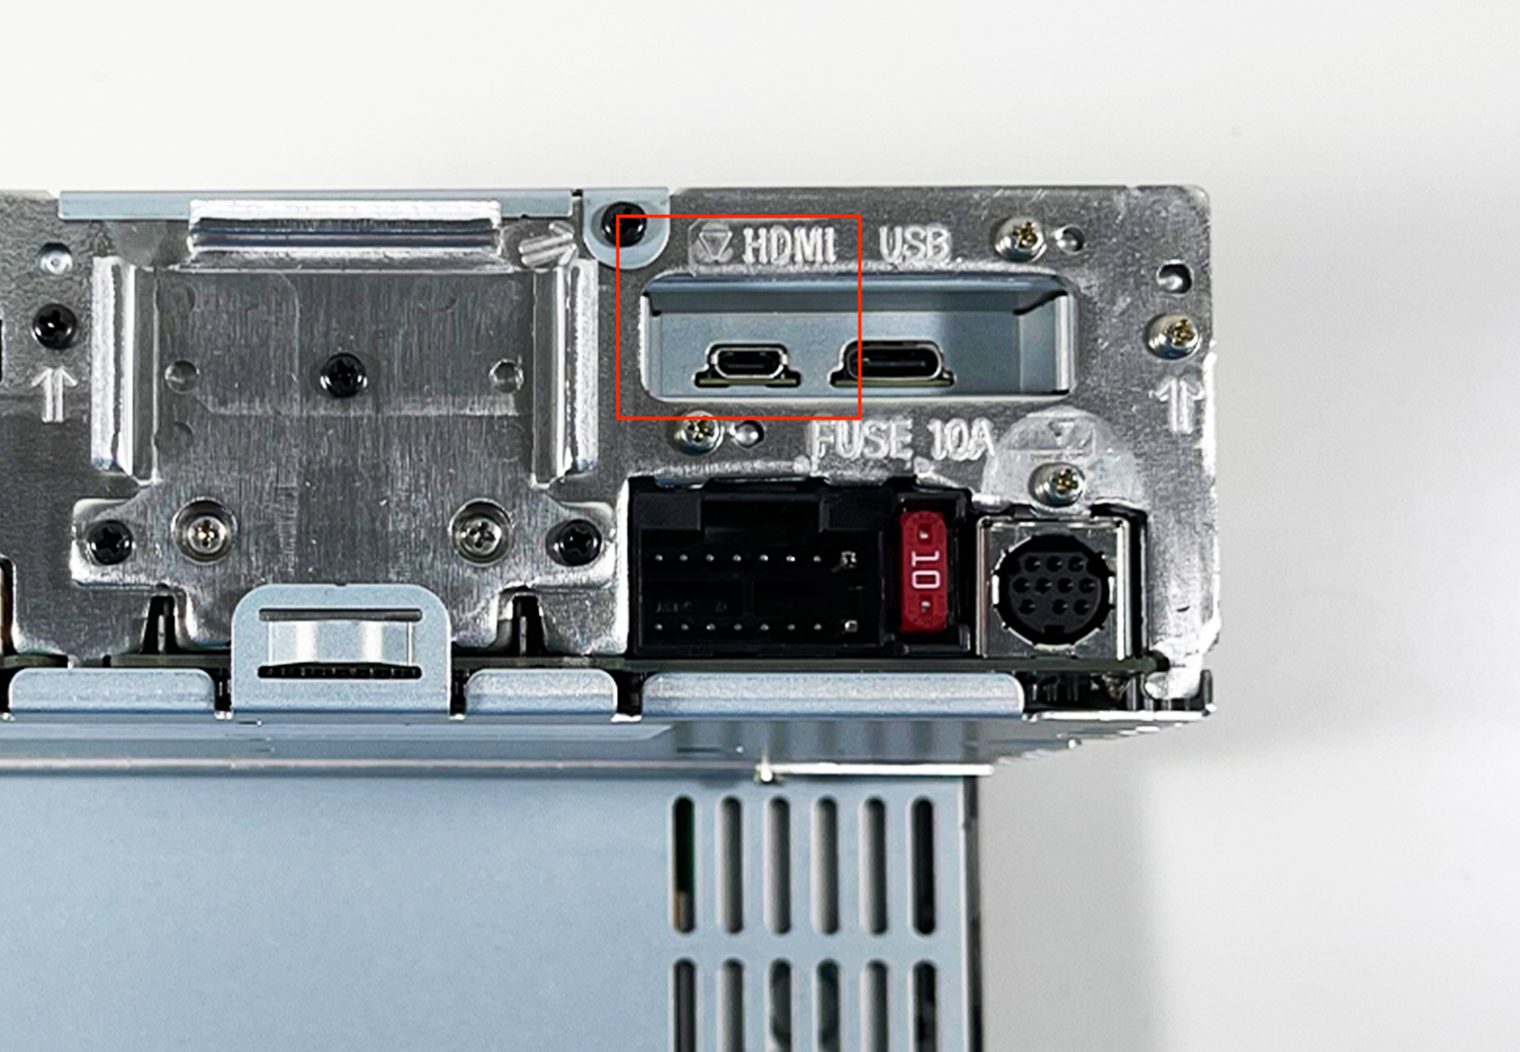
- HDMI Input: This is probably one of the biggest differentiators between the two units in my opinion. The AX6000 has a micro HDMI input right next to the USB-C input. Because of this, the AX6000 is the only unit of the two that can actually play video. If you want a multimedia head unit that can play video, the AX6000 is your choice. I would recommend purchasing a micro HDMI to HDMI adapter from Amazon if you plan on using this.
Here's a few of the general specs to compare between the two head units with respect to inputs and outputs:
| Feature | XAV-AX4000 | XAV-AX6000 |
| SiriusXM Compatible | Yes | Yes |
| iDataLink Compatible | Yes | Yes |
| RCA Pre-amp Outputs | Front, Rear, Subwoofer | Front, Rear, Subwoofer |
| Pre-amp Output Voltage | 2v | 5v |
| Internal Amp Output | 20 Watts RMS x 4 | 20 Watts RMS x 4 |
| Steering Wheel Control | Yes | Yes |
| HDMI Input | No | Yes |
| USB-C Input | Yes (1) | Yes (1) |
| Rear Camera Input | Yes (1) | Yes (1) |
Purchase one today!
User Interface & Feature Comparison
Next, I'll plug both the units up to power and discuss some of the key shared and different features between the AX4000 and AX6000. Spoiler alert – there isn't much. I'll also demo video on the AX6000 using an iPhone via the micro HDMI input. Let's dig in.
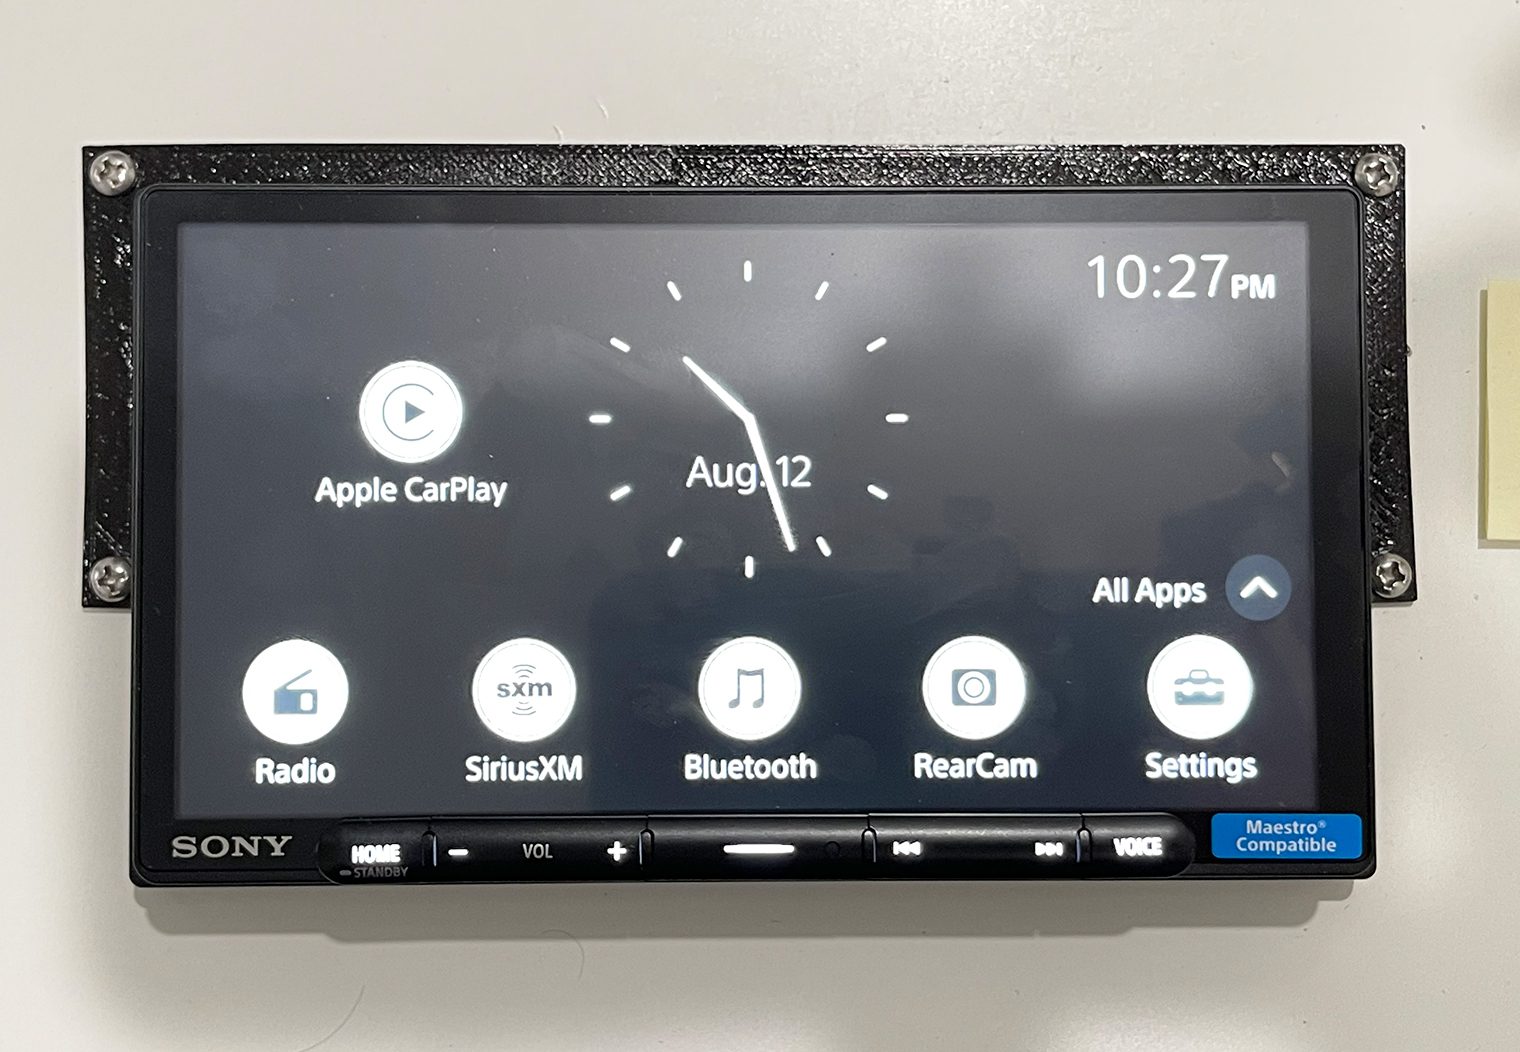
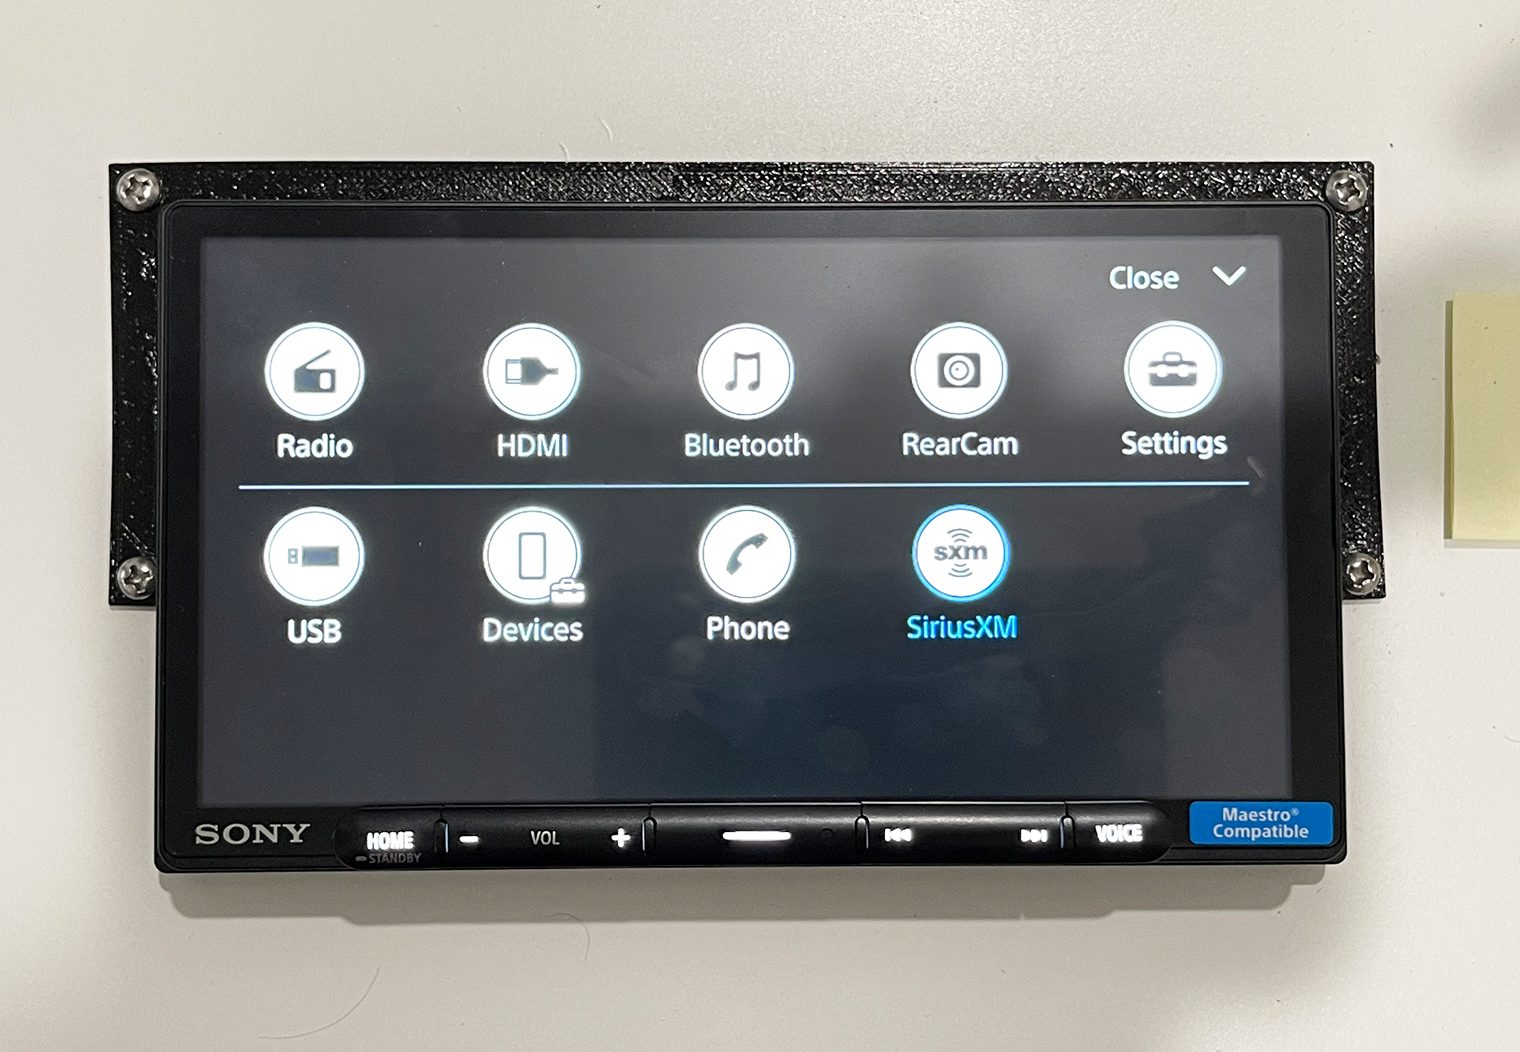
Home Screen & Main Applications
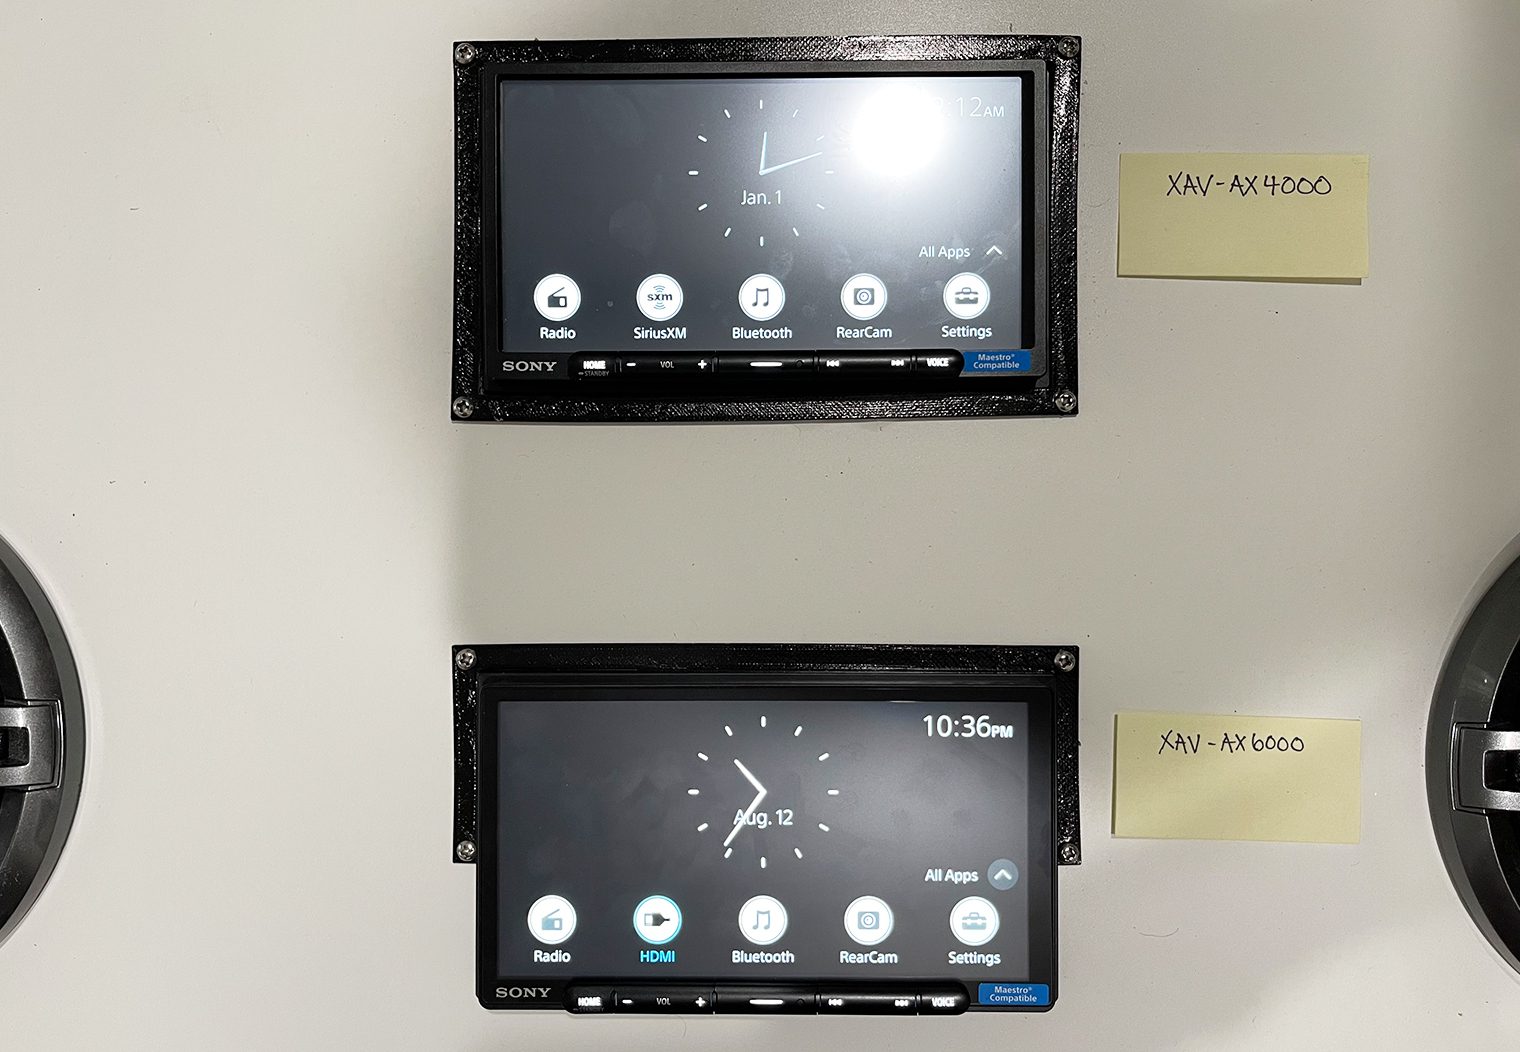
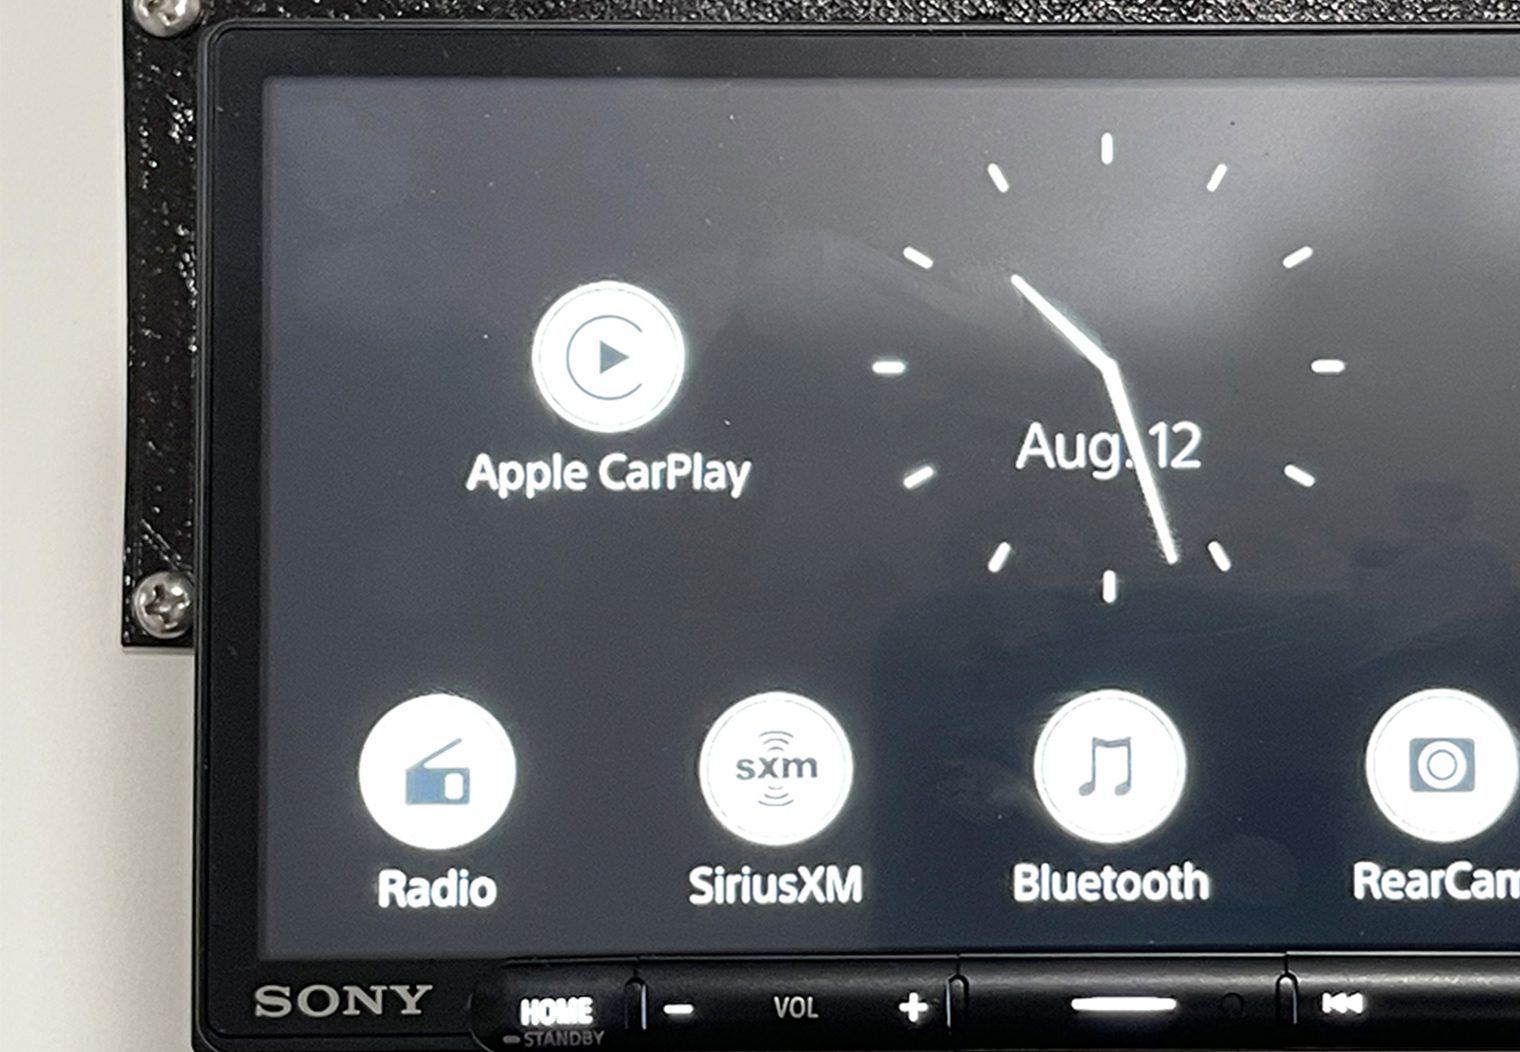
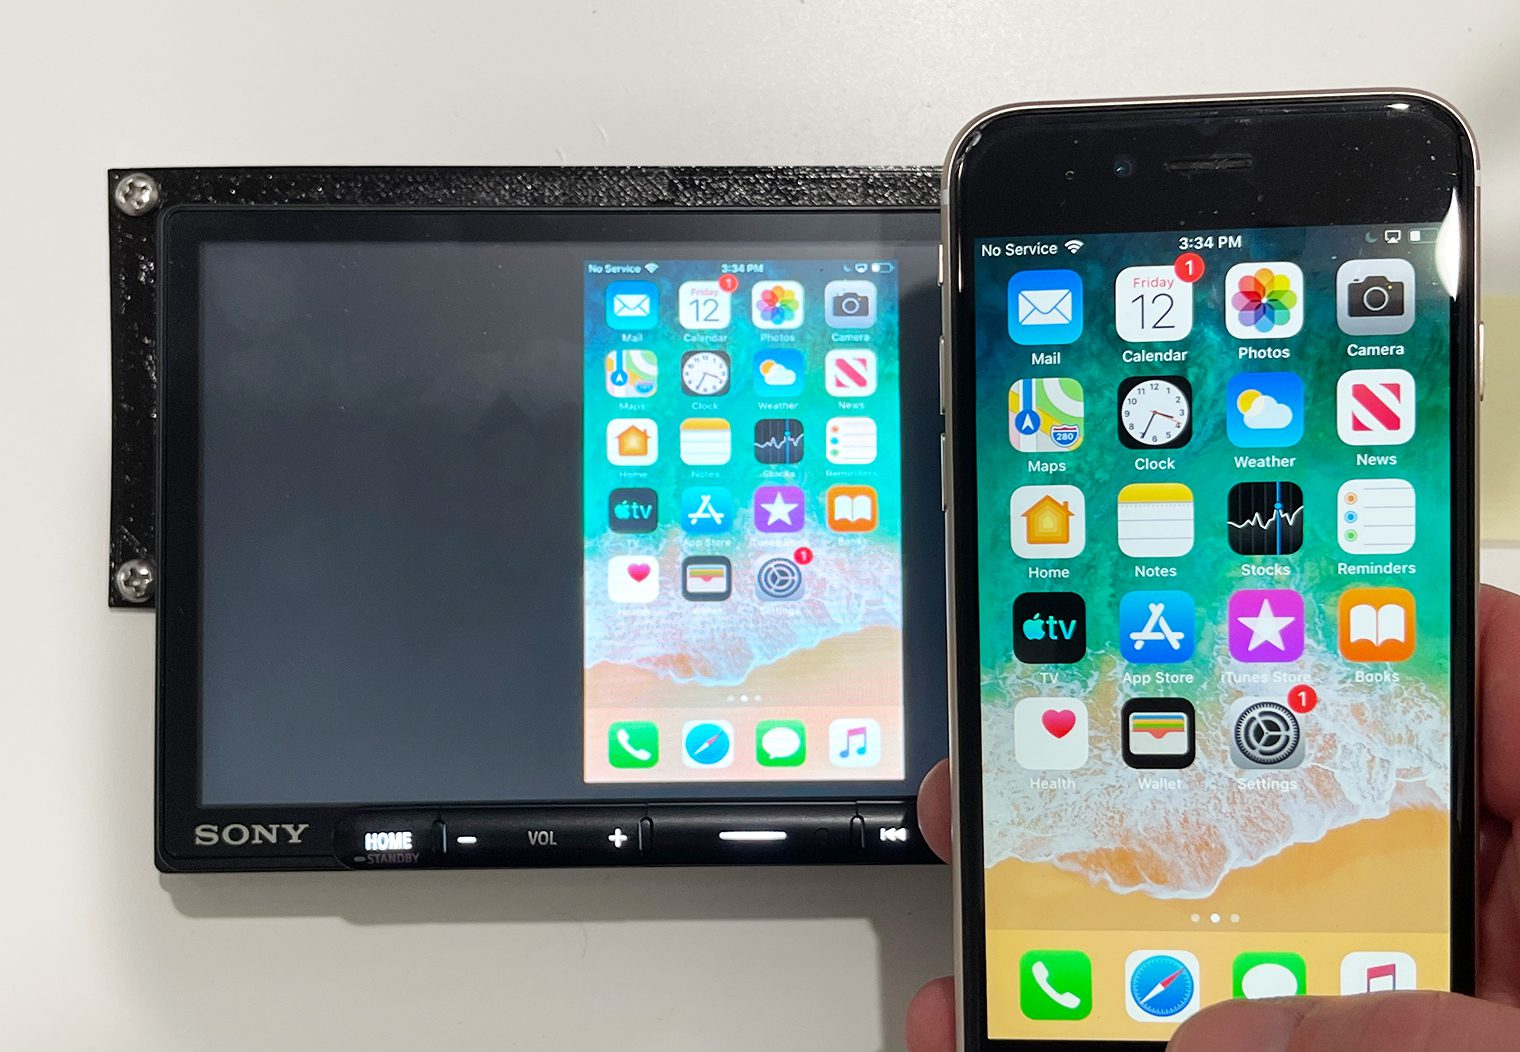
When I first turned the power on for these units, I had to double-take to see which one's which. Startup is fast on both – between 4 and 5 seconds. Once powered up, the units share the same look and feel with respect to the home screen and the respective apps that can be accessed by touching on the icons at the bottom of the screen and in the apps section. The main difference is that the AX4000 does not have the “HDMI” app, while the AX6000 does. This is to be expected because the AX6000 is the only of the two that actually has an HDMI input.
Earlier in the review I mentioned the difference between the resistive and capacitive touchscreen. And when I looked a little closer between the two units I could tell a slight difference. The AX6000 was slightly brighter and clearer than the AX4000. It's slight but when compared side by side like this it's noticeable.

Music Sources
The AX4000 and AX6000 have the same options in terms of audio sources:
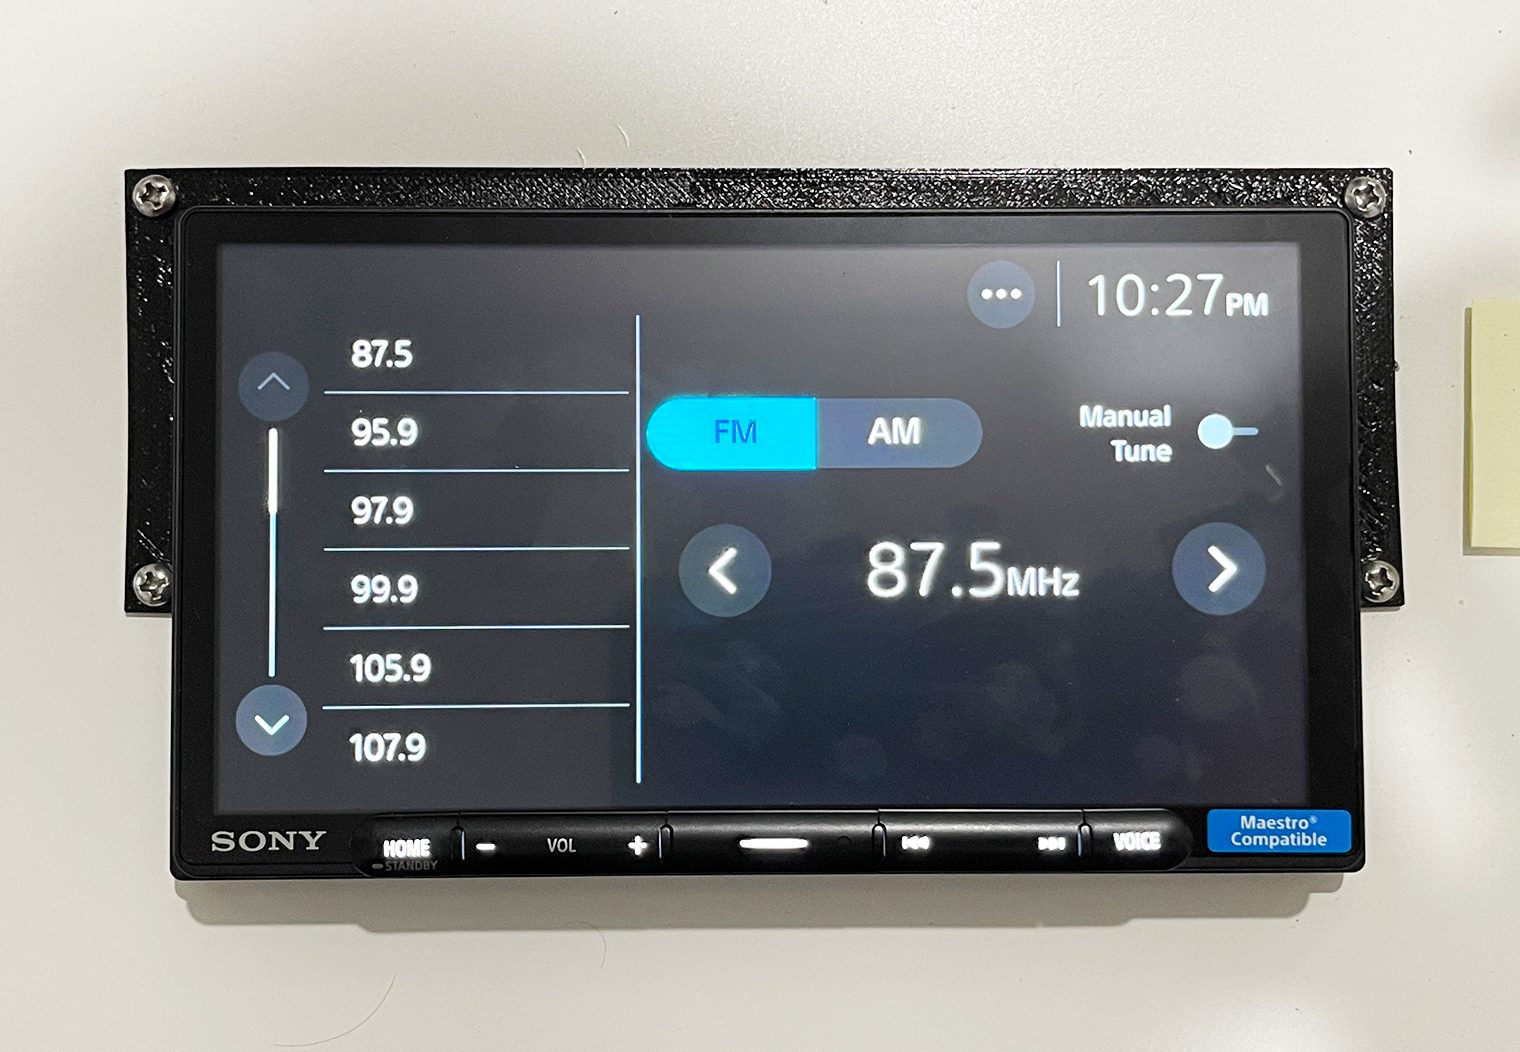
AM/FM: Neither have HD radio but have the traditional AM/FM radio with 18 FM presets and 12 AM presets available.
Bluetooth: Both units have Bluetooth 5.0 and Sony's LDAC technology which improves high-res audio streaming. You can connect up to 10 devices to either unit (only one device can be active at a time).
SiriusXM: The AX4000 and AX6000 come compatible with SiriusXM but both require the SXV300V1 tuner that's sold separately. Functionality is the same between the two. I do not have the tuner hooked up so I was not able to showcase any photos of the user interface.
USB: A USB device or thumb drive can be hooked up to either unit via the USB-C input on the rear. If you have a traditional USB, I'd recommend a USB-C to USB adapter. I personally used these adapters for my thumb drive while demoing these units.
The USB is only compatible with audio formats. Both the XAV-AX4000 and XAV-AX6000 are not capable of playing video via the USB input. I thought this was a little strange because other units like the XAV-AX5600 can do this and it seemed like more of a software thing than a hardware constraint. Maybe Sony will update the unit in the future to support this? It supports MP3, WMA, AAC, ALAC, FLAC, WAV and DSD files.
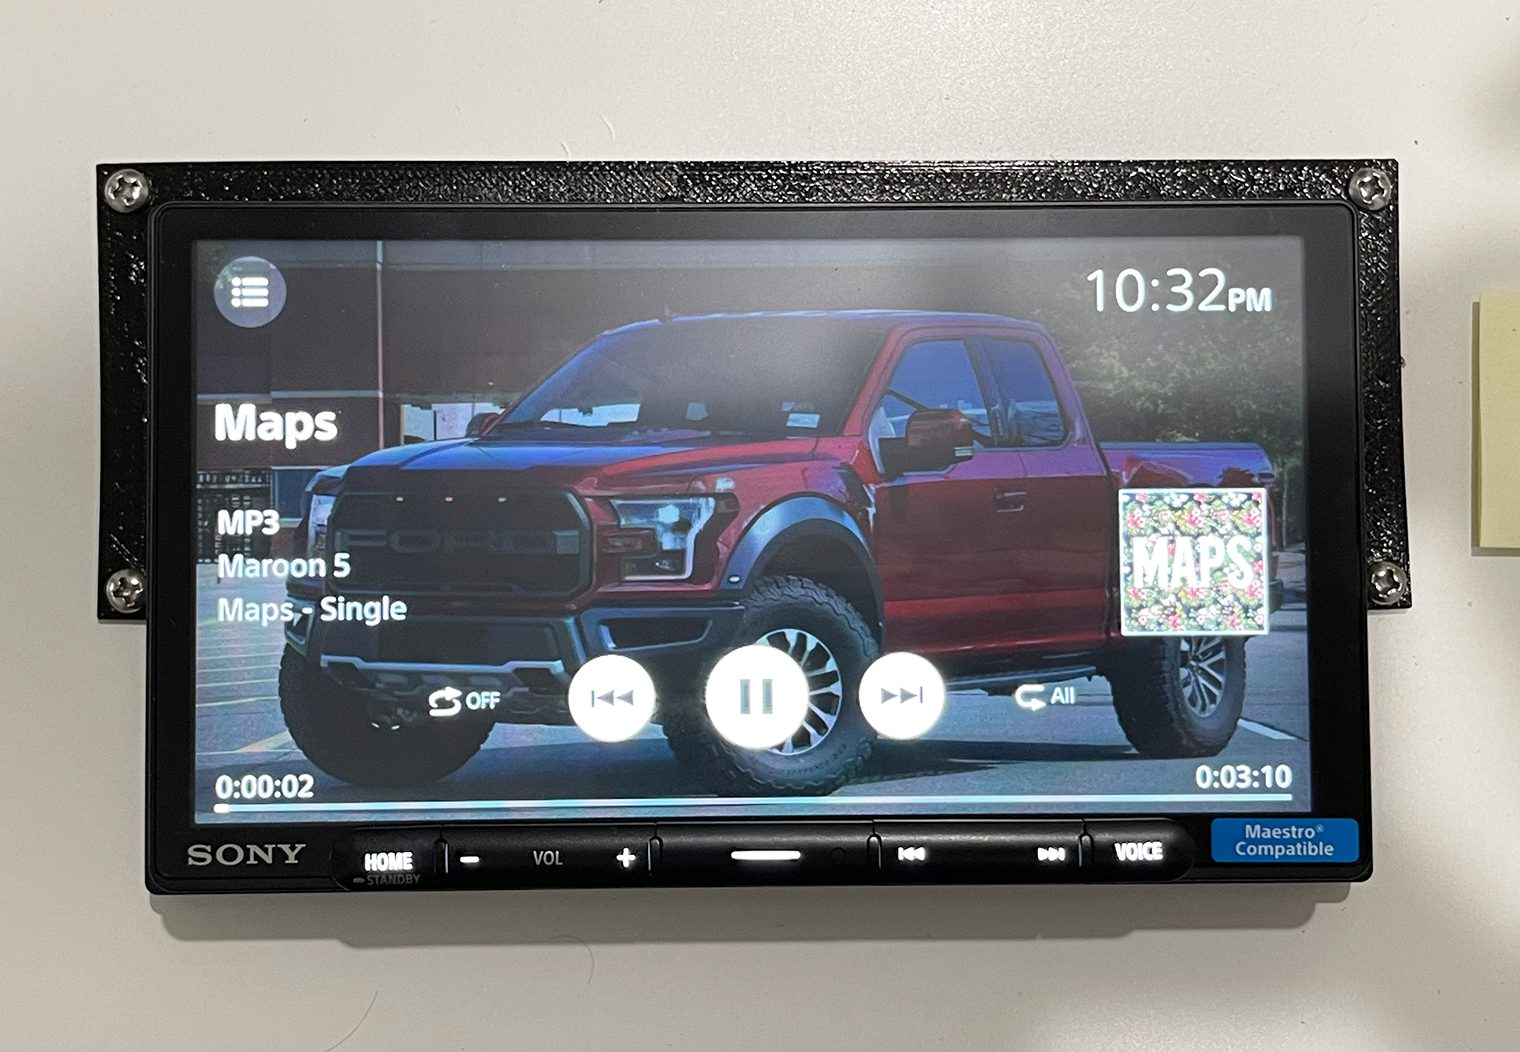
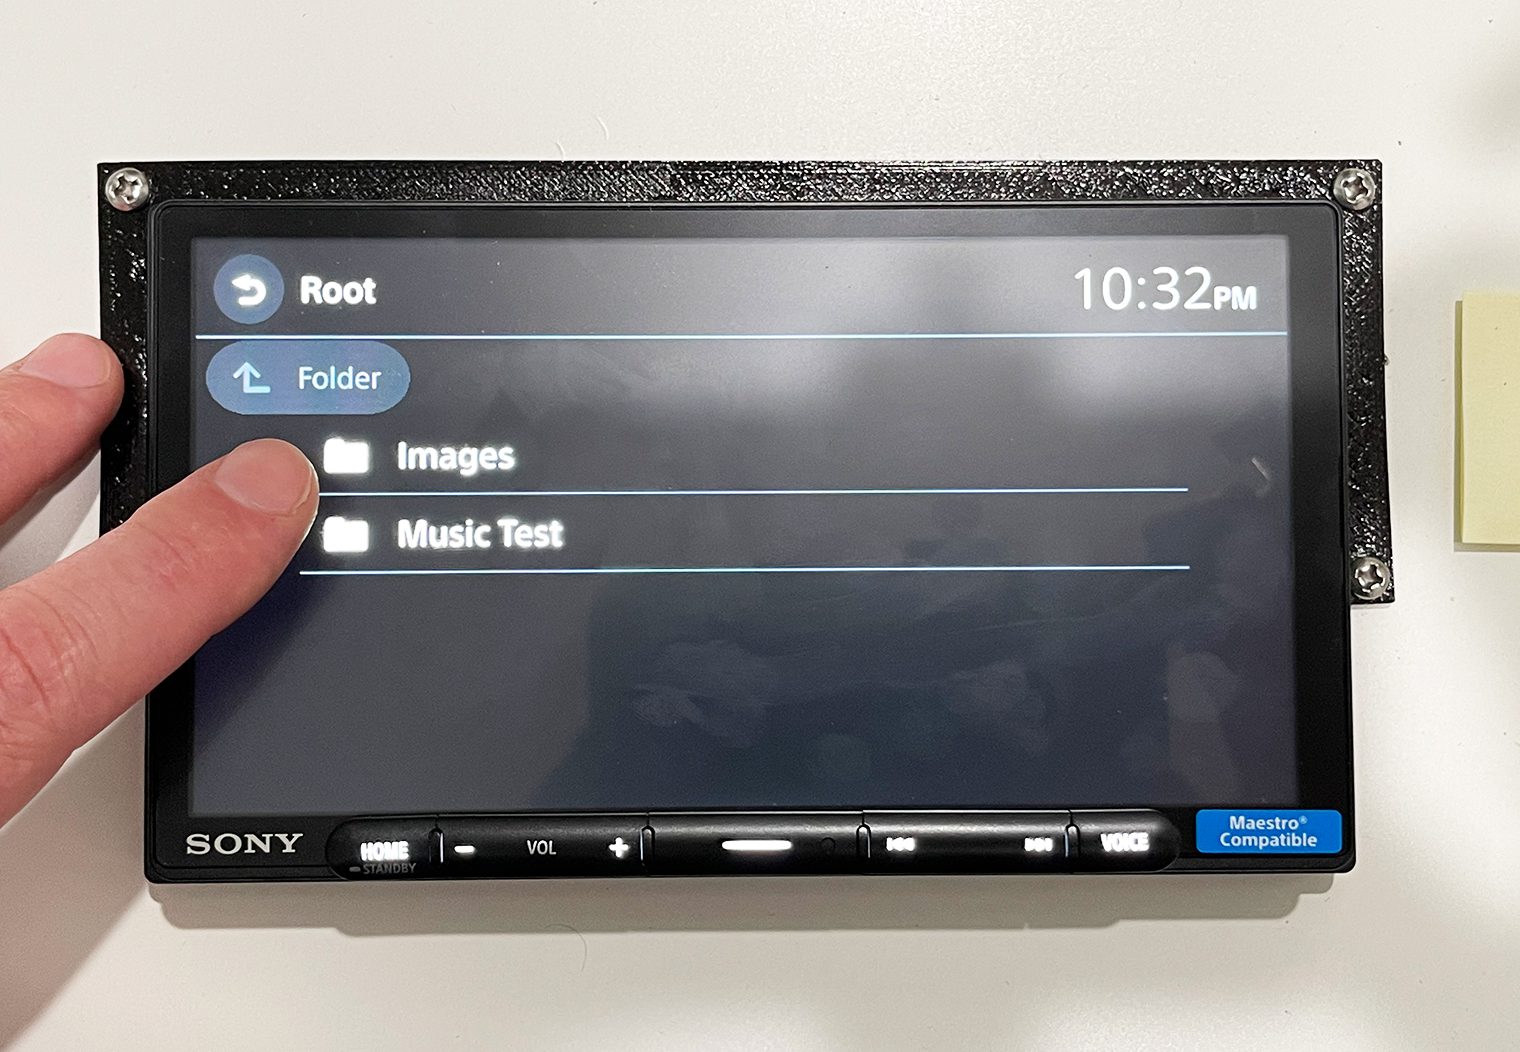
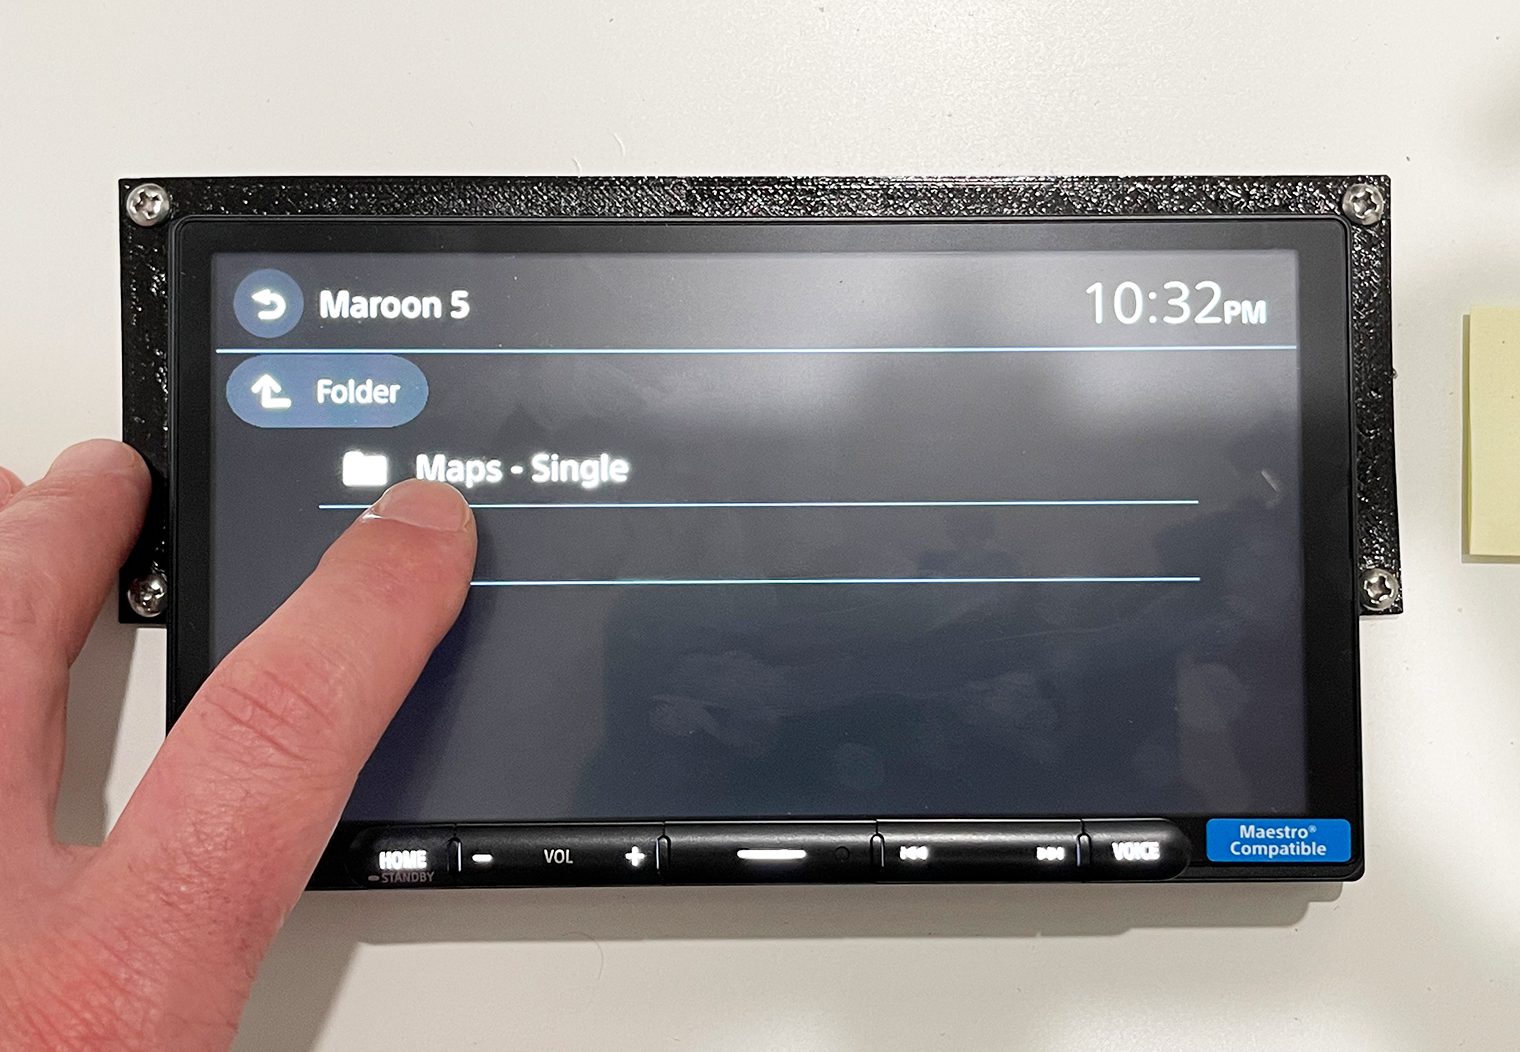
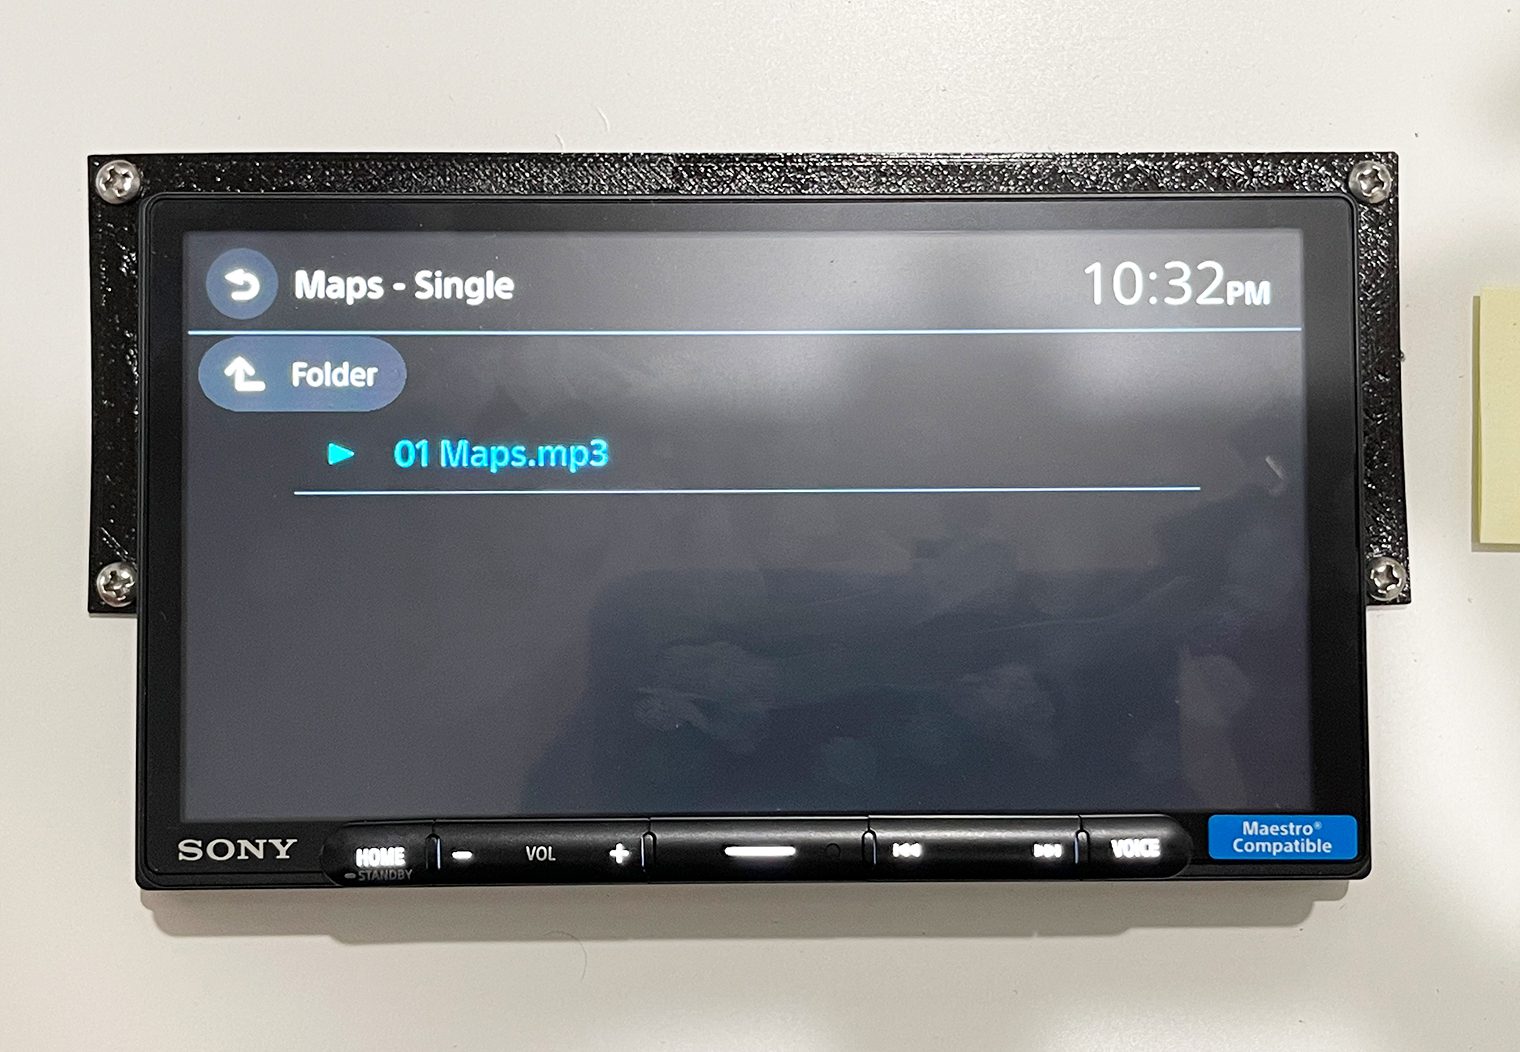
Within the USB app, you can navigate through your folder structures easily and find the song you'd like to play. Once playing, you'll have the same general next, previous, play, pause, etc features that you would on any other audio source.
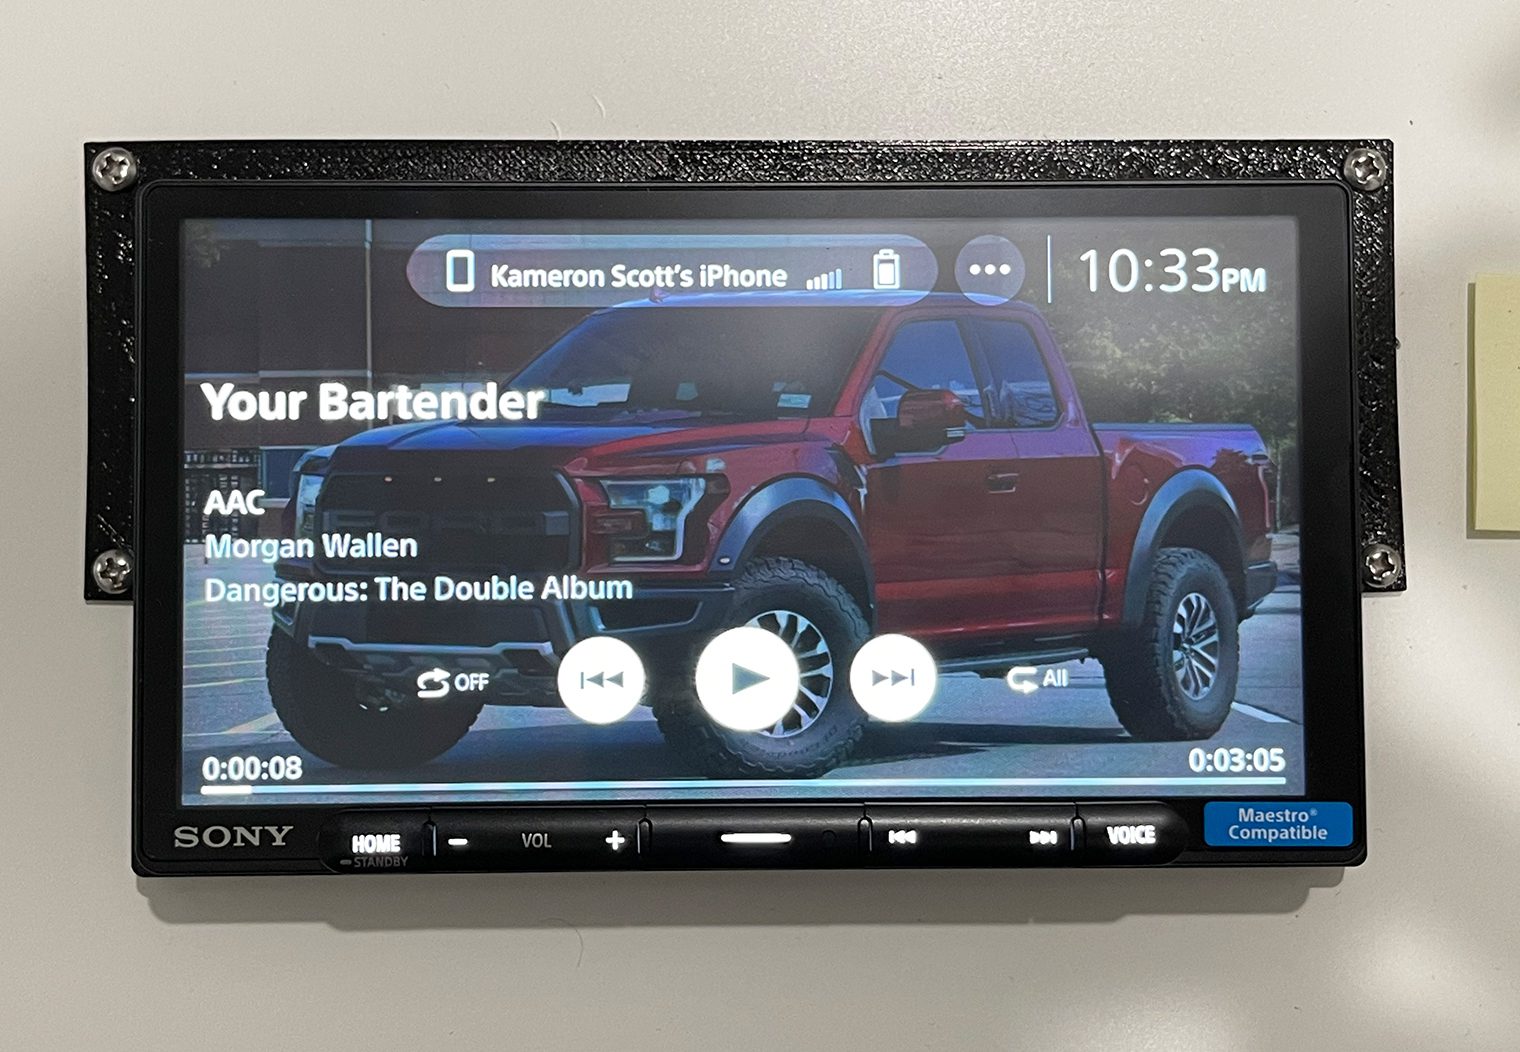
Apple CarPlay and Android Auto: I'll get into this in more detail in the next section, but both units have Wireless CarPlay and Android Auto which means you can use any compatible music app on your phone to play audio.
Wireless Apple CarPlay & Android Auto
This has to have been in the works for at least a year or two now for Sony. The XAV-9500ES head unit that Sony released a little while back was the only unit they made until now that had wireless CarPlay and Android Auto. Finally, the feature has come to the XAV lineup and both the AX4000 and AX6000 have it.
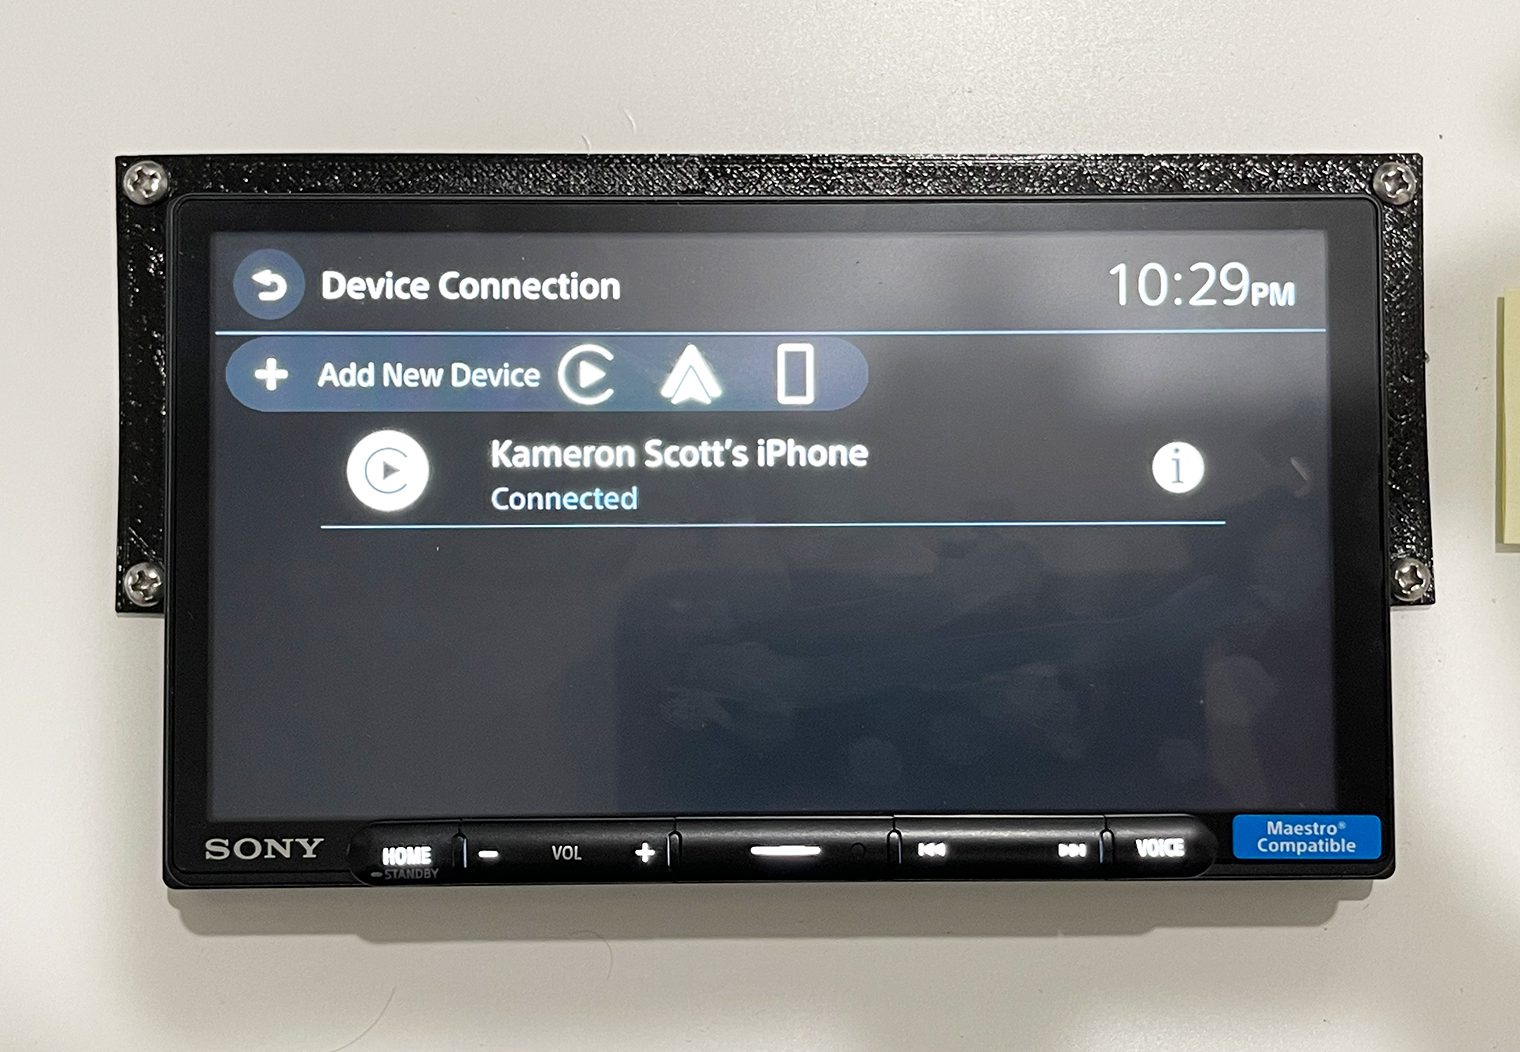
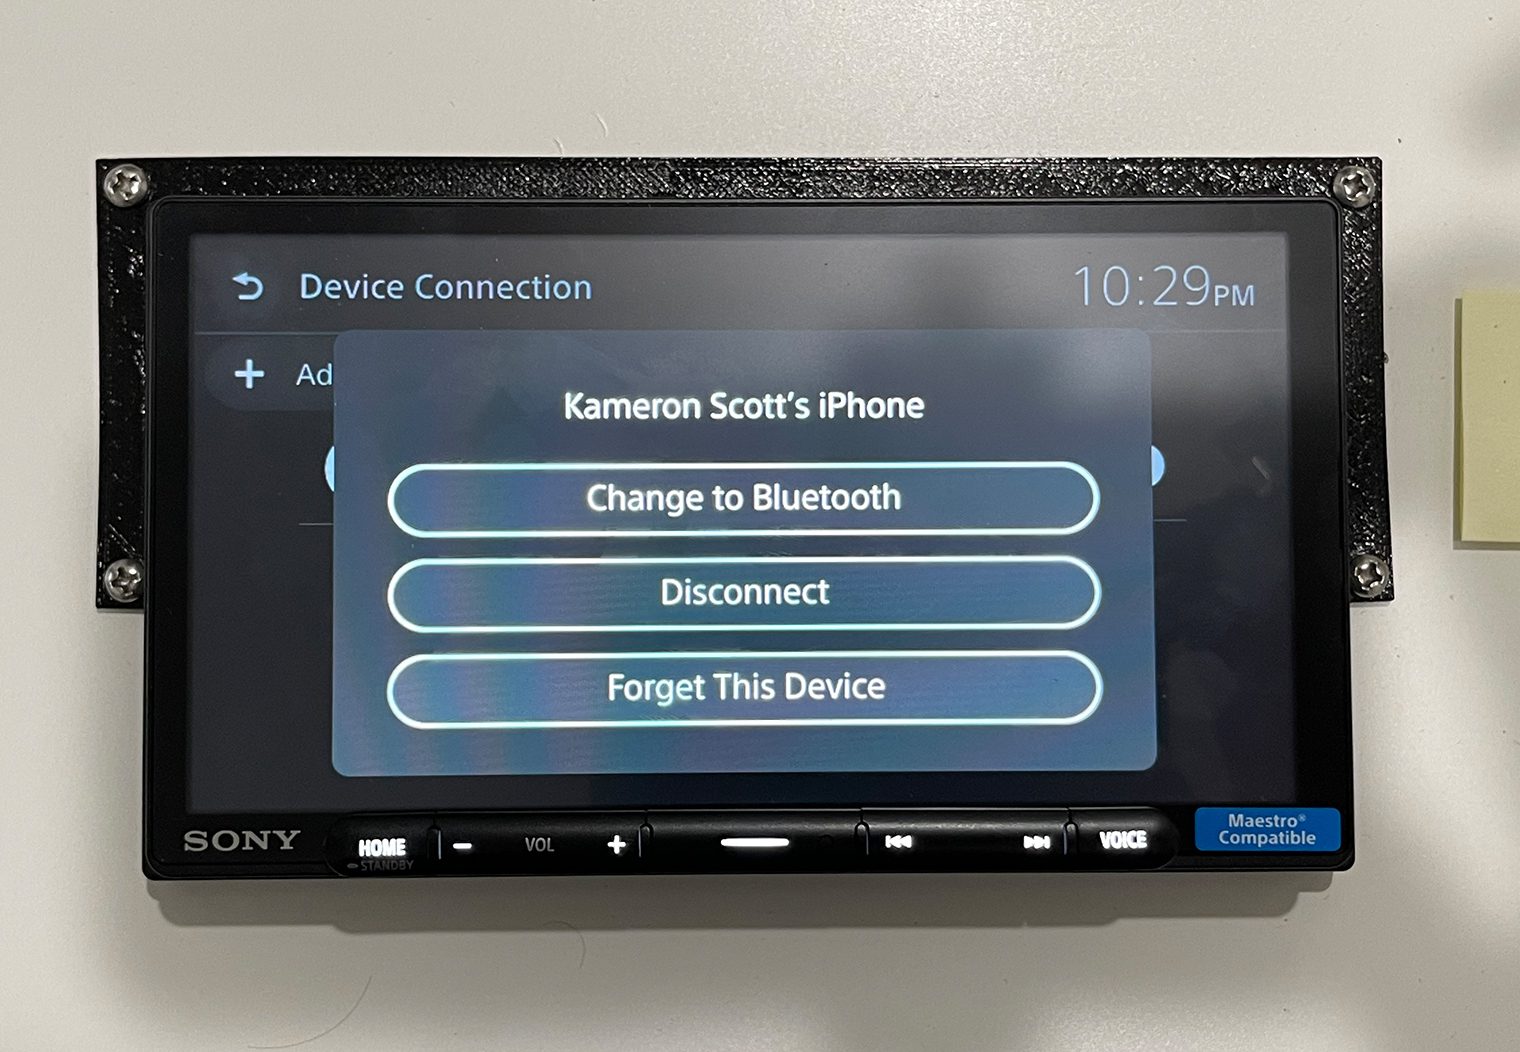
Using wireless Apple CarPlay and Android Auto on these units is identical, and very straight forward. I only tested with an iPhone, however the connection process is very similar. To enable it, you simply connect to a compatible device via Bluetooth first. Once connected, you will see a pop up on both the head unit and your device to enable wireless CarPlay or Android Auto. After you've enabled it, you'll begin to see an icon from the home screen that will allow you to navigate into your CarPlay or Android Auto experience.
From then on, every time you turn your car/head unit on, your device will automatically connect to the head unit and default to CarPlay or Android Auto without ever needing to connect to USB.
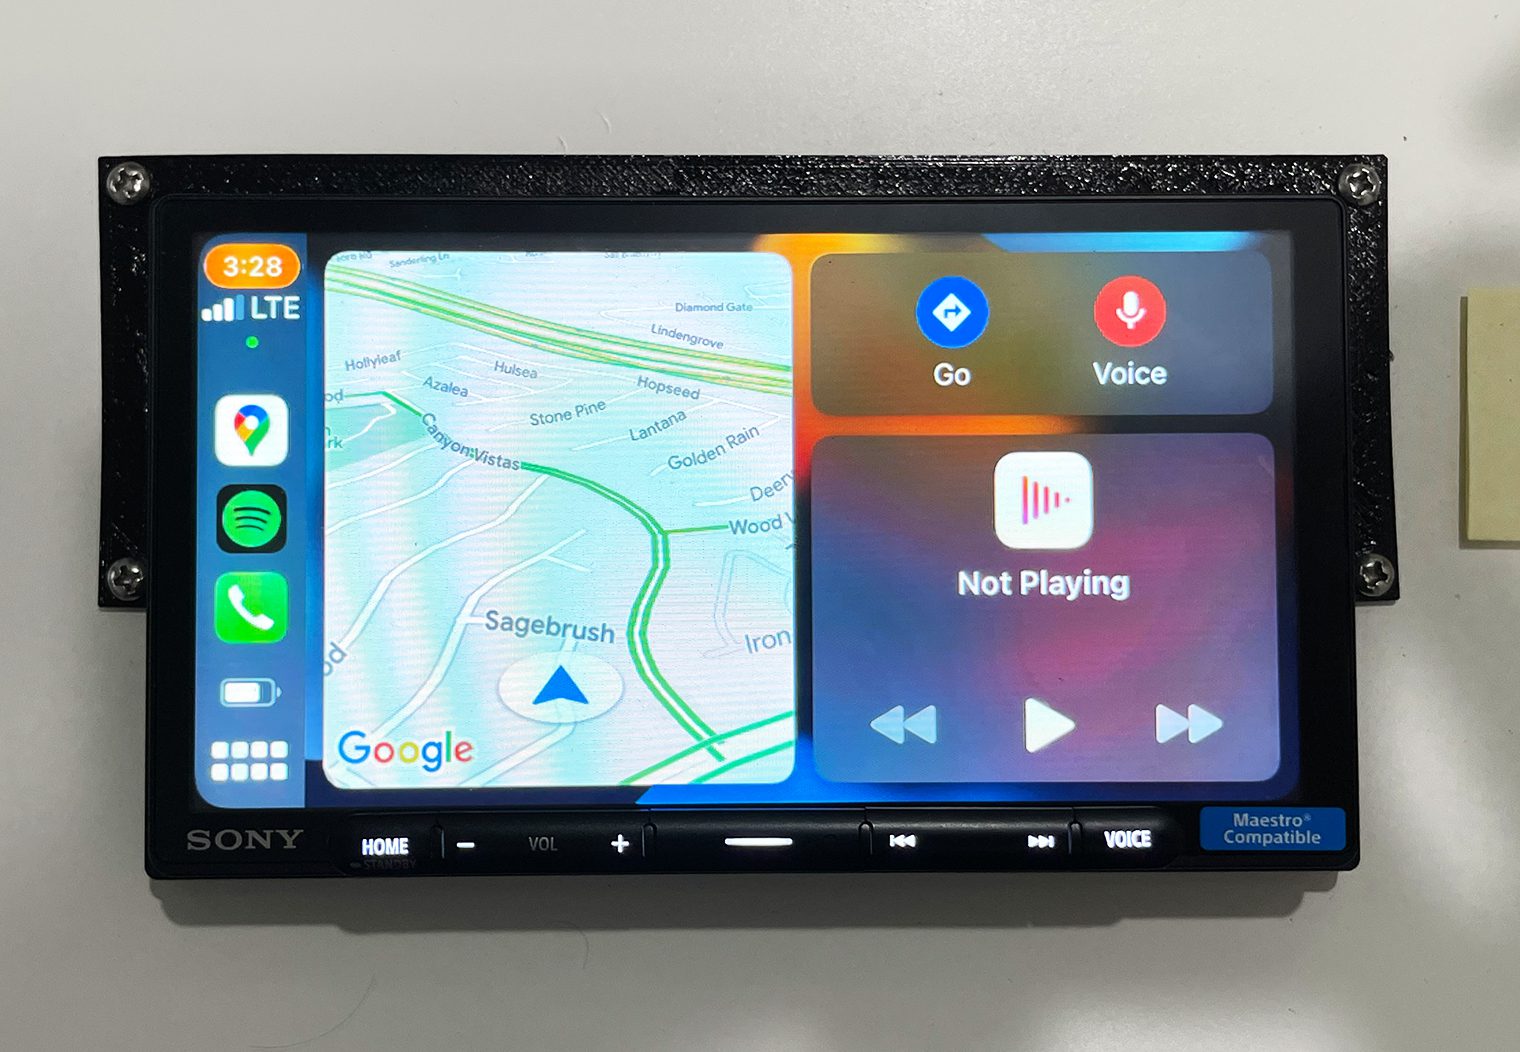
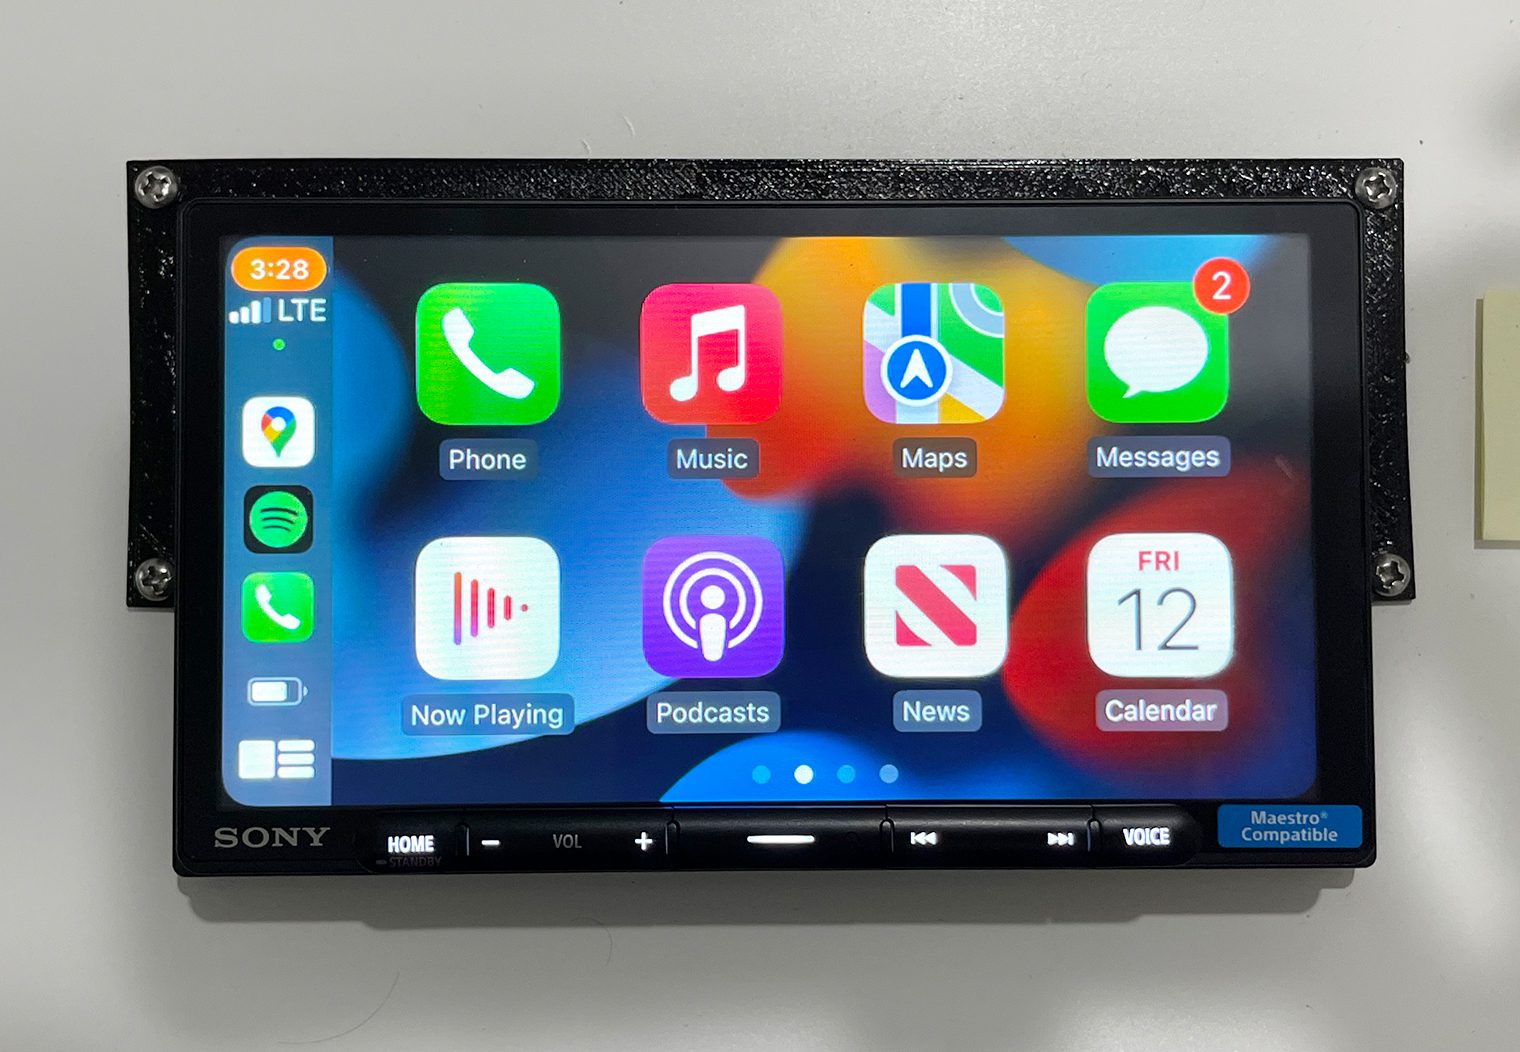
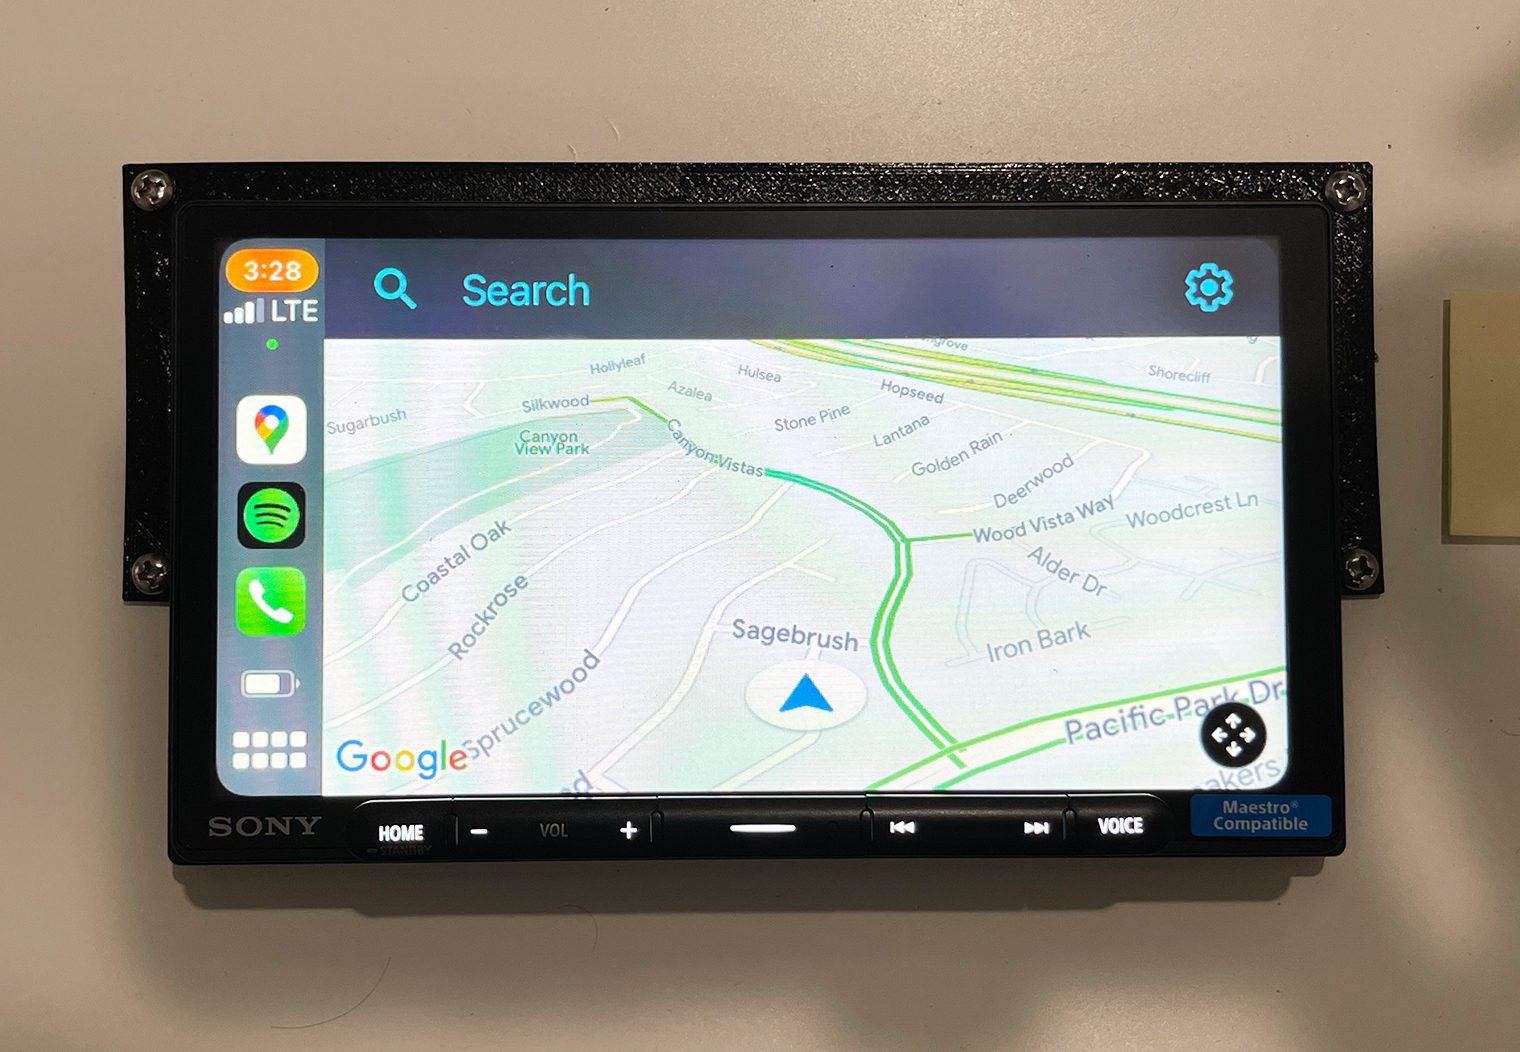
Apple CarPlay on the AX4000 and AX6000 is similar to any other head unit I've used. No abnormal delays, slow loading or sound quality issues. The functionality and features of CarPlay and Android are almost the same across all units, so I won't get into too much detail about the OS but if you're interested in reading more, check out our Apple CarPlay – Why You Need It.
Playing Video via HDMI Input
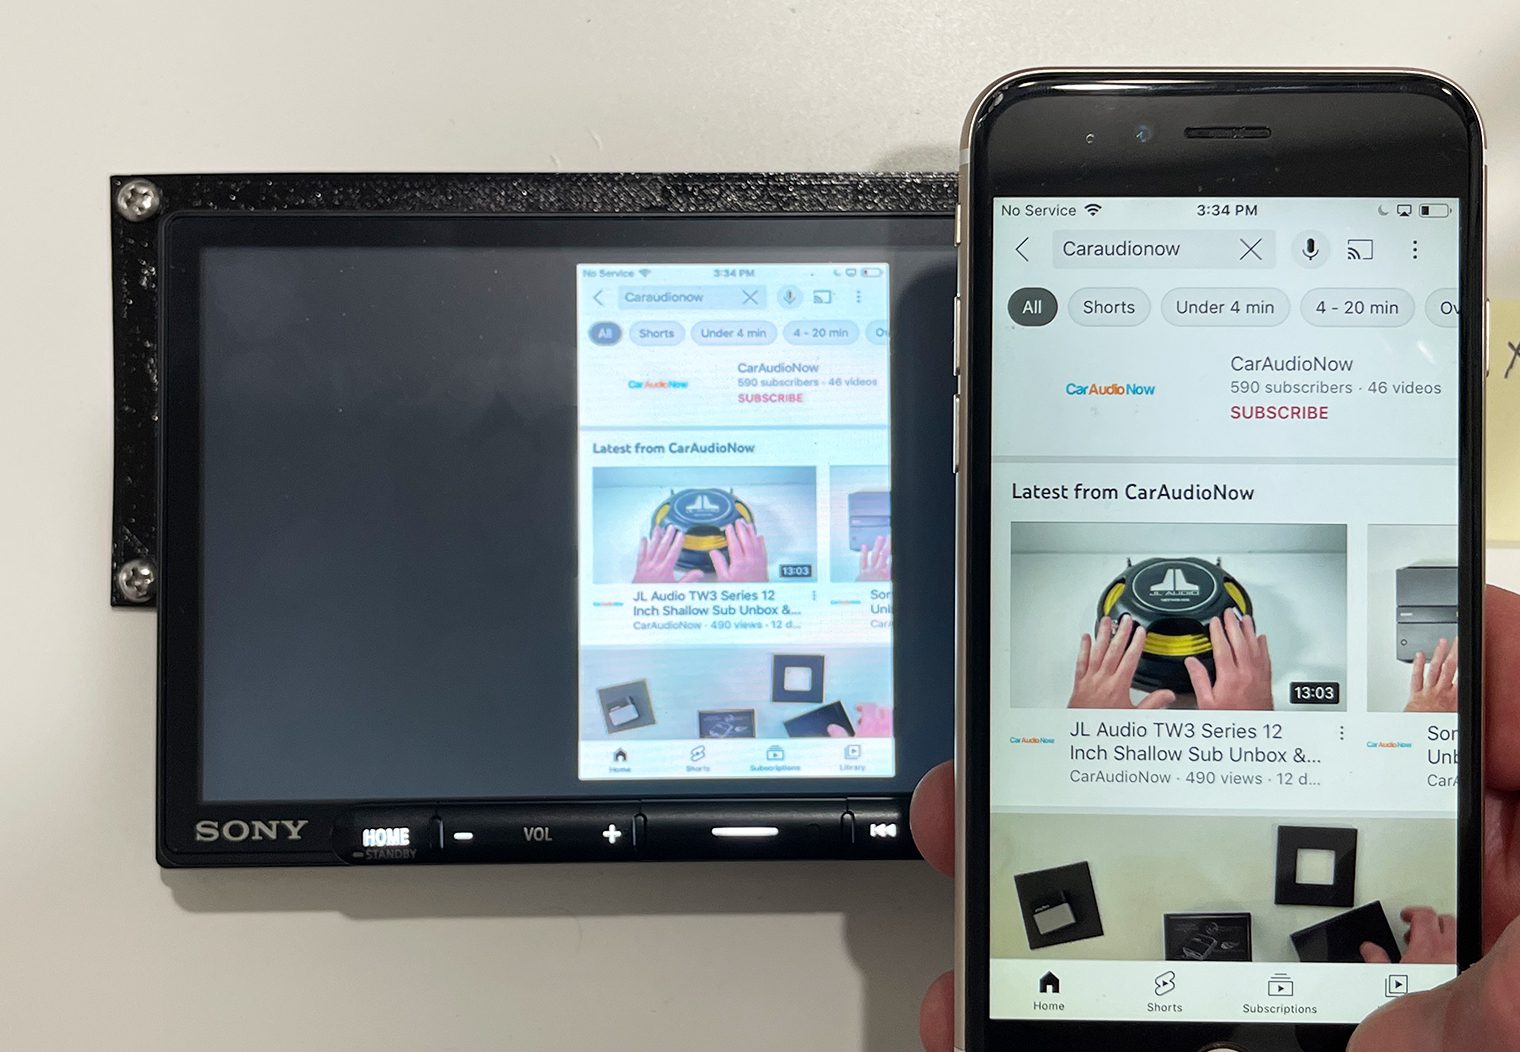
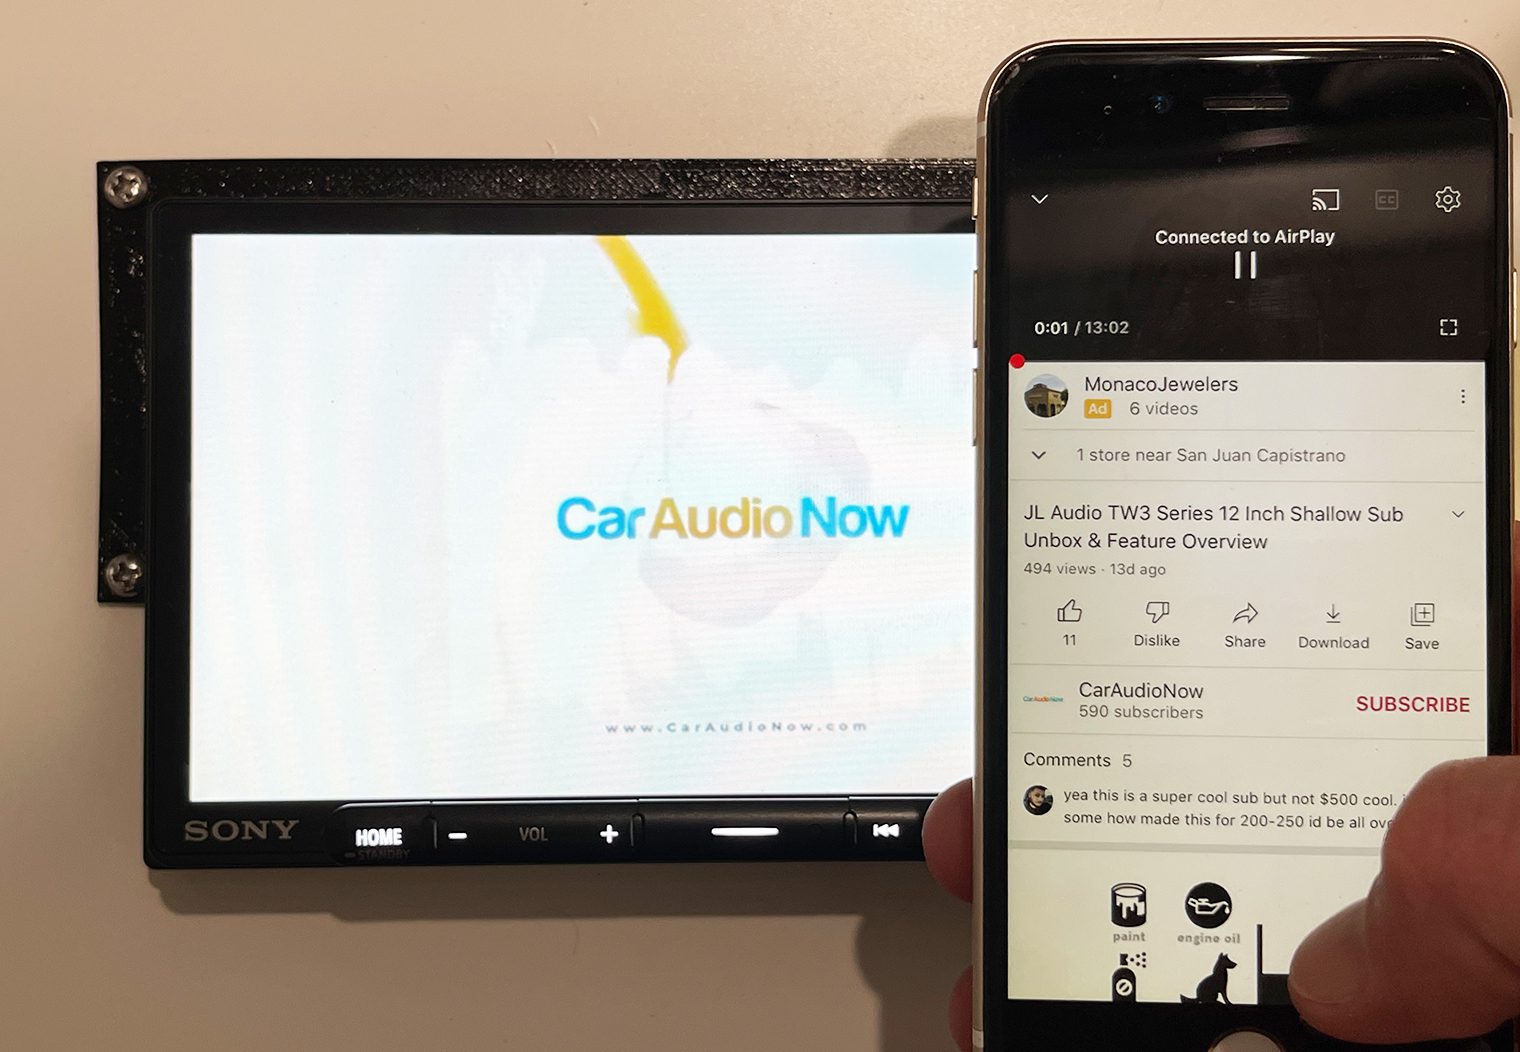
I would never recommend purchasing a head unit for the purpose of enabling a driver to watch videos while on the road. However, passengers might also be in the vehicle. So those of you who are interested in playing video on your head unit for “passengers”, the XAV-AX6000 is the only head unit of the two that is capable of doing so. Via the micro HDMI input on the back side of the head unit, you can connect to virtually any device that will play video via an HDMI. It can also be used to mirror your screen from a device like your iPhone or Android phone.
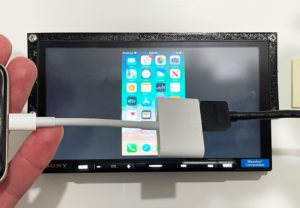
I used a combination of a lightning to HDMI and HDMI to micro HDMI adapters to connect my iPhone to the unit and test out the screen mirror capability along with the video functionality, using Netflix and YouTube as my apps of choice for testing.
Once my phone was connected, I selected the HDMI icon in the apps section to access the video feature. There's a couple things worth noting for those who would like to use this unit to play video on the AX6000.
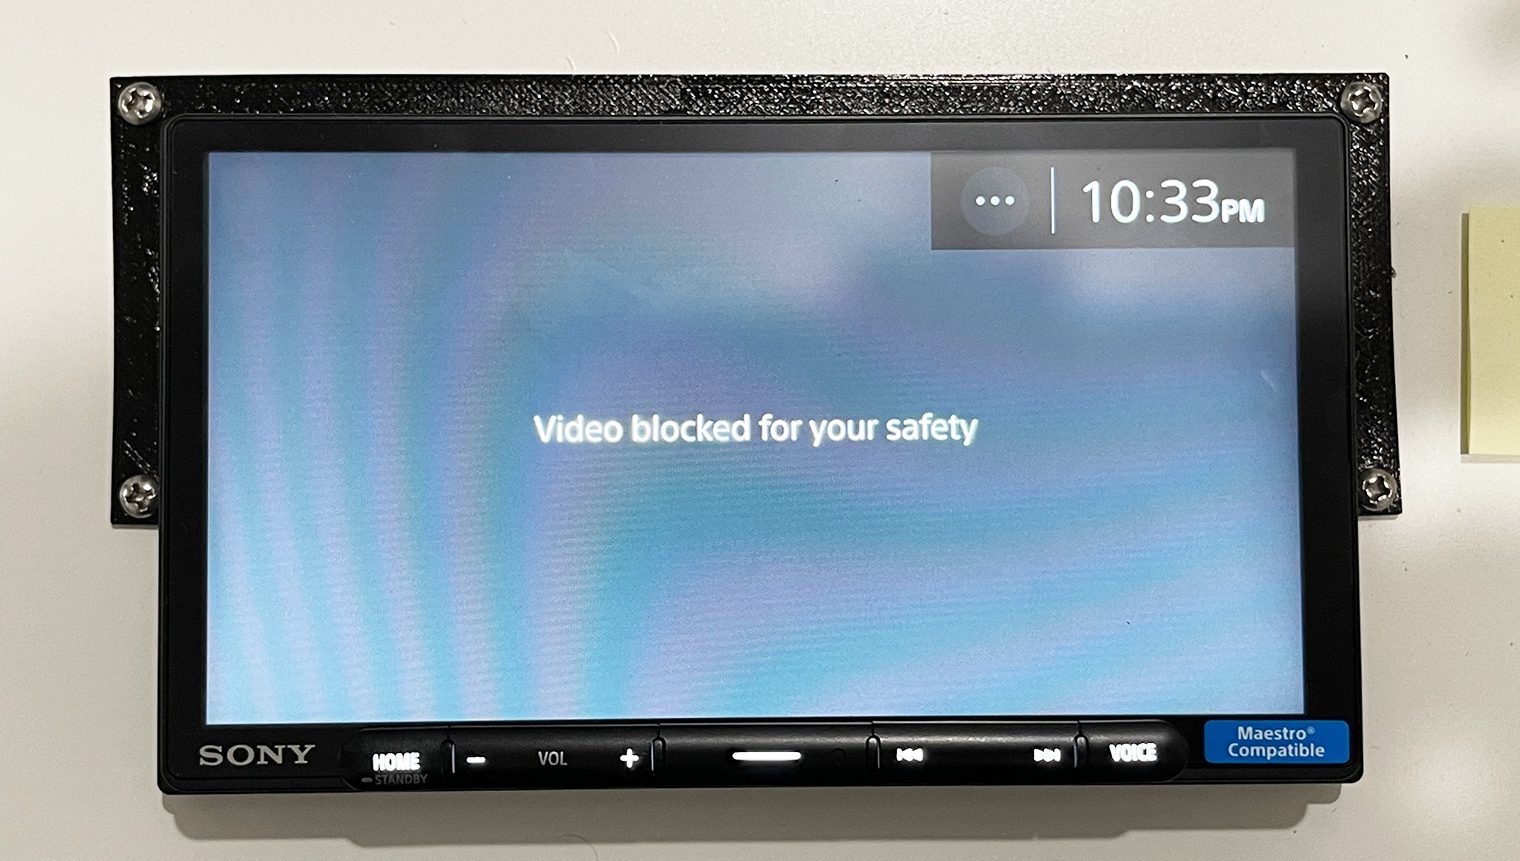
By default, the unit will restrict you from watching video unless the parking brake is on. That is, if the parking brake wire was indeed wired to your parking brake by your installer. If you want to play video while your vehicle is in motion, you'll need to wire the parking brake wire to a ground. Without bypassing the parking break, you'll simply see a screen “Video blocked for your safety”. It's also worth noting that the GPS navigation antenna will NOT restrict you from viewing video while driving.
Here's a few photos of the unit mirroring my screen, playing video on Netflix and on YouTube.
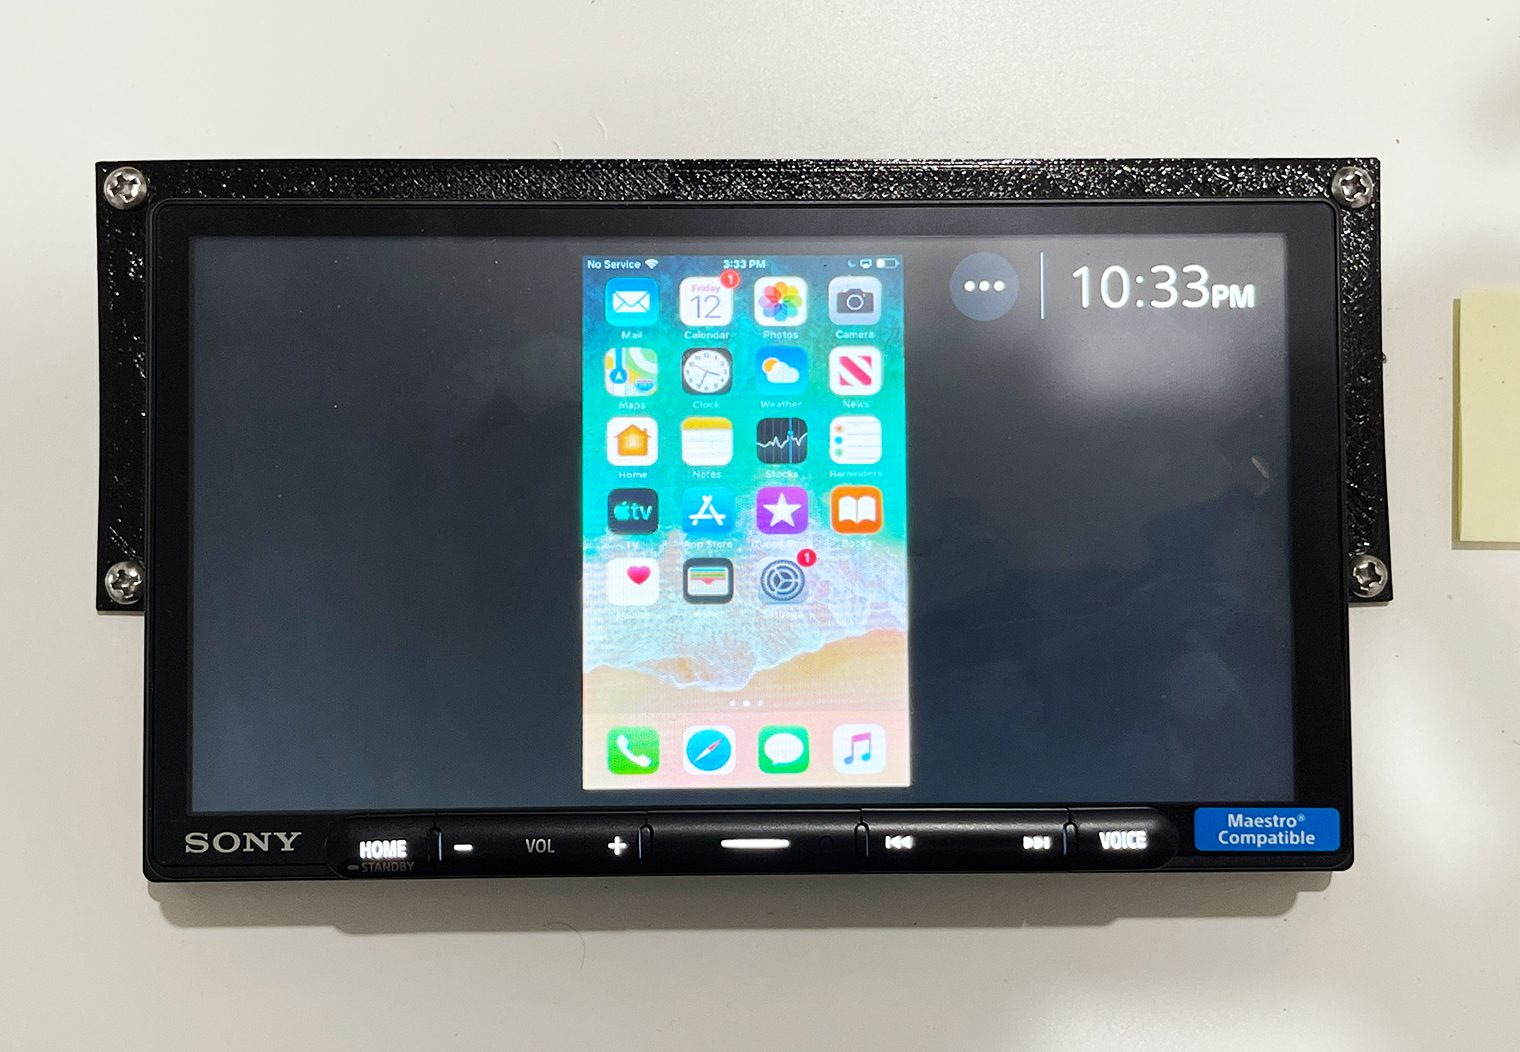

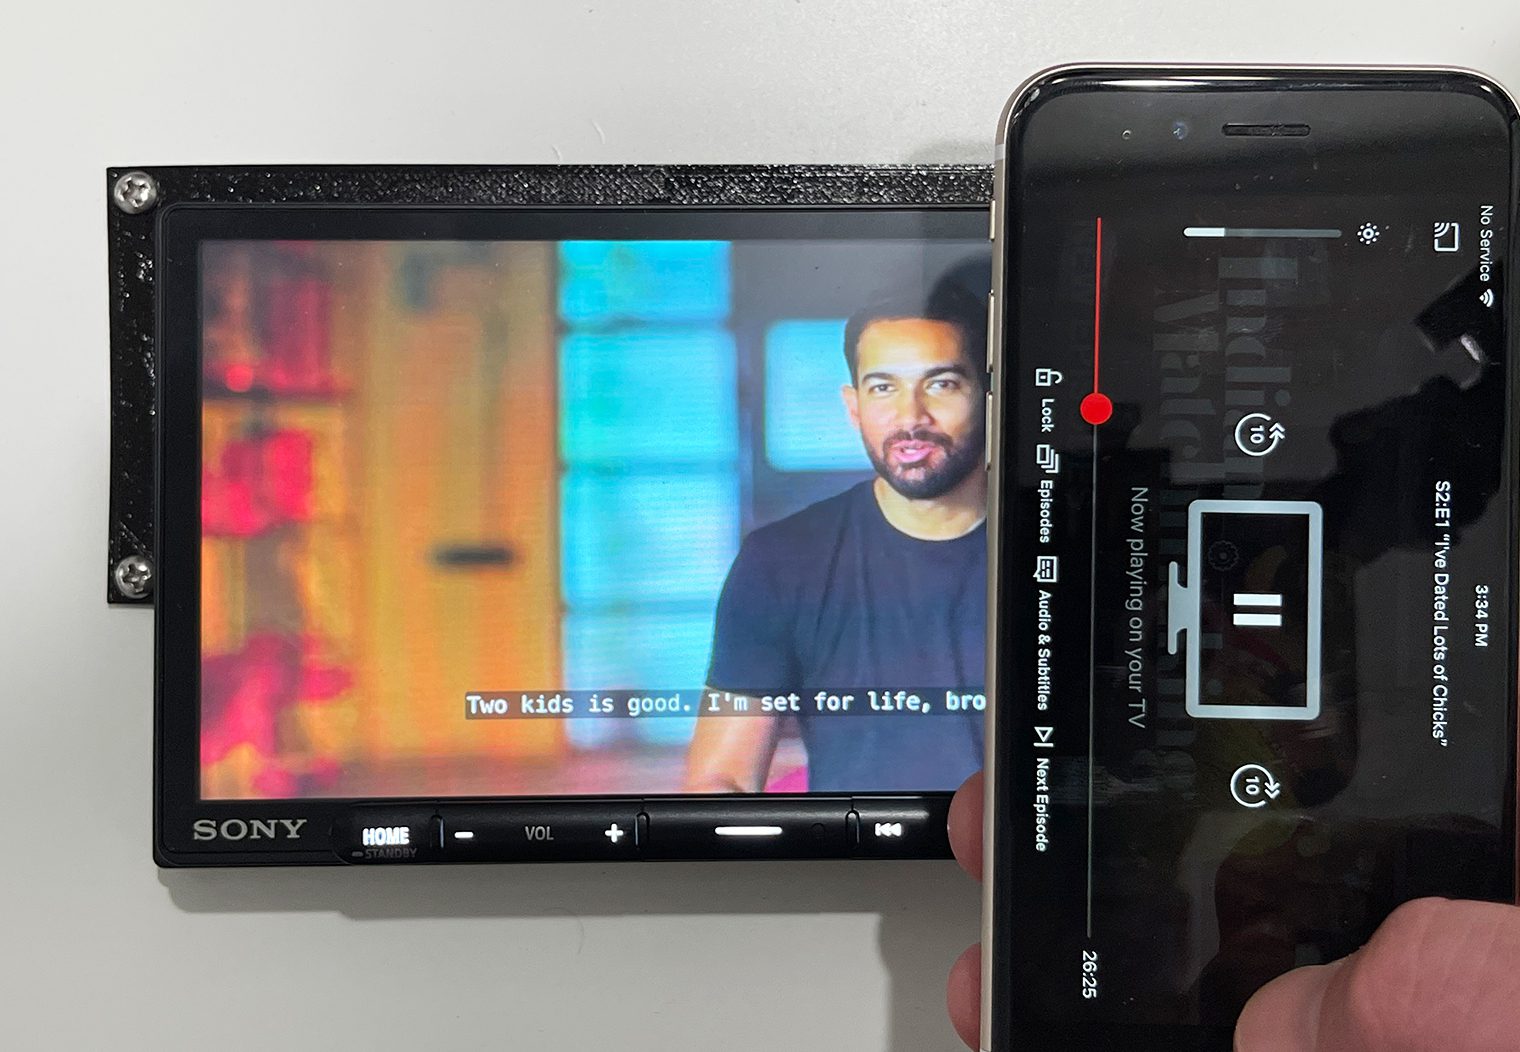
Video quality was good. 800×480 resolution is pretty standard across the multimedia head units. Anything more than that would most likely be limited in terms of the added clarity considering the 6.95″ screen.
Sound Settings & Features
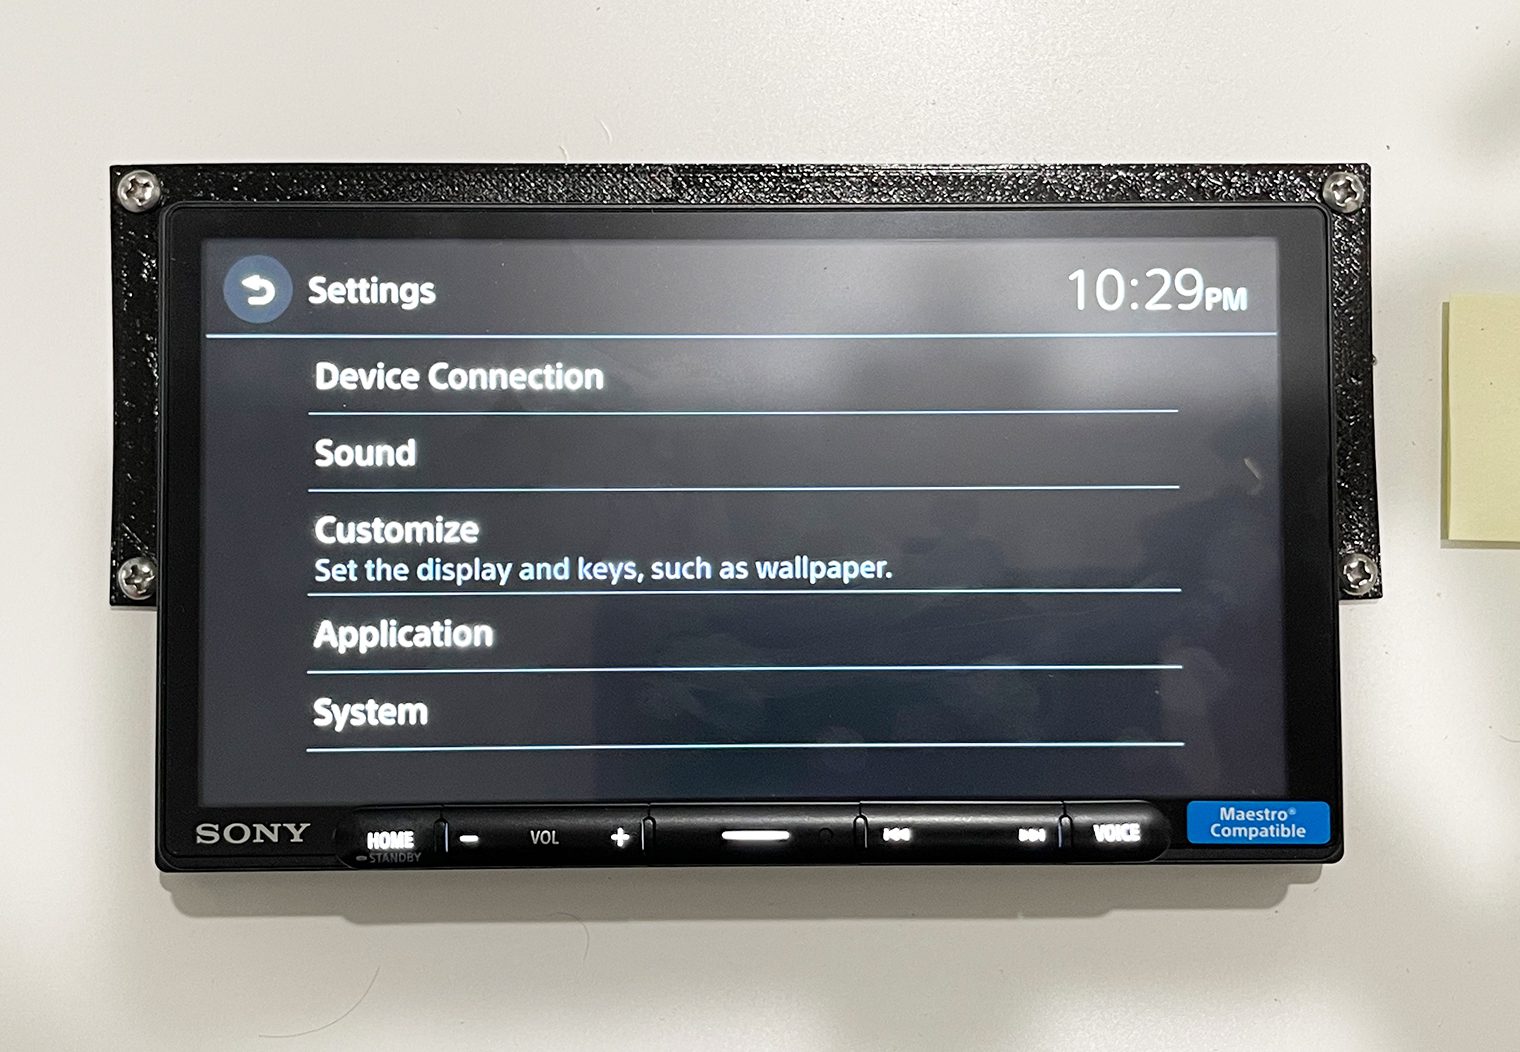
In terms of sound features and configurations, both the XAV-AX4000 and XAV-AX6000 share the same interface and settings. This includes the Equalizer, Crossover, Balance/Fader, Time Alignment, and etc.
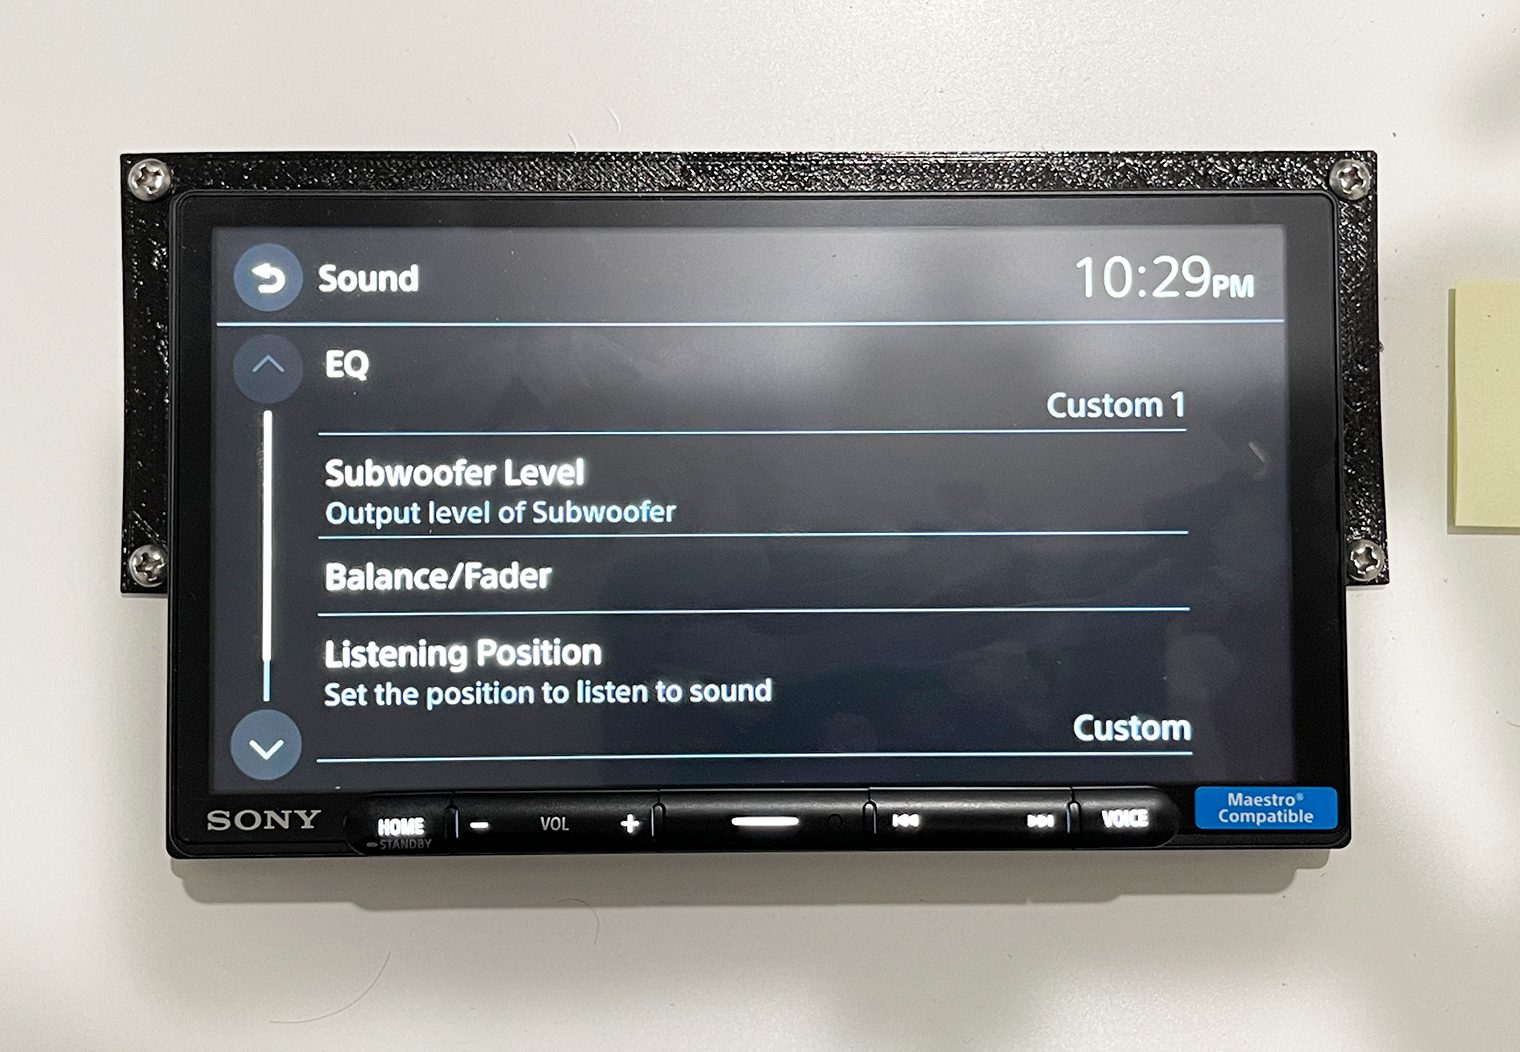
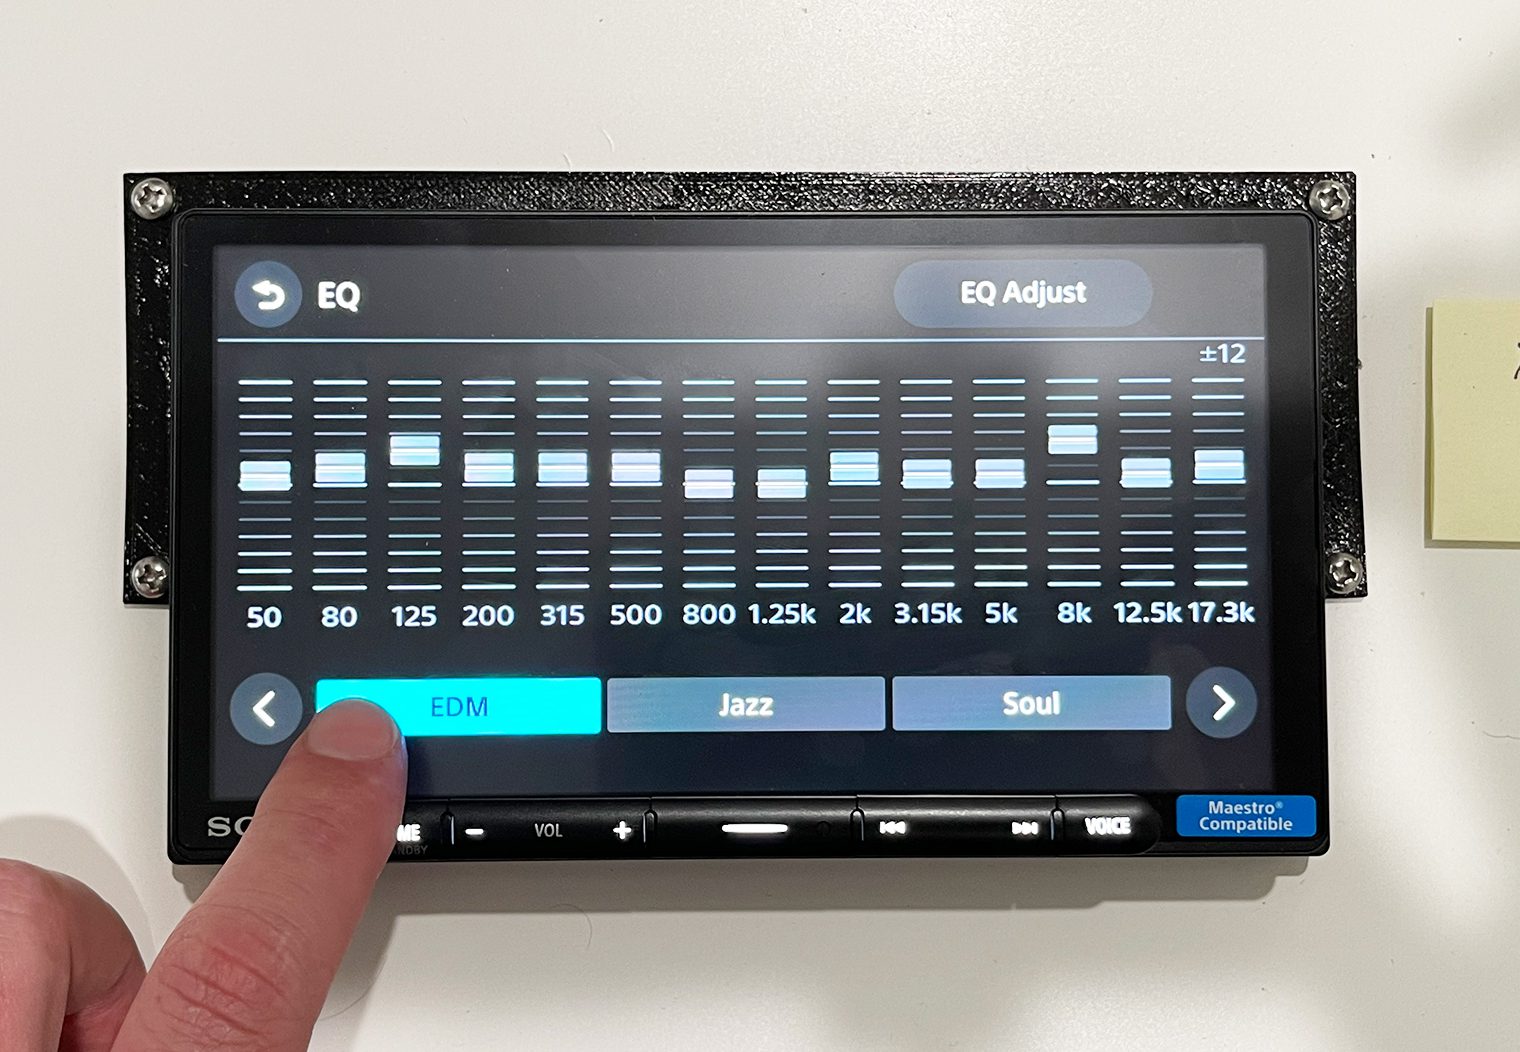
Equalizer
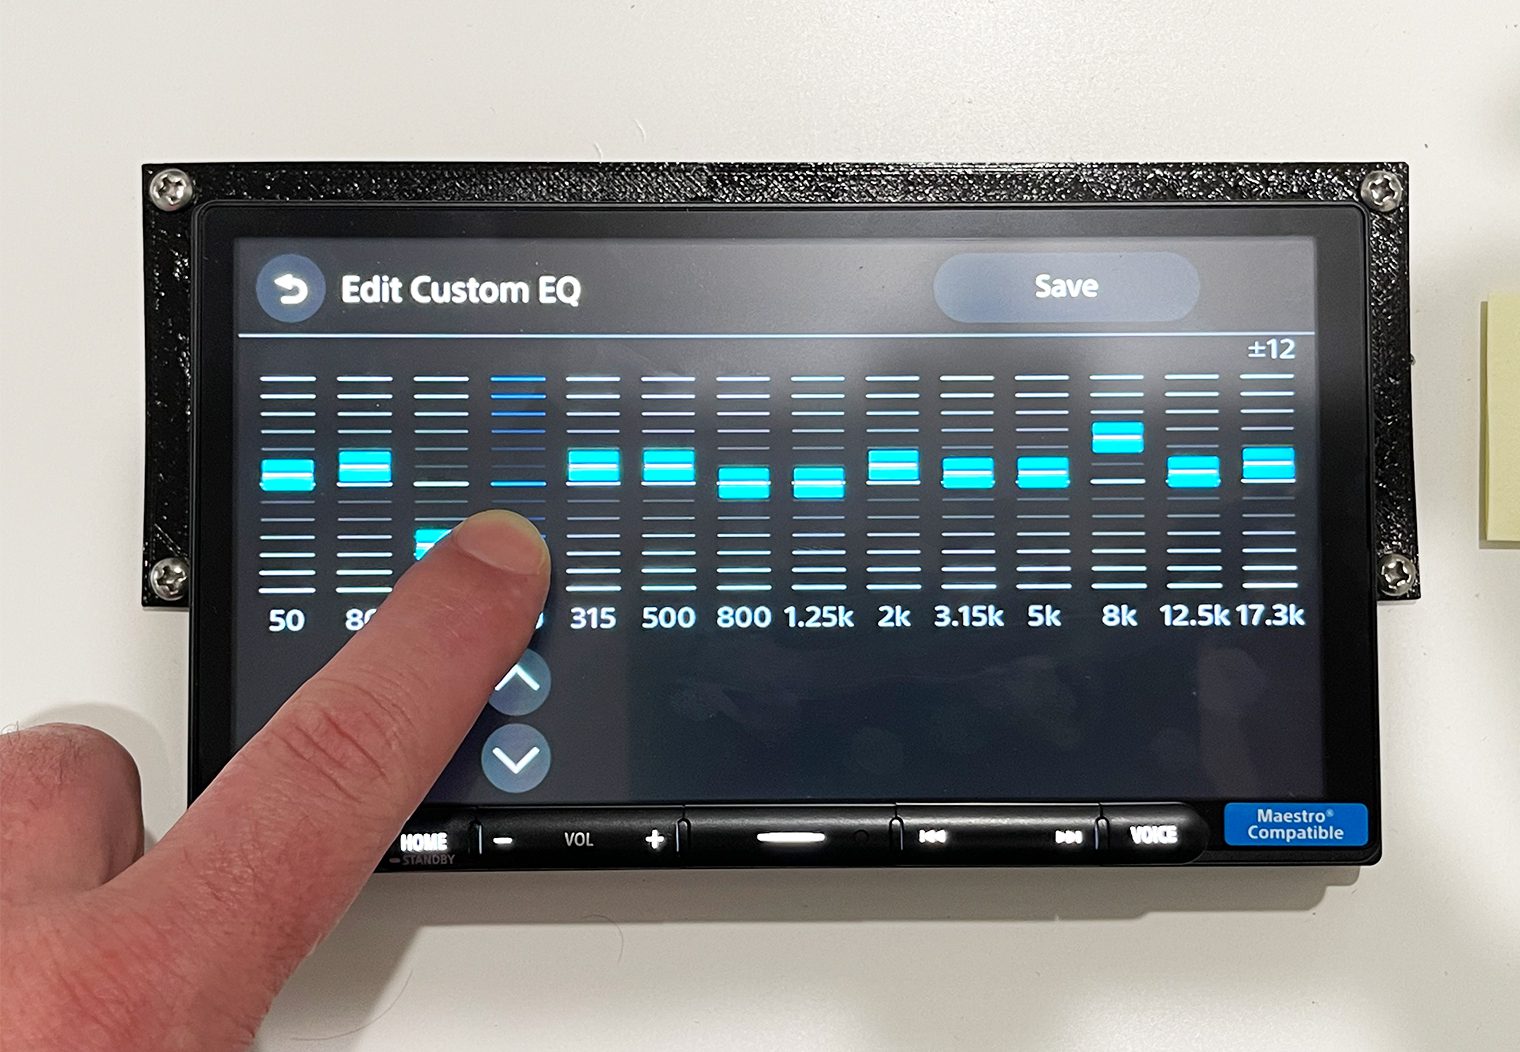
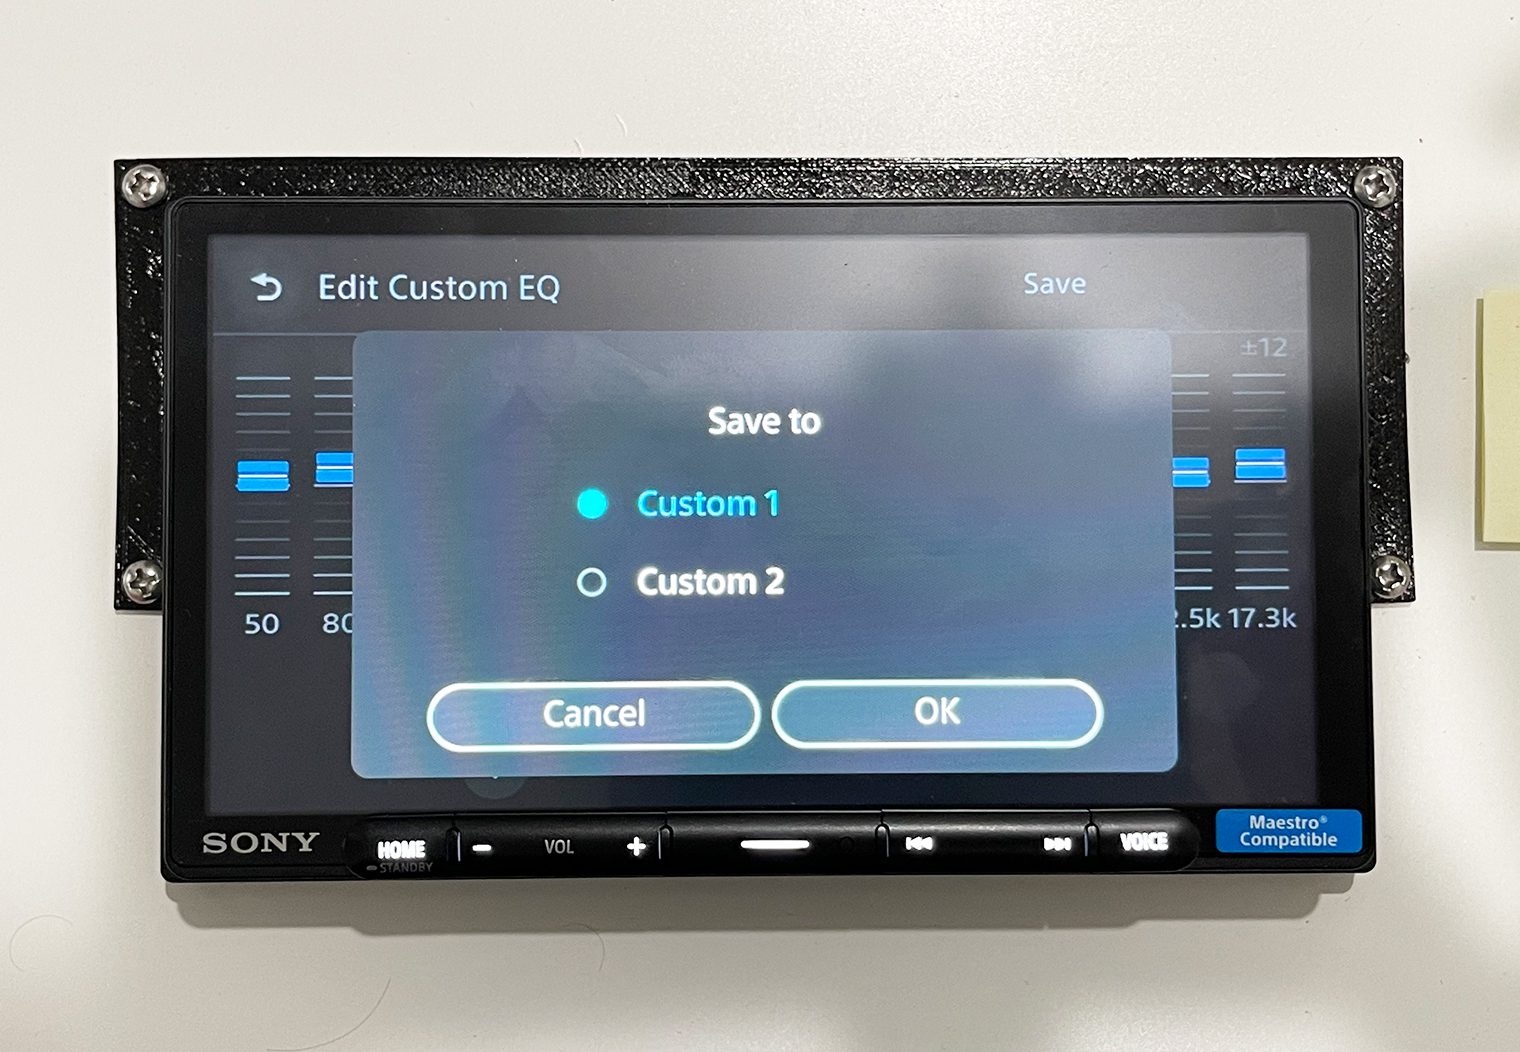
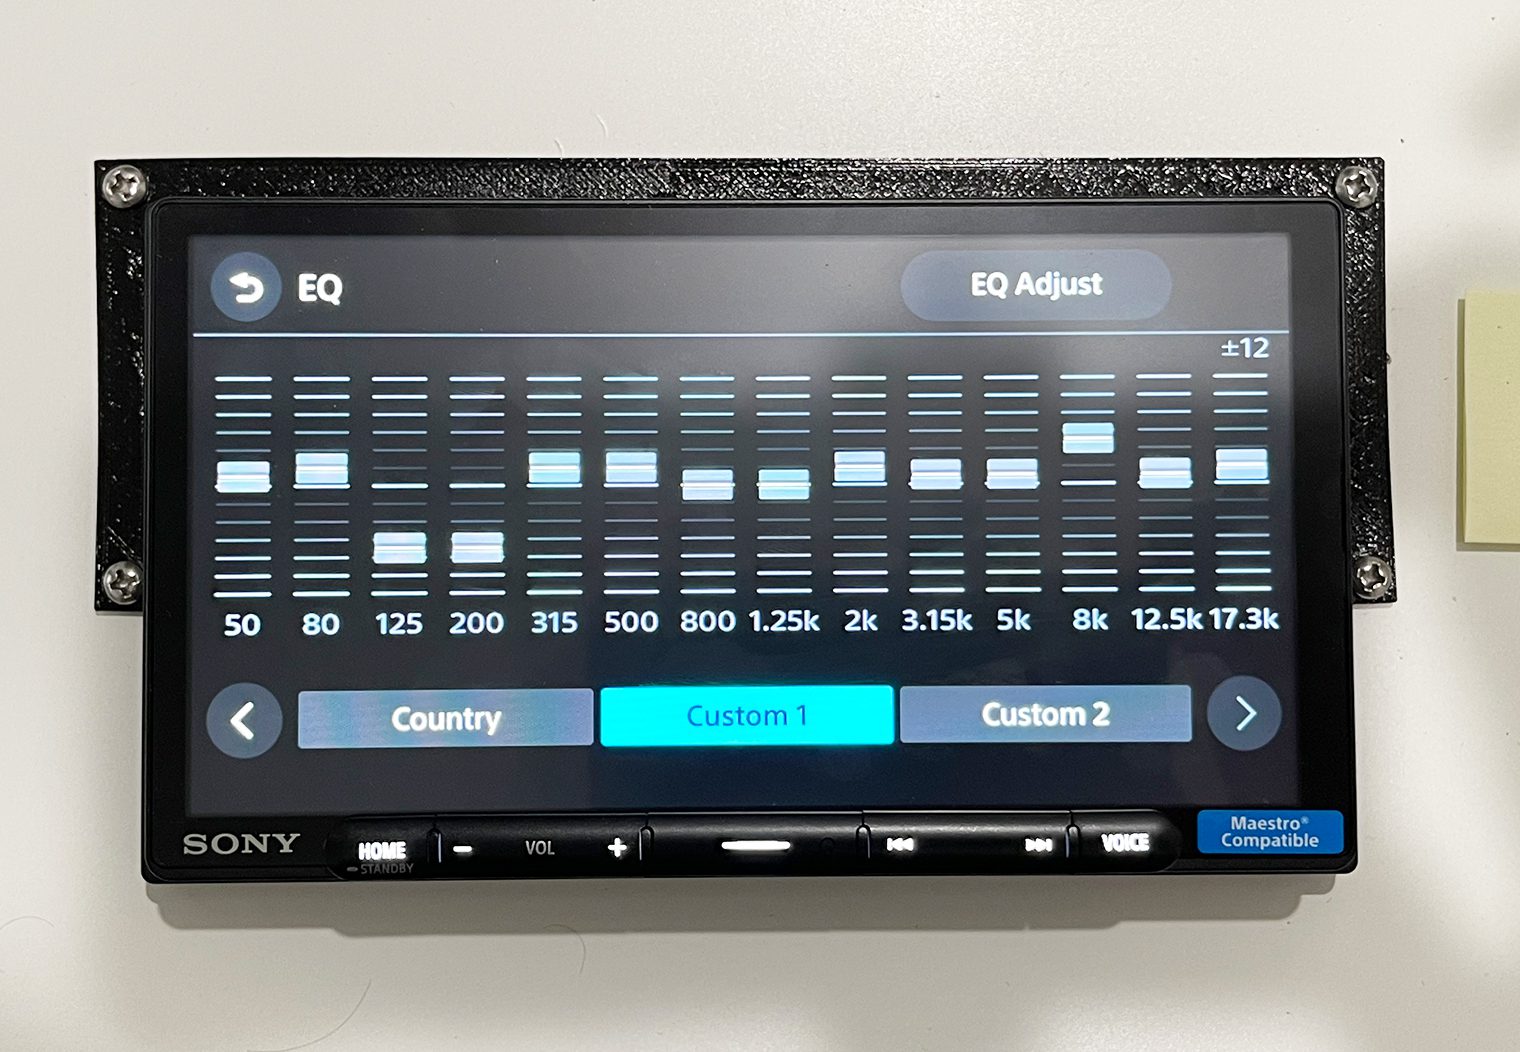
Both units share a 14-band graphic equalizer that allows you to select from a variety of preset EQ configurations such as pop, rock and so on. In addition, you can also customize your own EQ settings and save two custom configurations that you can switch between in the interface. Customizing the EQ is simple – simply tap and drag a frequency range that you'd like to lift or drop.
Crossover
Crossovers are what allow you to set boundaries around frequencies of an output. This way, you can ensure that, for example, a tweeter isn't playing the same frequencies that a subwoofer is. It helps optimize the performance of your speakers while preventing damage as well.
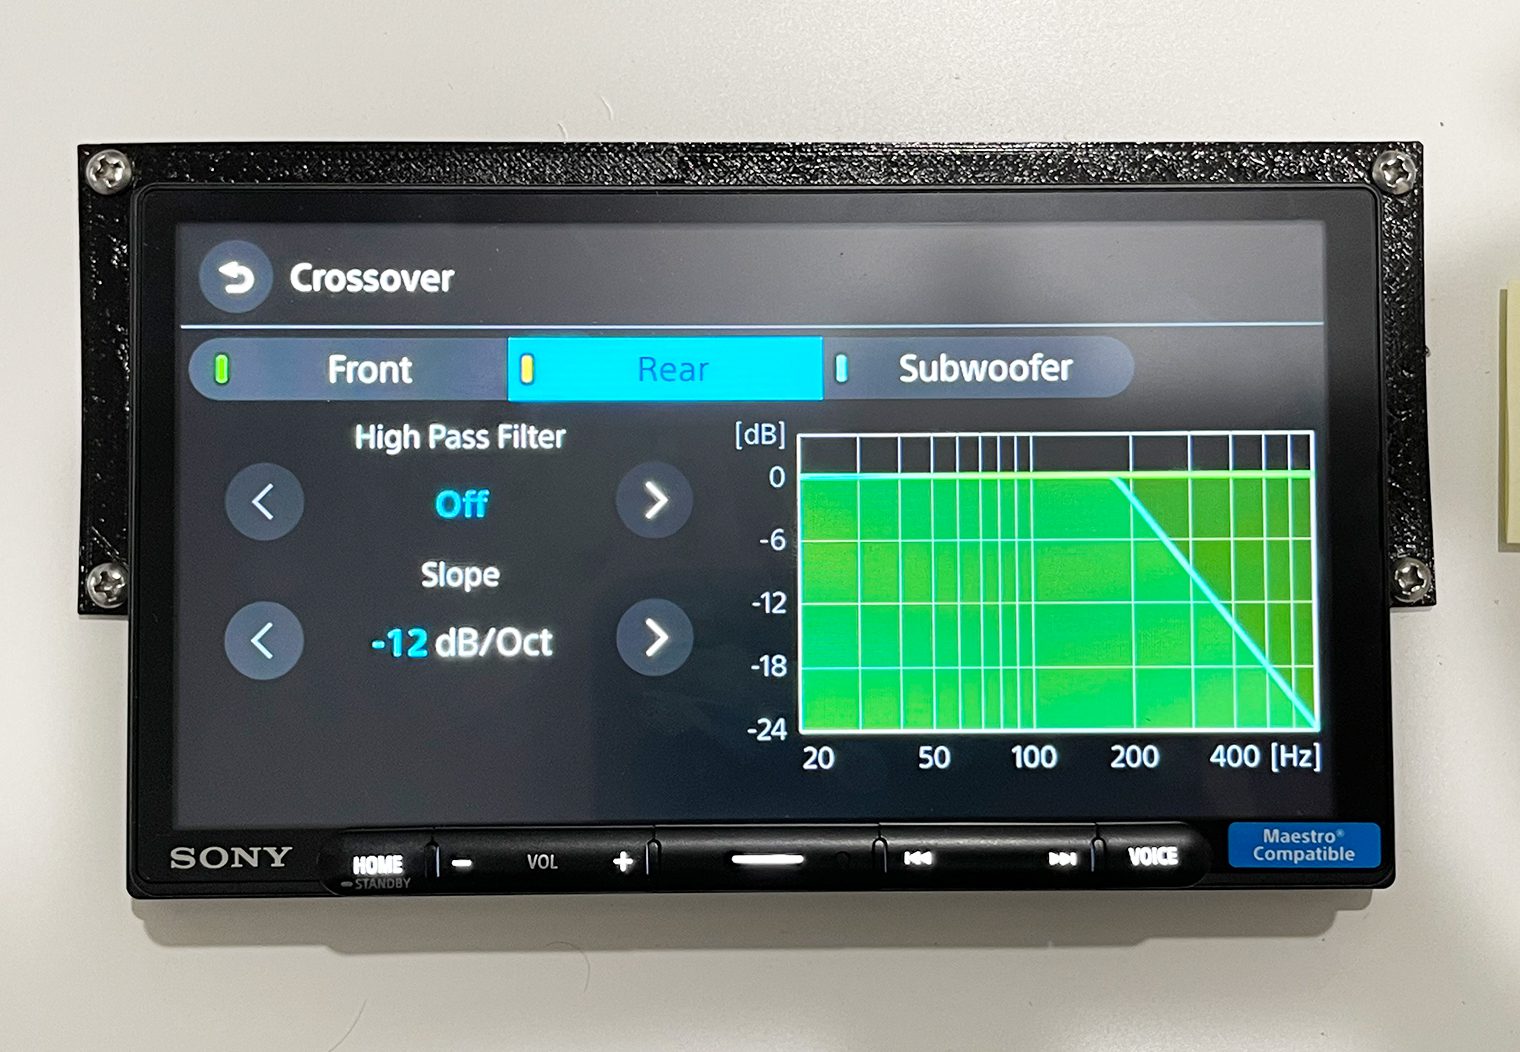
The crossover interface on the AX4000 and AX6000 is identical as well. In the settings, you can independently control the Front, Rear and Subwoofer channels. In the Front and Rear channels, you can control the high-pass frequency along with the slope. And in the Subwoofer channel, the low-pass frequency and slope.
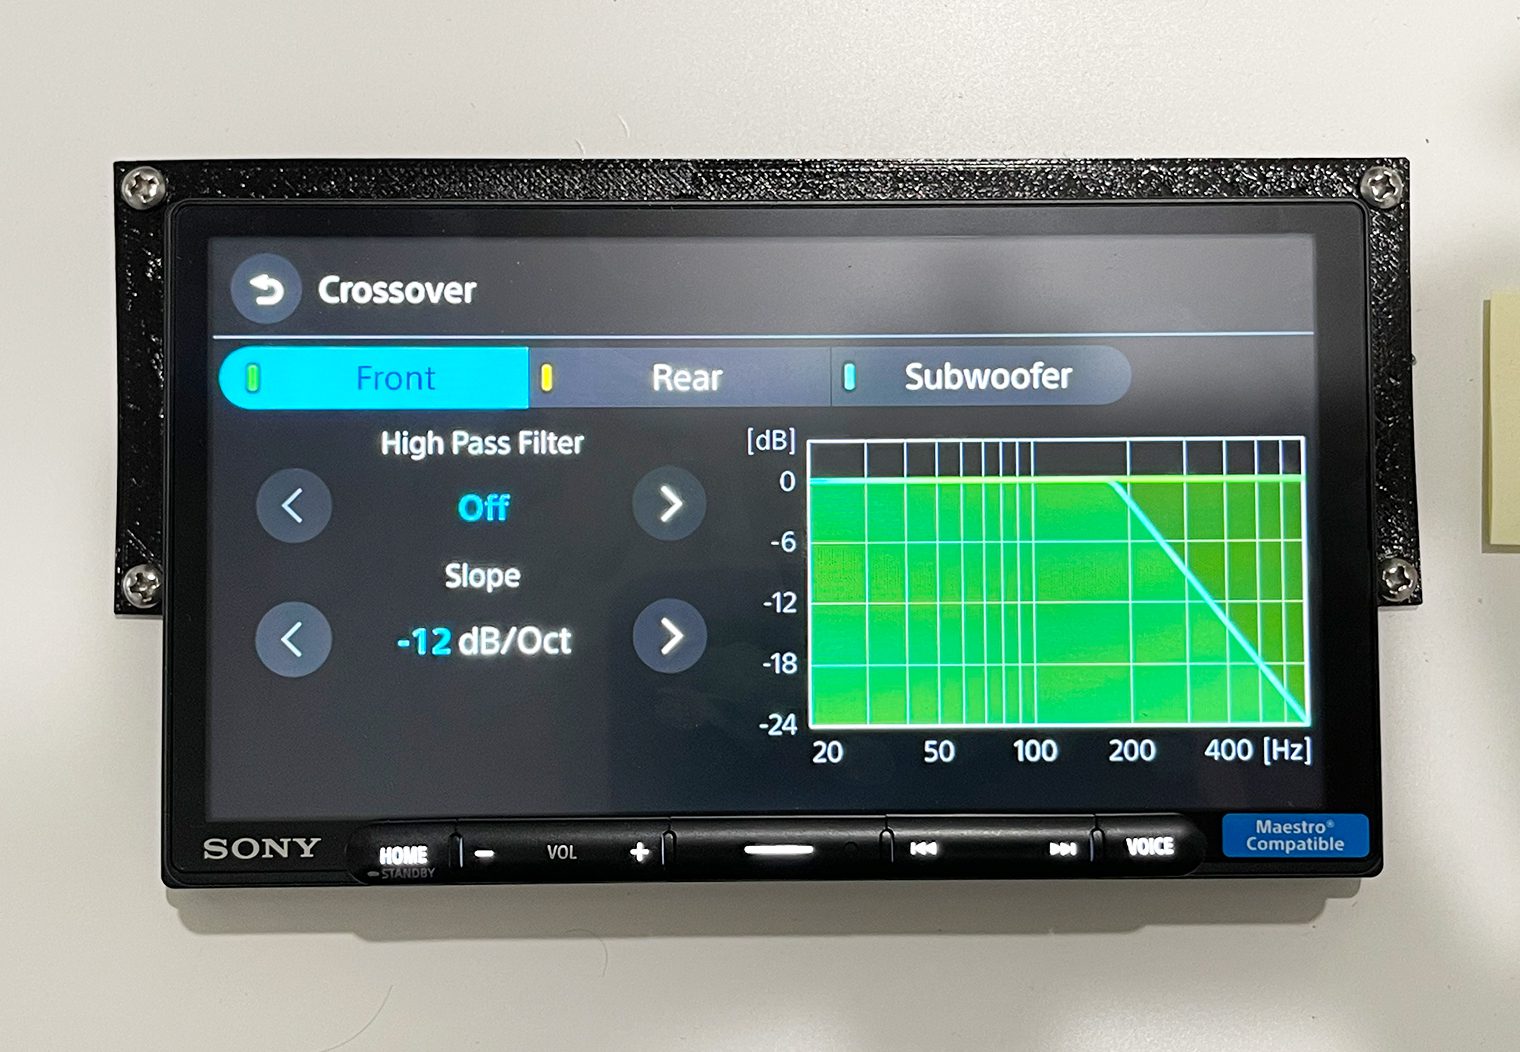

I thought the interface here was very straight forward and easy to use. The one thing I would have liked to in this section is a band-pass and/or low-pass feature available for each channel on the AX6000, since it's the only one with a 5v pre-amp output. This way, if you wanted to use the crossover on the head unit instead of on an aftermarket amplifier, you would have more options to configure each of the channels. But, I think the reality is that for most people who decide to add amplifiers, they'll use the crossovers either on the amplifier itself or via an in-line DSP.
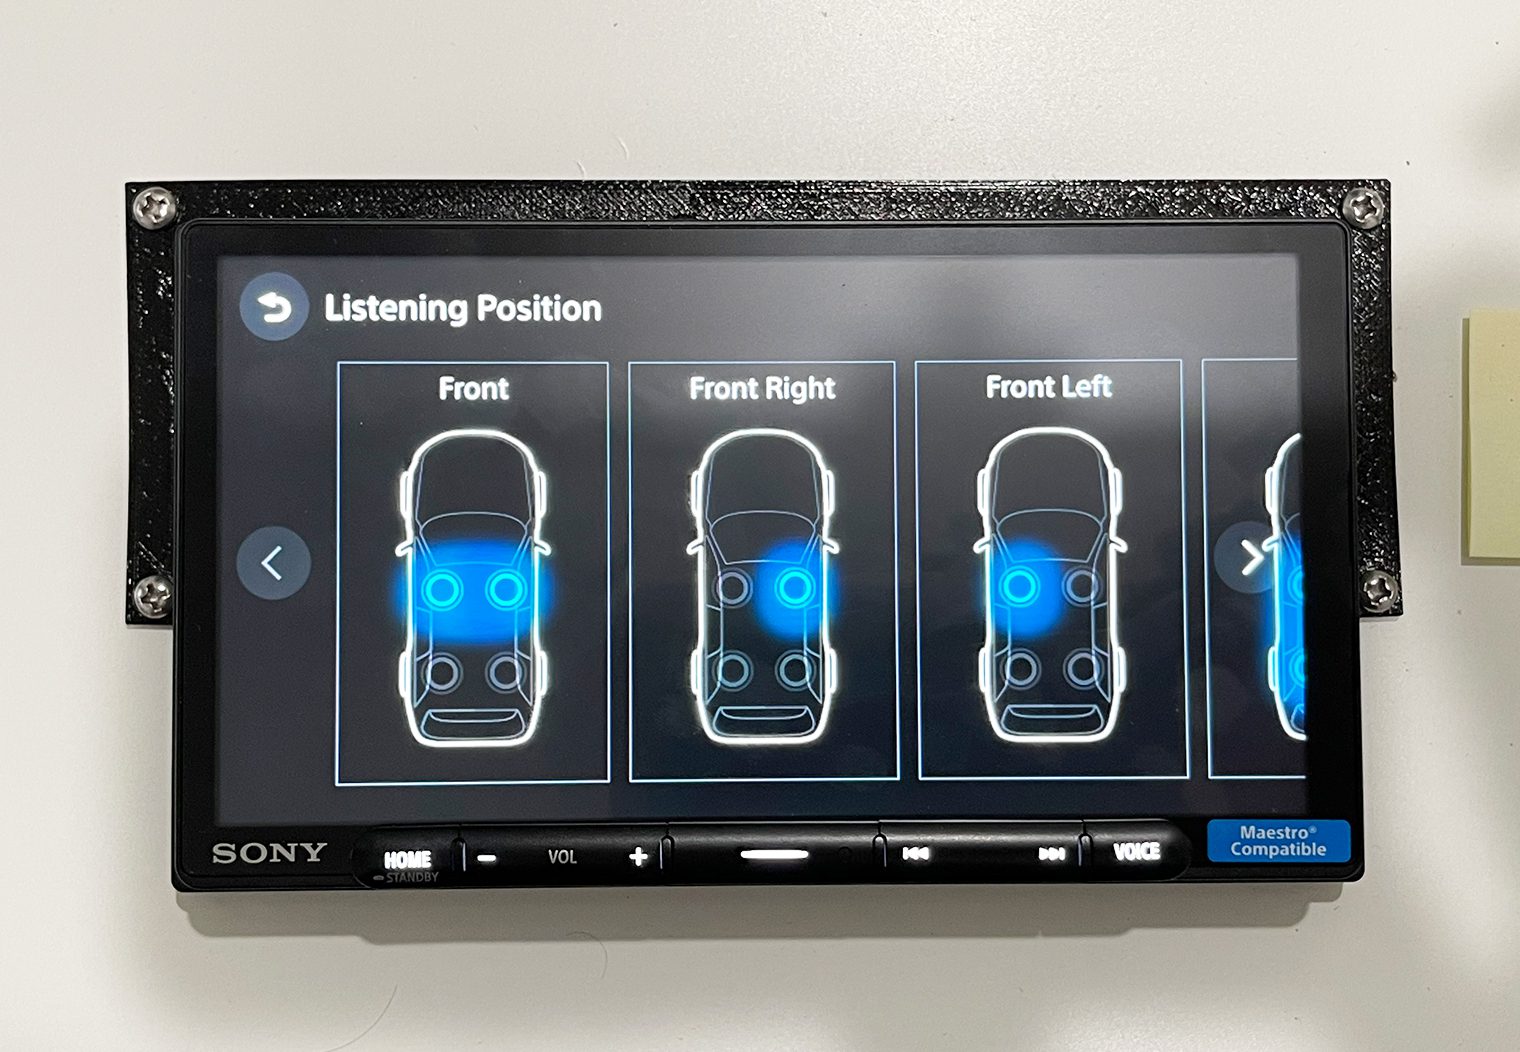
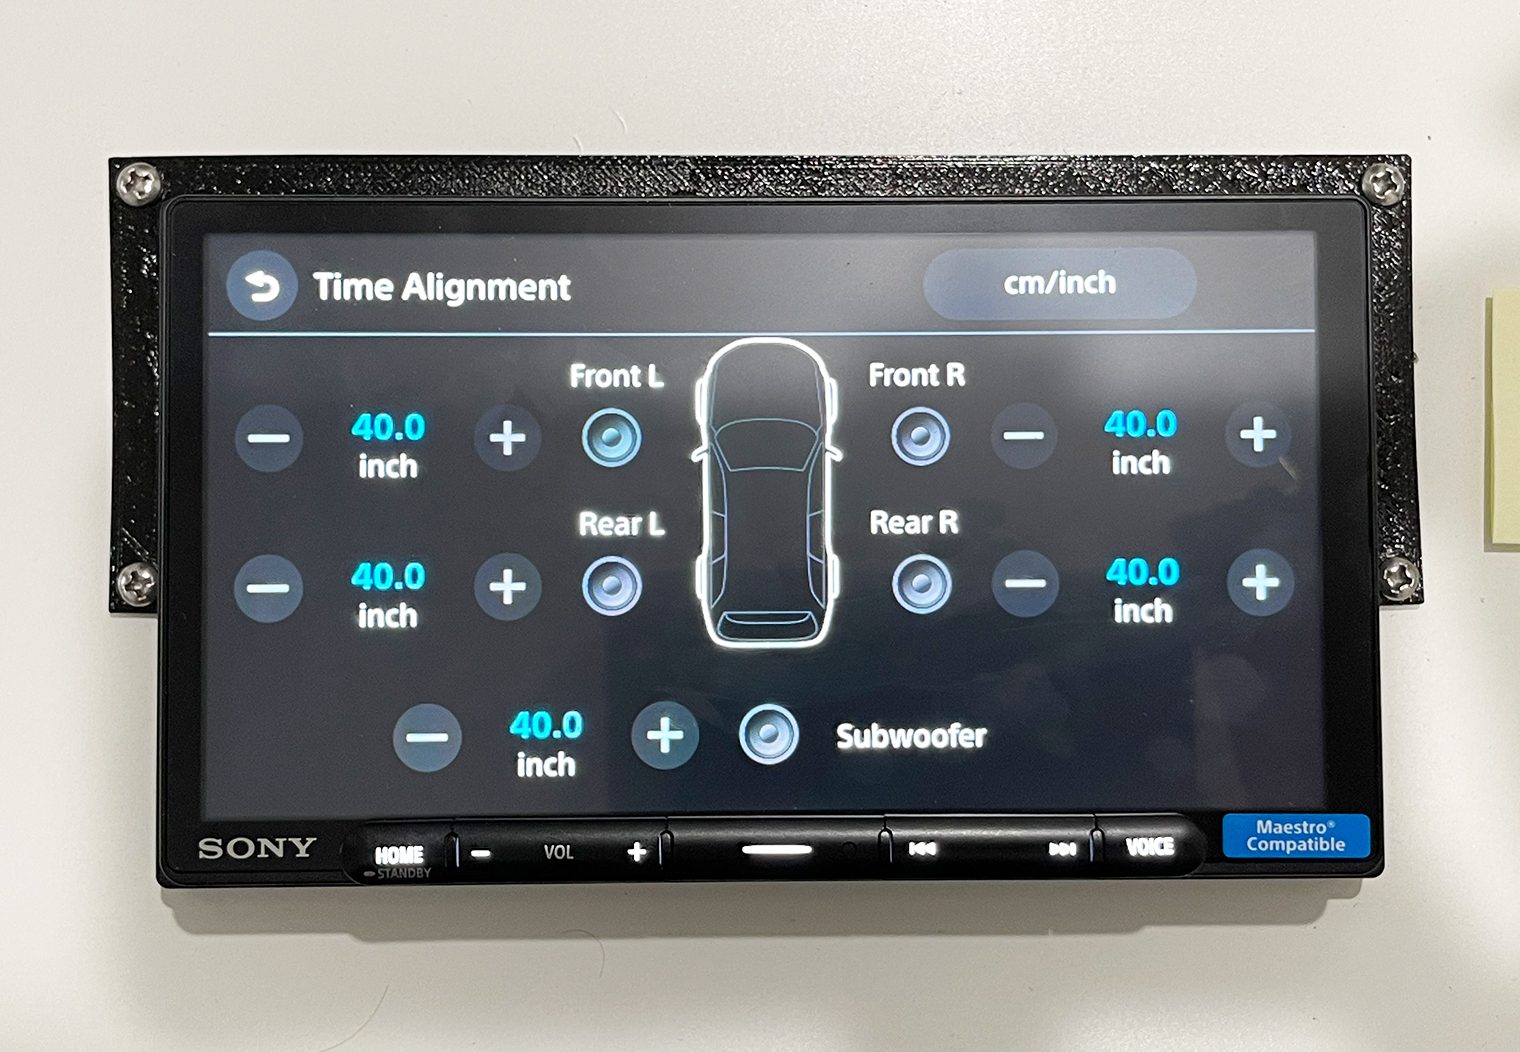
Timing Alignment
Timing alignment is a great feature to have if you want to get a little more precise with the tuning of your sound system. Specifically if you would like to set a focal point, where the sound of all speakers reaches one point at the same exact time.
To use this feature, you can either use one of the various presets that are on the inteface or leverage the custom configuration. In the custom setting, you'll measure the distance between each speaker and the focal point you chose. The most common is the driver seat around the head rest area. Then place those measurements in the corresponding configuration area in the interface.
Other Noteworthy Features & Settings
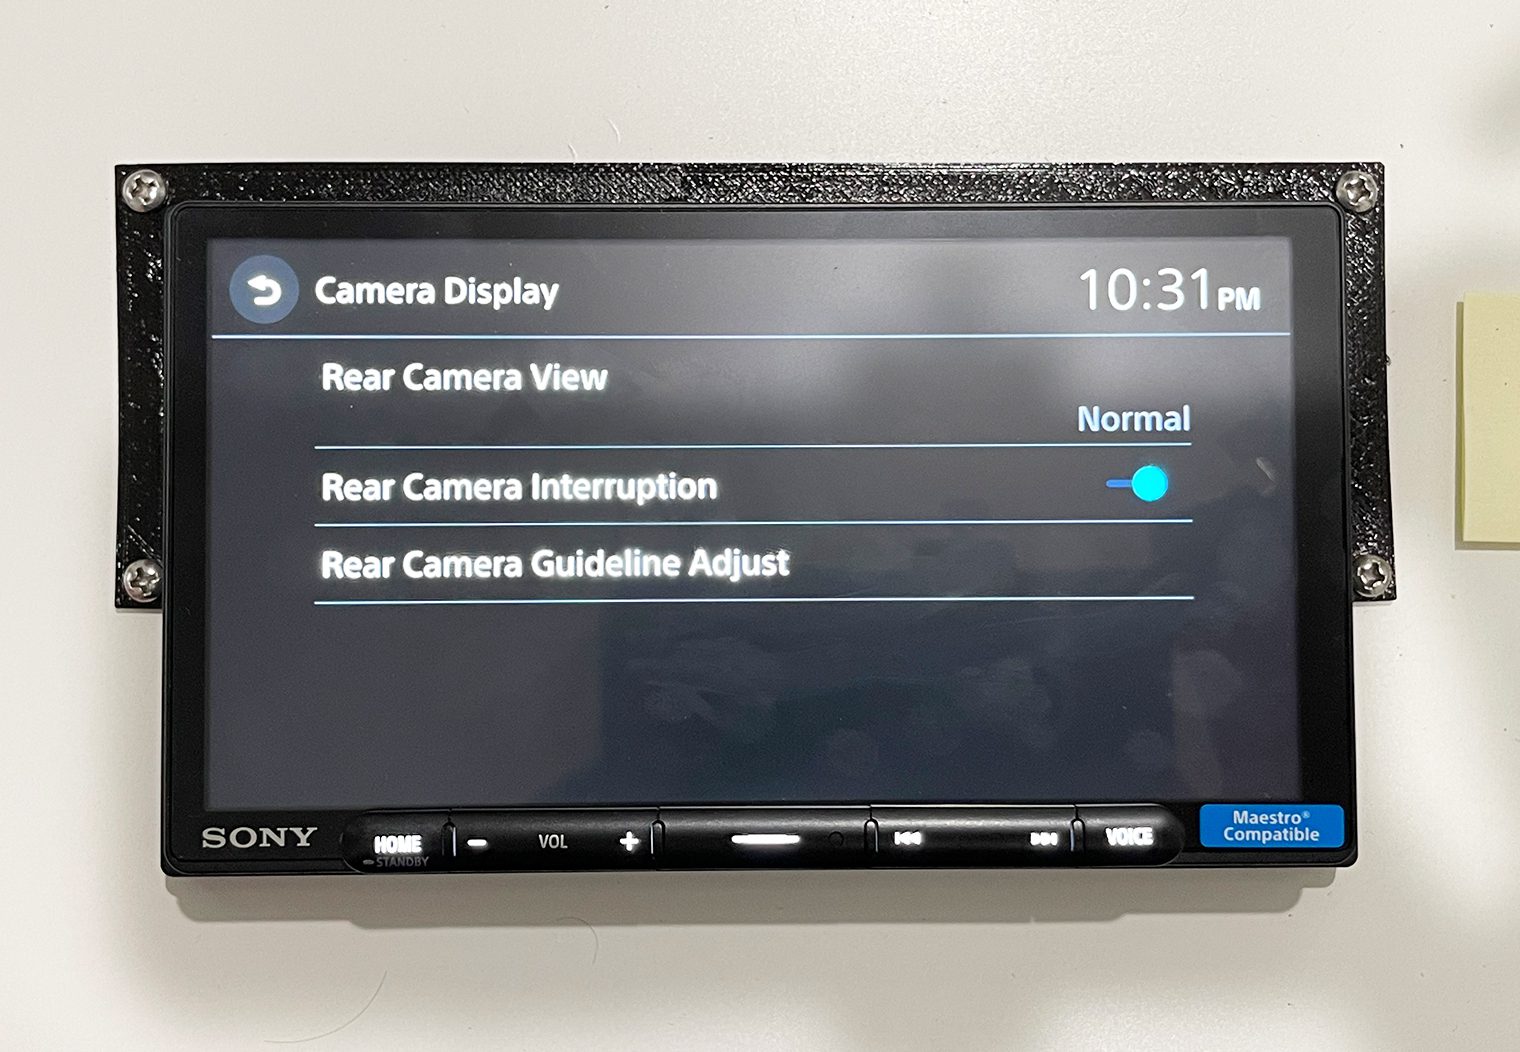
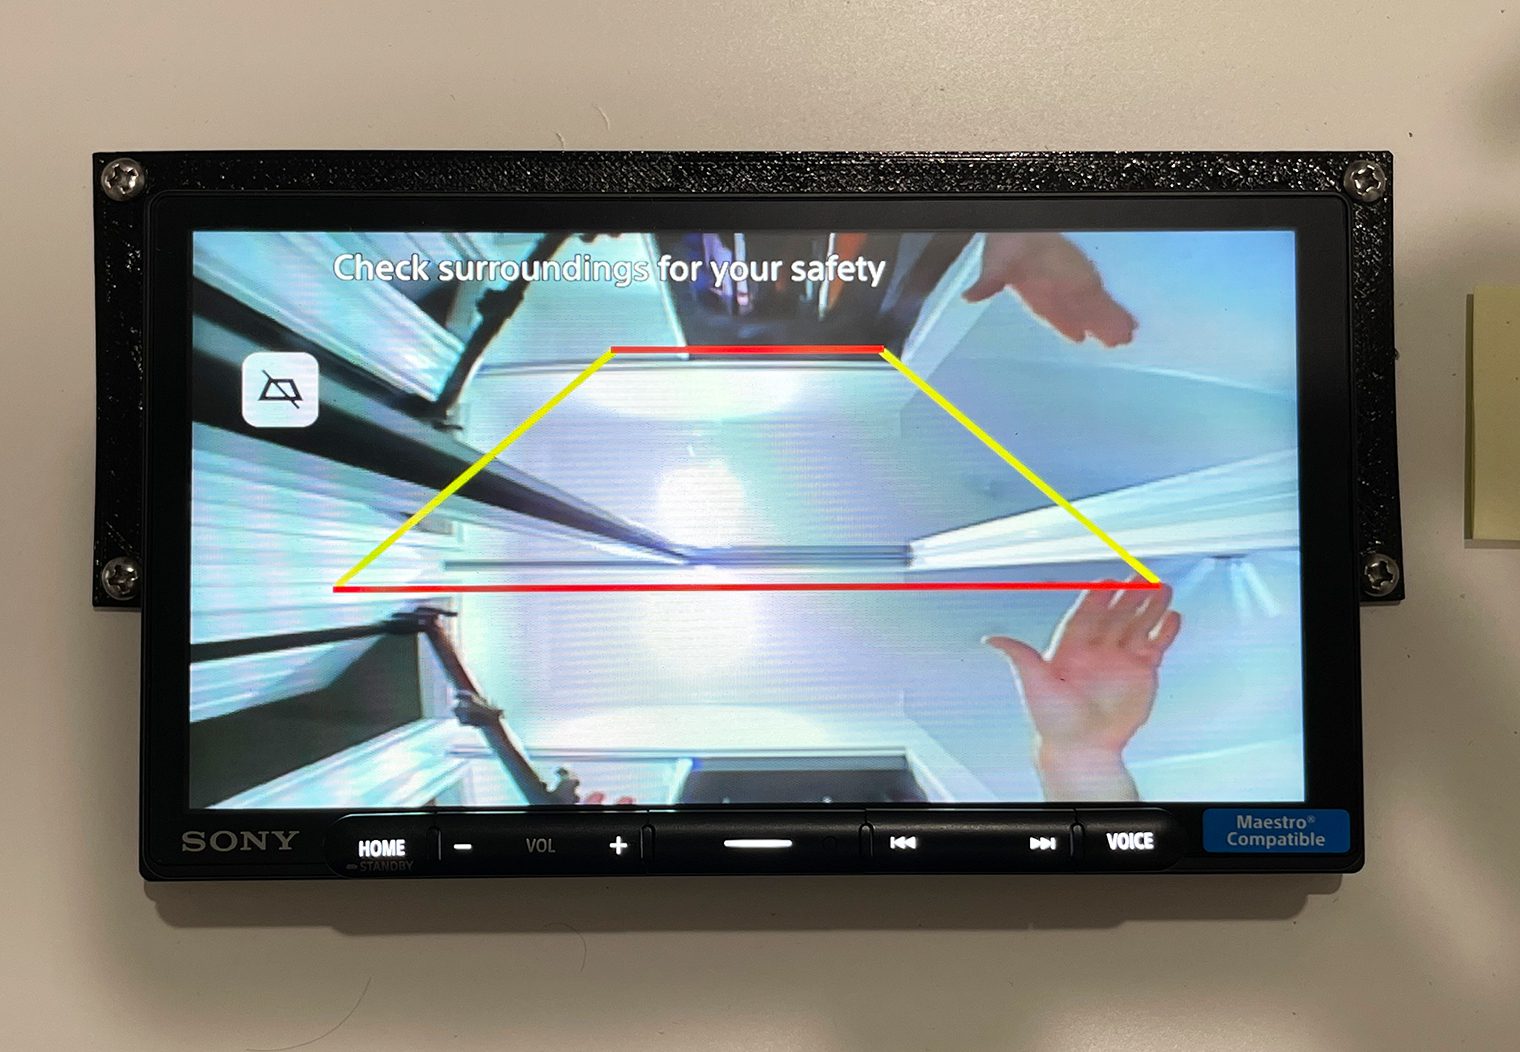
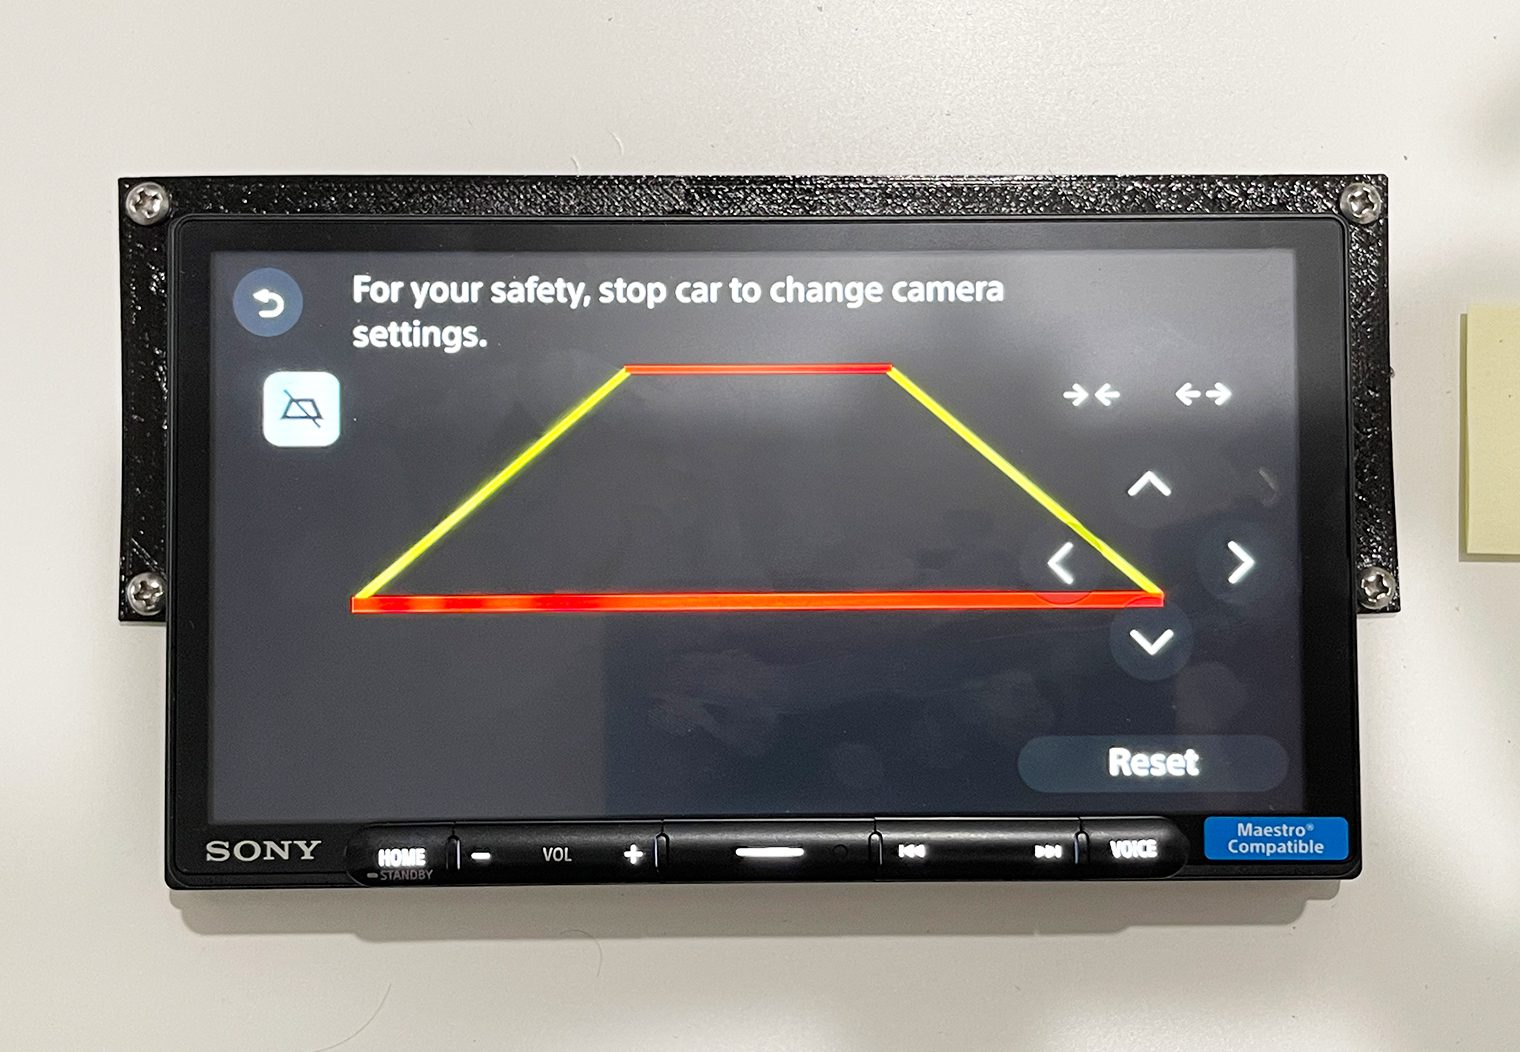
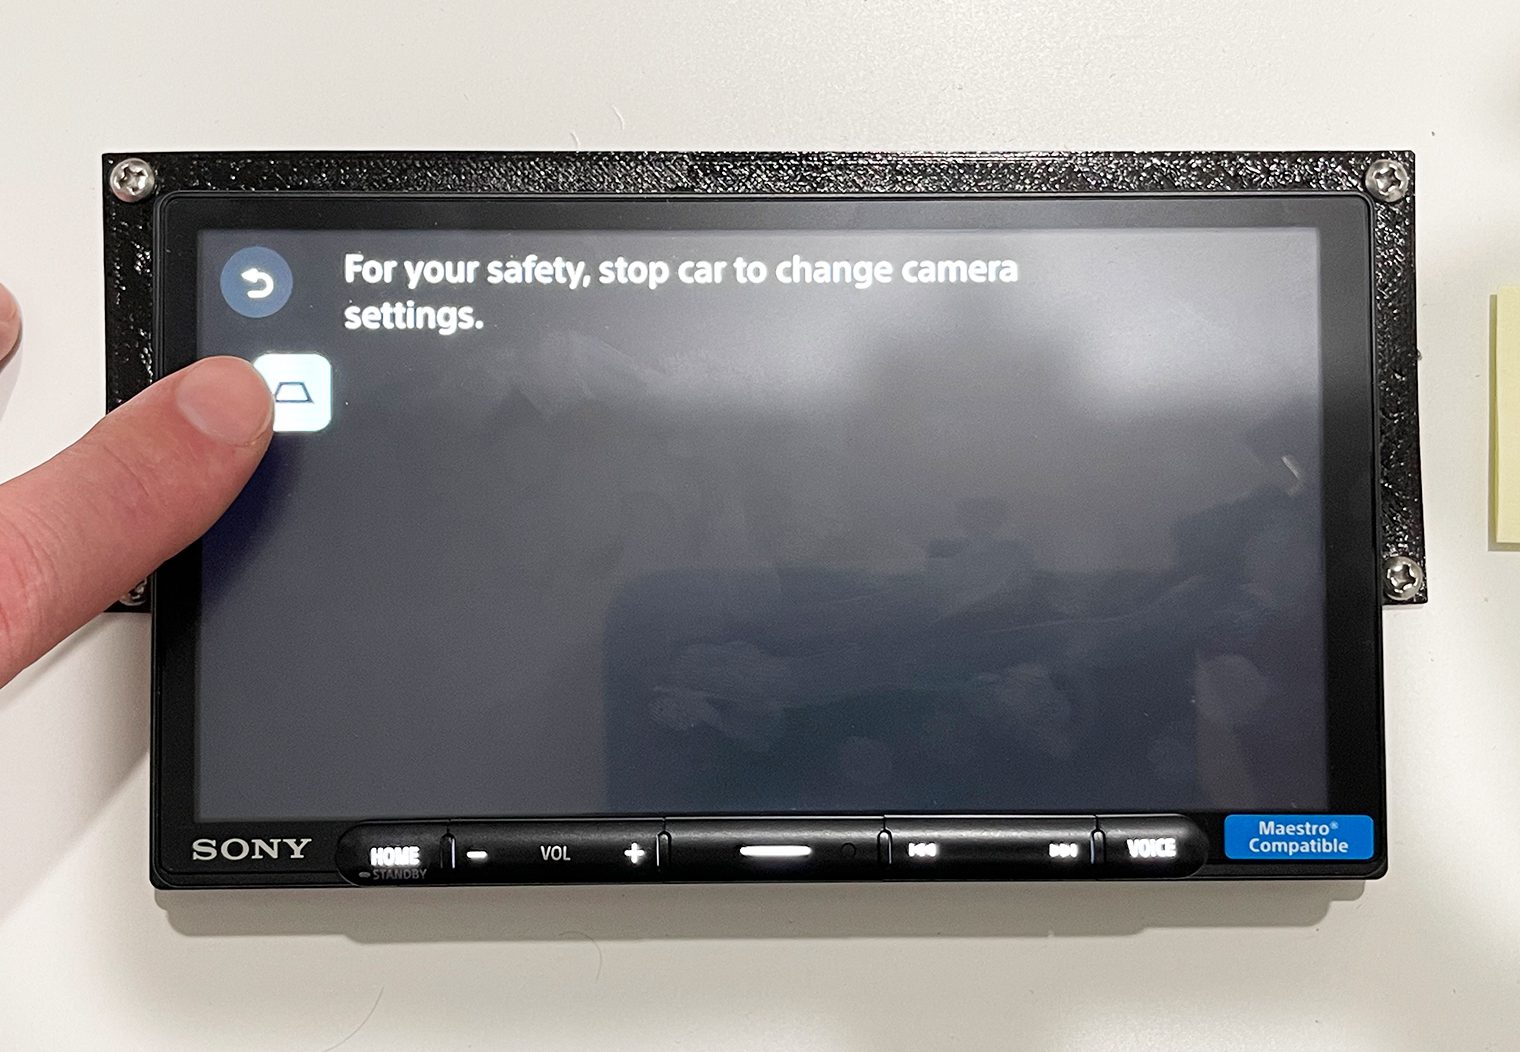
Backup Camera
Both units have a single backup camera input. In the interface, you can configure the guidelines and reverse/mirror the image if needed depending on where your camera is installed.

Background & Center Button Customization
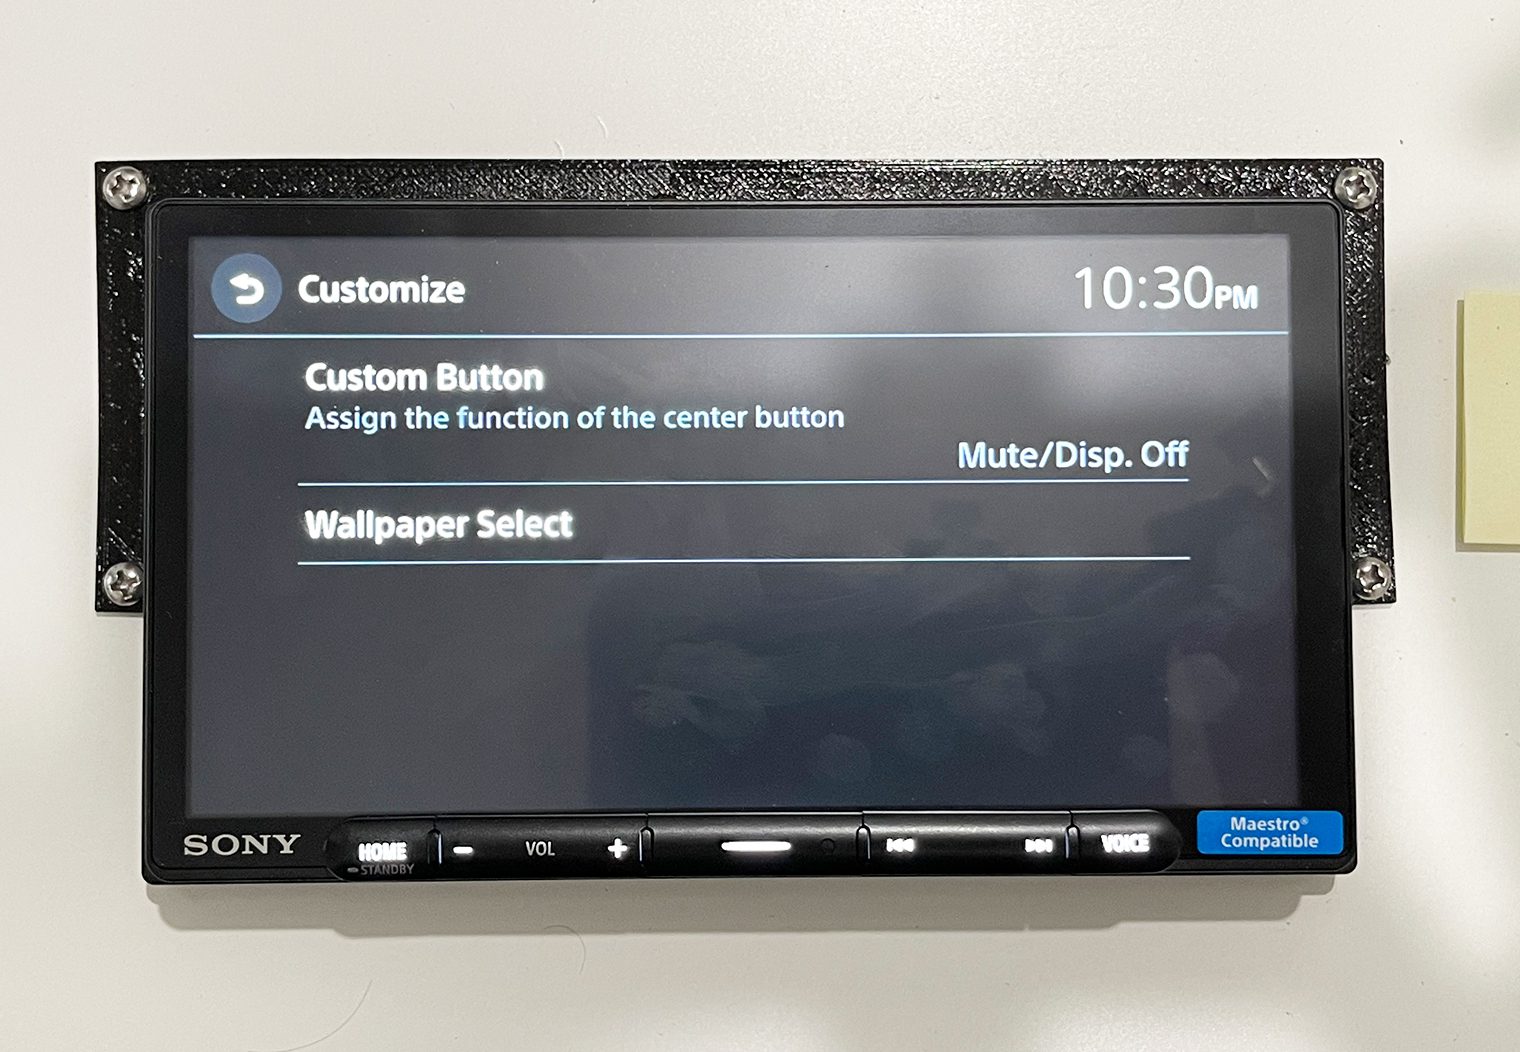
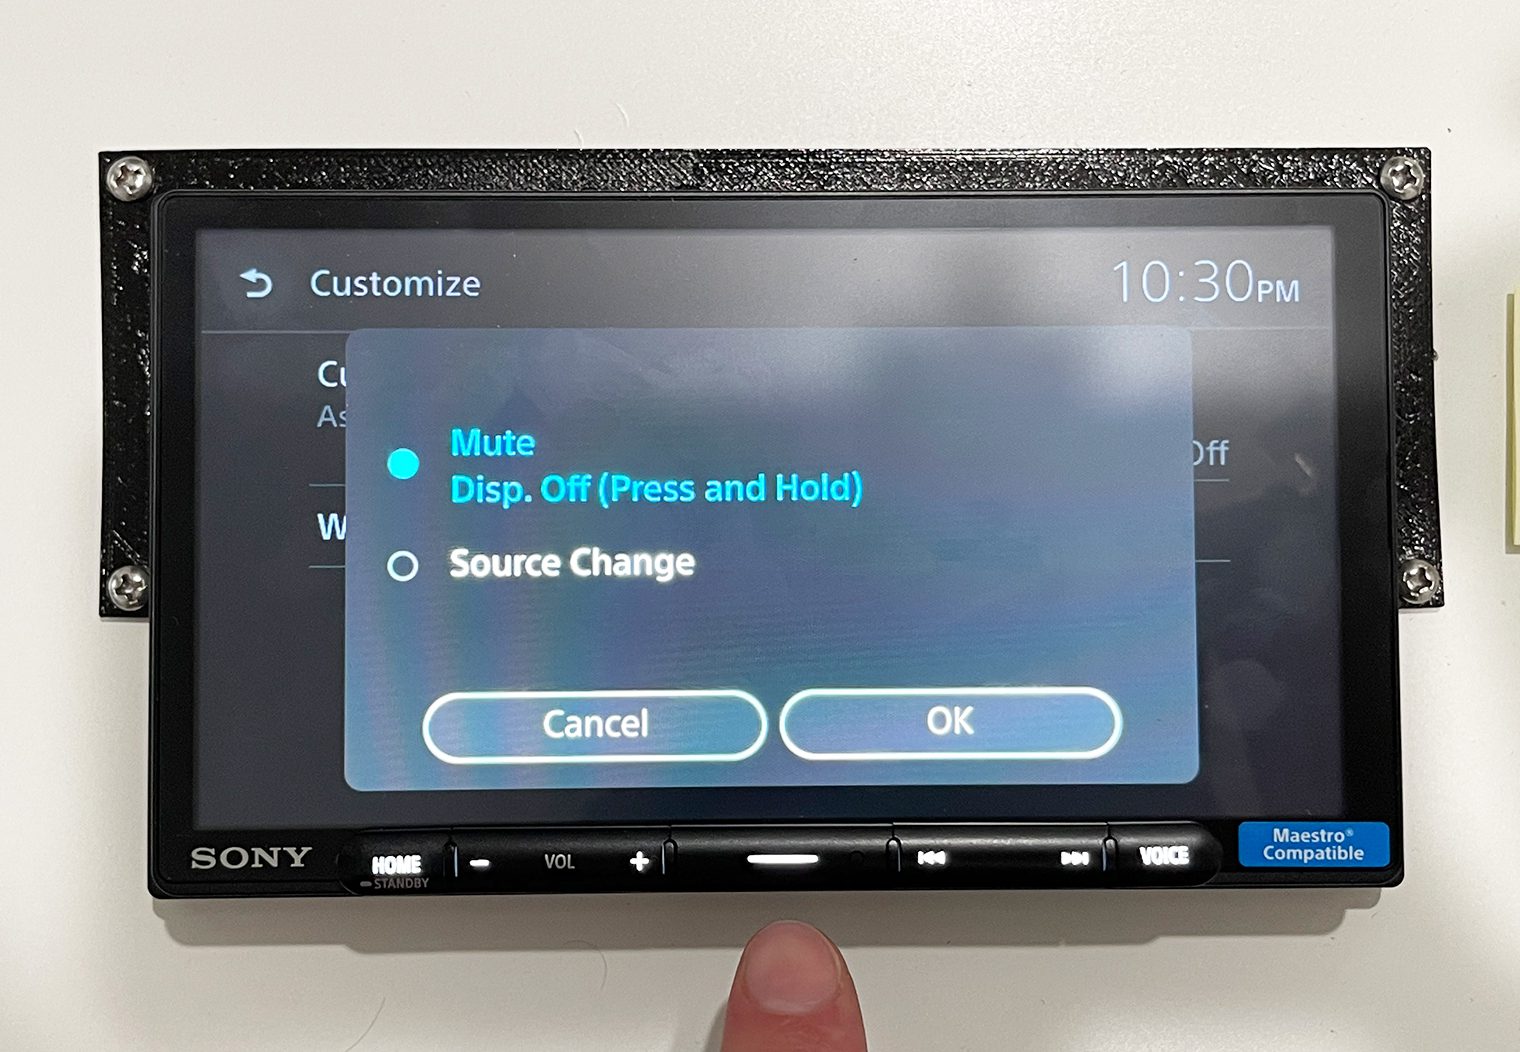
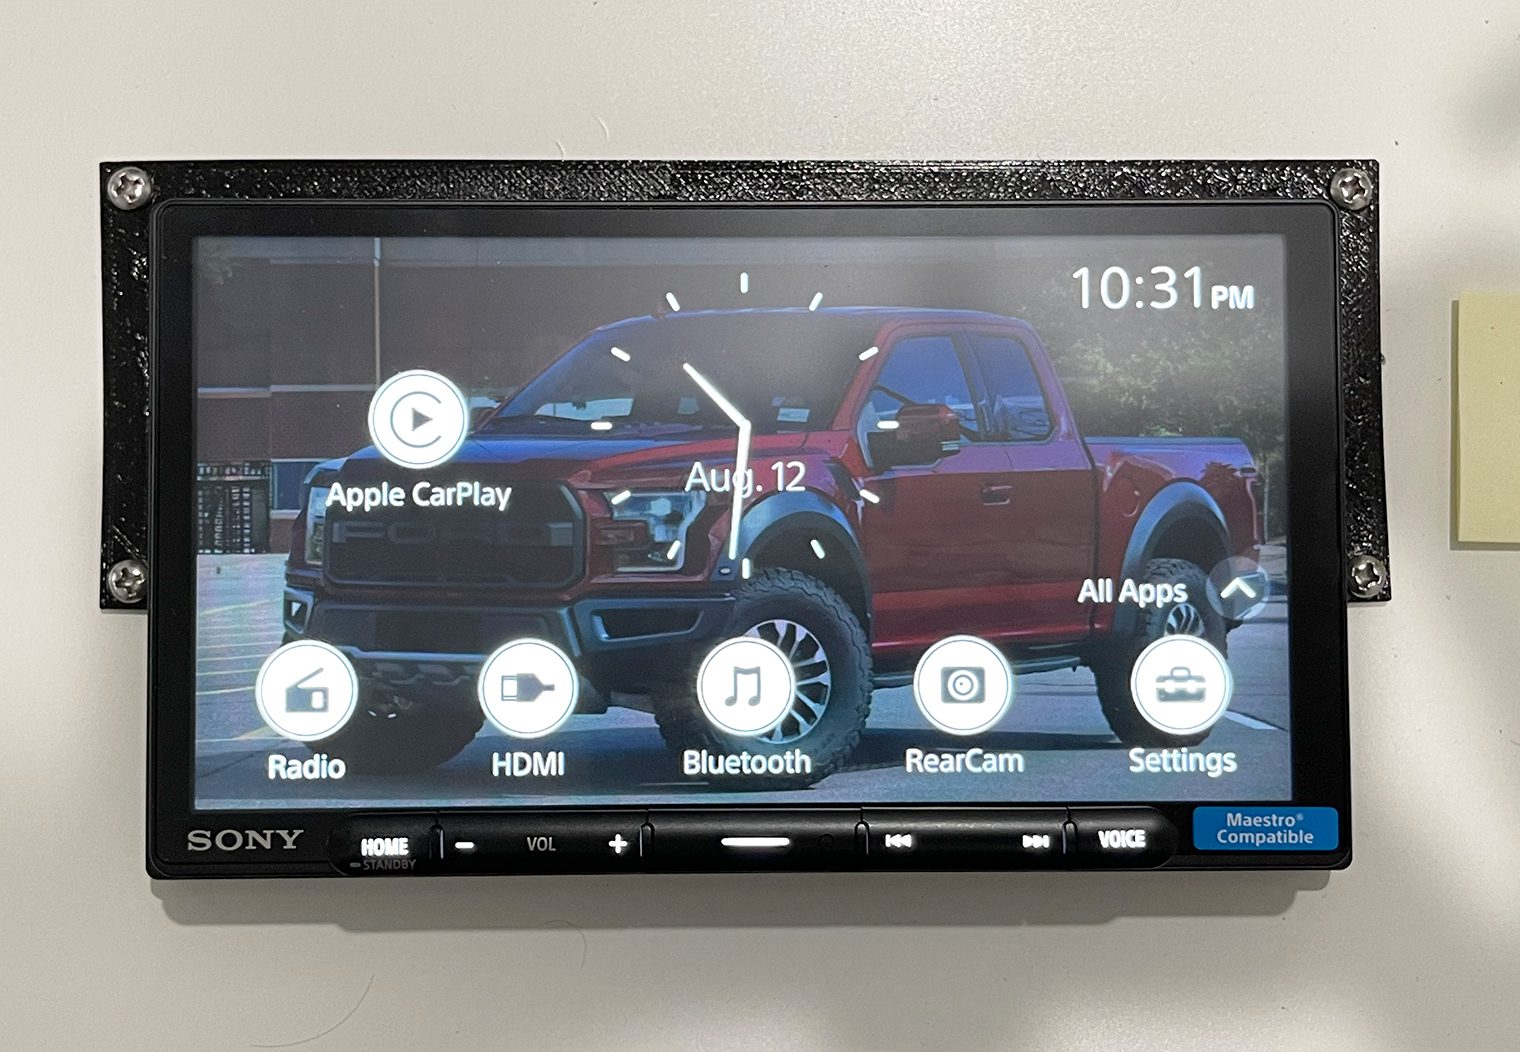
The customization features on the AX6000 and AX4000 are pretty simplistic and a little limited. Things like the home screen background can be changed, but not the clock. The button colors can't be changed, but the central button function can be. Both of these features can be changed via in the Settings>>Customization.
The center button function can either be used as a mute button or a source button. I personally prefer the mute button because I very rarely mute the unit. I would have liked to see a few more options in here
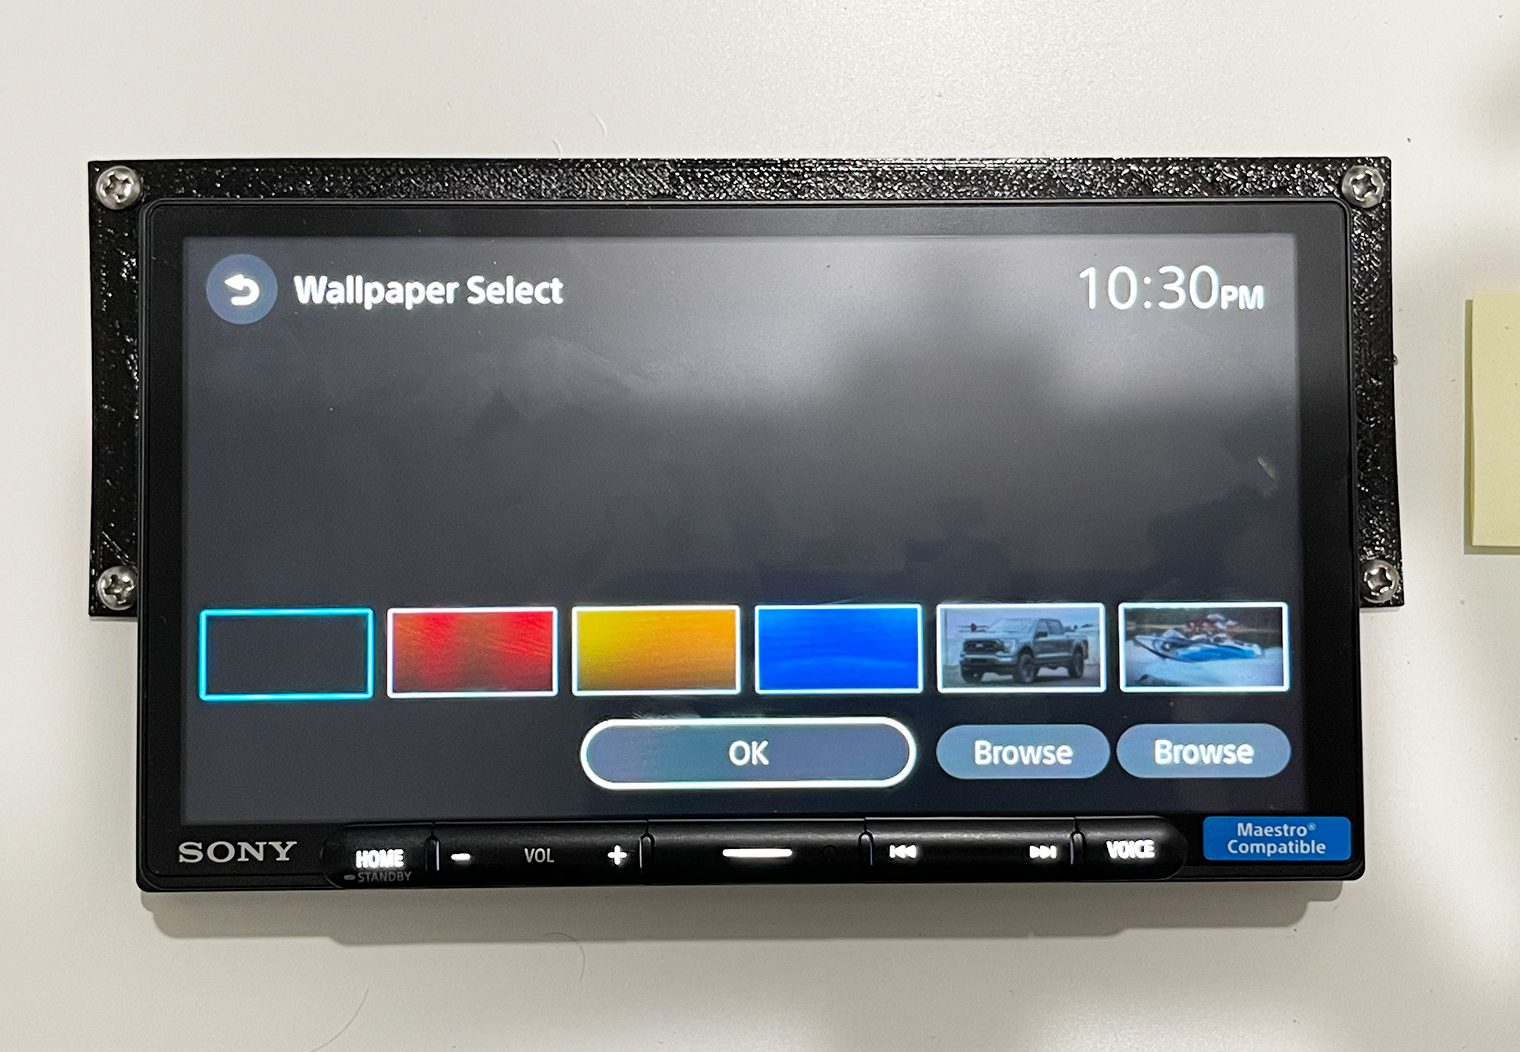
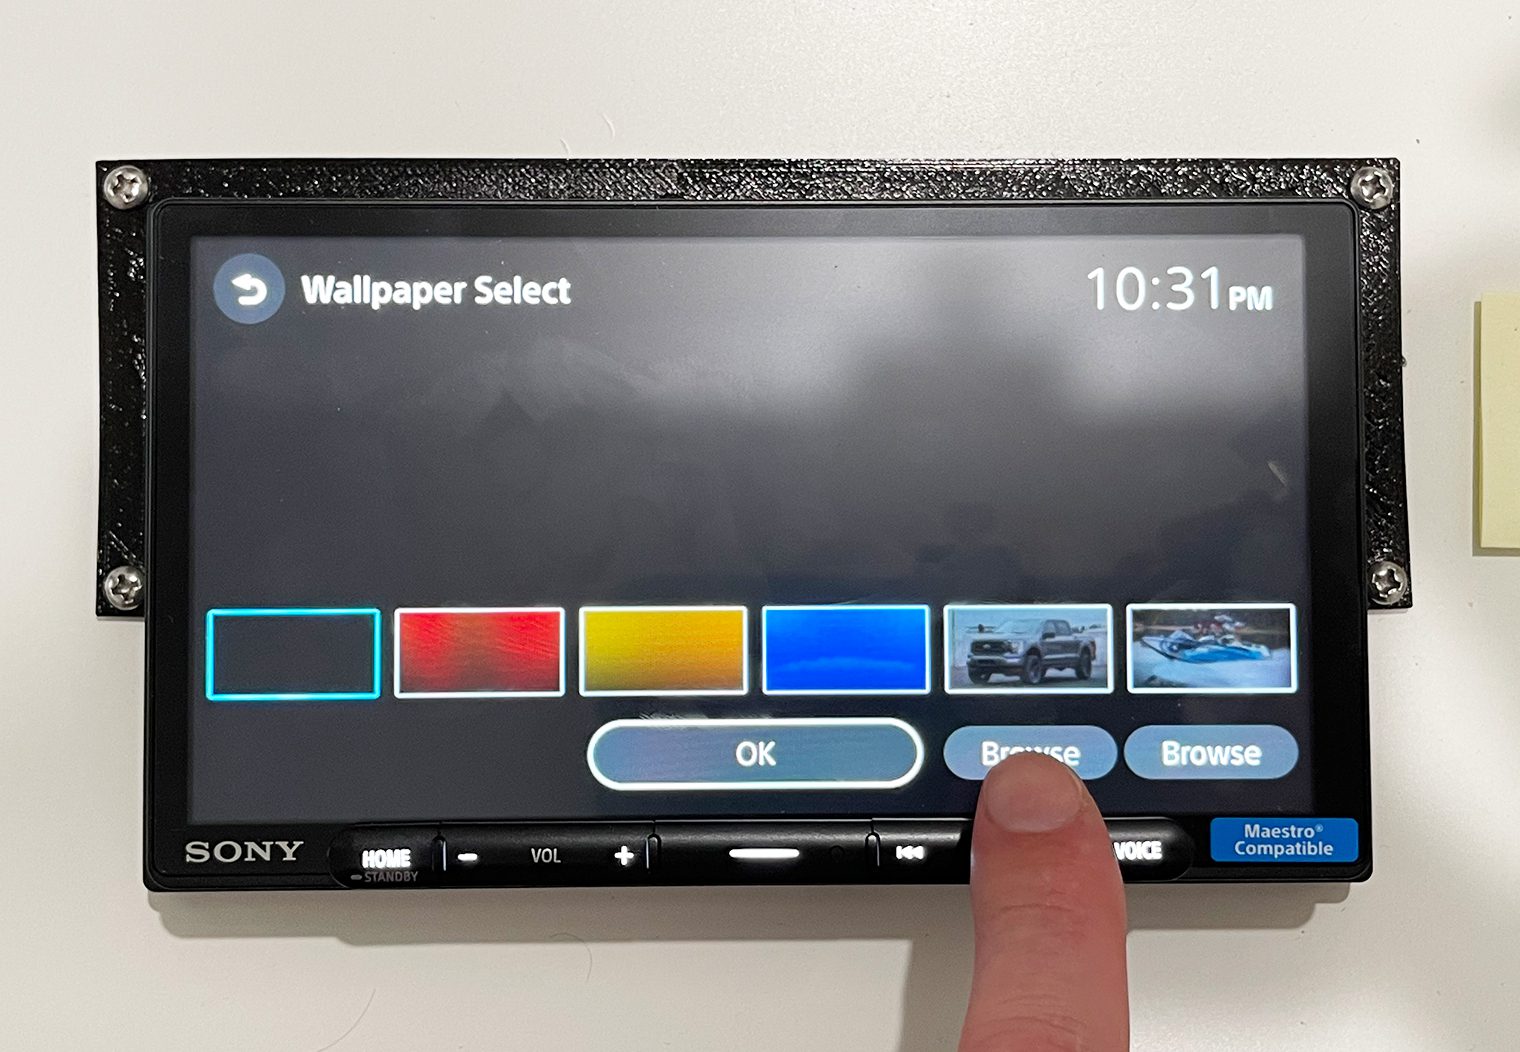
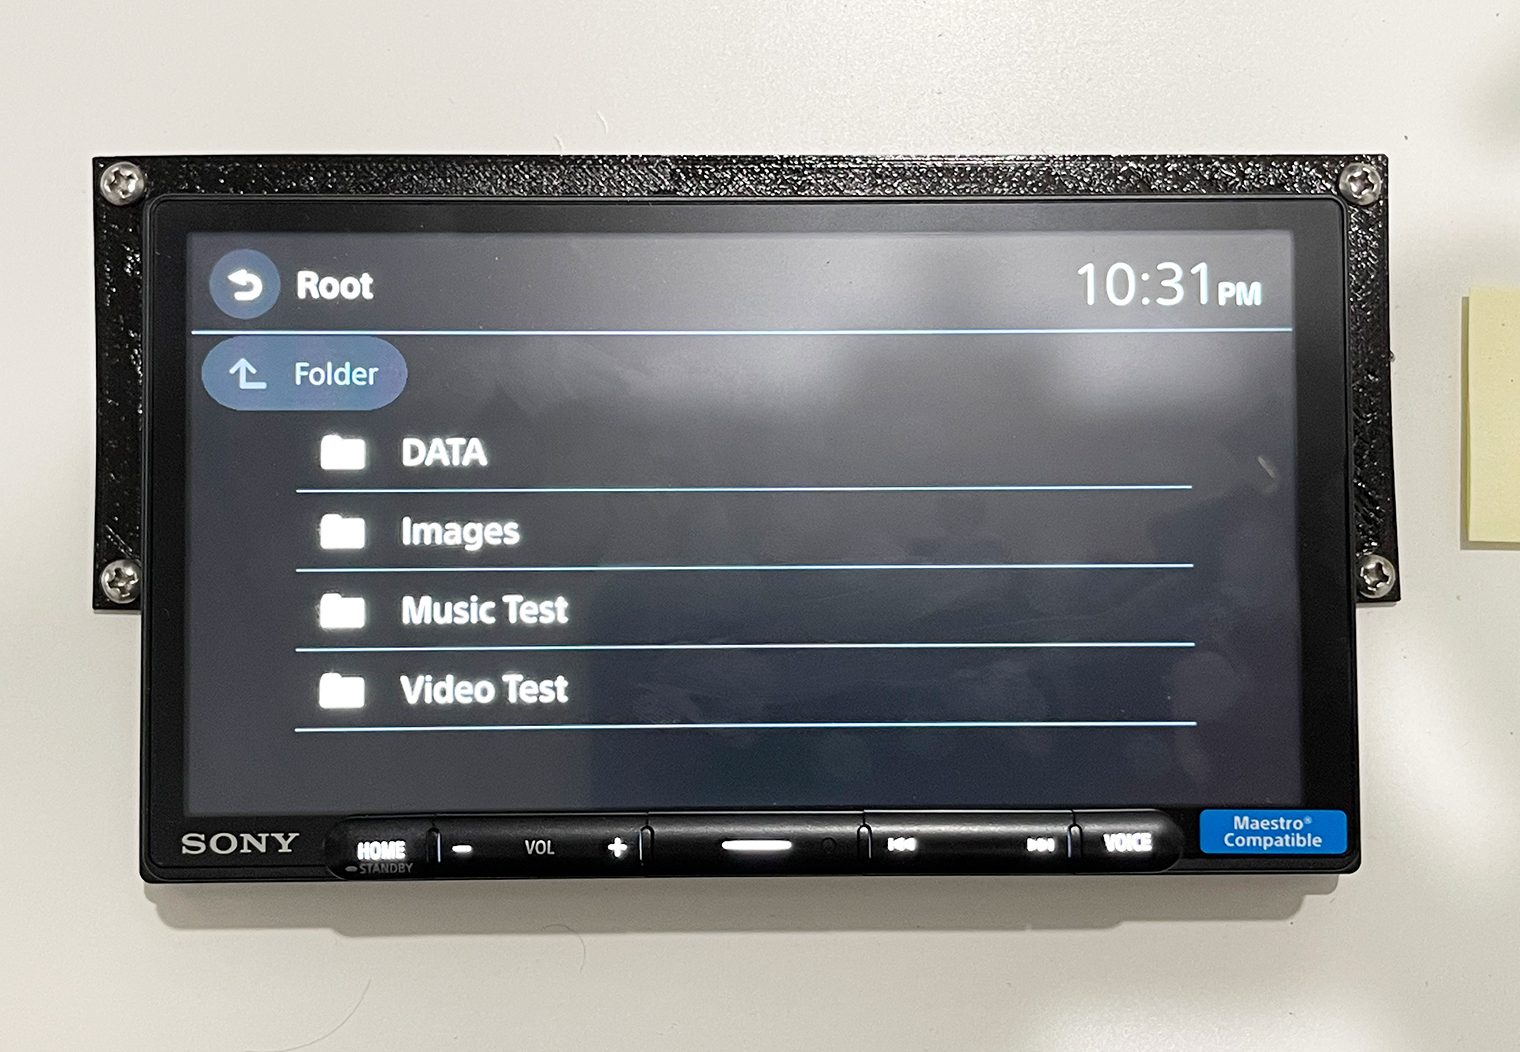
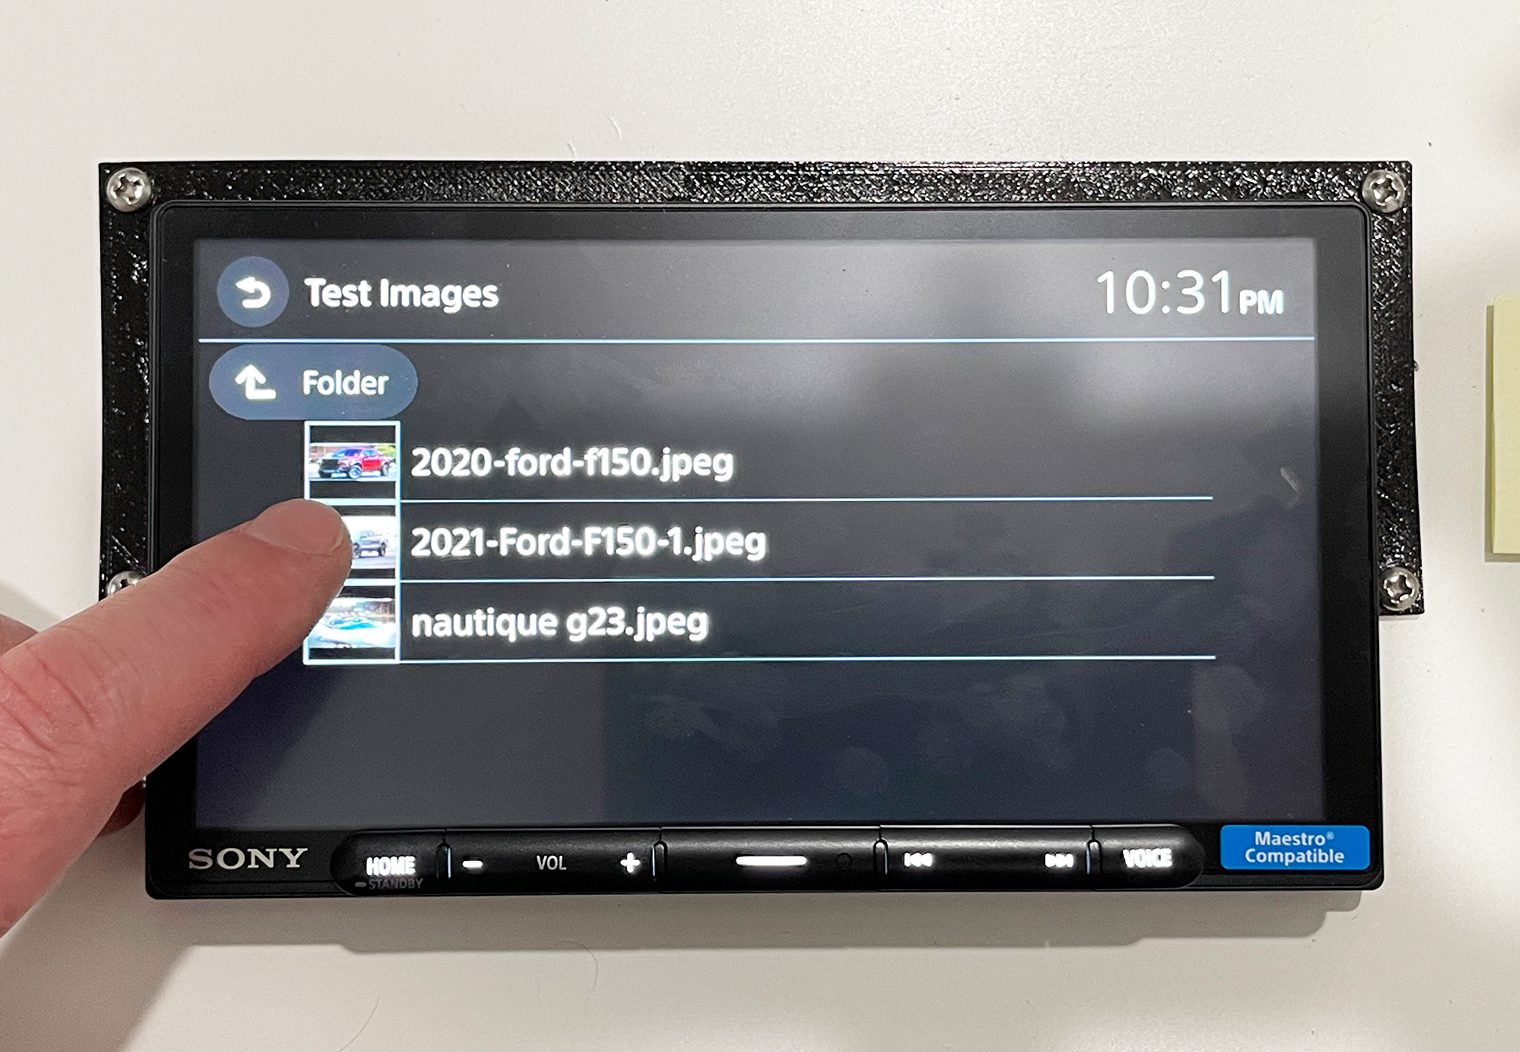
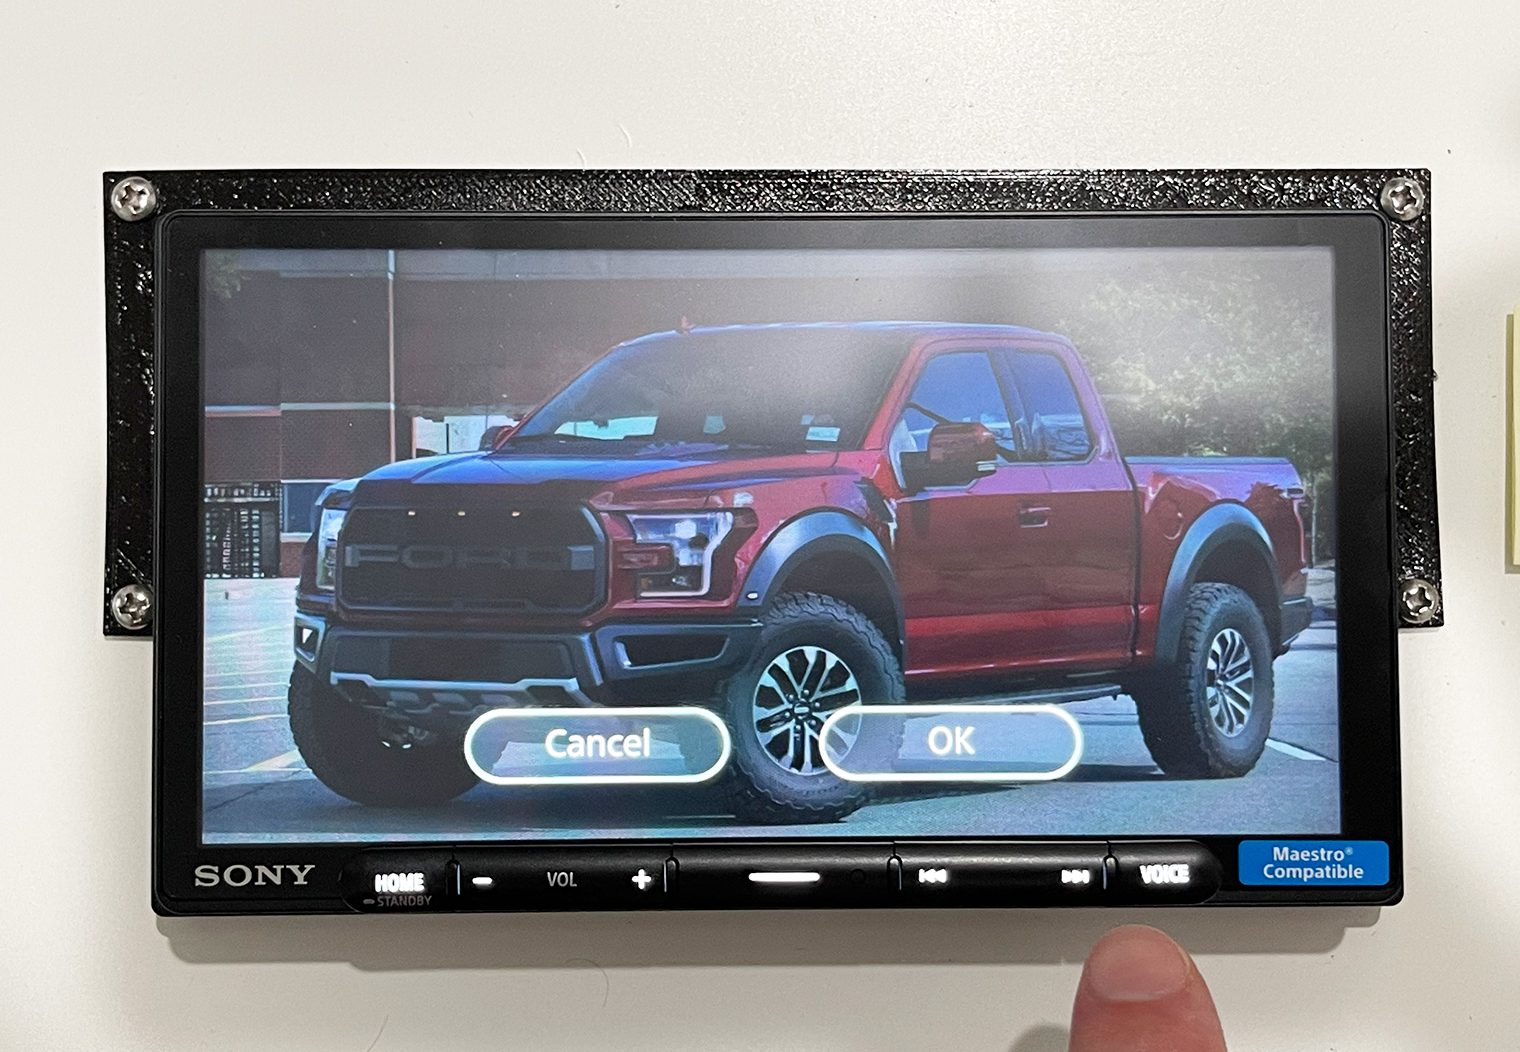
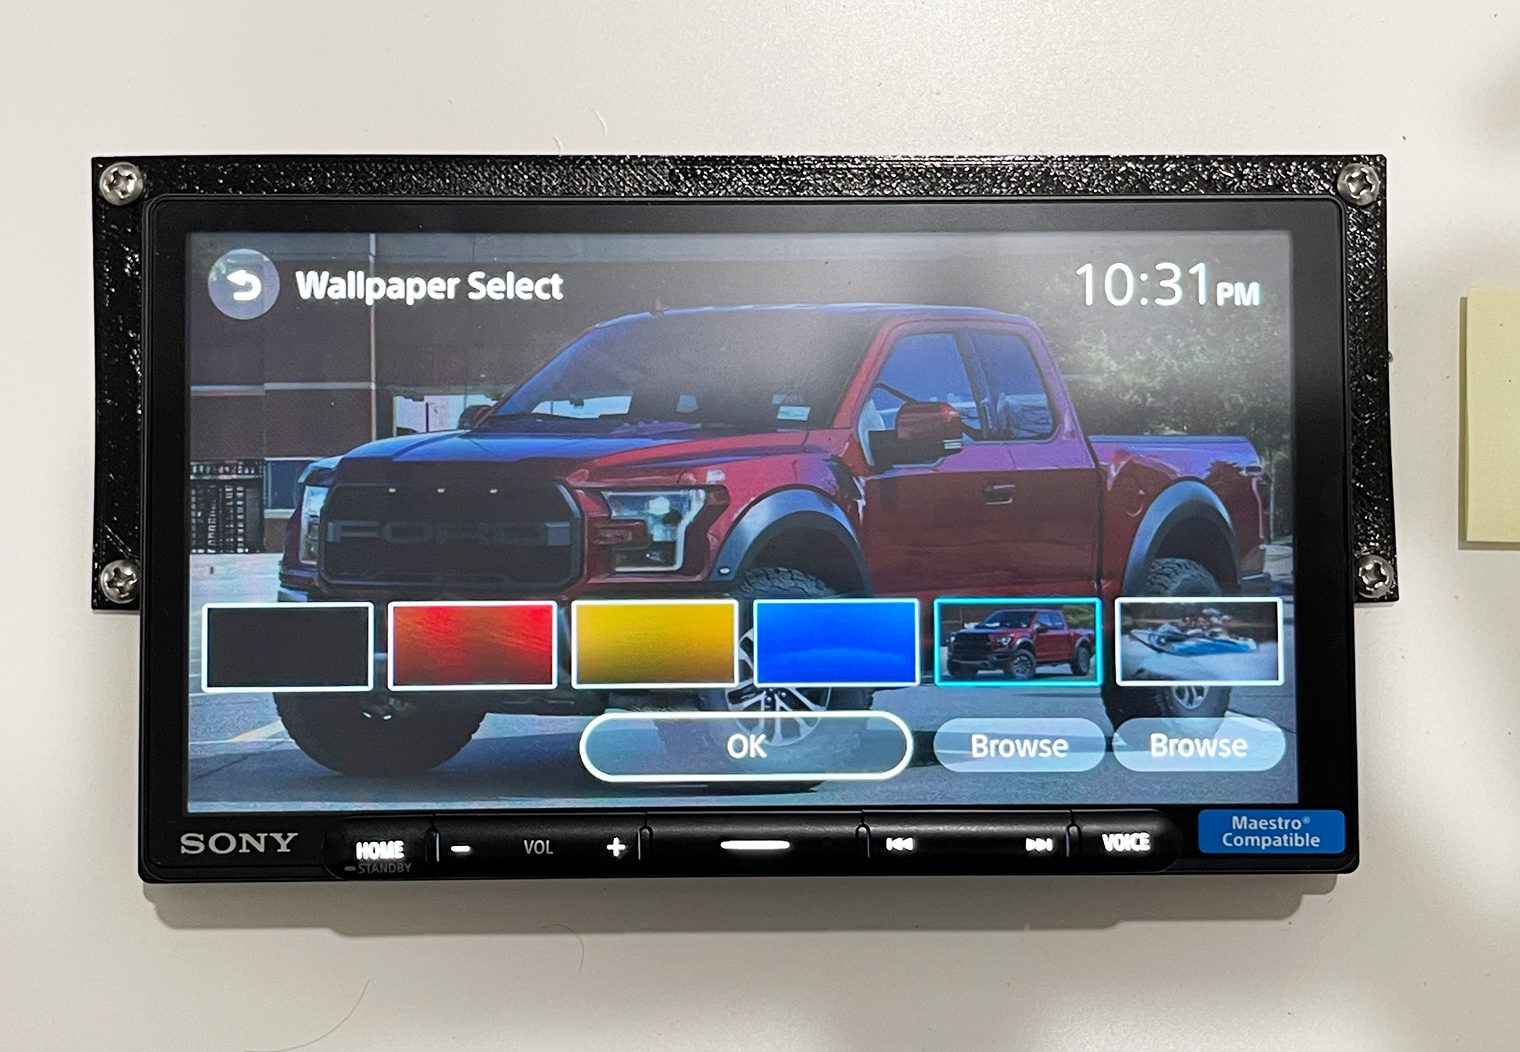
The more important customization feature here, in my opinion, is the ability to change the background image on the home screen. You can either select from one of the presets, or upload your own. To do this, you'll need to upload your images to a USB thumb drive and connect it. In the images below, I demonstrate the process of uploading and saving a custom background image.
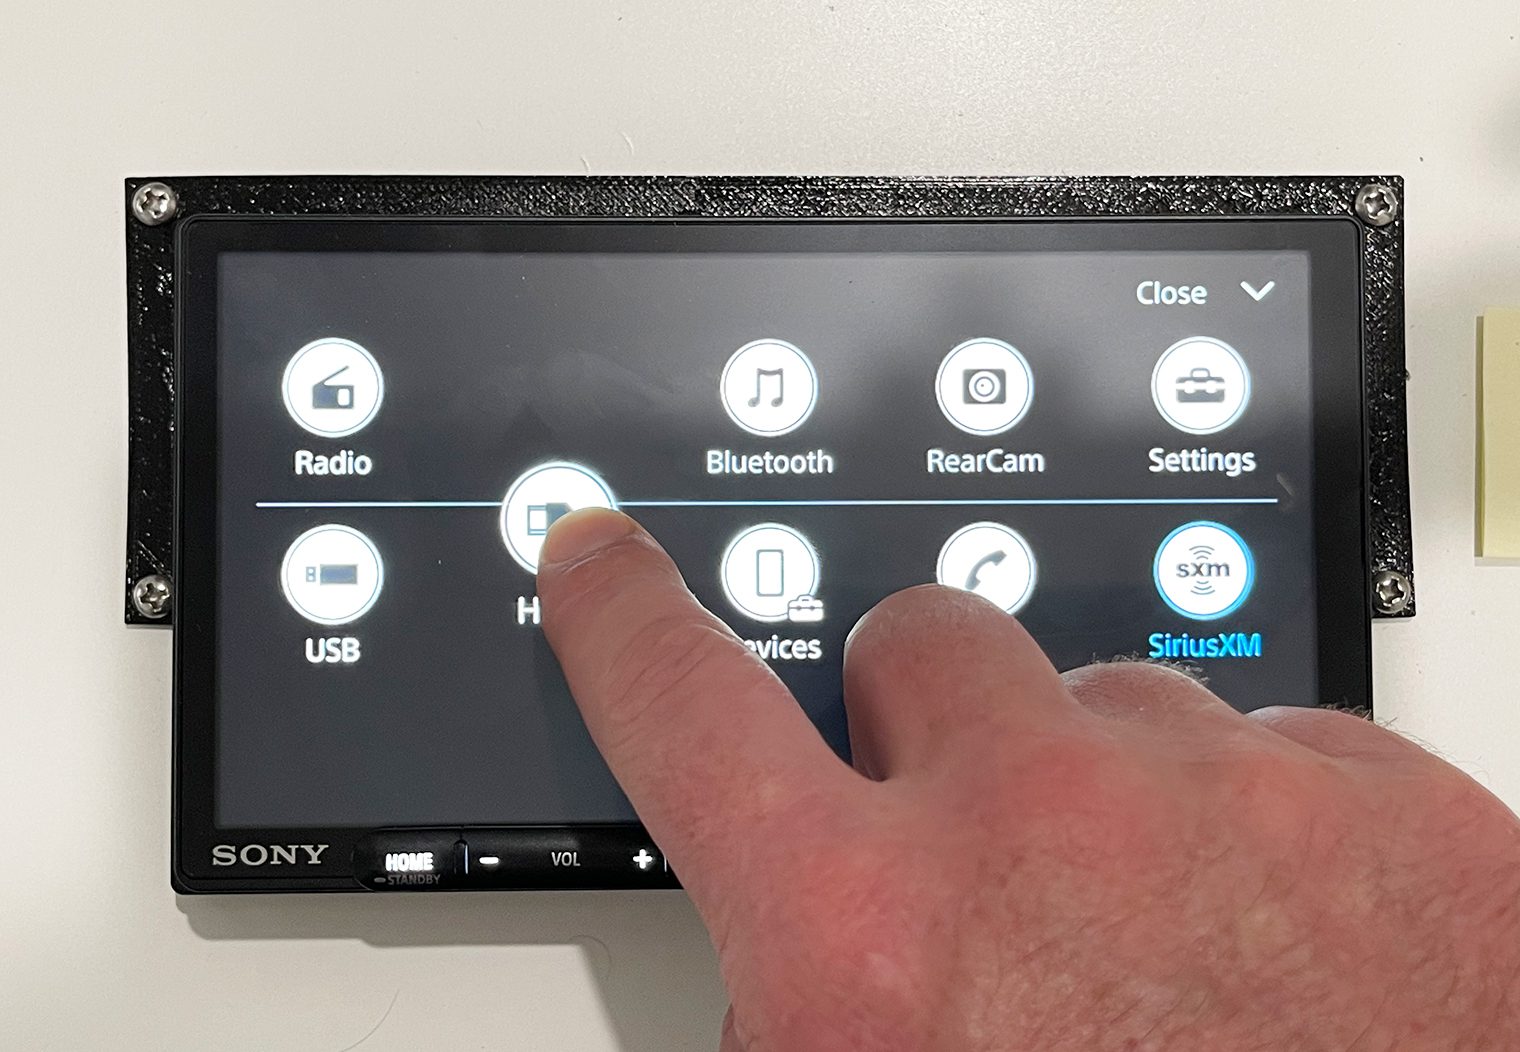
In addition to the custom background, you can also change the apps/sources that you have showing on the favorites alongside the bottom of the screen. To do this, navigate to the home screen, then select the “All Apps” on the bottom right. With all the apps open, simply tap and hold one of the apps in your current favorites and drag it out. Then drag the app that you want to replace it back in.
Steering Wheel Control
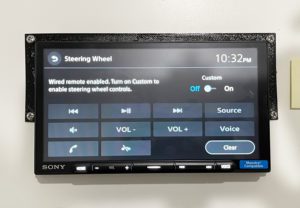
The last thing that's probably worth touching on before I wrap up is the steering wheel control interface on the AX4000 and AX6000 units. Similar to previous units, you can customize the functions and controls for your steering wheel by programming them in the settings. If you plan on using the included ‘adapter' that Sony provides you – which is basically a head phone jack with two exposed wires – you'll actually need to use this in order to configure your steering wheel controls.
To use it, you'll select a function from the interface, and then program it to the steering wheel button you'd like to control that function.
Wrapping Up
So there we go. Quick(ish) comparison between Sony’s new AX6000 and AX4000 head units along with some of their new features. Really the only big differences I noticed between the two units were:
- The screen type: Although the resolution is the same, the AX4000 has a different LCD screen and is also a resistive touchscreen while the AX6000 is a capacitive touchscreen.
- Bezel: The AX4000 has a bezel while the AX6000 is bezel-less.
- Preamp Output Voltage: This is more important for folks looking to add aftermarket amplifiers, but the AX4000 only has a 2V preamp output while the AX6000 has a 5V.
- And then of course HDMI: The AX6000 is the only unit of the two that offers video playback at all via a micro HDMI input on the rear.
The rest of the features are near identical between them. Including the entire interface.
The biggest upgrade that these new units offer over, for example, Sony’s more recent AX5600 and AX5500 head units is WIRELESS Apple CarPlay and Android Auto, which is a really nice feature to have. Getting in and out of your car without having to plug it in to access CarPlay and Android auto is more convenient than you’d think once you get used to using the interface.
Thanks for reading! If you have any questions, please feel free to drop them in the comments below!

Thanks for the review. Did you try testing *wired* CarPlay? Crutchfield claims both units can’t do wired CarPlay, only wireless. I find it hard to believe, but if true, it’s probably a software constraint, as well – hopefully fixed in the future. If you can a chance, mind testing the wired CarPlay? I assume you would need a USB-C to Lightning cable, or a USB-A to Lightning cable since these units only have USB-C on them. Thanks!
Hello. Thanks for your comment! I did try the wired CarPlay and it’s true, CarPlay is only supported via the wireless feature and not via USB. And you’re correct, if you have a standard USB cable you’ll need a USB-C to USB-A adapter. I used on during testing for my thumbdrive.
FYI – the GPS antennae terminates in a GT5 cable, not FAKRA. I am installing my antennae at the rear of the car and need an extension and this is holding me up a little.
According to the Crutchfield site info the 6000 has a three year warranty, the 4000 a 1 year warranty.
Nicely done writeup.
Great review! My vehicle does not have a factory installed backup camera but I am interested in installing an aftermarket one. Can you comment on the feasibility of this and if any programming is needed, etc? Are there specific brands or specs that are required of the camera?
You can use an aftermarket camera. I just had the xav-ax4000 installed yesterday and the aftermarket backup camera works fine.
Great review, thanks
What are the dimensions of the chassis?
Thank you for a detailed review. Do you happen to know if the antiglare shield is removable? It seems to blur the display
Hello, thanks for this review. I have read a few other reviews and saw comments that screen glare was bad on the XAV-AX4000. What’s your opinion on the level of glare?
Thx!