Amplifier gains can make or break your audio system – literally. Setting the gains properly on your amplifier is a necessary step for setting up a well rounded sound system, but also a critical part to preventing damage to your speakers. Traditionally, setting these gains has been a mix of science and art, like using tools like oscilloscopes, multimeters, and the good ole' ear test if you want your ears to ring for the rest of the day. Each method comes with its own set of challenges though – from the complexity of using an oscilloscope to the risks of hearing damage. In this article, I'll dive into the approach that I recommend – using the SMD DD-1 Distortion Detector – for both DIY enthusiasts and professional audio installers. It's easy, accurate and foolproof.
Watch the Video Instead
Steve Meade Designs DD-1 : A Quick Overview
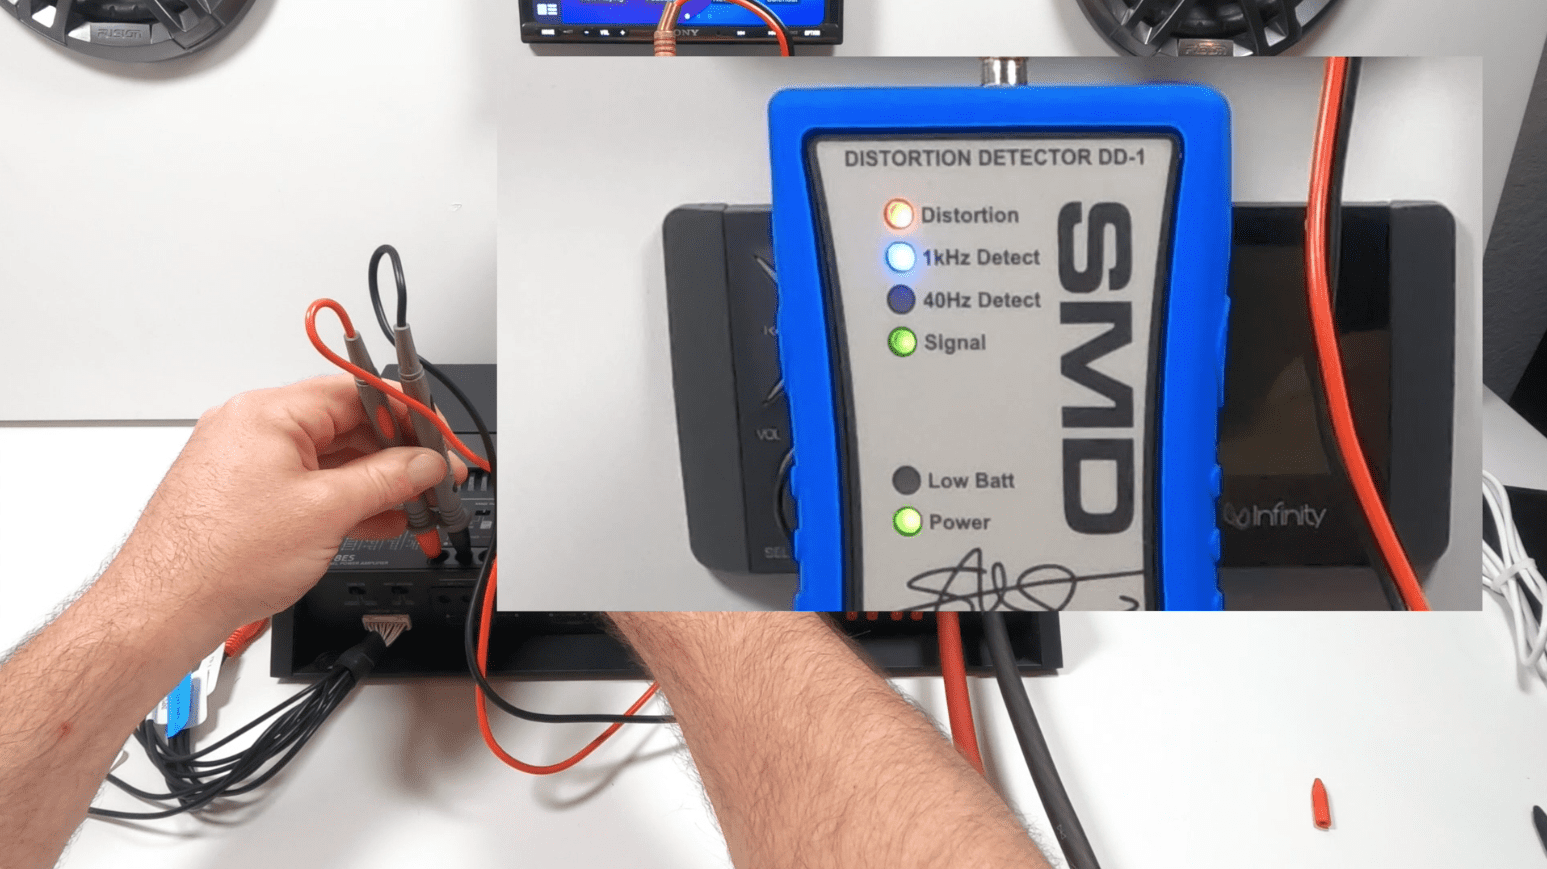
The SMD DD-1 tool doesn't detect audible “distortion” or clipping so to speak. It detects a 1% Total Harmonic Distortion (THD) in they audio signal, a common threshold where distortion becomes noticeable and can pose a threat to your speakers or system. Compared to using an oscilloscope or multimeter, the DD-1 is a straightforward tool that'll help to identify when your system hits this limit quickly and accurately.
Key Features:
- Distortion Detection: Pinpoints 1% THD using a simple led indicator, allowing for quick and precise gain adjustments.
- Multi Use: Compatible with head units, DSPs and amplifiers, which ensures system-wide optimization and protection from distortion.
- User-friendly: It's designed for both novices and pros, making it a perfect tool for the DIYer's garage or professional's shop.
Difference Between SMD DD-1 and DD-1 Plus
Since I'm discussing DD-1, it's worth mentioning its more sophisticated sibling, the DD-1 Plus. The main difference between the DD-1 and DD-1 Plus is that the Plus has an LCD screen and additional features like input voltage reading. The DD-1 Plus offers a few more bells and whistles for those looking for a more comprehensive signal analysis. That said, for the primary purpose of setting amp gains and detecting distortion, both models perform very similarly in terms of sensitivity and accuracy.
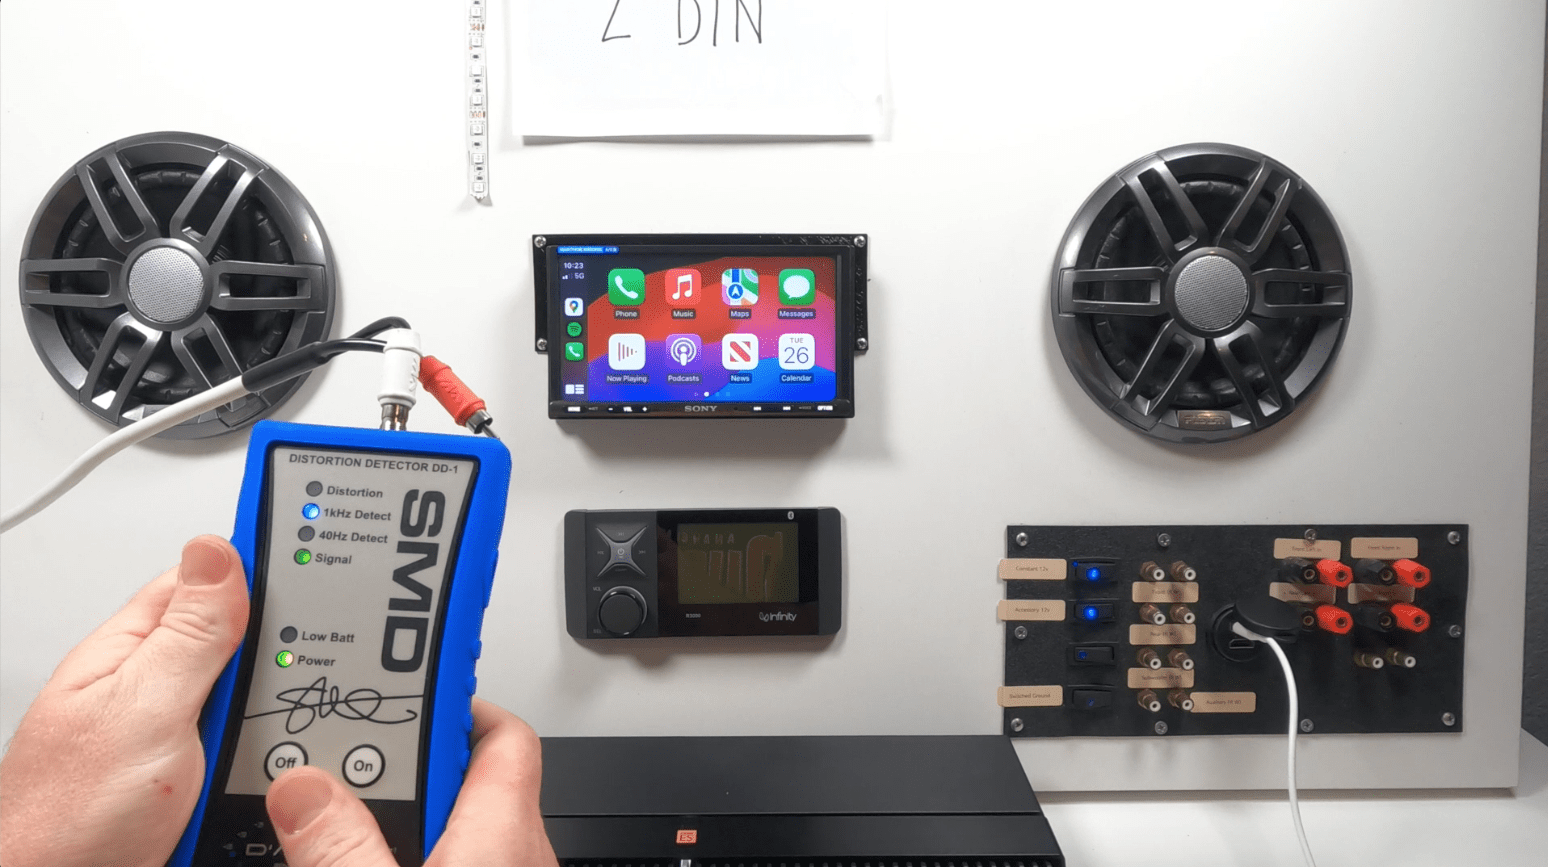
My Setup

My test bench consisted of a Sony head unit and an 8-channel Sony amplifier. A critical step recommended by SMD is to disconnect your speakers before adjusting the gains. This not only protects your speakers from potential damage but also spares you from the discomfort of listening to continuous test tones.
Dialing In Perfection: The Amplifier Gain Setting Process
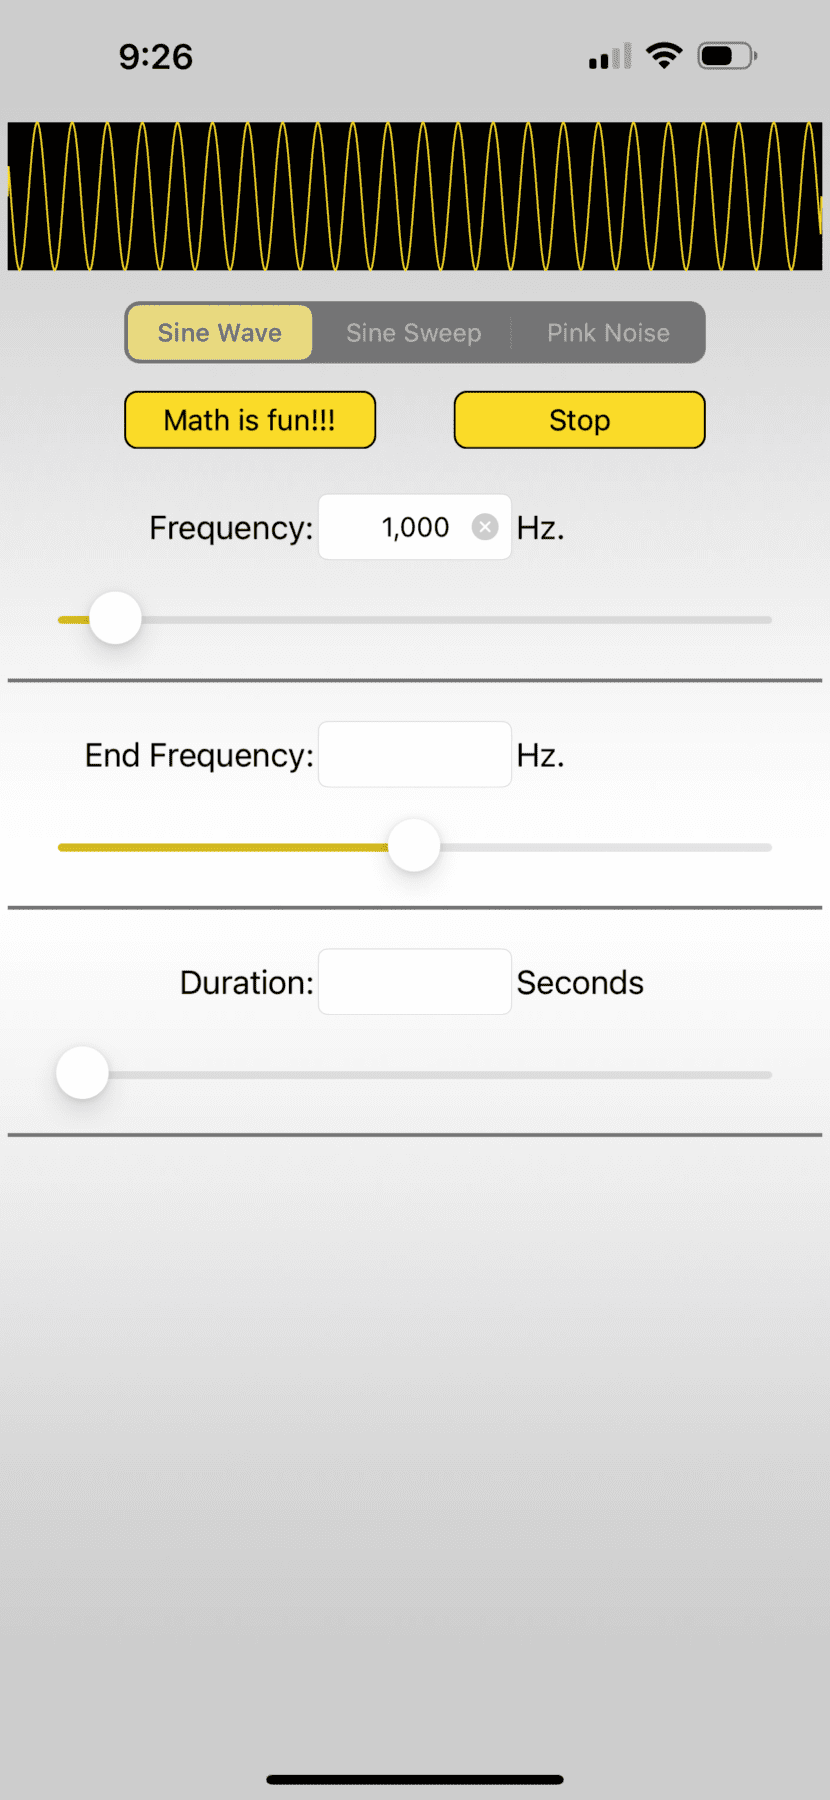
The amp gain-setting journey starts with ensuring a clean test tone through your system. For our setup, I utilized Kicker's U app to supply the system the required 1KHz and 40Hz test tones. Using this test tone I could begin setting the system volume and gains.
The Head Unit: Starting with a Clean Slate
To set the gains on your amp, you first need to make sure that the signal from your source is clean and distortionless, otherwise the signal to the amp will have distortion and the output will as well, even at the lowest gain setting.
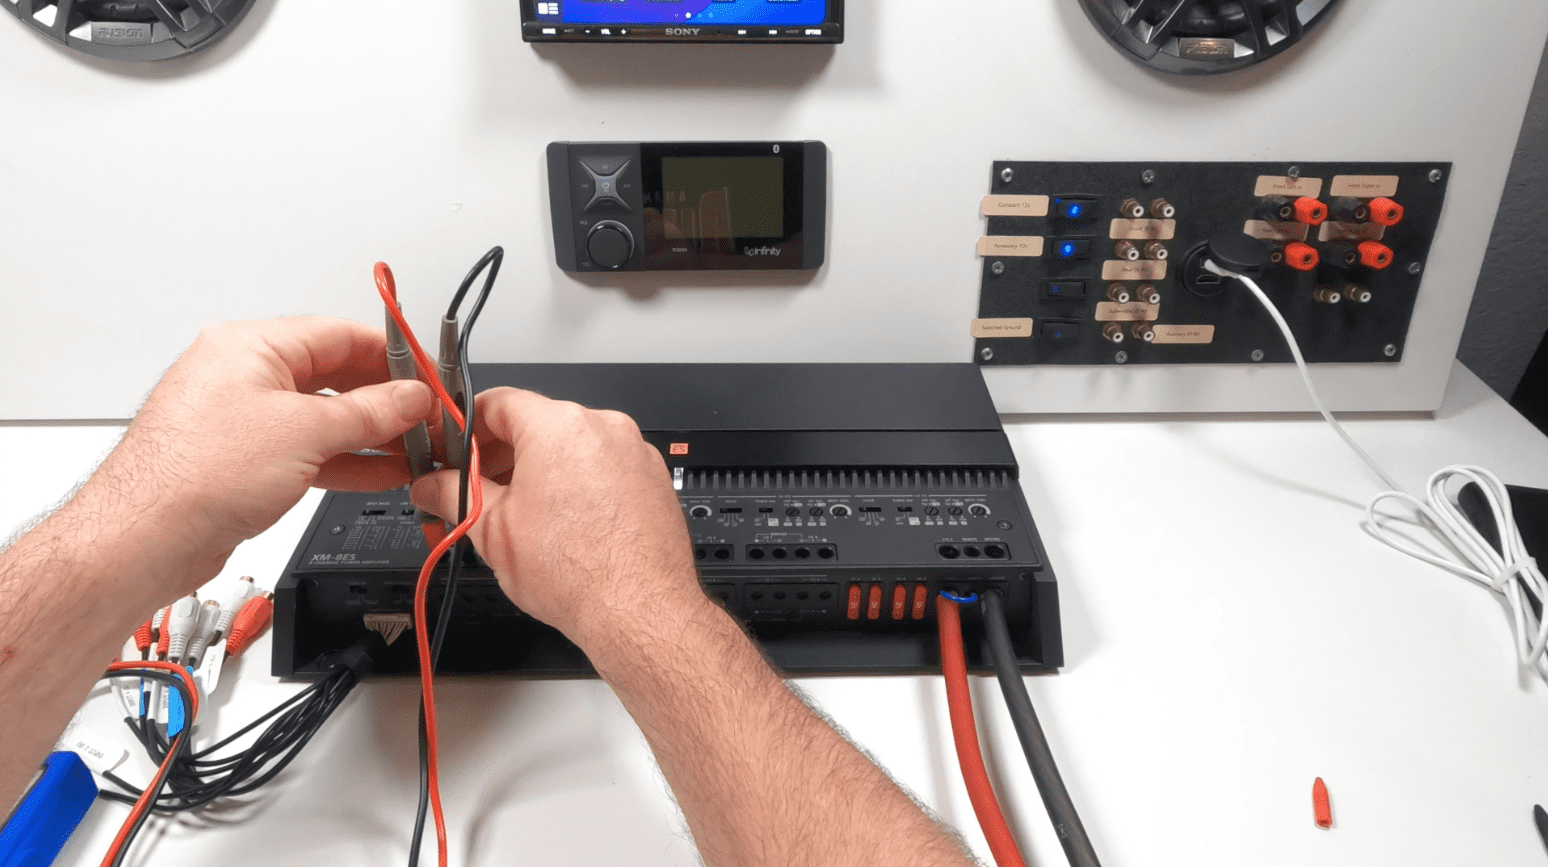
This involves connecting the RCA output from the head unit's preamp out directly into the top of the DD-1 to determine the volume level where distortion starts to creep in. This level represents the highest clean output your head unit can produce, and also serve as the foundation for setting the amplifier gains next.
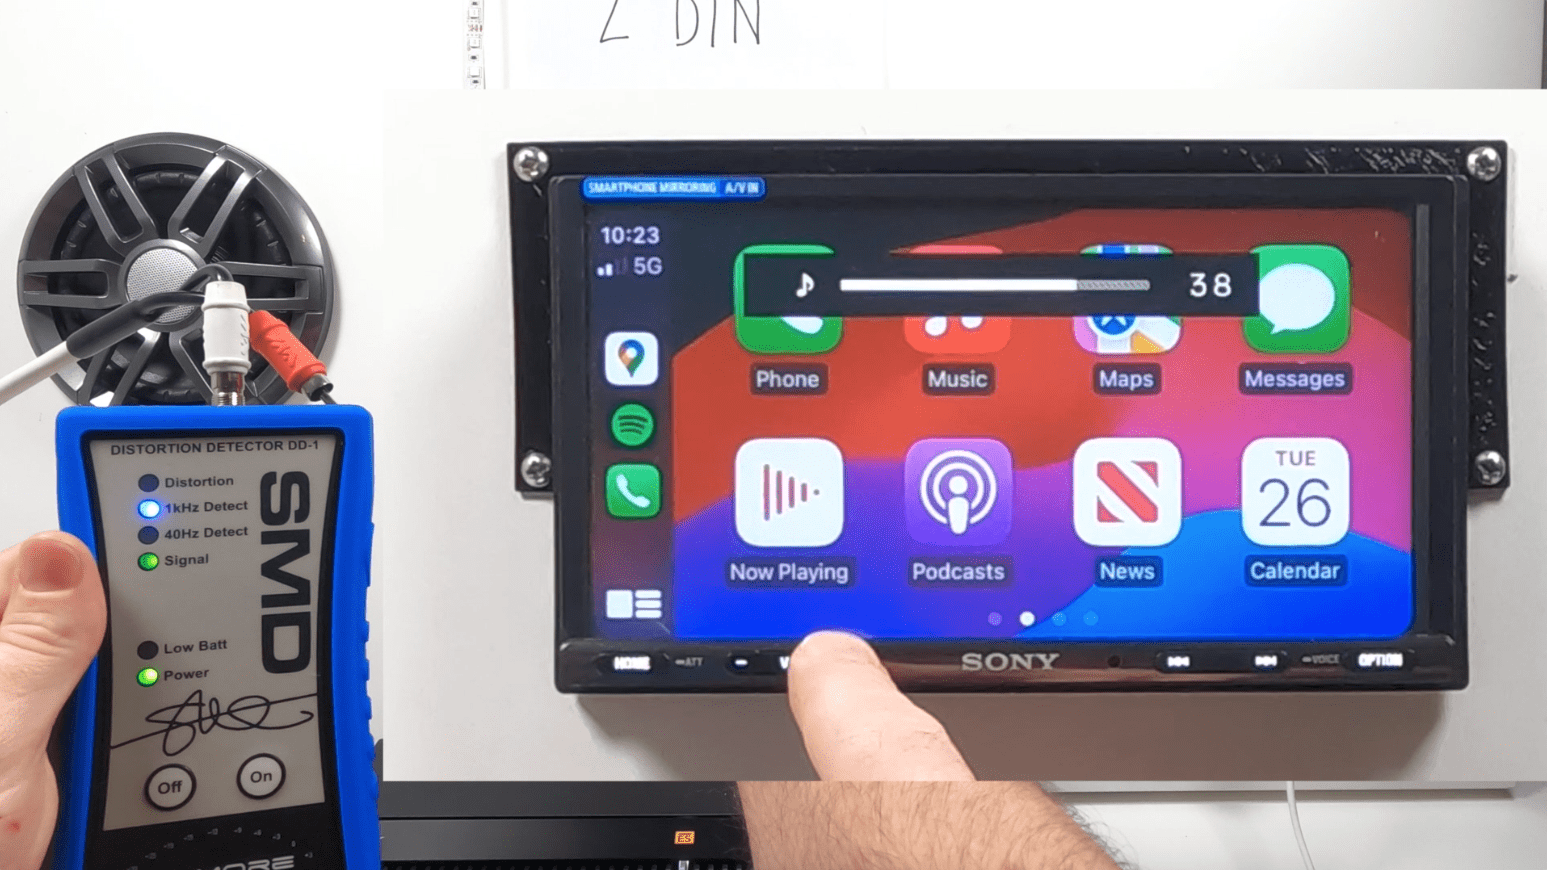
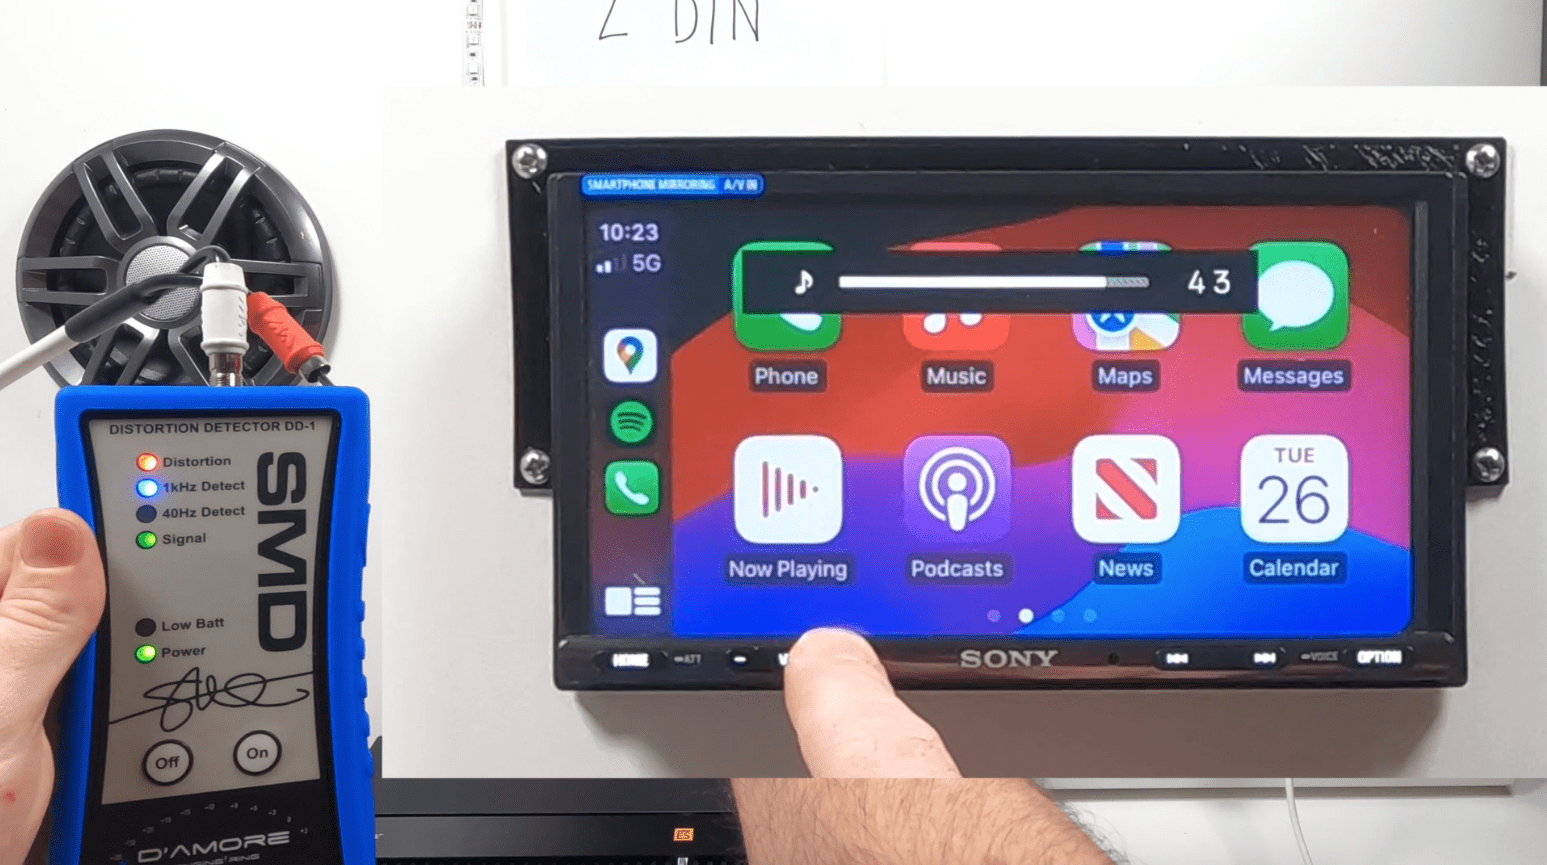
This also gives you a good sense of the maximum volume you should ever use on your head unit. Exceeding this volume will distort the signal, which could ultimately damage your speakers or subs. So make a mental note of the volume number here for your setup.
The Amplifier: Setting the Gains for a Clean Output
Now that you have a clean signal level from the head unit established, the next focus shifts to the amplifier itself. Place the DD-1's provided harness on the speaker terminal that you'd like to tune the gains on. Positive to positive and negative to negative. Make sure that your crossover on the amplifier is either set to “Full” or that the crossovers won't otherwise filter out the 1k or 40 Hz signal as well.
Turn the gain on the channel up slowly until the red distortion light on the DD-1 comes on. Back the gain off just enough to turn the light off. And you're done!

Repeat this process for each channel of your amplifier one by one.
Wrapping Up: The SMD DD-1 Verdict
I think whether you're a DIY enthusiast tweaking your own system over the weekend or a professional installer seeking efficiency and accuracy, the SMD DD-1 is an invaluable tool. Its incredibly simple to use and virtually dummy proof. The up front cost might seem steep for some, but if it helps prevent a blowout just once, it'll pay for itself with ease.
Setting your gains like this will serve as the ‘maximum' that your system can handle without risking damage due to a distorted signal. And if you're really looking to customize and tune your system, you can then take and further refine the gains and your equalizer with an RTA microphone to tailor your sound curve for well-rounded sound.
