

The short version
I think that the SPHERA is the most complete floating-screen head unit Pioneer has built. It’s the first head unit from anyone that ships with a microphone and the software to tune your car's speakers for you. It is also the first aftermarket receiver that decodes Dolby Atmos, even though it’s currently only available through Apple CarPlay, using one of the select apps: Apple Music, Apple Music Classical, Audible and Wondery. Honestly, if you are an iPhone and Apple Music household, this is probably one of the most unique head units in 2026. In Part 2 (TBD), I’ll tell you whether the Atmos and tuning functionality justify the price point and the loss of HDMI inputs. If you are an Android or Spotify user, right now you’d be paying around $1,300 for at least one feature you cannot use (Atmos). The WT6000NEX, at $200 to $400 less depending on sale pricing, might be worth a look if you’re not sold on the auto tuning functionality in the SPHERA and don’t want to wait for Atmos to become available (no timeline at this moment).
There were a couple things that stand out with this unit:
- Microphone and auto tuning software (+ Atmos). This is hands down the most innovative feature on the unit in my opinion. For audio enthusiasts such as myself, having the ability to place a microphone on your headrest and let the head unit do the rest is incredibly functional and totally unique. I think all head units that emphasize audio quality and audio experience as their primary function (calling out Sony’s ES lineup) should include something like this. The Atmos and Spatial Audio are really cool as well but pretty limited right now which is why, to me and at the time of writing this article the microphone and tuning capabilities are actually a bigger deal.
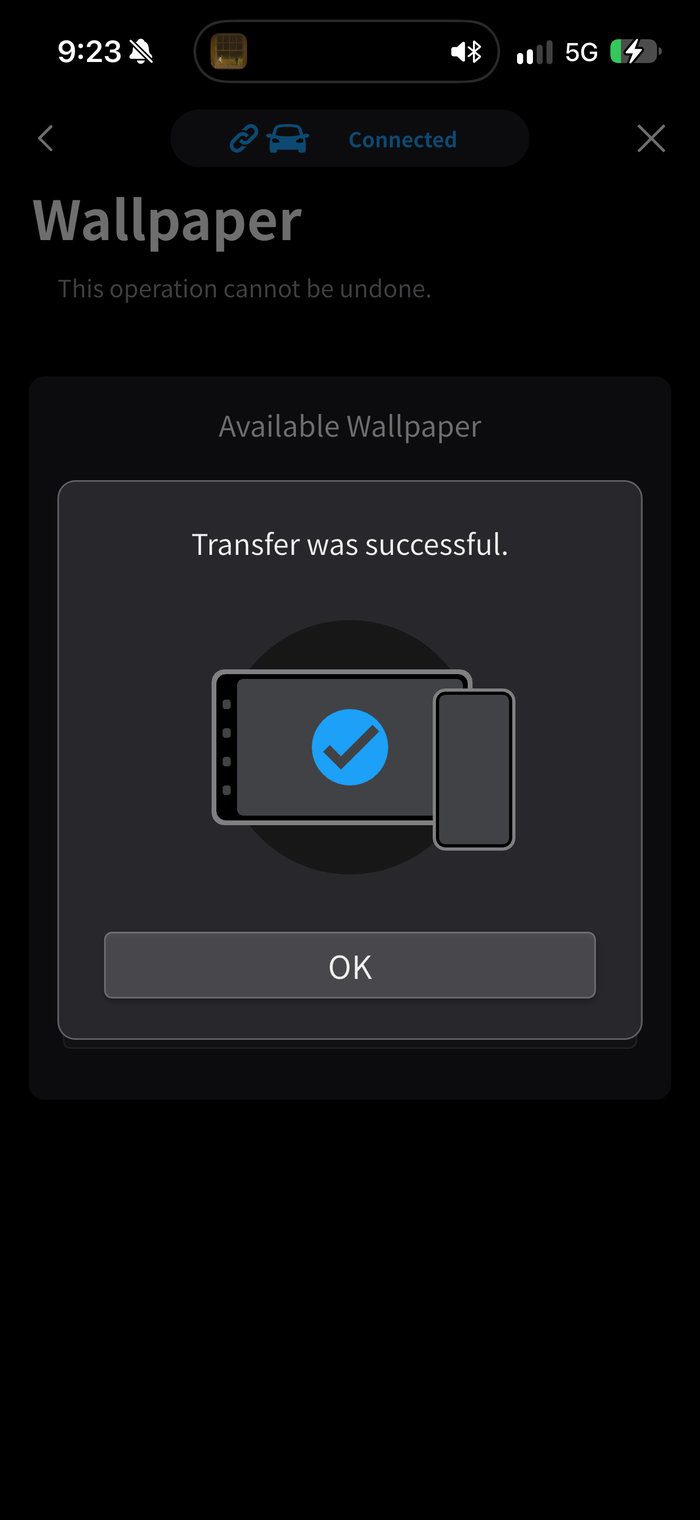
- The PxLink app with its remote, wallpaper and firmware update features. The remote control features are nice, but the firmware and wallpaper functionality is what made it stand out to me. I loved that you can quickly bring the unit up to speed with the latest firmware and customize the background image wirelessly by selecting an image from your phone.
- Generally, I like Pioneer’s user interface better than some of the competitors. The homescreen customization, settings and navigation and quick buttons are a little more intuitive to me and easy to use.
I think it’s best for: iPhone users who want a big screen, wireless CarPlay, and a tuned stereo they don't have to do themselves. It is not for: Android households, anyone who needs HDMI, or anyone building around a hand-tuned parametric EQ.
Pioneer DMH-WT8000NEX
1-DIN floating 10.1″ · Dolby Atmos via CarPlay · calibration mic
★★★★½ 4.7
Also used in this review
- Check price at AmazonHDMI-to-RCA converterWonlyus. Turns my Fire TV's HDMI into composite, since the SPHERA has no HDMI input.
- Check price at Amazon3.5 mm-to-RCA AV cableEanetf. Swap the yellow and red plugs or the screen stays black (here's why).

In this review: I unbox the WT8000NEX, walk through every piece of hardware, and hook it up to my test bench to demo the features and settings – including exactly how the Dolby Atmos modes switch on and off.
- The short version
- What the SPHERA is, and the one thing to understand about Atmos
- How I tested it for this review
- Unboxing and what's in the box
- Screen, chassis and fit
- Autotuning: the feature I'd buy it for
- Dolby Atmos and Stereo Spatial Sound: how it works on the unit
- Luminous Bar
- Video and multimedia: what you lose without HDMI
- Everything else, in the order you'll search for it
- What I couldn't test here
- SPHERA vs the alternatives
- Specs
- Pros and cons
- Who should buy it
- FAQ
What the SPHERA is, and the one thing to understand about Atmos
Let’s start out by talking about what the SPHERA is and what it does. The DMH-WT8000NEX (Pioneer calls it SPHERA for “Spatial Audio For All”) is a 10.1-inch capacitive touchscreen on a single-DIN chassis, the same two-piece floating format as many other units, such as the Sony XAV-9500ES and XAV-AX8500, I've reviewed. It is a digital media receiver, so no disc drive and no built-in navigation. It launched at CES in January 2026 and started shipping in April 2026 at $1,300. I confirmed this with Pioneer – it does not replace anything or necessarily compete with anything in its lineup. It serves a unique purpose. Pioneer still sells the DMH-WT8600NEX next to it at $1,500 so the way to read the two is a trade off: $200 less, Dolby Atmos and the calibration mic in, no HDMI. Pioneer told me it sees them as two different buyers – SPHERA is the flagship for Atmos and spatial audio through CarPlay, and the WT8600NEX stays on as the reference unit for people who want maximum flexibility in a head unit, including micro-HDMI and hi-res audio.
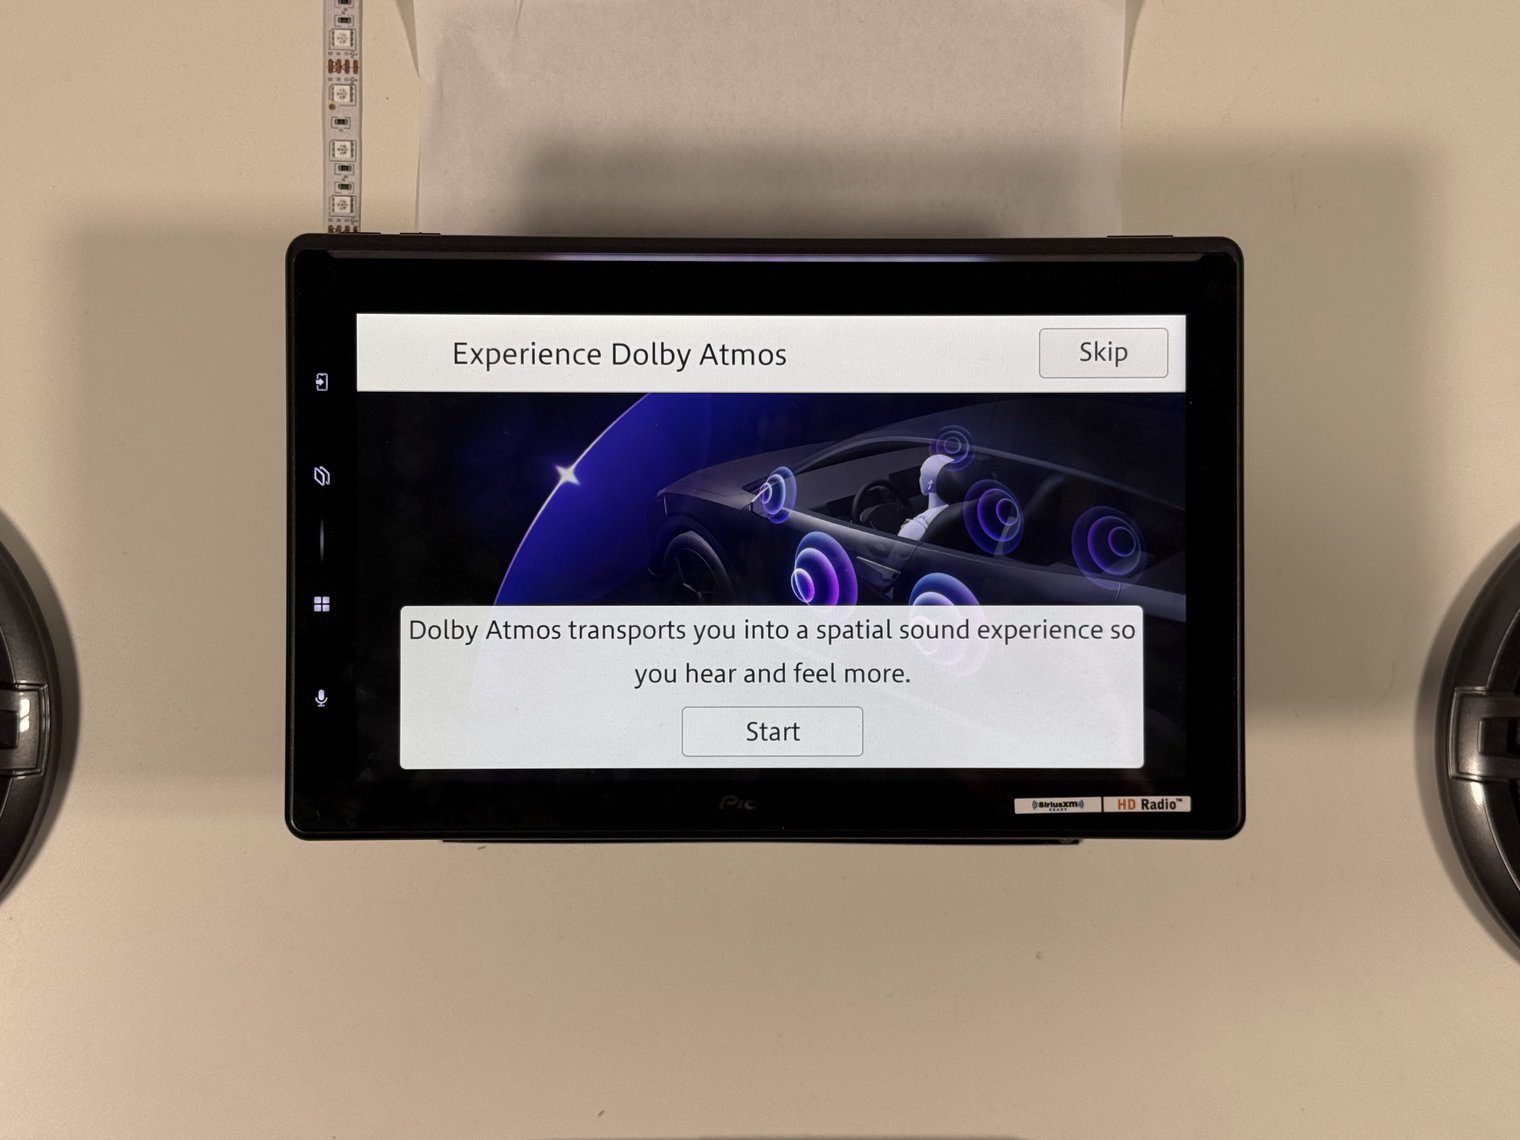
What makes it different from others in its lineup (and on the market) is the audio processor. A typical stereo output signal locks every instrument into a left or a right channel. Dolby Atmos is object-based – a mix can carry up to 128 separate “objects,” each with its own position in three-dimensional space, and the playback device decides how to place them across whatever speakers exist. That is how Pioneer can claim Atmos with four door speakers and nothing in the ceiling. The decoding is real Atmos. The rendering is a four-channel virtualization, using the measurements from the calibration mic to fake height and a center image.
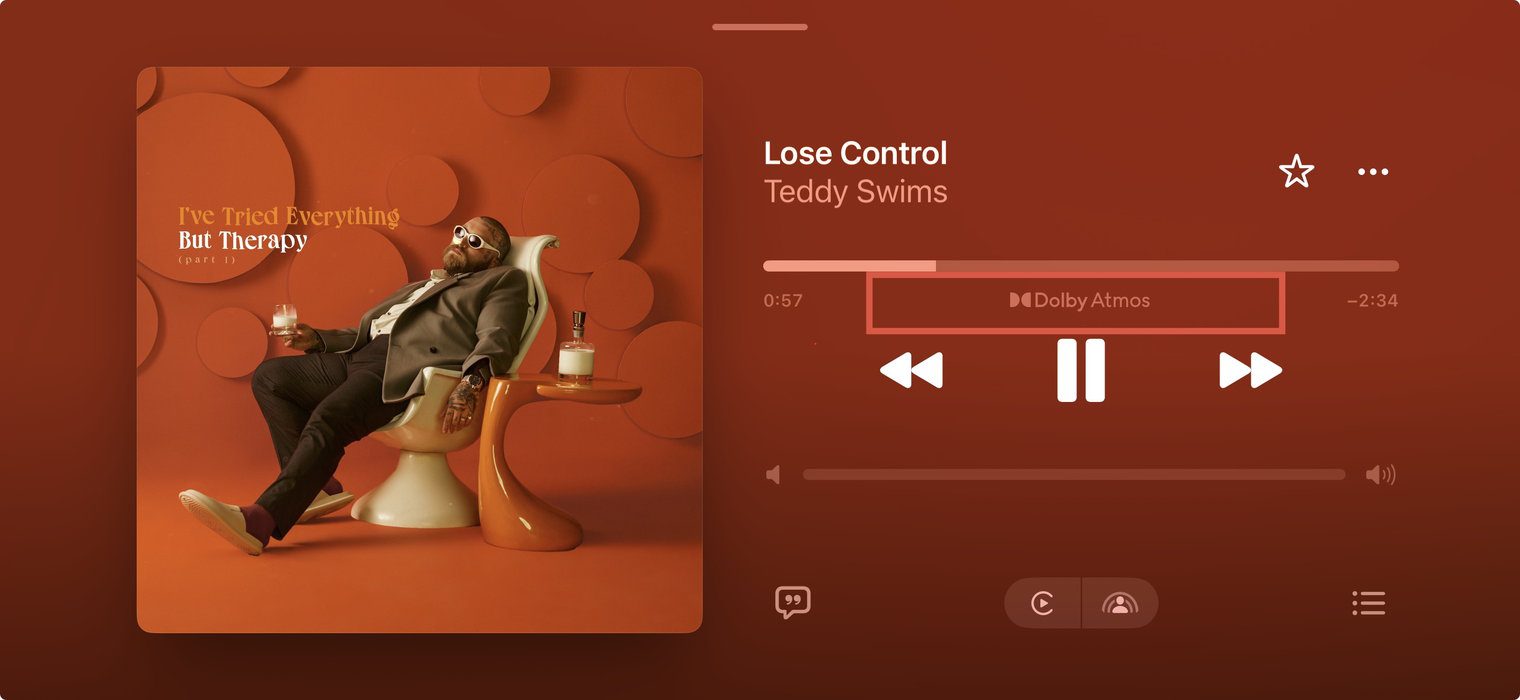
The only downside to the way Pioneer integrated Atmos right now is availability. Because it’s an early adopter of the tech, the underlying platforms that support Atmos (Apple, Google, Spotify, and so on) don’t even support it yet. And we don’t know when they have it on their roadmap. Atmos can only be used on the WT8000NEX through Apple CarPlay, wired or wireless, from apps that send an Atmos stream.
Here is the full table as of September 2026, from Pioneer's reviewer guide and Crutchfield's tech sheet.
| Source | What you get |
|---|---|
| Apple Music, Apple Music Classical, Audible, Wondery via CarPlay — Atmos-tagged content | Real Dolby Atmos |
| TIDAL or Amazon Music via CarPlay | No — Pioneer confirmed to me that both services carry Atmos in their own apps, but not when routed through CarPlay. Crutchfield lists TIDAL as an Atmos source; Pioneer says it is asking them to correct it. |
| Stereo tracks from any app via CarPlay | Stereo Spatial Sound — an upmix you can toggle |
| Spotify, Amazon Music, YouTube Music via CarPlay | Upmix only |
| Anything via Android Auto | Upmix only — Android Auto has no Atmos transport |
| USB, Bluetooth, AM/FM/HD Radio, SiriusXM, AUX | Plain stereo. The upmix is not available on these sources. |
Pioneer did tell me that more platforms are coming. But there is no date attached to that, and an Android owner should buy this unit as if Atmos does not exist at this point.
The second feature, and the one I think Pioneer should be leading with, is PURE Autotuning. This is the calibration microphone in the box I mentioned earlier that measures your cabin and sets time alignment, frequency response and channel levels in about six minutes. No current Alpine, Kenwood, Sony or JVC head unit does this. It works on every source and every phone, which makes it the feature most readers will actually use every day.
How I tested it for this review
To be clear, this is a bench review. I wired the SPHERA to my test board with a 12-volt supply, an accessory switch, reverse and parking-brake switches, a backup camera, the included GPS antenna, and a pair of 6½-inch coaxials. I did not run the Autotuning calibration on the bench – that is deliberate, and explained below.
The bench is enough to show you everything the unit does along with the settings, sources, and exactly when the Atmos modes switch on. It is not enough to tell you what Atmos sounds like, because Atmos renders to four speakers and a cabin. That listening test is happening in a separate article which is coming soon.

Unboxing and what's in the box
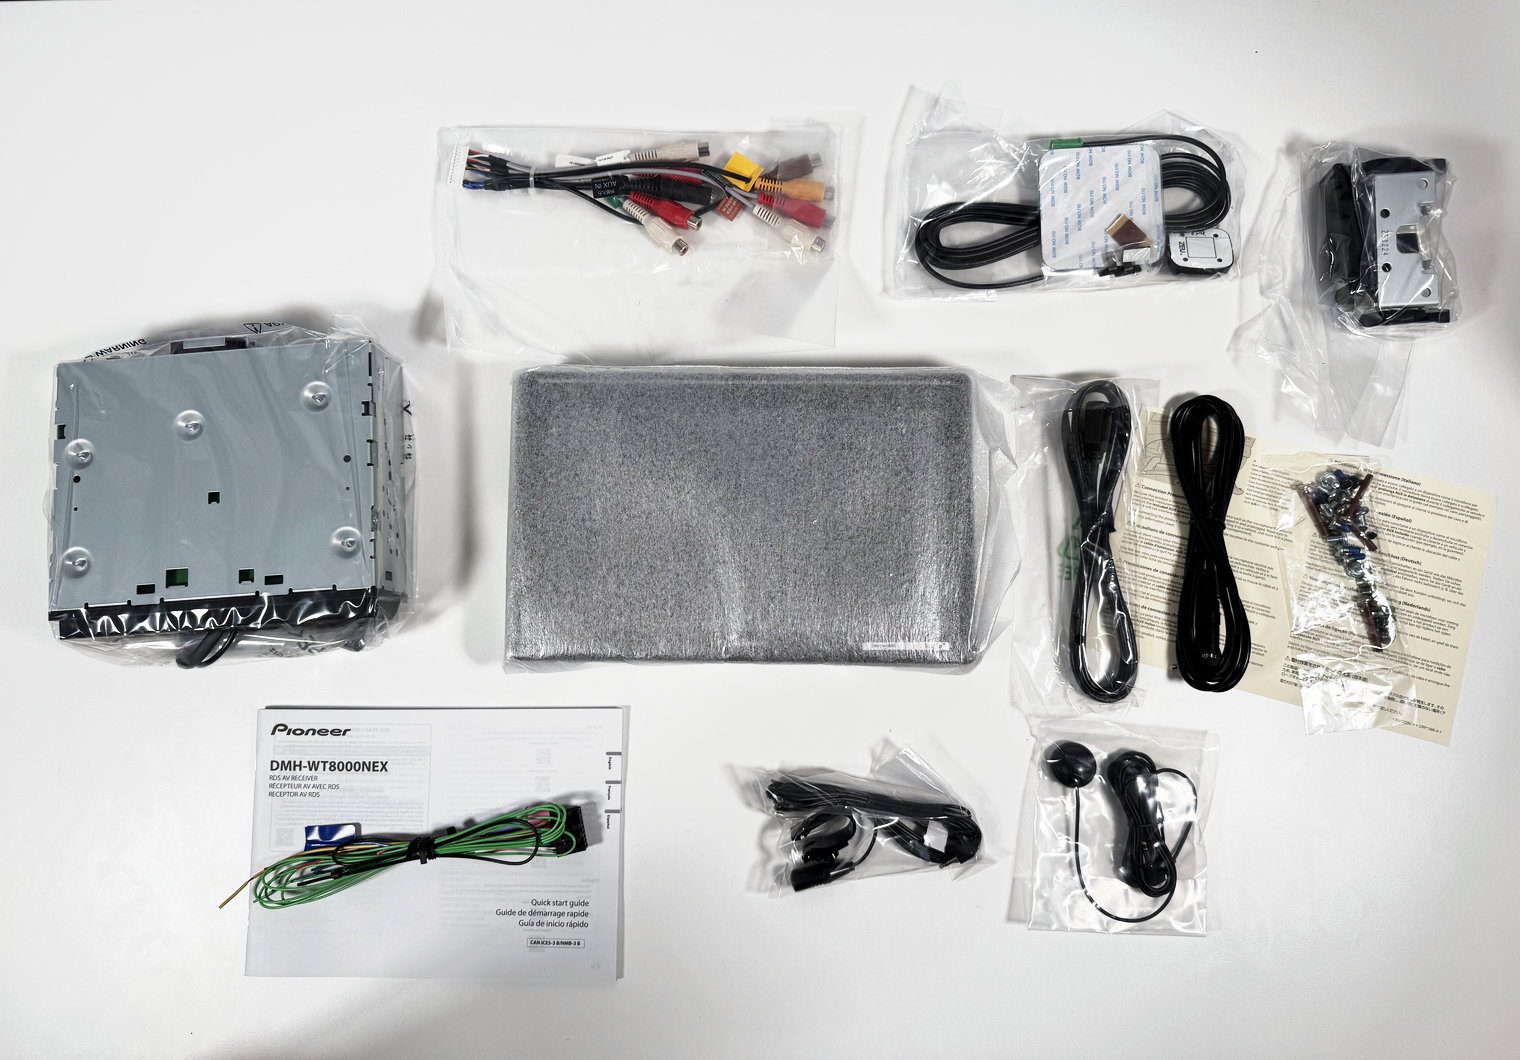
First impressions as I opened this box up for the first time – pretty standard to be honest. Packaged nicely and has all the hardware you need. The 10.1” floating screens always get me excited when I pull them out of the box. The quality of the screen looks and feels on par with the others I’ve tested but I’ll get into the screen quality later.
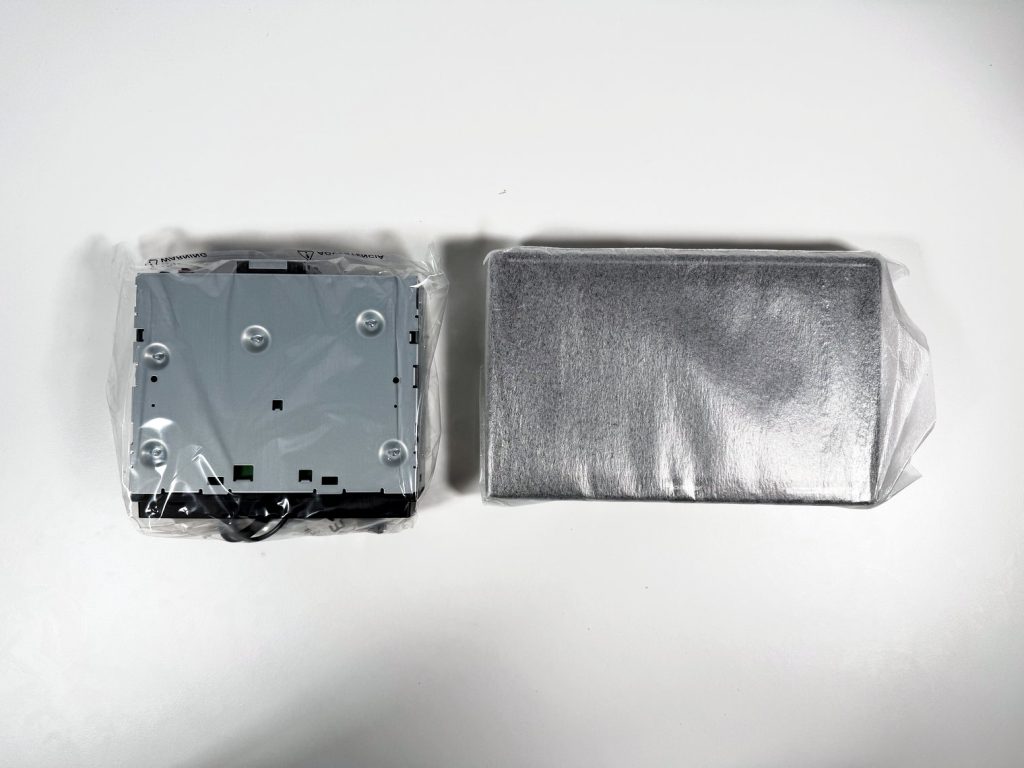
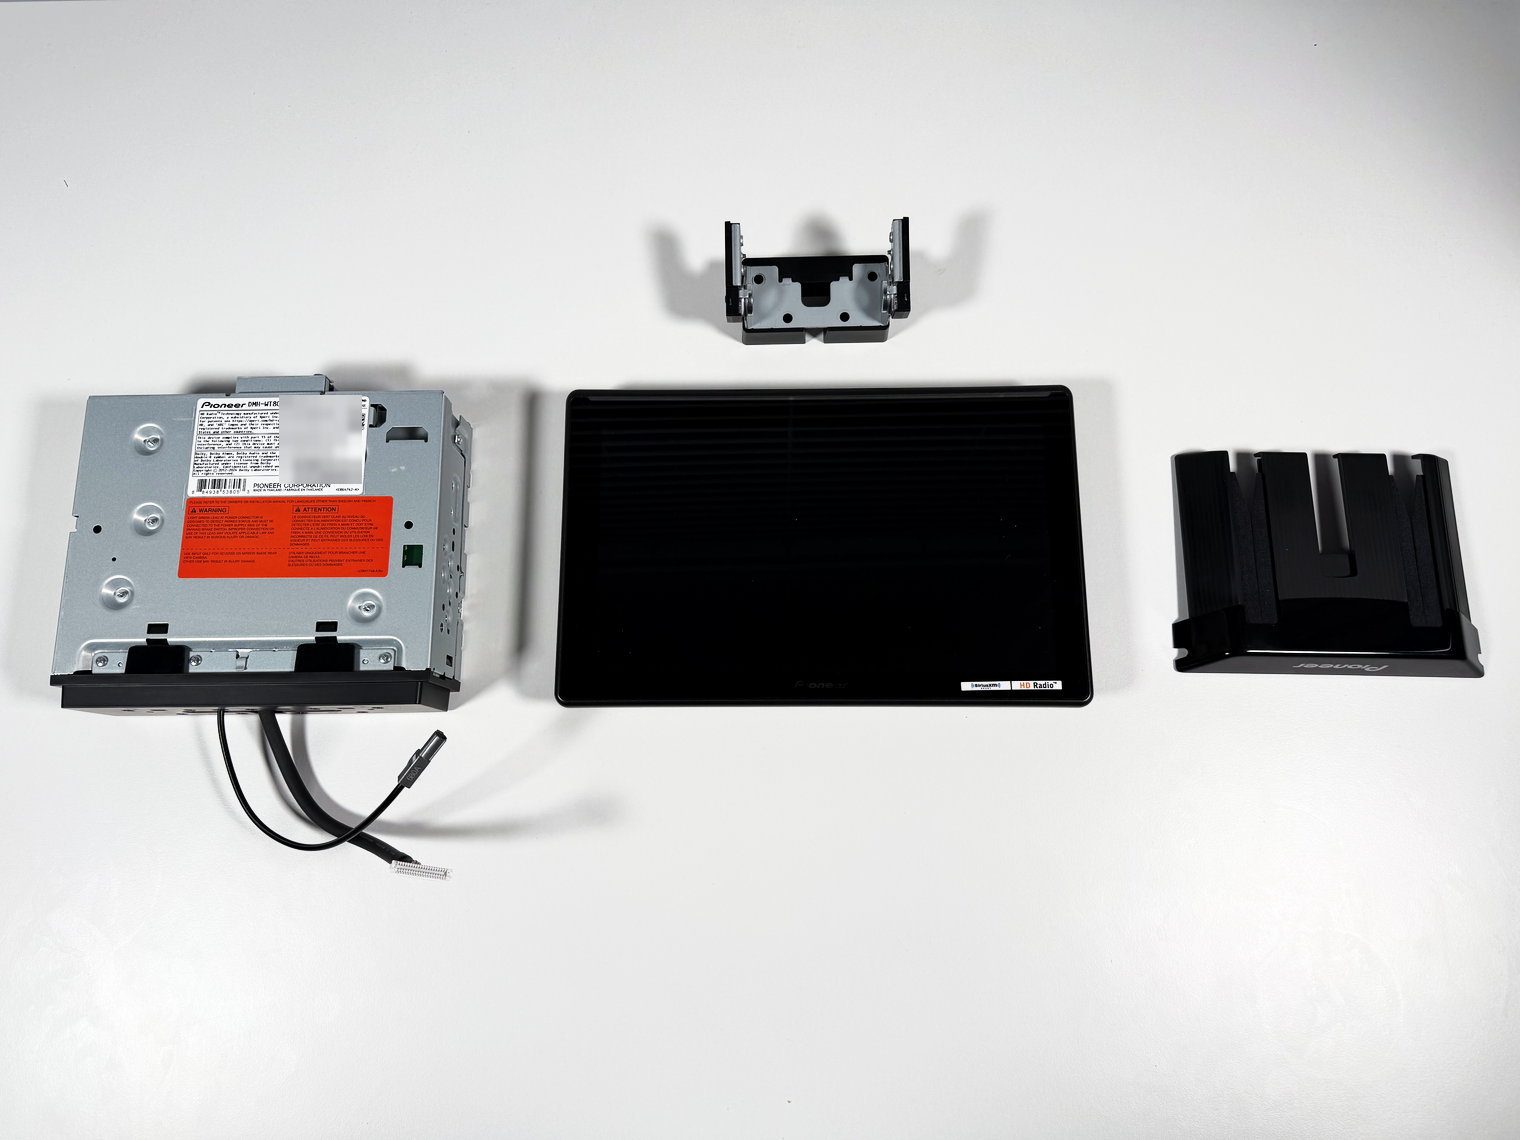
The layers go paperwork and harnesses on top, then the monitor in its own foam cradle, then the chassis beneath it. Pull it from its plastic bag and you are holding 10.2 inches of glass – the same footprint as the 9500ES. And if you have read my AX8500 review you will recognize the format immediately.
What's in the box
- 10.1-inch touchscreen monitor (rear cover pre-installed)
- Single-DIN source unit (10 A fuse)
- Main wiring harness
- Preout / A/V harness: three pairs of RCA preouts, two camera inputs, and the 3.5 mm A/V minijack
- 58-inch USB-A extension cable
- Hands-free microphone with visor bracket: 13-foot lead, 2.5 mm plug
- Calibration microphone: 6.5-foot lead, mono 3.5 mm plug
- GPS antenna: 11.5-foot lead, self-adhesive pad
- Monitor bracket and spacer, adhesive clips, two-sided tape
- Screw kit (M5 pan-head and countersunk, M4 in three lengths, M2)
- Quick Start Guide: the full manual is a download
A couple things worth calling out from that list. There are two microphones, and they are not interchangeable. You have the visor mic, which is for calls and goes in the MIC jack. And then the star of the show here which is the round one for calibration and goes in the A/V minijack on the harness. And it’s also worth noting that the GPS antenna is not optional on this unit. CarPlay and Android Auto maps need it, the PxLink app needs it, and the Luminous Bar uses it to know whether the vehicle is moving.
Screen, chassis and fit
The screen
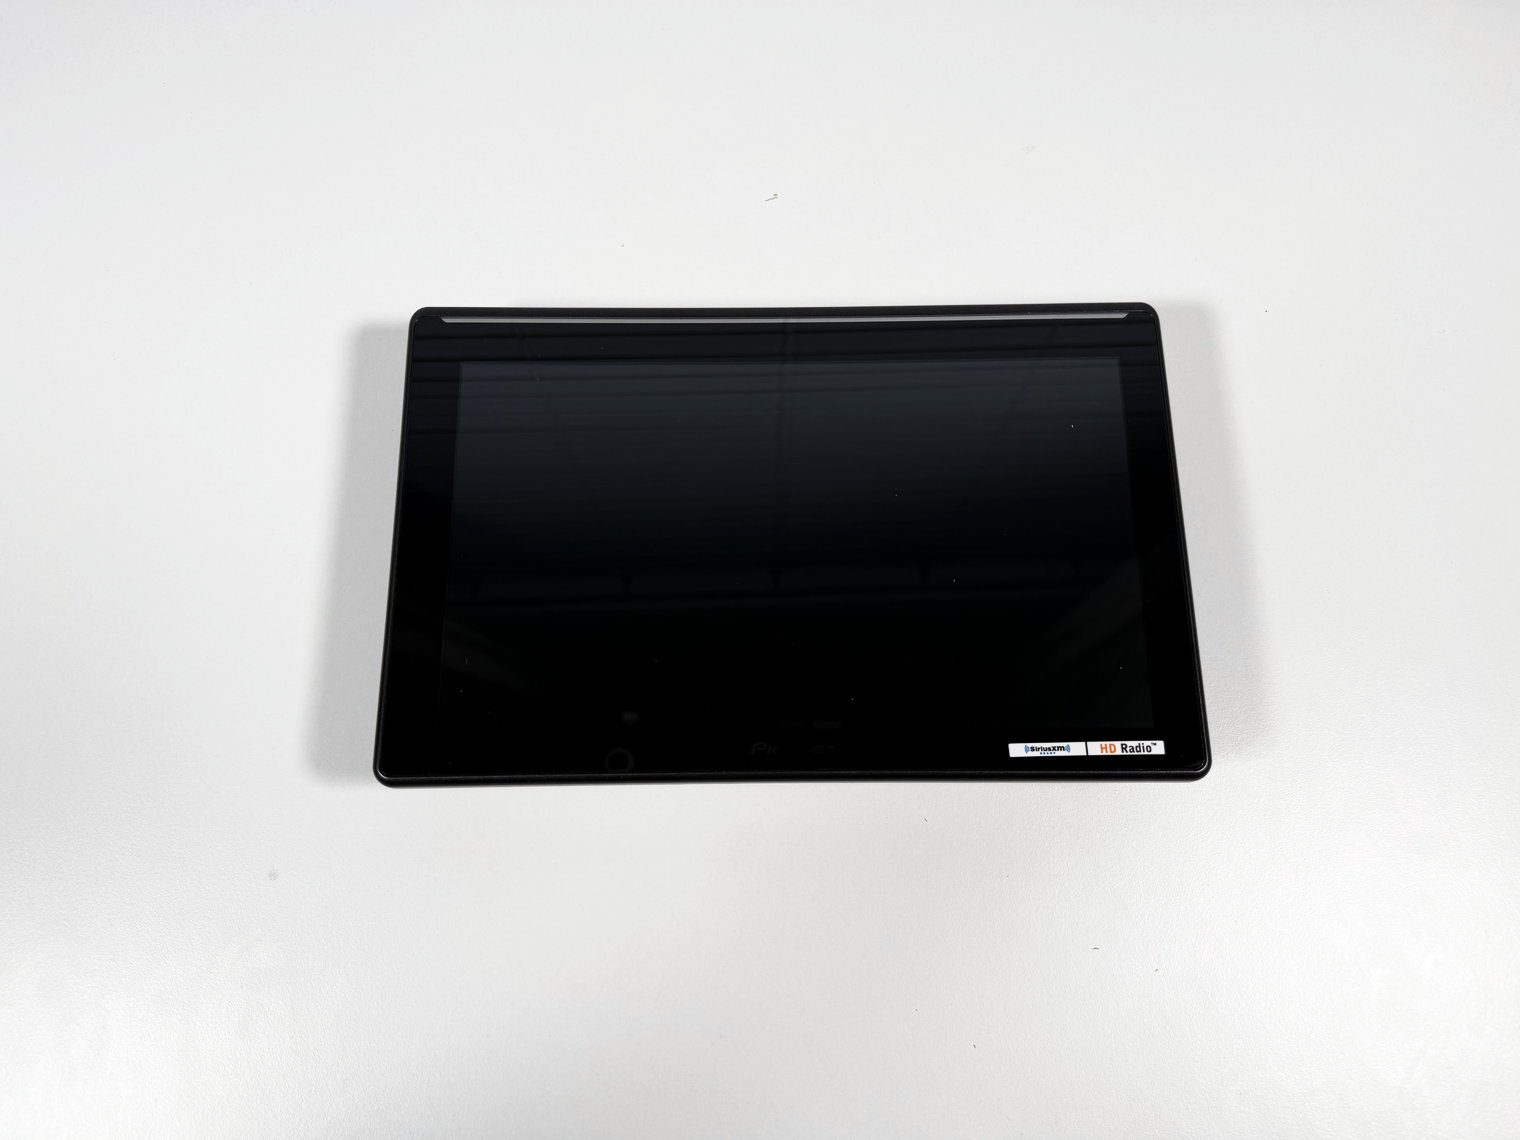
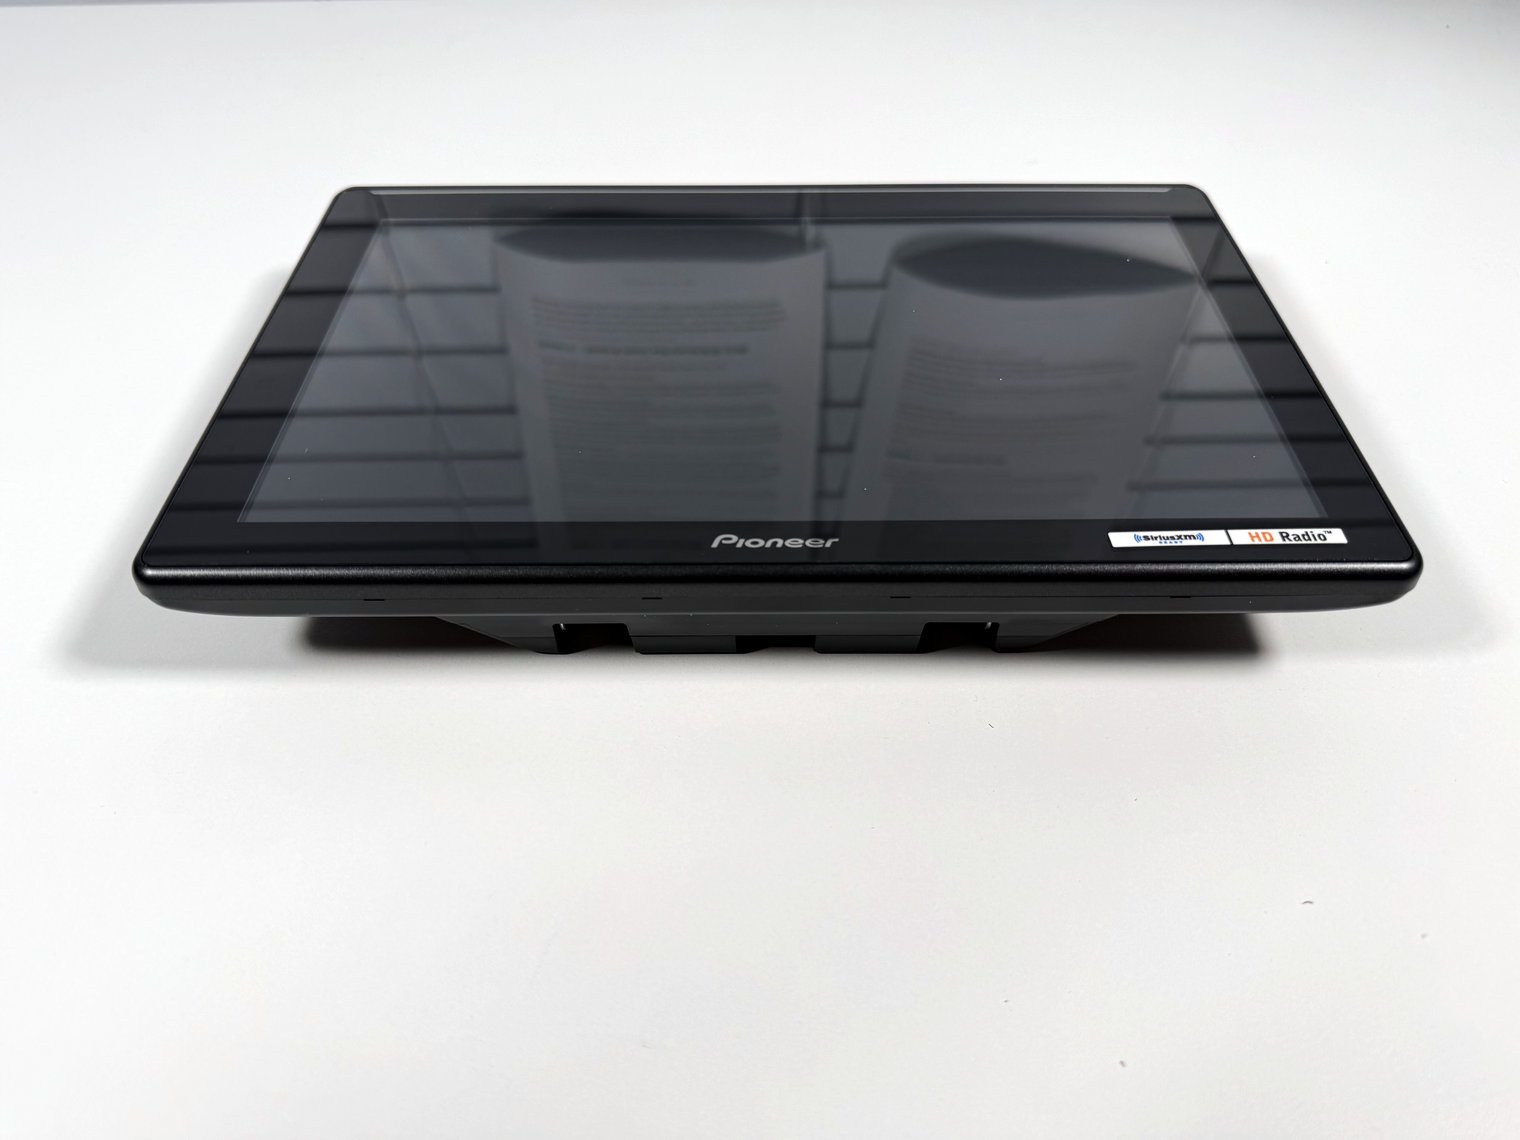
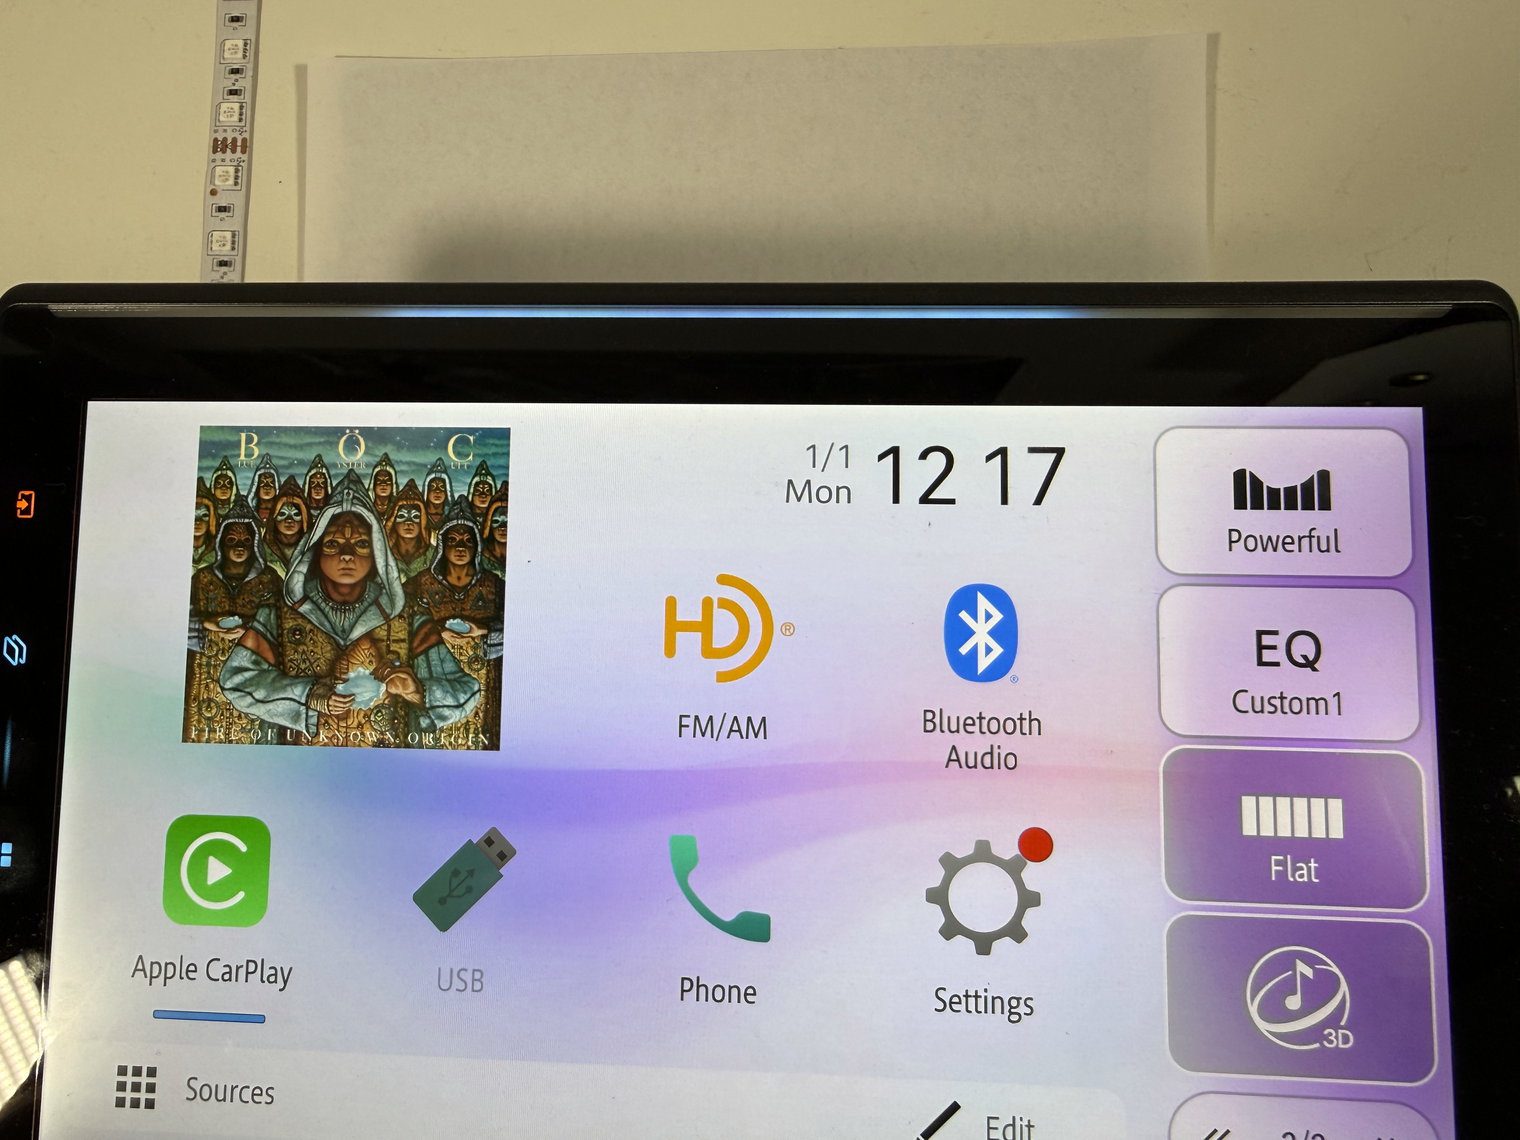
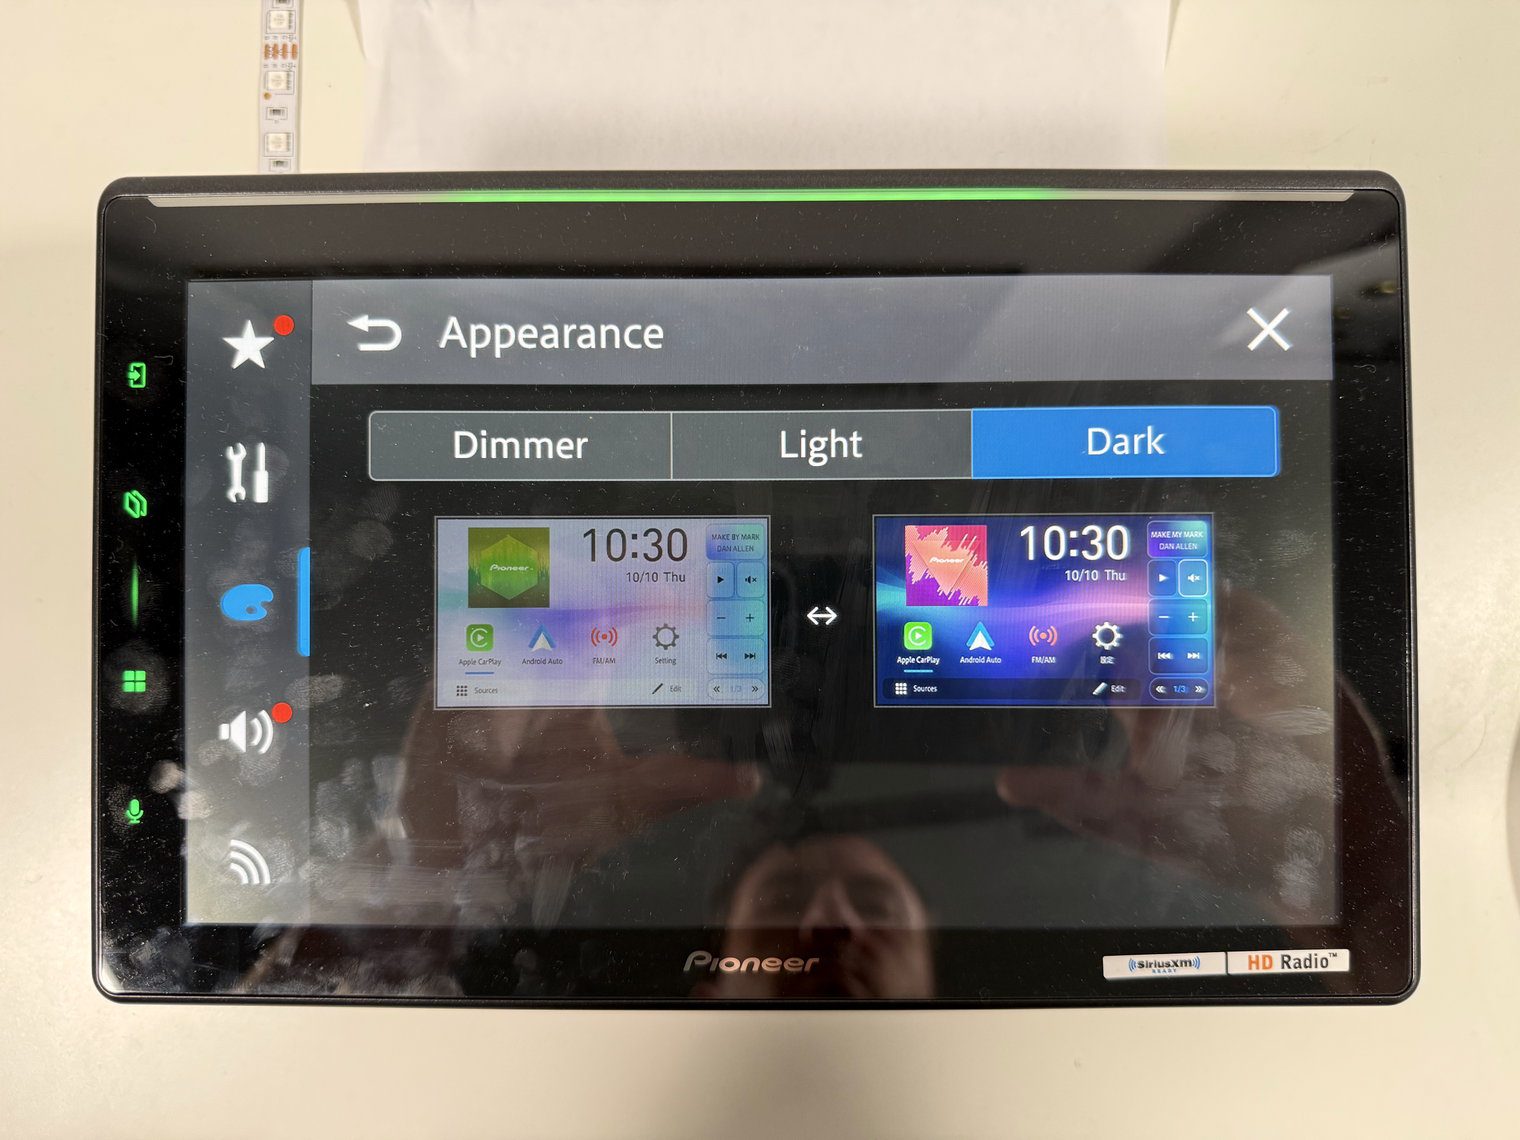
The panel is a 10.1-inch capacitive LCD at 1280 × 720 — 2.76 million pixels, LED backlit, multi-touch with pinch-to-zoom. That is the same resolution as every big floating screen in this class as of the time I wrote this review – from Alpine to Sony. And at $1,300 a few people will grumble that it isn't higher. But to be honest, with a 10-inch panel at arm's length I have never seen the case for more, and I said the same thing about the AX8500. There are Light and Dark interface modes, switchable in the settings, or by your headlight wire/dimmer. You also get picture controls for brightness, contrast, color, hue and white balance for each video source (e.g. A/V, USB, etc) including for the camera feeds.
One thing worth noting as well – there is no anti-glare and I did not put this in direct sunlight on my bench to test. That said, I expect this to operate like any other screen without anti-glare or matte coating. In most cases, that’s actually what I would prefer because there’s nothing impeding the view of the screen.
Buttons and the Luminous Bar
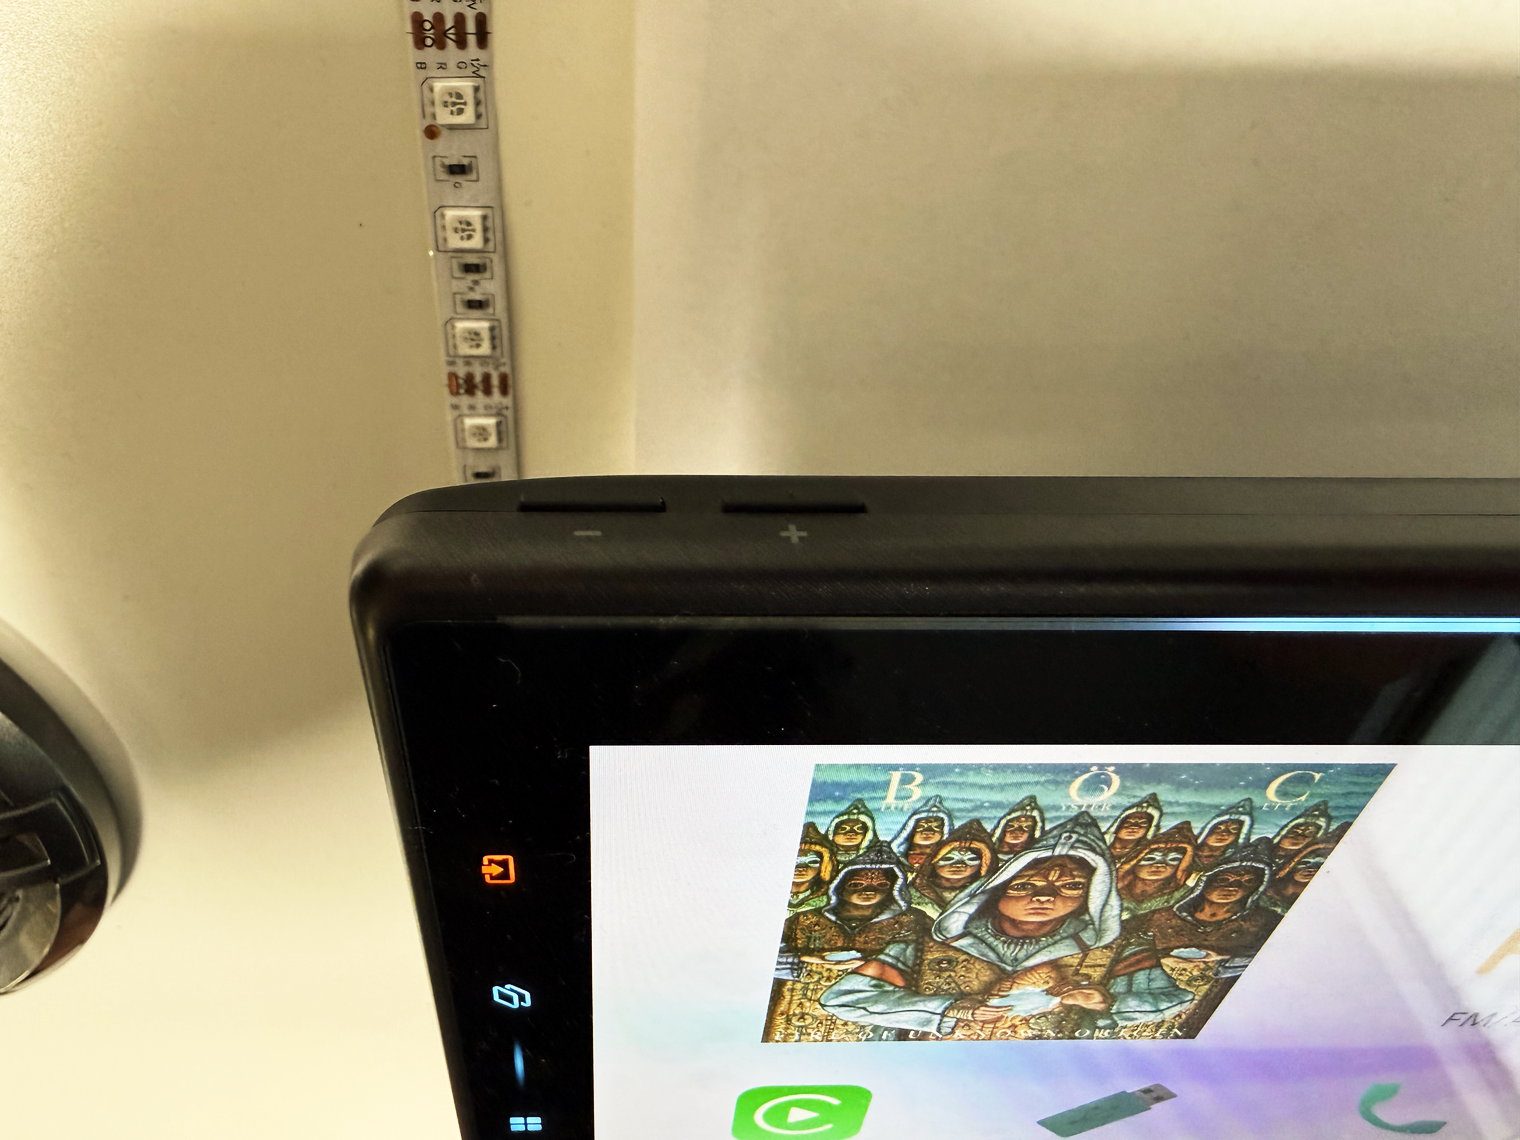
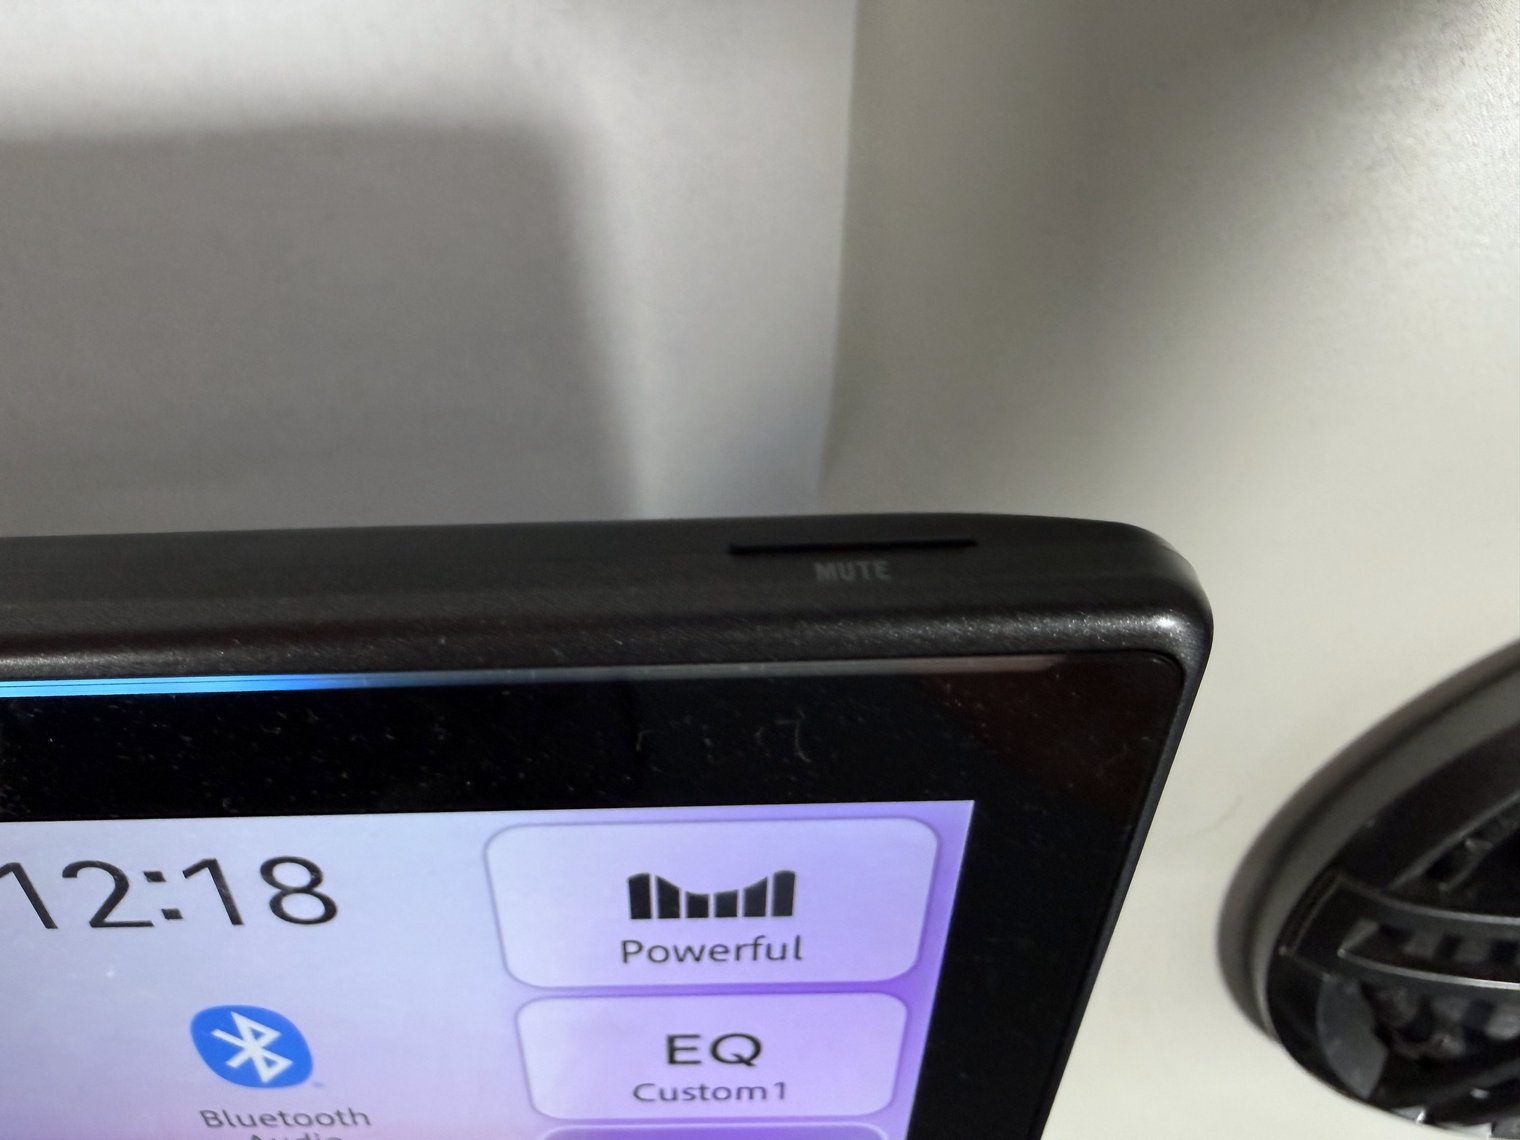
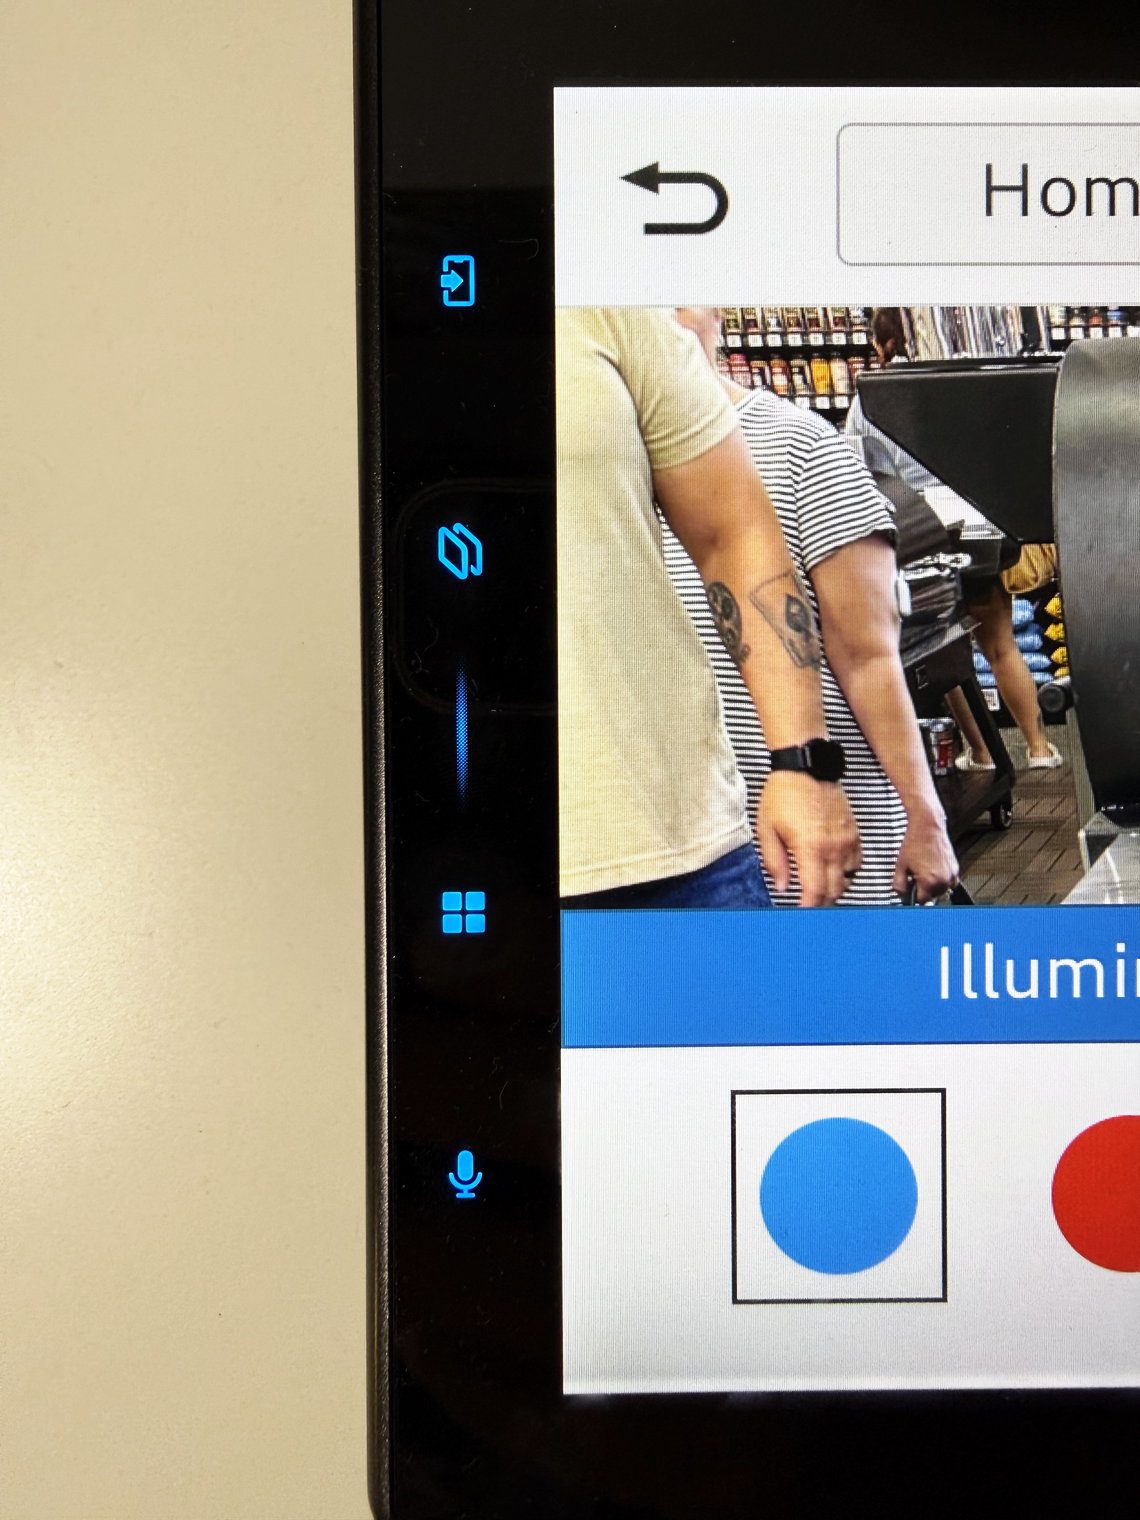
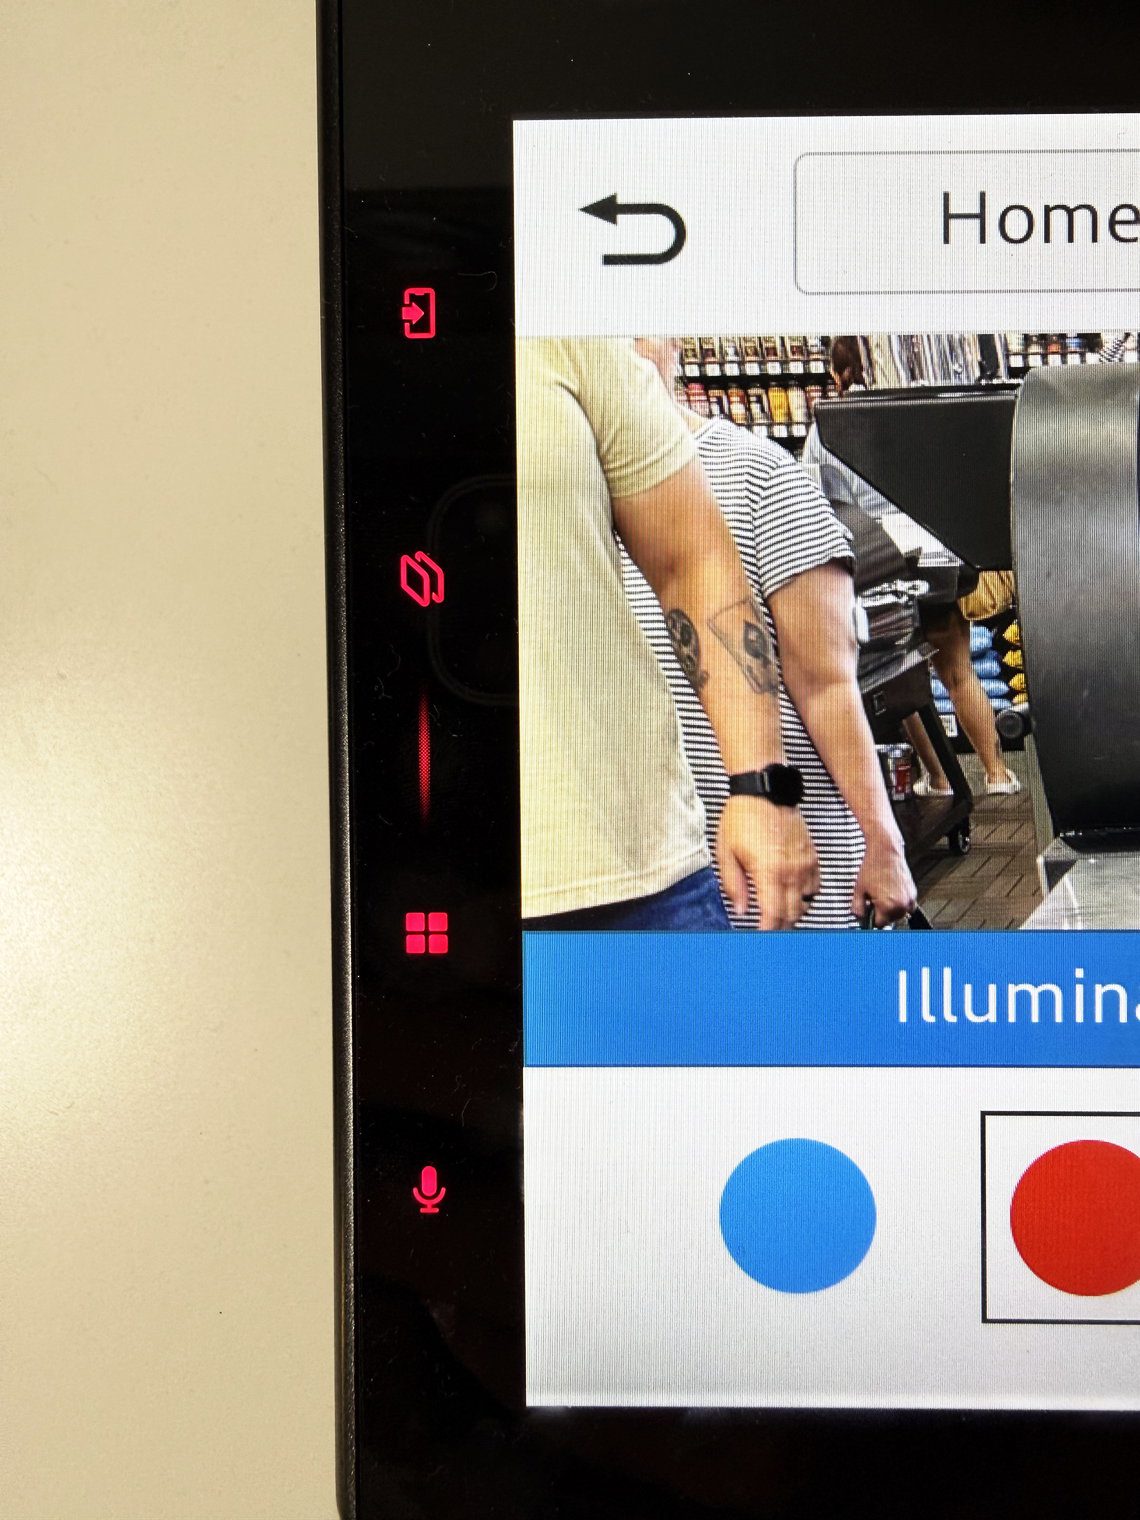
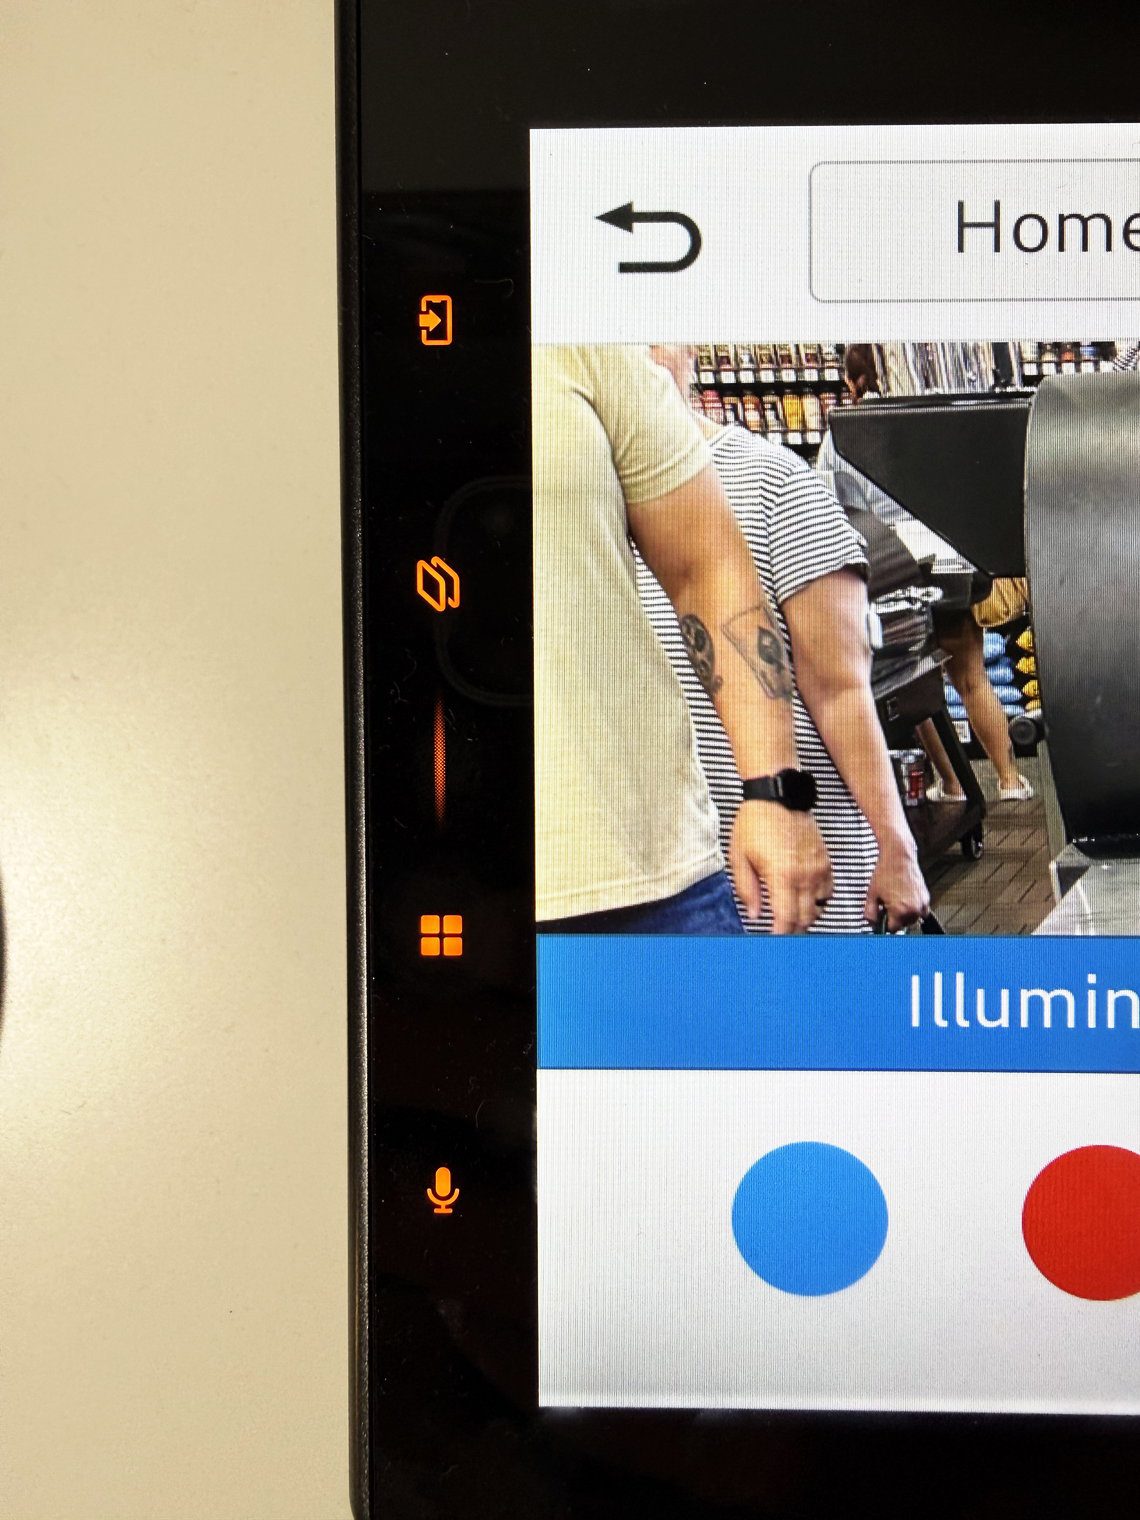
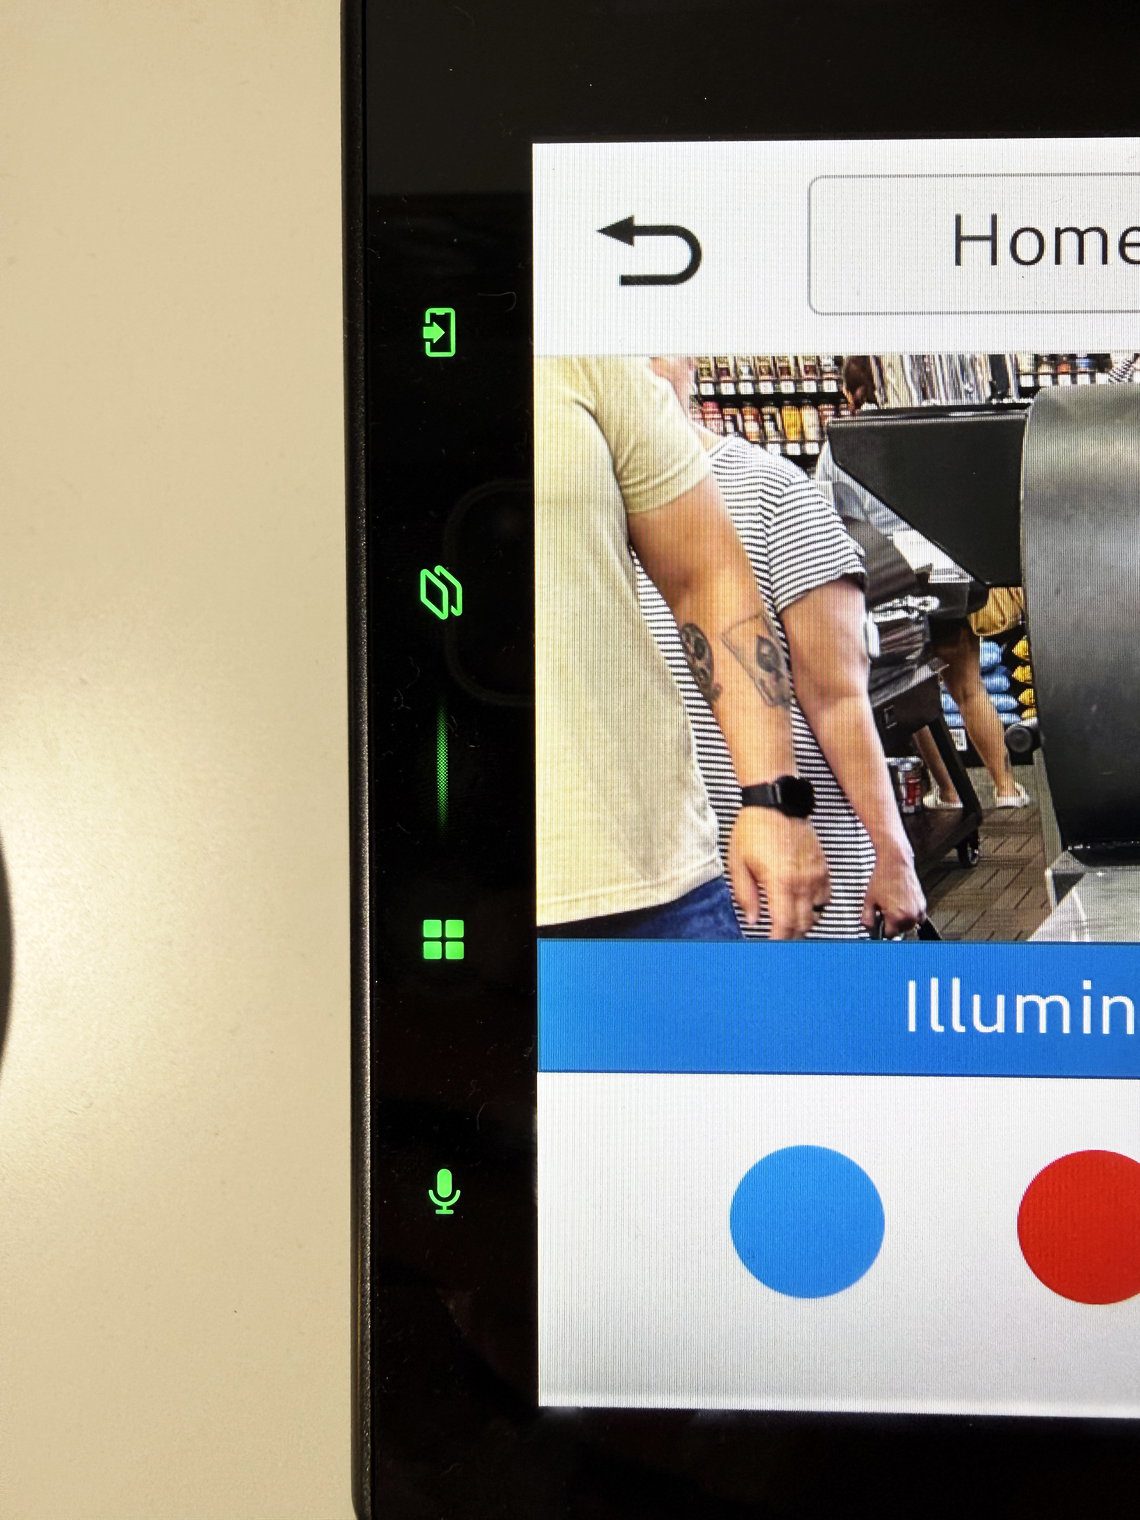
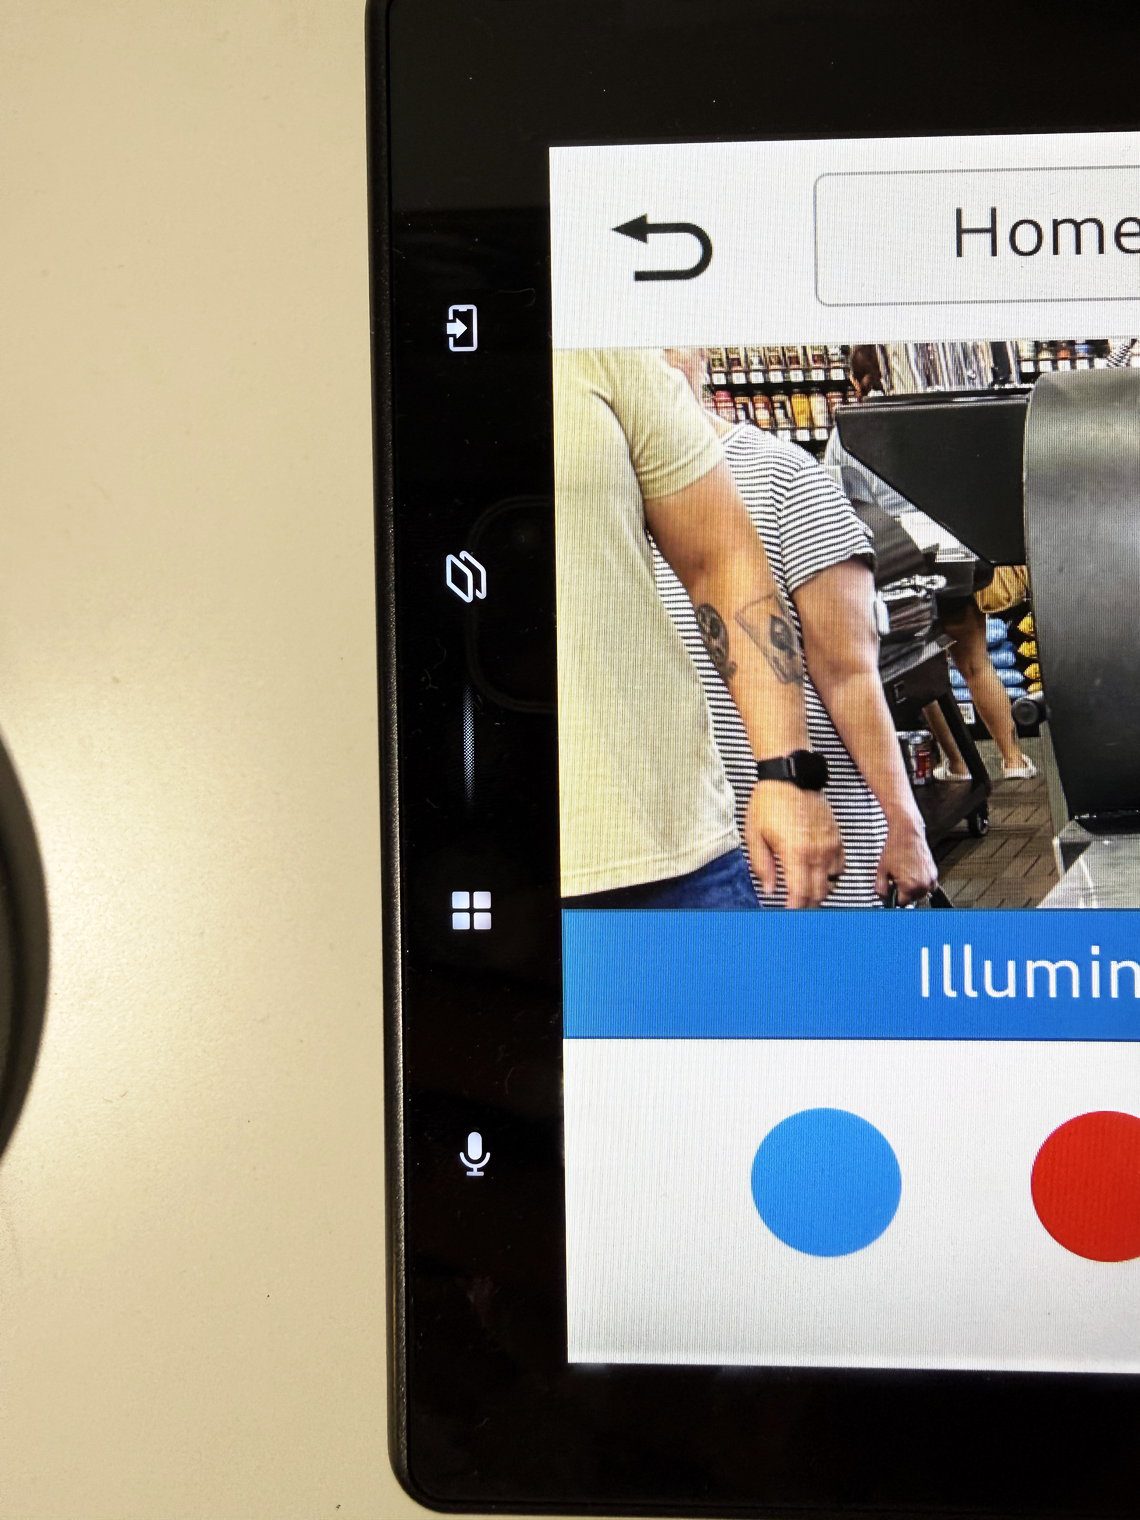
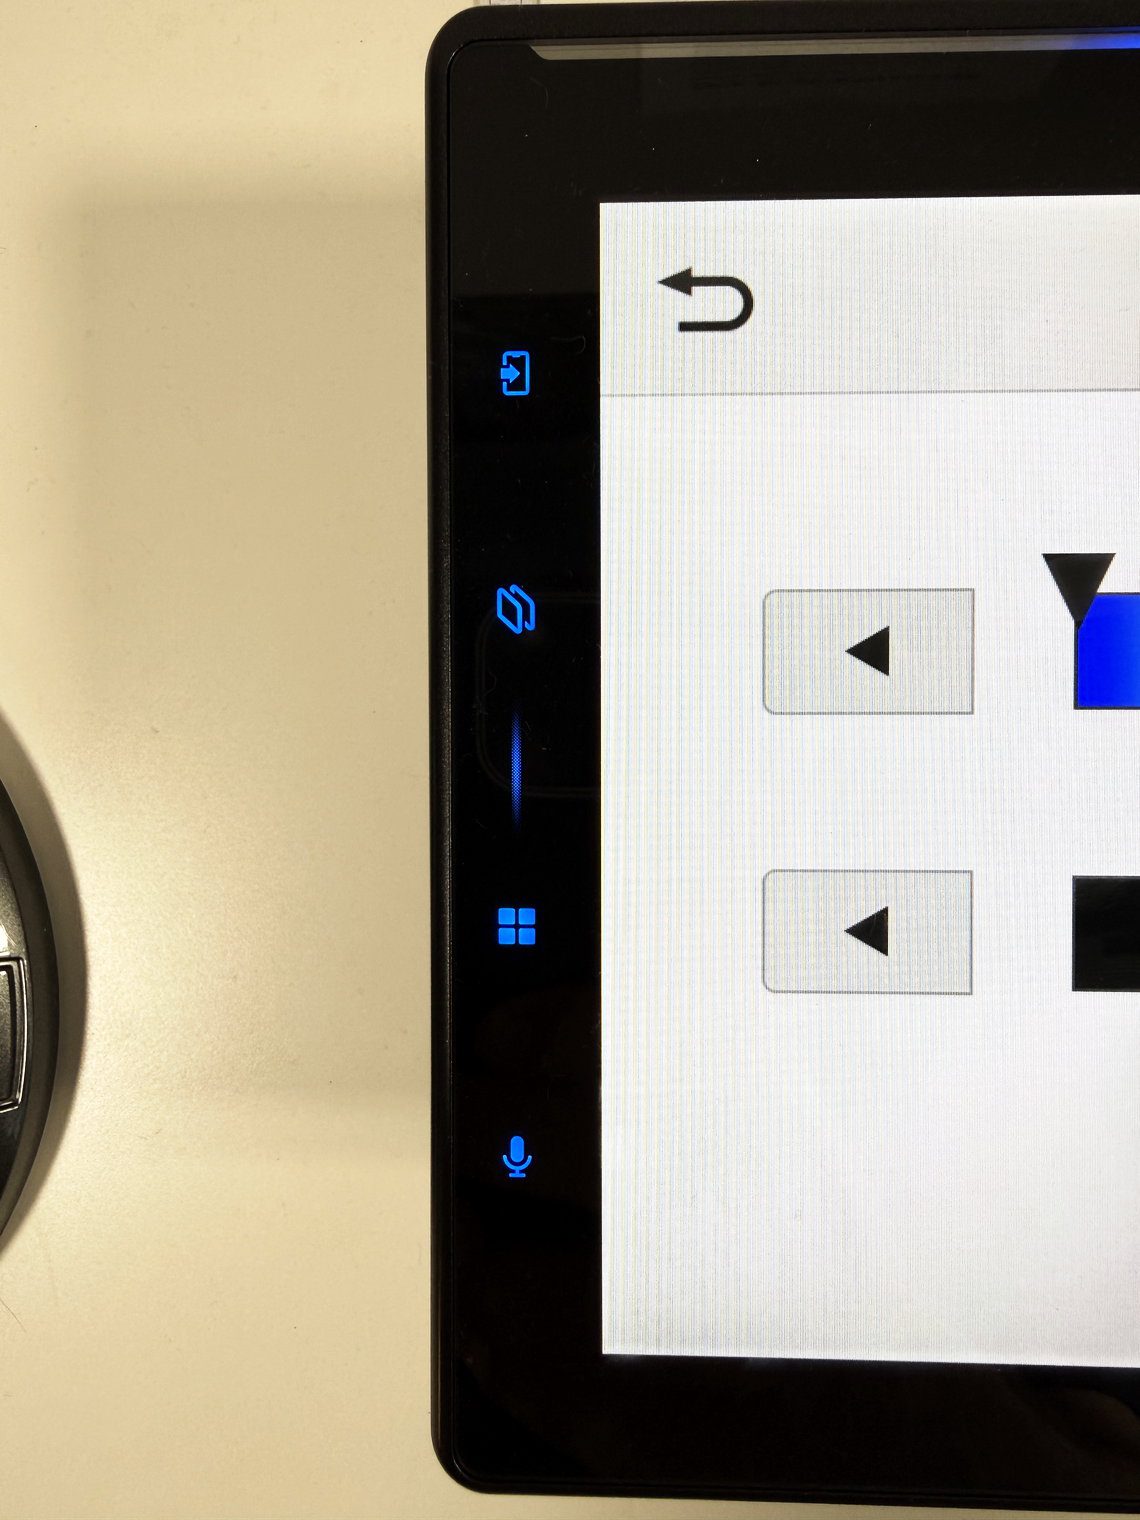
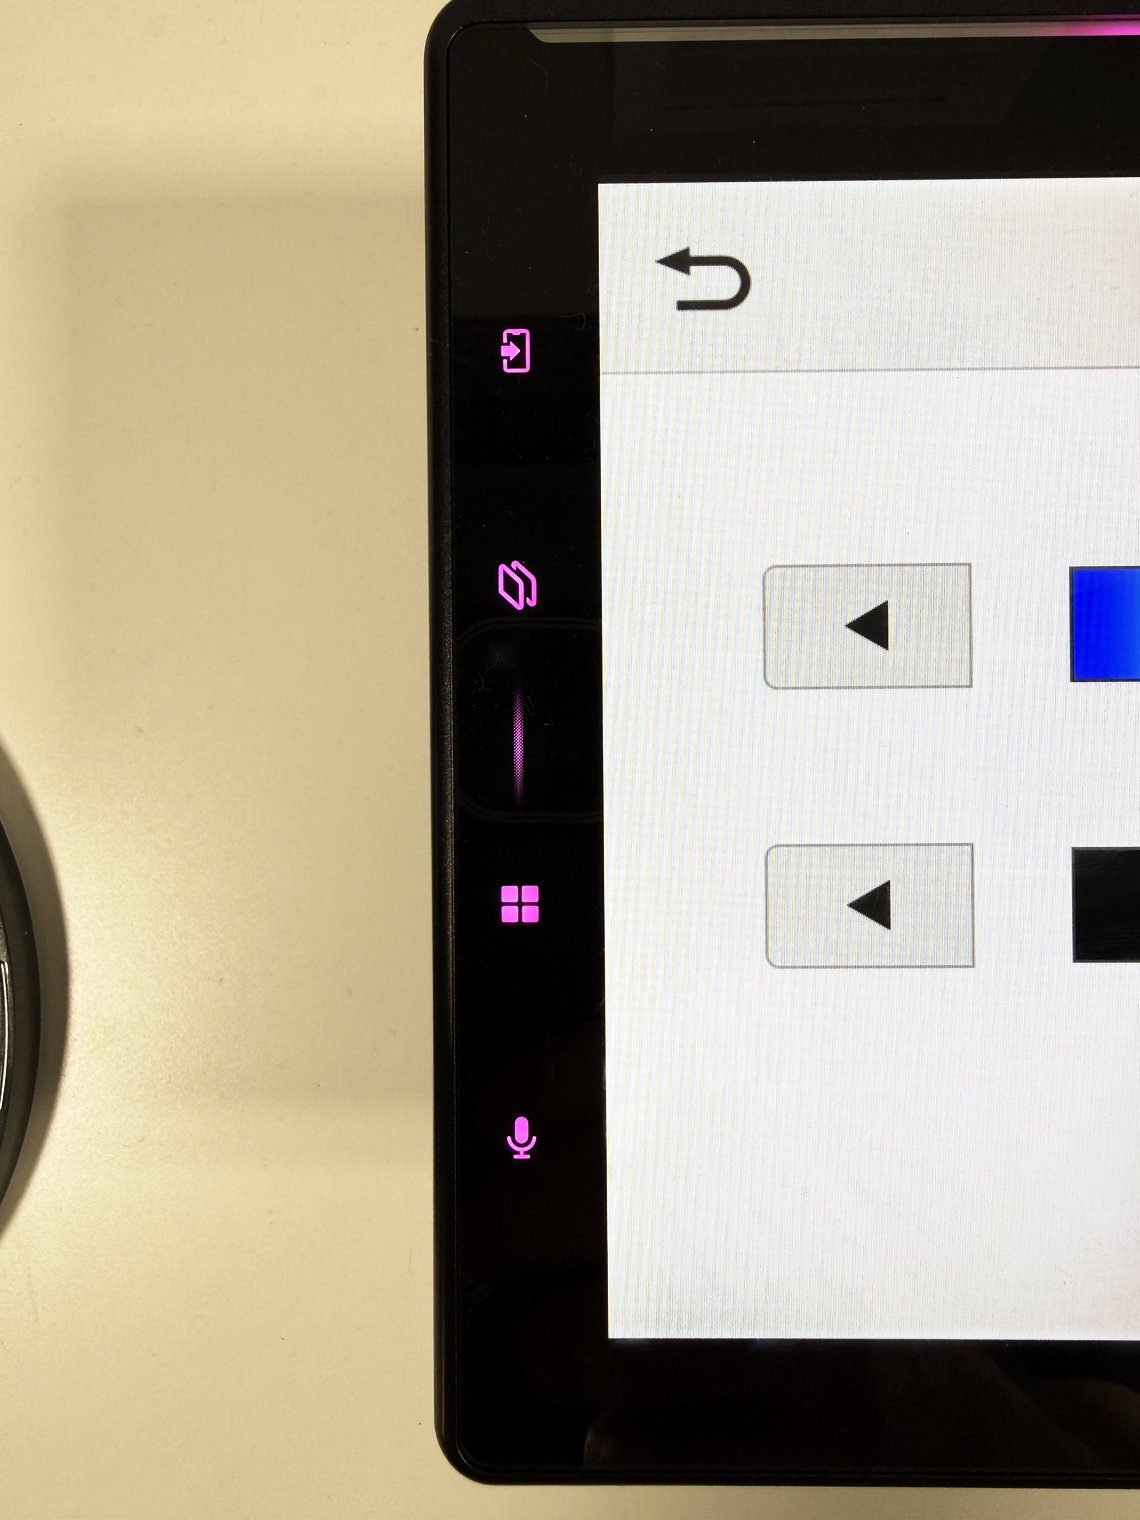
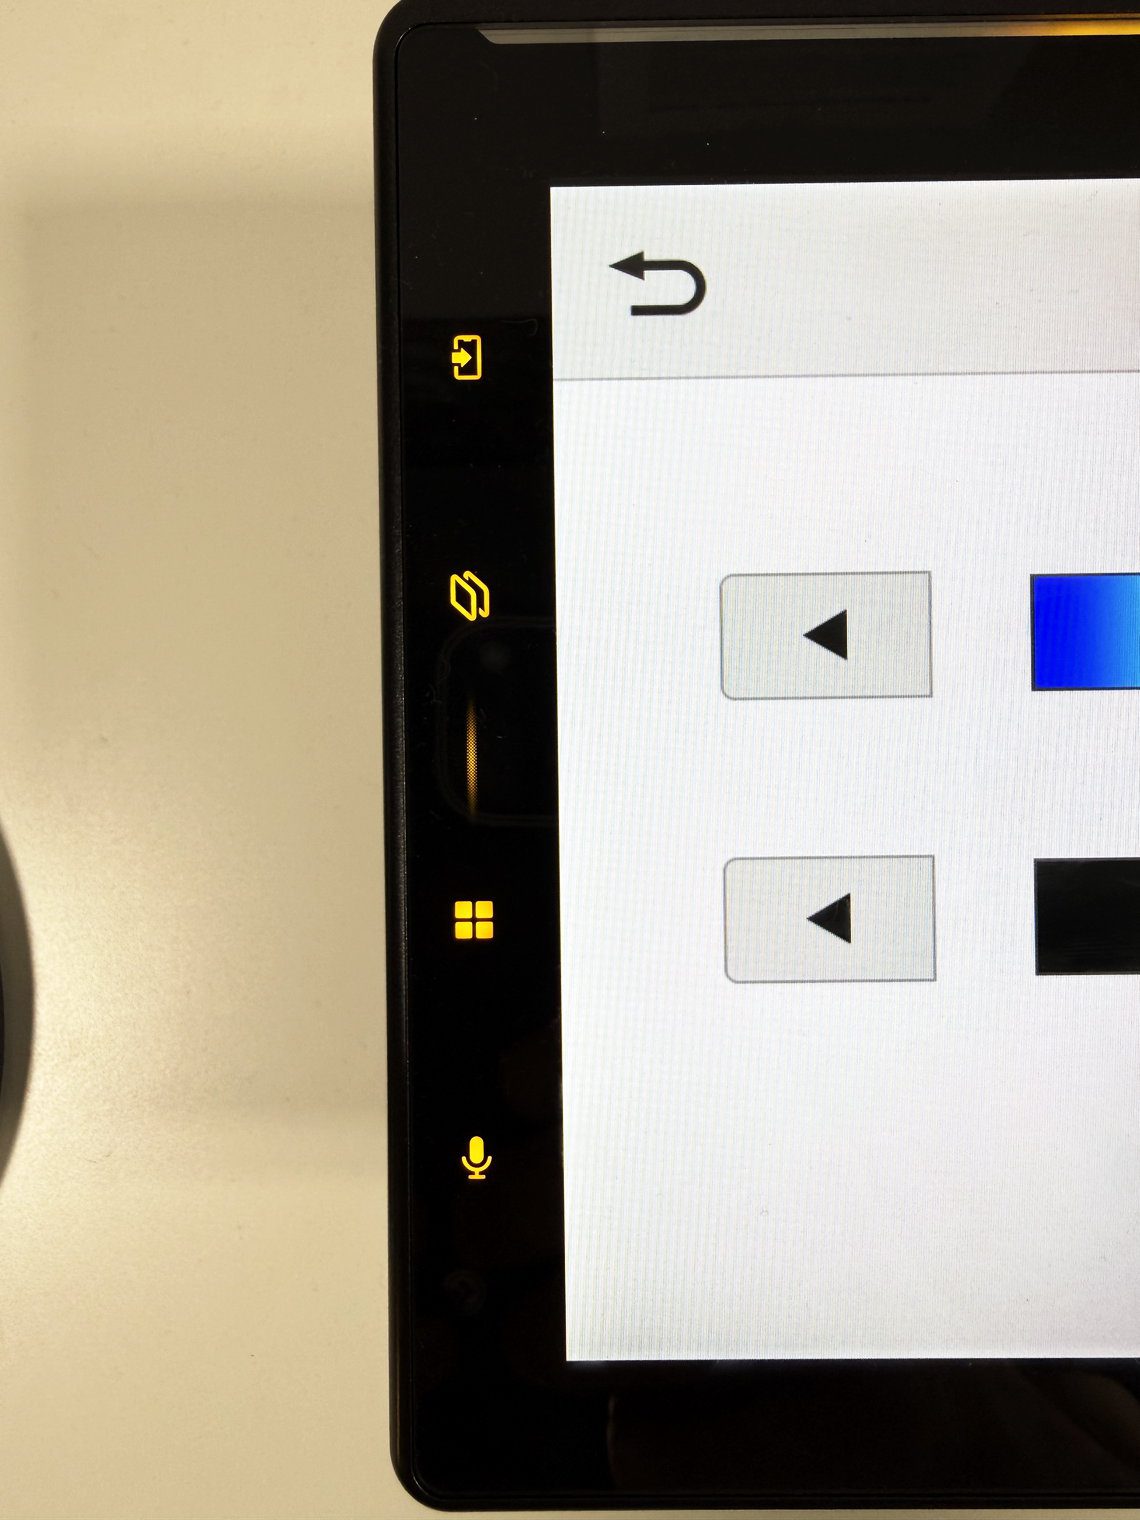
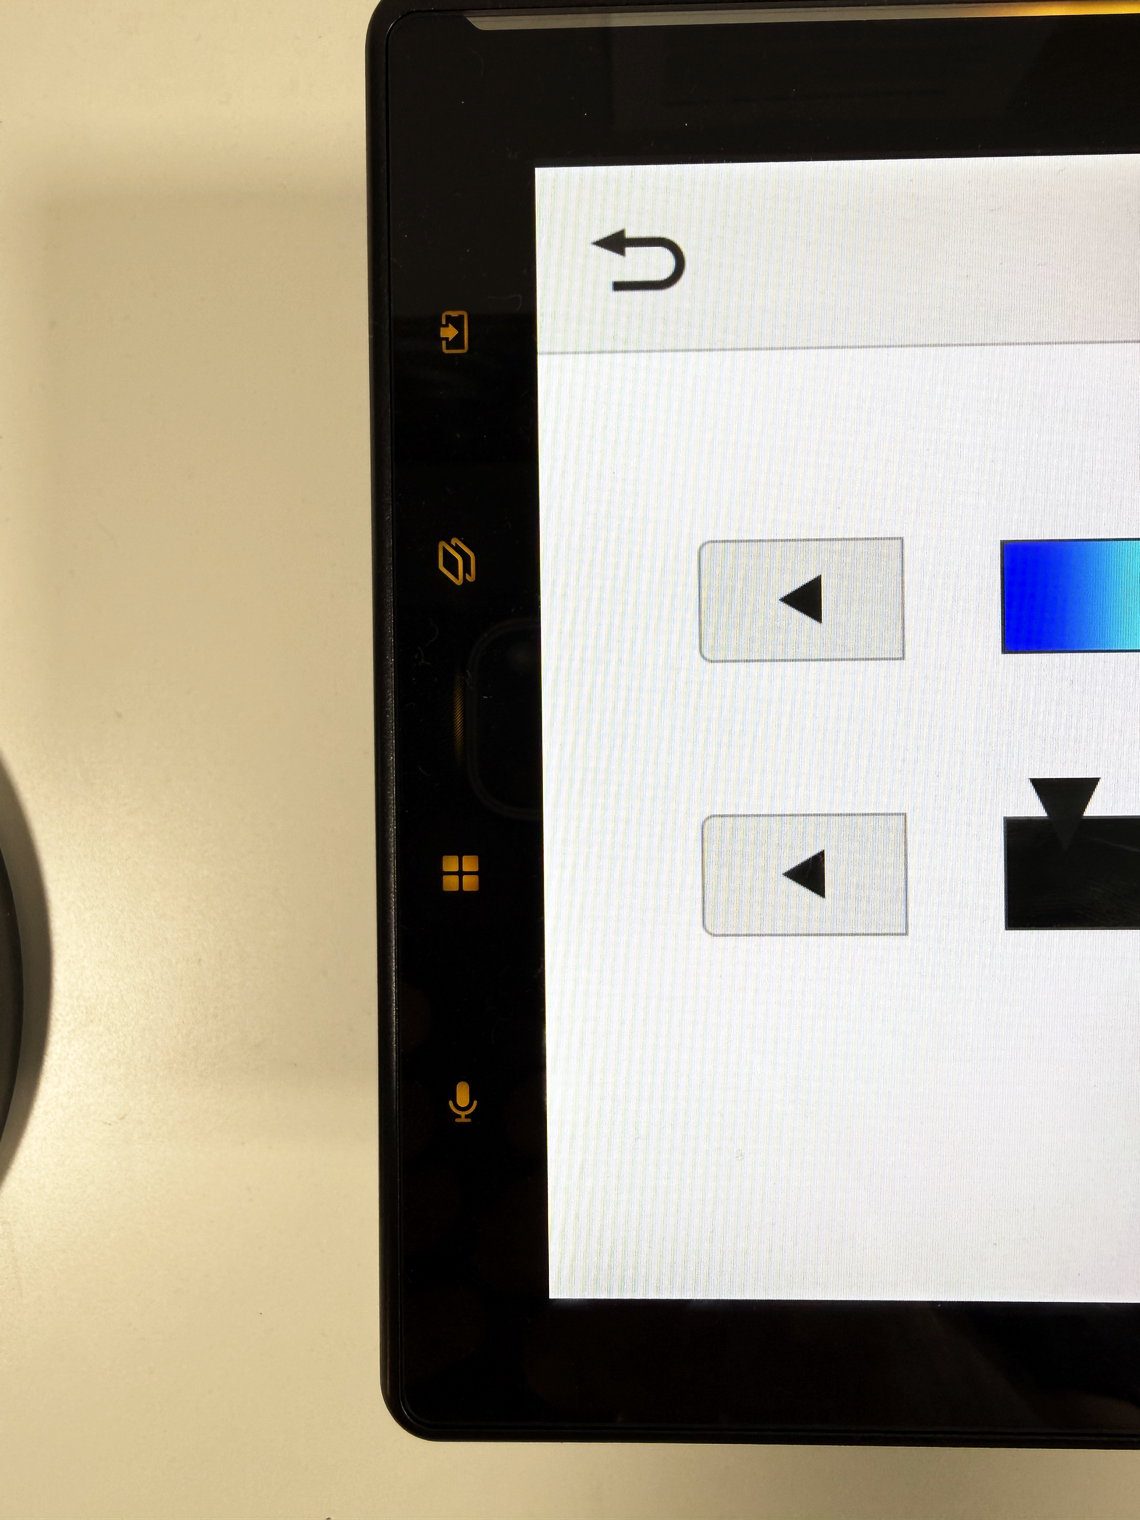
Let’s look at the control buttons. Along the top edge there are two physical buttons on the left – volume – and one on the right – mute. What’s good about physical buttons like this is that you can find them without taking your eye off the road, which matters more than it sounds on a screen this size. There are also four capacitive (touch) keys running down the left edge, and their icons are not self-explanatory, so from the top:
- Phone key. What it does depends on the Companion App Key setting. When you set it to Phone: with CarPlay or Android Auto running, tapping it opens the phone screen within the respective app. If neither CarPlay nor Android Auto is running, it opens up the call history of a Bluetooth-connected phone.If you set it to PxLink: it force-opens the PxLink companion app on your phone and pairs the two together.
- CarPlay / Android Auto key. Jumps to CarPlay or Android Auto from any screen. The one you will use most. It’ll take you to the most recently open screen on CarPlay or Android Auto – wherever you left off last.
- Homescreen/menu key (the four-box icon). This one opens up Pioneer's own home screen with all your sources. If you press and hold it, it’ll turn the unit off (technically it just cuts audio and the screen turns black, there’s still power).
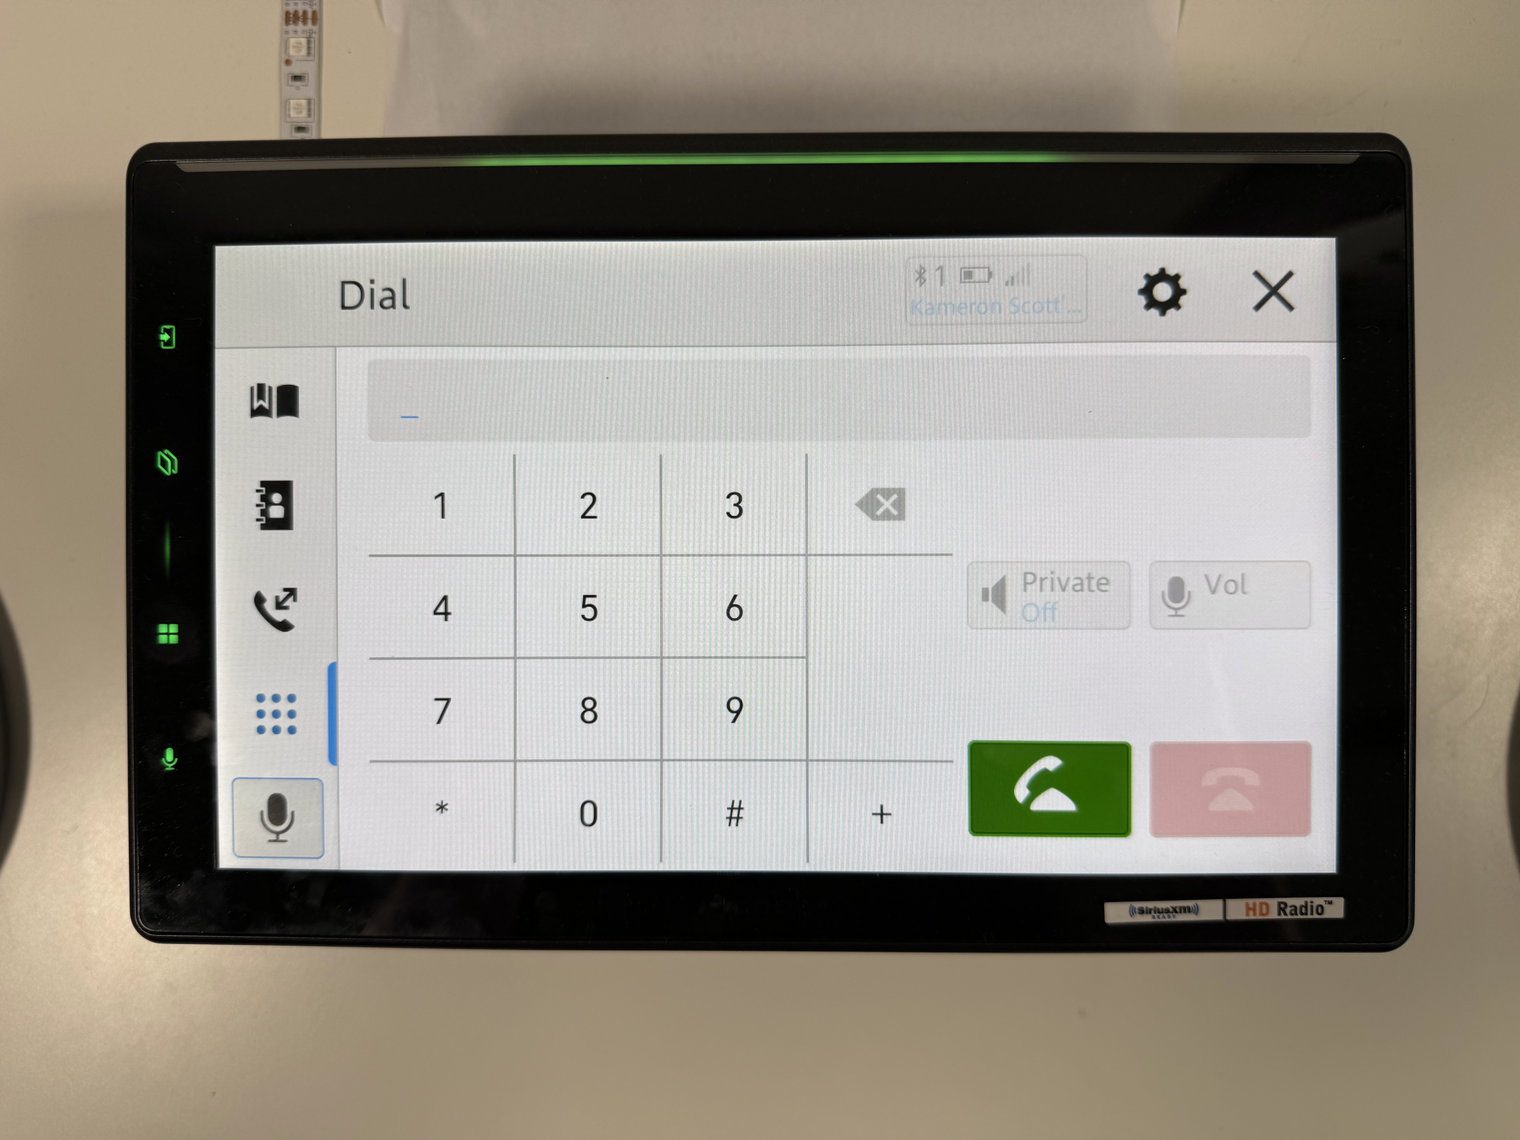
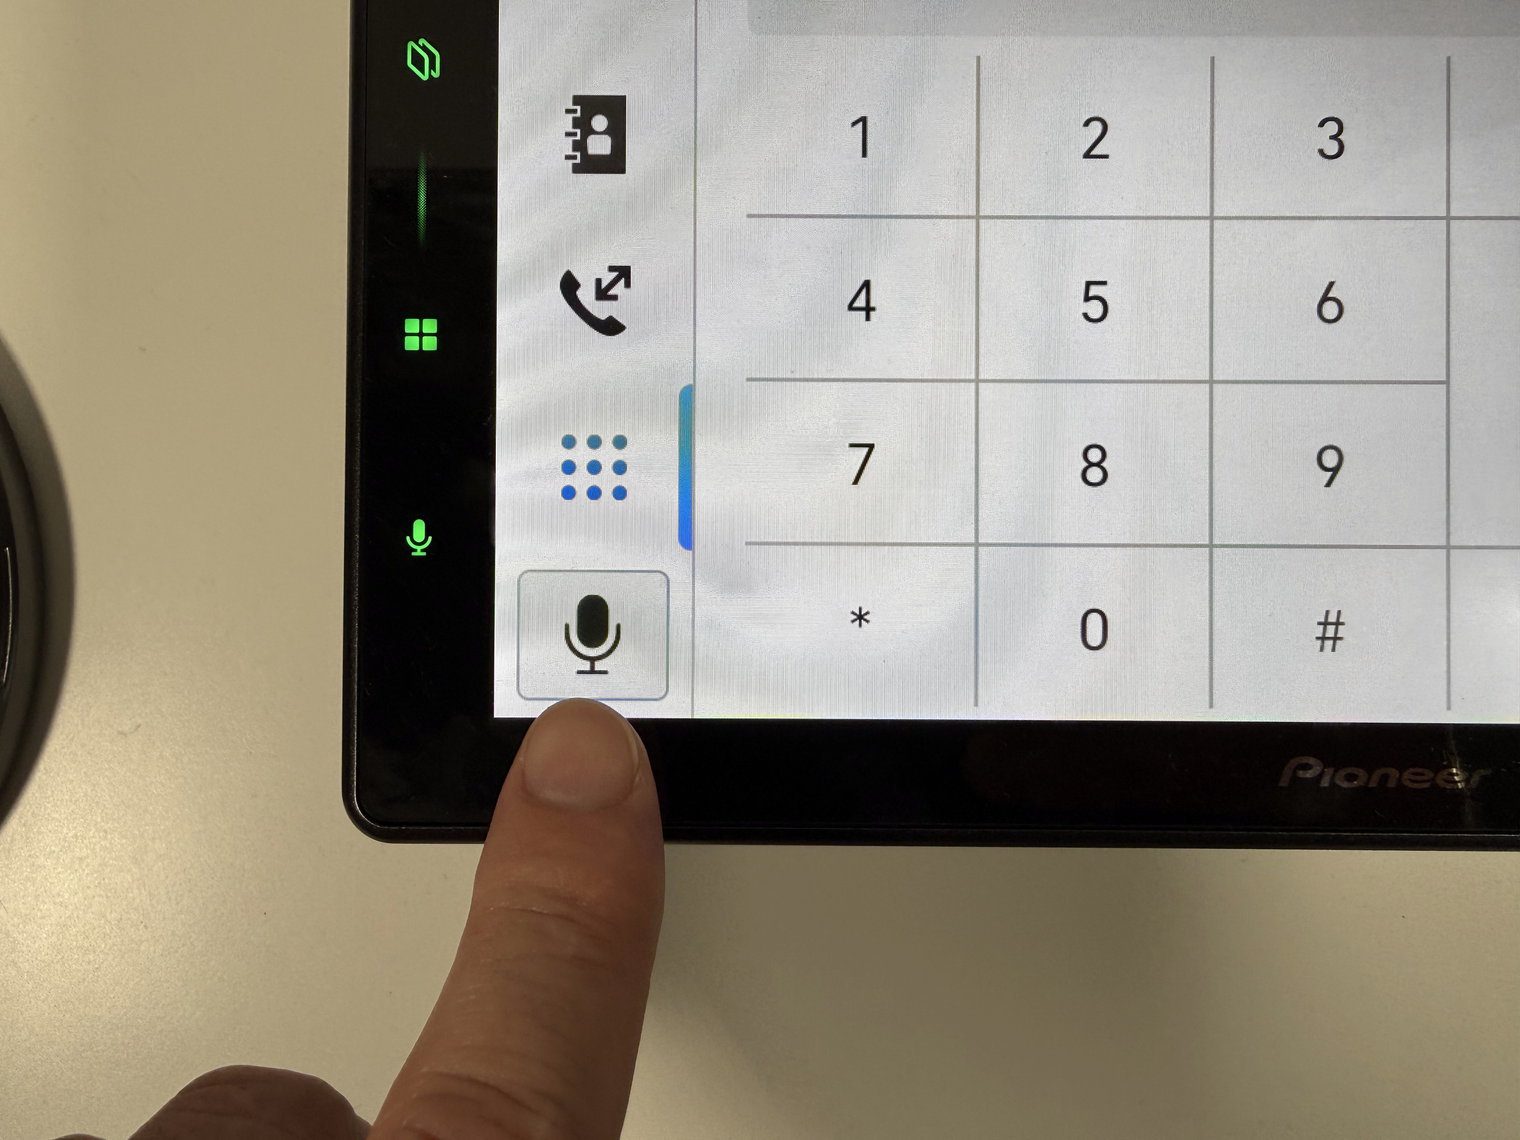
- Mic key. Tap for voice recognition. It’ll take on the native voice recognition from the connected device – Siri or Google Assistant. You can hold it to open the device search and select screen for switching phones. I thought this quick key for switching phones/connectivity settings was a good idea. Especially for those who have frequent passengers and switch between phones.
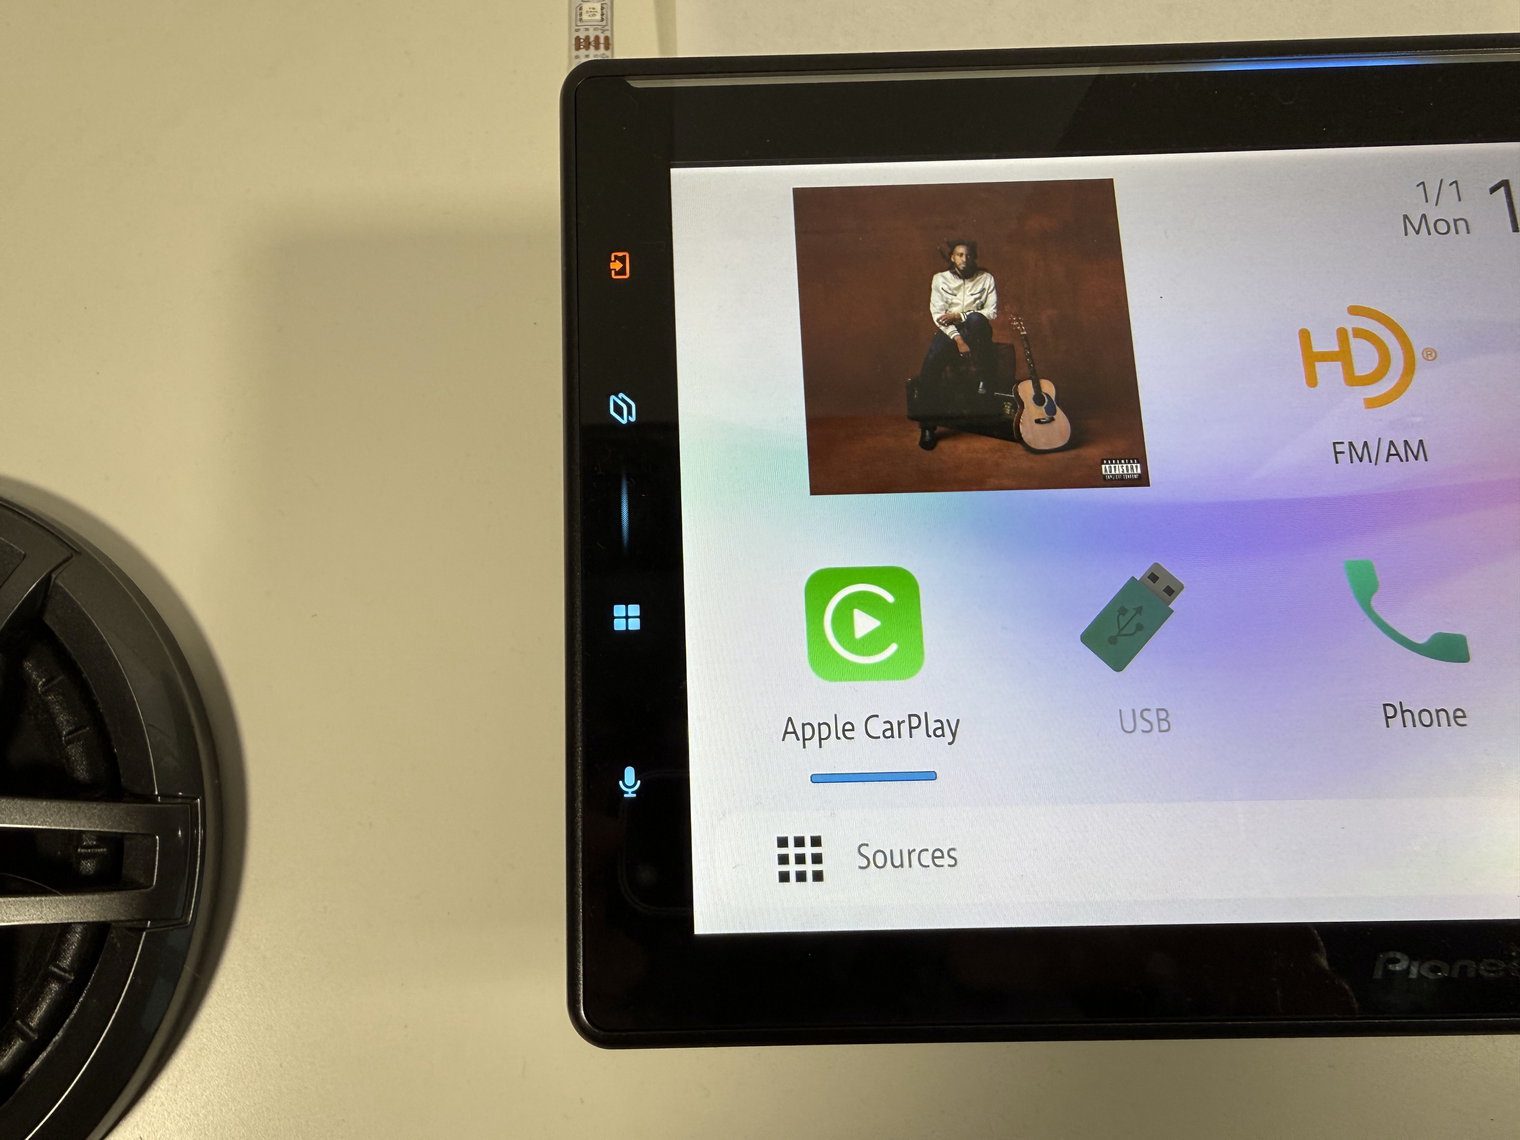
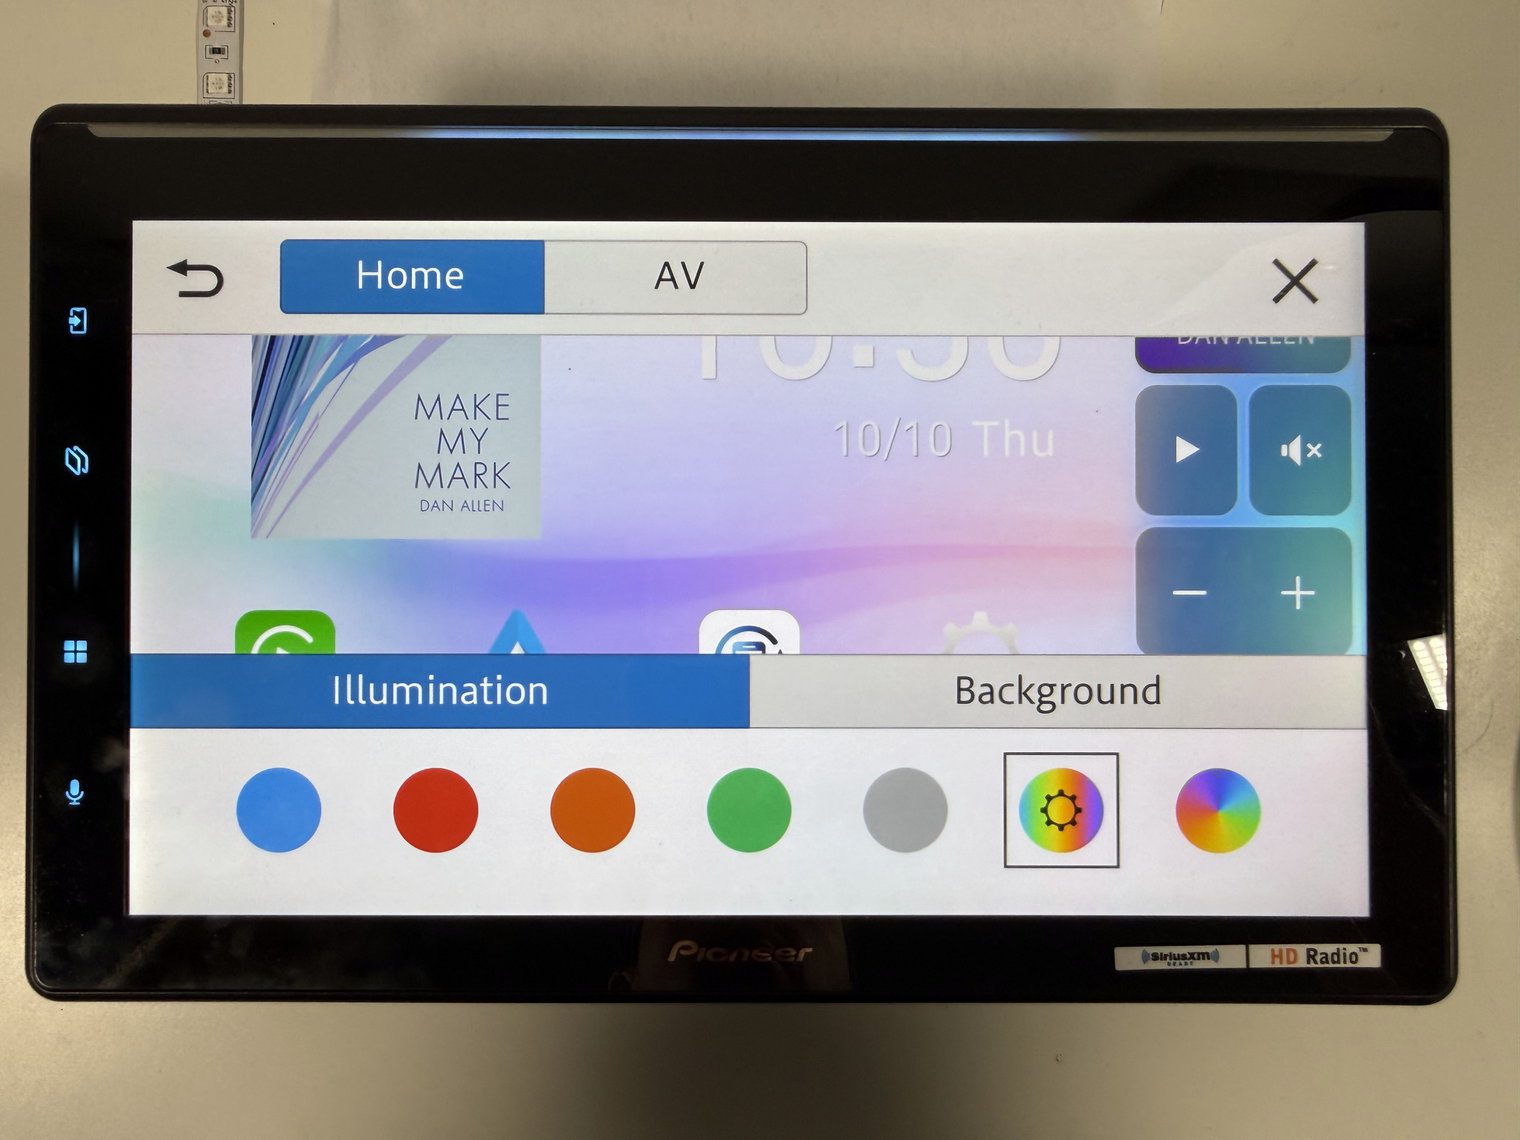
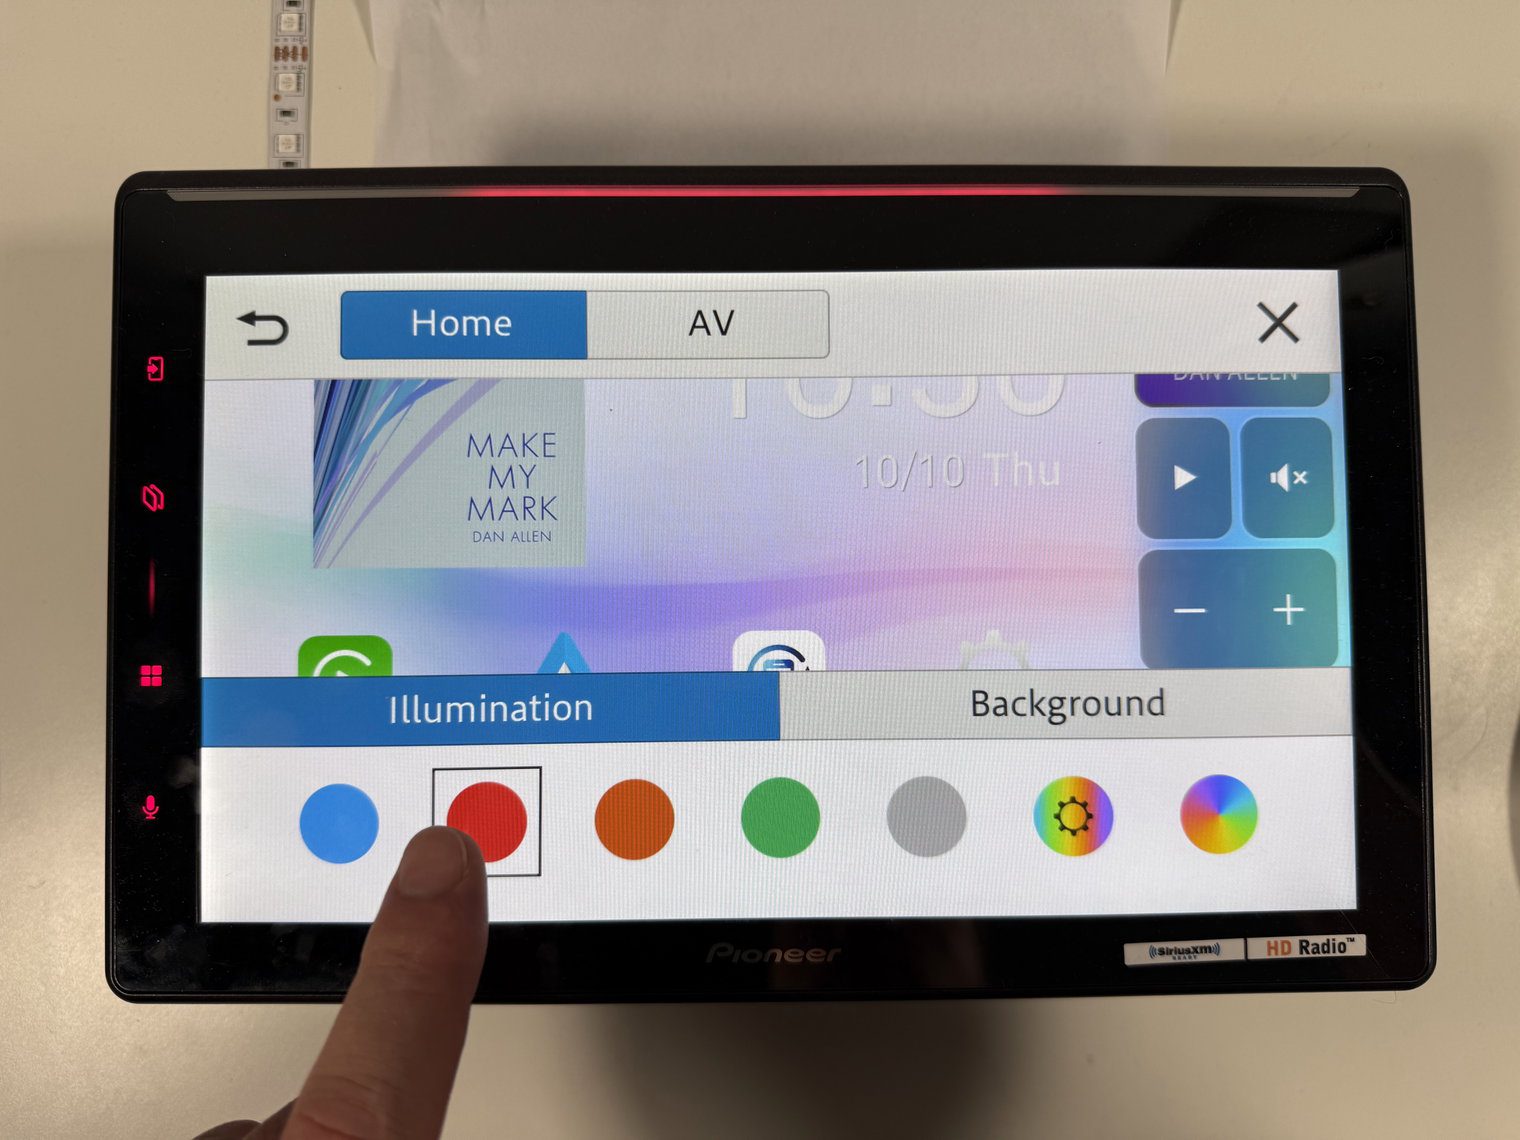
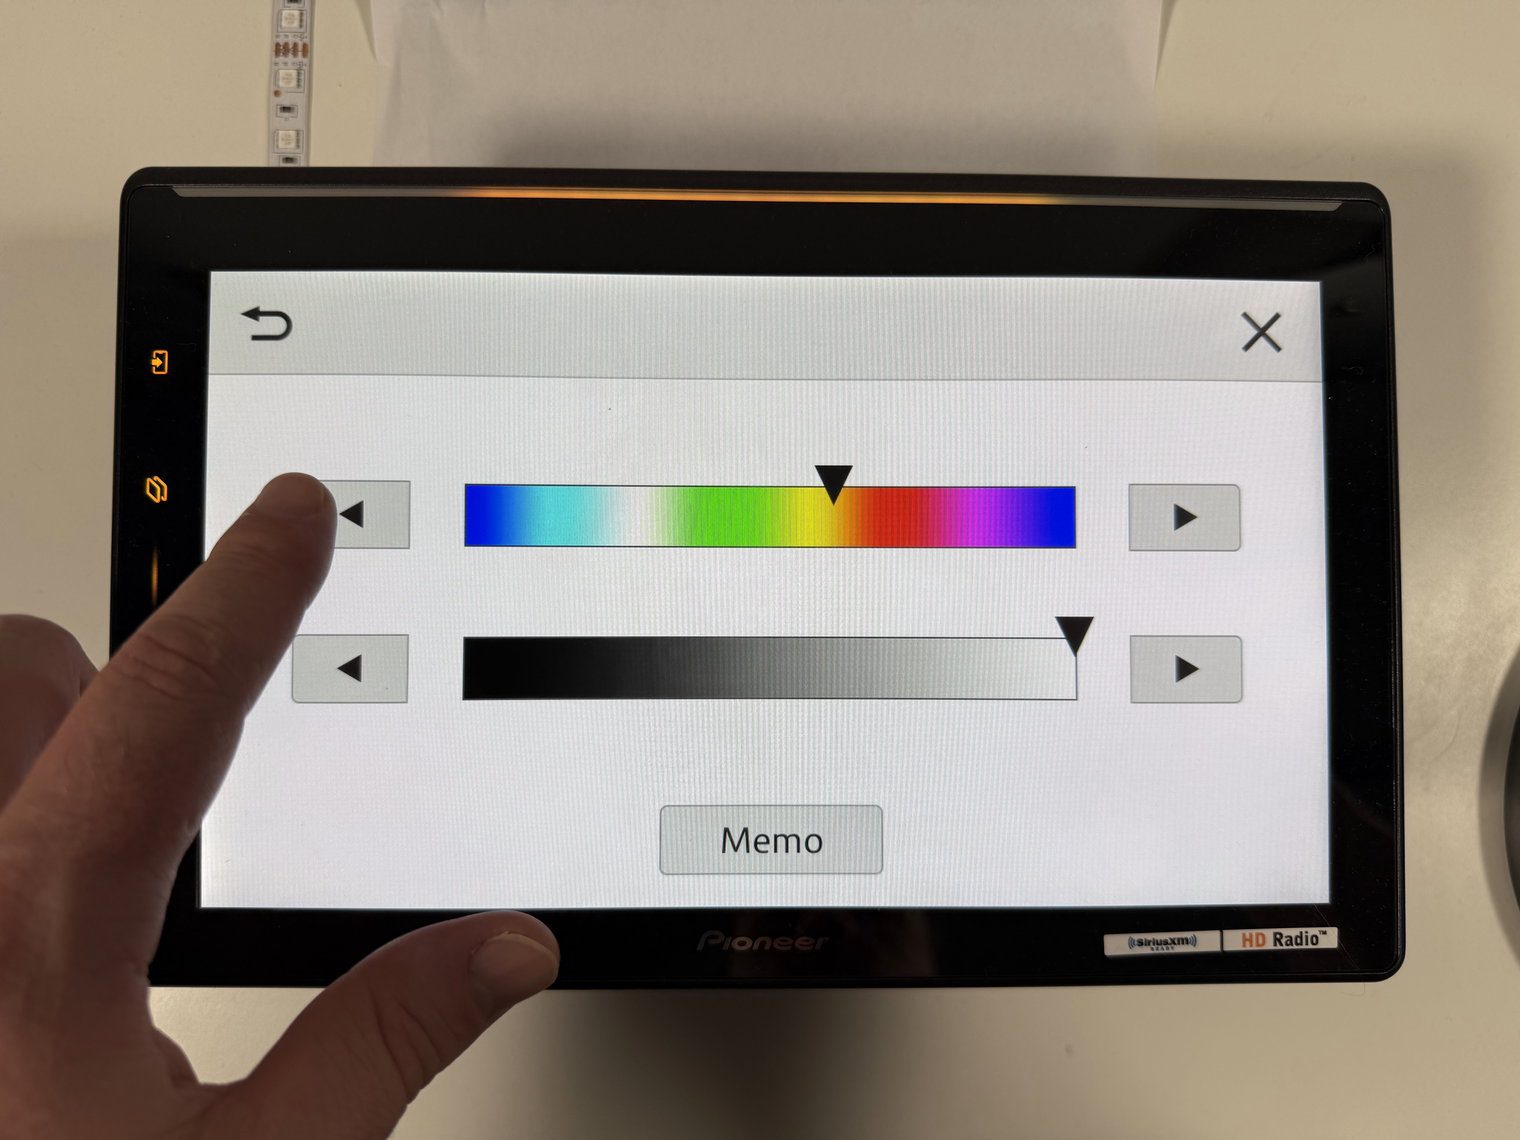
The key illumination is fully customizable with a few preset colors (red, amber, green, blue, white), a cycling scan mode which basically just cycles through all of the colors continuously, or a custom color from a palette of over 100 options. The Luminous Bar across the top follows the key color and gets its own section below.
Mounting adjustments
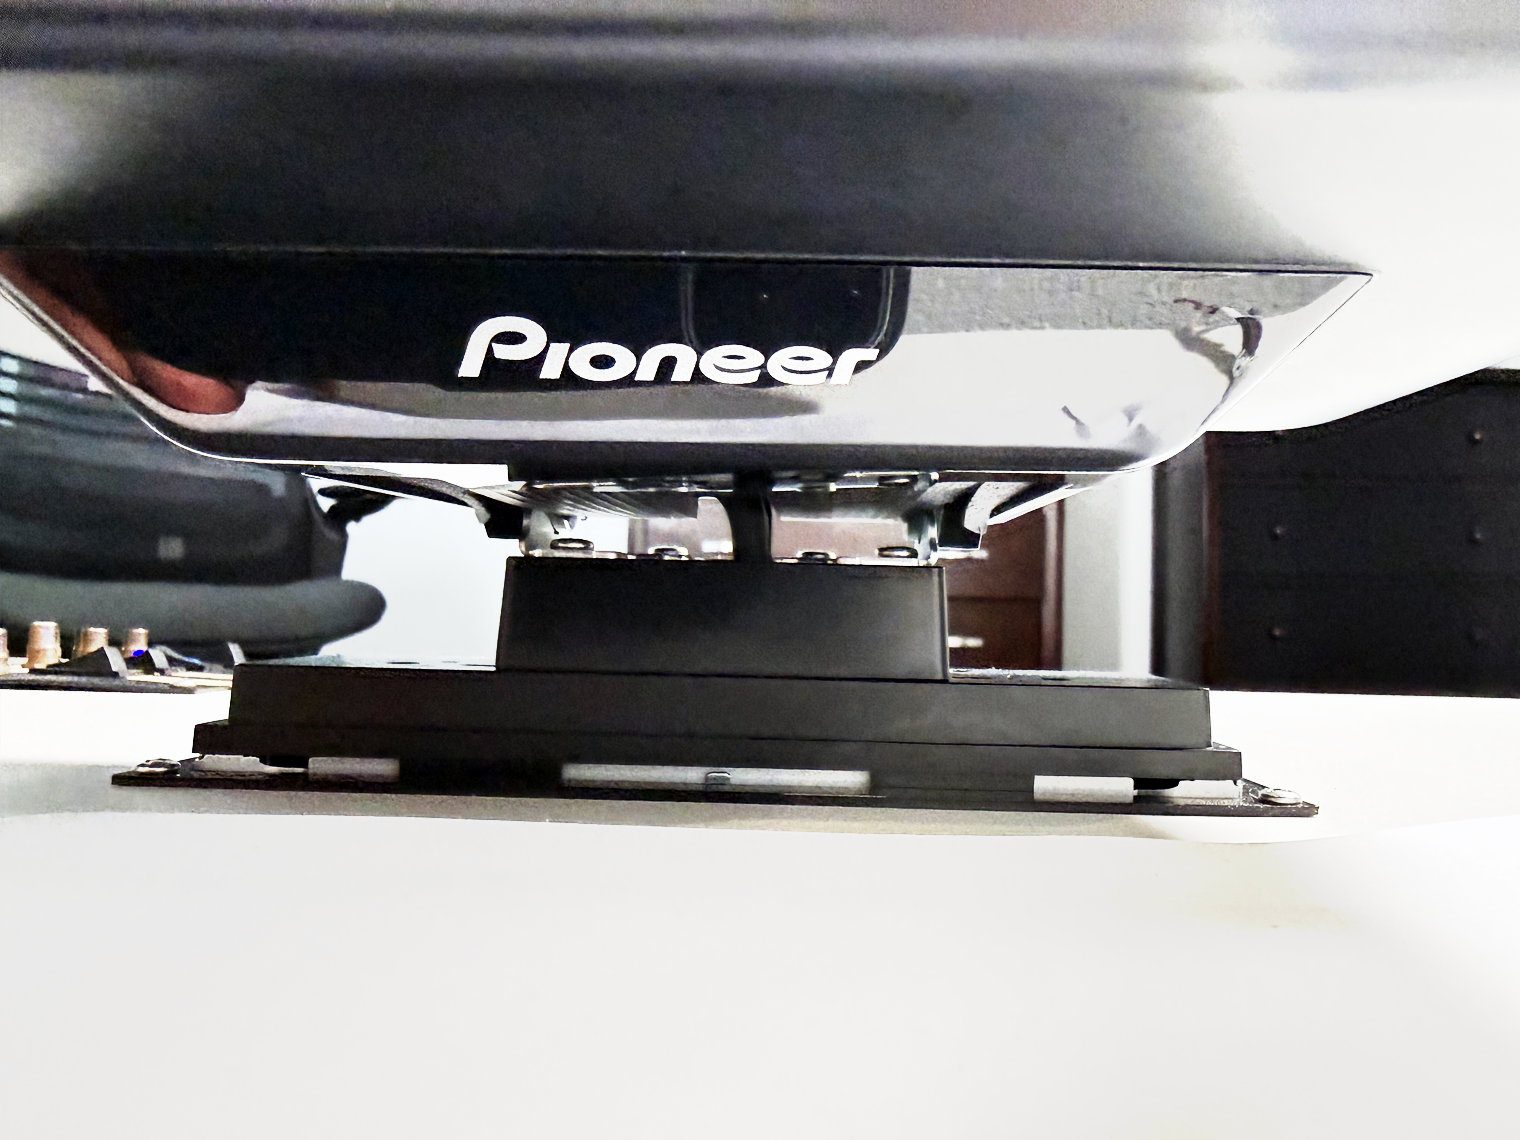
The screen sits vertical by default and tilts 15 degrees back or 60 degrees forward. It moves up and down through five positions, from 2.125 to 4.25 inches above the chassis, left or right 1.25 inches either way, and forward or back to put the face of the monitor either 2.25 or 3.0 inches off the dash.
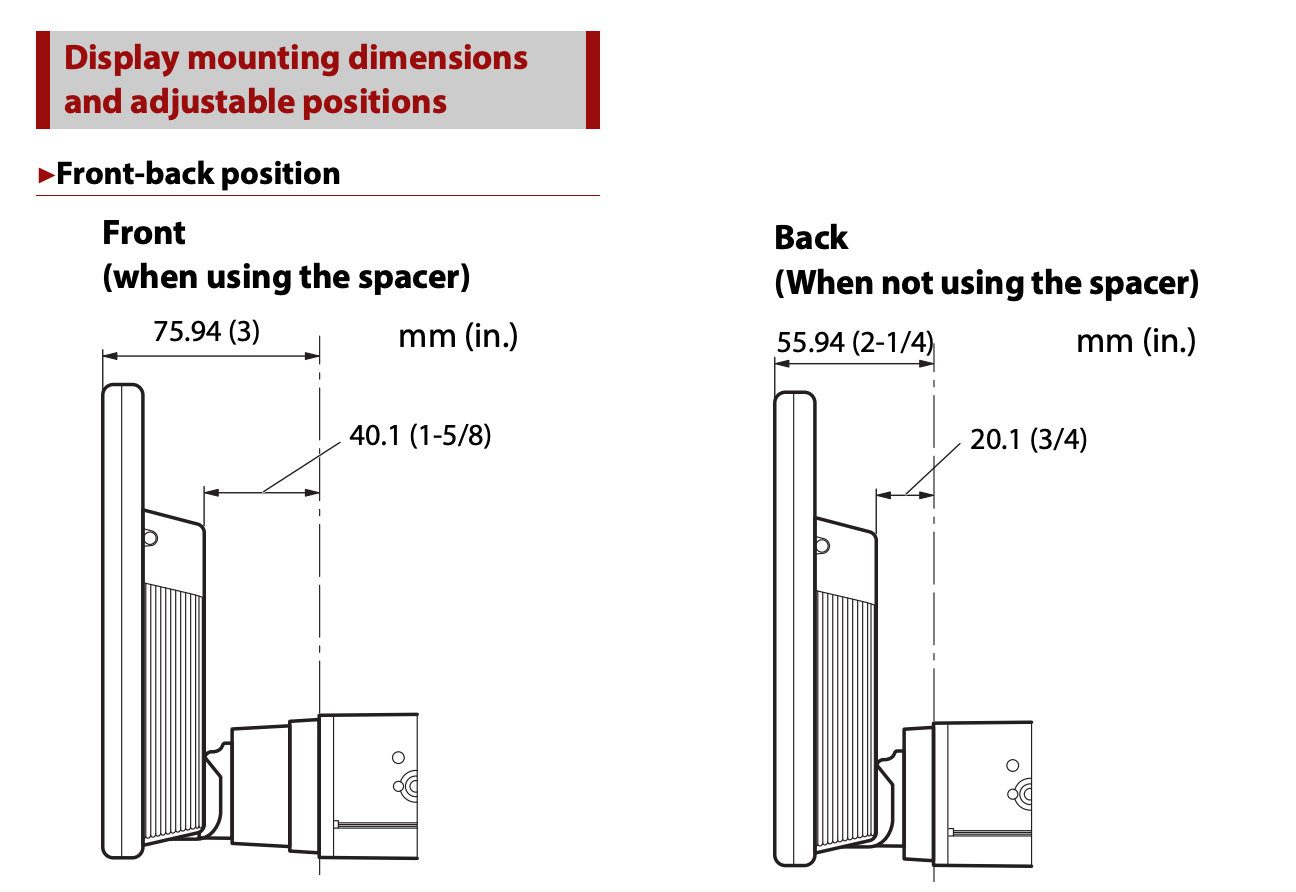
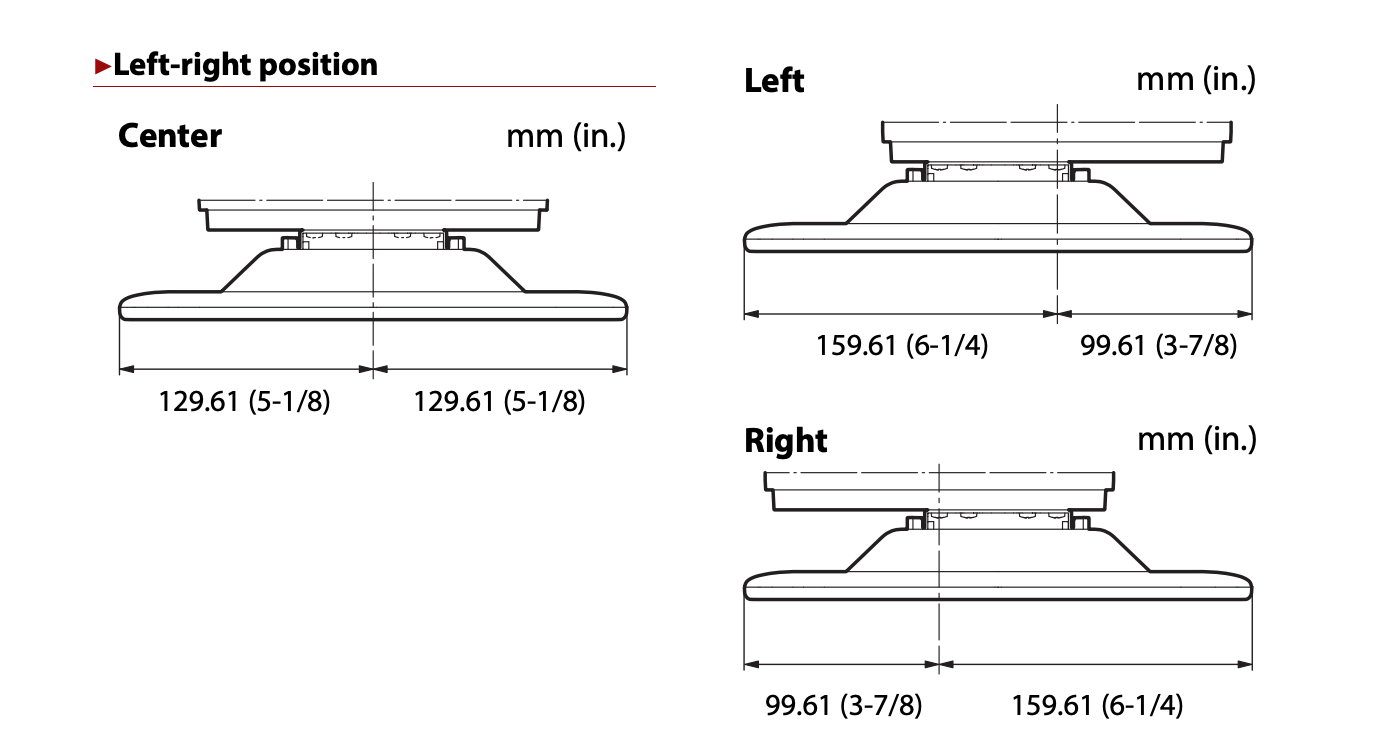

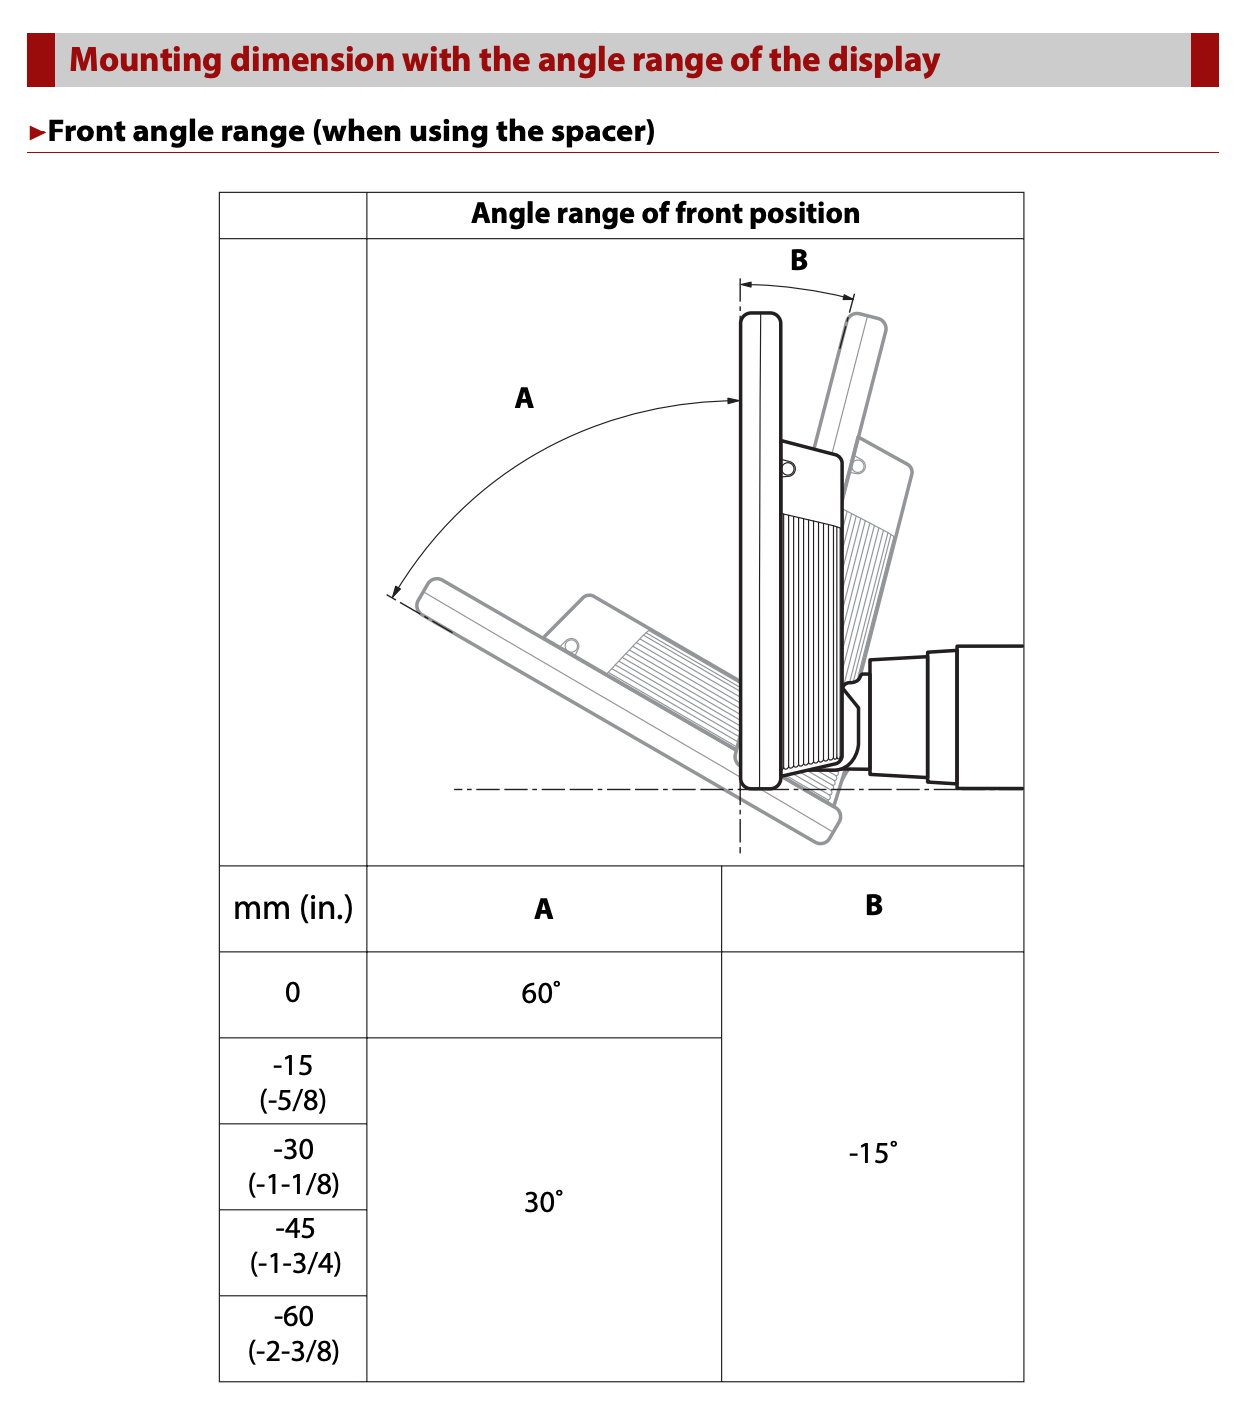
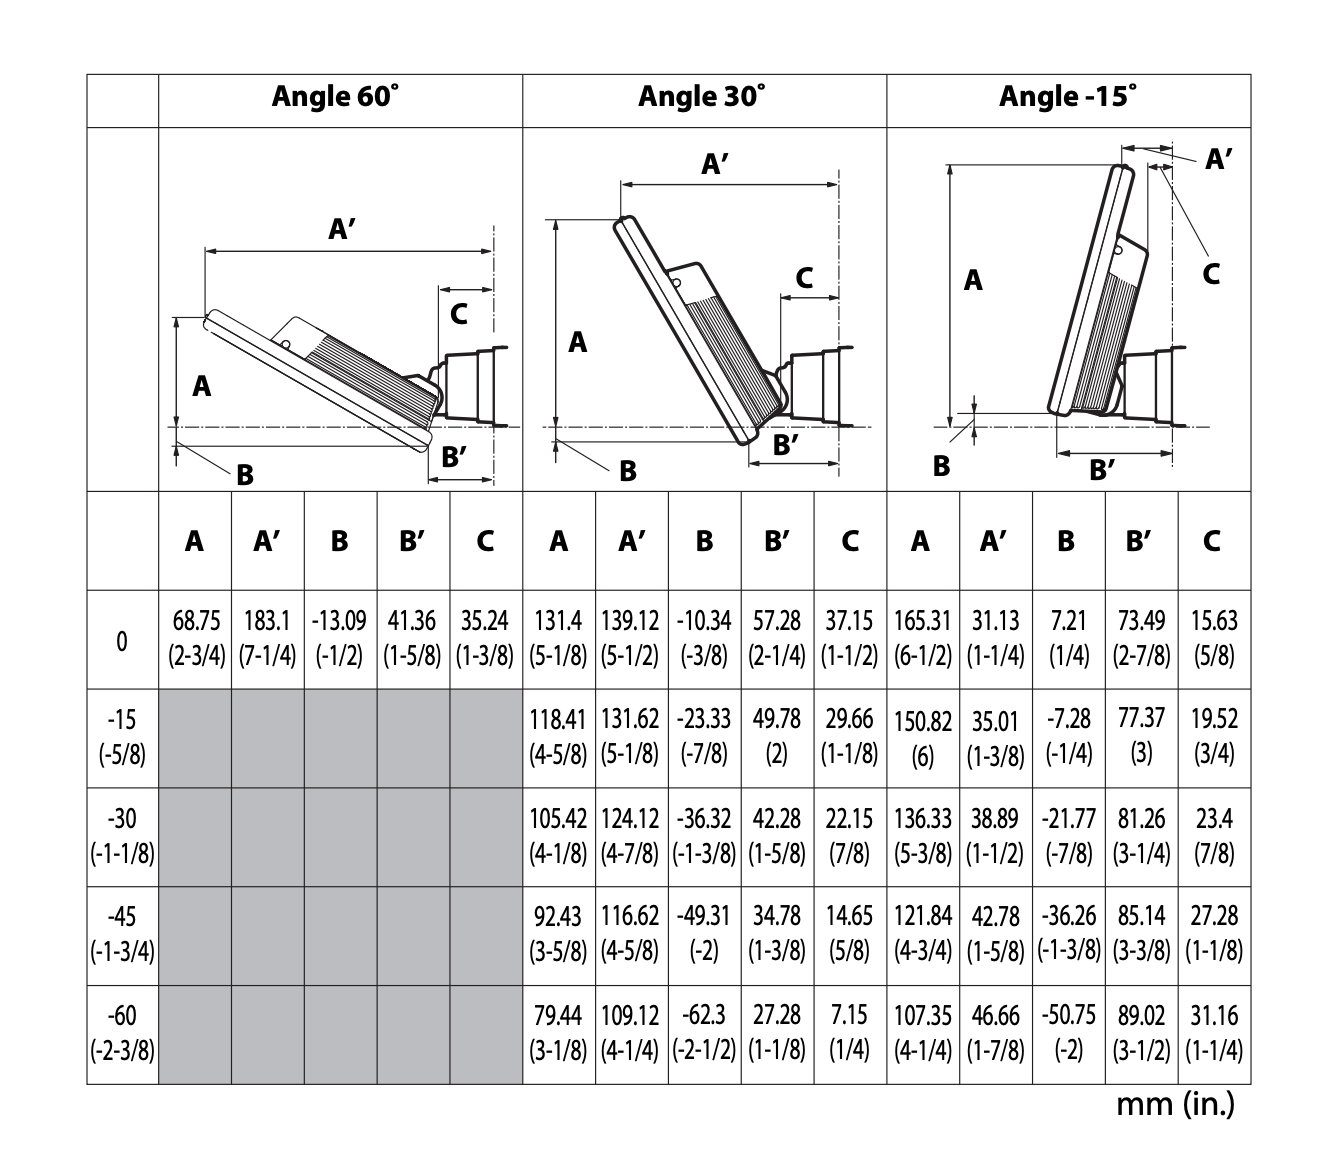
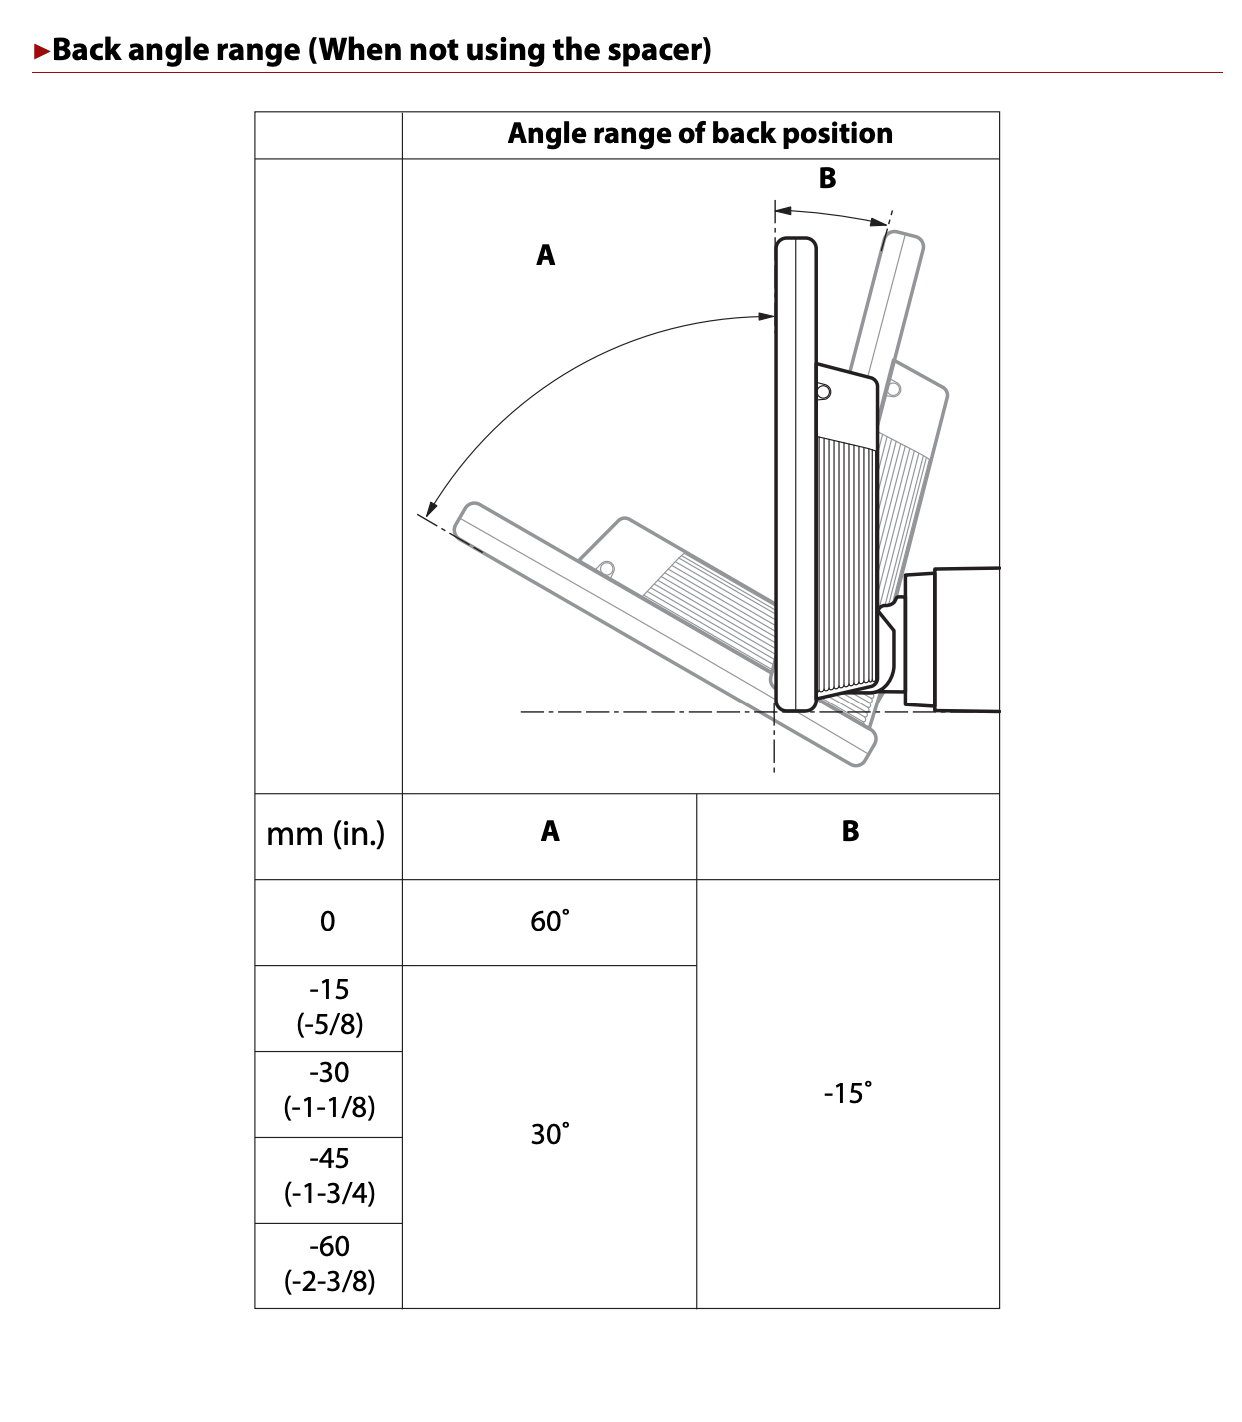
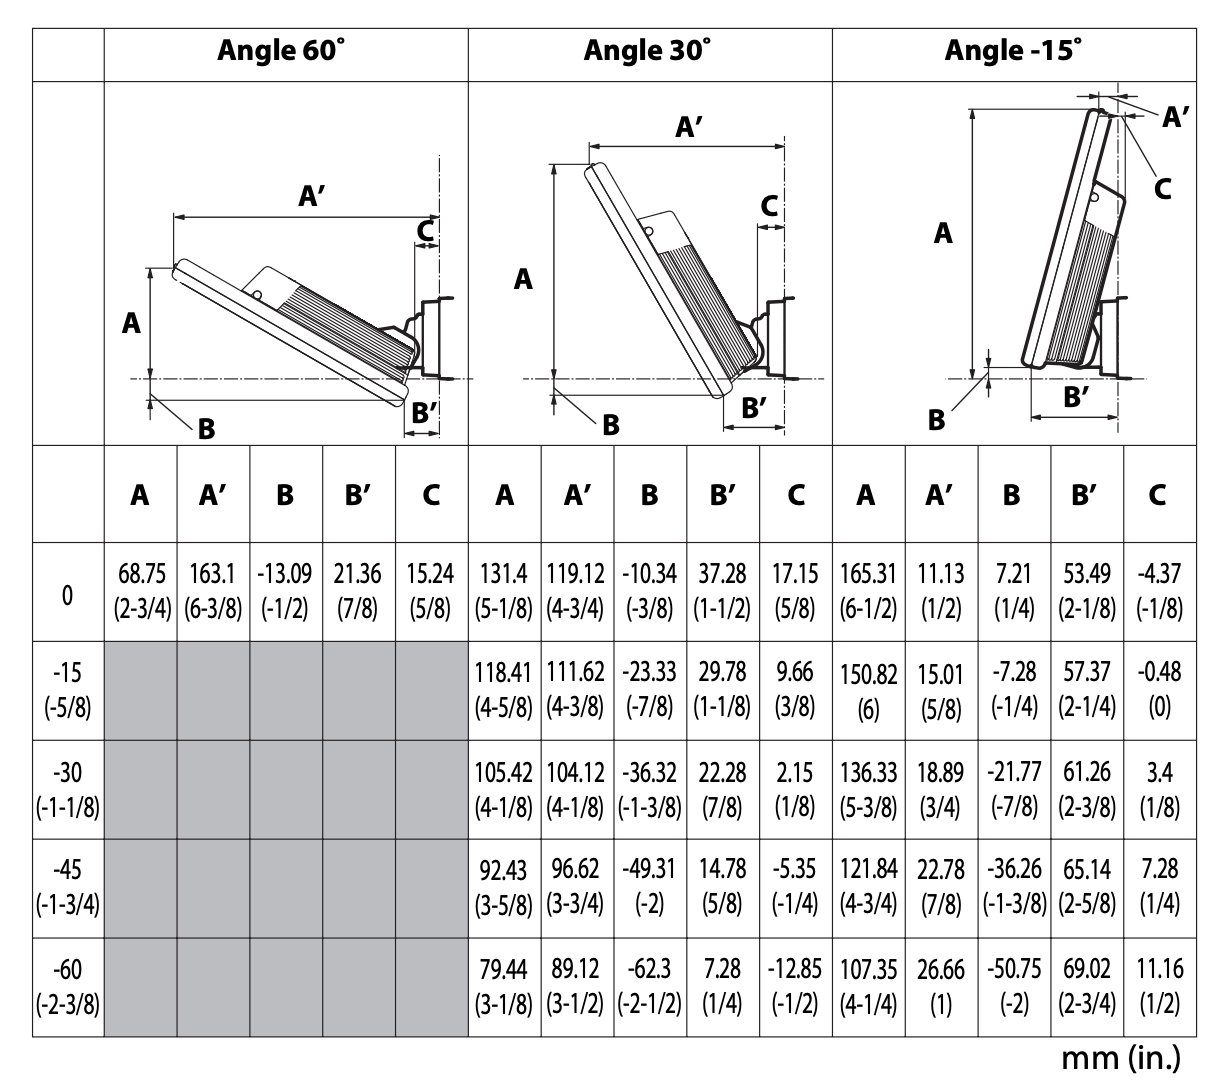
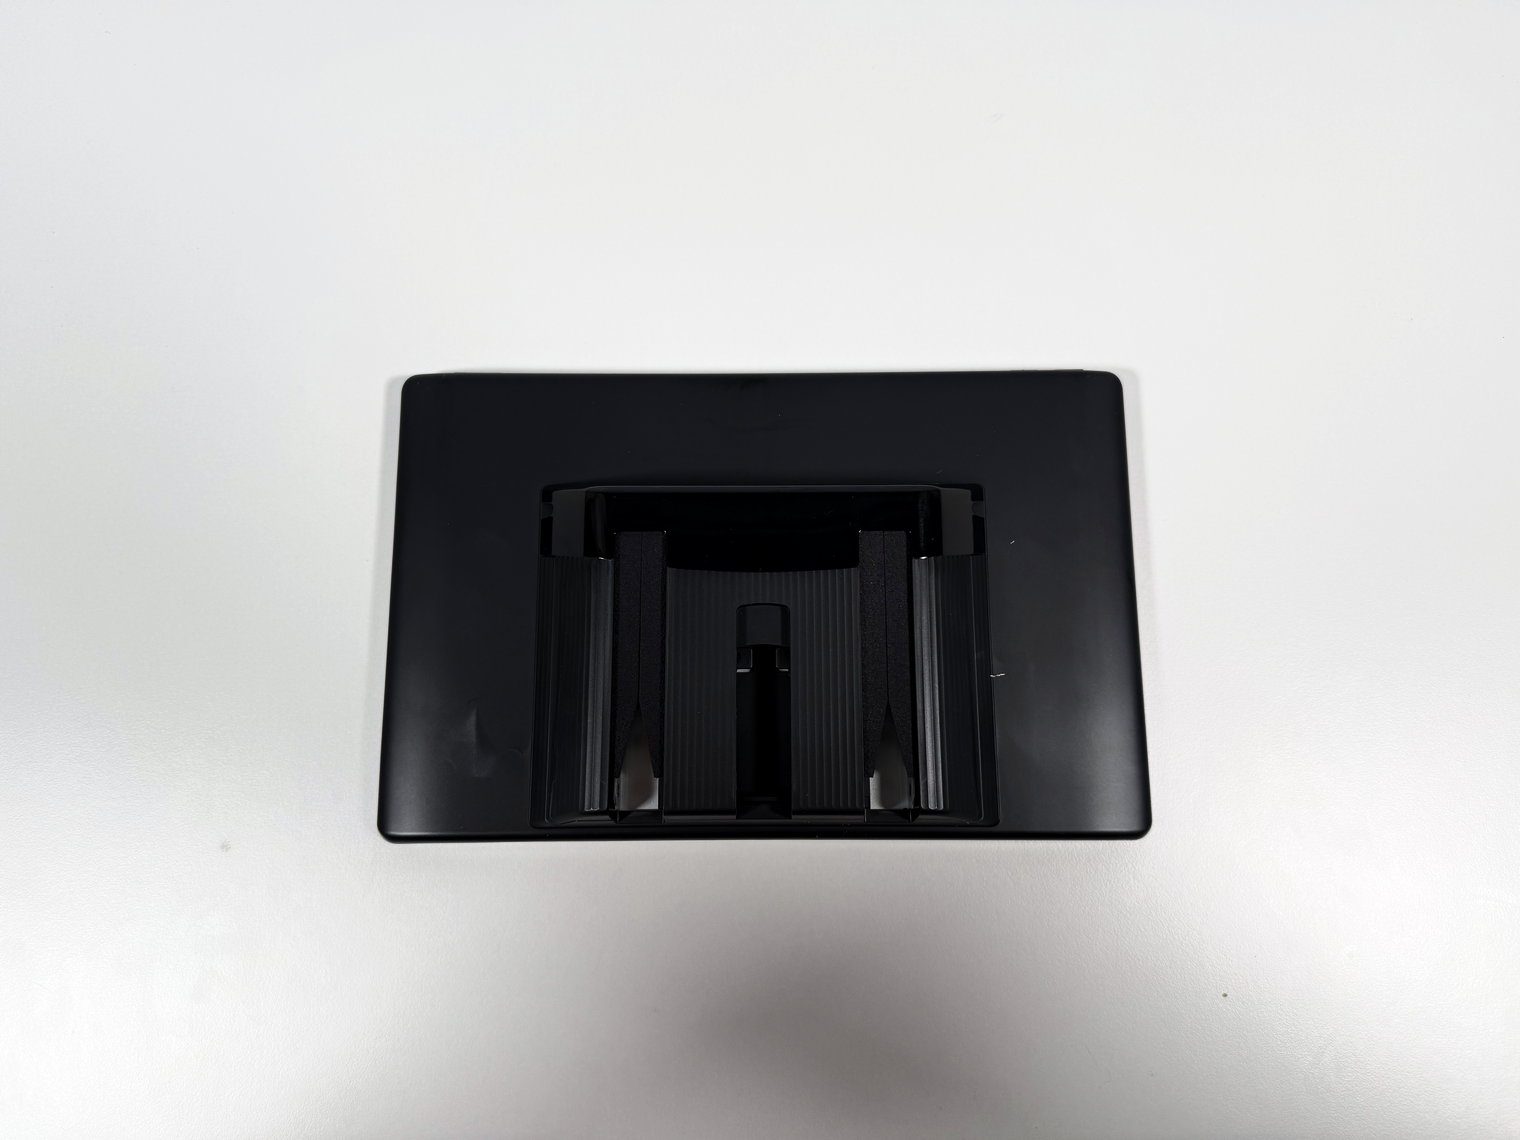
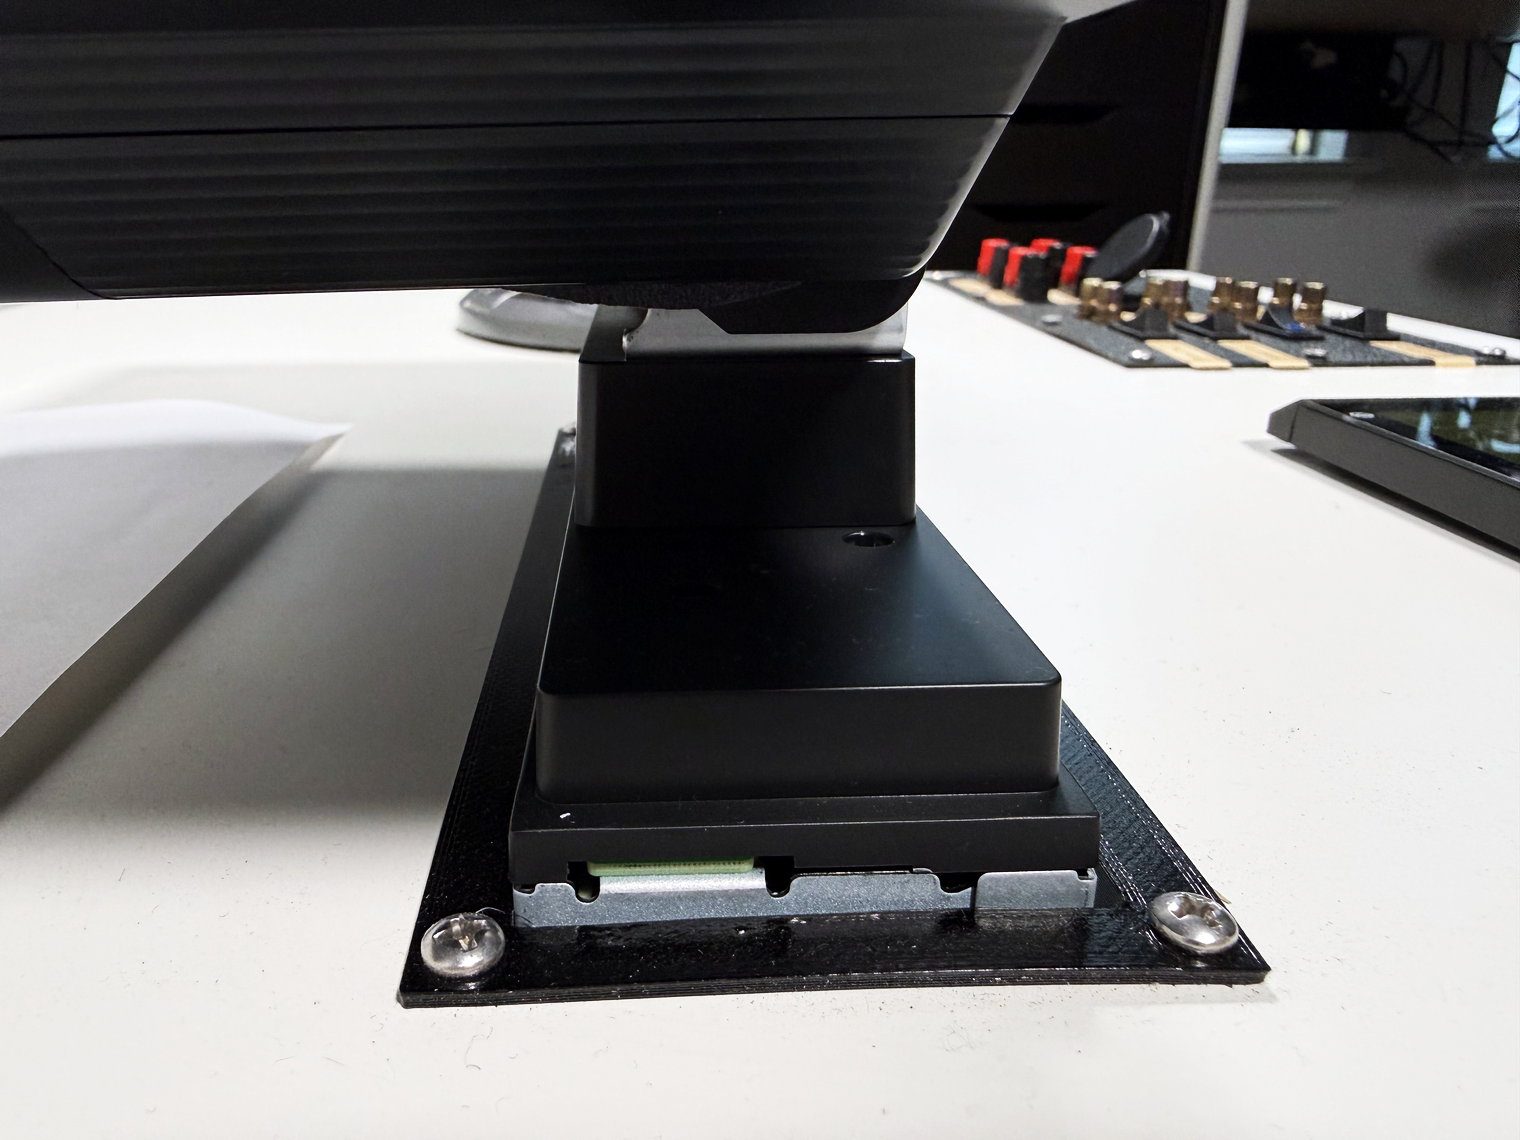
All of that is set during installation, not on the fly. When I reviewed the AX8500 my complaint was that at its closest the screen still sat a couple inches from the dash – on the SPHERA that number is 2.25 inches, so it is the same class of stand-off, not an improvement. The mounting mechanism for these Pioneers is pretty simple and rudimentary. It’s very fixed too unlike the Sony, which allows you to pretty much adjust every angle and distance without having to remove the entire screen.


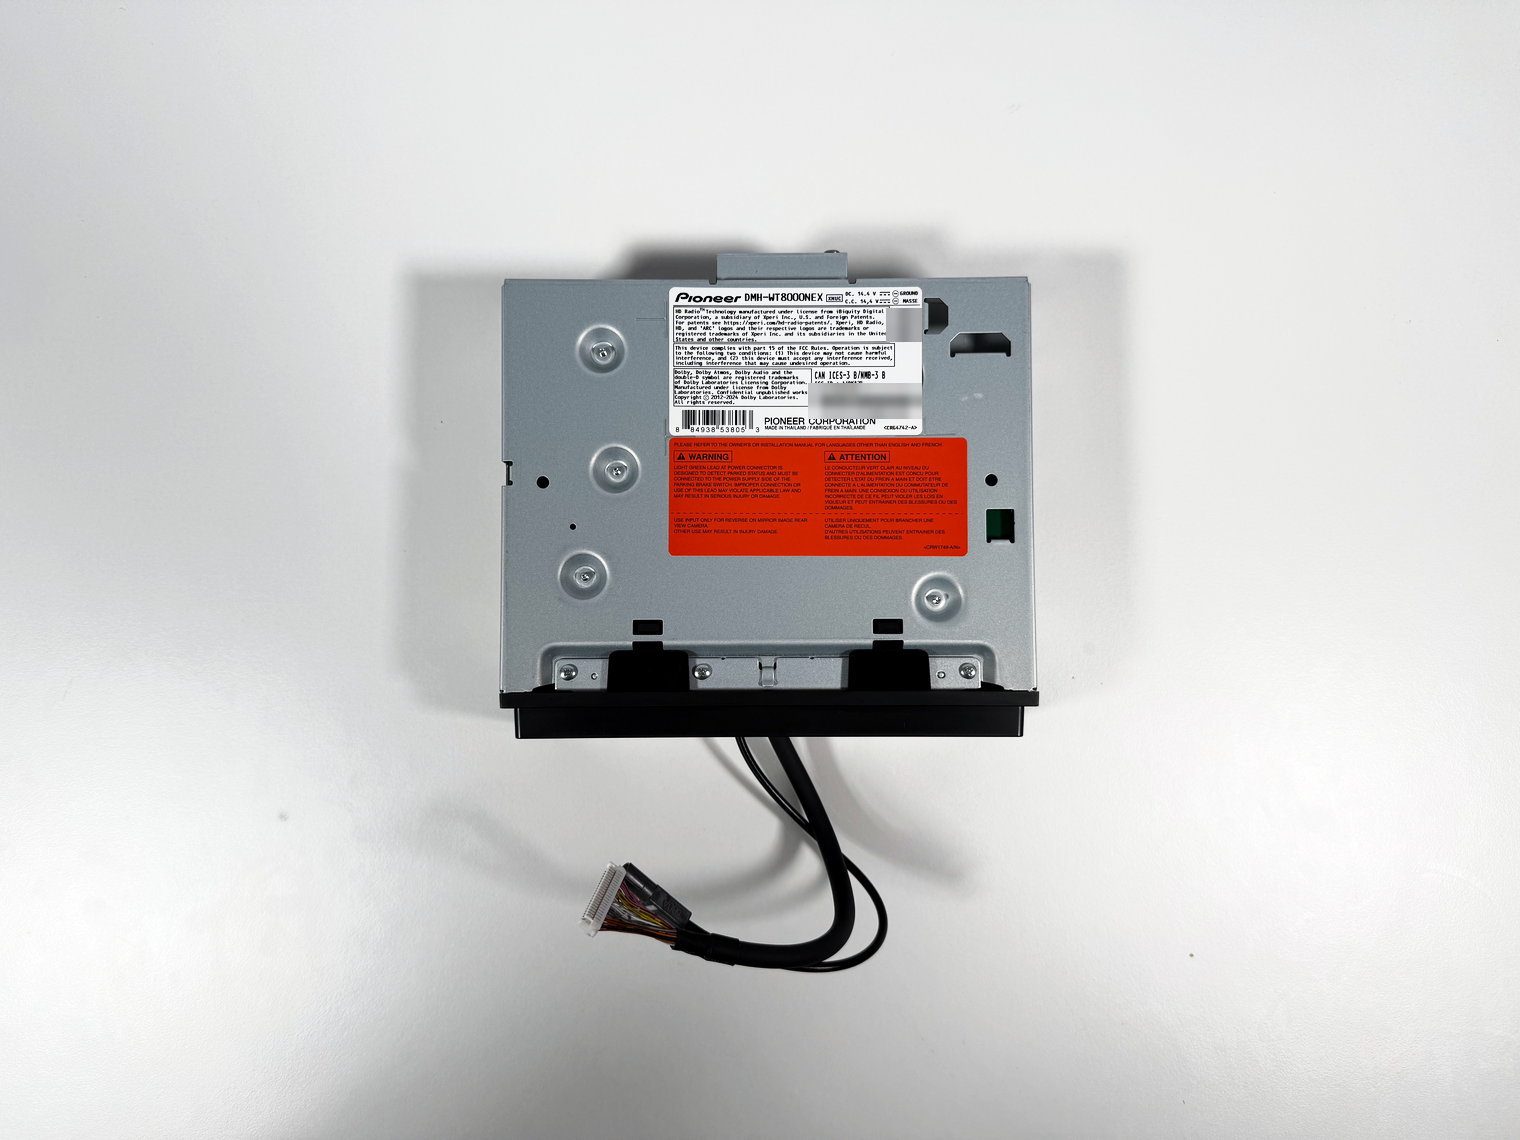
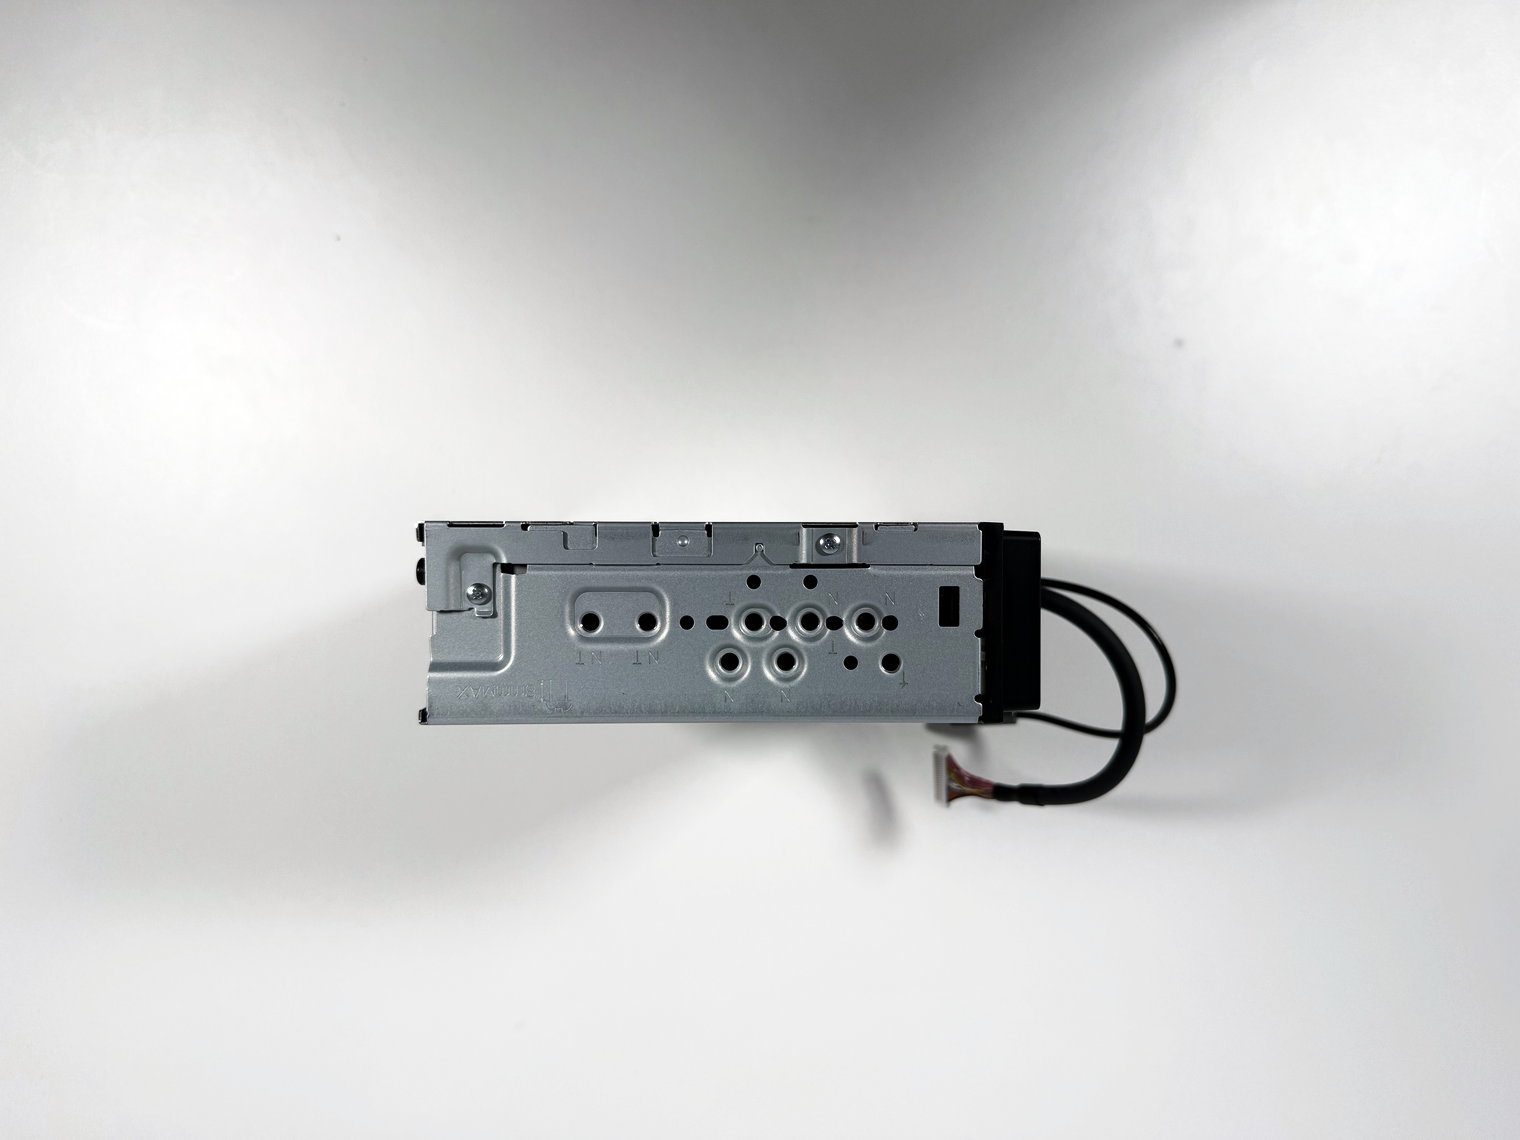
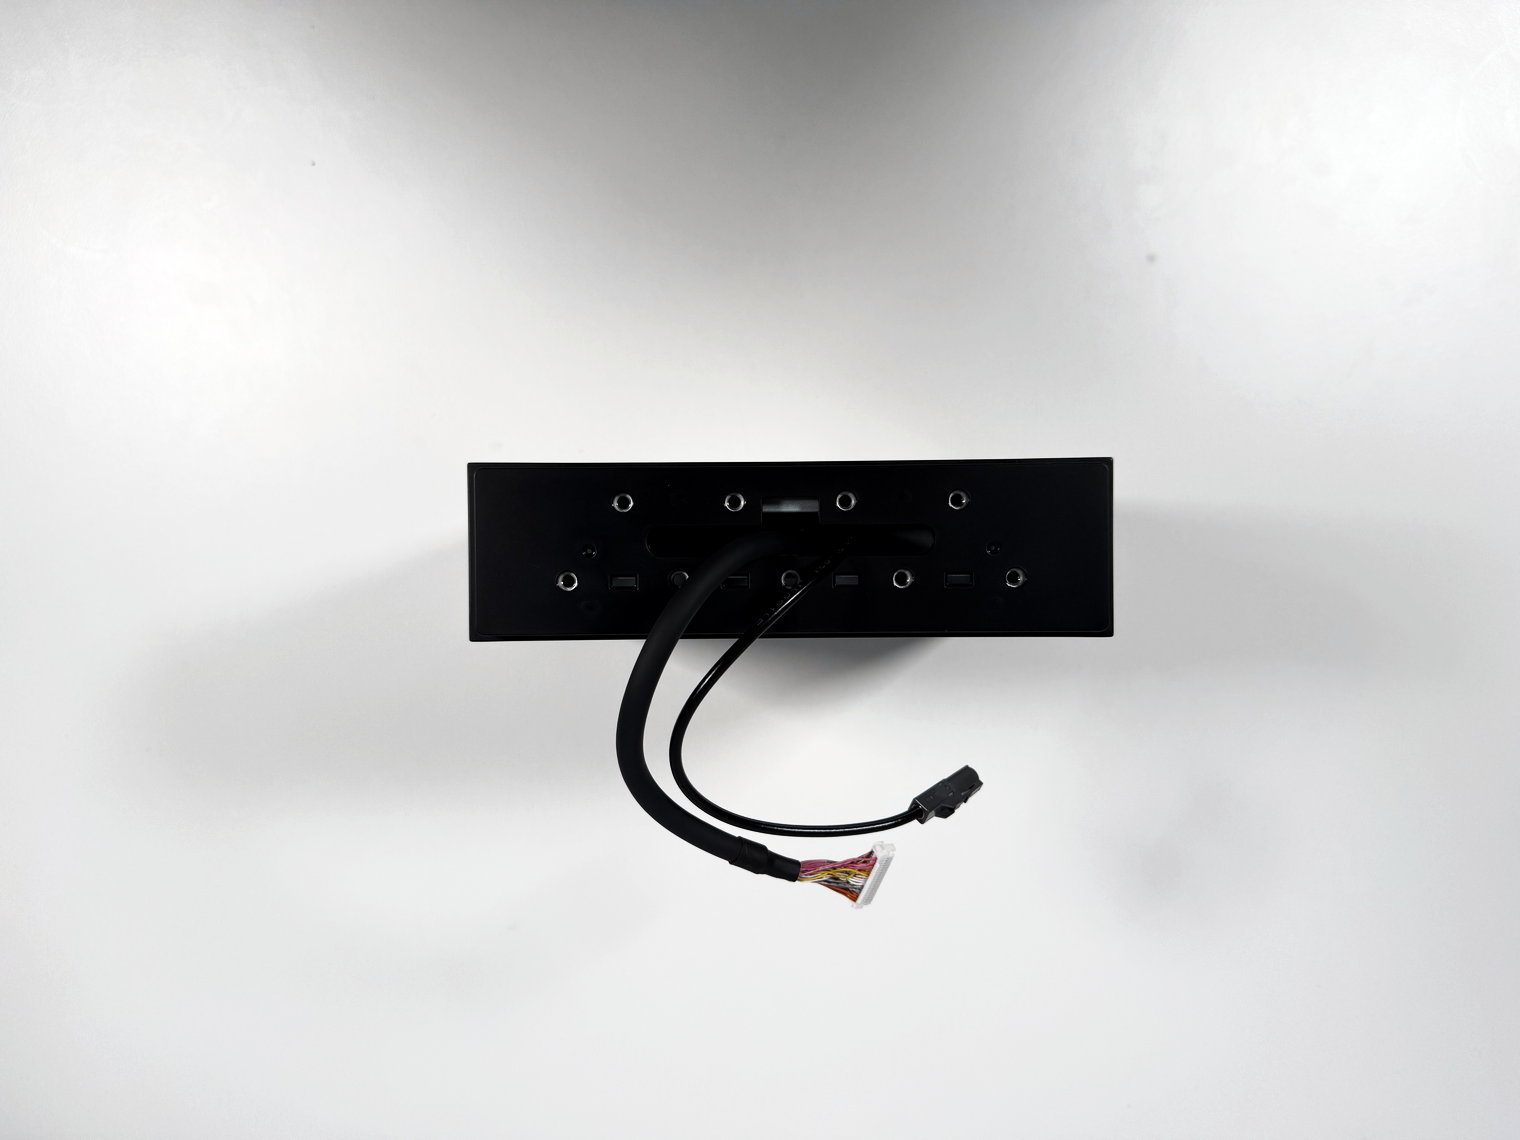
Rear panel
Like most head units, everything connects at the back of the single-DIN chassis: USB-A on the extension (5 V, 1.5 A), a wired-remote jack for a steering-wheel adapter, the 2.5 mm mic jack for voice recognition and phone calls, the GPS jack, the radio antenna, the main harness socket, the preout/A/V harness socket and the fuse. The preout harness carries all three pairs of 4-volt RCA outputs – front and rear fade, the sub is non-fading with phase and its own level – plus a dedicated backup-camera input with guidelines and auto-switching, a second composite camera input you can call up any time, and the 3.5 mm A/V input. All of the inputs and outputs on these single-DIN chassis are combined into a single harness normally now instead of being directly on the back of the unit – it’s cheaper that way but they also wouldn’t fit on the back of a single-DIN chassis like they used to on double din.
There is no HDMI. The WT8600NEX that Pioneer sells alongside this unit has a micro-HDMI input for video. The Alpine Halo9 and Halo11, the Kenwood eXcelon units and the Sony AX8500 all have HDMI as well. On the SPHERA, the only outside video path is composite through that minijack, and I show you what that costs in the video section. Pioneer told me the HDMI decision was not a trade for the Atmos hardware – micro-HDMI was phased out starting with the previous-generation WT6000NEX, before SPHERA was developed.

Will it fit your dash?
These single-DIN chassis fit in way more dashes than the double-DIN floating units from Kenwood, but the monitor is the real constraint. Crutchfield even puts a “check your dash” warning at the top of their listing, and one owner with a 2014 Ram 3500 found the new faceplate pressing his climate-control warmer button until he adjusted the screen position.
The monitor measures 10.205 inches wide, 6.445 inches tall and 1.435 inches deep – but don’t forget that you can shift it up, down, left, right and tilt it. And like I said, the chassis is a standard single-DIN box, which measures 7.025 × 1.9805 × 6.695 inches. Anything with a factory screen that is not a DIN opening is out, which rules out my own F-150 and most vehicles built after about 2020.
Not sure your dash has a DIN opening behind that factory screen? Look up your year, make and model in the Vehicle Fit Guide before you order.
Autotuning: the feature I'd buy it for
This is my favorite feature on the unit. Pioneer calls it PURE Autotuning and describes it as “more than a basic auto-EQ and auto time delay.” The mechanism is the same idea as room correction on a proper home audio receiver. You plug the calibration mic into the 3.5 mm A/V jack on the preout harness.
Installation tip: run the included A/V jack extension somewhere you can reach it after the dash goes back together. You will want to recalibrate after any speaker, amp or sound-deadening change.
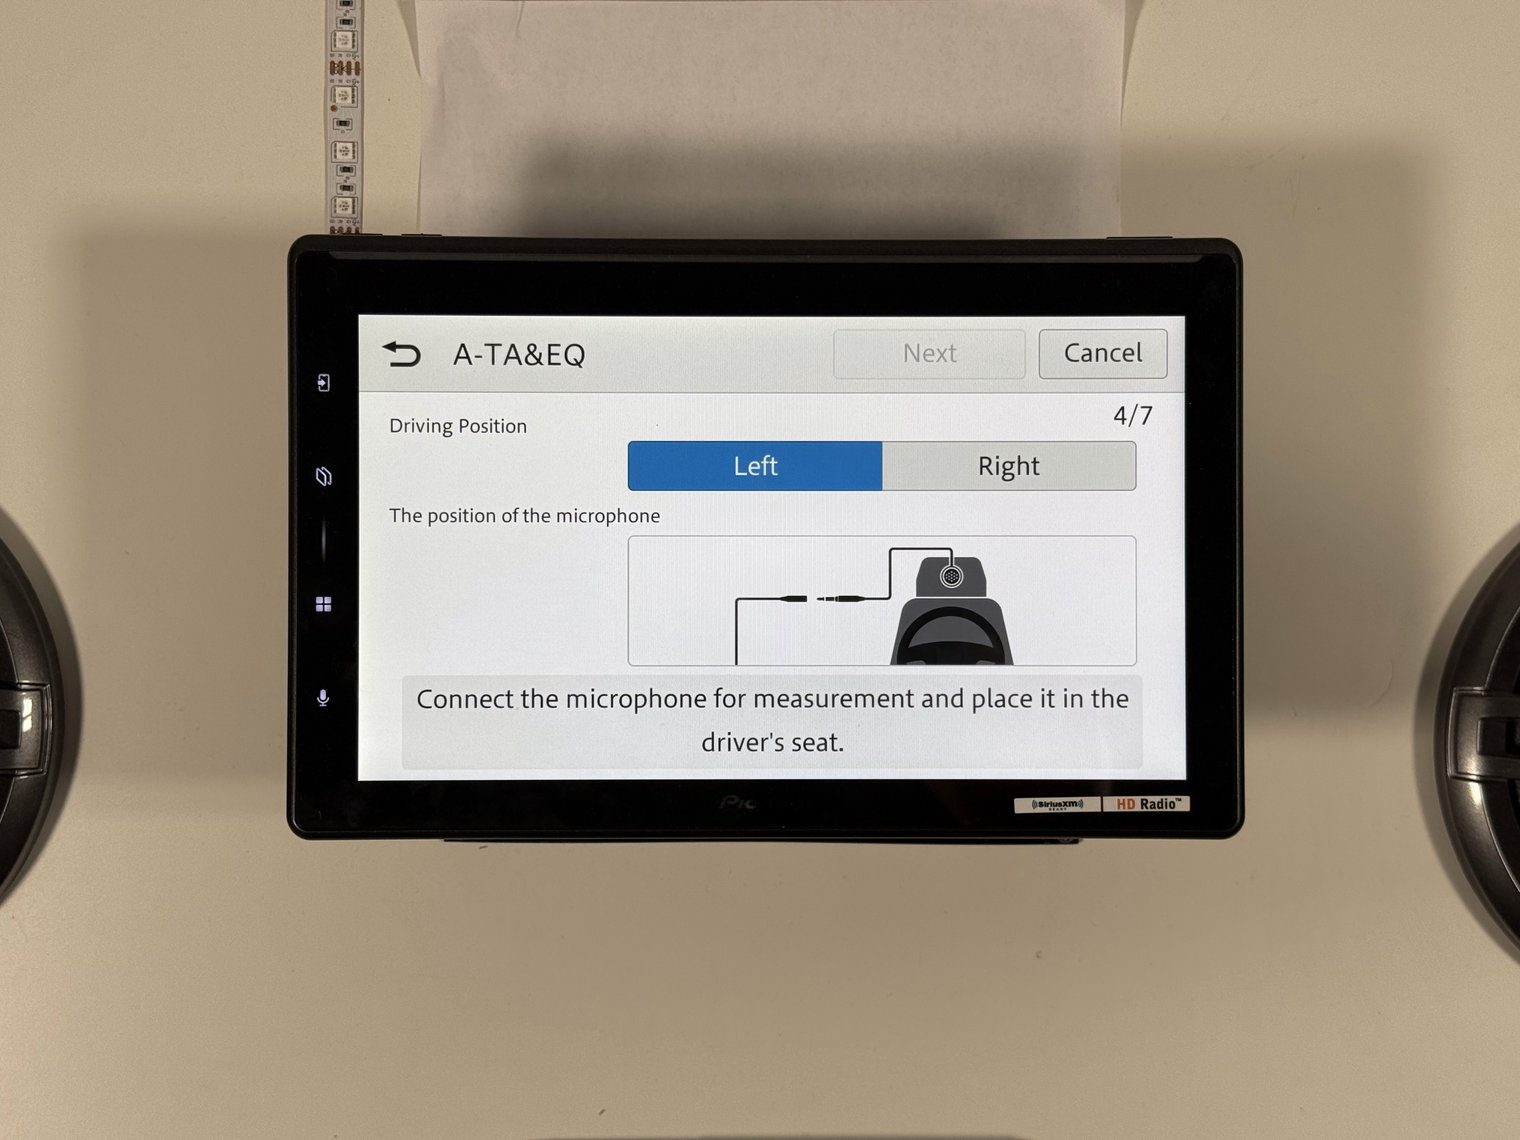
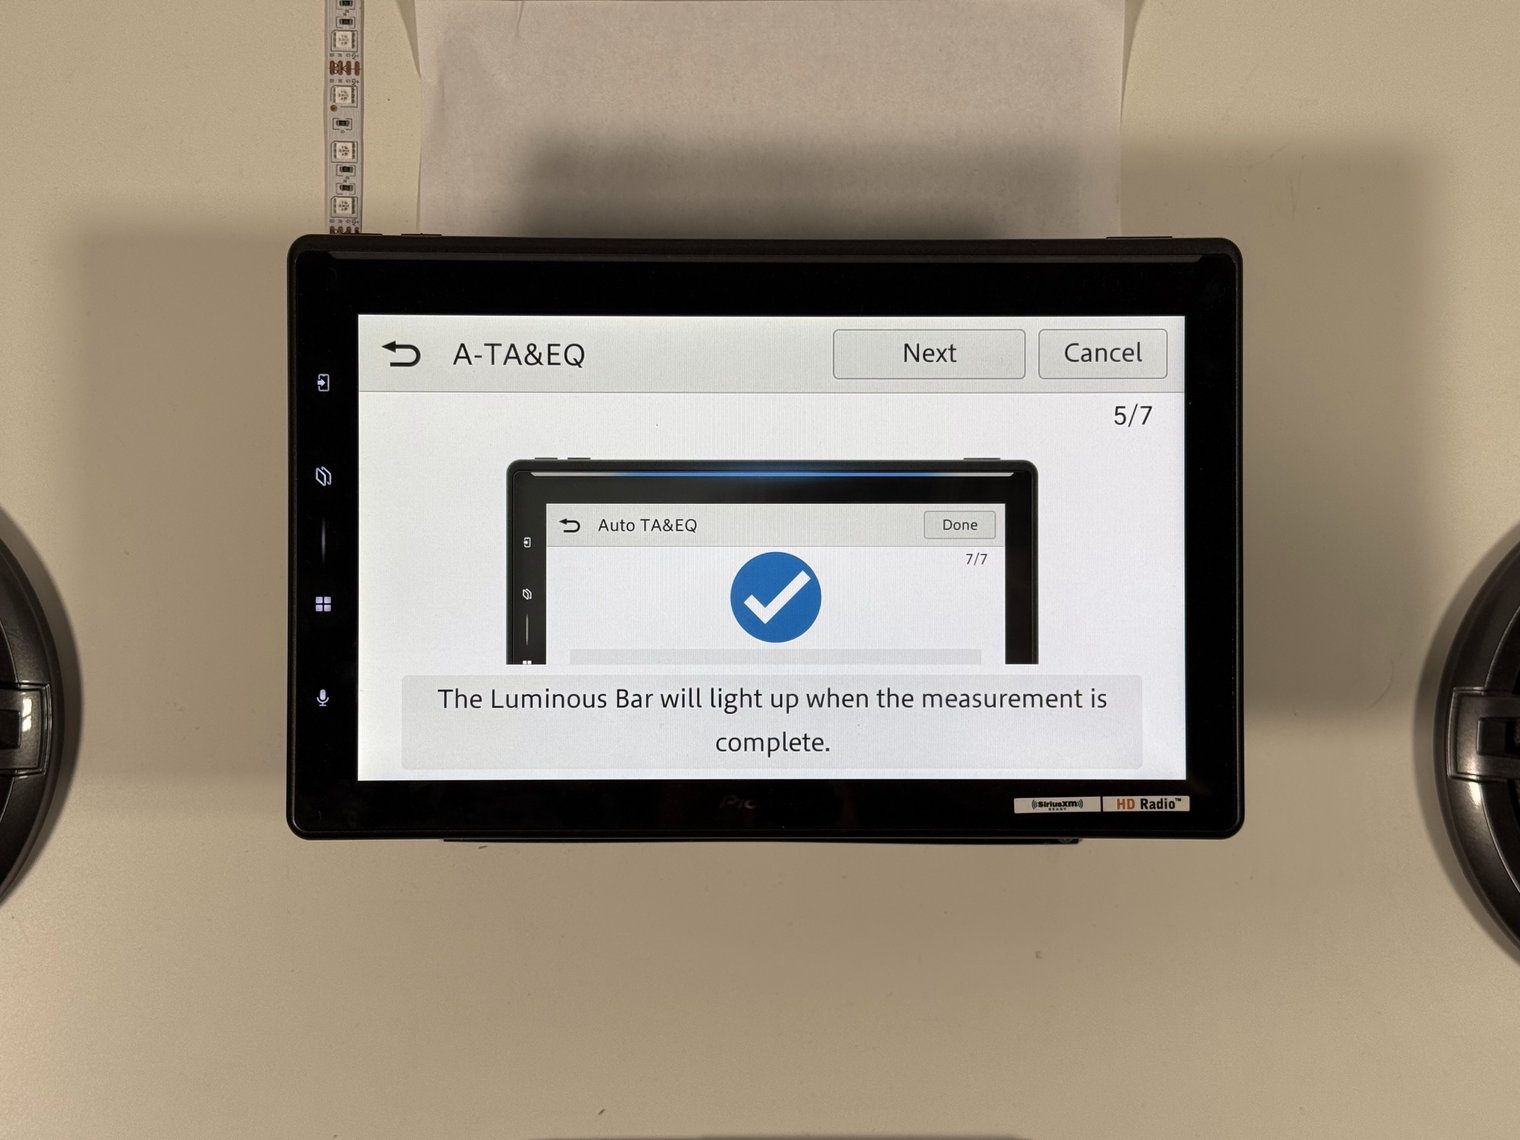
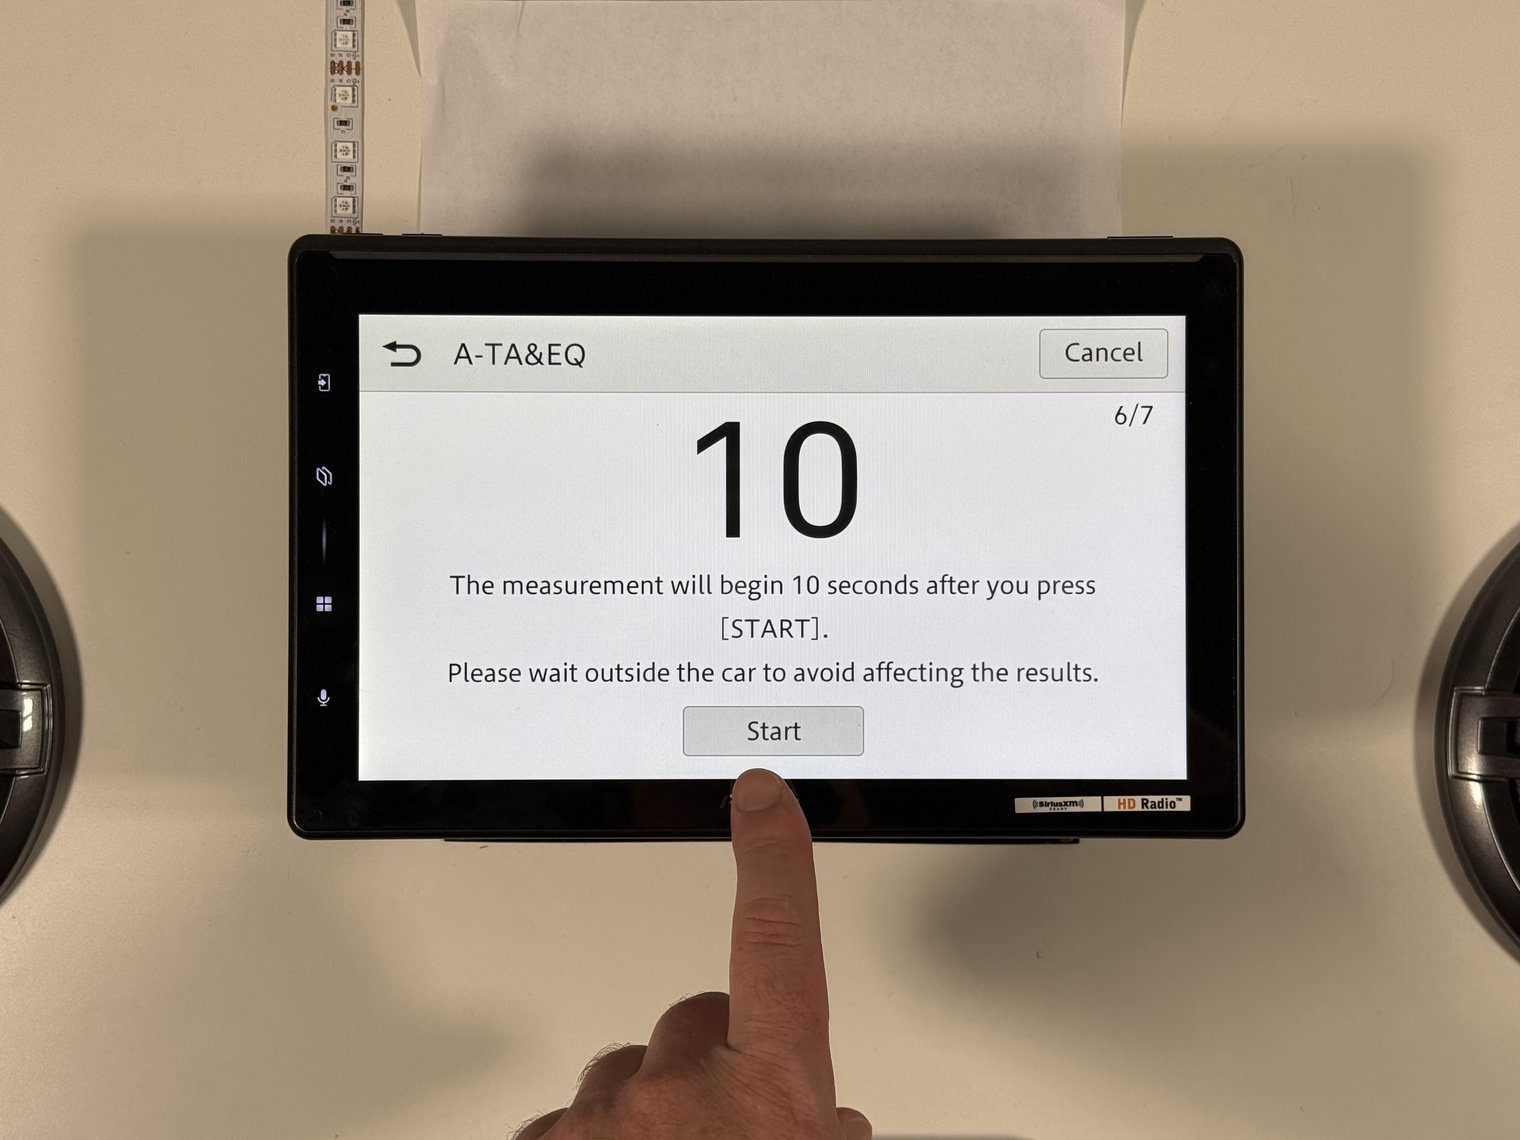
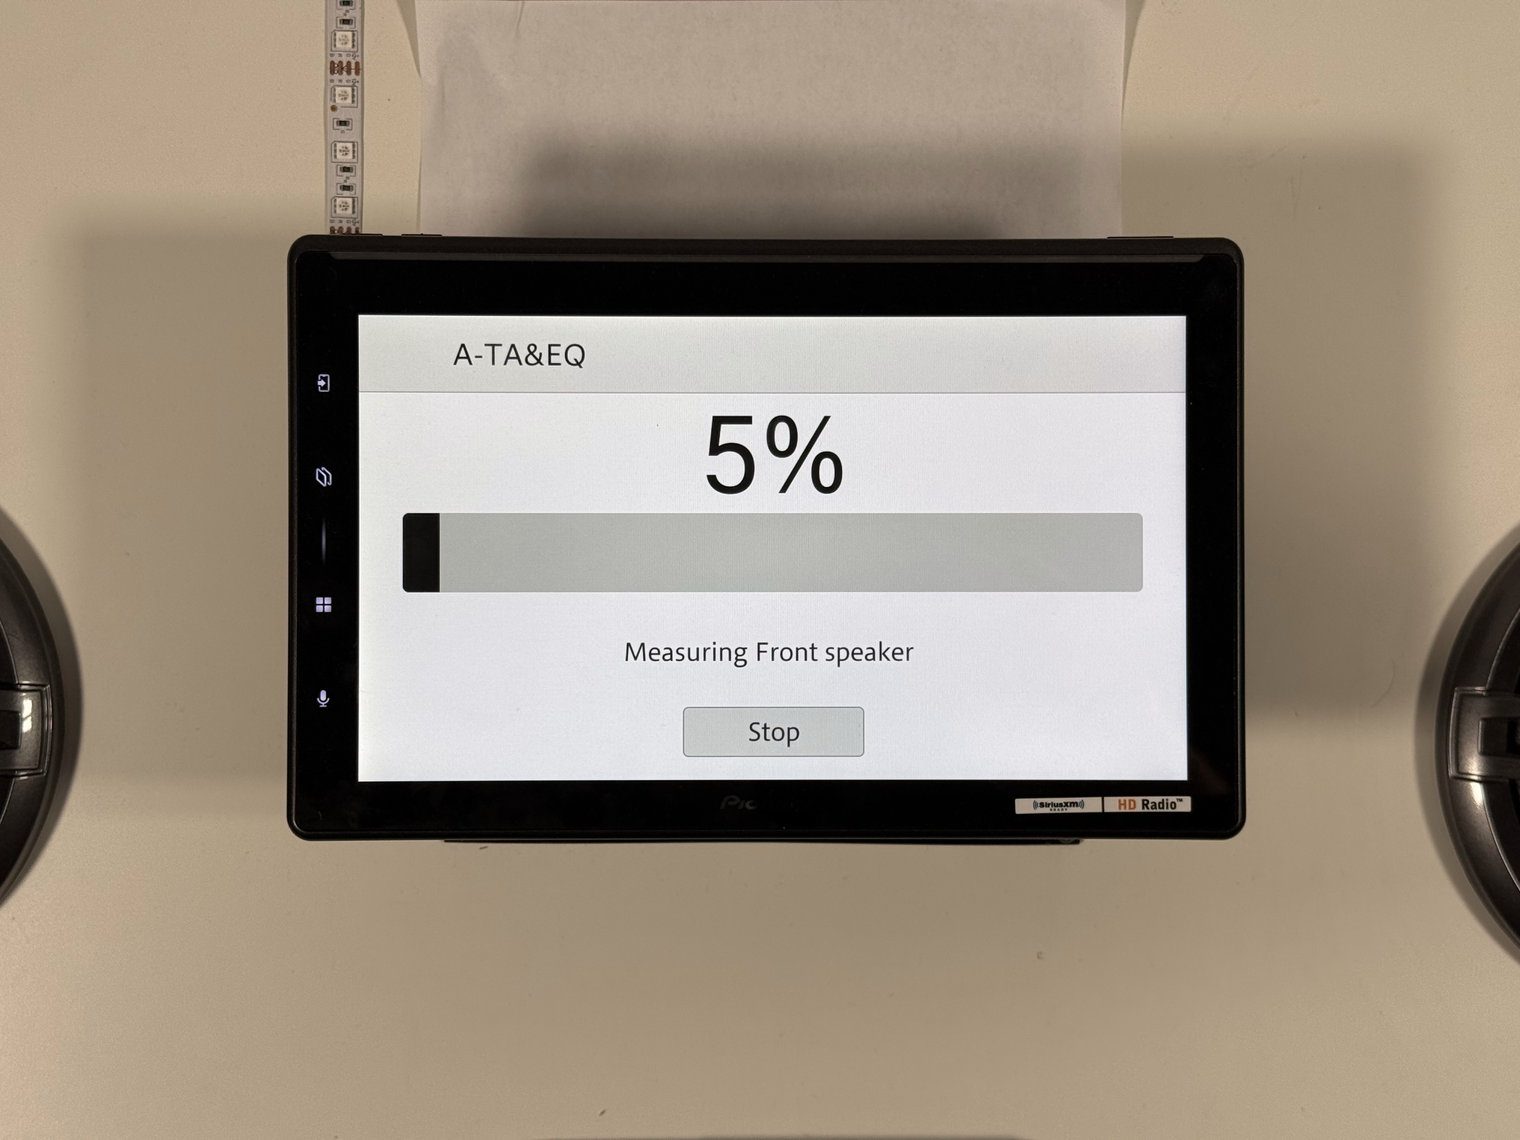
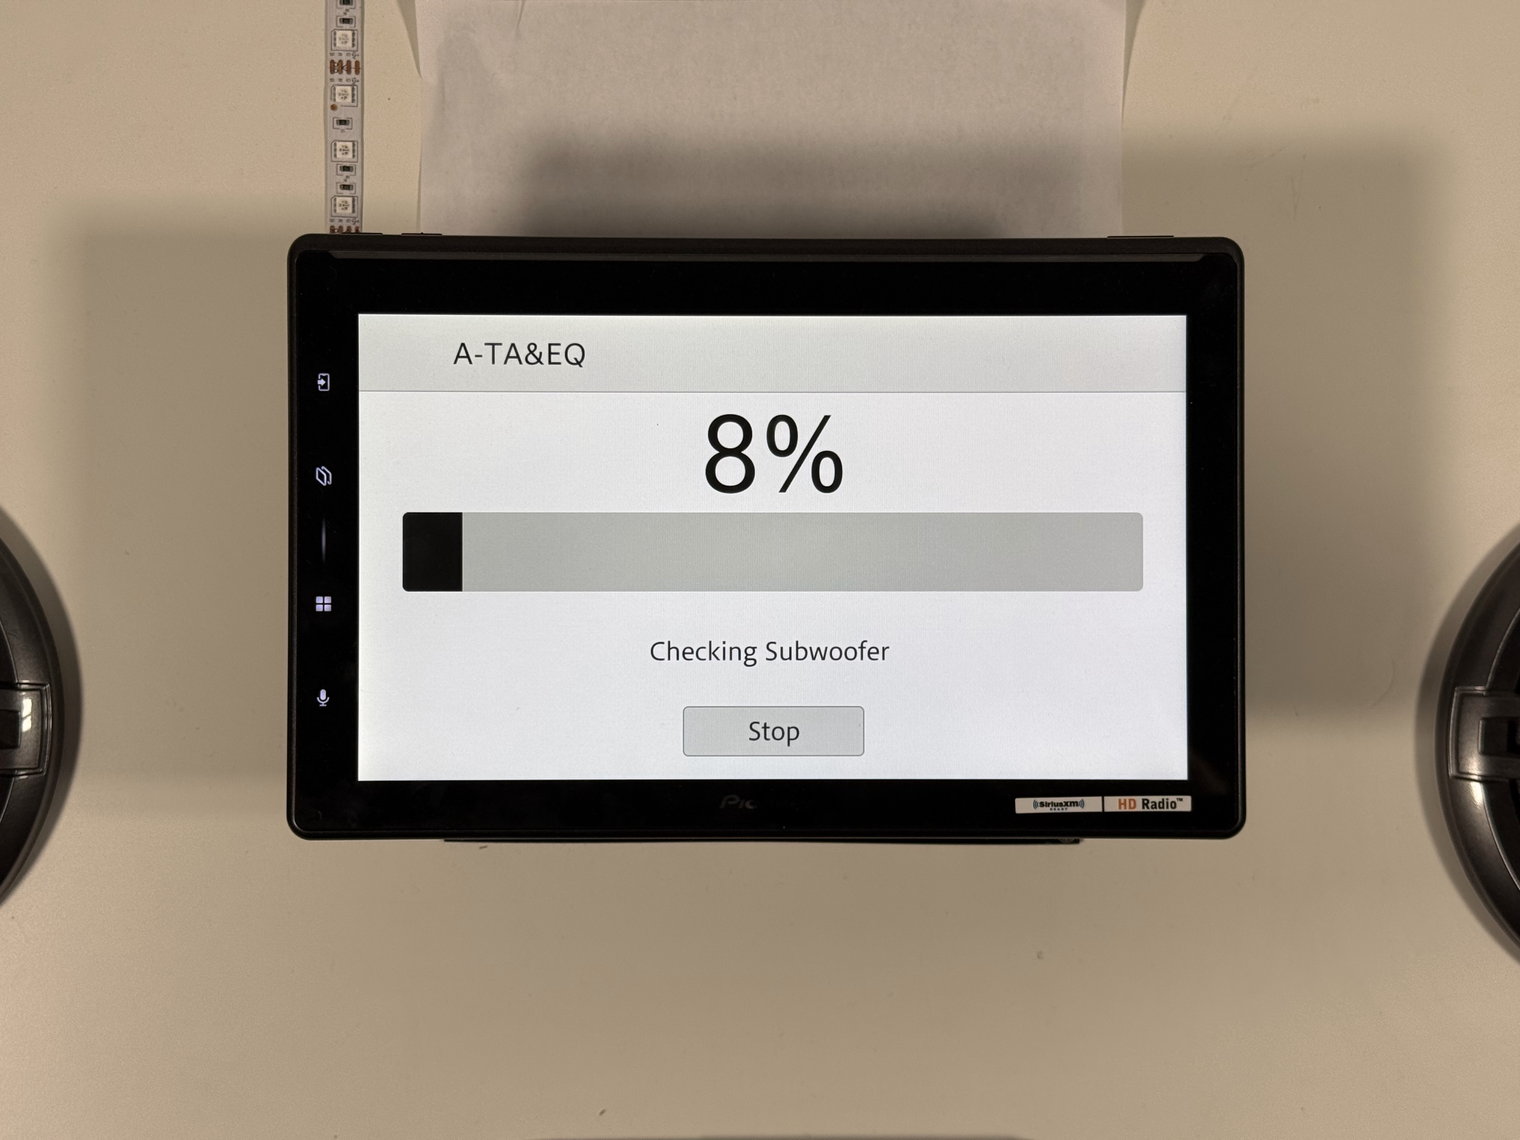
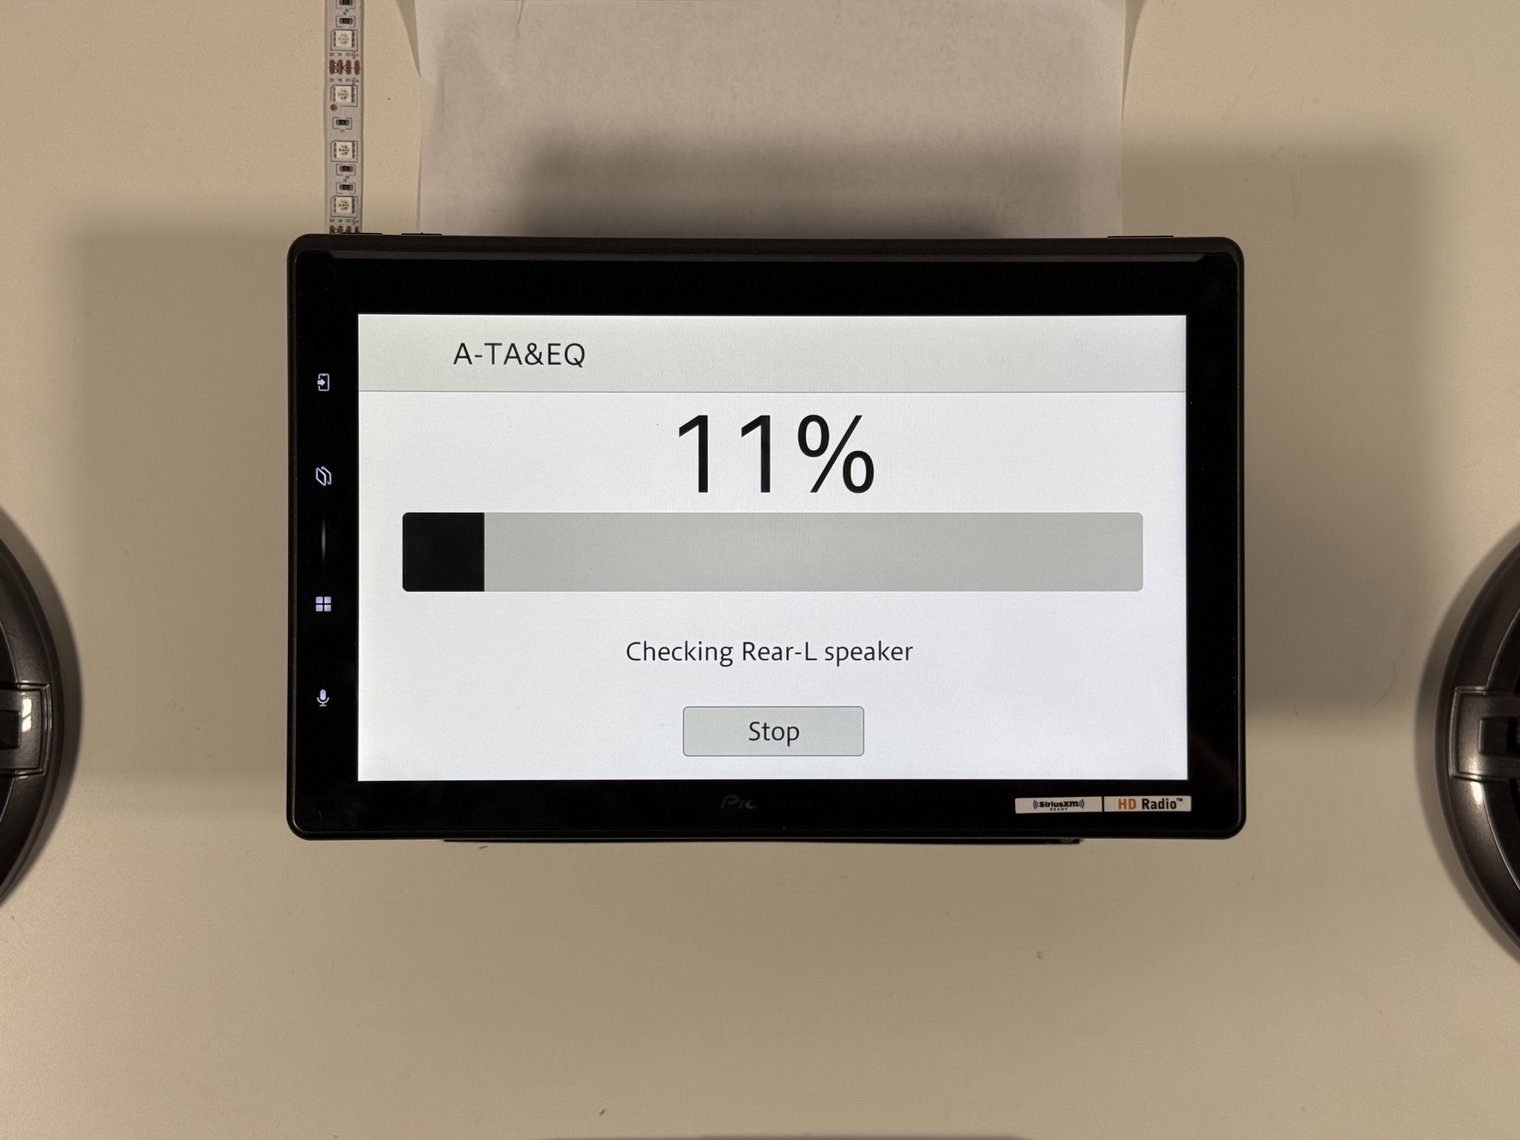
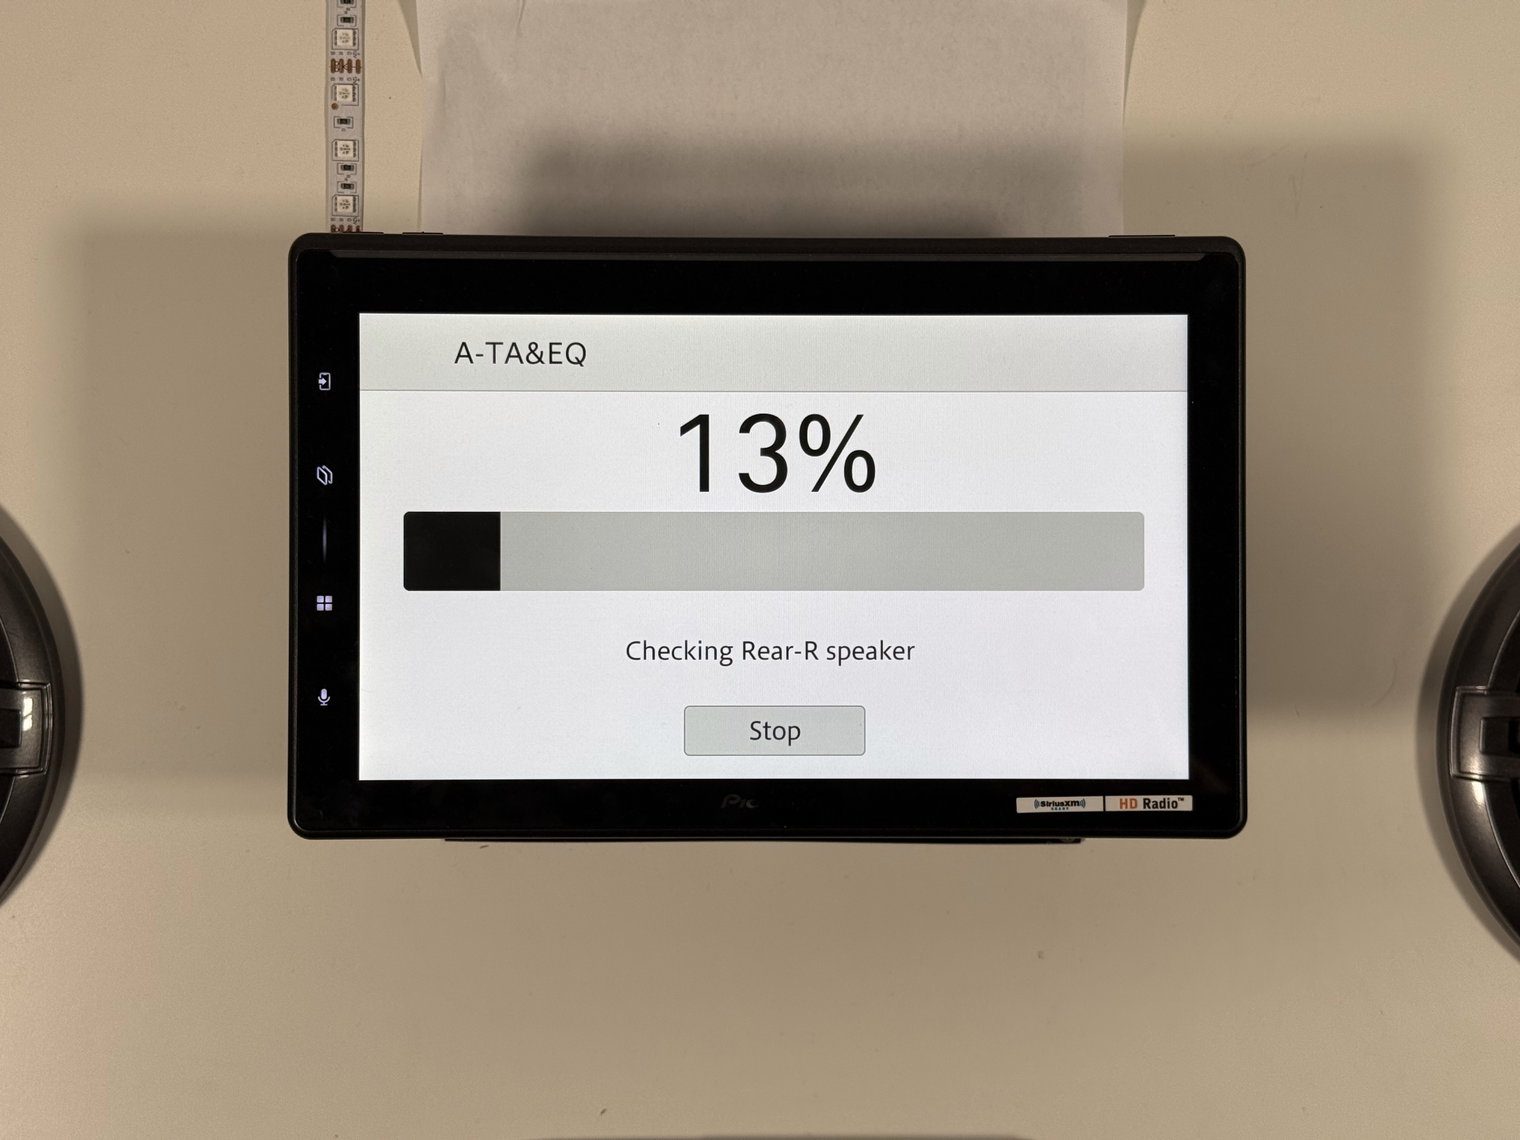
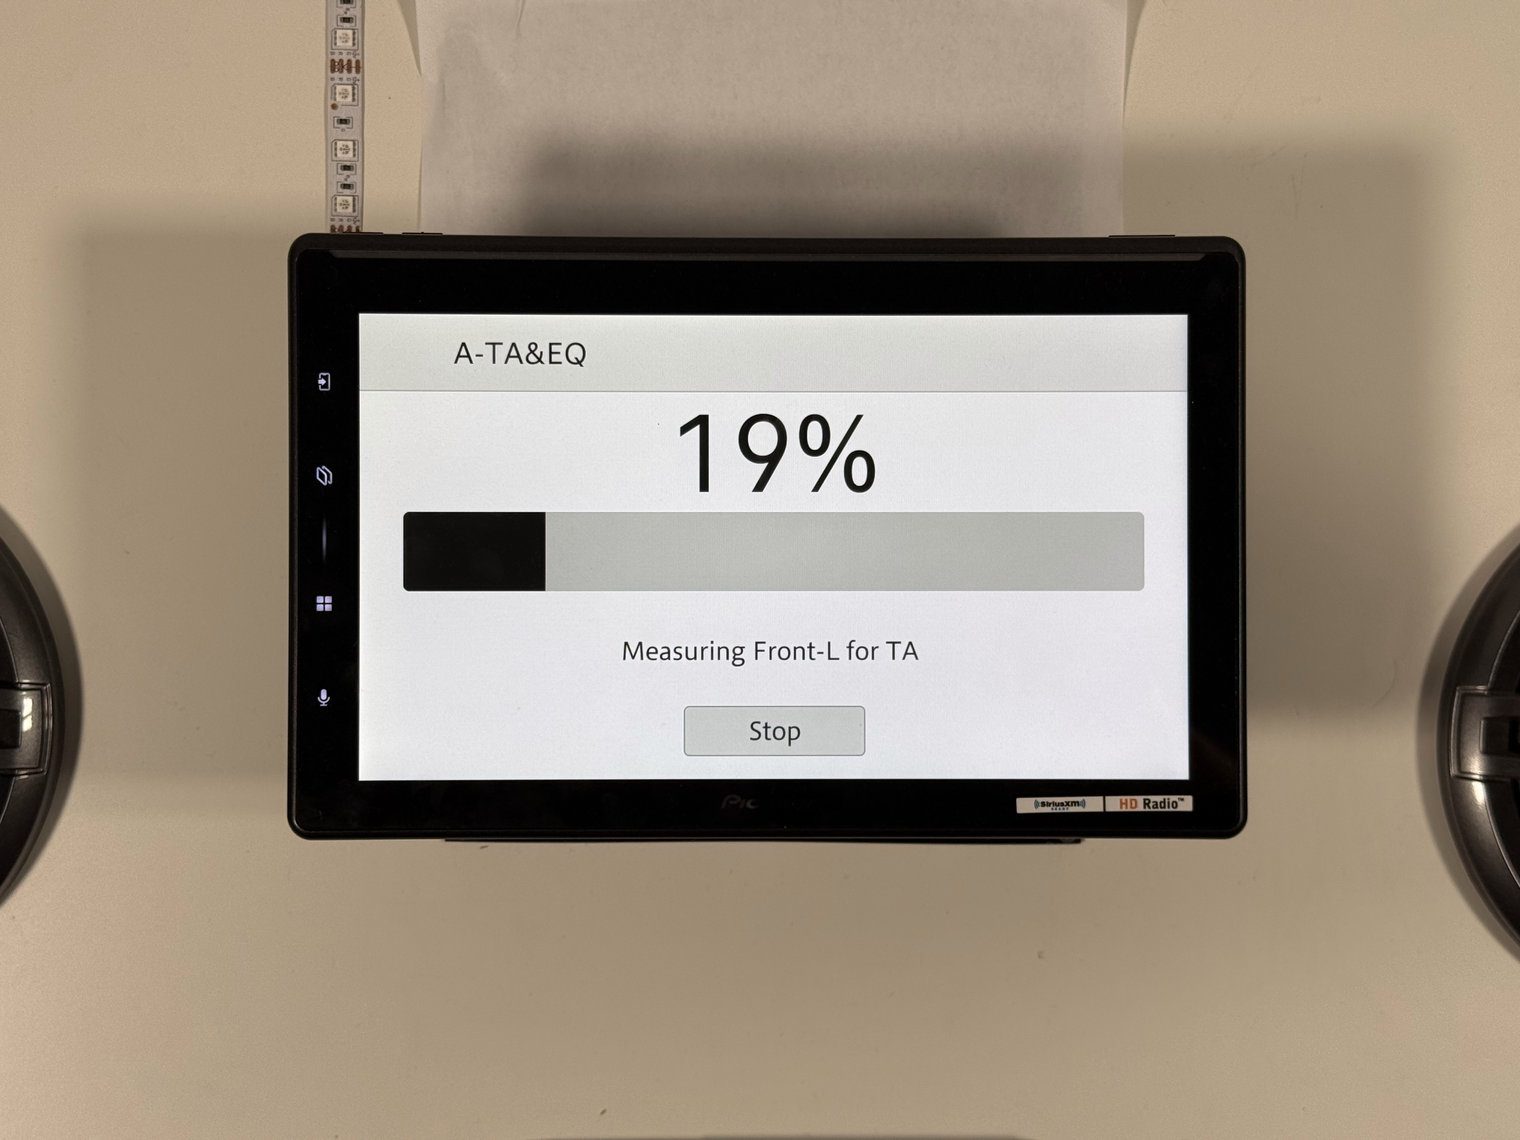
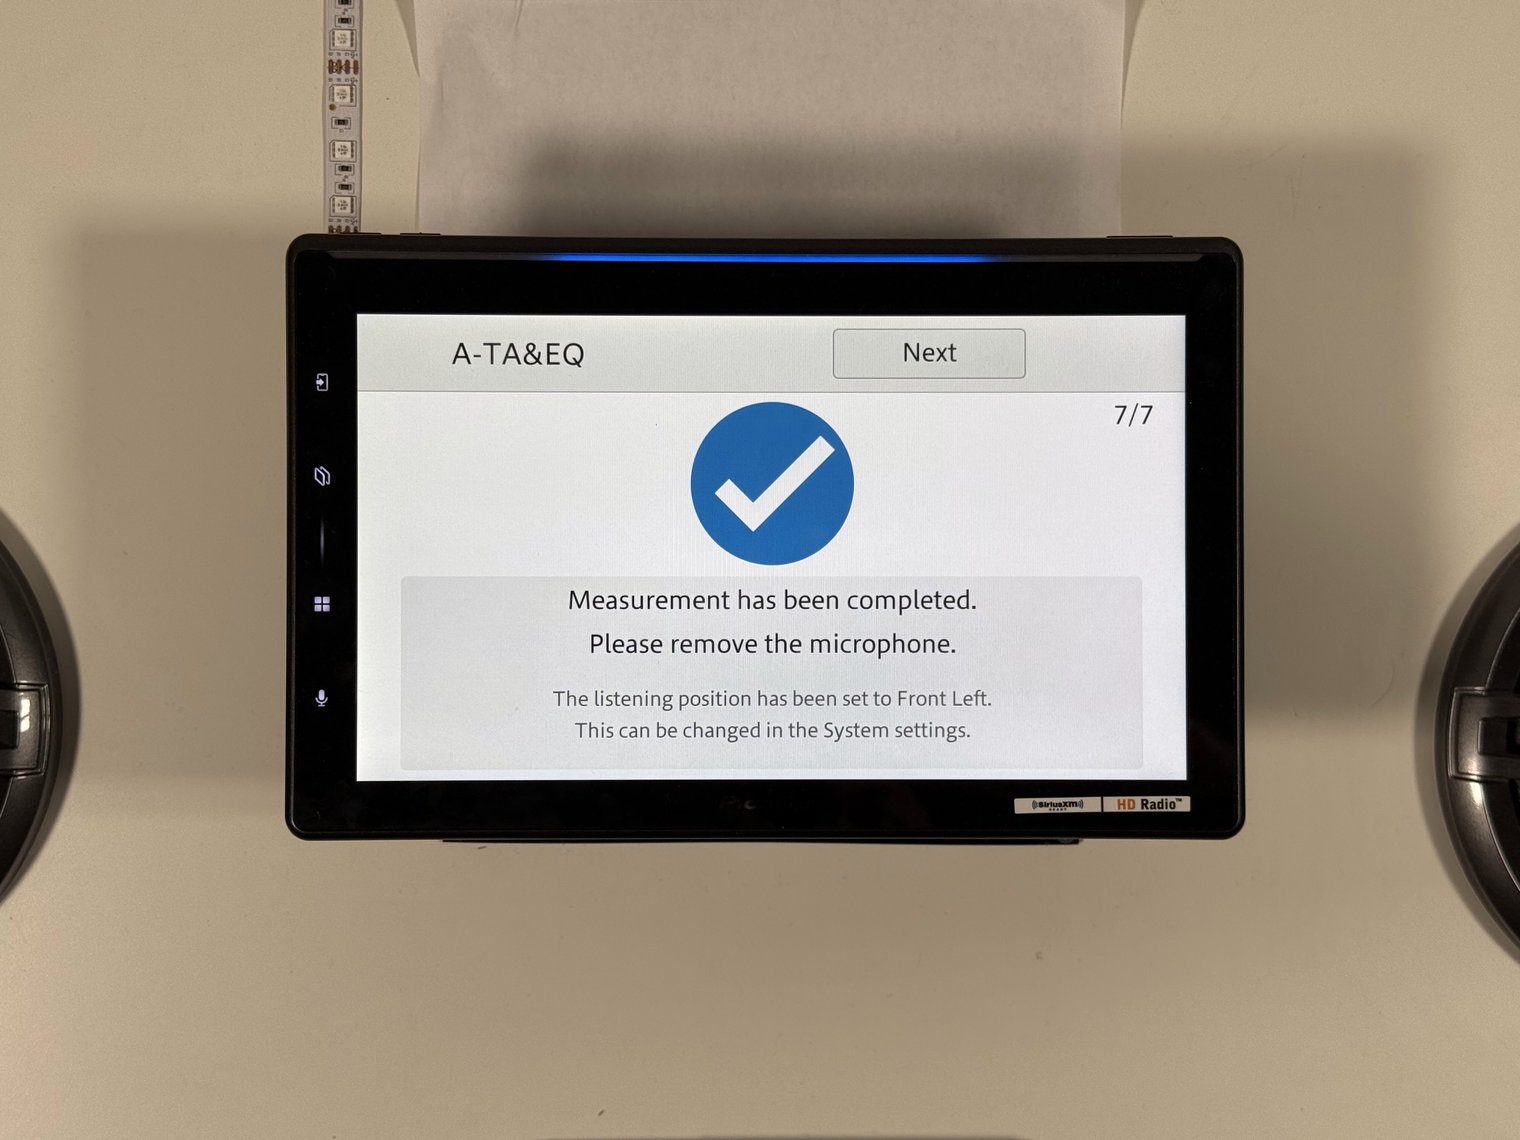
In the car, you’ll clip it to the center of the driver's headrest, facing forward, start the calibration from the audio settings (or during the first-boot sequence), get out, and wait five to seven minutes while the unit sweeps every speaker. The Luminous Bar lights to tell you it is done. What used to take an hour or more measuring, configuring, listening now takes minutes. It sets time alignment, frequency response and channel levels for each speaker and places the listener at what Pioneer calls the acoustical center.
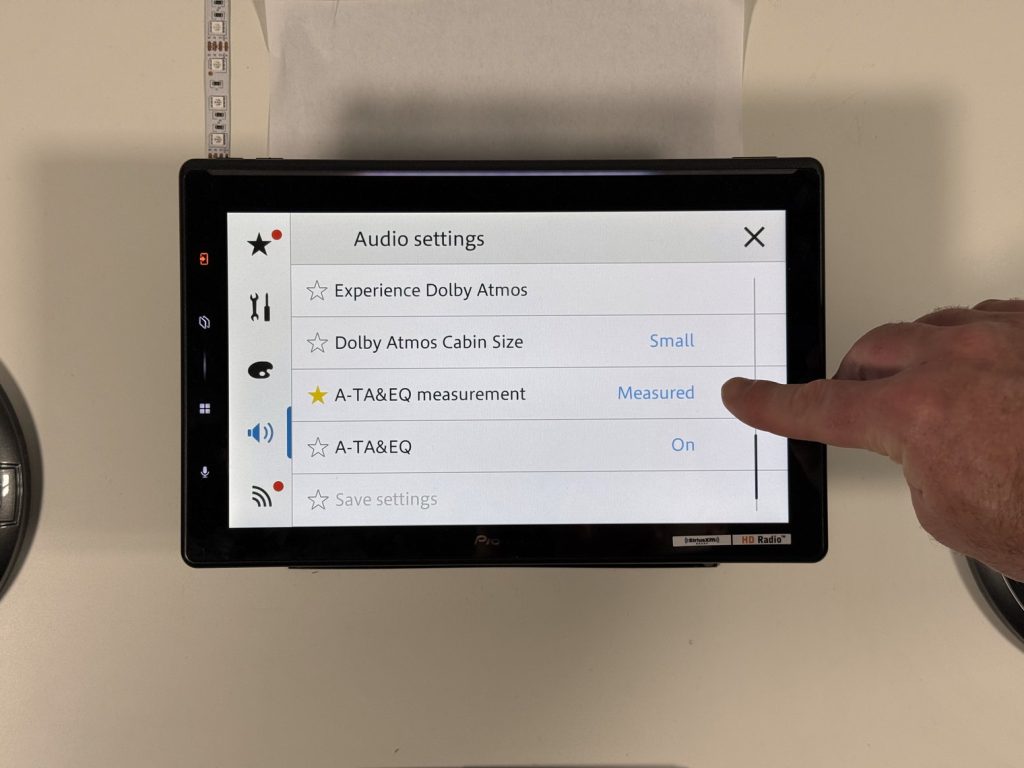
Standard mode or Network mode — the first question it asks
When you turn the unit on for the first time you’ll be asked to set up a few things. Namely, the audio mode. When the unit gets to calibration, the setup wizard asks you to choose Standard or Network mode, and it is worth reading the question before you tap.
- Standard is the normal layout – the unit thinks in terms of front speakers, rear speakers and a subwoofer. The crossover gives you a high-pass for front and rear and a low-pass for the sub. It is the right choice for any speaker with its own crossover, which means coaxials and component sets using their supplied crossover network. 99% of users will choose this option. If you aren’t sure, I recommend choosing this mode.
- Network mode turns the head unit into its own three-way active crossover – the outputs become high (tweeters), mid (midrange or midbass) and low (sub), each with its own high-pass and low-pass and slopes to 36 dB per octave. That is for a system running tweeters and mids on separate amplifier channels with no passive crossovers, effectively using the head unit as the DSP. If you pick this option with coaxials in the doors, you are sending a filtered signal to a speaker that already filters itself.
The reason why I’m calling this out is because this is a system-level setting. Pioneer confirmed to me that switching modes later requires a factory reset – the two modes run on different DSP and output-routing architectures, so the unit cannot change over live. Also, the EQ, time alignment, crossovers, speaker configuration and output assignments all must be set up again from scratch, Autotuning included. The full crossover ranges for both modes are in the sound-settings section below.
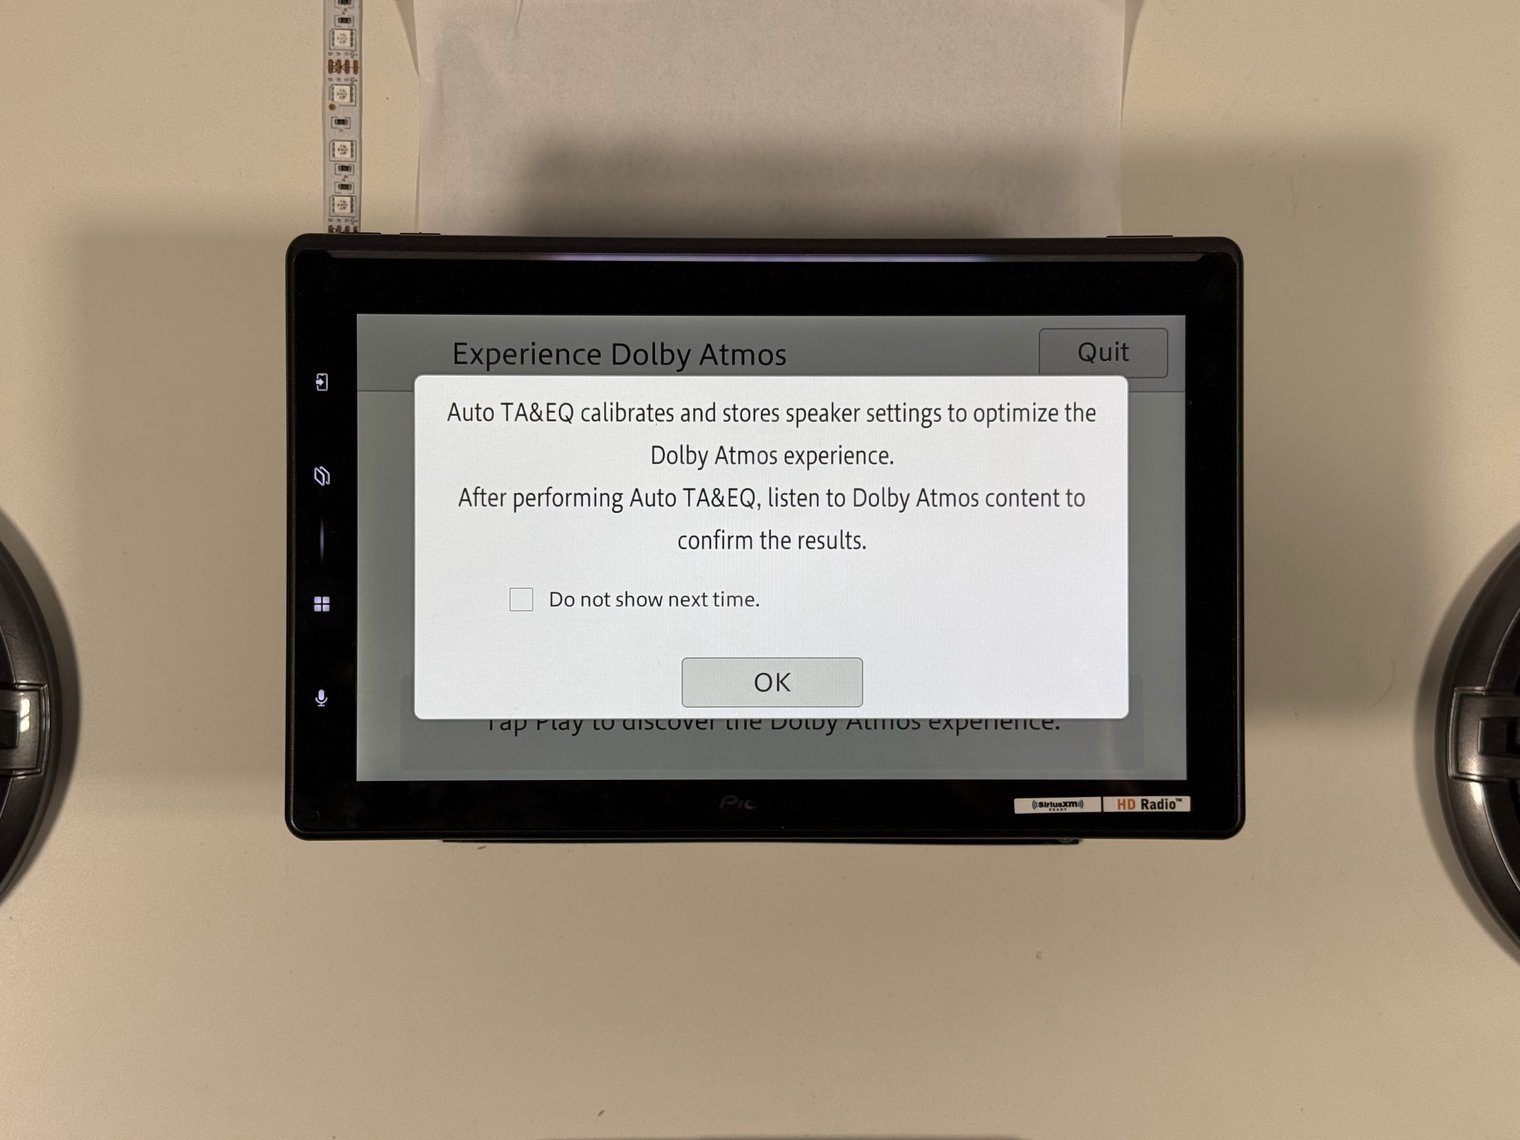
Right after the Standard/Network choice, the setup wizard puts you into “A-TA&EQ” – Auto Time Alignment and EQ. It runs any time later from the audio settings too. I’ll note again that I did not test this on my bench, but plan to do so in my Part 2 (TBD) of this review in a real car. You can skip this step if you want to as well with no ramifications – it doesn’t throw an error or anything – and come back to it at a later time via the settings.

For context on the alternative: the only other way to get this auto tuning feature in an aftermarket system is a standalone DSP with its own microphone, an afternoon, and some patience. Curious what that path looks like? My guide to car audio DSP processors covers some of the units that do it.
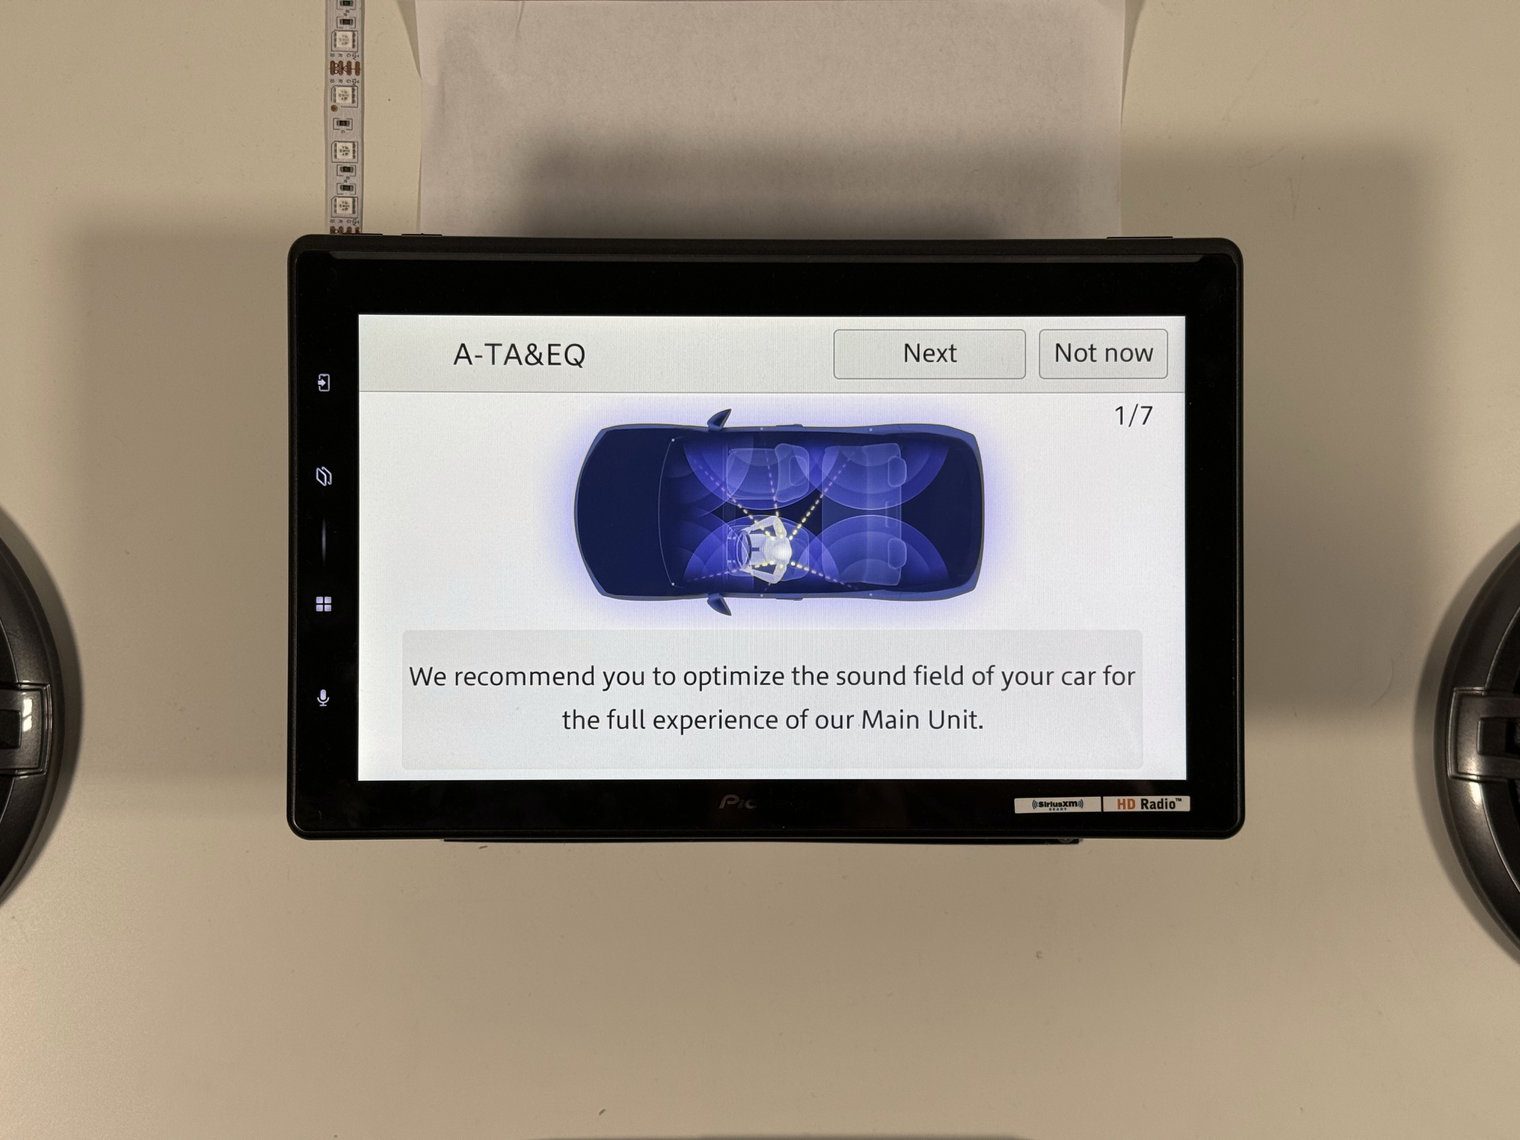
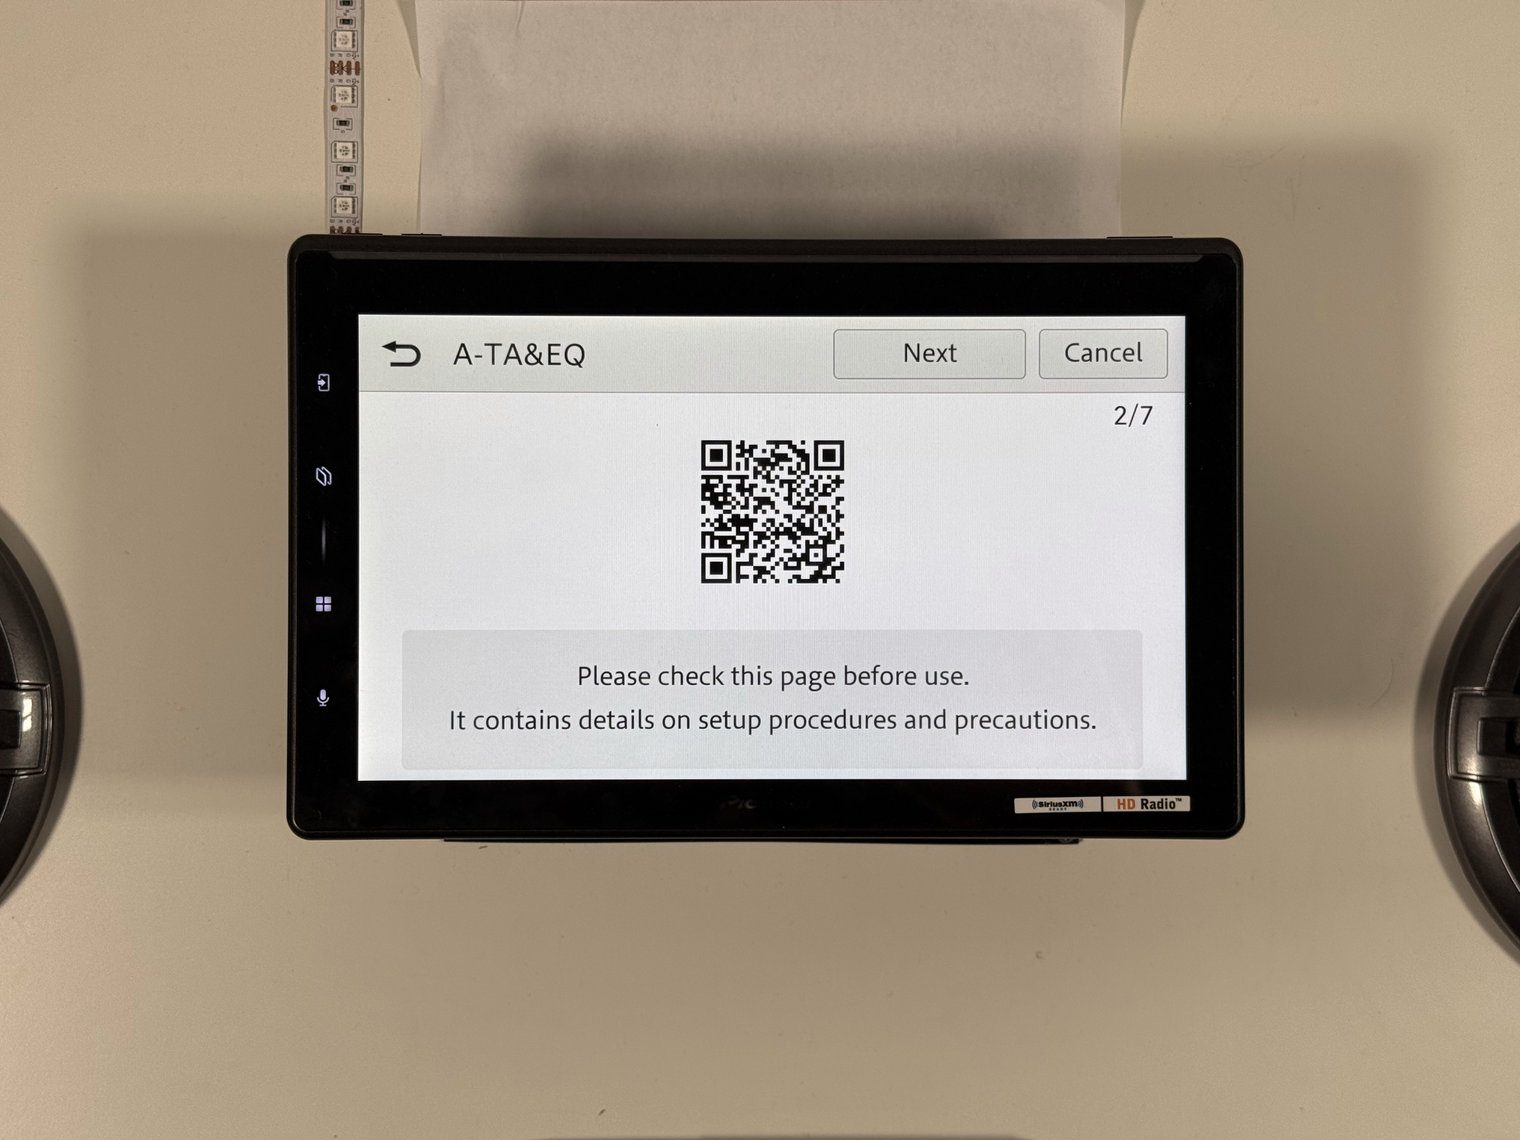
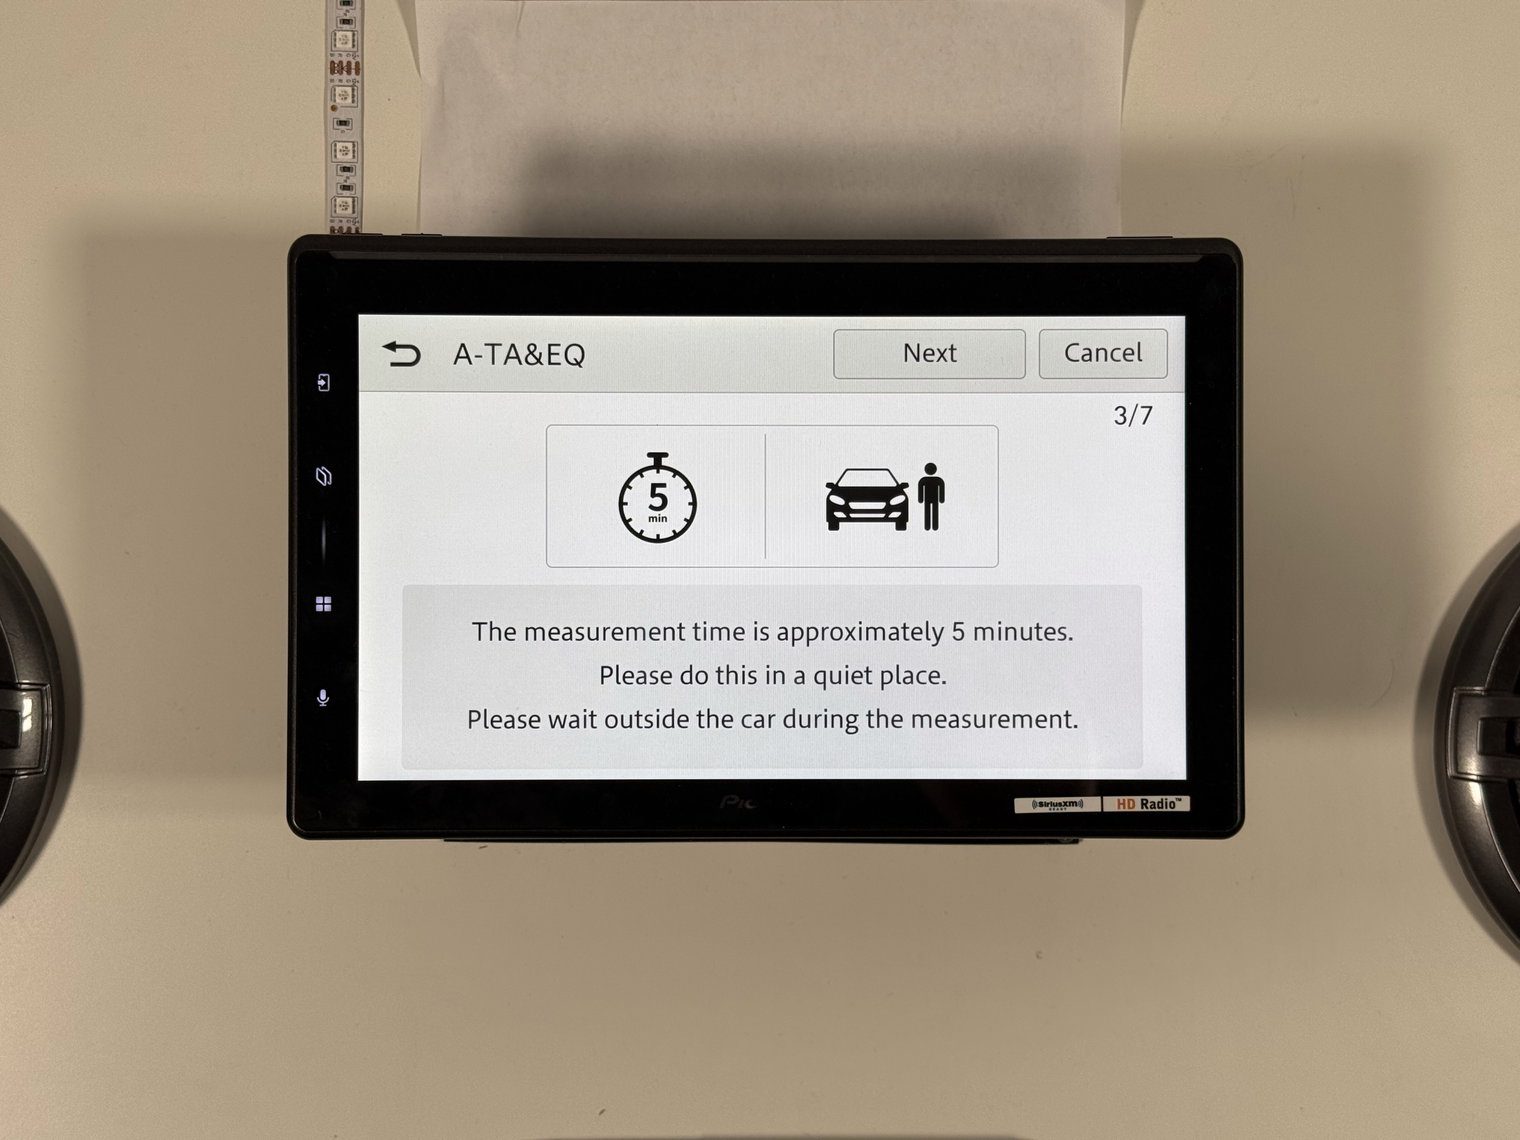


PxLink setup — the wizard's last step, and the one people get stuck on
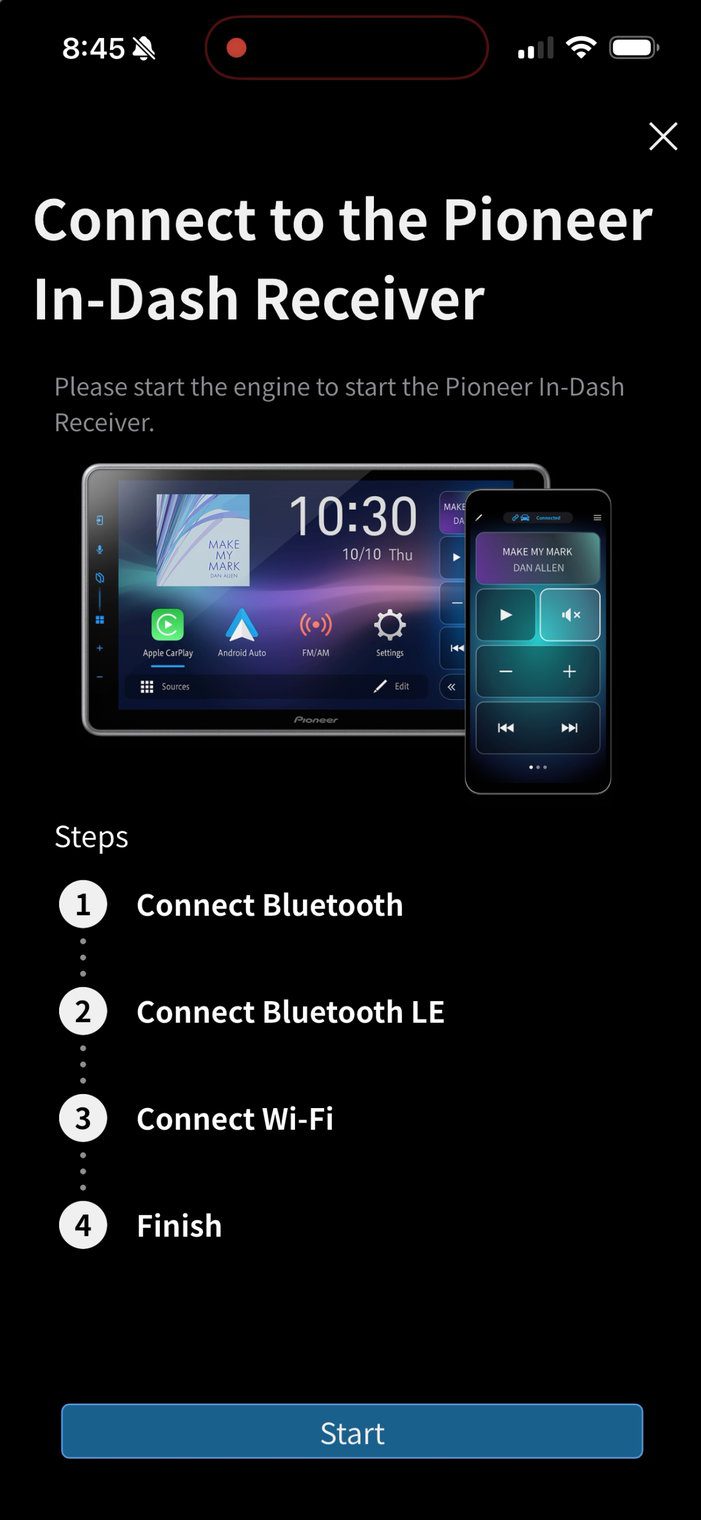
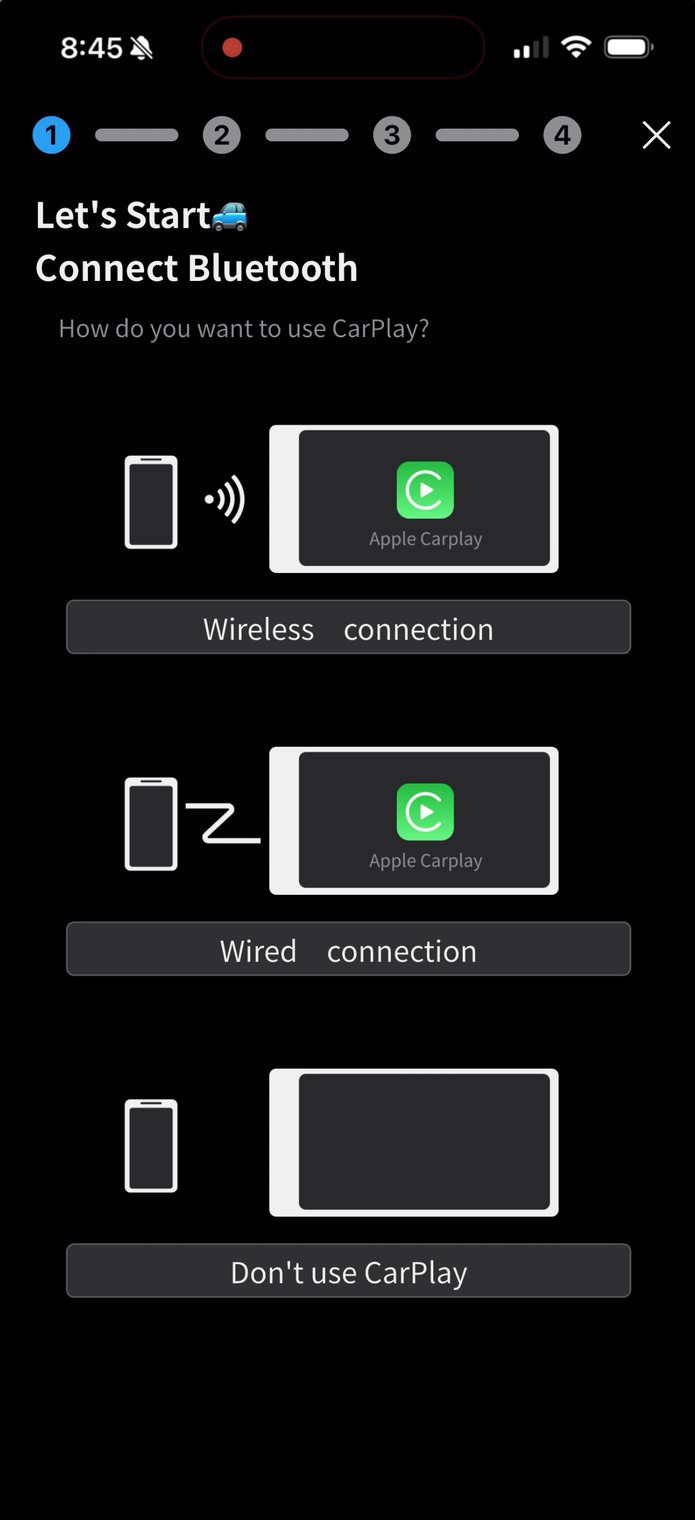
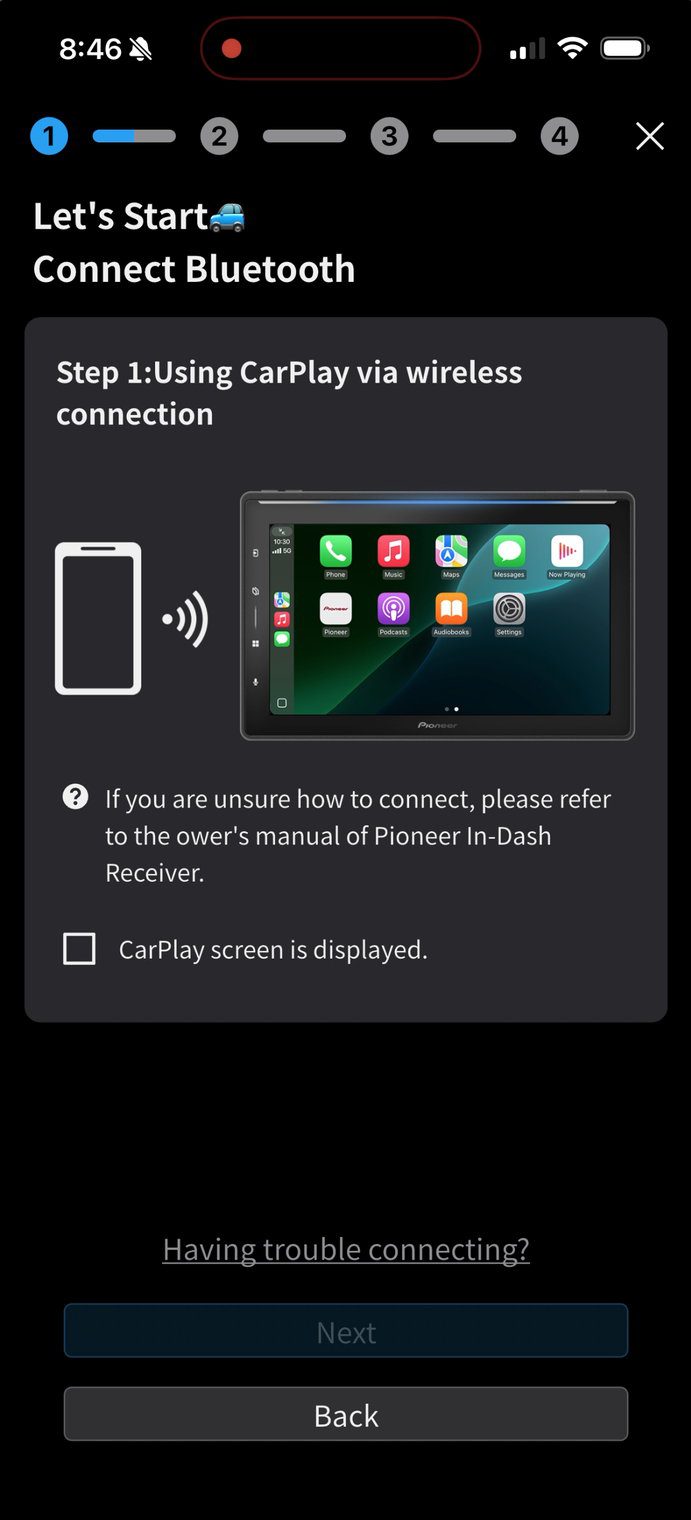
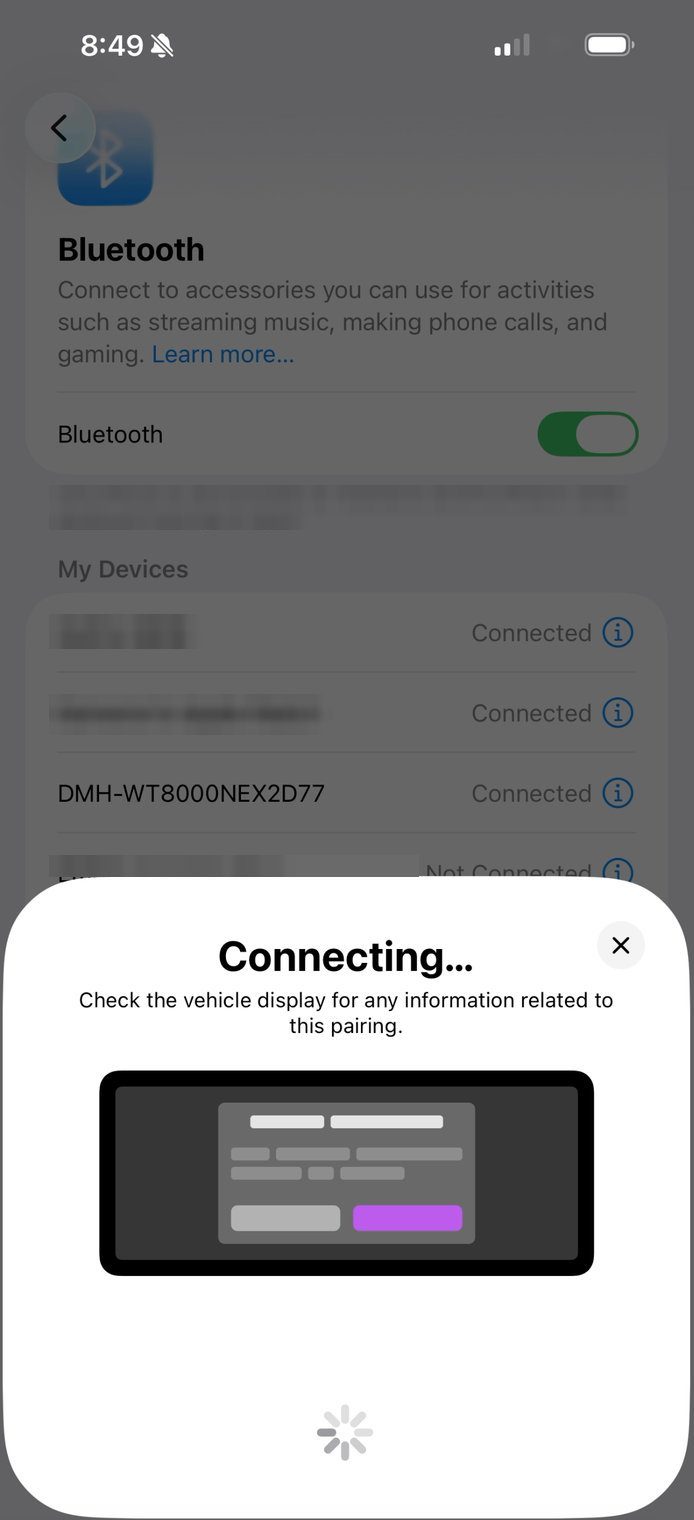
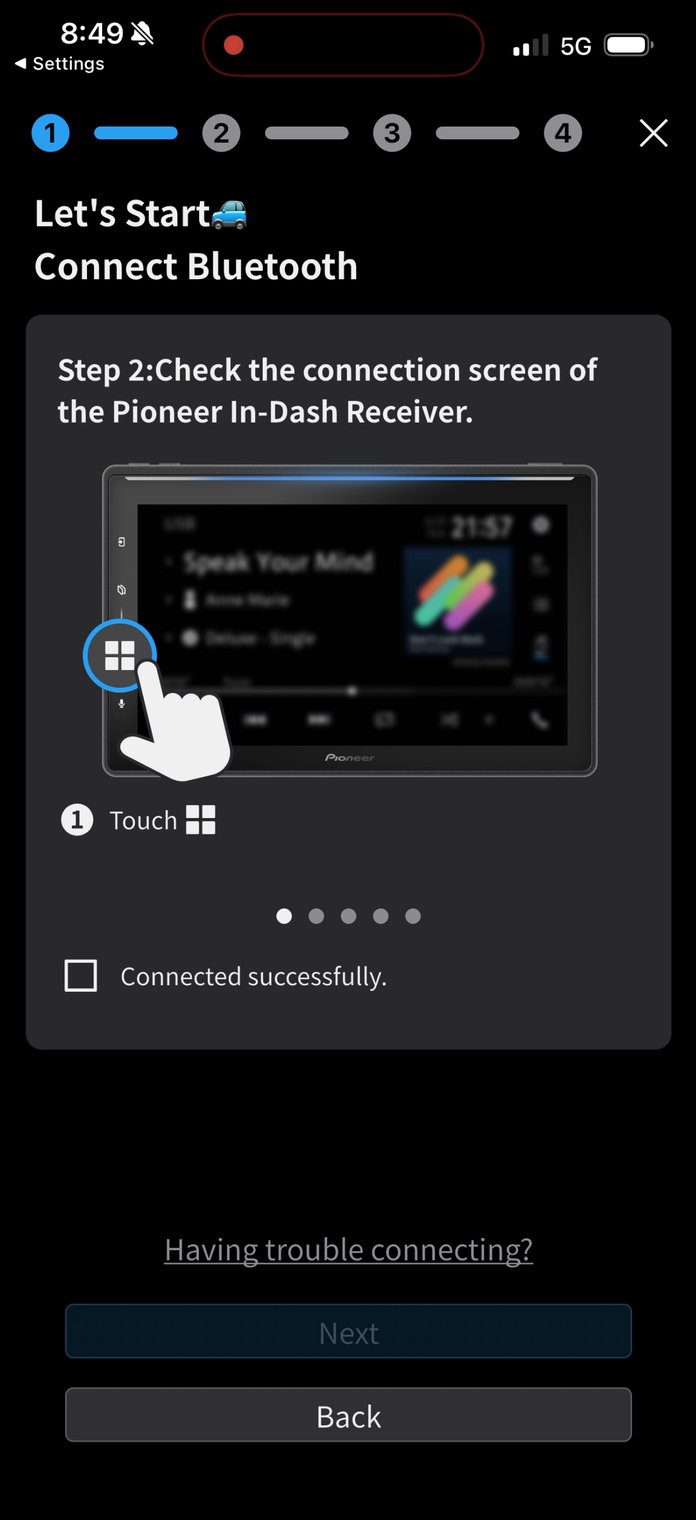
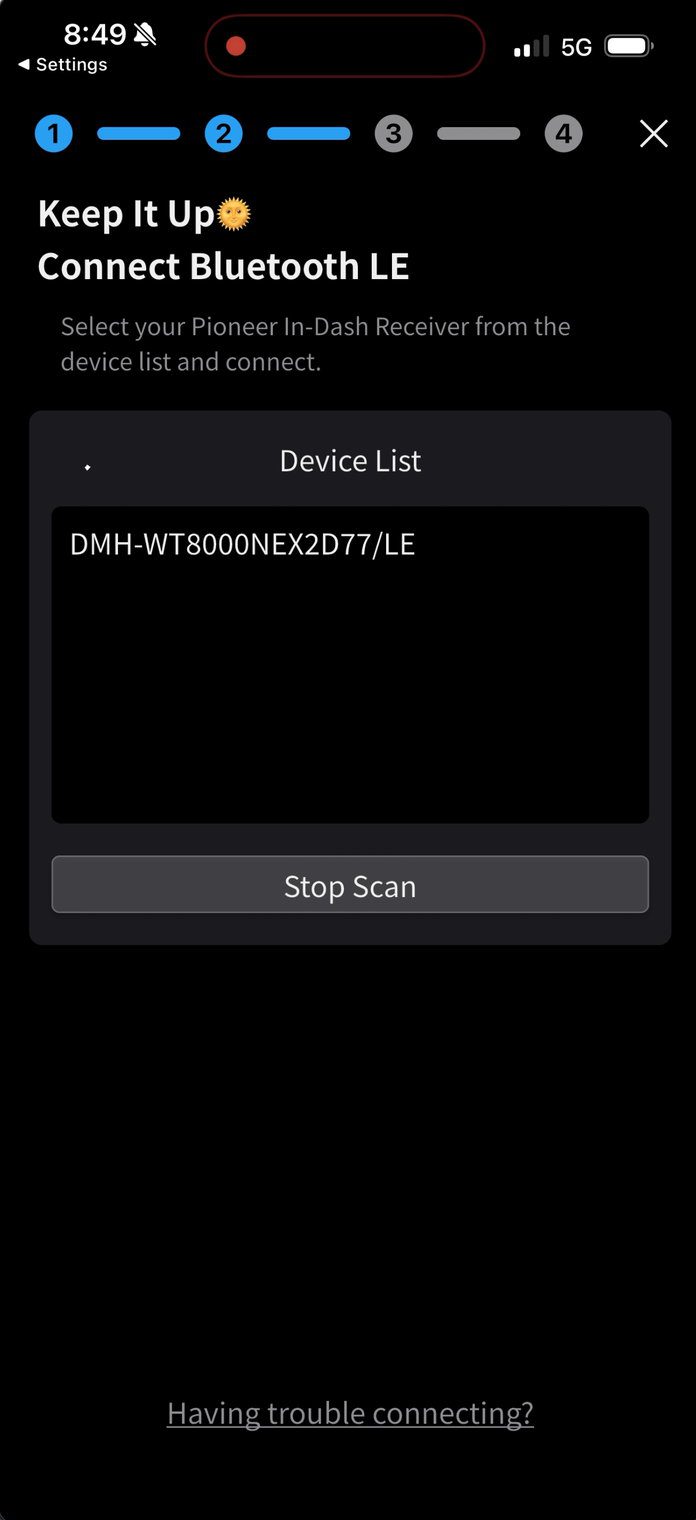
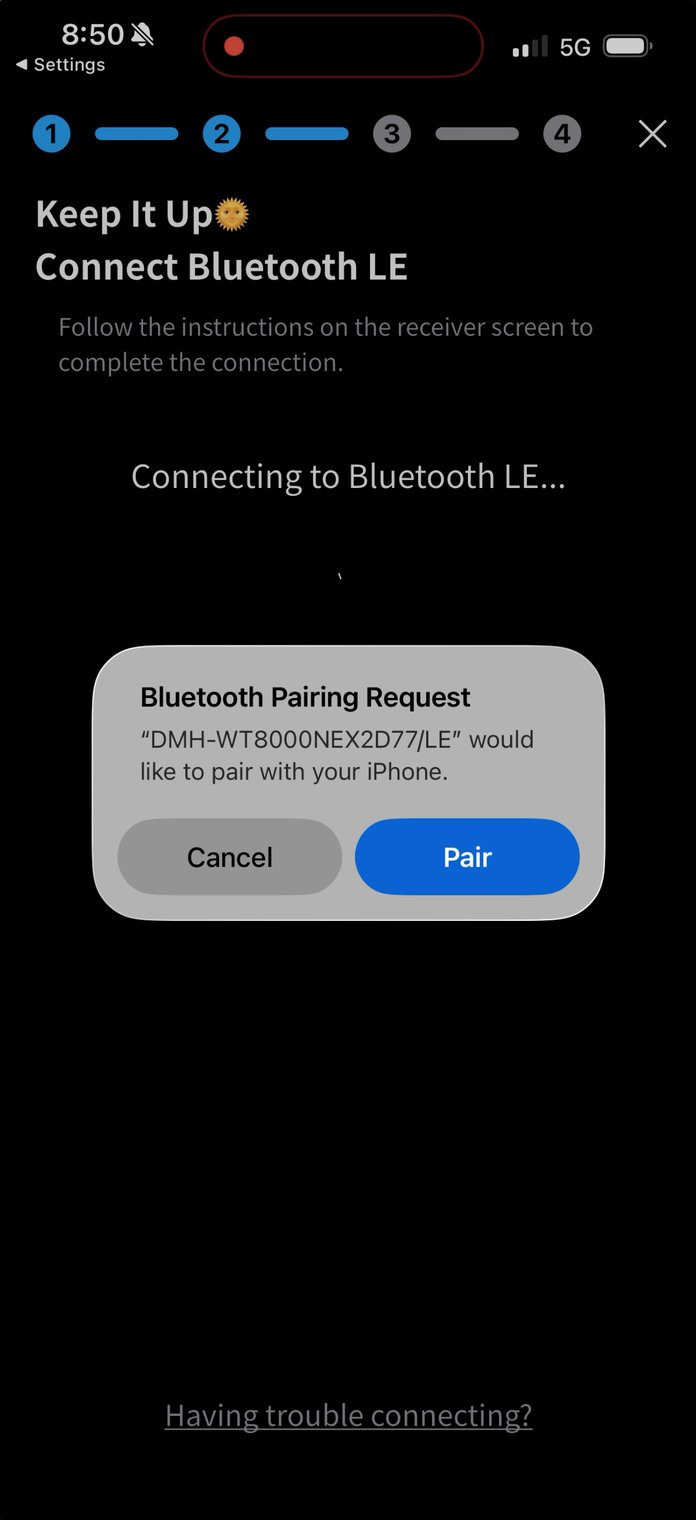
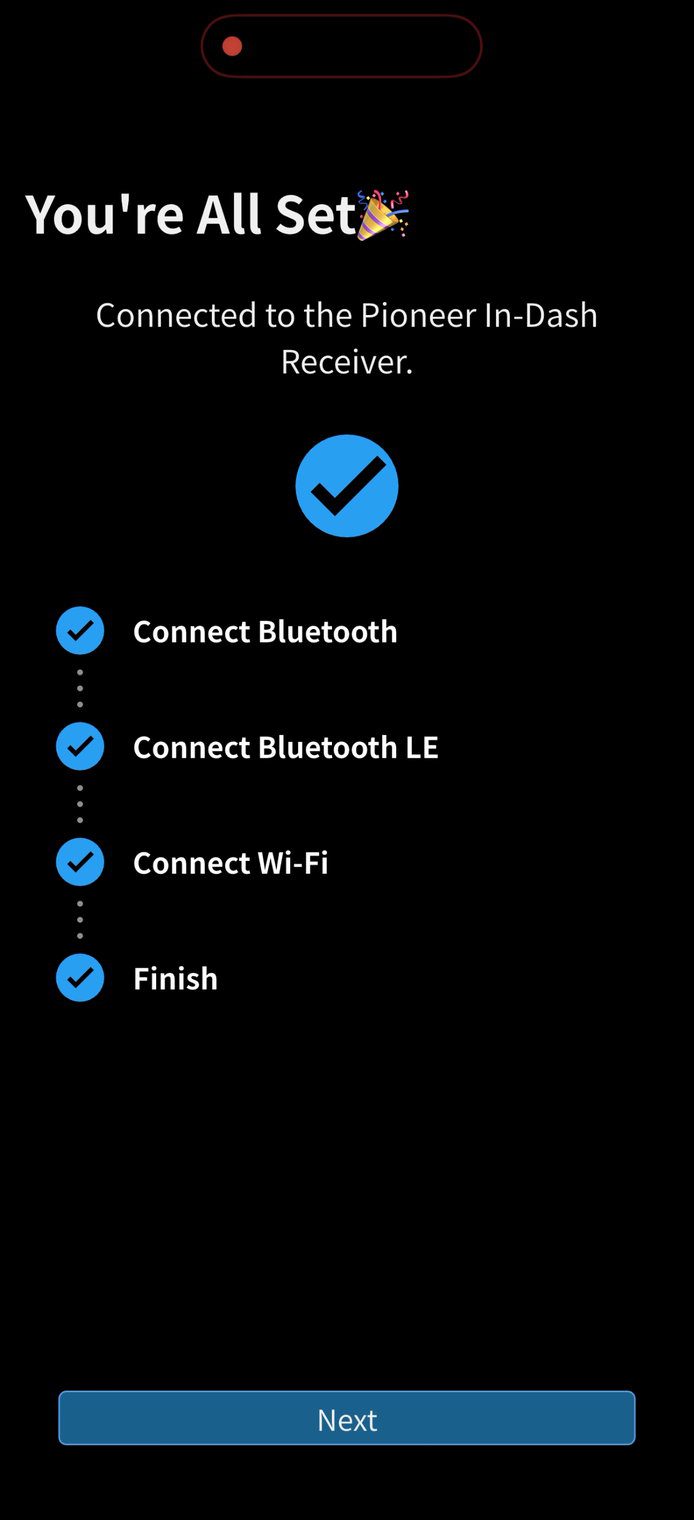
You can either set PxLink (Pioneer’s phone app) up via the first-boot wizard or at any time later on after you set the unit up for the first time. In my opinion though, it’s worth doing during setup because the same process pairs your phone for wireless CarPlay or Android Auto. And it is worth reading this before you start, because the app's App Store reviews are mostly about pairing (I experienced this first hand). The step that trips people is number 5. Here’s how the process worked when I set it up.
- Before you are in the car: install PxLink from the App Store or Google Play and create an account.
- On the head unit, tap Connect on the PxLink setup wizard. On your phone, open PxLink and start a new connection.
- Choose how you want to connect – wired, wireless, or don't use CarPlay (Android Auto on an Android phone). I chose wireless.
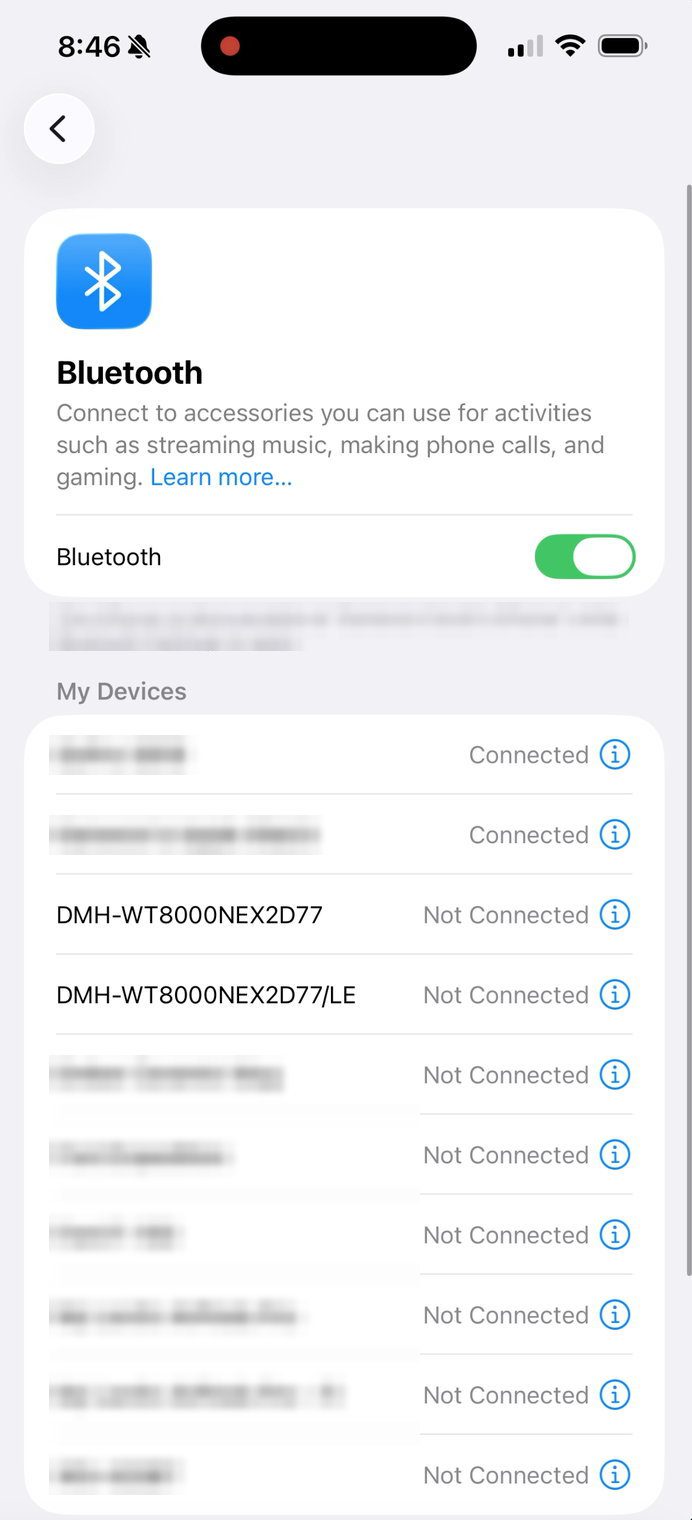
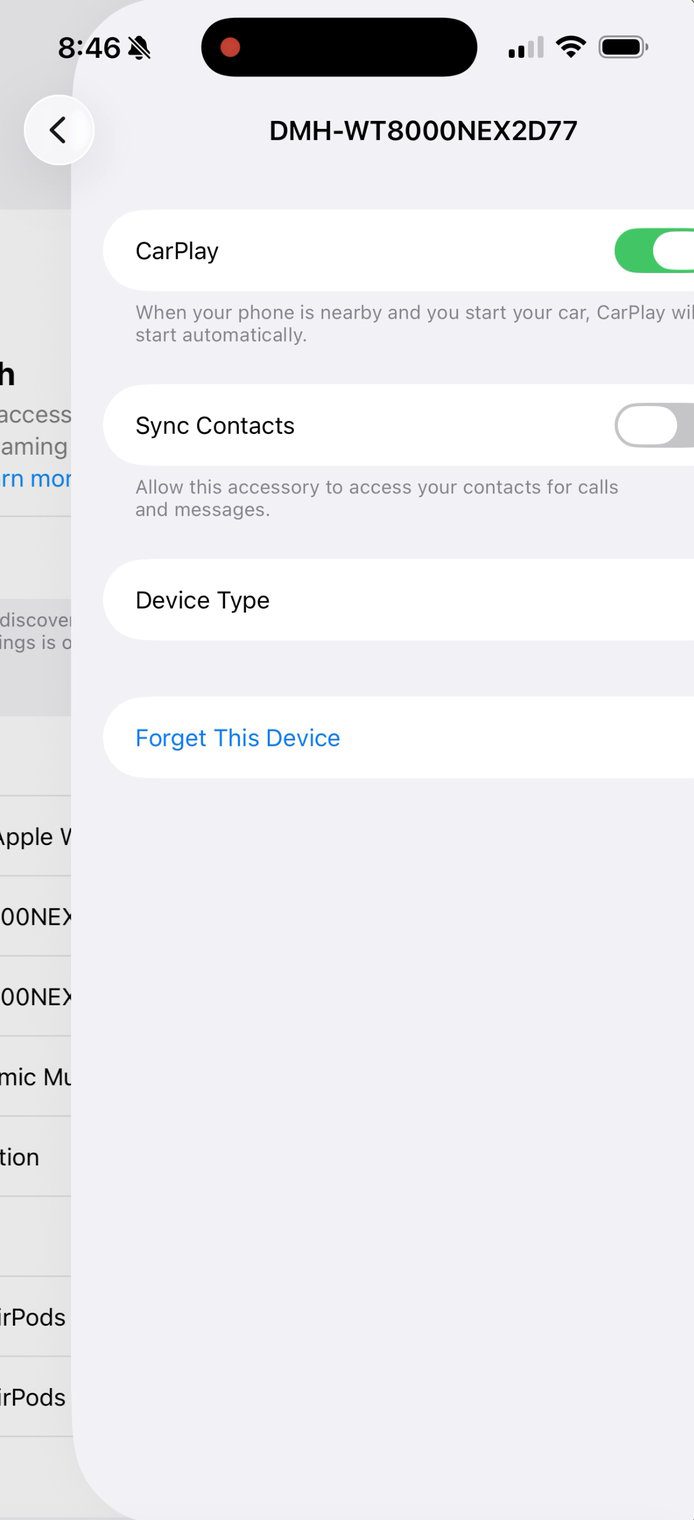
- The app is supposed to send you to the phone's Bluetooth settings, but it didn’t for me which left me in a state where I wasn’t sure what to do. Be sure to pair with the unit and allow CarPlay or Android Auto when prompted.
- Back on the head unit, confirm the connection from the unit's side: Source key (left edge) → Settings → Wireless (bottom left) → Connections → confirm the phone.
- Now you’ll go back to PxLink, continue, select the unit from the list, and pair. PxLink is connected and your phone is paired for wireless CarPlay in the same pass.
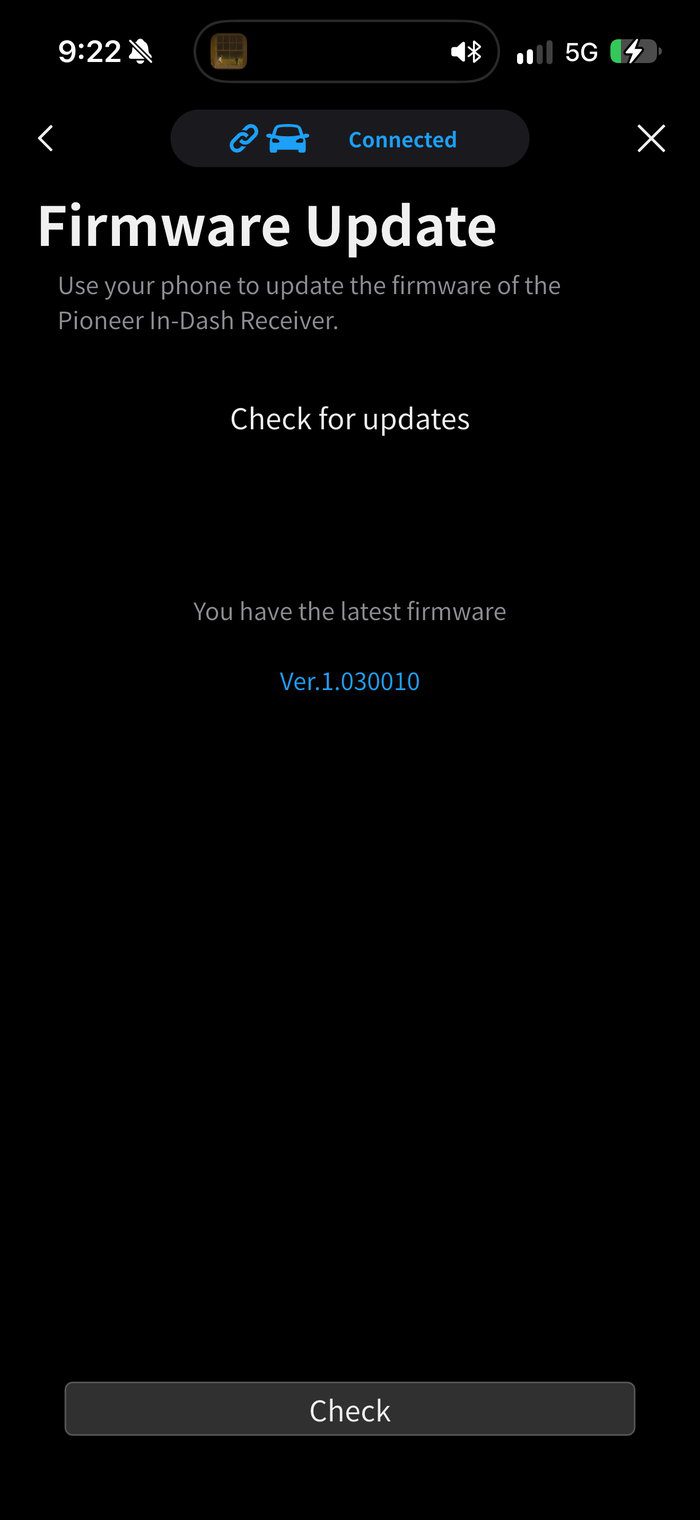
Do this the day you install the unit. What I loved about this app was this: the moment PxLink connects it checks Pioneer's servers for firmware and prompts you to update the receiver from your phone. This is really the only way to know you are on the current version without hunting down a file and a thumb drive, and on a product this new, the early firmware is where the fixes land. Mine had a few updates out of the box so it was great to get it up to speed with the latest firmware during the initial setup.
Dolby Atmos and Stereo Spatial Sound: how it works on the unit
Setting it up
There’s nothing to really do to “set it up”, per se. You need an iPhone with an A12 chip or newer – that is the XR, XS, second-generation SE and everything after. Plus an Apple Music subscription and some songs that have Atmos enabled. Pioneer's May 2026 compatibility guide says iOS 14.6 or later and its product FAQ says iOS 18. I asked, and Pioneer's answer is iOS 18 or later for Atmos over CarPlay. I personally tested with my iPhone 16 Pro Max and it worked fine. Wireless or wired CarPlay both carry Atmos. Nothing else does (e.g. A/V, USB).
Knowing what mode you're in
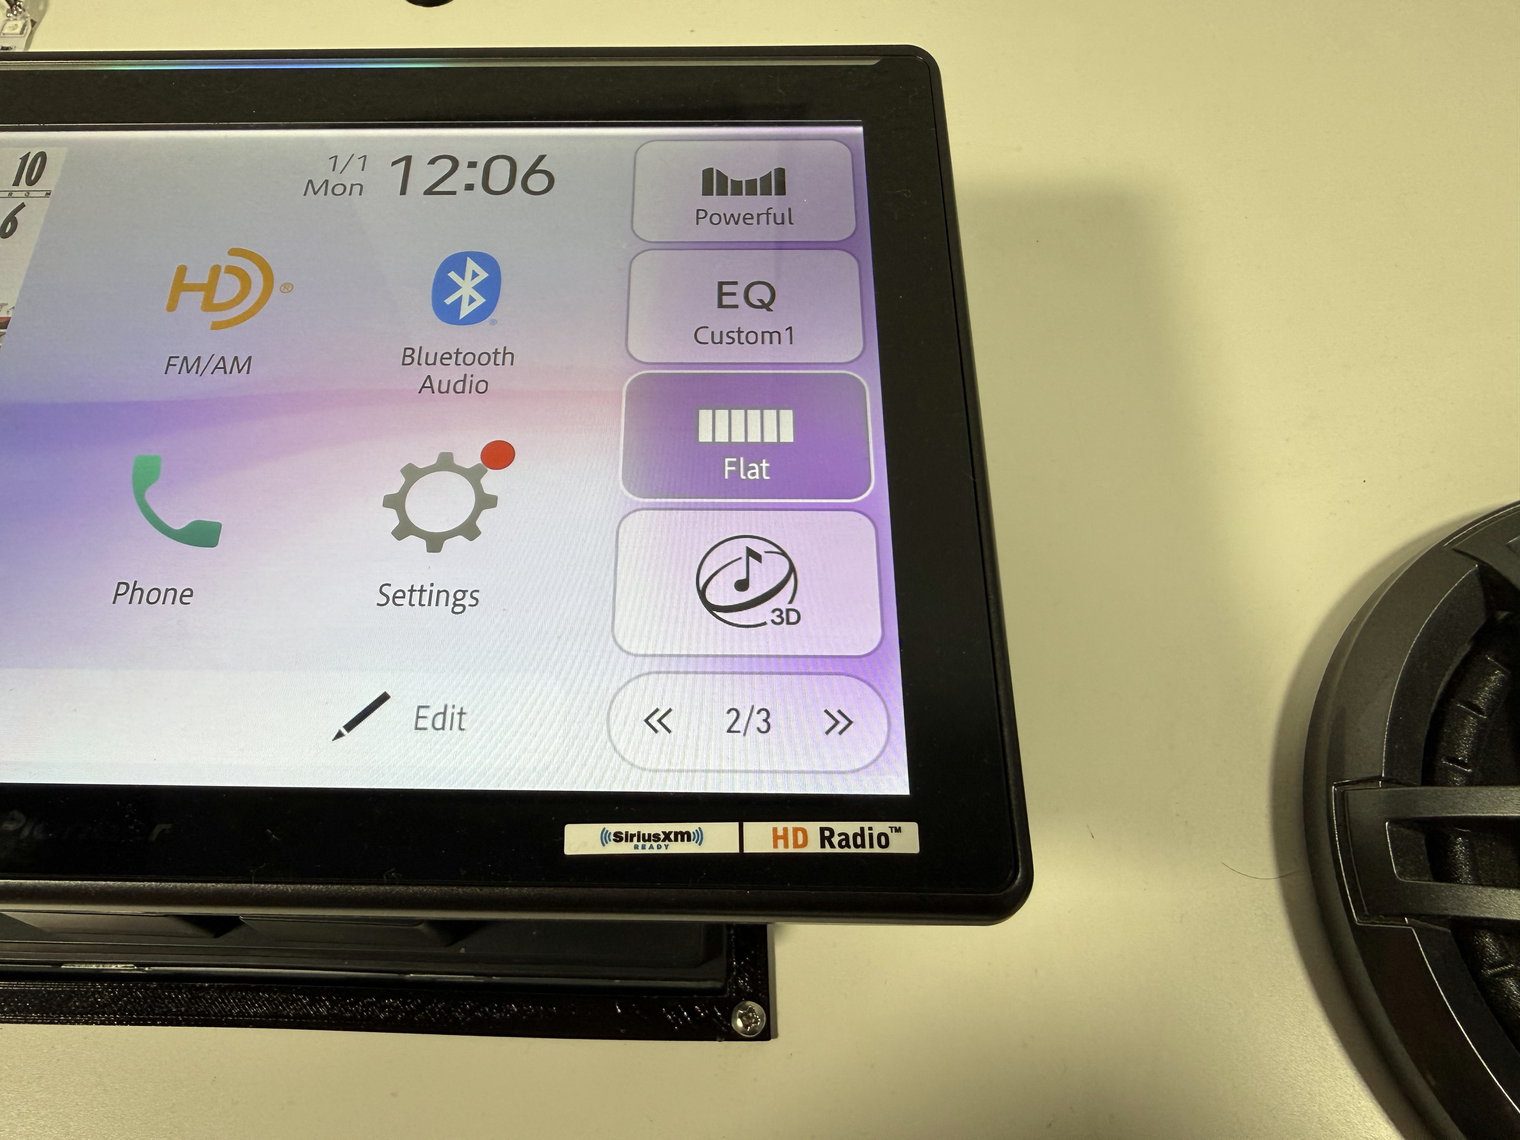
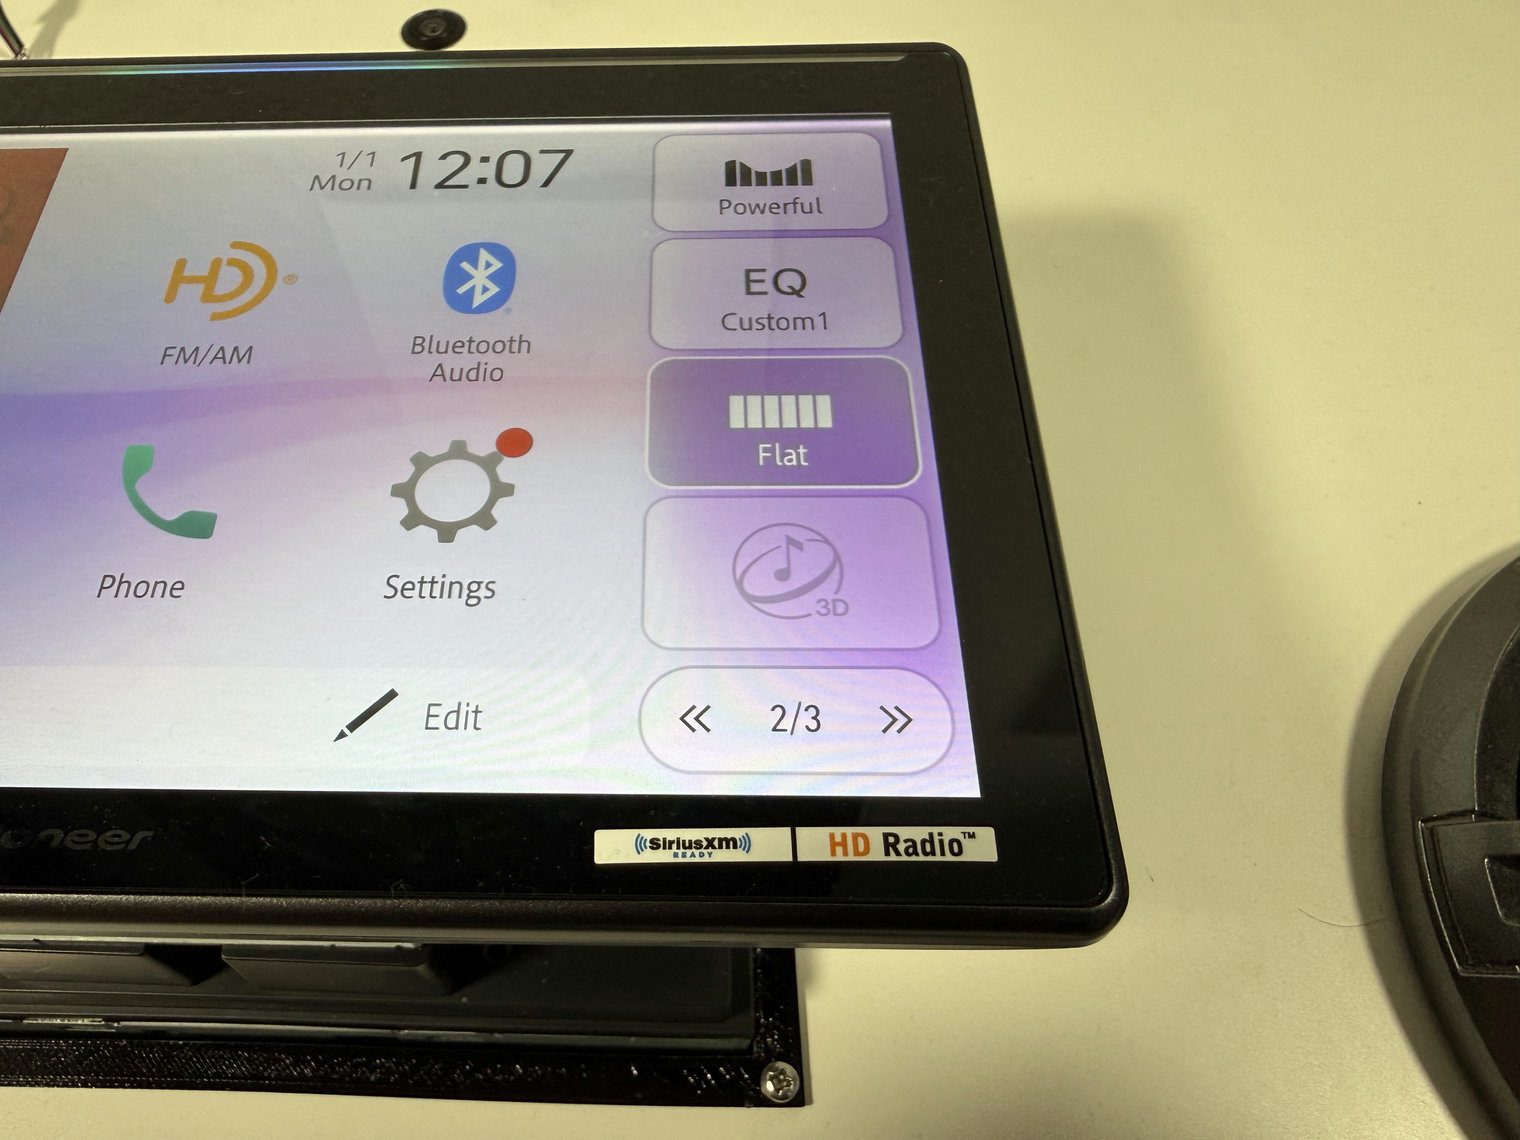
This was a little confusing to me, to be honest. The home screen carries a small “3D” music icon. When it is greyed out, real Dolby Atmos is playing. Yes, when it’s greyed out, it’s ON. When it is lit, the unit is running its Stereo Spatial Sound upmix. That’s backwards from how most people read grey, in my opinion but Pioneer's reviewer guide confirms it is intentional. Tapping the icon also gives you a quick way to swap between spatial and Atmos in real time to hear the difference, and choose the one you like best, which I thought was handy.
Android and Spotify
Android Auto is going to pair and work the way it does on every other unit, wireless or wired. What it does not do is Atmos. Android Auto has no Atmos, so an Android phone gets everything else though – upmix, the Autotuning and all the other features on the box. When I asked Pioneer about this, their position is that this is Google's to fix – Google said at I/O in 2026 that Android Auto will support Dolby Atmos in the future and gave no date. So I don’t know if I can honestly recommend buying this unit on that promise. Spotify, even on an iPhone, is in the same position as well – spatial only.
What I couldn't judge on the bench
Worth calling out three things I intentionally did not test in this bench test review, and they are the three that matter: what Atmos does to the soundstage in a real cabin, whether the low end suffers in Atmos mode – one Best Buy owner reports bass is “audibly stronger in 2-channel” – and whether the listener-position setting moves the image. All three need four speakers and a car. That’s for Part 2 (TBD).
Luminous Bar
The strip of LEDs across the top bezel is called the Luminous Bar. It has four modes:
- In turn-guidance mode – with CarPlay or Android Auto navigation running, it glows on the side of the upcoming turn and shrinks as you approach. This gives you a peripheral-vision cue that you don't have to read.
- In voice mode – it pulses from the center while Siri, Google Assistant or Alexa is listening.
- In music mode – it moves with the track, with a Mode 1 that follows the whole frequency range and a Mode 2 that leans on the bass.
- And when the vehicle is parked with the parking-brake wire connected, it can flash red at both ends to mimic an alarm. A nice touch that could discourage a bad actor from breaking a window and destroying your dash.
One rule to know before you buy it for the light show: the music sync feature only works when the vehicle is stationary. The unit reads movement from the GPS antenna and shuts the effect off as soon as you roll. I thought this was sort of unnecessary and couldn’t really figure out why. The screen is far more distracting than the light bar in my opinion but my only guess is that’s why you can’t choose music mode unless you’re parked – it’s a distraction.
Also worth noting you can configure the brightness from 1 to 10 or choose to dim it with your headlights. The color follows the key illumination colors that I touched on earlier in the article, and the whole bar can be turned off if you wanted.
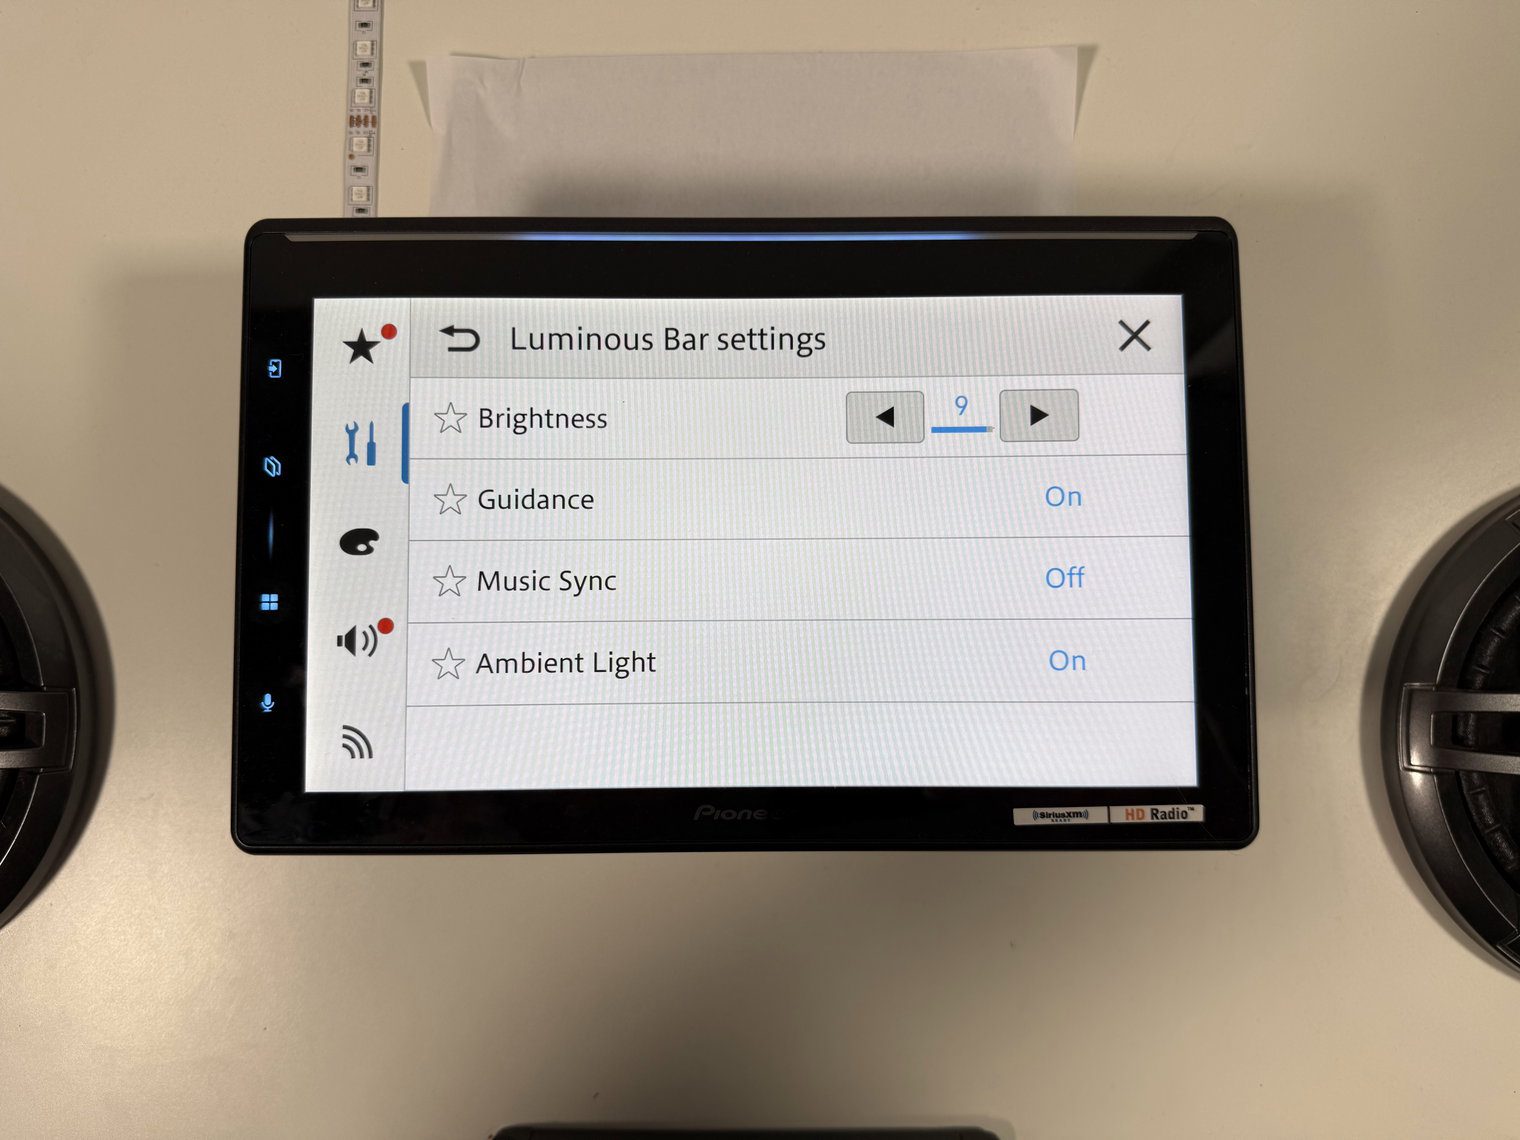
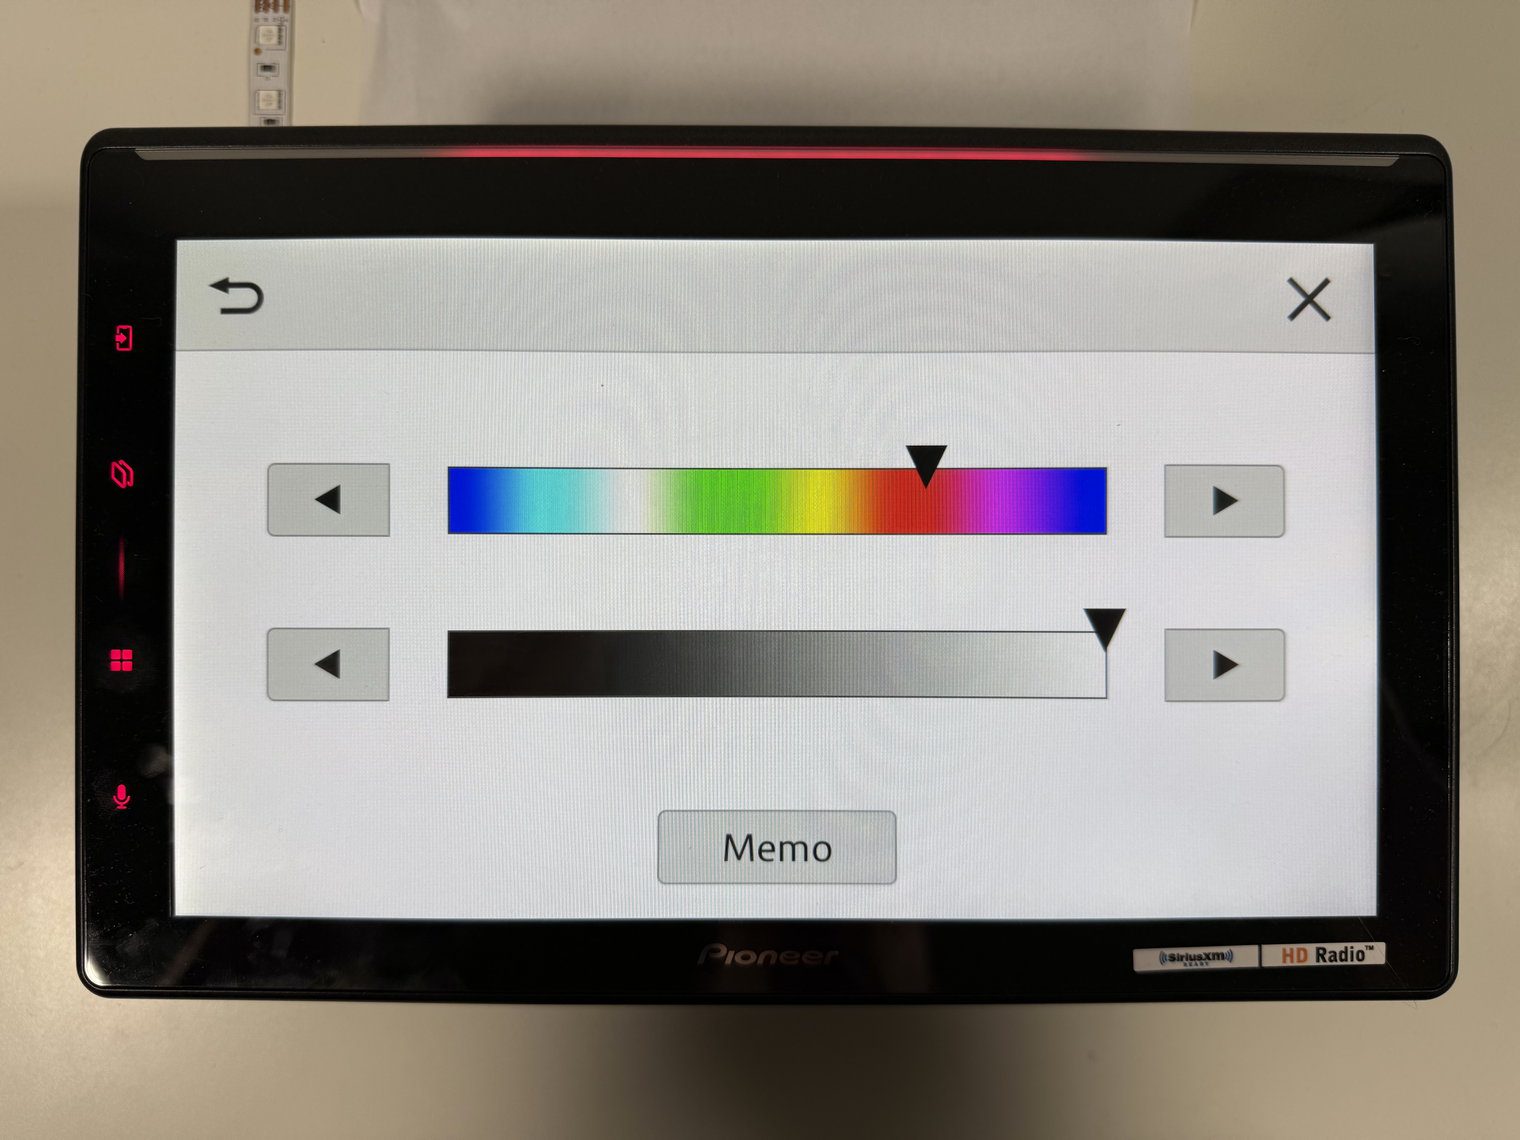
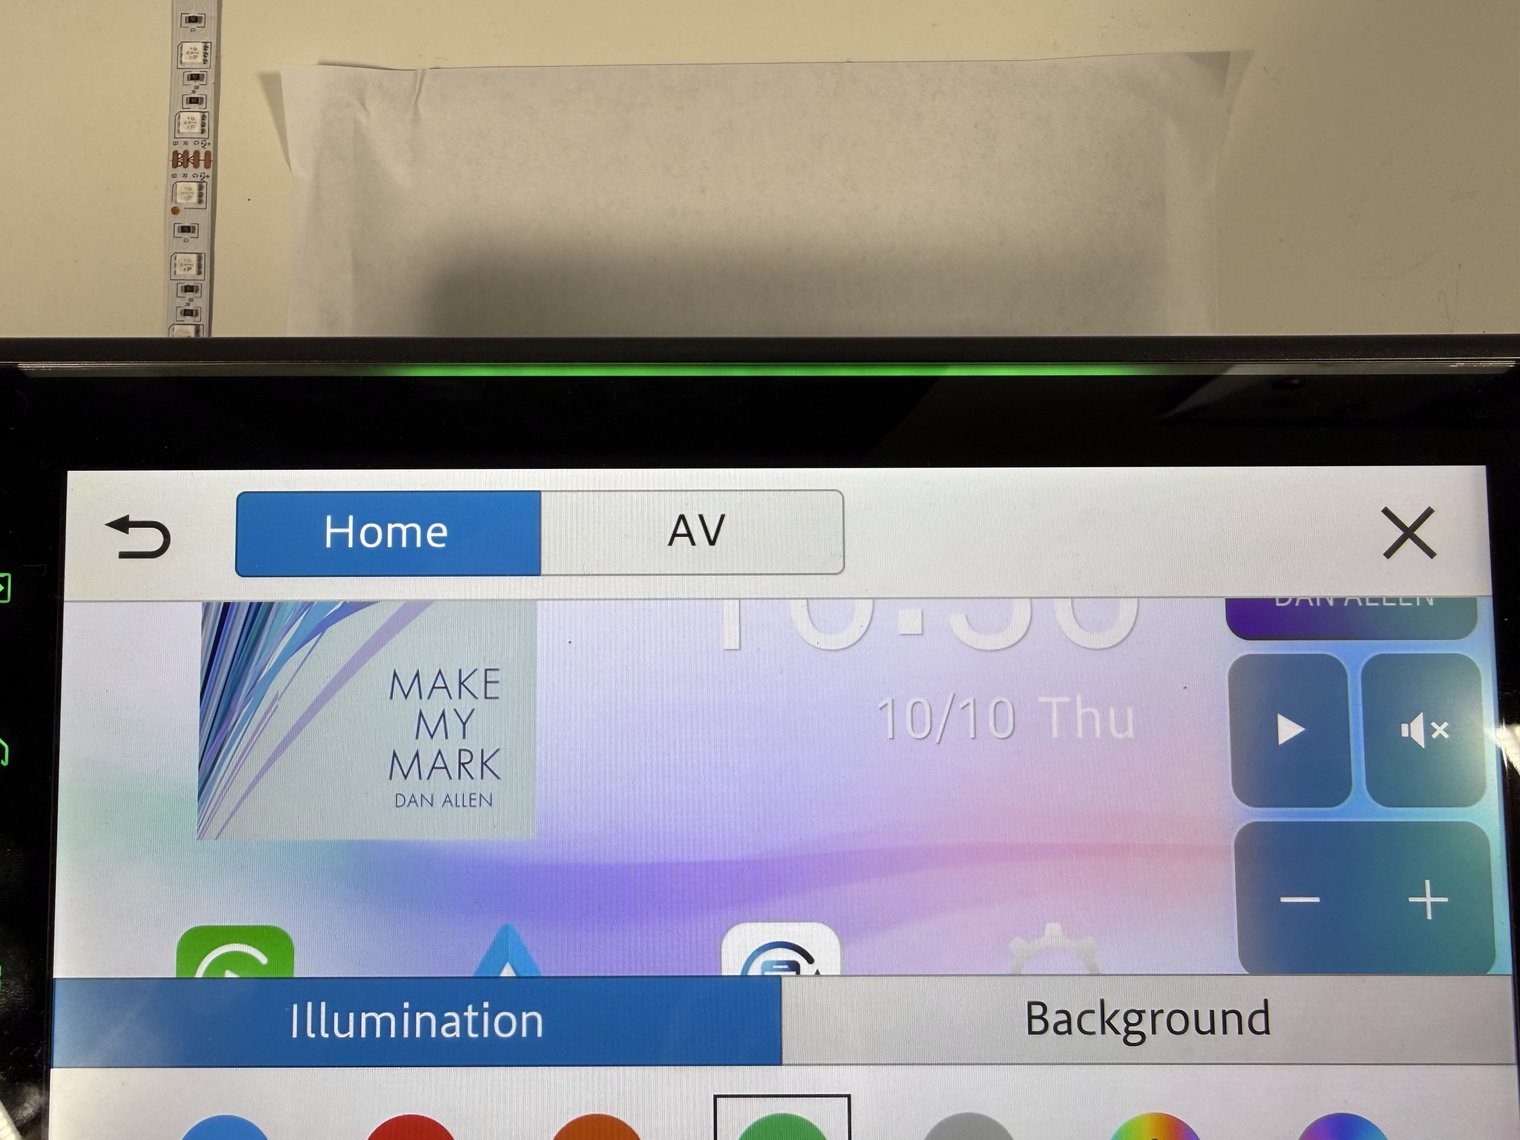
Truthfully, I thought the Luminous Bar was a cool touch but not as functional as I would have wanted it to be. It’s more of a visual enhancement than it is a functional piece/feature on the unit. It does add a nice touch when it’s dark though.
Video and multimedia: what you lose without HDMI
USB video and hi-res audio
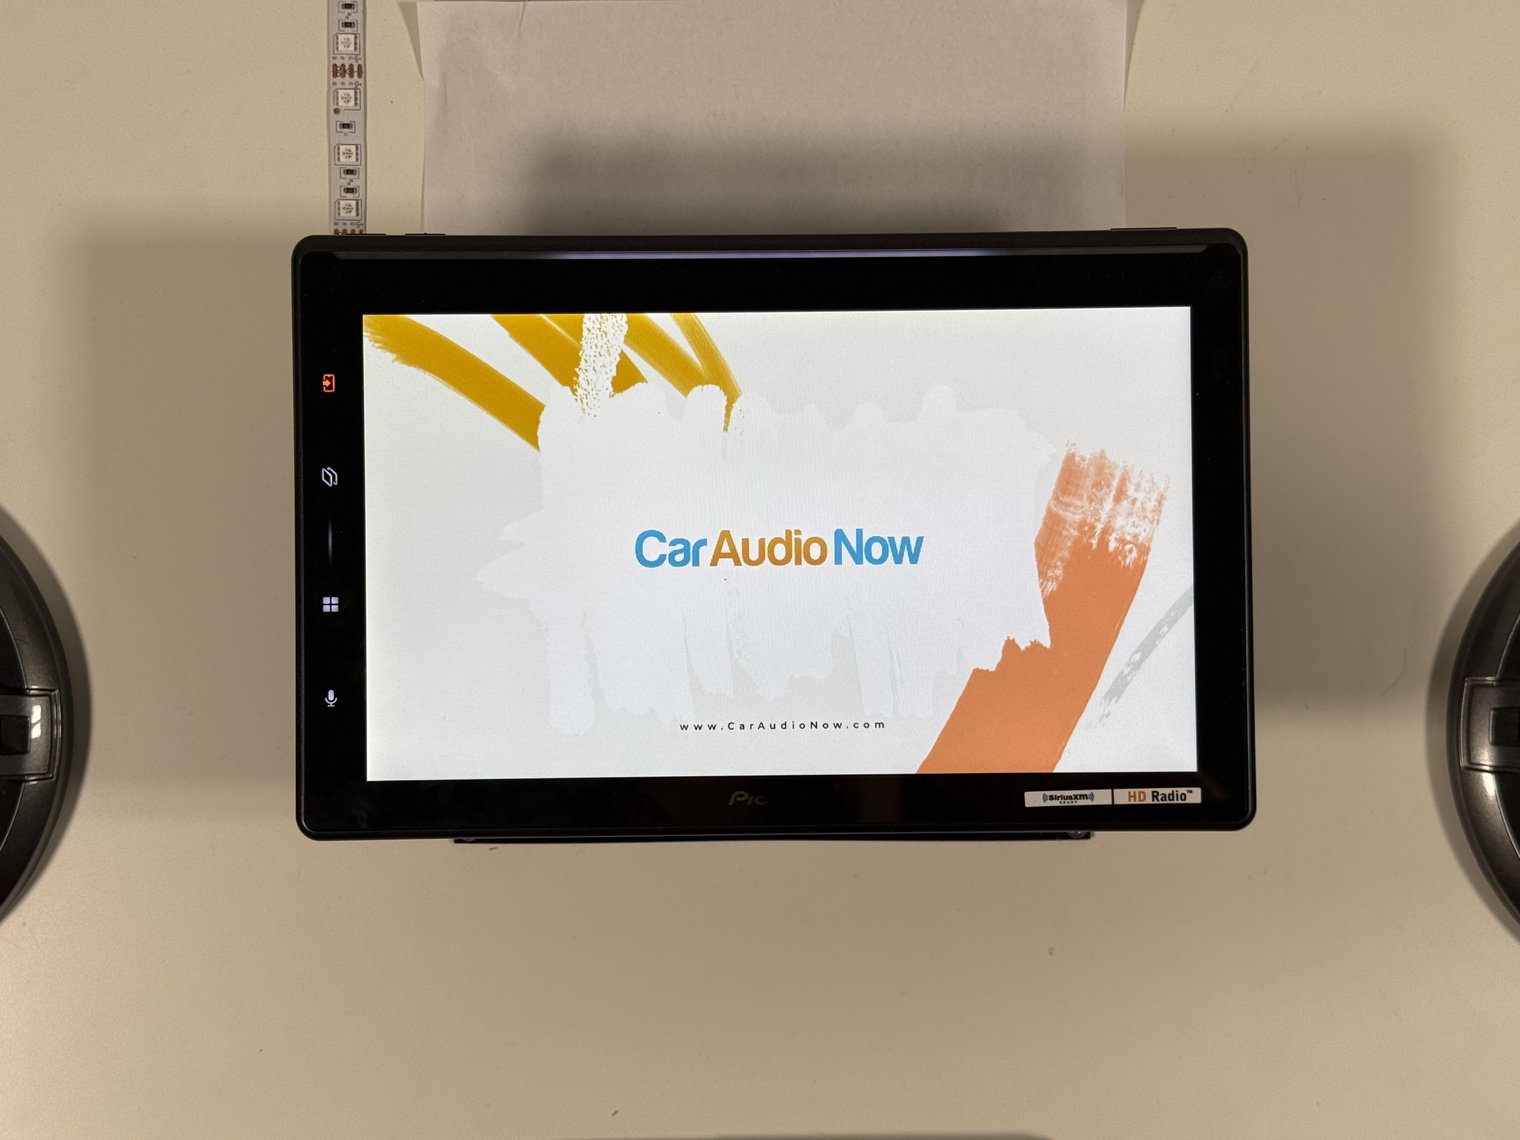
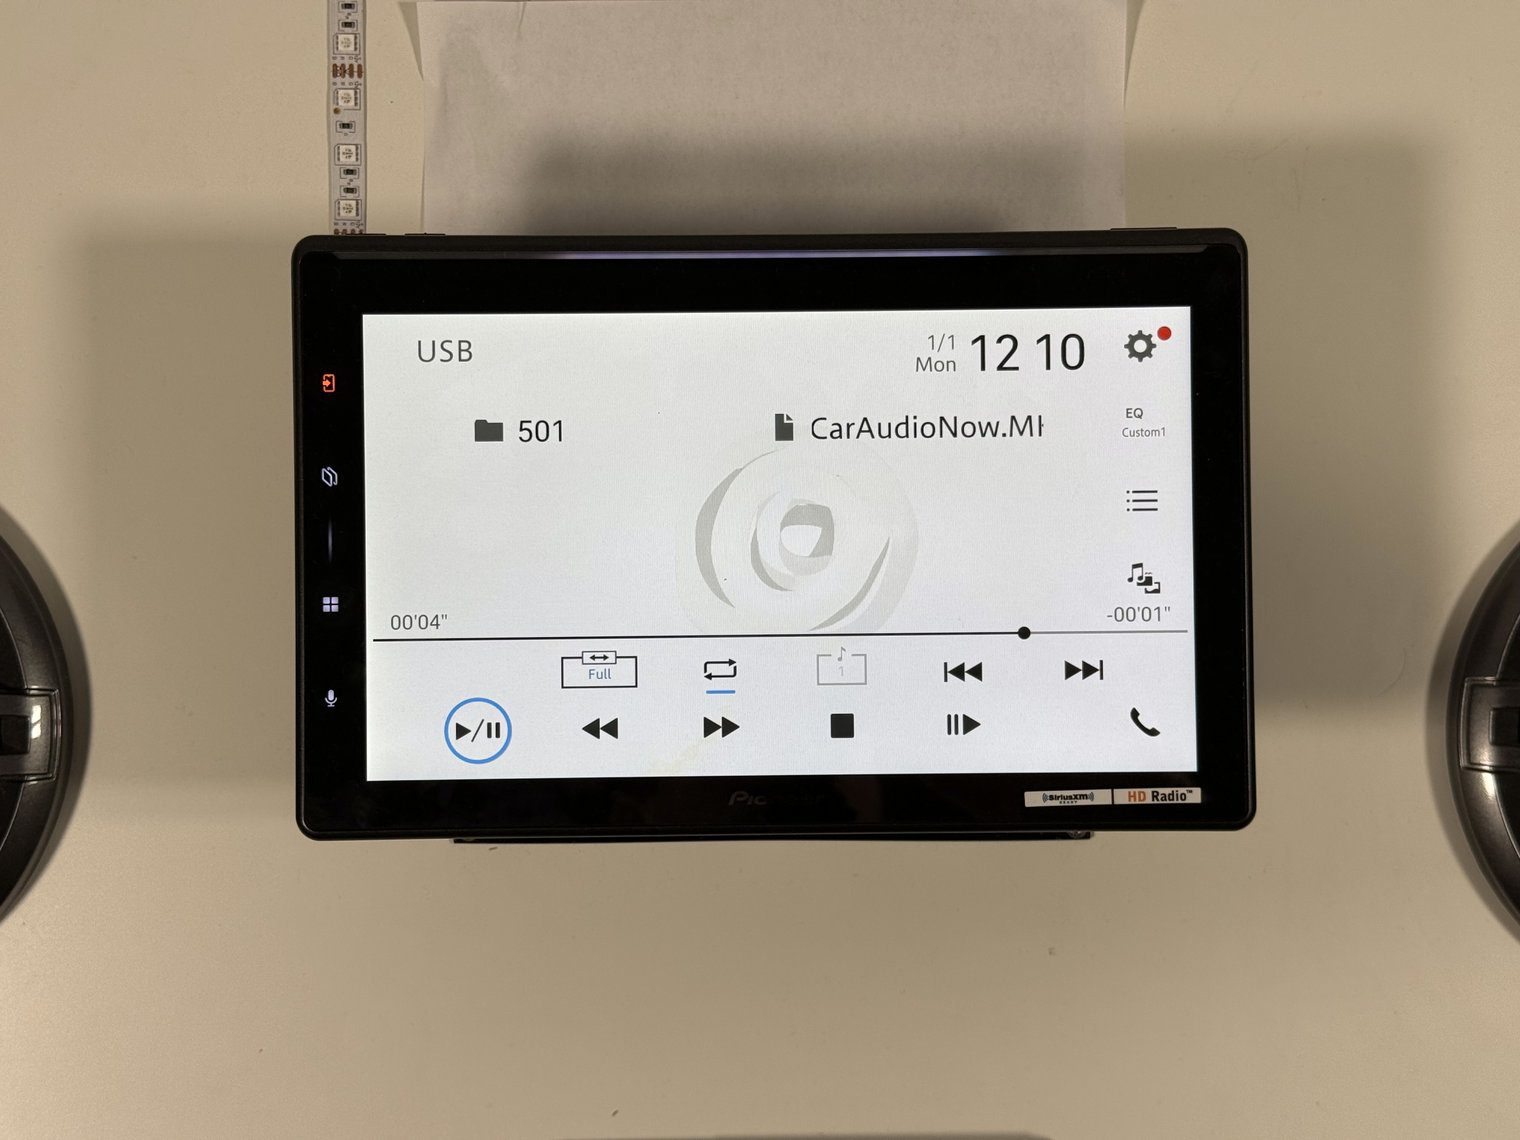
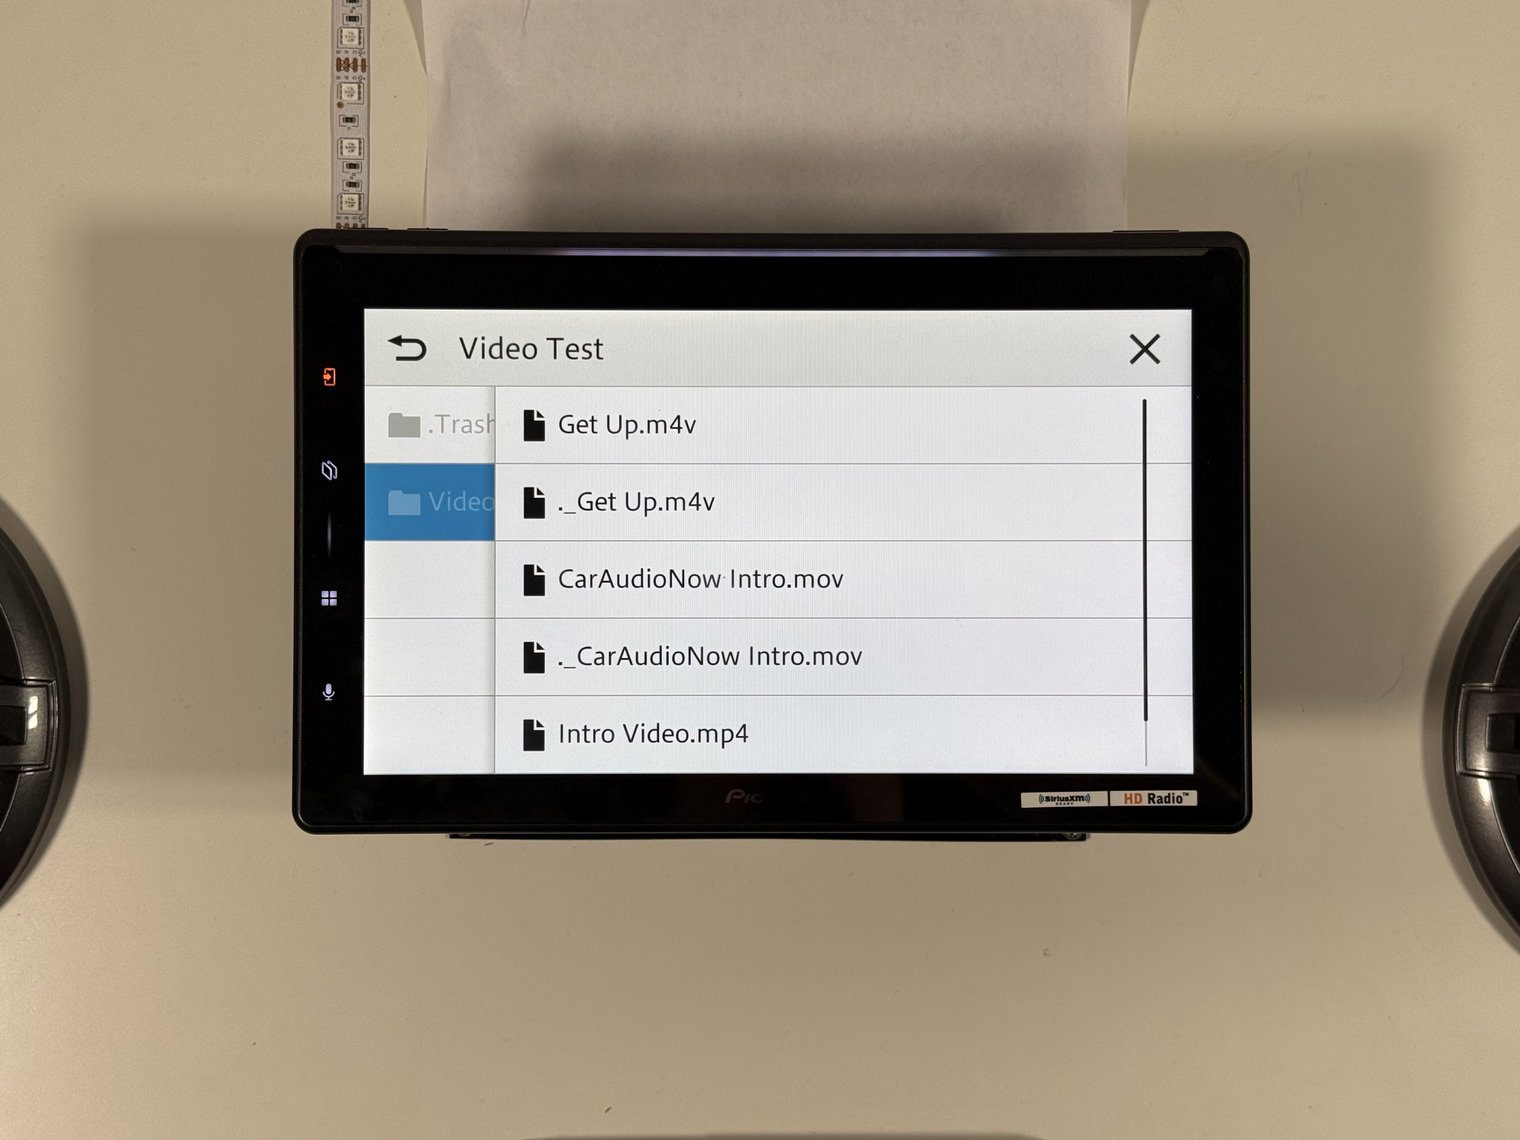
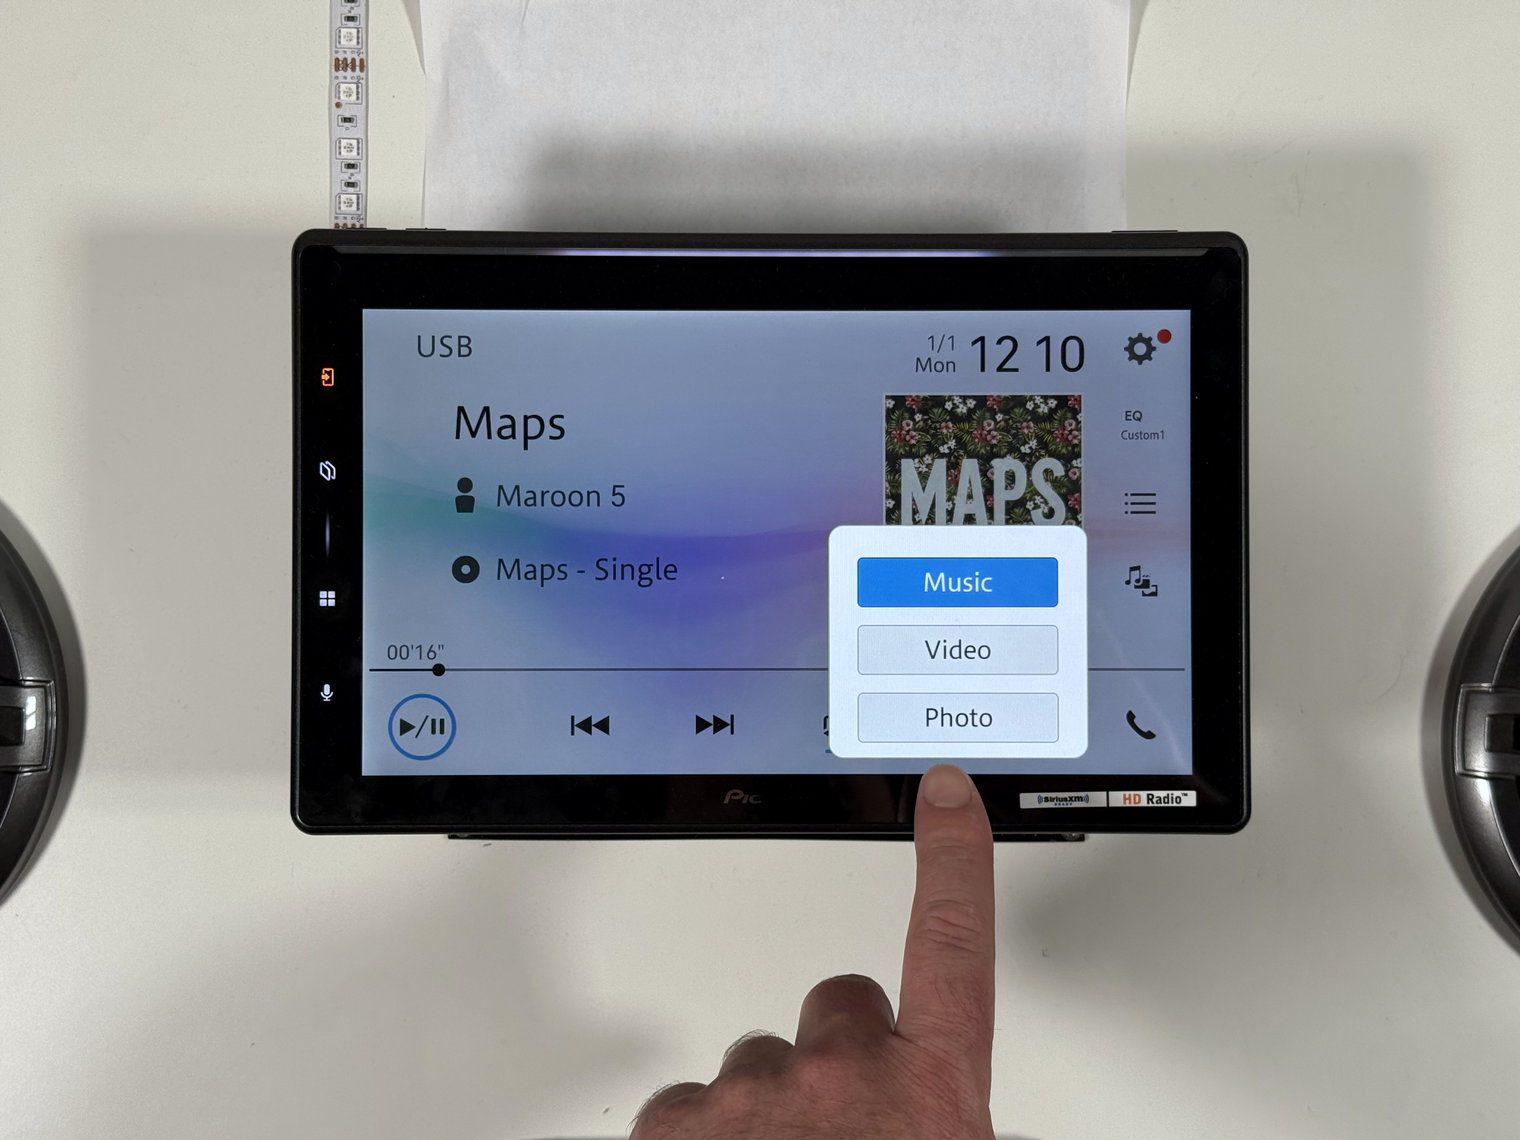
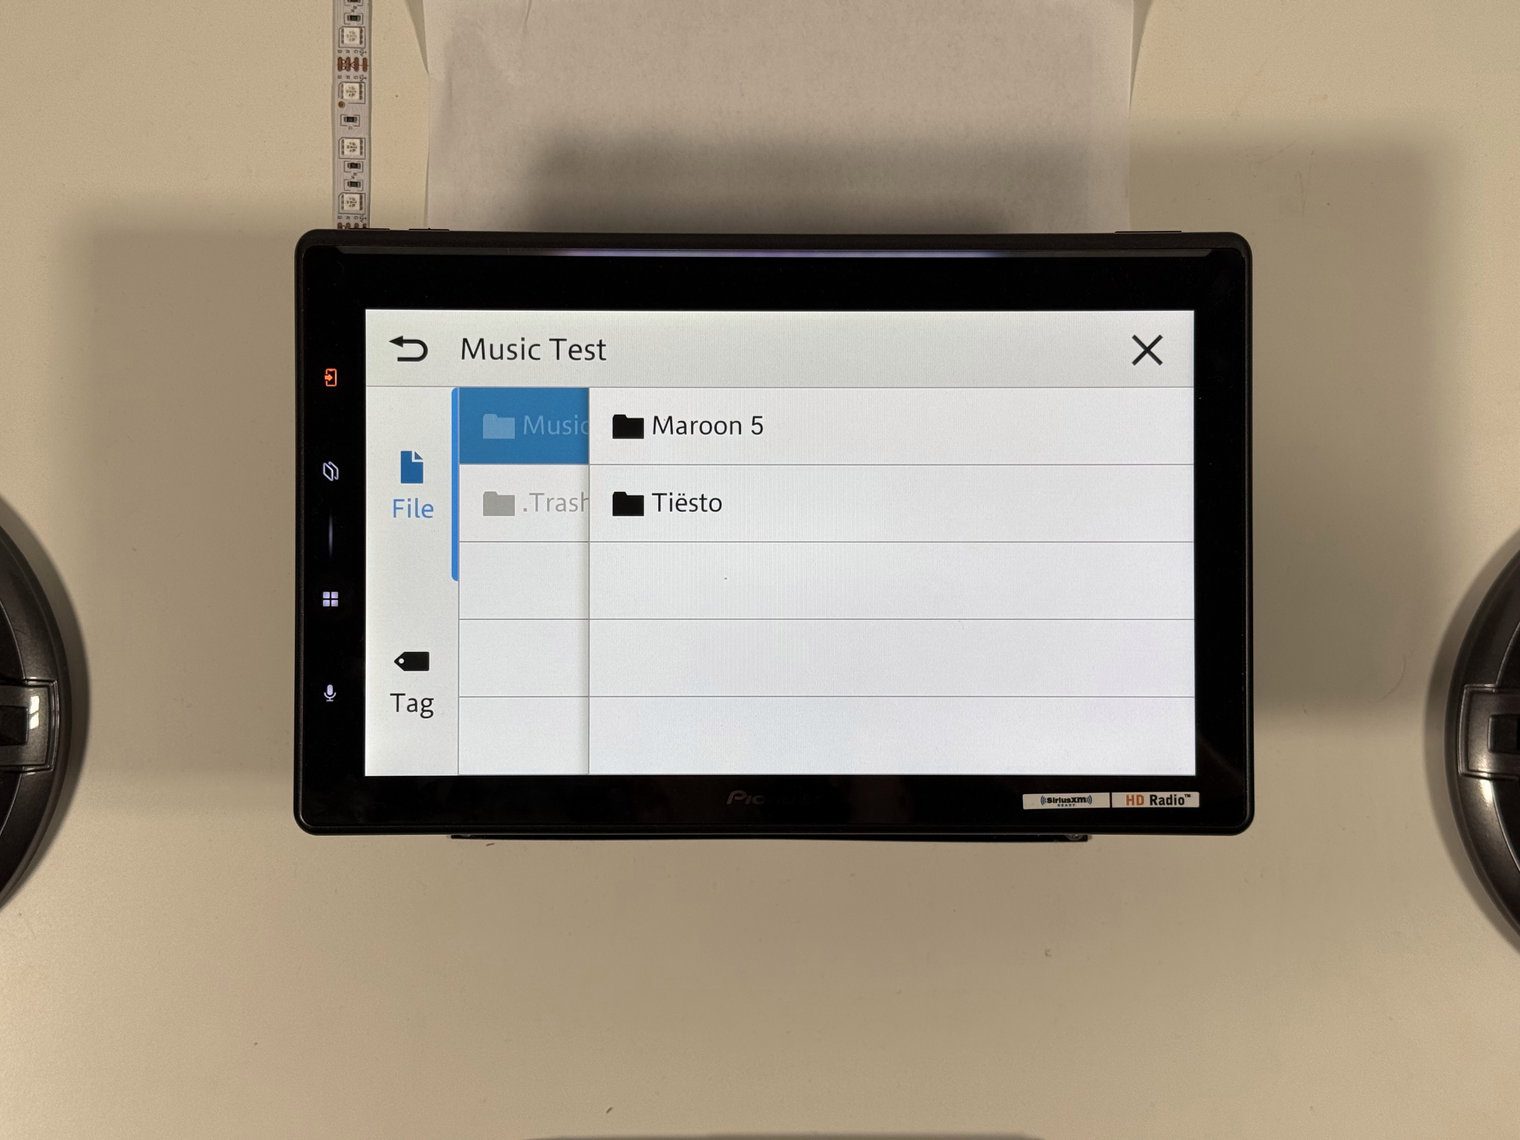
Couple specs about A/V for you first. The USB port takes a mass-storage thumb drive formatted FAT12/16/32 – no hubs, no card readers. It can support up to 1,500 folders and 15,000 files. Video plays in AVI, MP4, MKV, MOV, FLV and WMV up to 1920 × 1080 at 30 fps. Audio covers MP3, WMA and AAC to 320 kbps and FLAC or WAV to 24-bit/192 kHz, with a footnote on Pioneer's spec sheet that hi-res files play “with downsampling.”
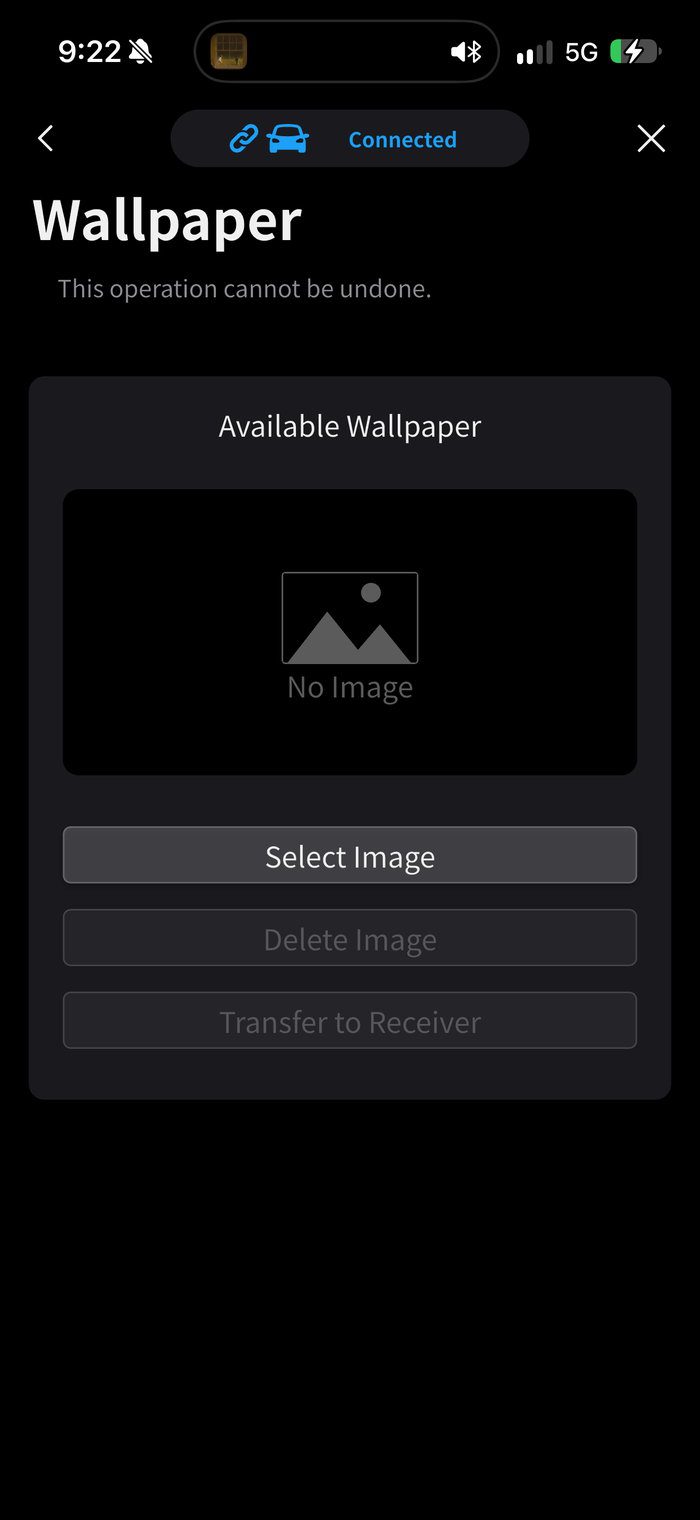
Wallpaper from USB still works the old way – browse to an image on the drive and apply it. But the PxLink app does the same job from your camera roll in three taps, so the thumb drive is no longer the way to do it.
Composite A/V in
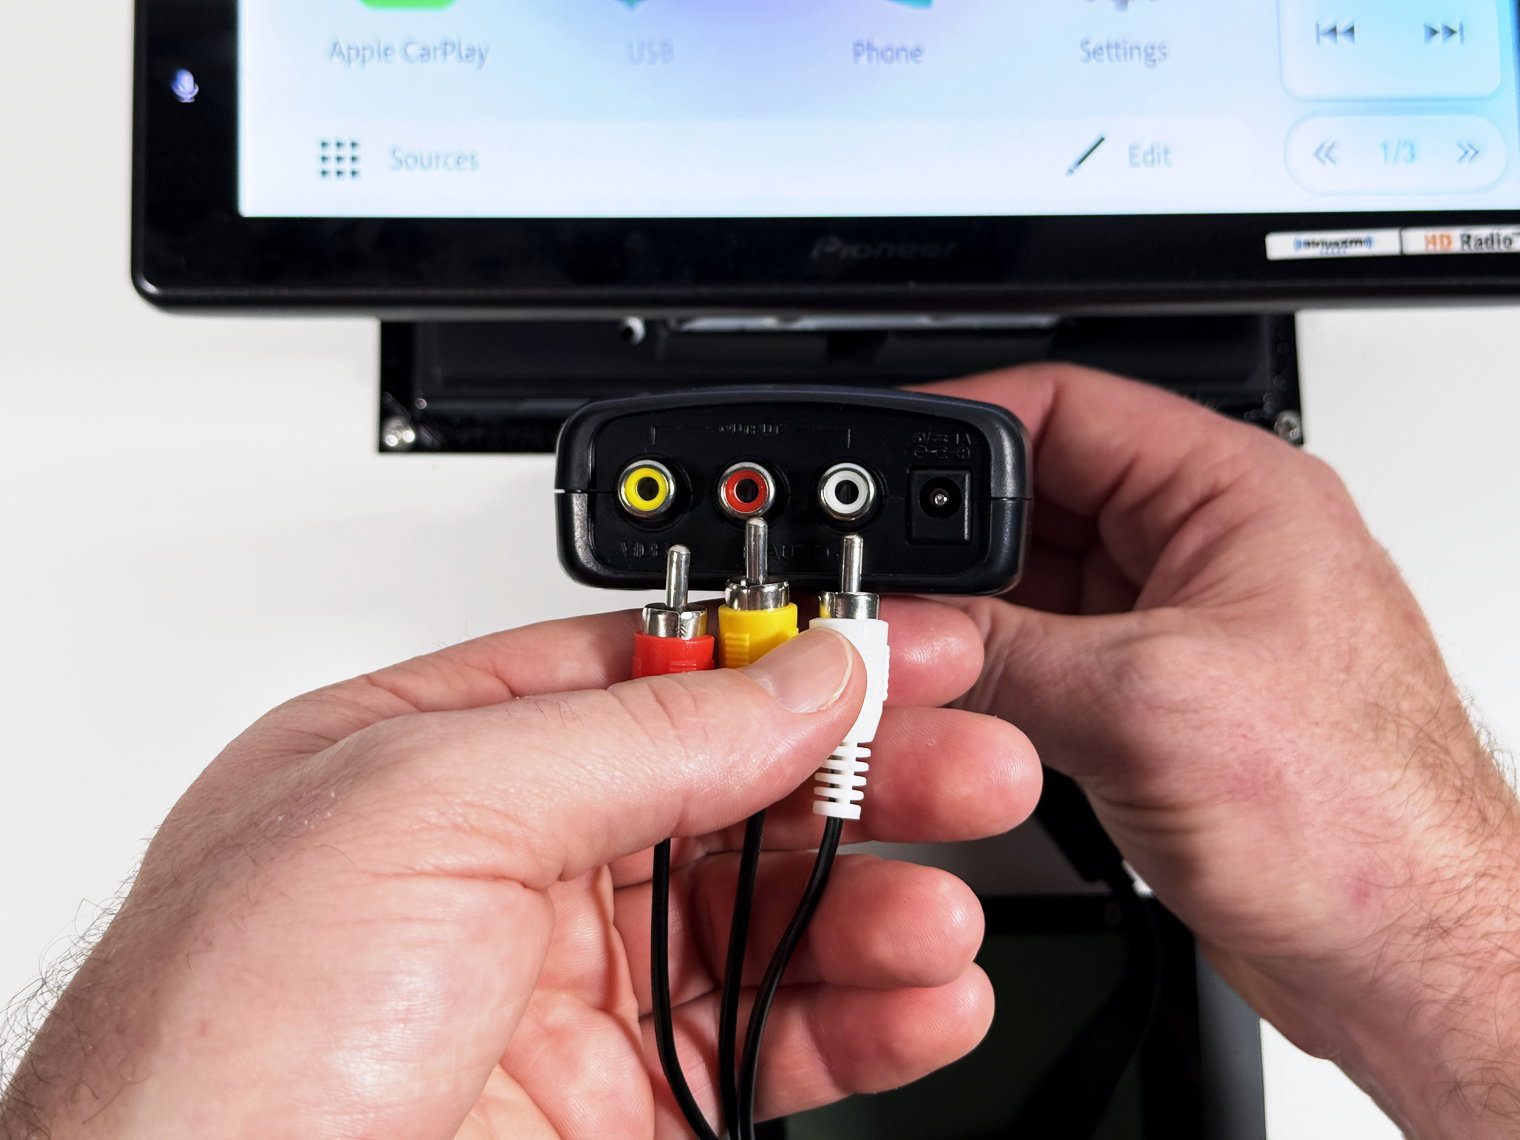
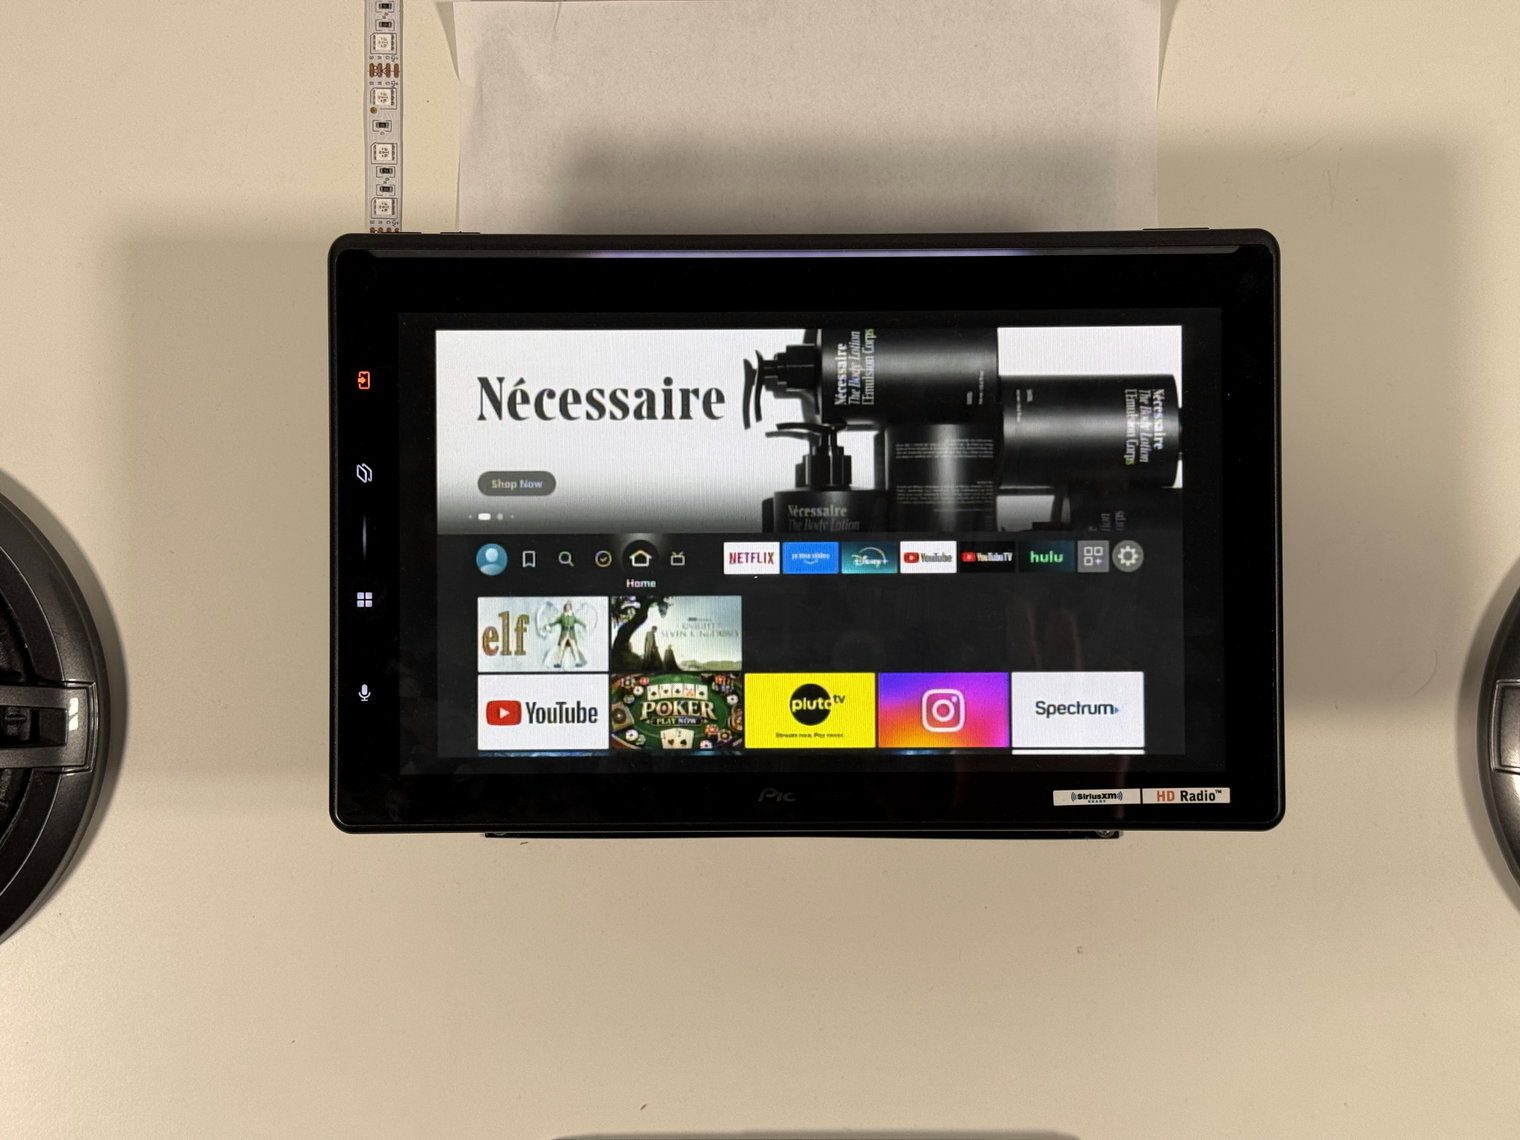
With no HDMI, outside video means composite through the 3.5 mm minijack, and this is where the unit cost me an afternoon. The jack is a four-pole plug that carries video and both audio channels, and the manual says only that a “Mini-jack AV cable (sold separately)” is required.
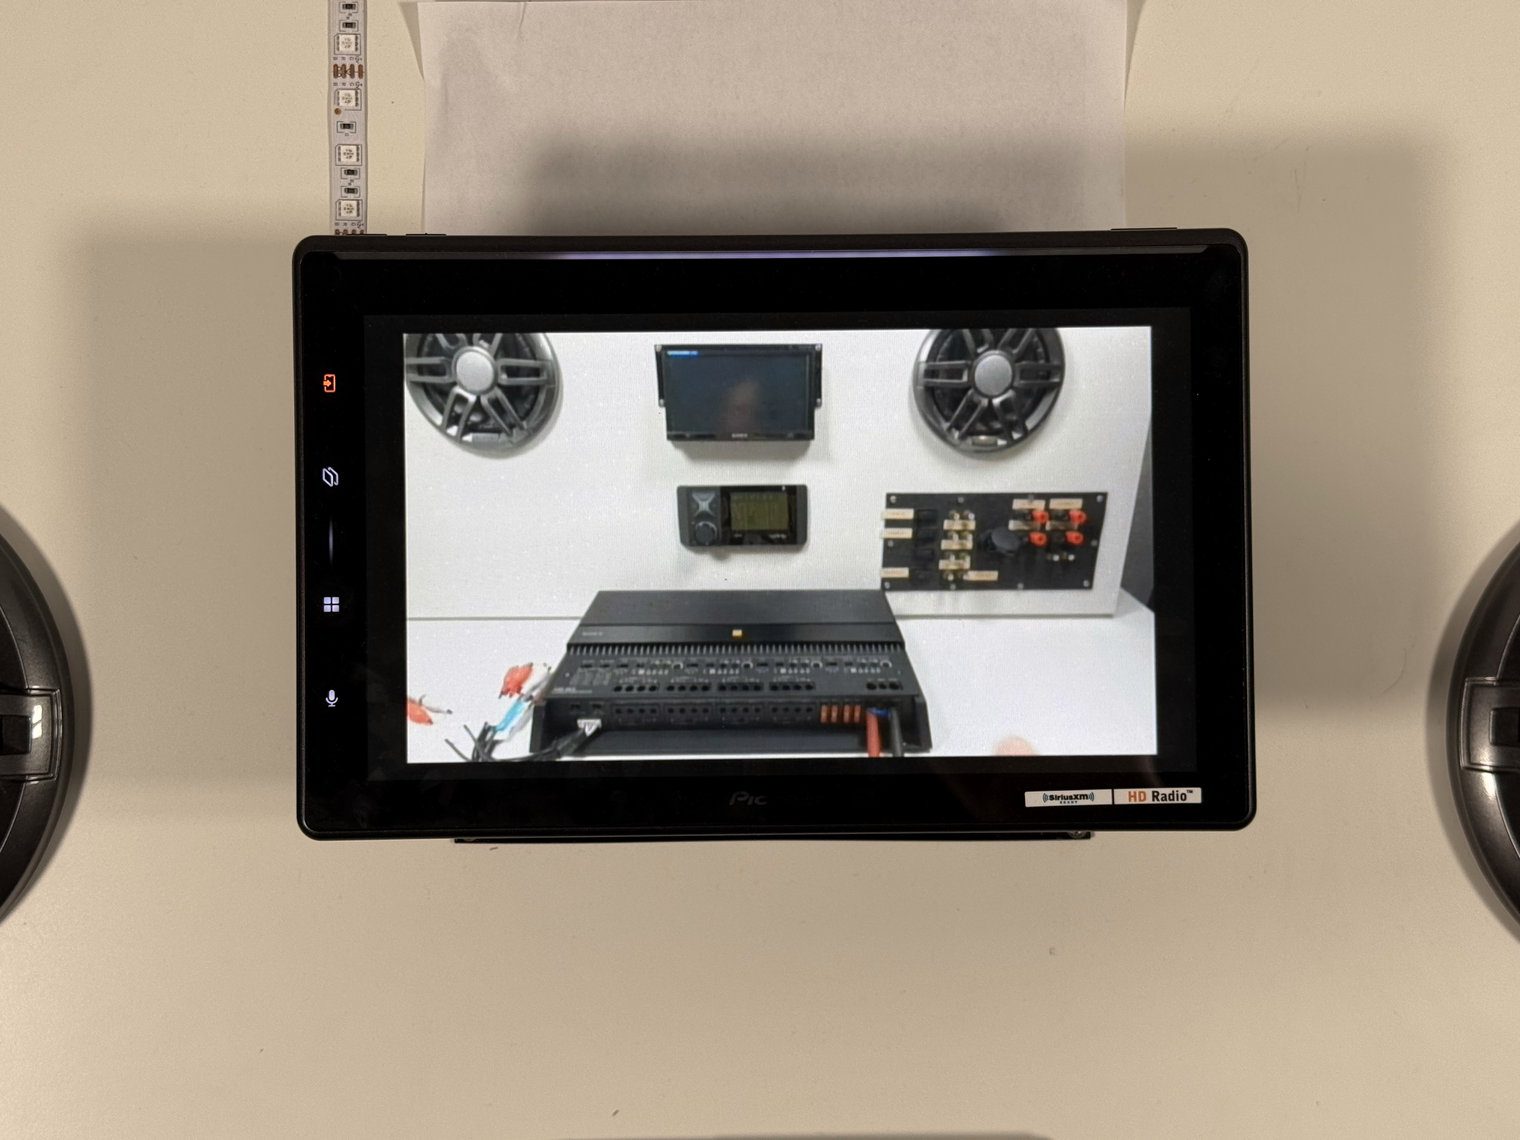
My setup was a Fire TV into an HDMI-to-RCA converter into a generic RCA-to-3.5 mm camcorder cable, the same parts I used on the Sony XAV-AX3200. I got a black screen no matter what I set. So I asked Pioneer. The answer: the jack takes composite video only with Pioneer's own AV adapter cable, whose pinout is on page 15 of the Quick Start Guide, and that cable has been discontinued.
The good news – generic cables put the conductors in a different order but they still work. Here is what Pioneer did not tell me and what the manual will not: the unit wants video on the sleeve of the 3.5mm plug, which is the same wiring TCL TVs, the Wii and the Raspberry Pi use. A camcorder cable puts video on the first ring and the right channel on the sleeve instead. The fix is free. To simplify this, just swap the yellow RCA from your source and plug it into the cable's red plug, put the red audio into the yellow plug, and the picture comes up!
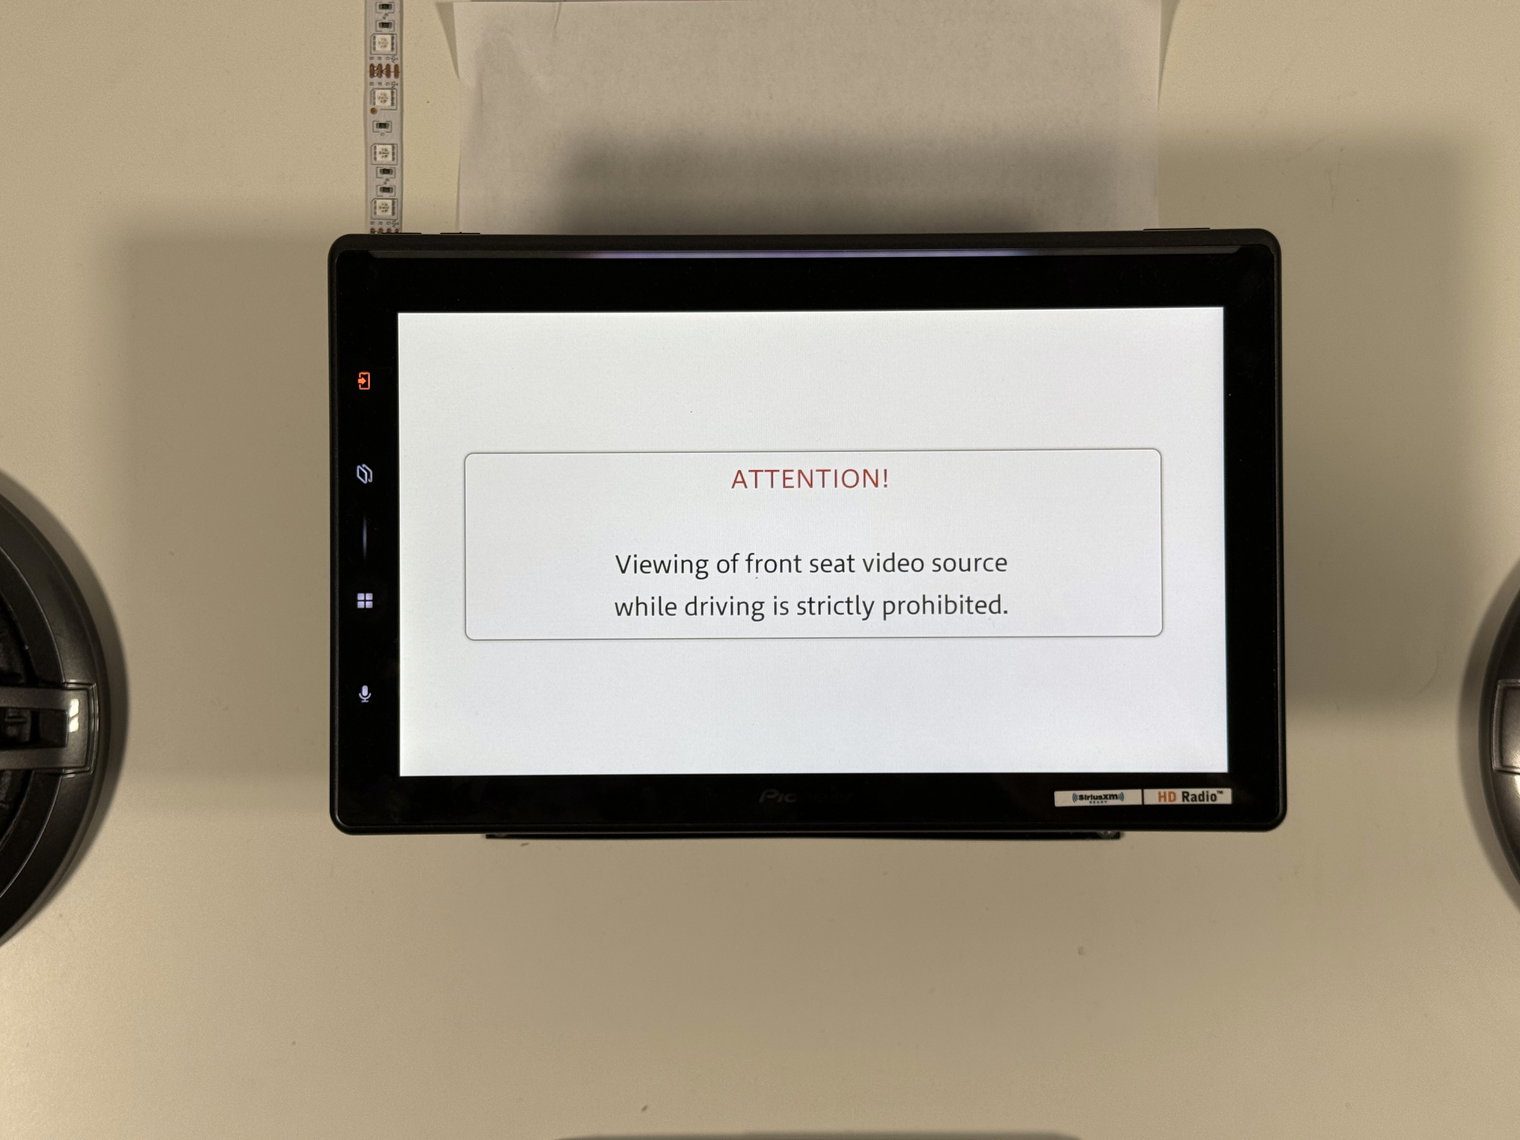
I tested exactly that with the cable I already had and it worked first try. Tape the plugs so you remember. The parking-brake wire also has to be grounded for the unit to show any video, and the caution screen is what you get otherwise.
My assessment of composite A/V is the same on this unit as any other unit – it’s alright. It’s not a super crisp and clear video feed. But that’s why Pioneer’s own stance on this unit is that it serves a different purpose than their WT8600NEX (which has an HDMI). And even then, you’re still going to be limited to 720p no matter what you do.
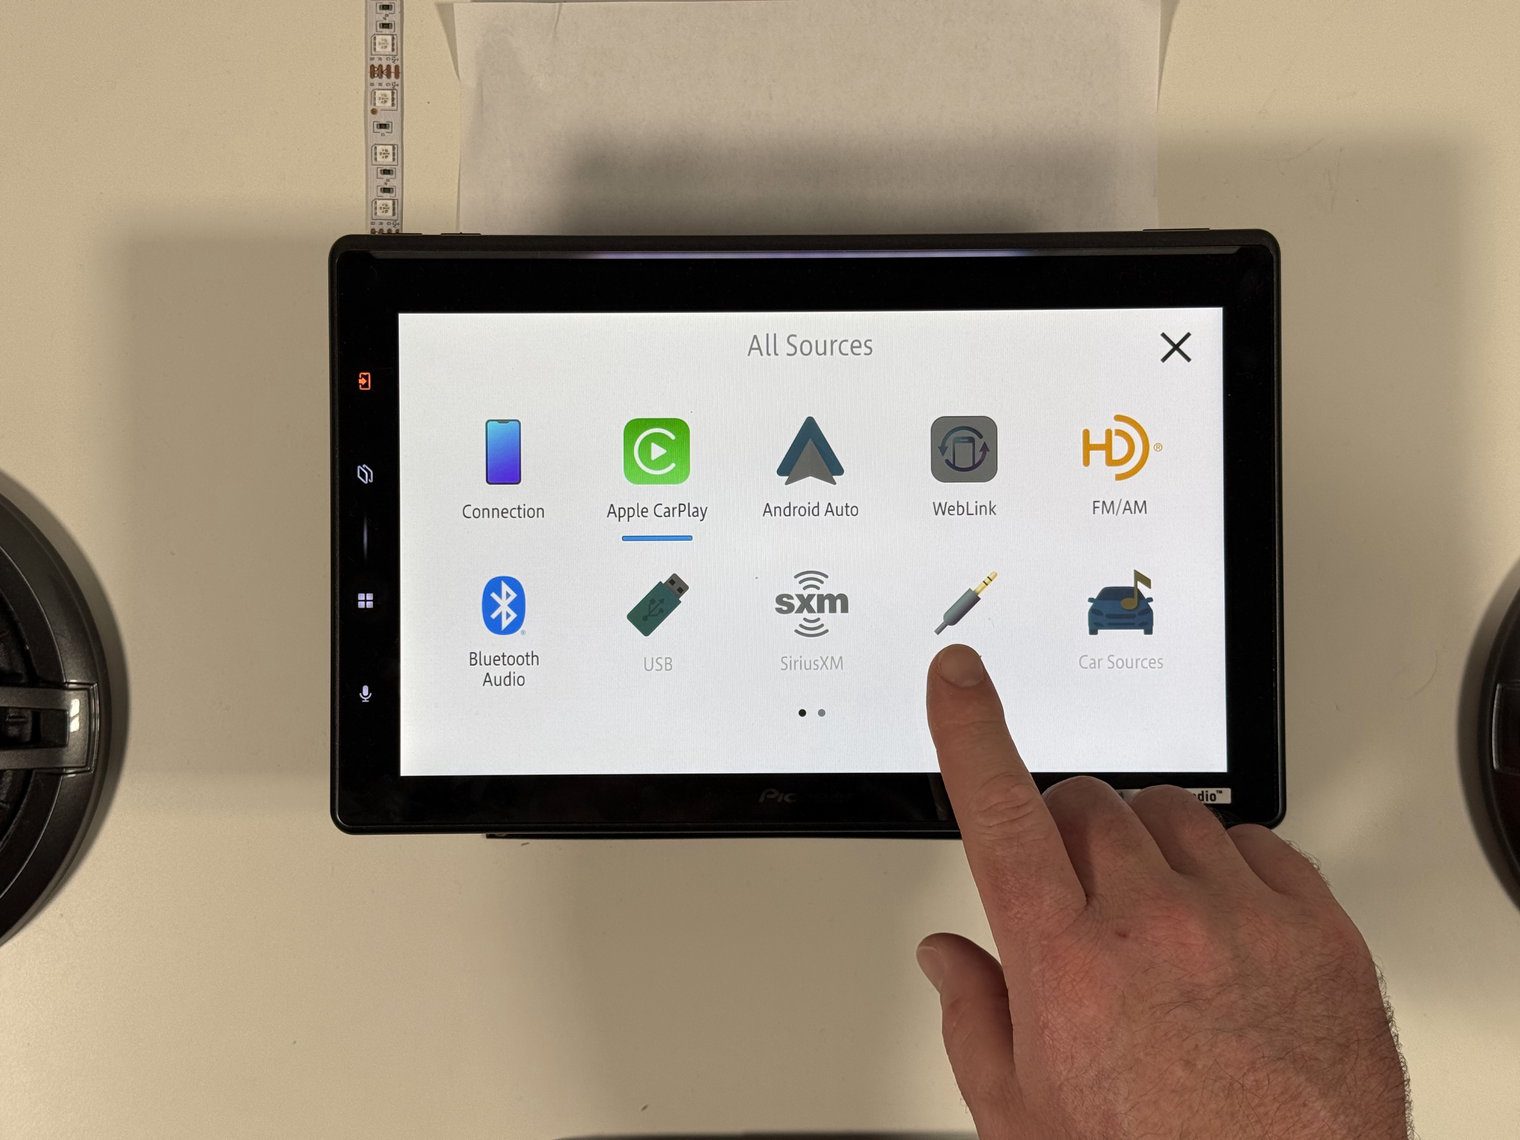
WebLink Cast
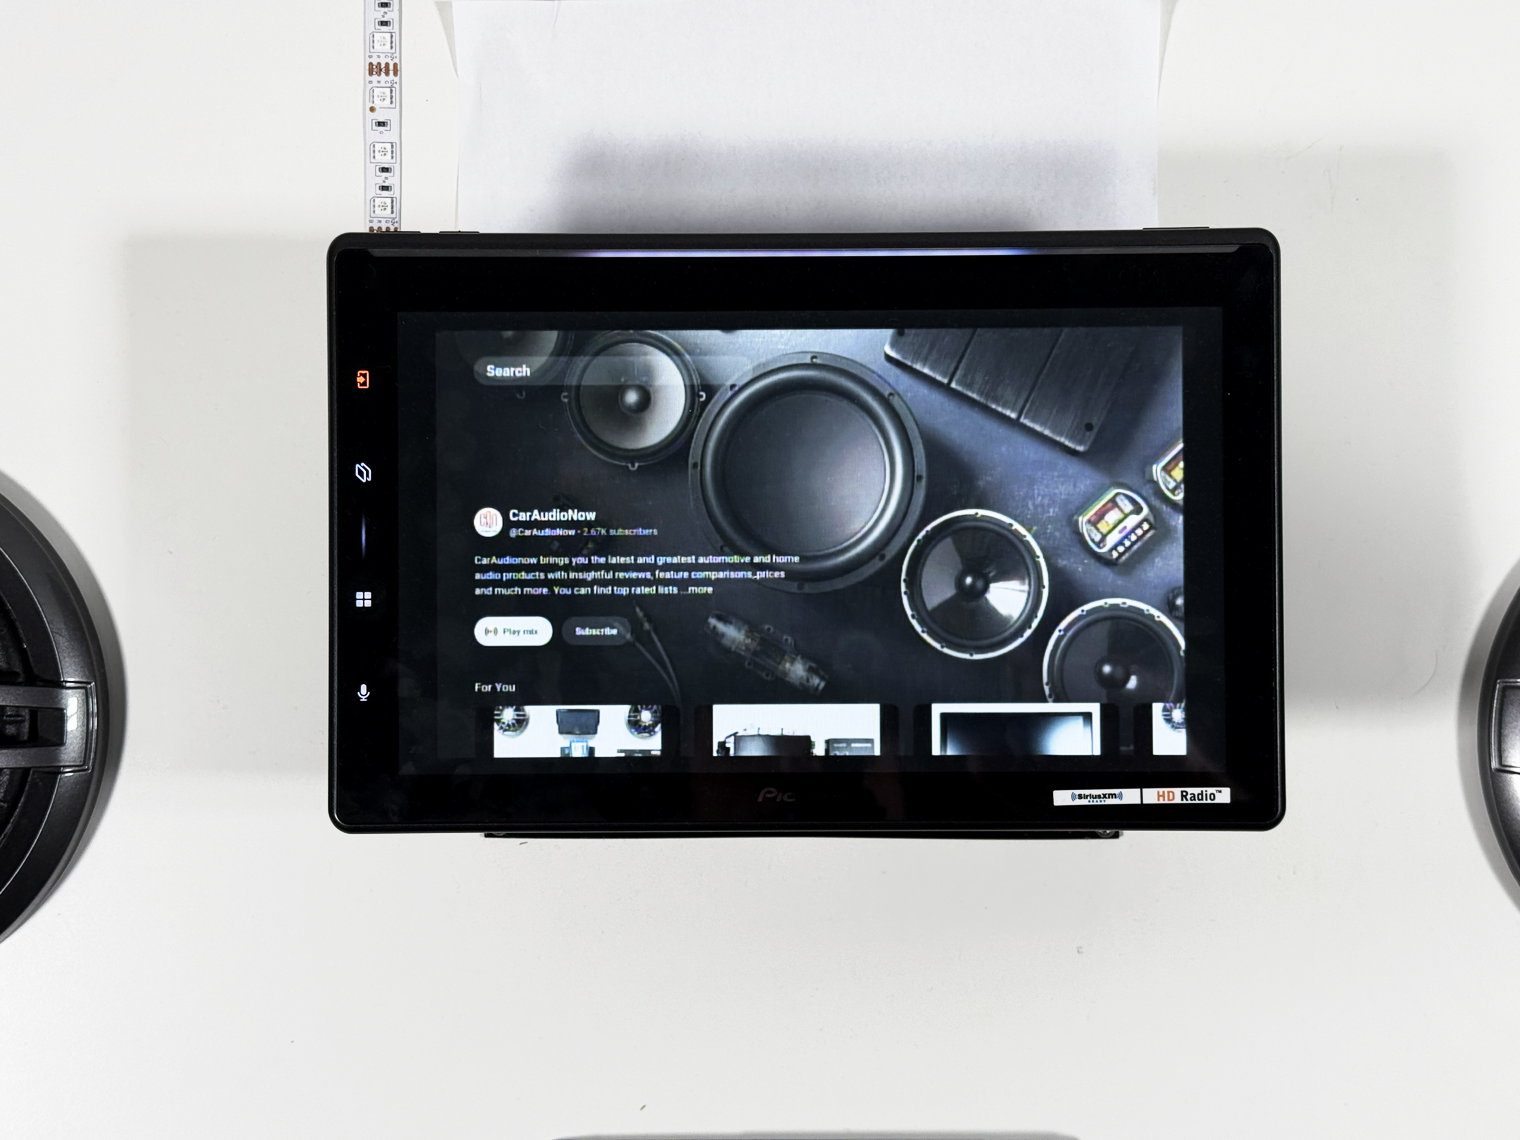
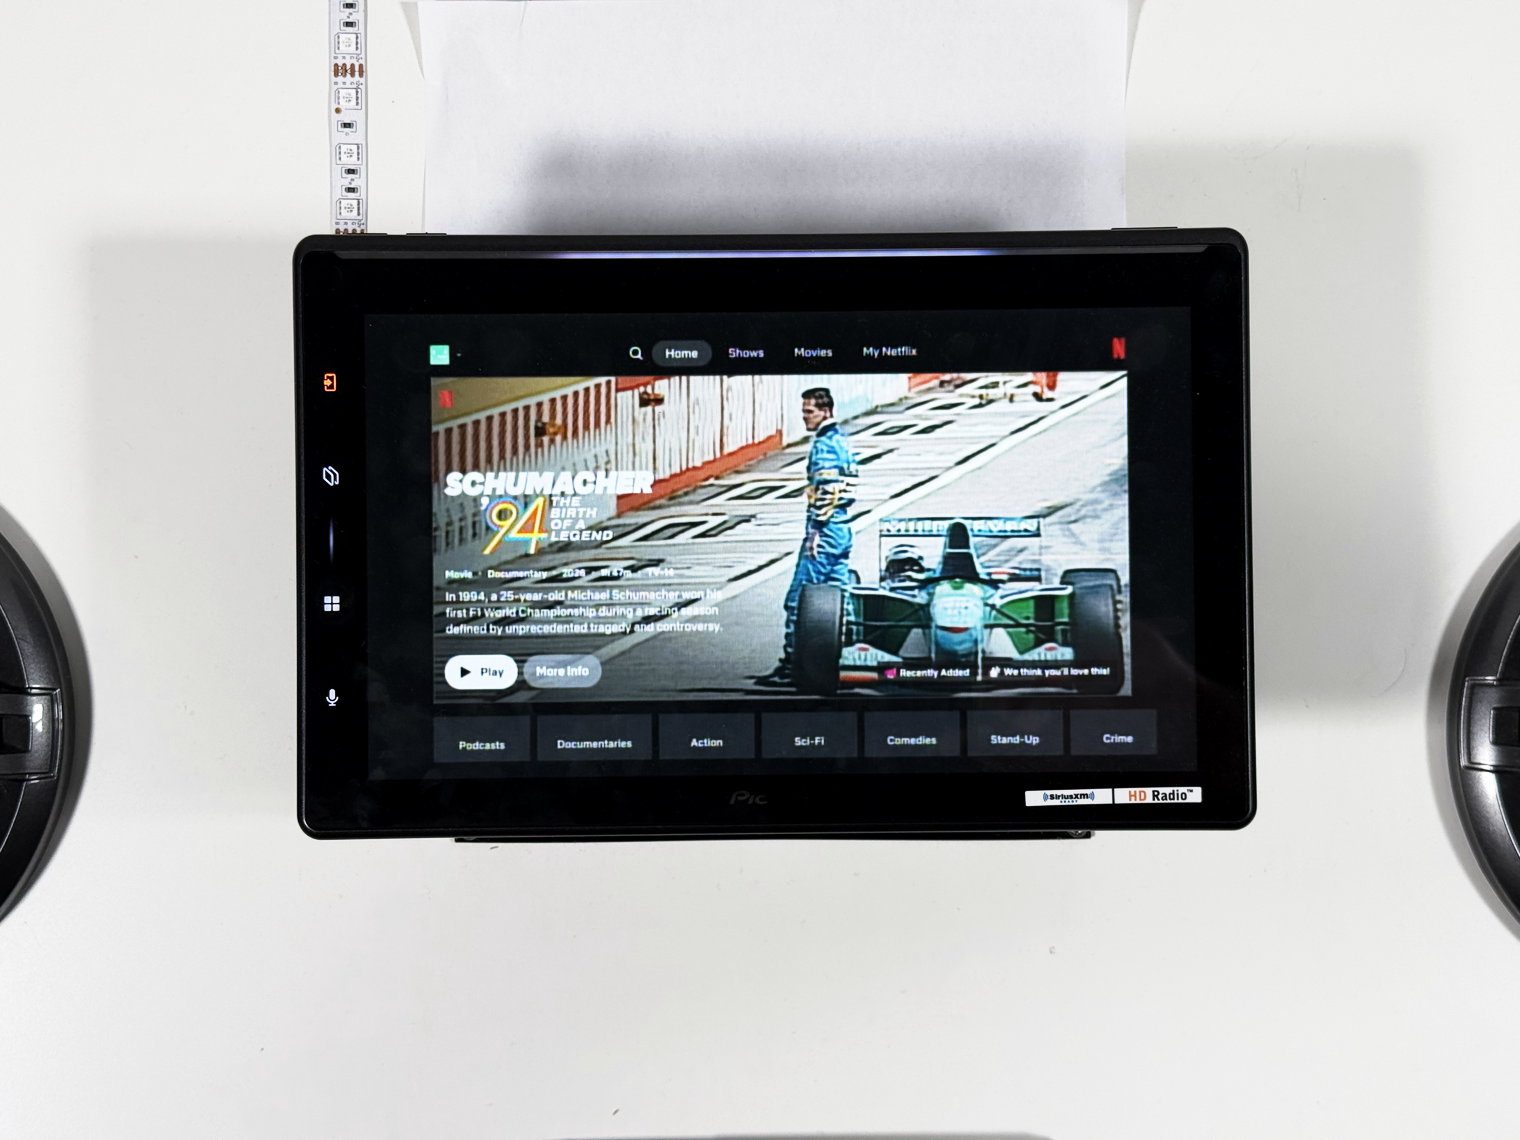
WebLink runs from the WebLink Host app over USB and mirrors your phone or a short list of apps — YouTube, Yelp, weather, an internet-radio app. It has never been my favorite. WebLink Cast on this unit is the same as all units so I won’t go into much detail on it.
Want video while driving? It is illegal in most states and I don't recommend it, but if you need it for passengers, here is how the parking-brake wire works and how to bypass it.
Everything else, in the order you'll search for it
Wireless CarPlay and Android Auto
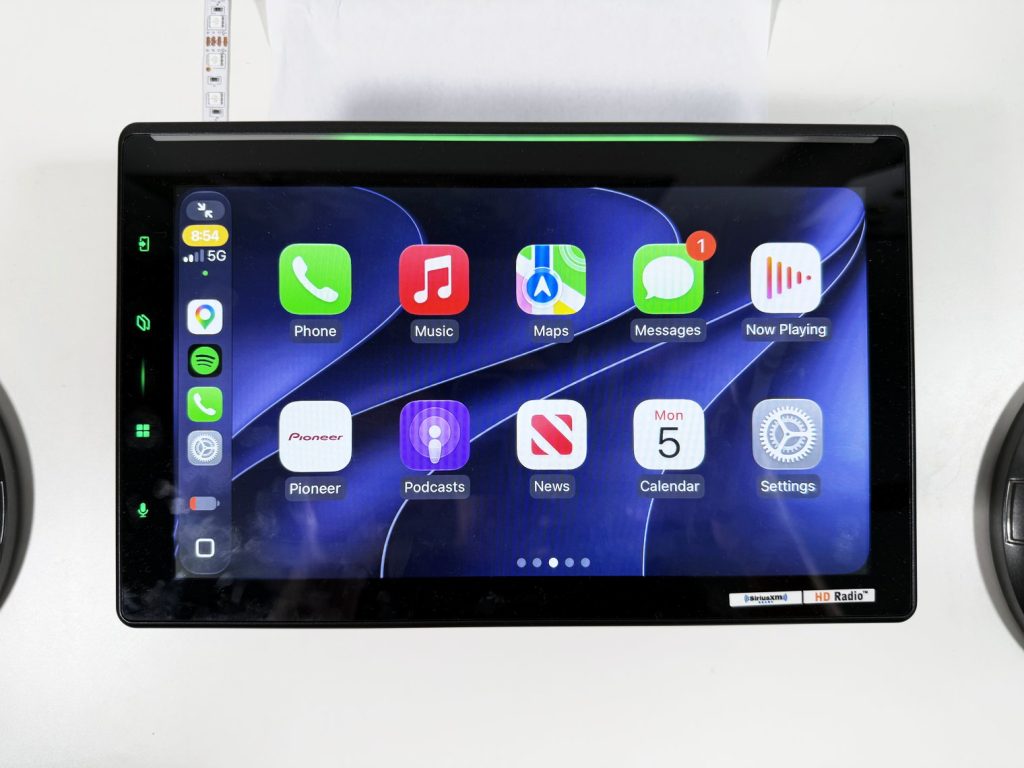
5 GHz Wi-Fi (802.11ac) plus Bluetooth for wireless, or the USB-A extension if you want to go wired. Split-screen mode keeps CarPlay or Android Auto on one side and a receiver source – tuner, USB – on the other. I thought this was a cool touch.
A quick swipe on the home screen drops into CarPlay or Android Auto, and the Direct key on the left does the same from anywhere. My iPhone paired wirelessly during the PxLink setup with no USB cable involved – Crutchfield's note that the first wireless pairing needs a USB connection did not apply to me.
For what it is worth, one Best Buy owner reports Bluetooth dropping during wireless playback and one PxLink App Store reviewer reports CarPlay disconnecting after a few days, so I paid attention to it. I didn’t experience any dropping or disconnecting personally.
New to CarPlay or Android Auto? My Apple CarPlay explainer and Android Auto FAQ cover what they do and don't do.
Bluetooth and calls
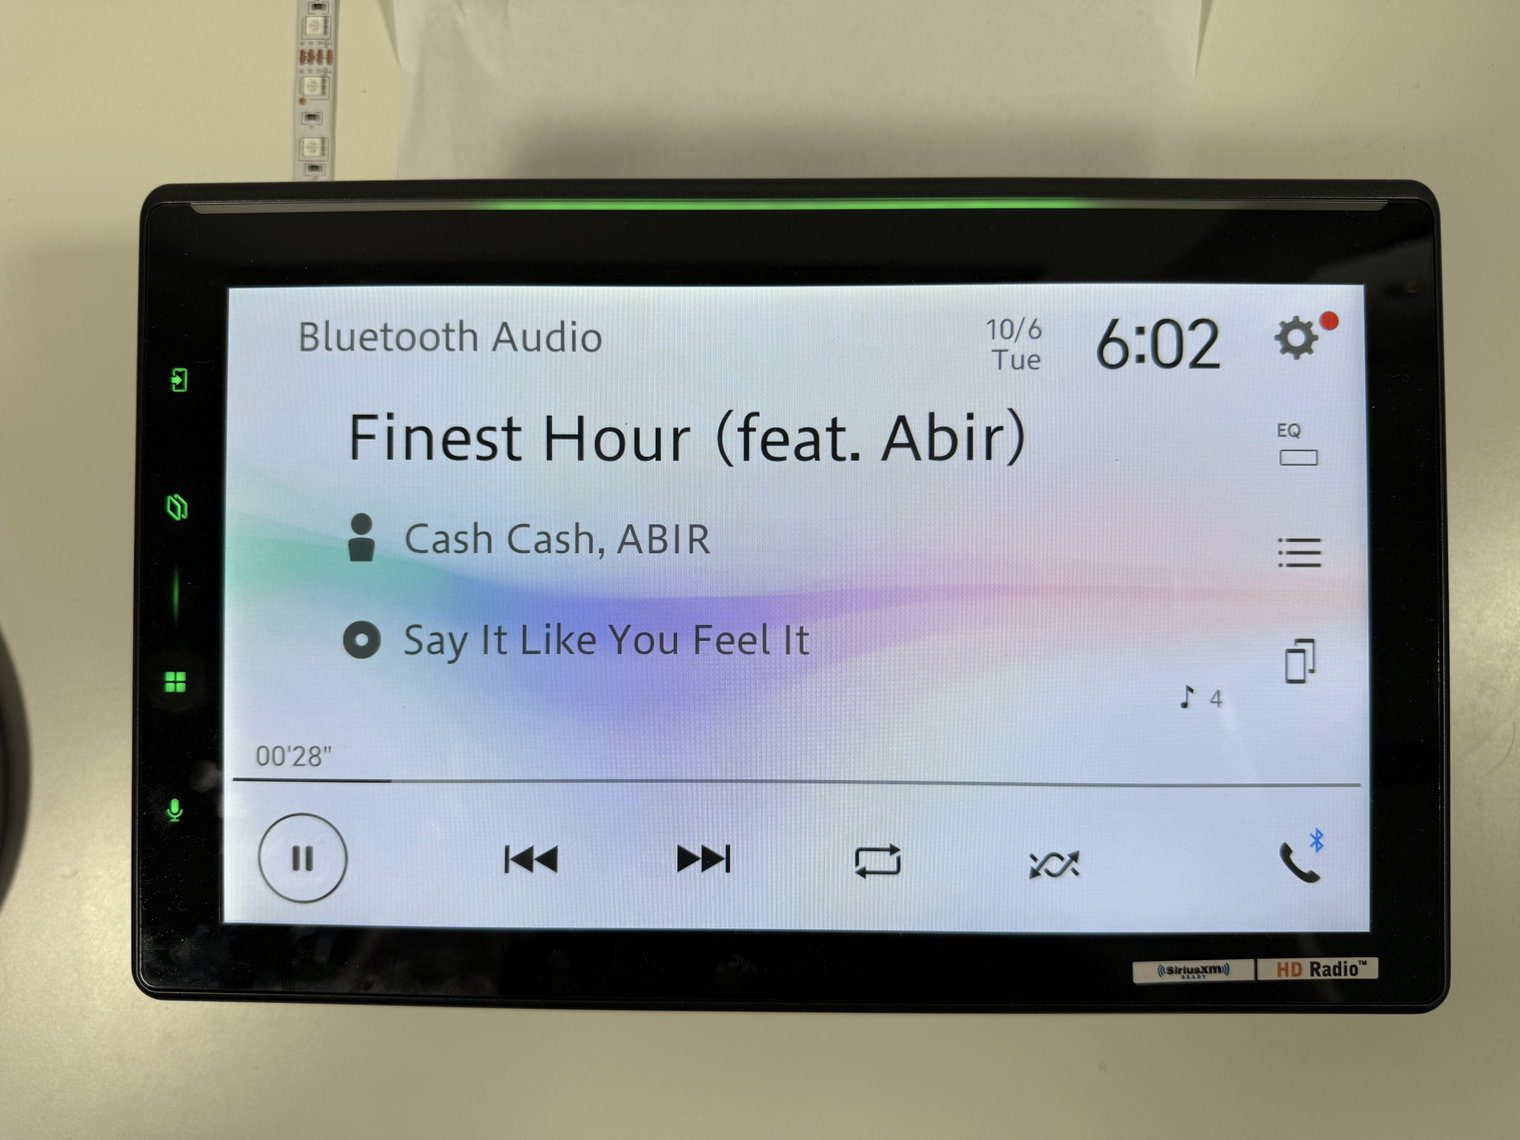
Standard on all units. I’ll keep this quick. It has Bluetooth 5.2 with A2DP 1.3.2, AVRCP 1.6.2, wideband HFP 1.7.2 and PBAP 1.2.3. Five phones can be paired and two connected at once, with auto-reconnect in the order they were registered. No LDAC or aptX is listed, so assume SBC and AAC. Hands-free and streaming are unavailable while CarPlay or Android Auto is active, which is normal.
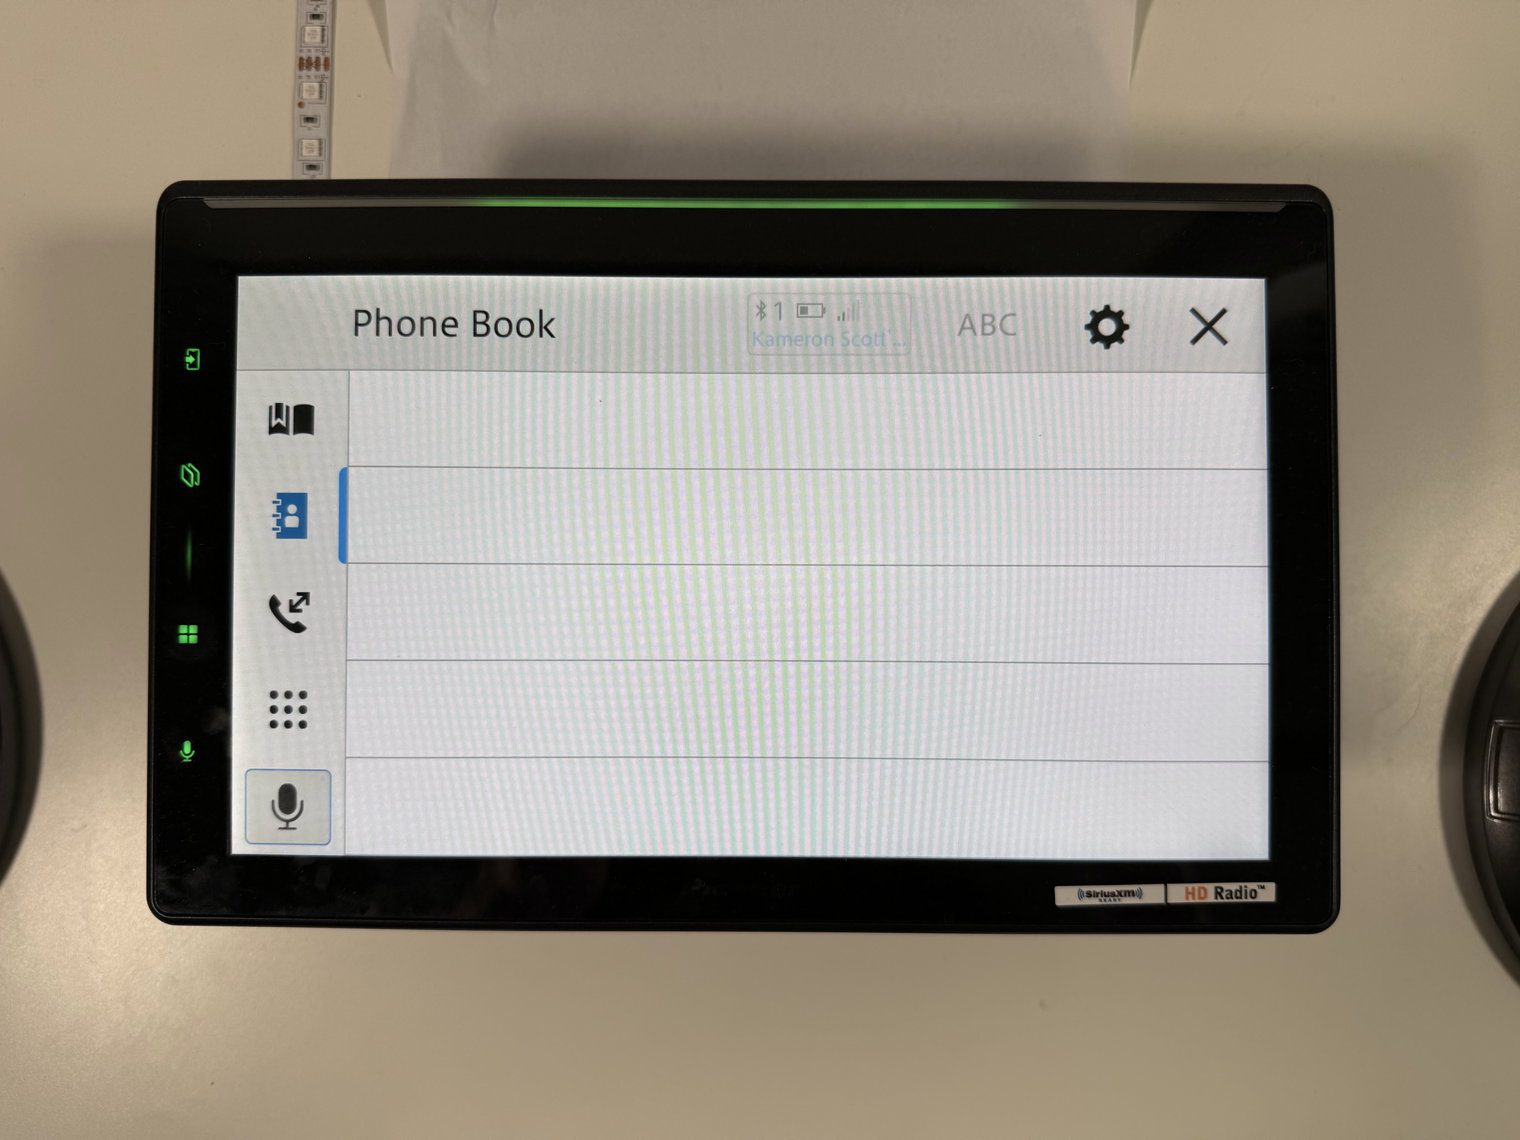
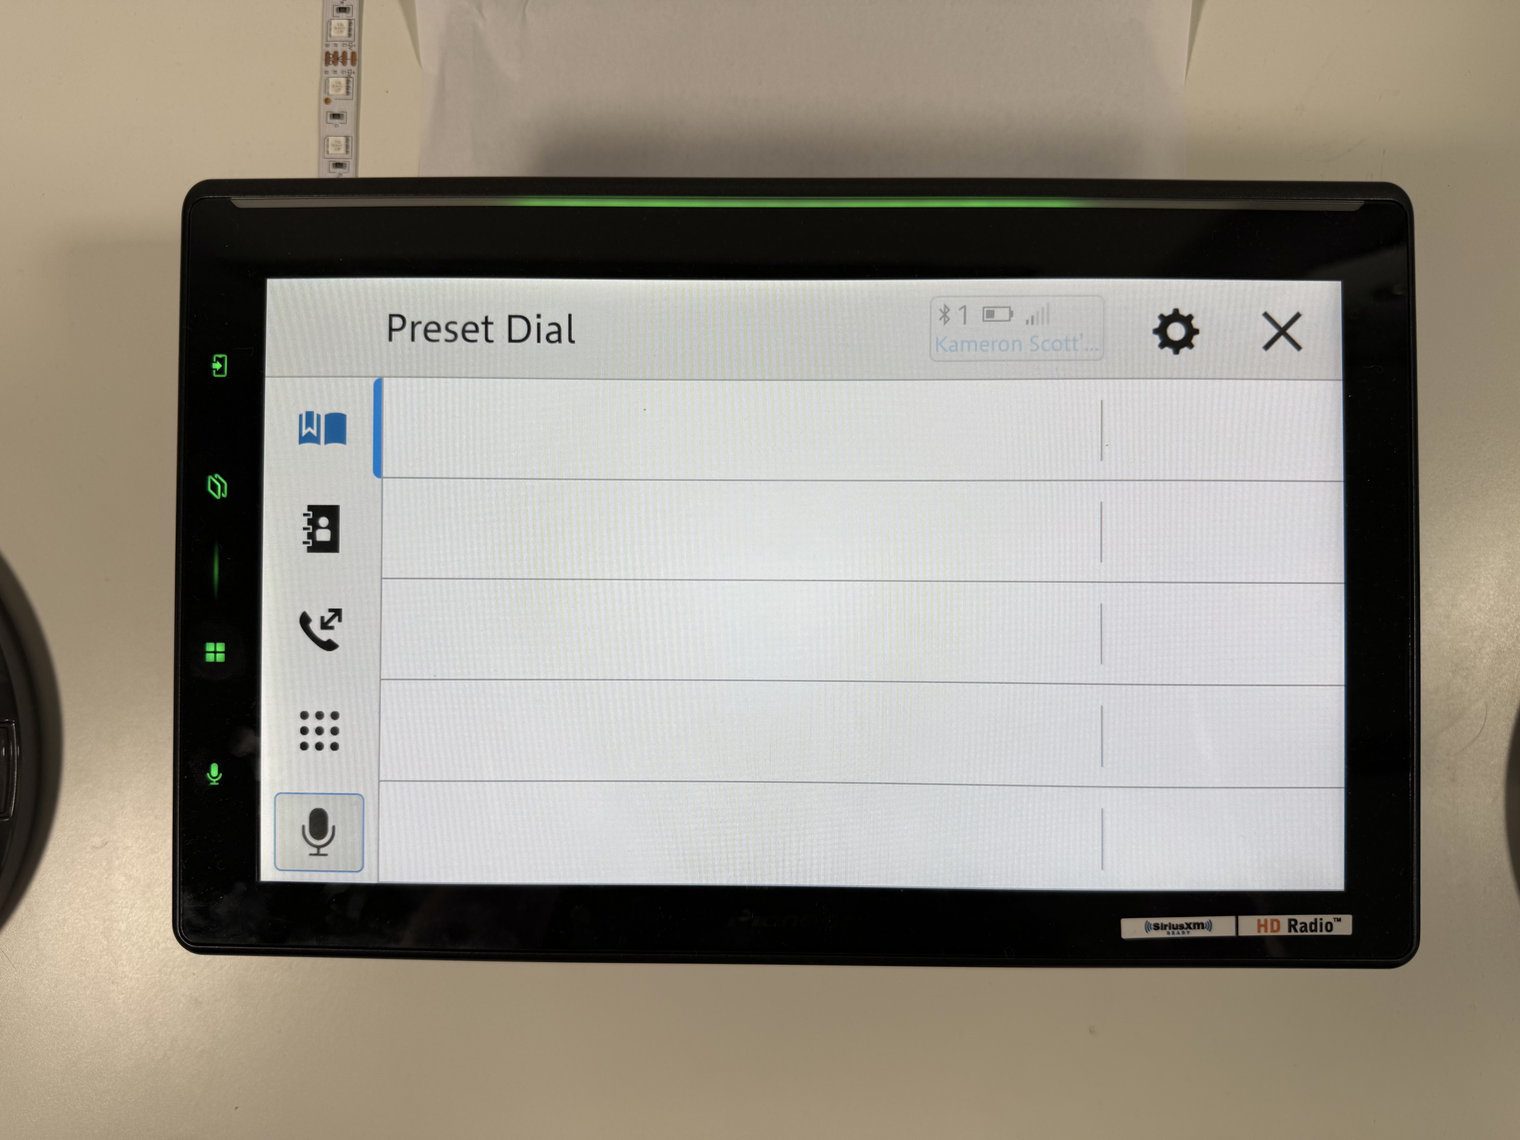
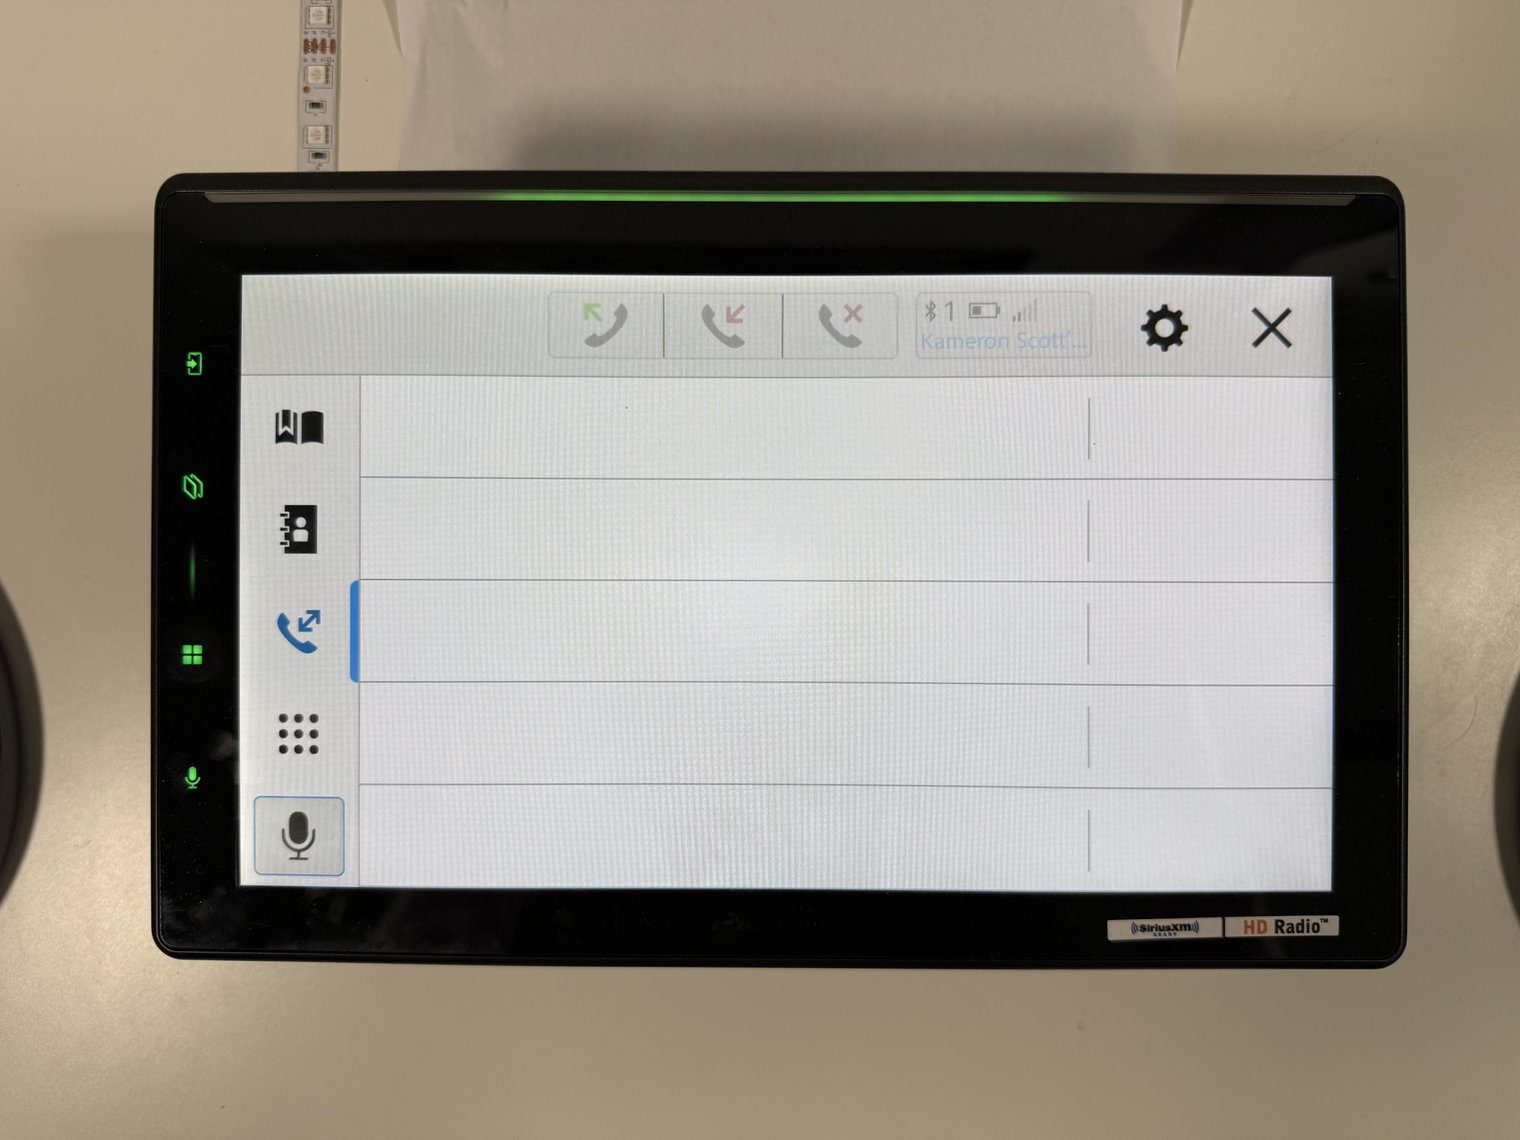
PxLink app
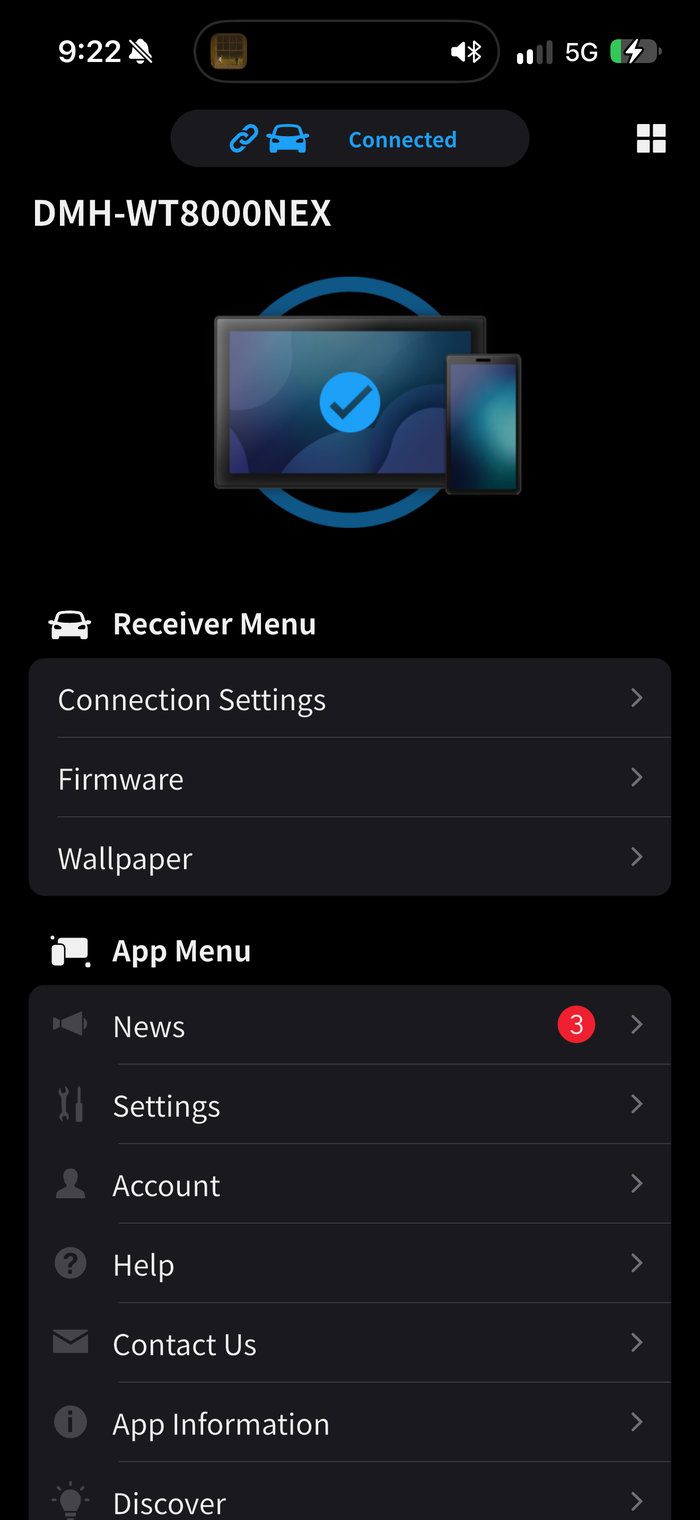
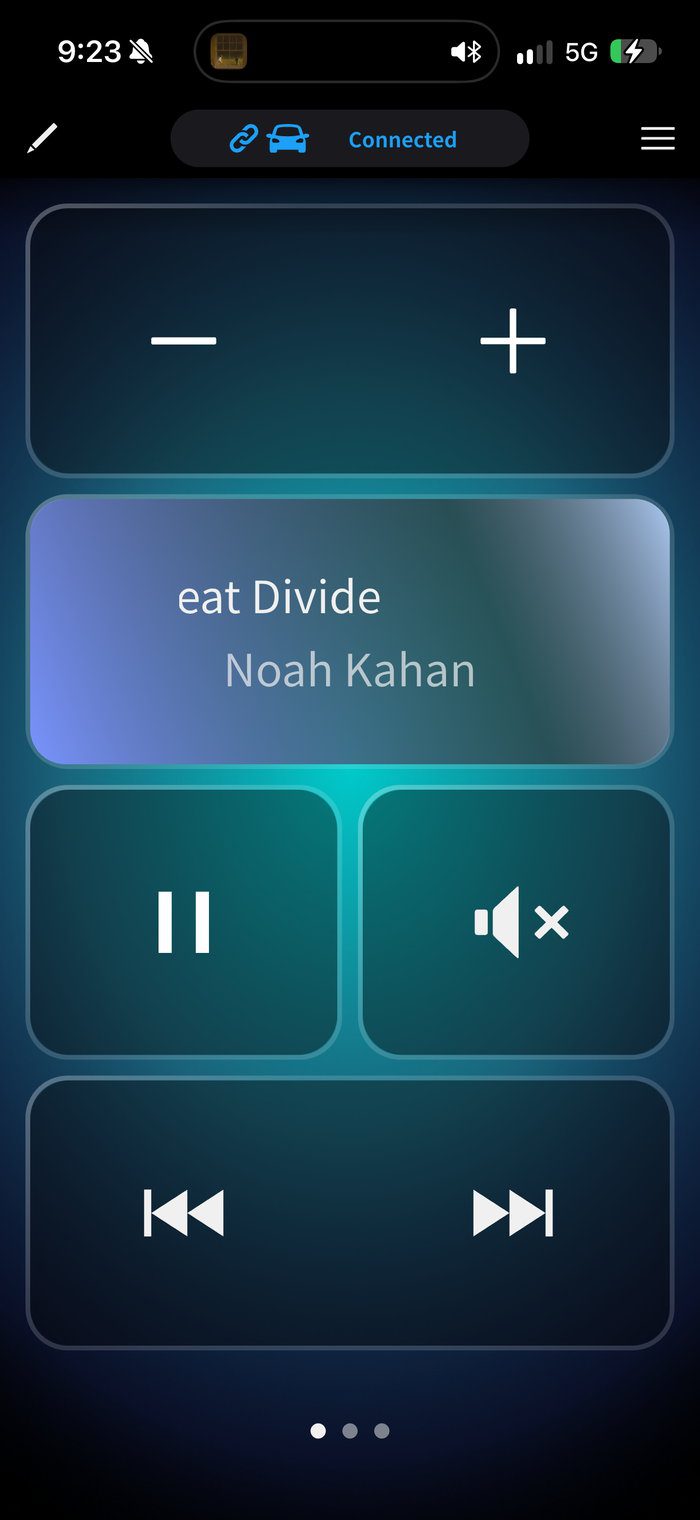
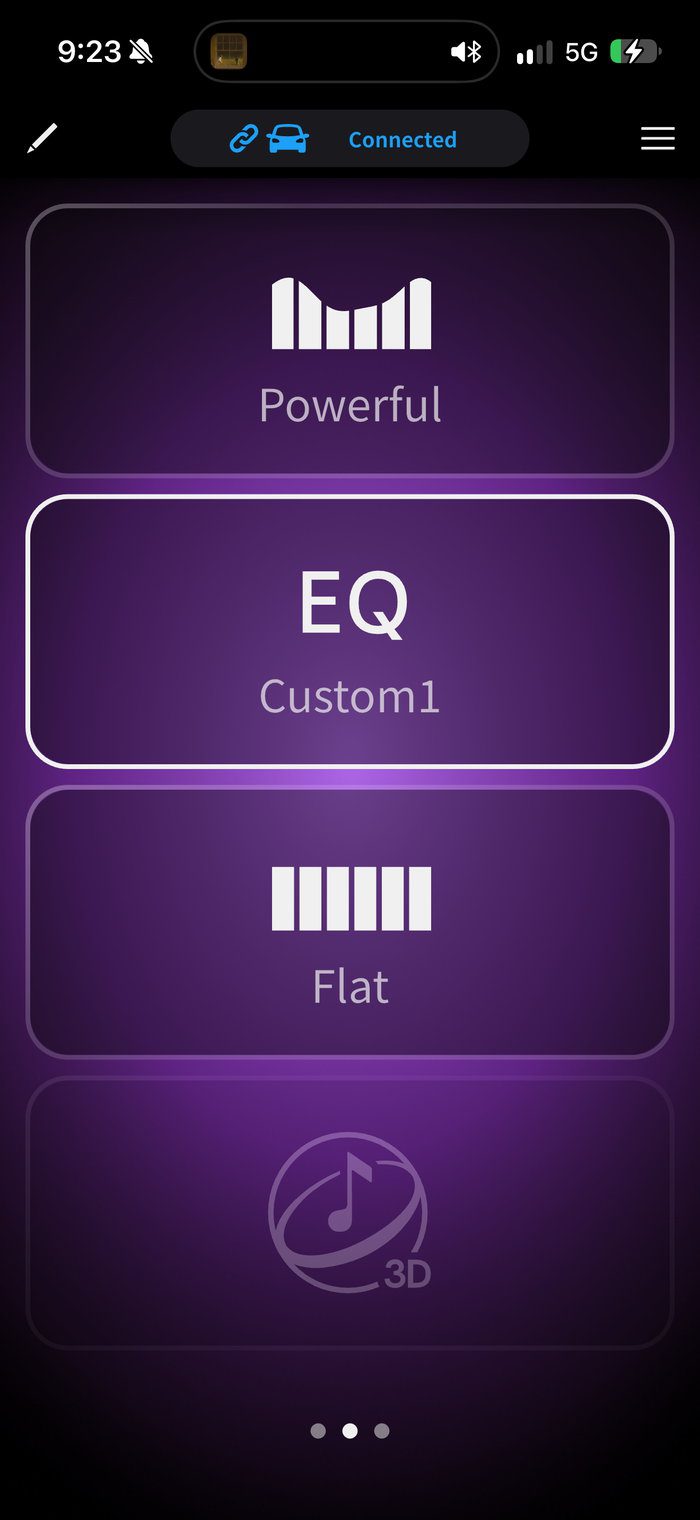
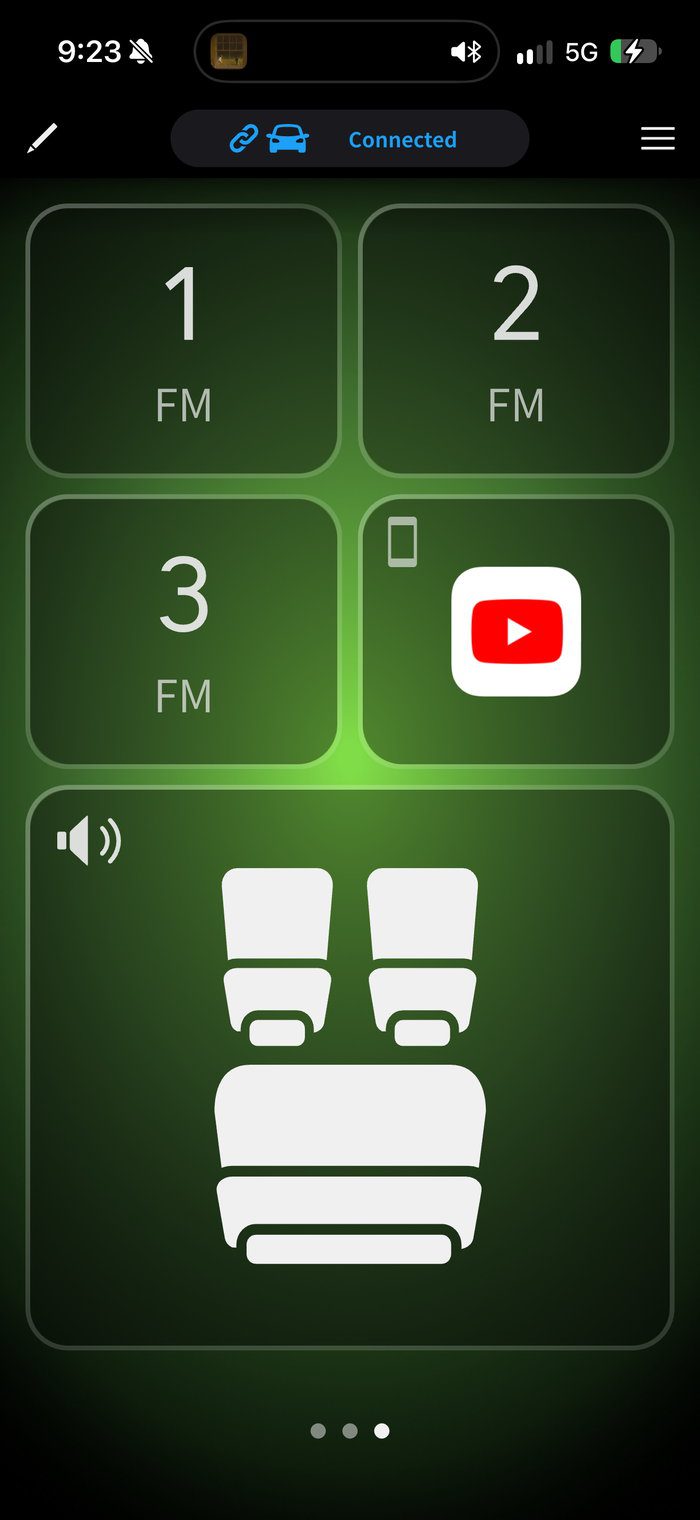
Once it is connected, PxLink turns your phone into a second screen or a remote for volume, EQ and source. It lets you rearrange the shortcut keys on the unit, and downloads firmware updates to the phone so you can update the receiver without a thumb drive. It needs the GPS antenna installed and internet on the phone to work properly.
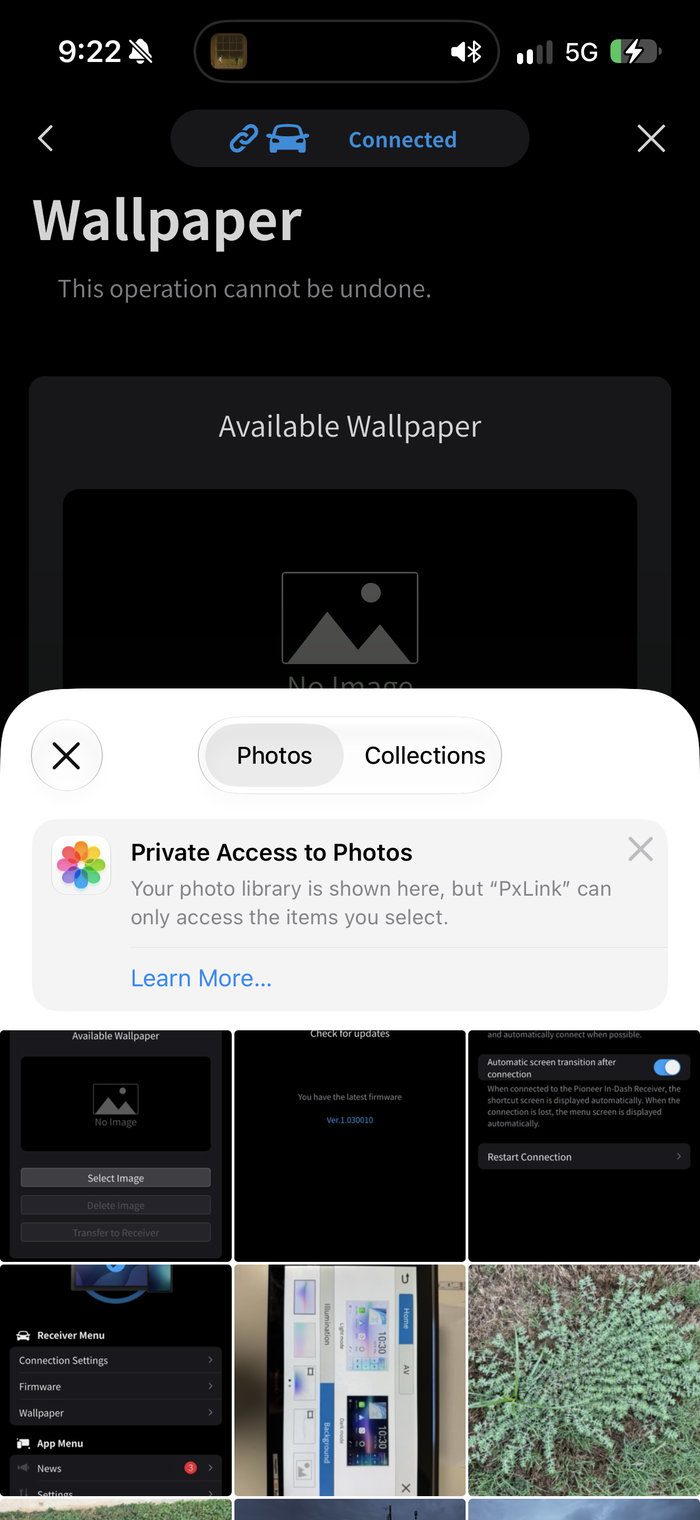
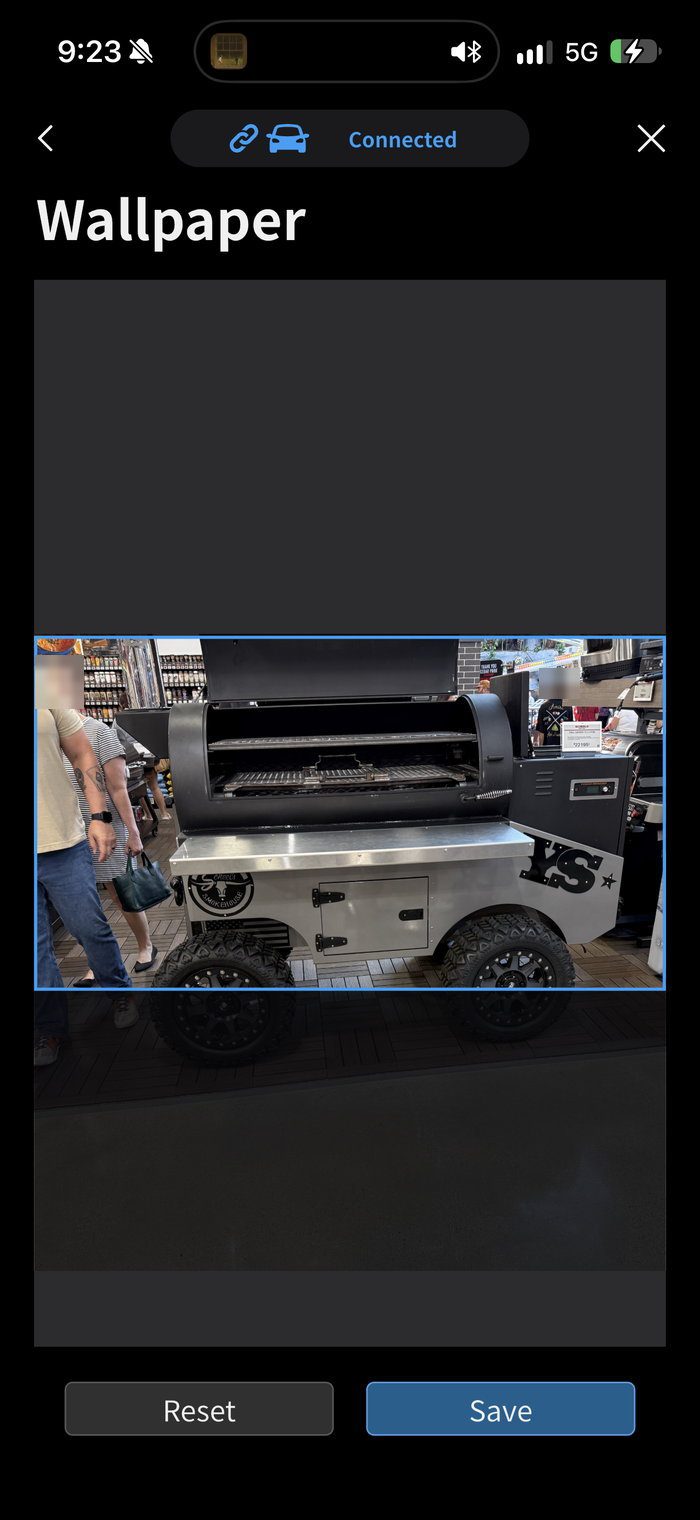
The feature I used most is probably the one that sounds least important: wallpaper. Every other non-Pioneer unit I have reviewed made me copy a photo to a thumb drive, plug it in and browse to it. In PxLink you tap Wallpaper, pick a photo from your camera roll and apply it, and the screen changes while you watch. It is the first time changing the background on a head unit has felt like changing it on a phone, and it is the kind of detail that tells you the software was designed this decade.
Worth noting – the app sits at 1.7 stars from 32 ratings on the App Store as I write this, with reviewers citing disconnects and a pairing screen that does not fit smaller iPhones. Once it’s connected though, I didn’t experience any issues so I think the main complaints are usability when it comes to the setup.

Cameras
The WT8000NEX has two camera inputs. The backup camera, which has guidelines you can toggle and switches automatically in reverse in about 0.8 seconds when the violet/white wire is on the reverse circuit. You can also leave the rear view up while towing if it’s wired properly. The second input is a general-purpose camera you can call up any time from the home screen for a hitch, side or dash camera. The Sony AX8500 has three inputs, if you are running more cameras than two, take a peek at my review on that unit.
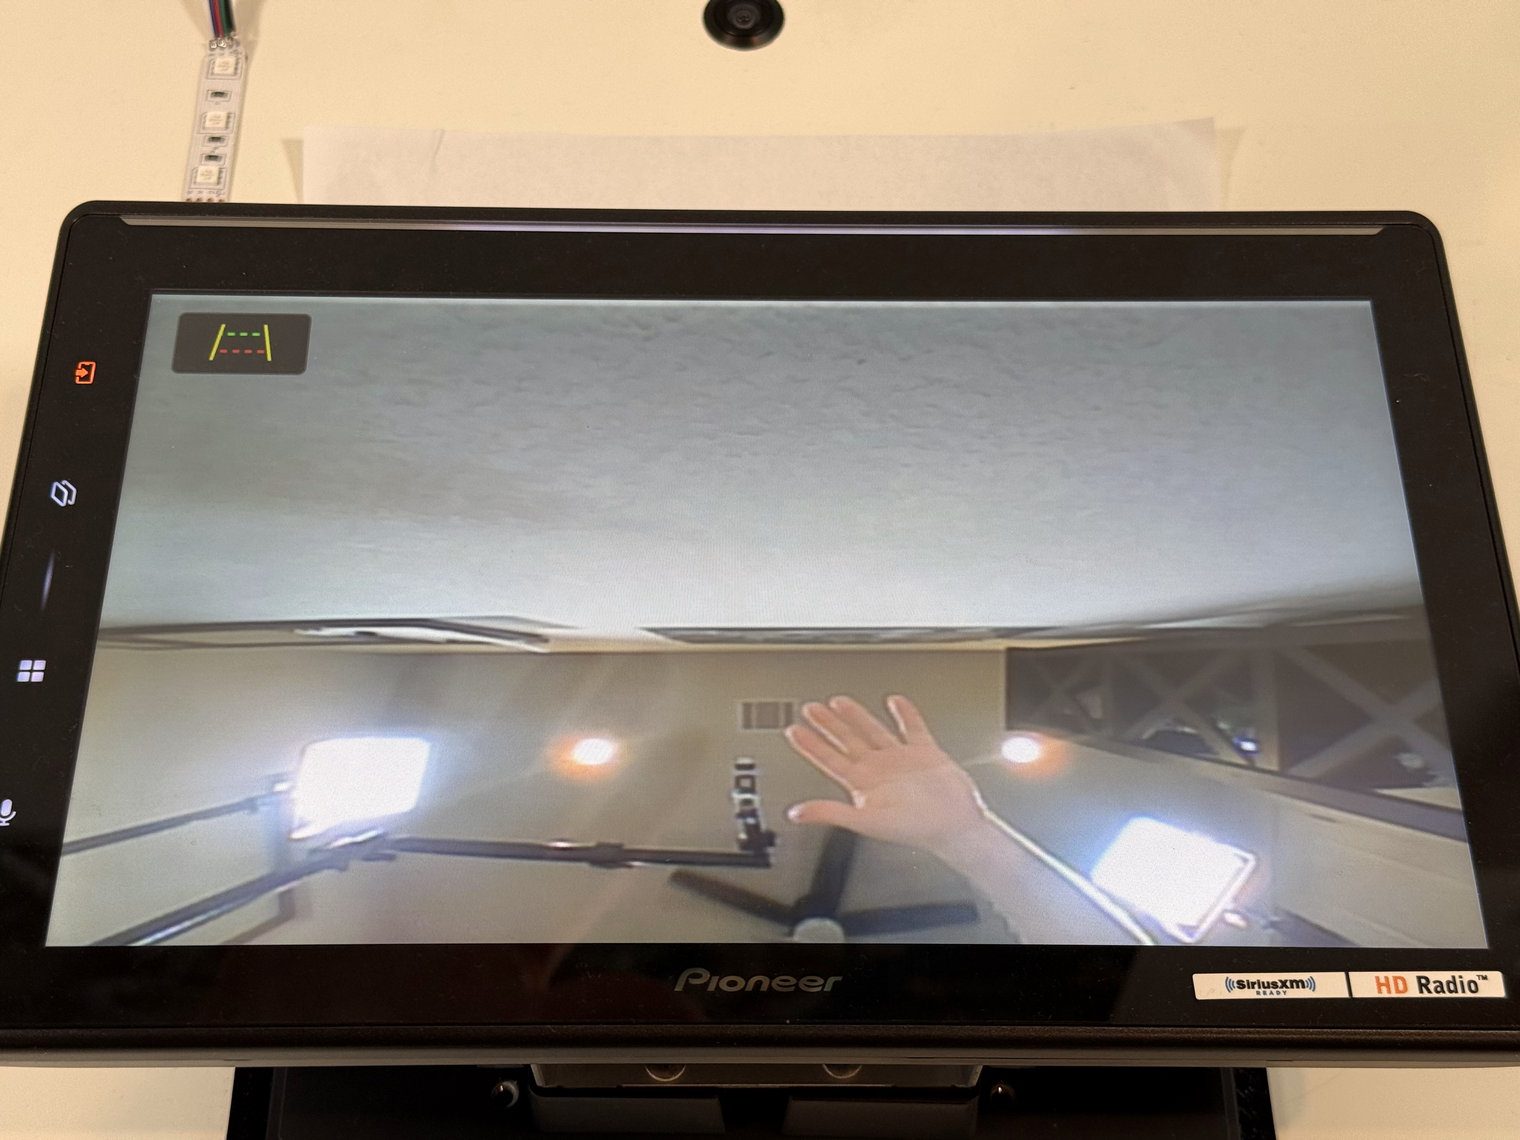
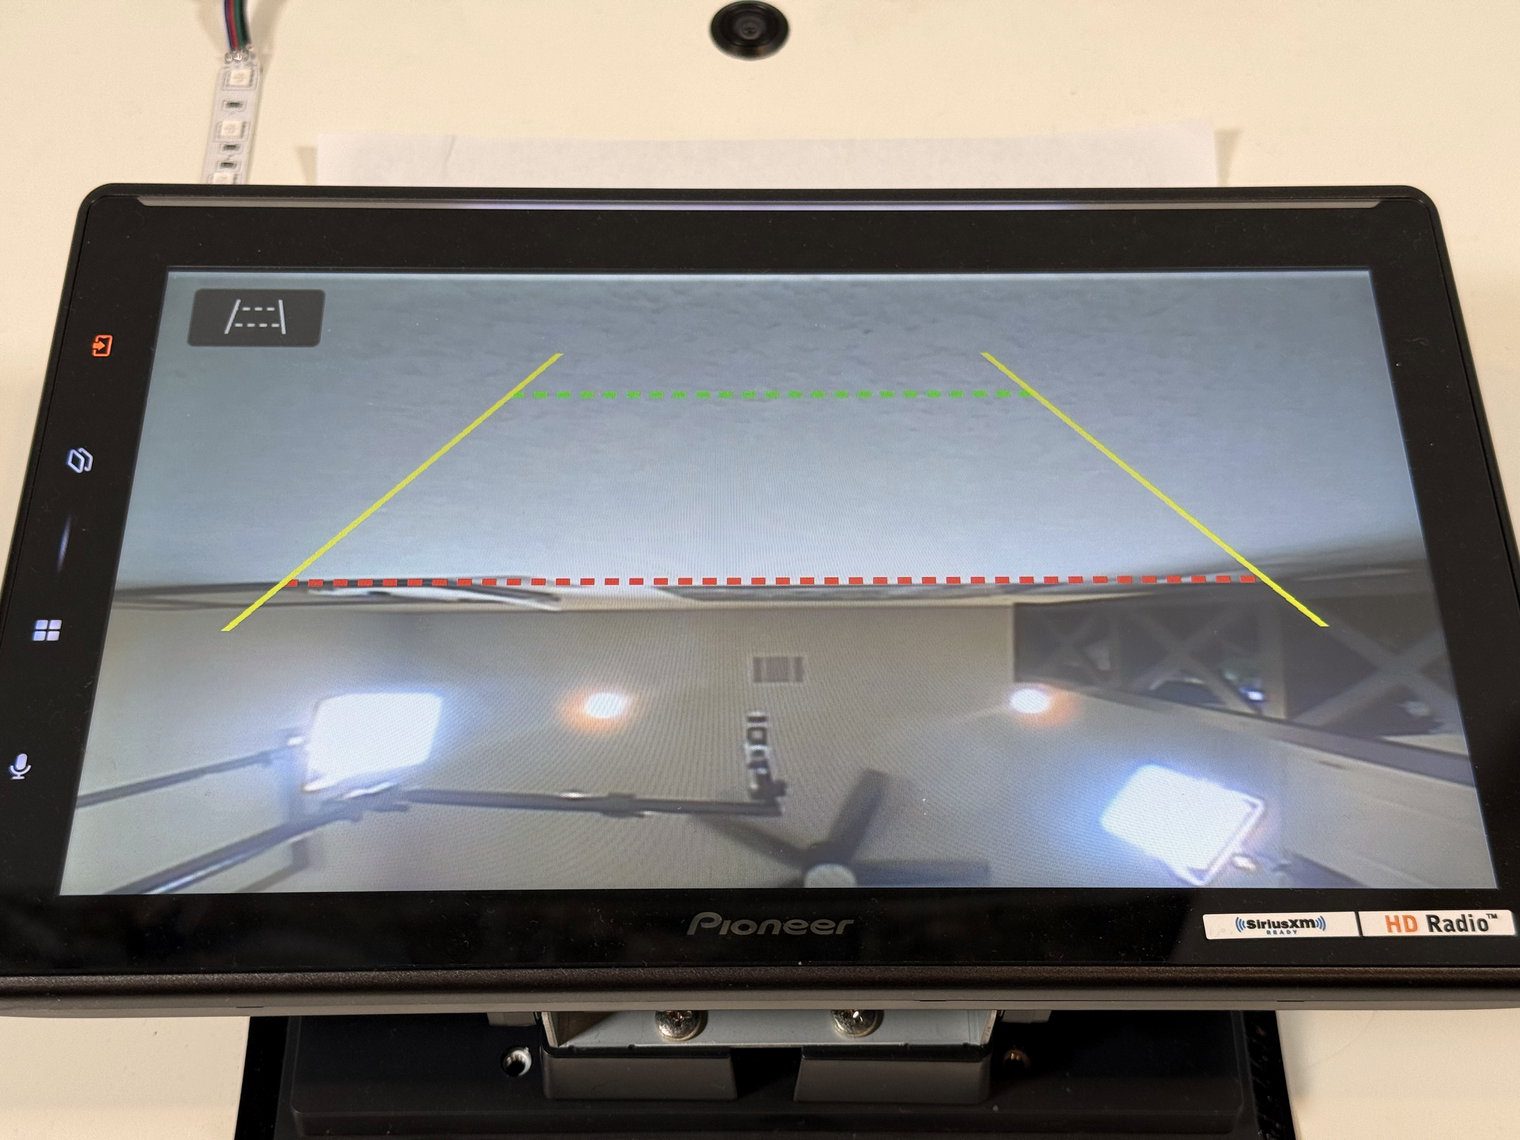
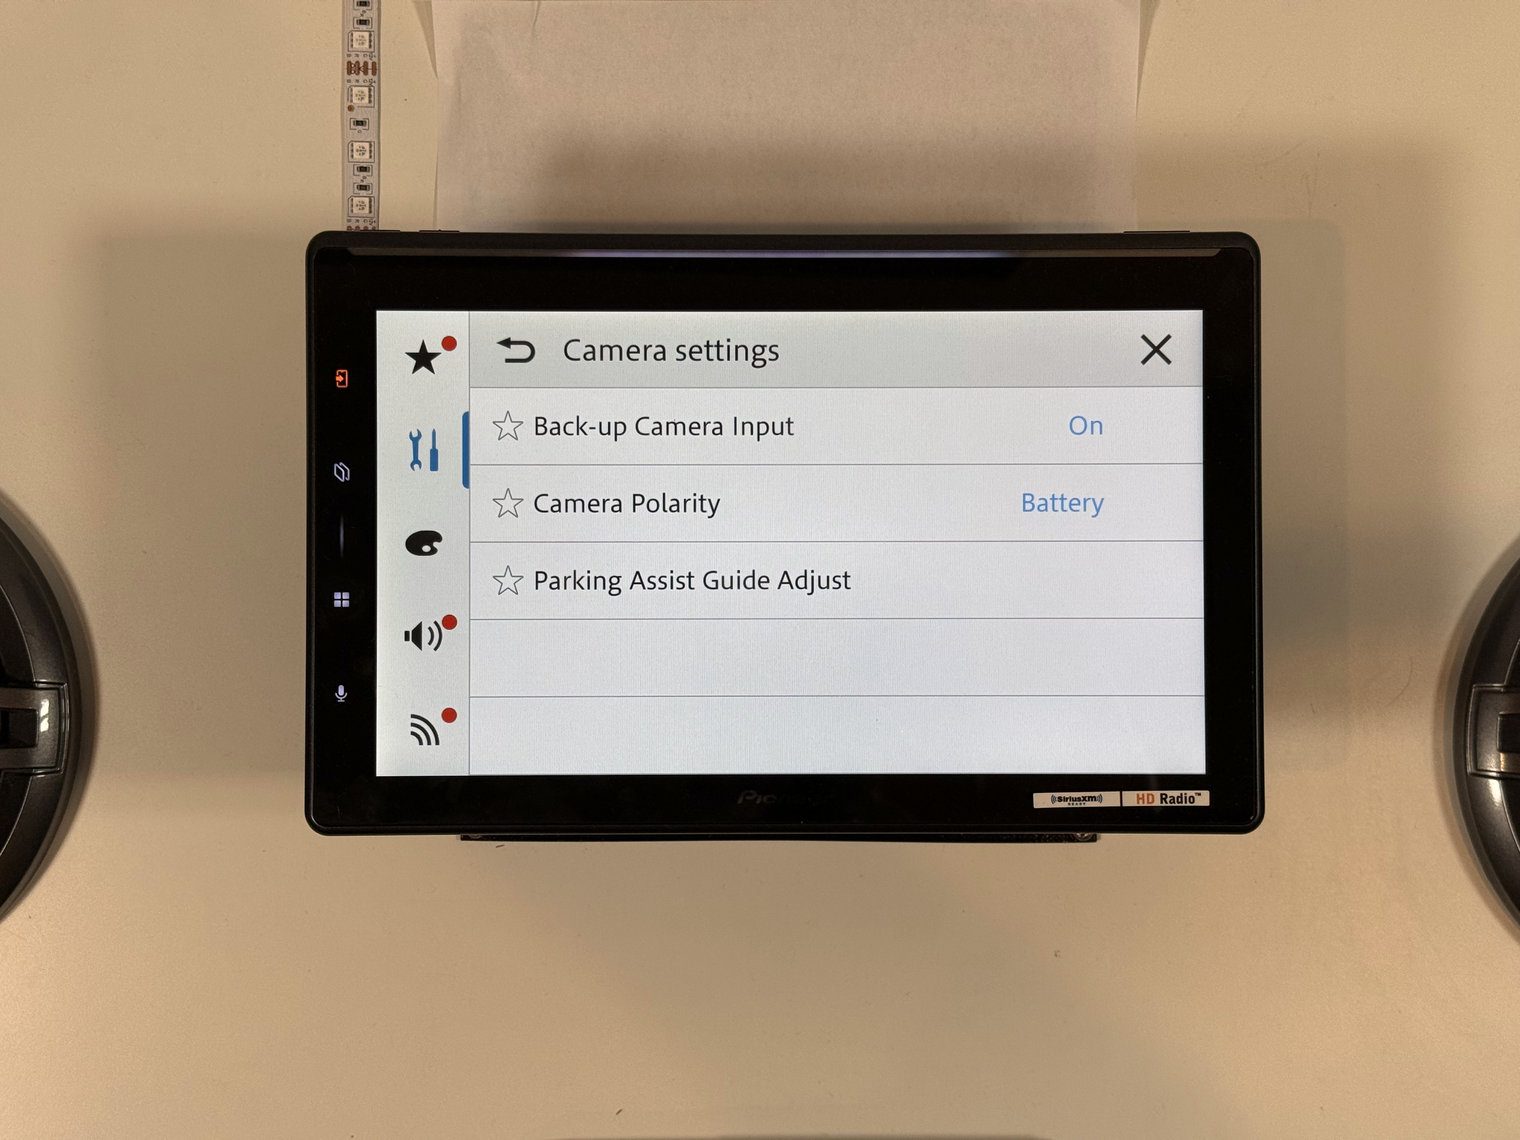

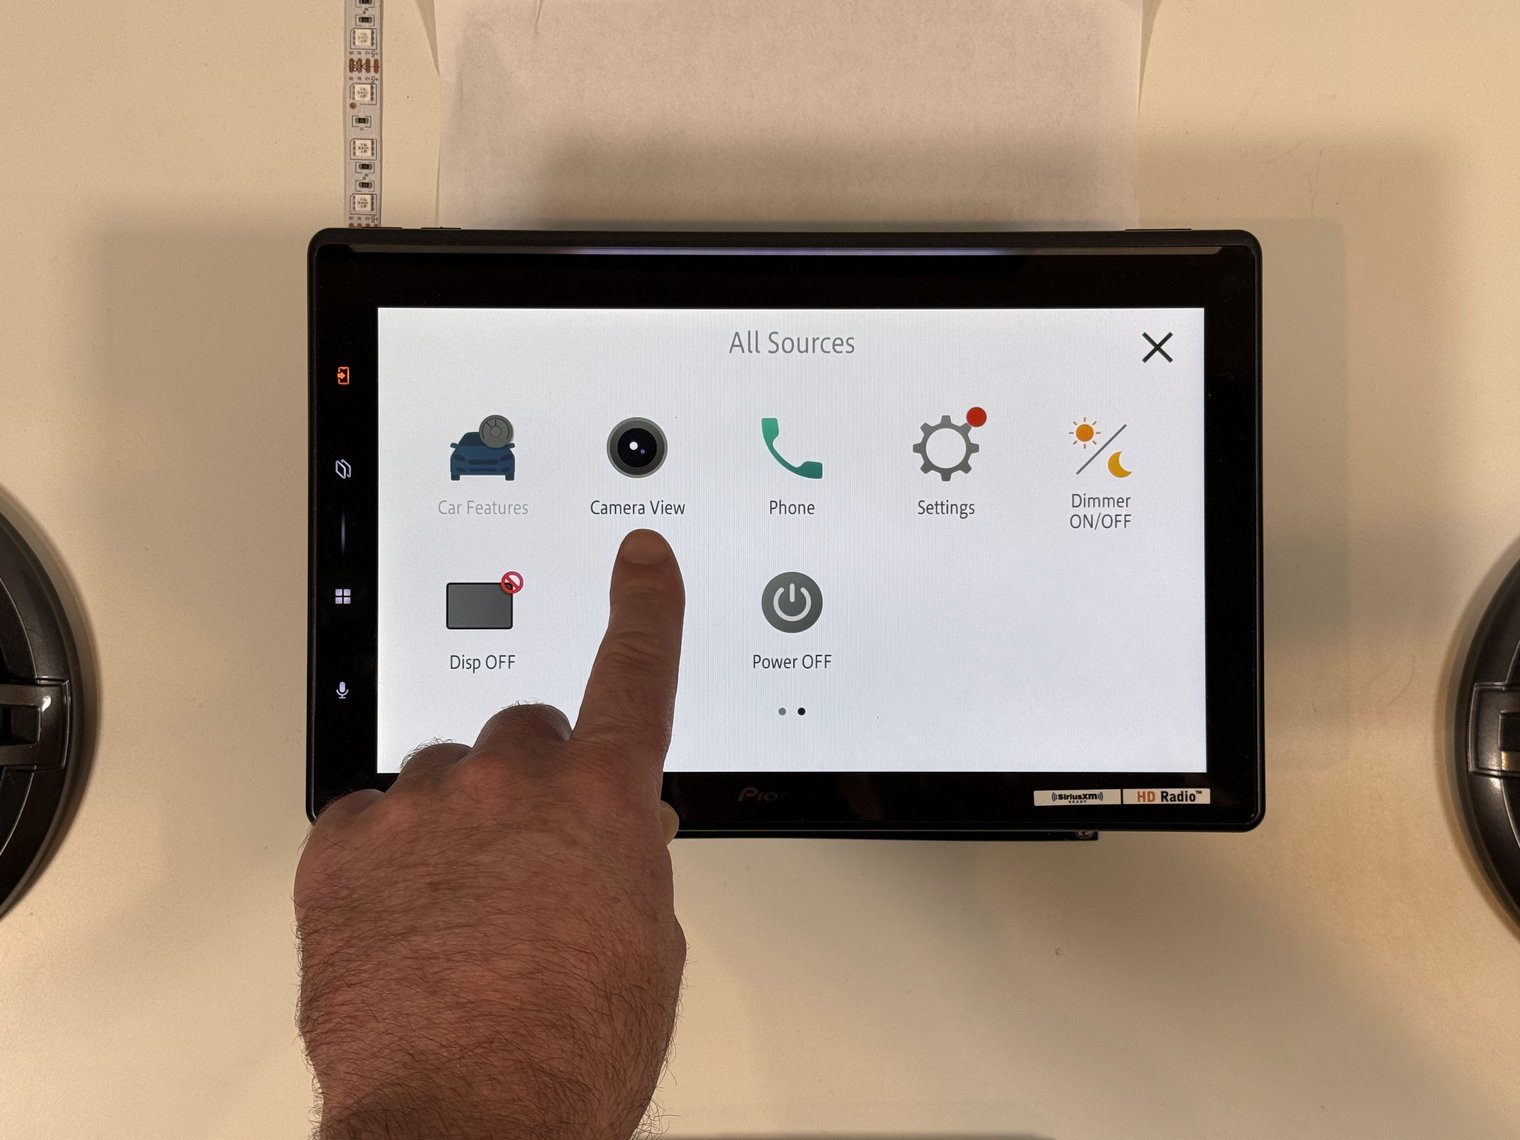
Adding a backup camera? These are the ones I recommend.
Sound settings
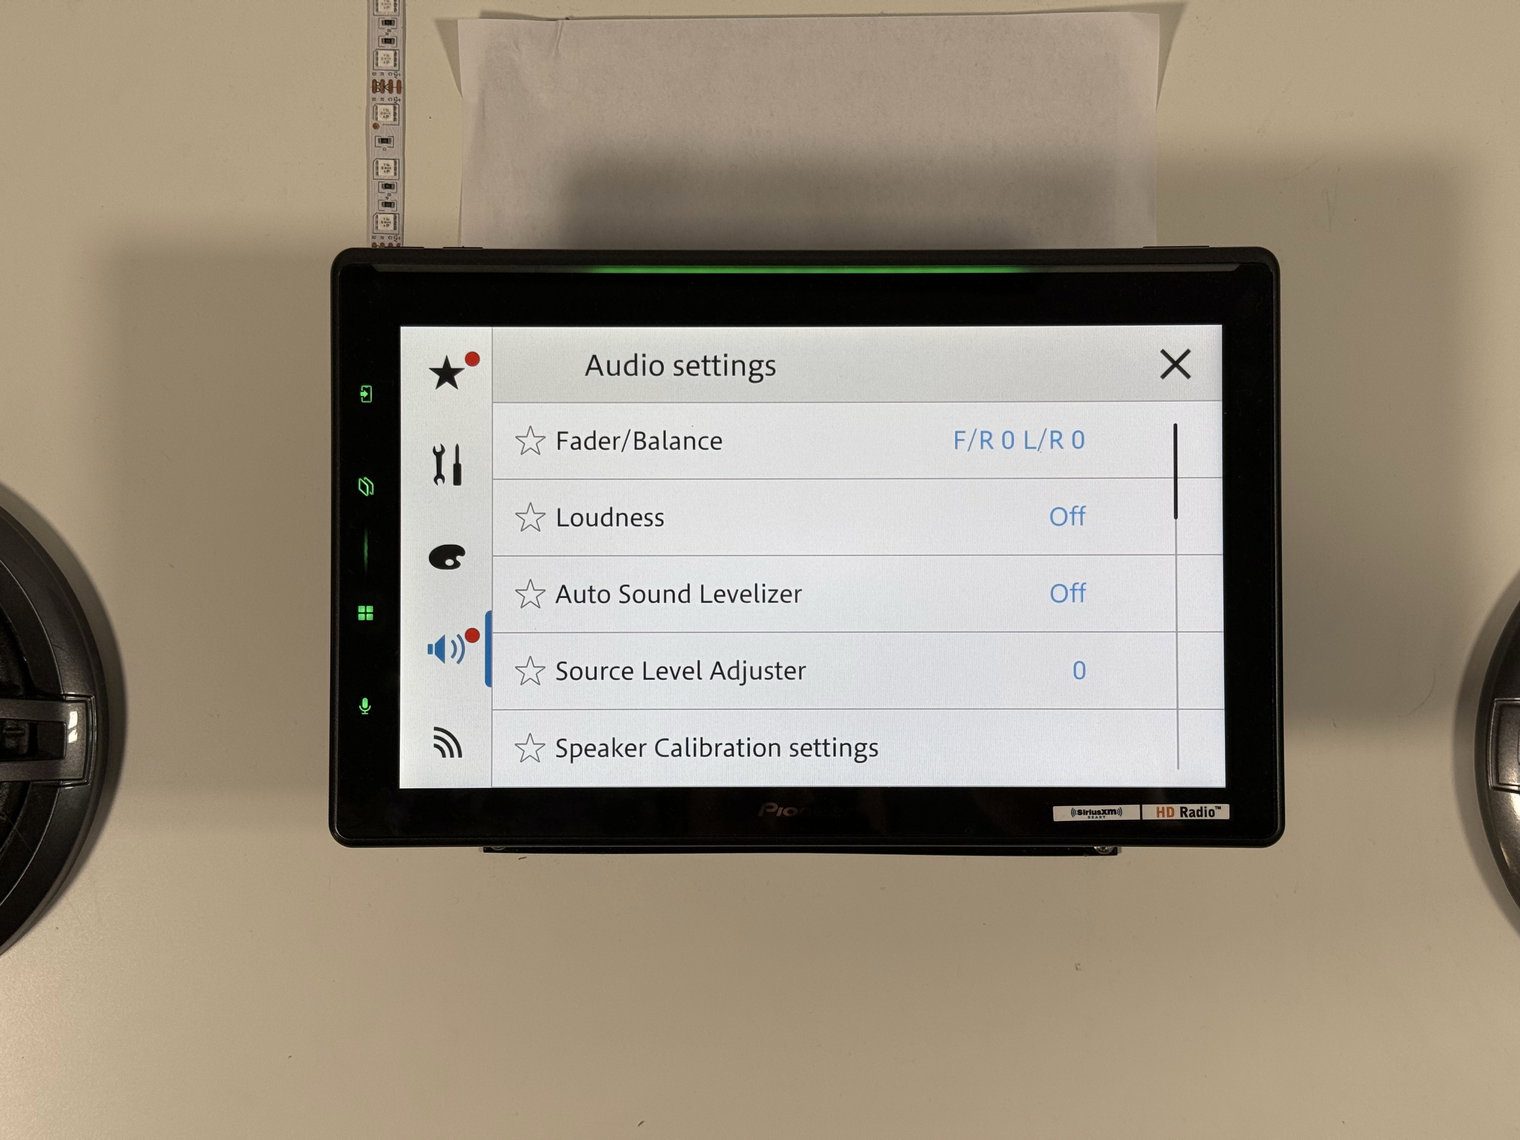
The EQ is a 13-band graphic — 50, 80, 125, 200, 315, 500, 800, 1.25k, 2k, 3.15k, 5k, 8k and 12.5k Hz at ±12 dB. There are a few EQ presets: Powerful, Natural, Vocal, Super Bass and Flat and two custom memories. What I like about the EQ, which is becoming more and more standard, is that you can select the preset that you like the best, then tweak from there by dragging one of the bands. It’ll automatically put you into a custom EQ and let you save it.
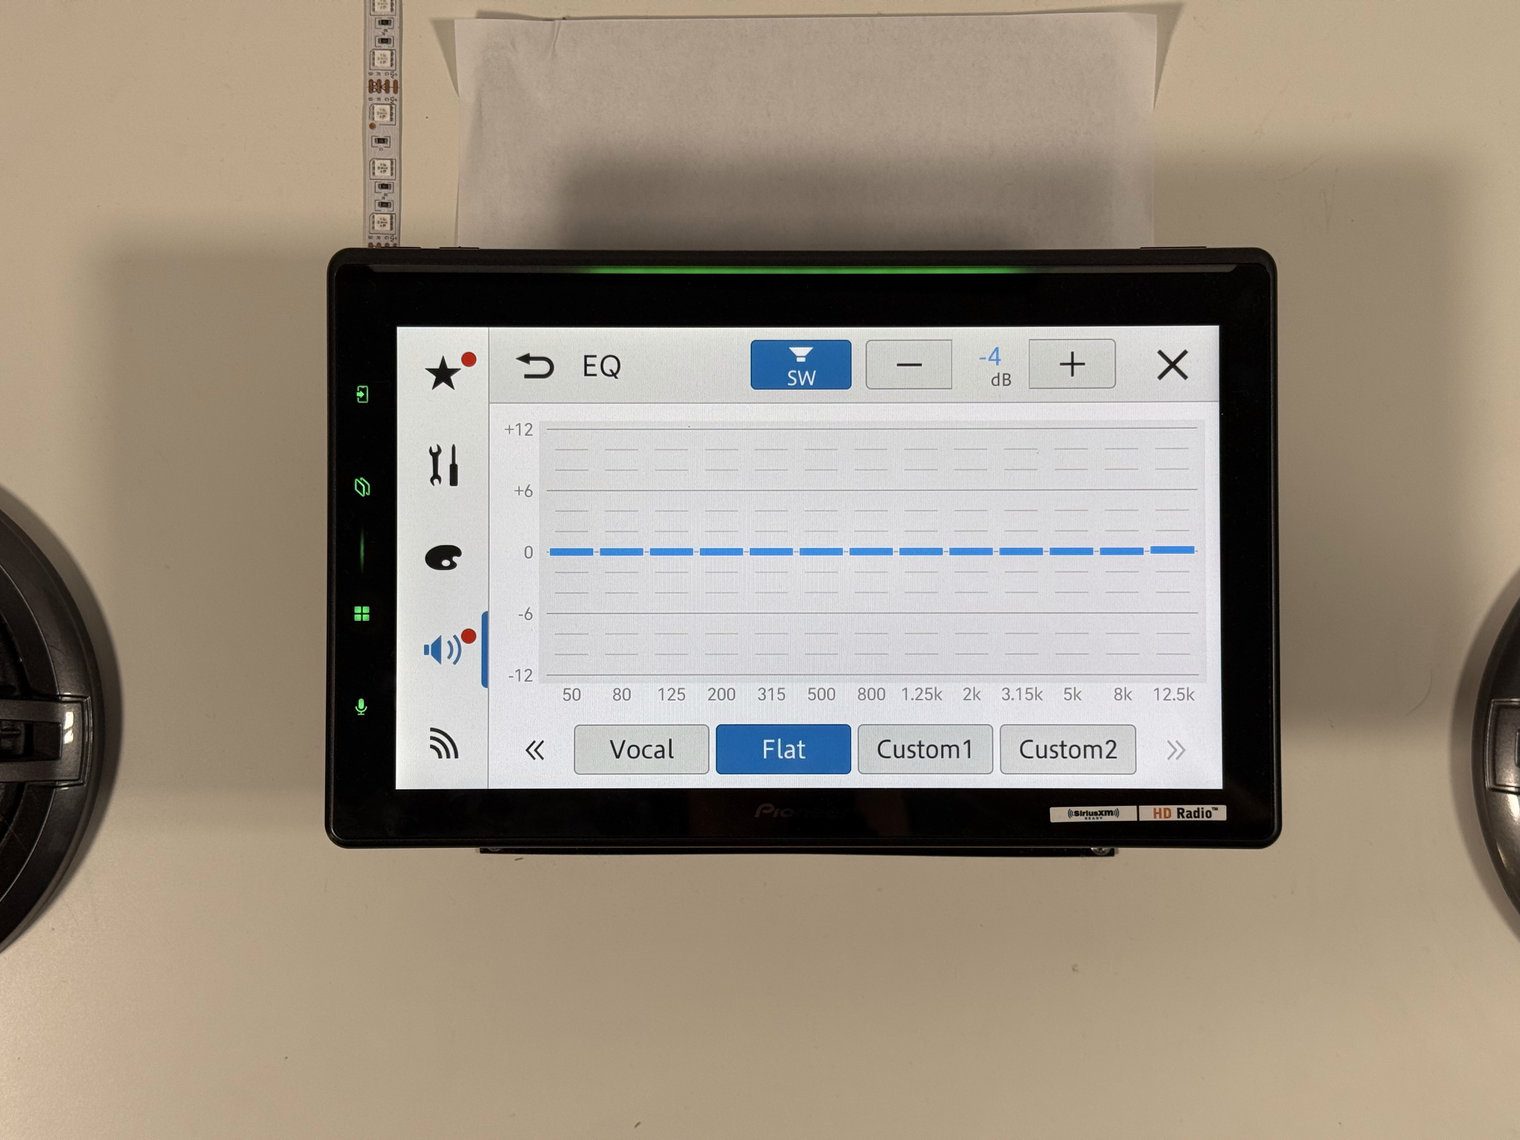
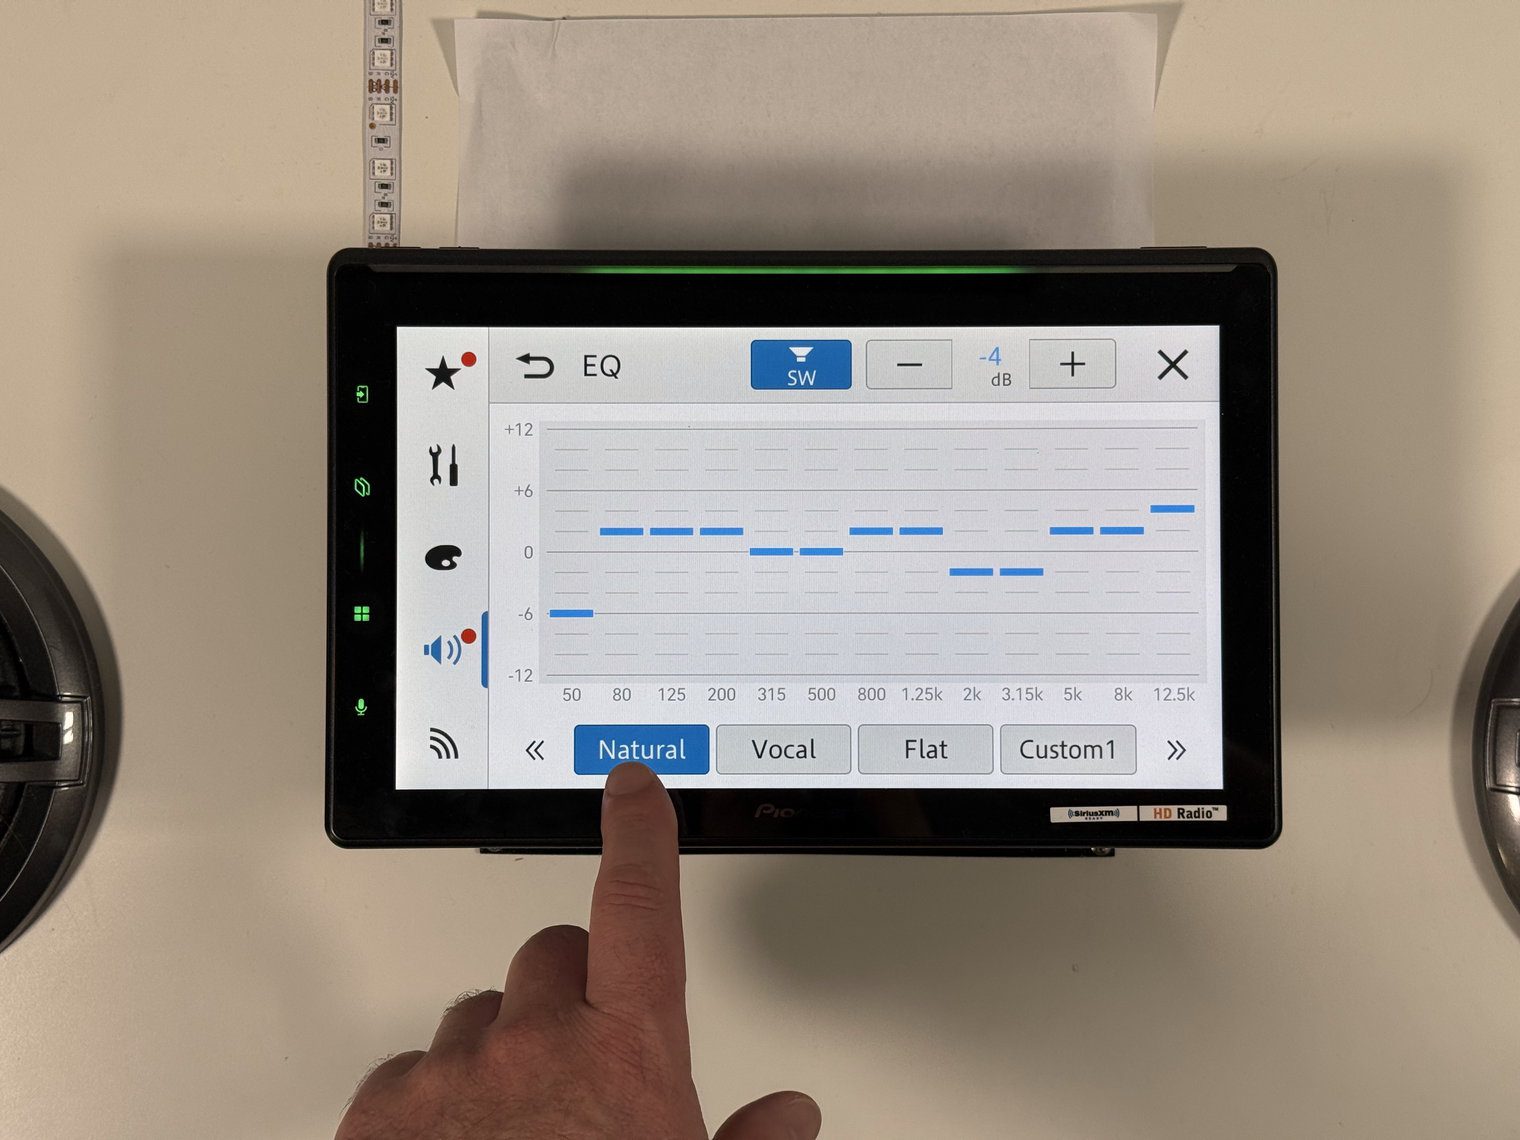
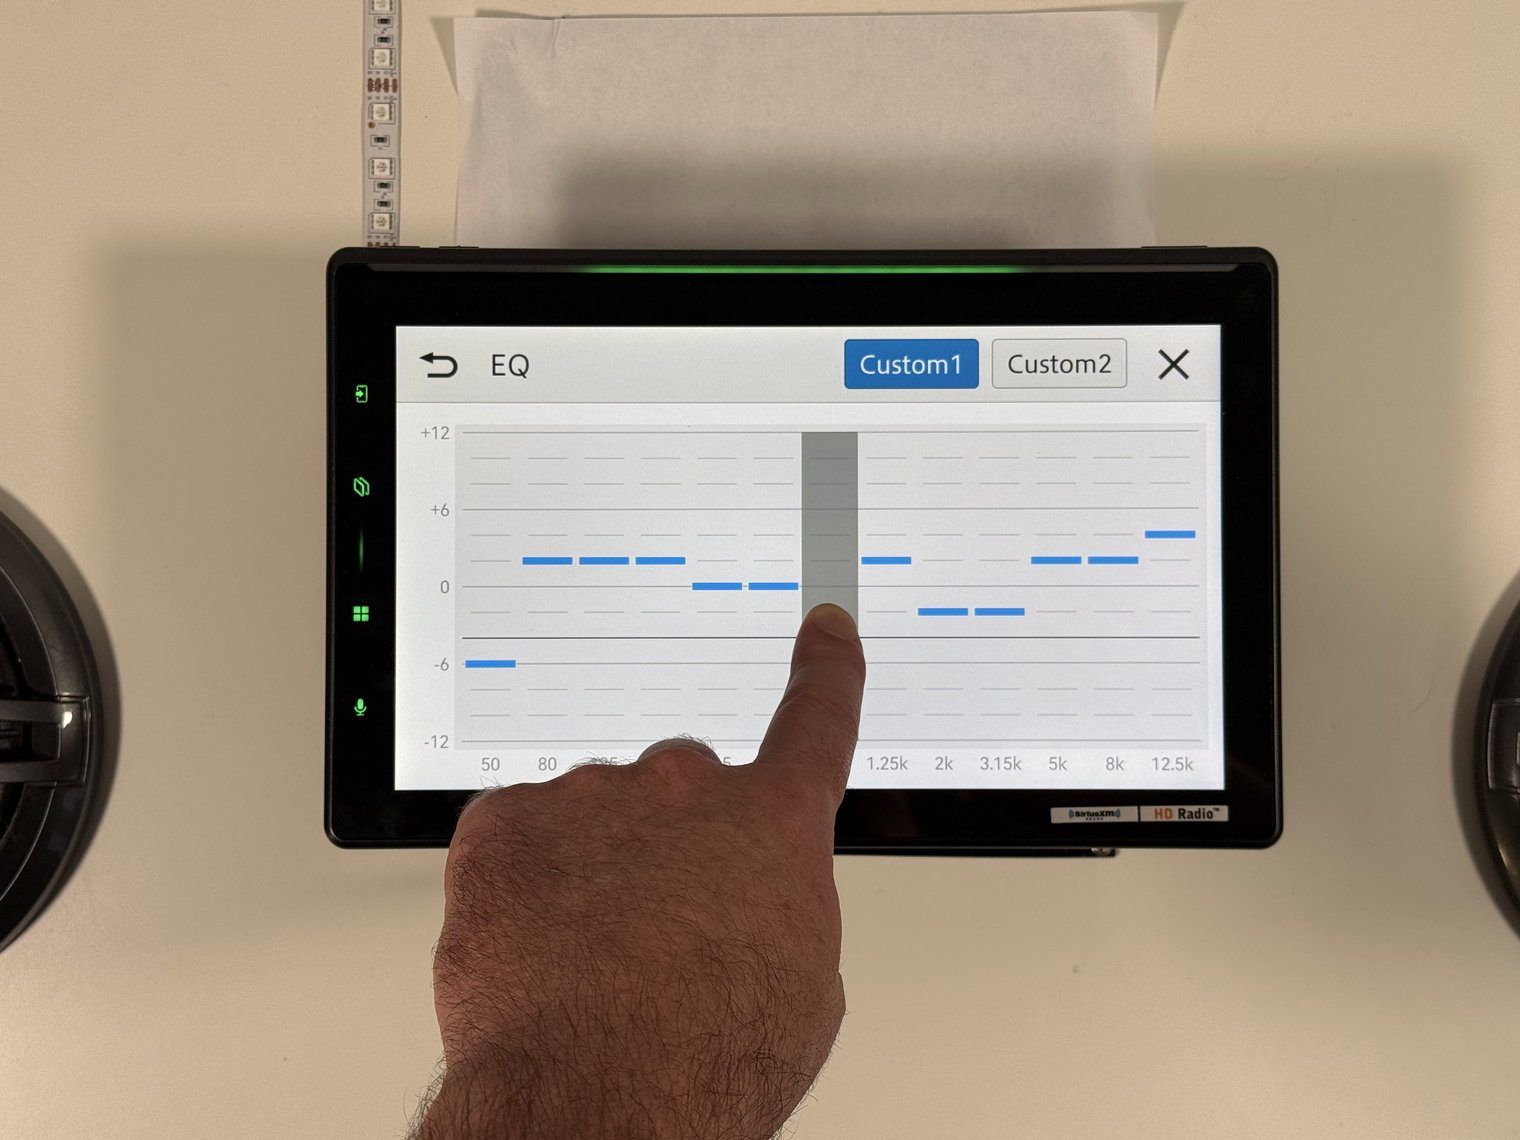
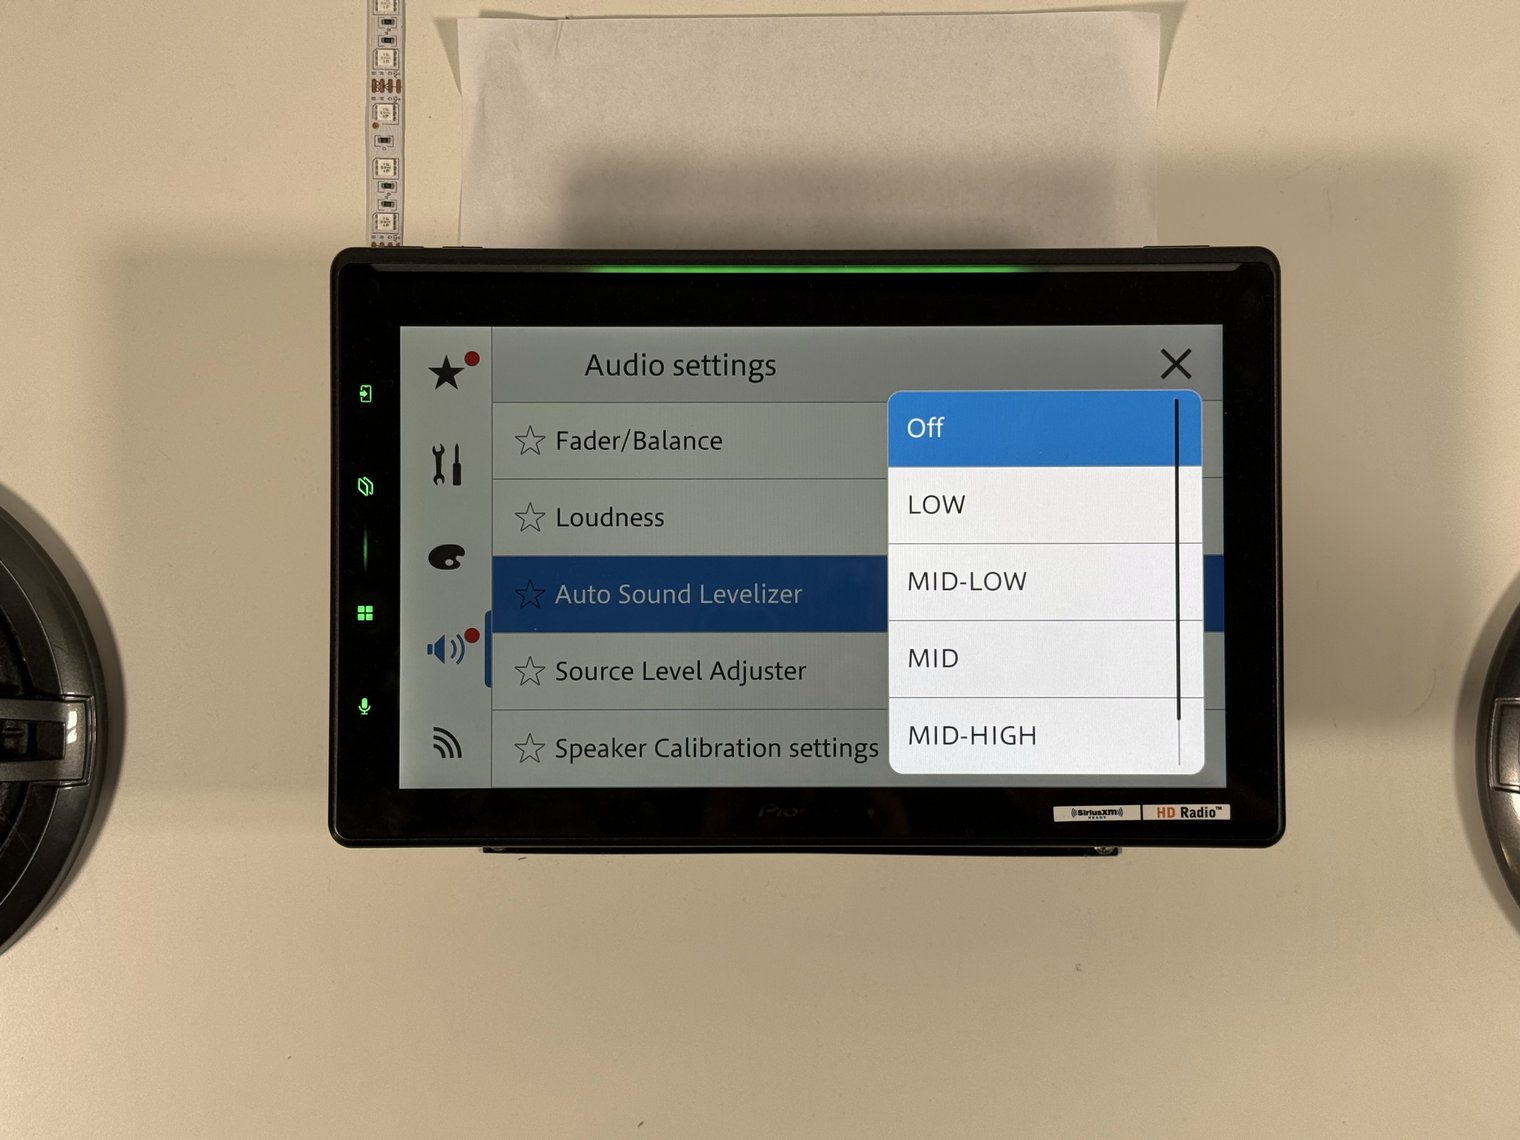
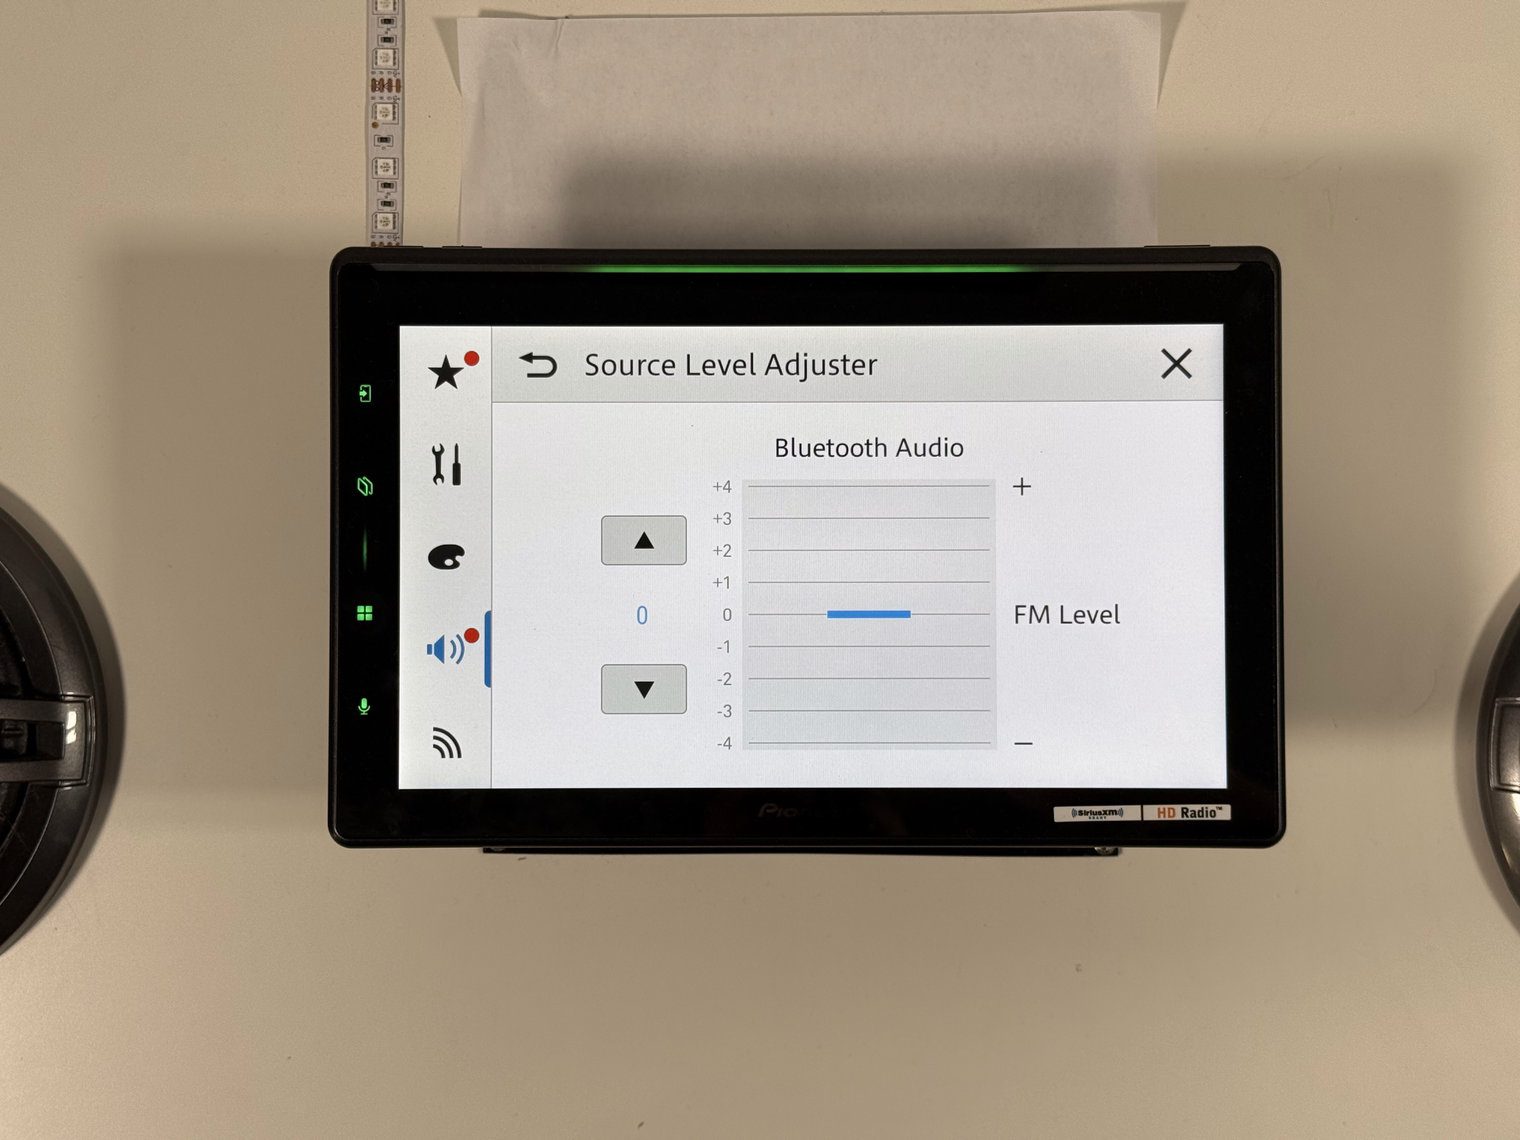

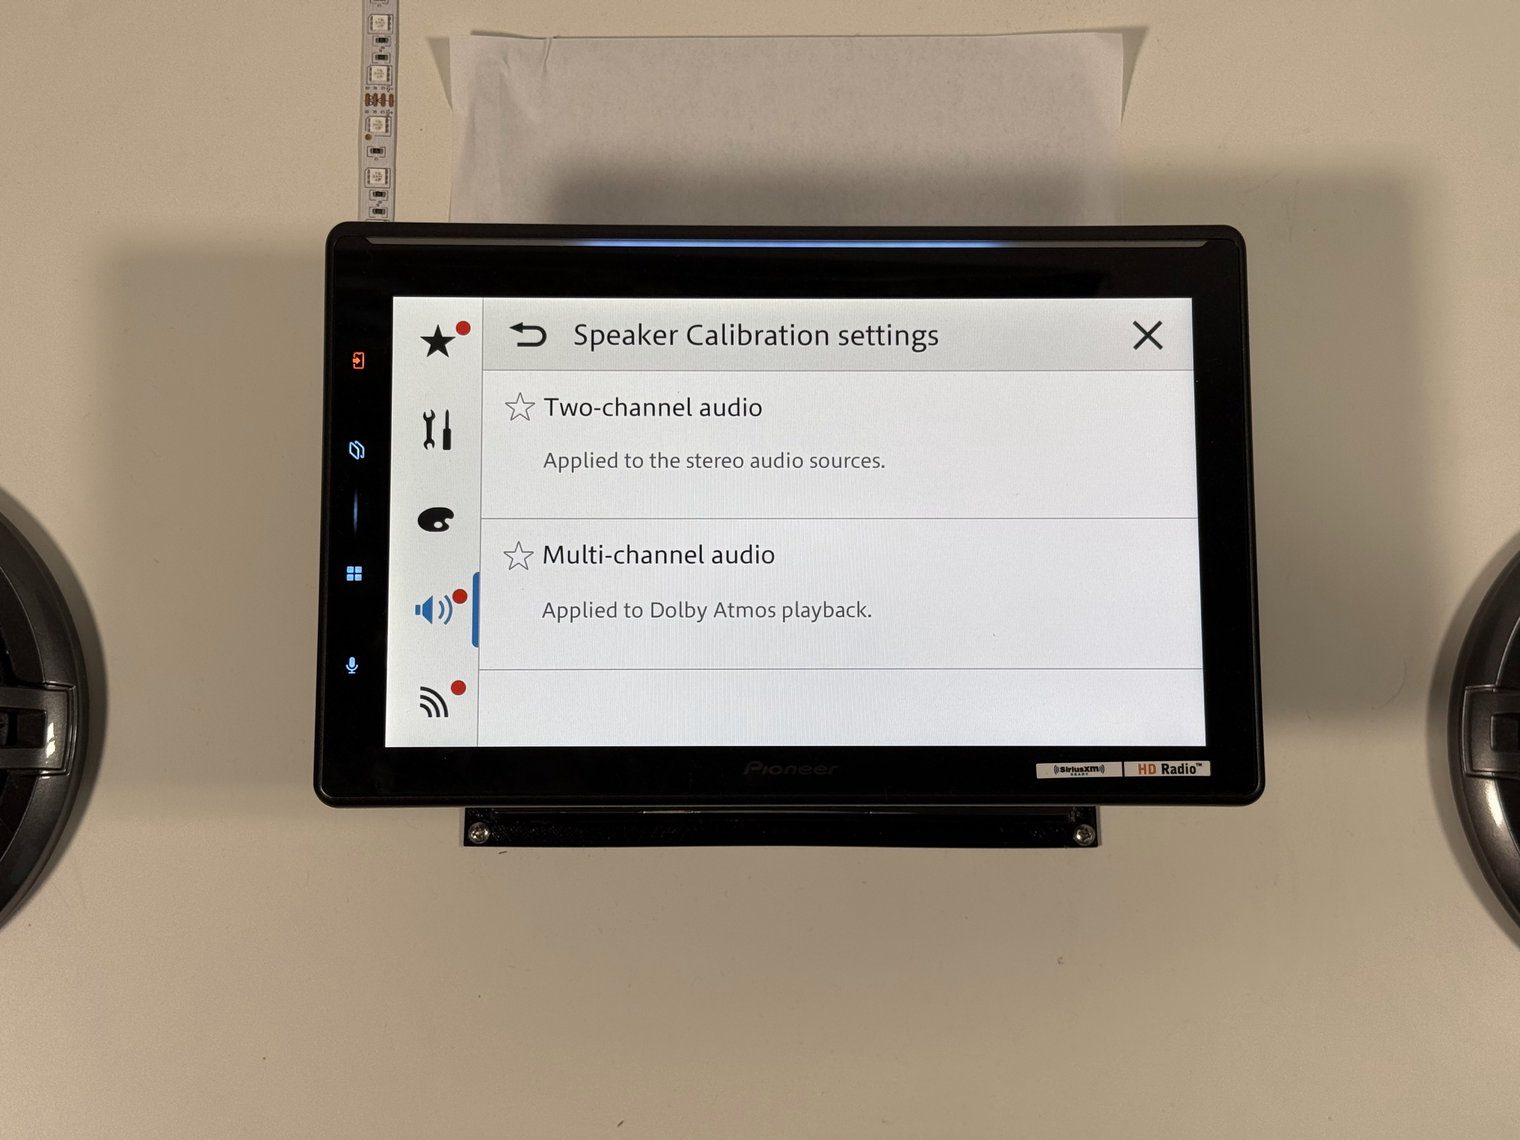
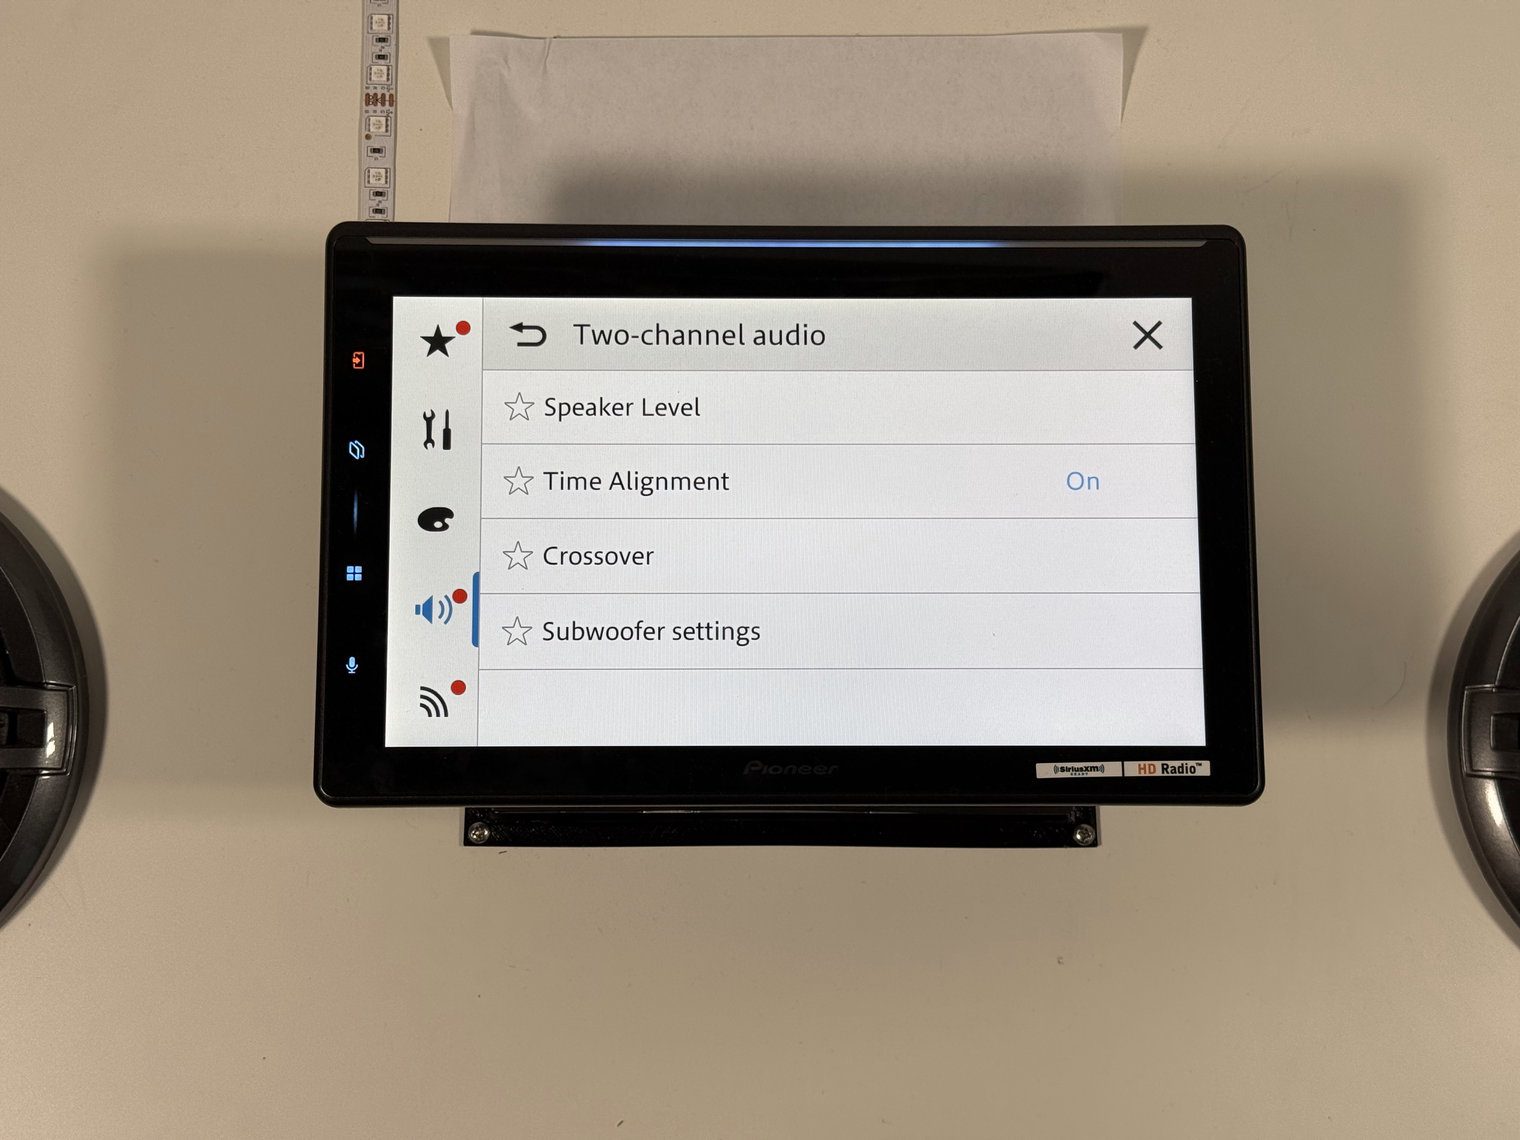
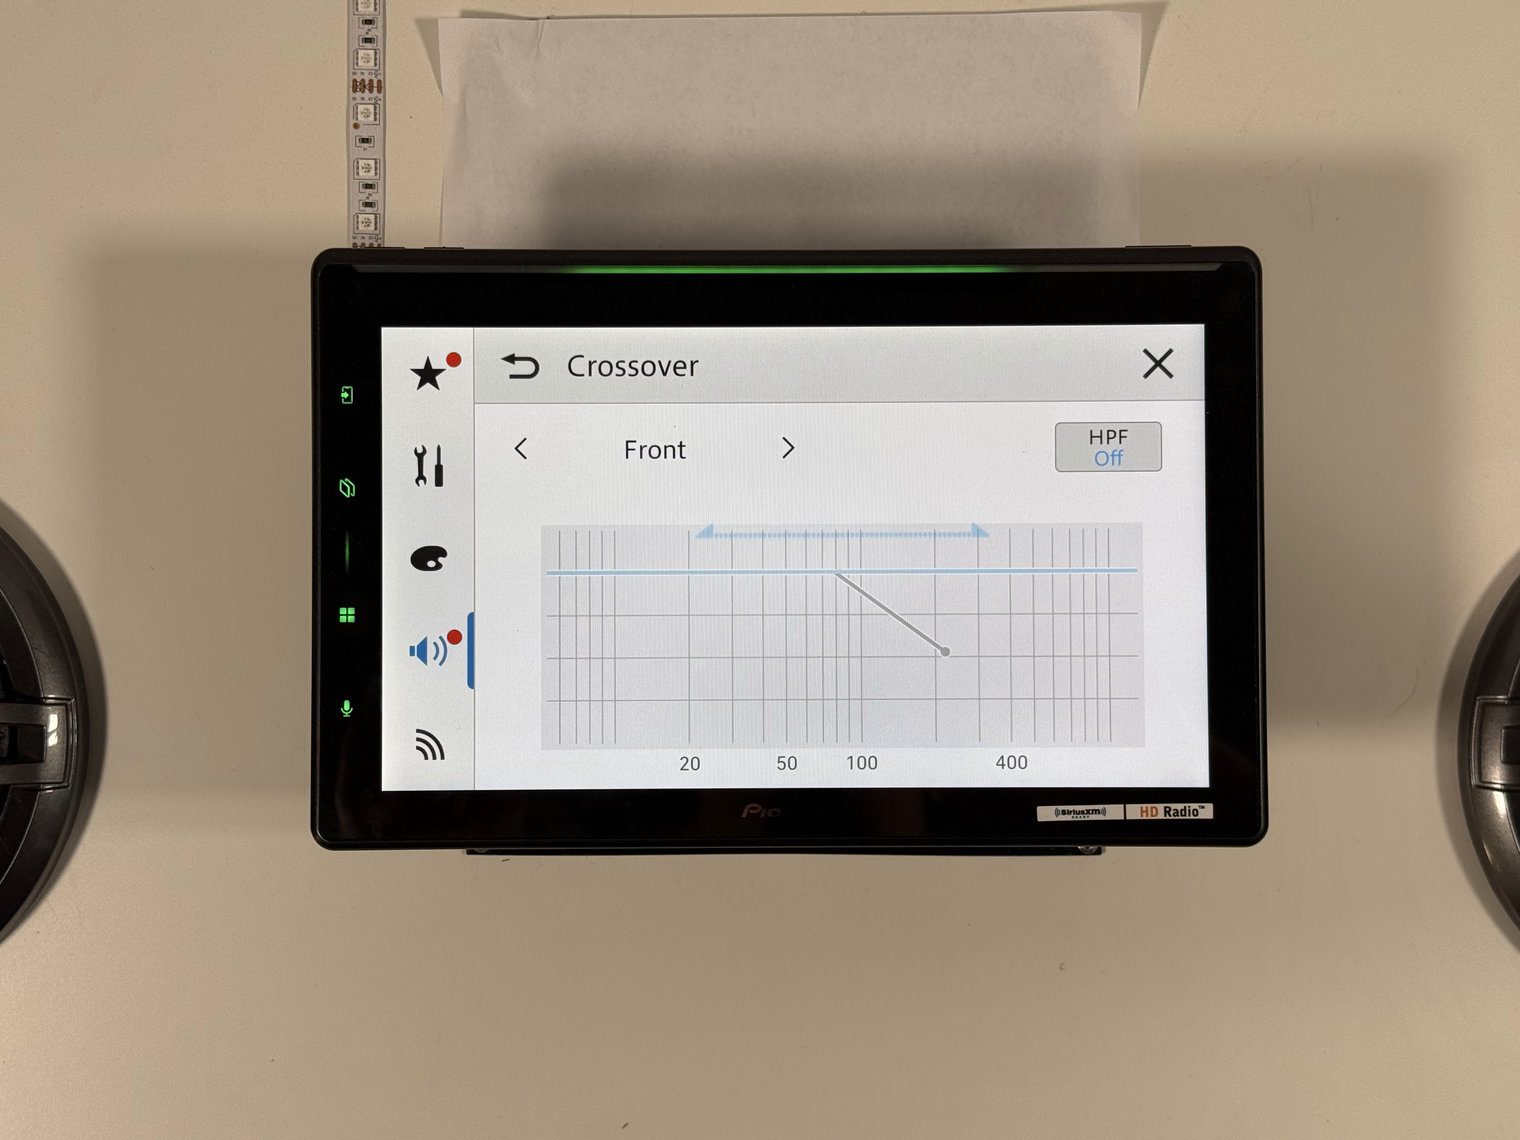


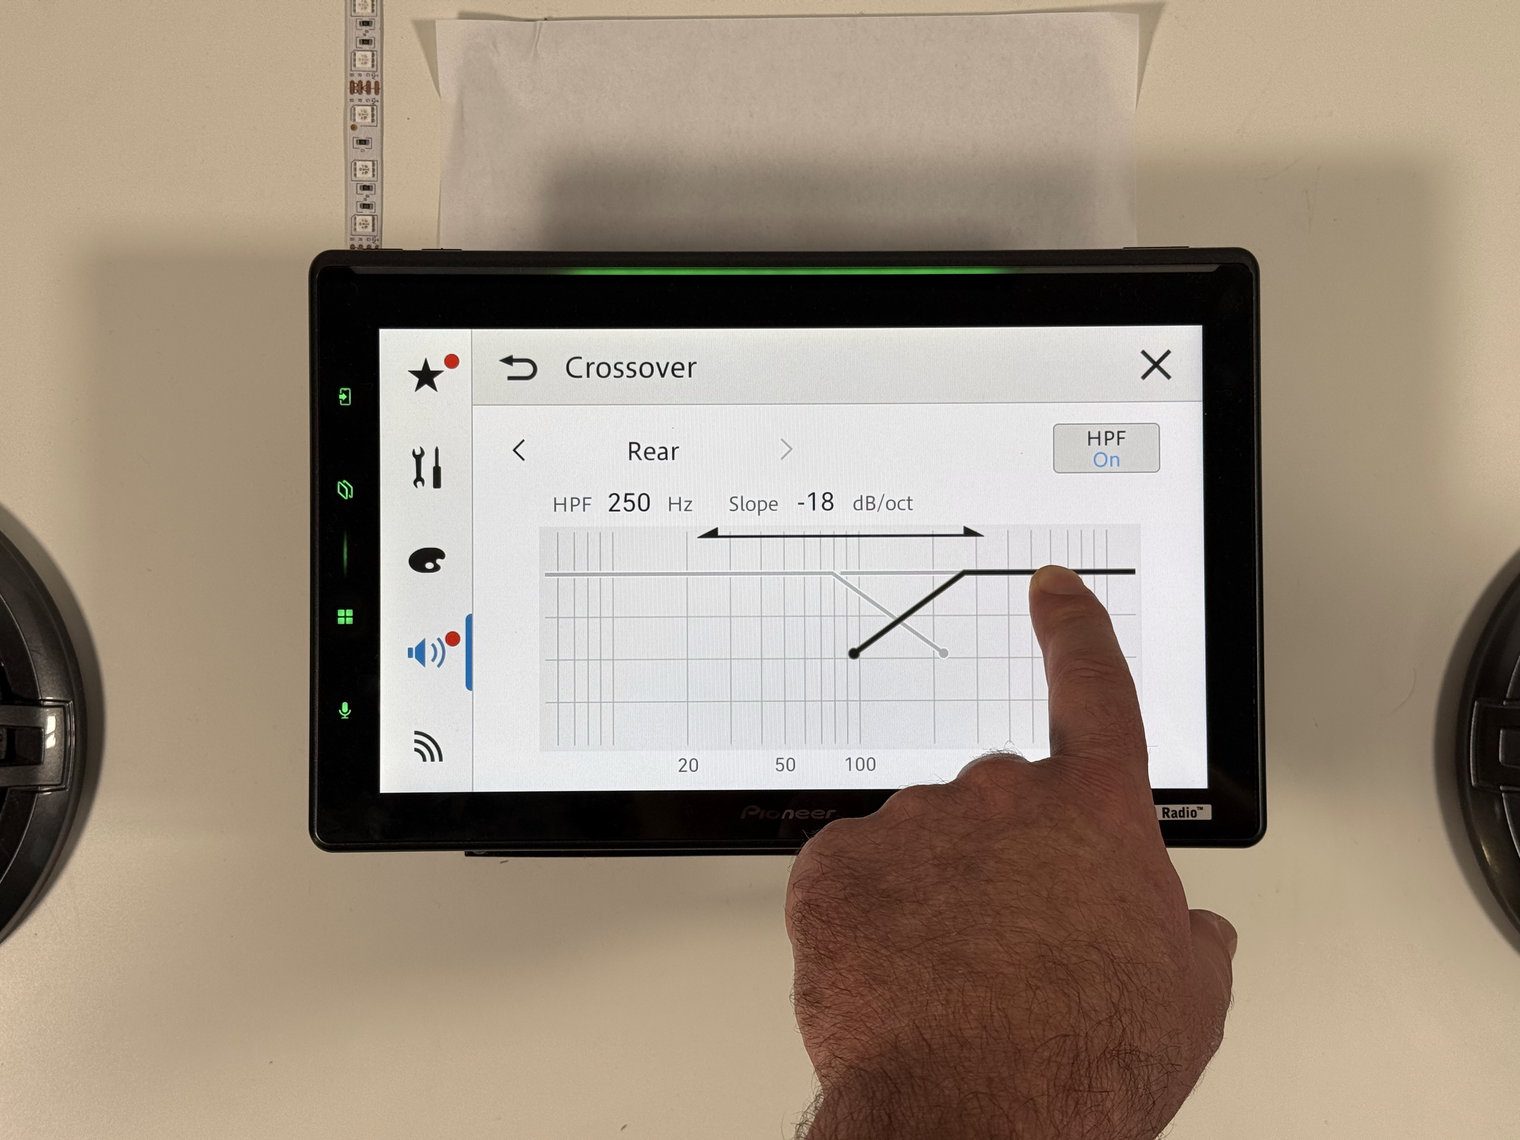
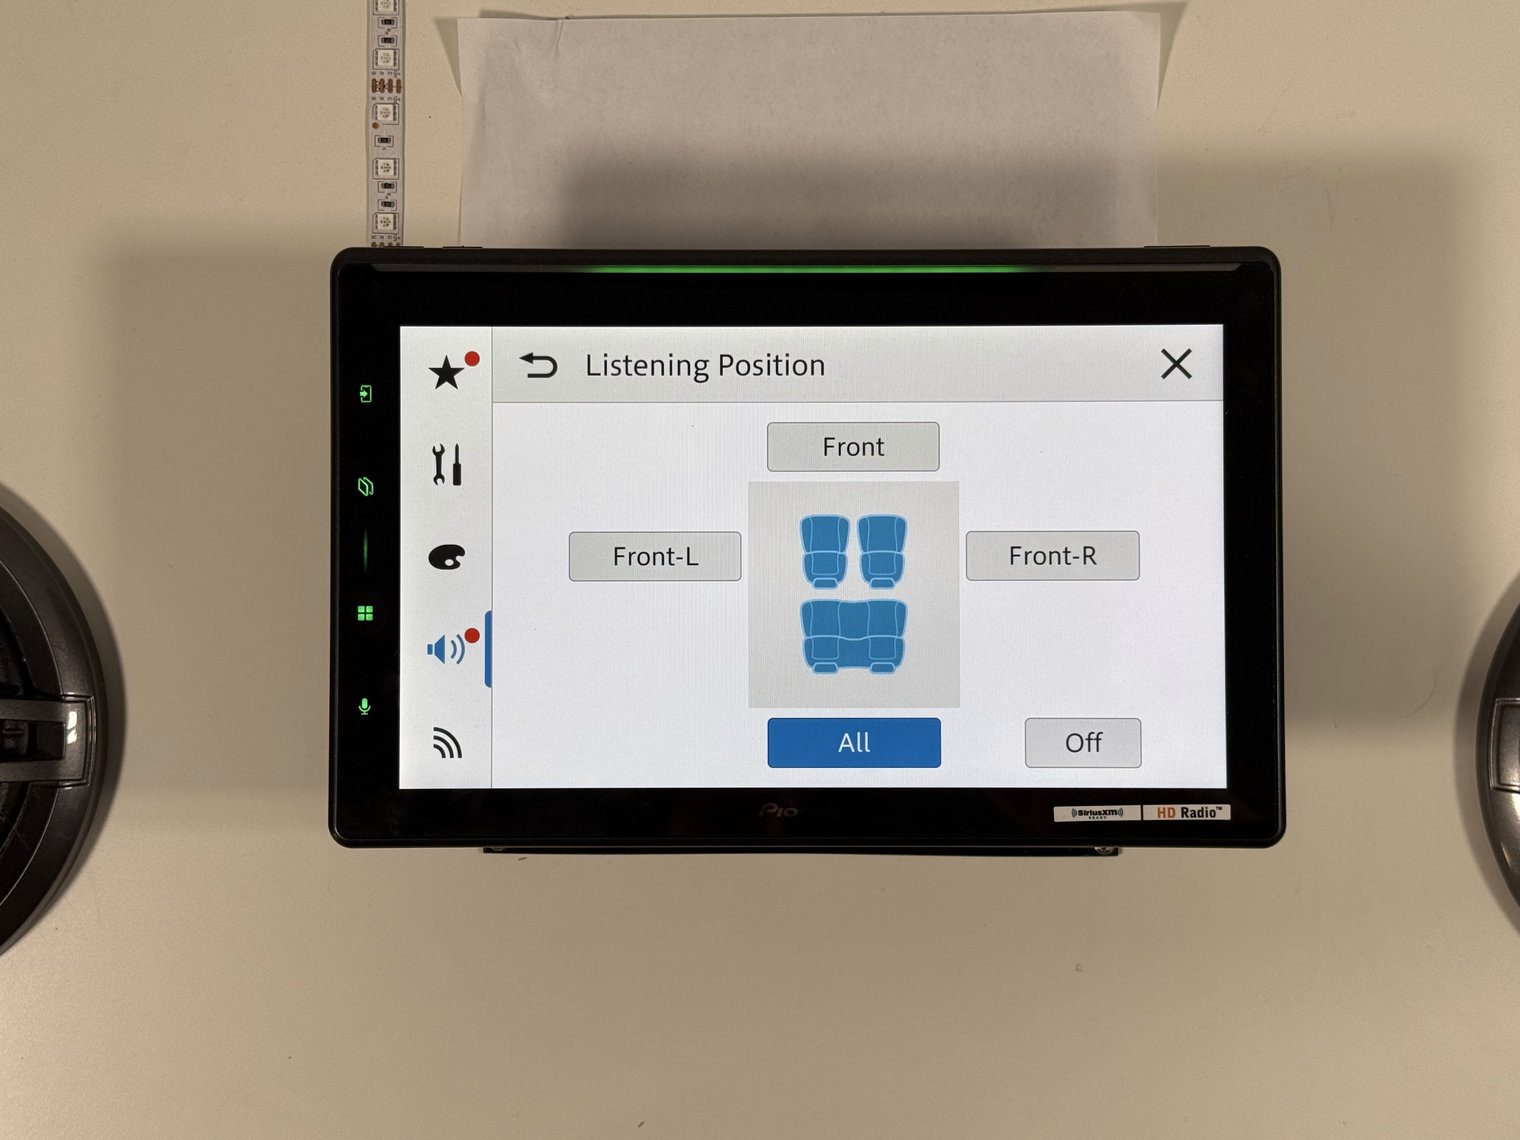
There is no parametric EQ, which is the single biggest tuning difference between this unit and the Sony XAV-9500ES, and it is the trade the Autotuning is meant to cover. Time alignment is automatic from the calibration or manual from 0 to 200 inches per speaker with All, Front-Left, Front-Right and Front listening positions.
The crossover has two modes. Standard gives you a high-pass for front and rear and a low-pass for the sub at 50, 63, 80, 100, 125, 160 or 200 Hz with slopes from 6 to 24 dB per octave, plus sub phase. Network mode turns the three preout pairs into a three-way active crossover – tweeter high-pass from 1.25 to 12.5 kHz, a mid band-pass from 26–250 Hz on the bottom to 1.25–12.5 kHz on the top, and a sub low-pass from 26 to 250 Hz – all with slopes to 36 dB per octave. If you are running an active front stage on amplifiers without an external DSP, that is a real feature at this price. It’s nice to see these units finally combining a usable interface and DSP functionality directly into the UI.Other noteworthy features: Advanced Sound Retriever, loudness, bass boost, per-source level adjust and per-speaker levels to round it out.
One thing I asked Pioneer directly, because it decides how you build a system around this unit: the RCA preouts carry the fully Atmos-rendered, Autotuned signal. So an external four-channel amplifier on the preouts gets the same processing the built-in amp does. What Pioneer does not recommend is an external DSP downstream – in their words, additional processing after the unit's output can interfere with how the Atmos rendering is calibrated and degrade the spatial effect. If you already own a processor and tune by hand, that is the clearest reason yet to look at the 9500ES instead.
Radio and SiriusXM
Pretty standard here – HD Radio is built in with multicast, station text and album art, on Pioneer's Supertuner IIID. SiriusXM works with the SXV300 tuner, sold separately and not tested here.
Customization
One cool feature that I haven’t seen other manufacturers do quite like Pioneer right now is Light and Dark interface modes. You can have it do this manually or by the headlight wire and it’ll change the entire interface from a light mode to dark. I think it’s pretty common on most of the new vehicles but nice to see them open up the configuration and let users select directly.
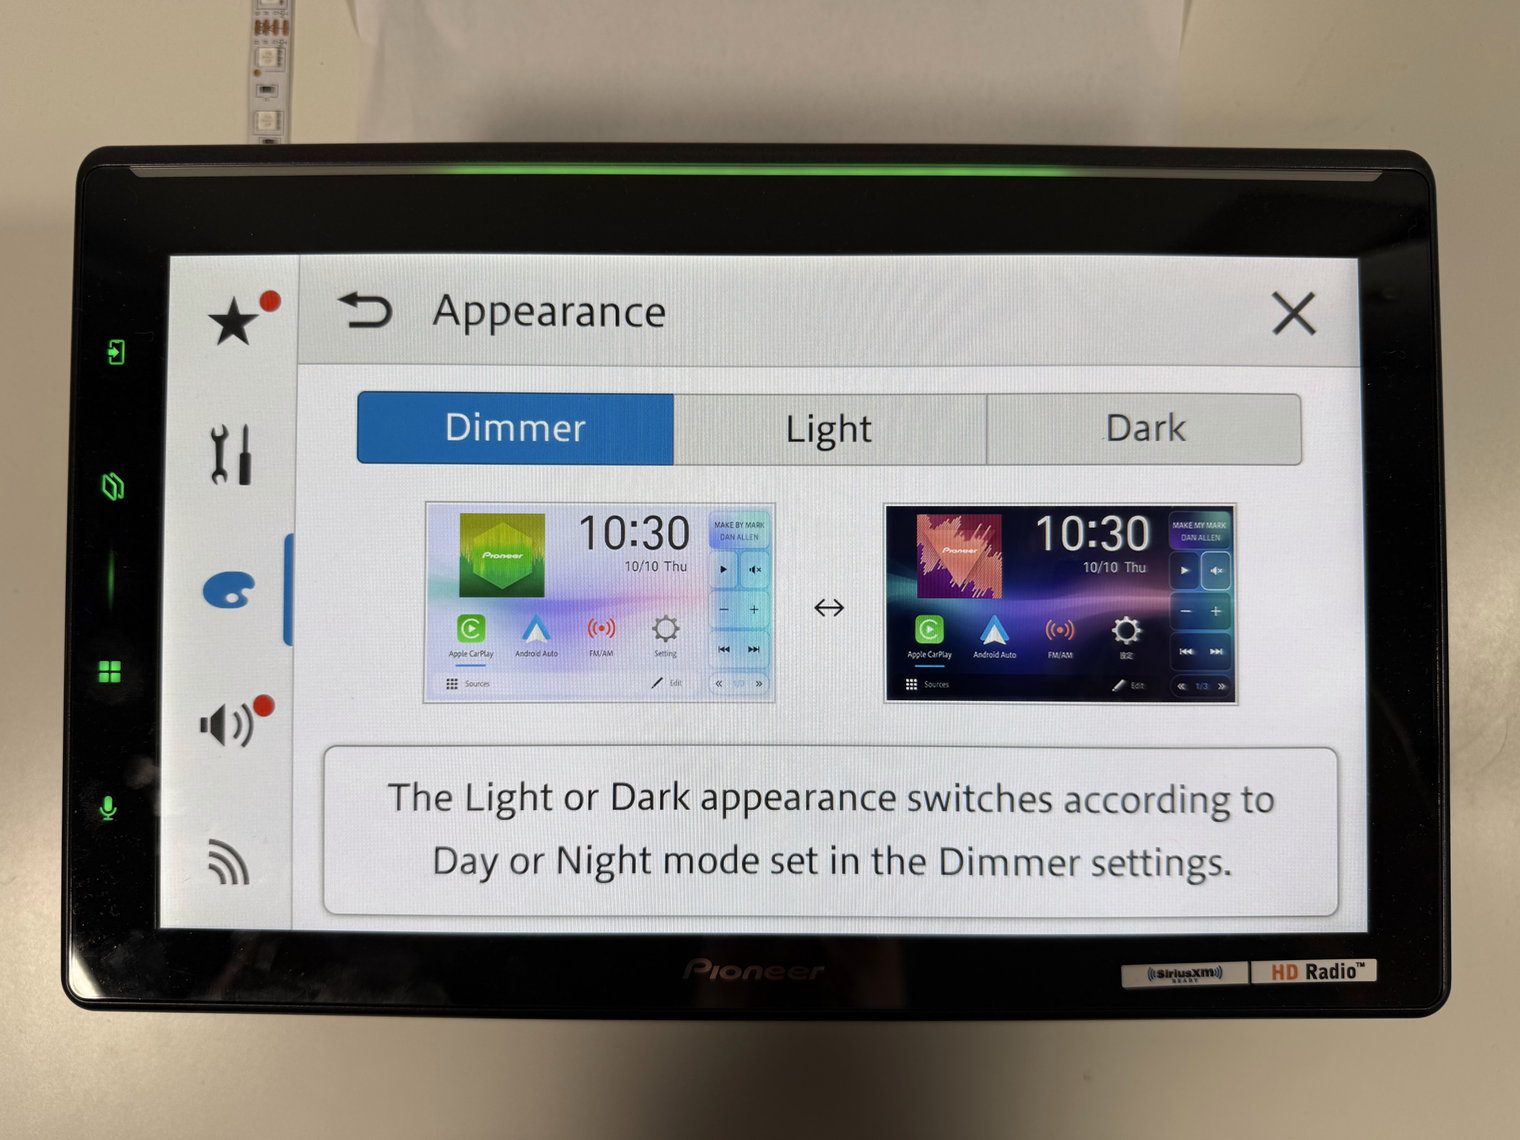

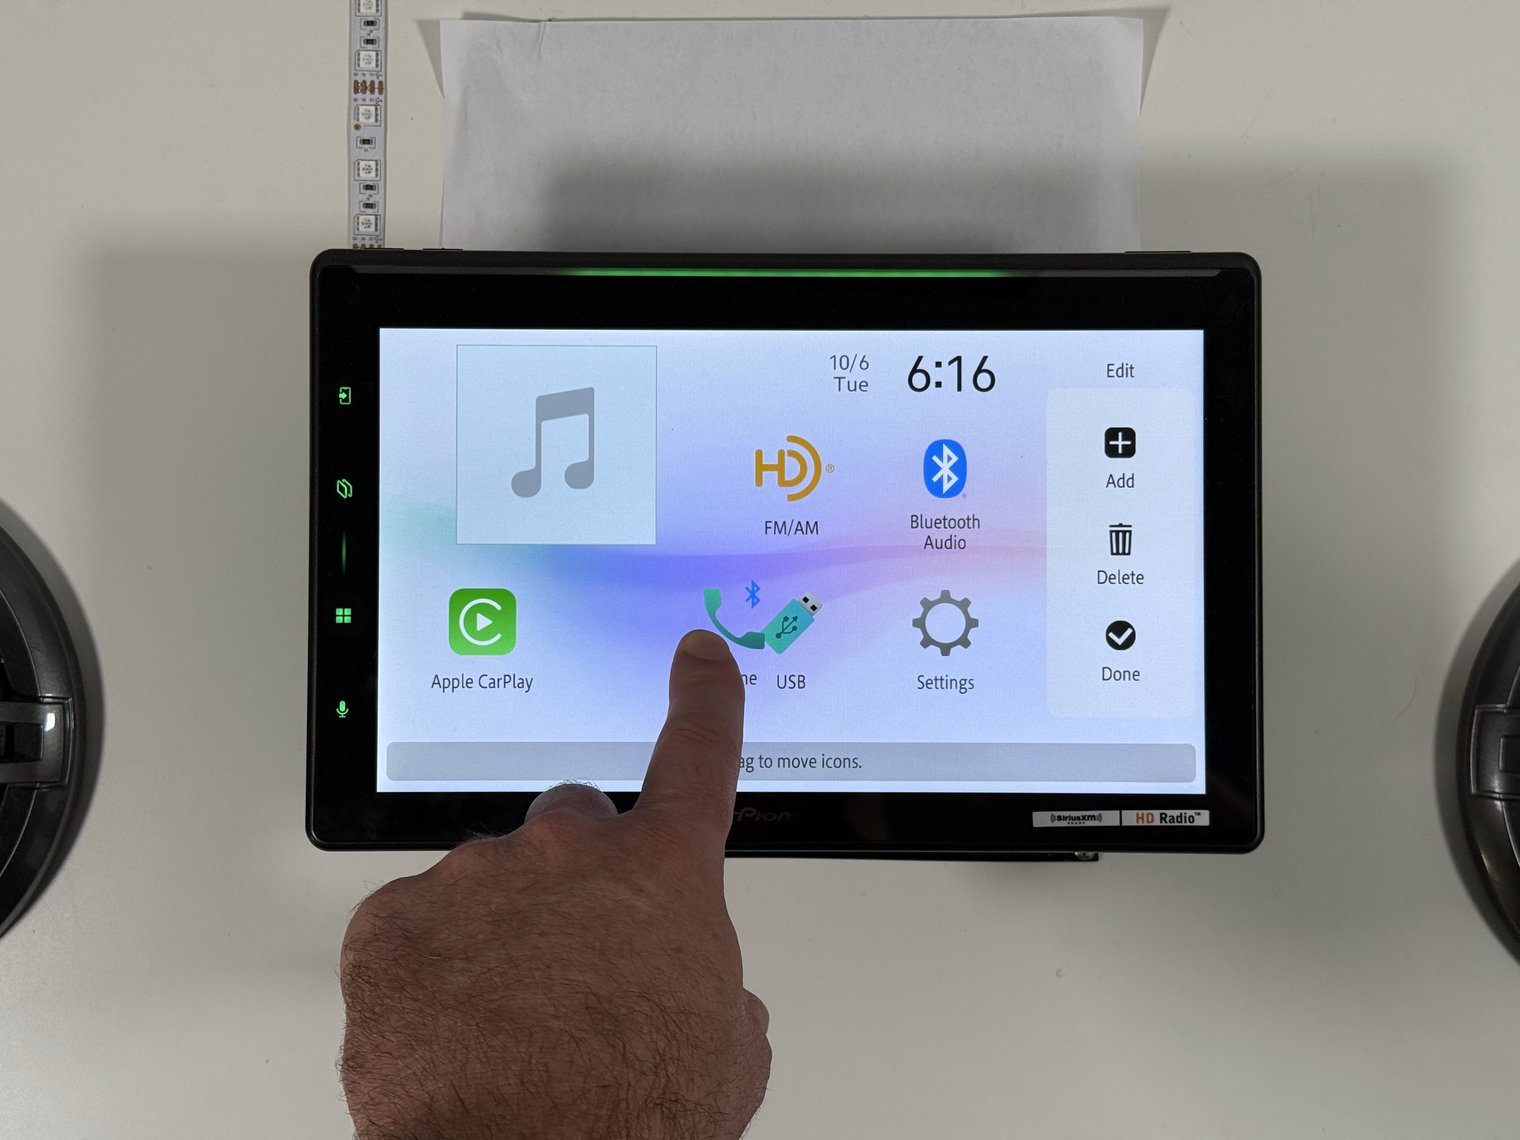
Home-screen widgets and layout editing were great, easy to use. You can select from various sources, move them around, add and remove. Most of the reputable aftermarket units now have this feature.
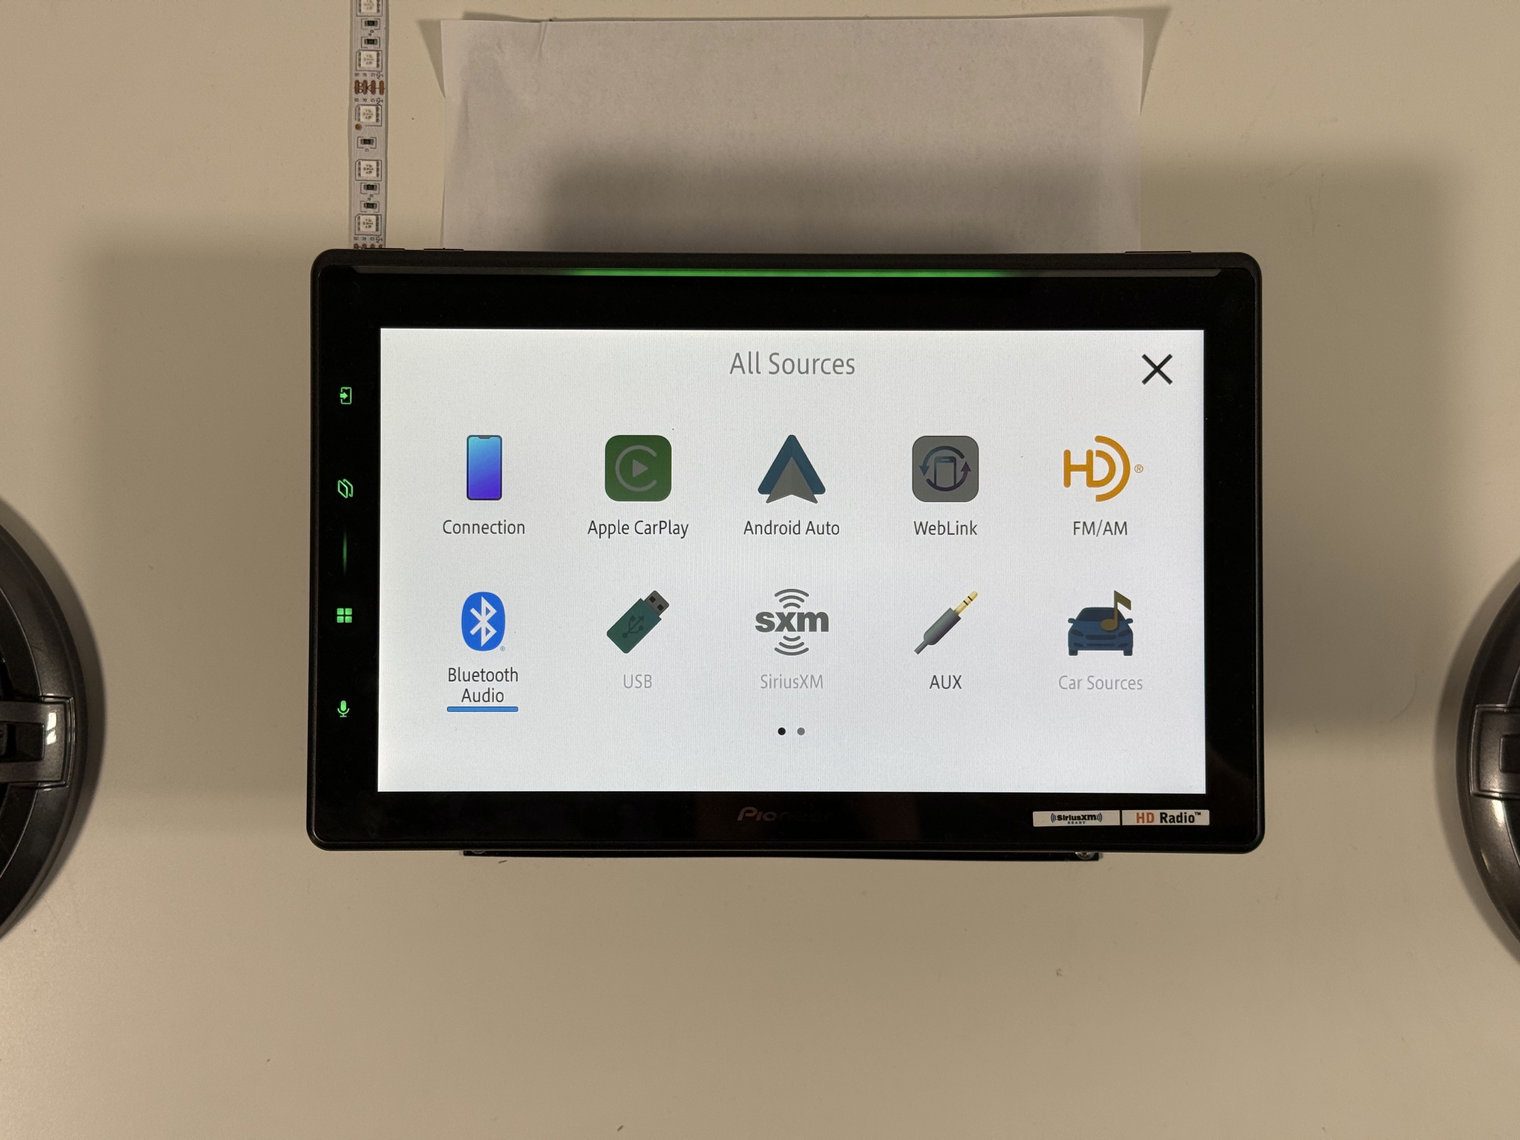
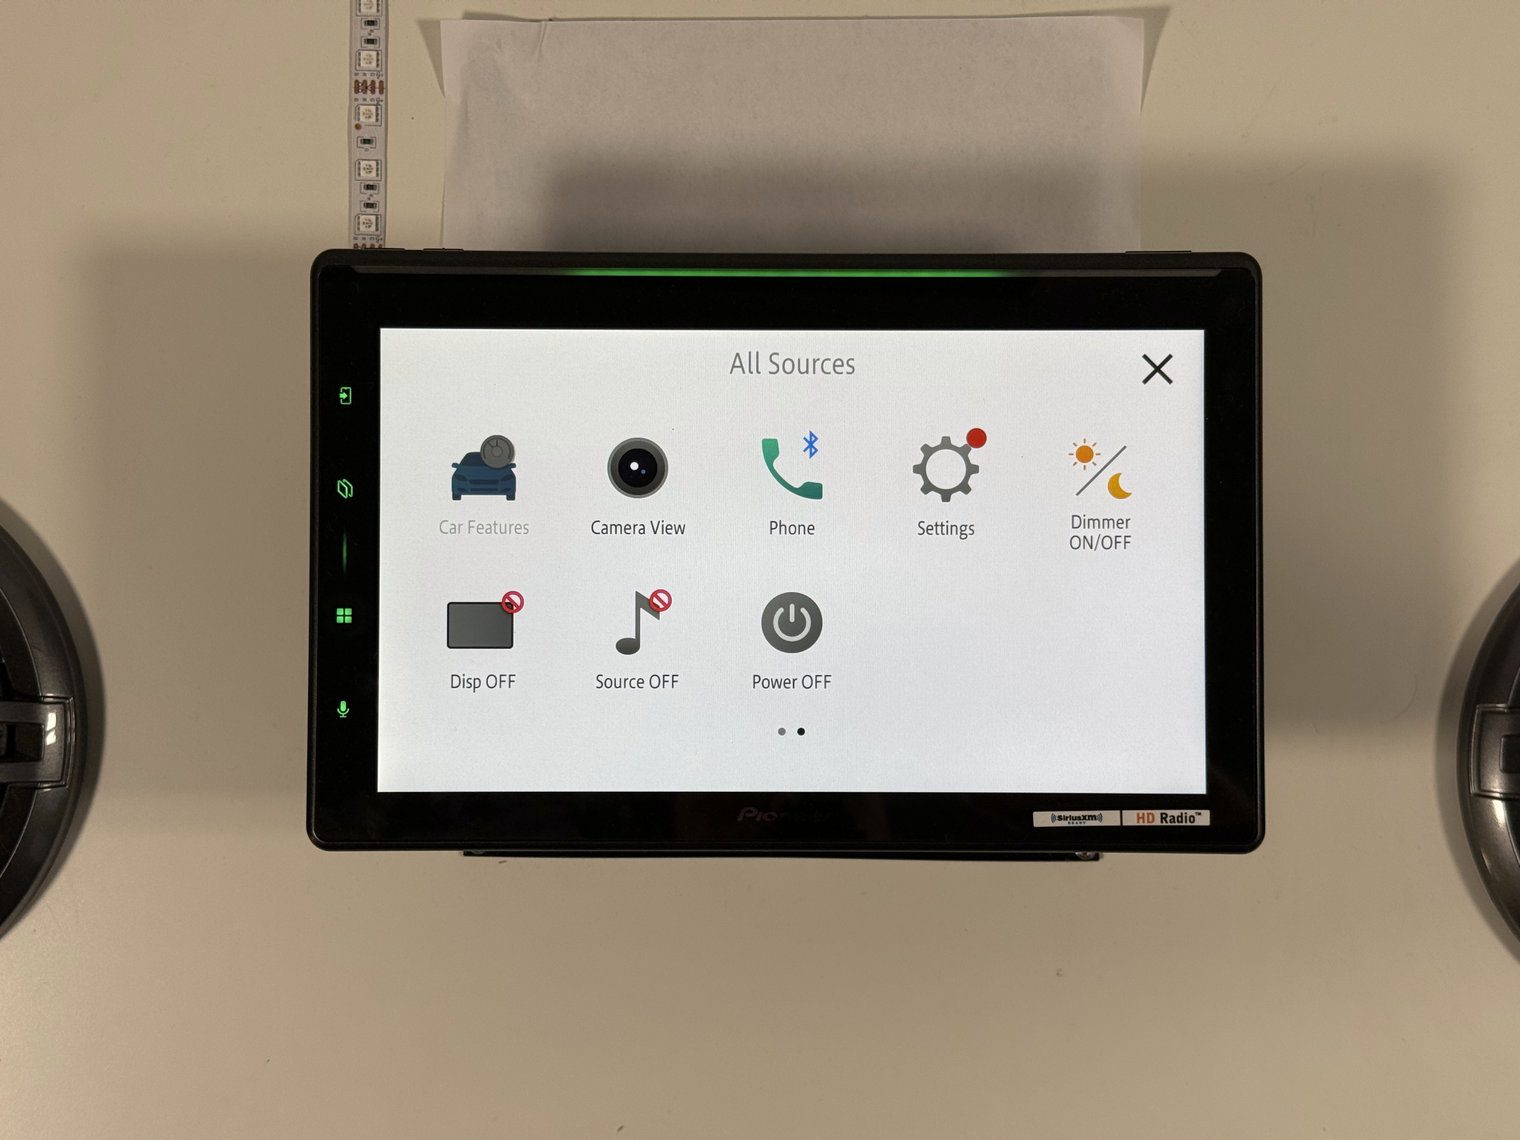
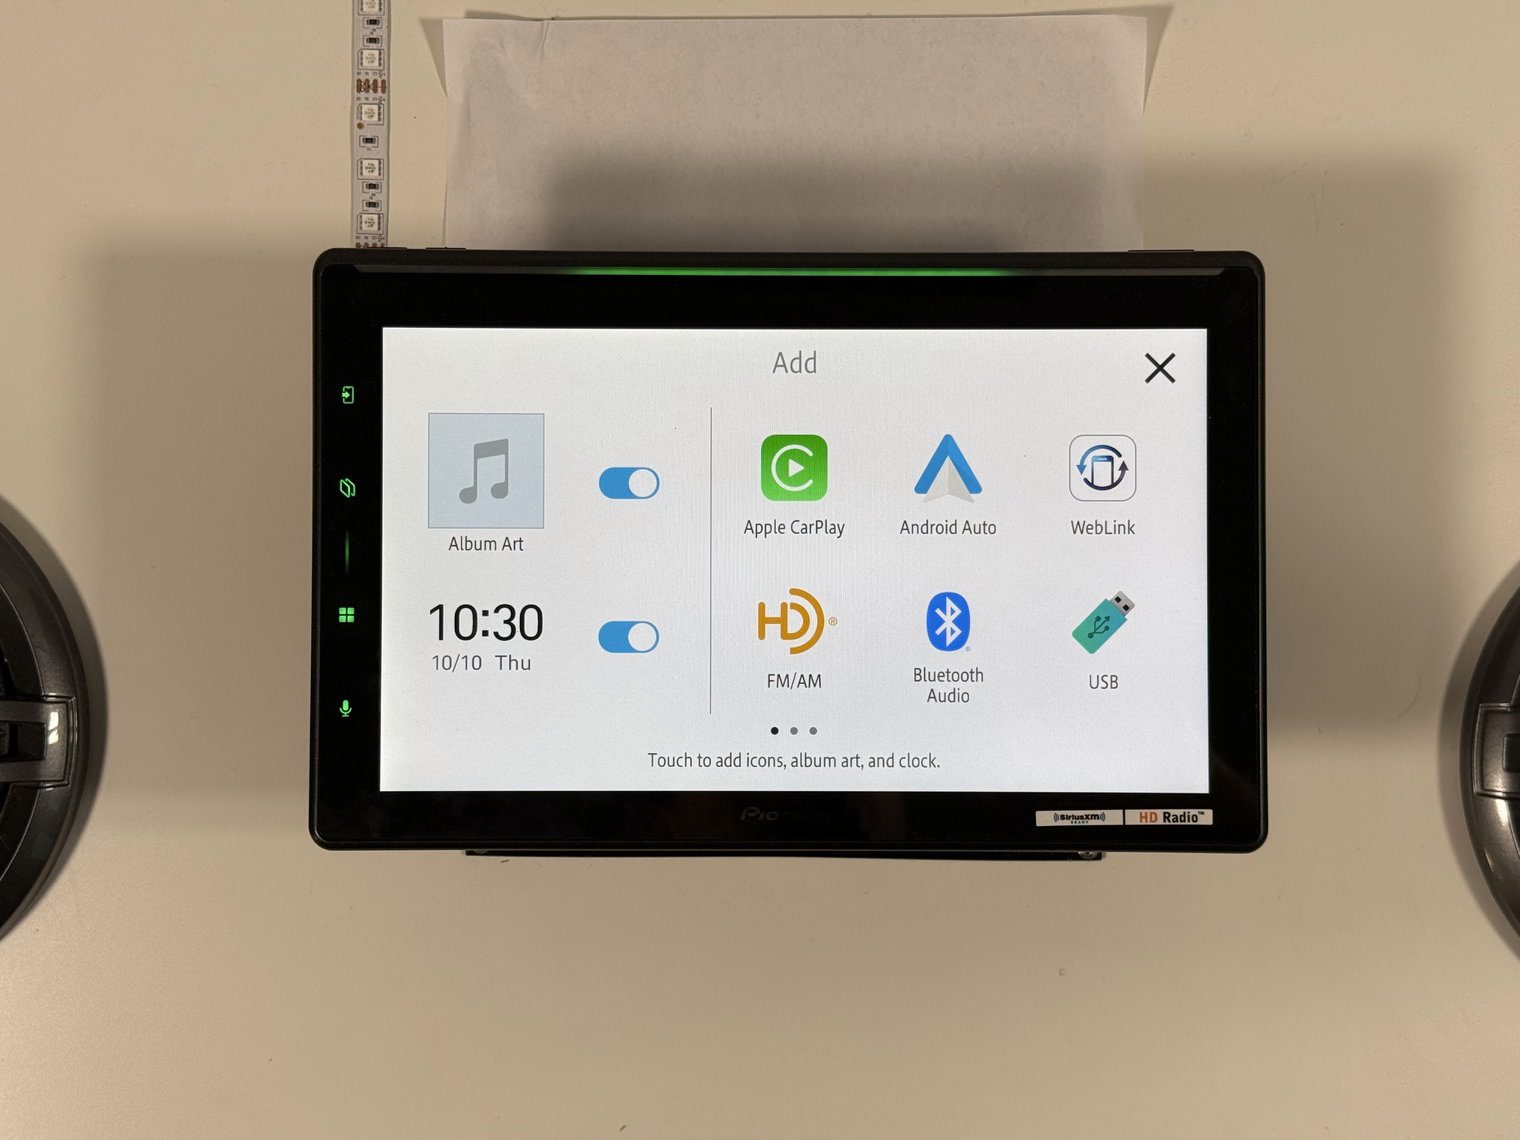
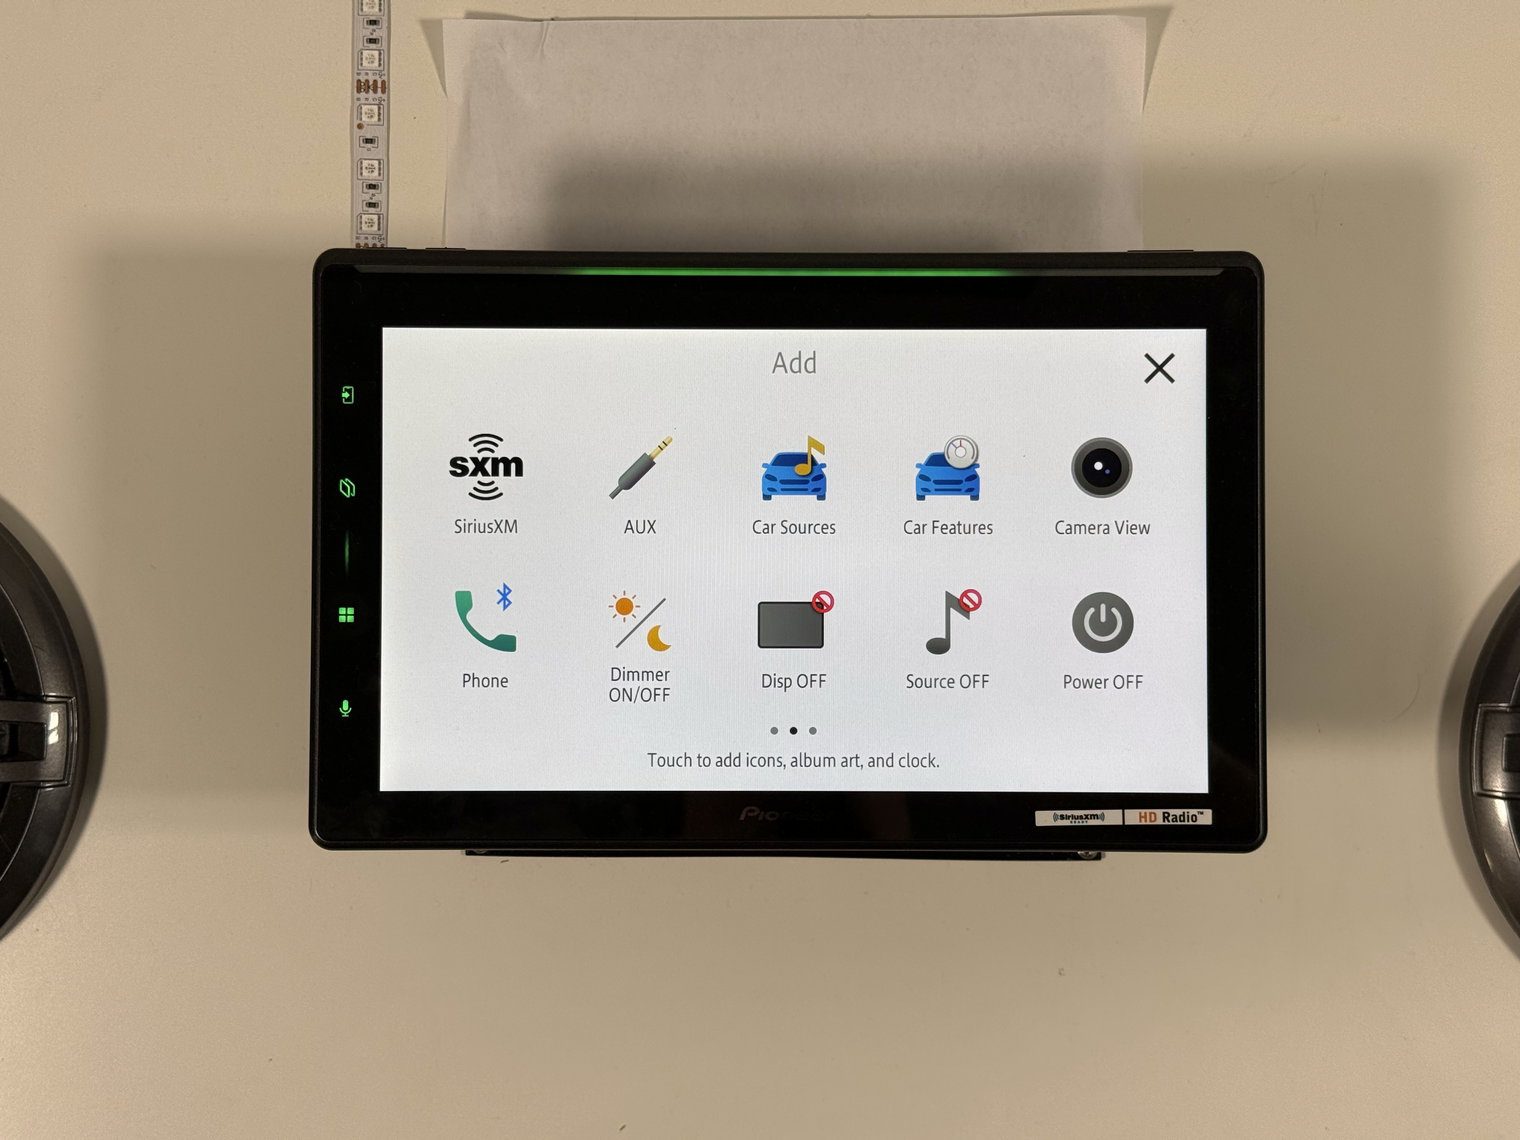
Couple others, most of which I already touched on at some point:
- Key illumination in six modes or a custom color
- Wallpaper from USB or PxLink
- Dimmer
- The clock widget on the home screen can show weather when the phone shares a connection
Steering-wheel controls and iDatalink Maestro
A wired-remote input on the rear panel takes a steering-wheel adapter, and if you skip the vehicle-specific module you can map each button yourself in the settings (not available for me since I didn’t have any vehicle connected). The unit is also iDatalink Maestro RR and RR2 compatible, which in supported vehicles keeps factory features and can display climate, gauges, park assist and tire pressure on the screen. I also did not have a Maestro on the bench.
Not sure whether to go Maestro or a direct-replacement unit? This comparison covers iDatalink, Kenwood and JVC integration.
What I couldn't test here
- What Dolby Atmos and Autotuning sound like in a car – four speakers, a cabin, a drive. That is Part 2 (TBD), in the Tundra, with the 9500ES as the before.
- iDatalink Maestro integration and factory-feature retention — no module on the bench.
- SiriusXM — no tuner.
- Turn guidance on the Luminous Bar while actually driving.
- Long-term wireless reliability beyond a few bench sessions.
SPHERA vs the alternatives
| Unit | Street price | Screen / chassis | RMS | Preouts | HDMI in | EQ | Auto-tune | Warranty |
|---|---|---|---|---|---|---|---|---|
| Pioneer SPHERA DMH-WT8000NEX | around $1,300 | 10.1″ 720p / 1-DIN | 14 W × 4 | 6ch, 4 V | No | 13-band graphic | Yes | 1 yr |
| Pioneer DMH-WT6000NEX | $900–$1,100 | 10.1″ / 1-DIN | n/p | 6ch, 4 V | No | n/p | No | 1 yr |
| Sony XAV-9500ES | around $1,200 | 10.1″ 720p / 1-DIN | ~16 W × 4 | 6ch, 5.31 V | No | 14-band graphic + 8-band parametric per channel | No | 1 yr |
| Sony XAV-AX8500 | $800–$1,000 | 10.1″ 720p / 1-DIN | 20 W × 4 | 6ch, 5 V | Yes | 14-band graphic | No | 1 yr |
| Alpine Halo11 iLX-F511 | around $1,900 | 11″ 720p / 1-DIN | 18 W × 4 | 6ch, 4 V | In + out | 13-band parametric per channel | No | n/p |
n/p = not published by the manufacturer. Prices are September 2026 street and will move.
My recommendation:
- Buy the 9500ES instead if you tune by hand and want a parametric EQ, a higher-voltage preout and deeper hi-res support.
- Buy the AX8500 or the WT6000NEX instead if you are on Android or Spotify – the Atmos premium buys you nothing, and $200 to $500 is real money toward speakers.
- Buy the WT8600NEX instead if you want Pioneer's big screen and HDMI matters more than Atmos.
- Buy an Alpine Halo or the AX8500 instead if you need HDMI for a game console, a Fire TV or rear screens.
Specs
| Spec | Pioneer DMH-WT8000NEX |
|---|---|
| Screen | 10.1″ capacitive LCD, 1280 × 720, LED backlit, multi-touch · Light/Dark modes |
| Monitor size | 10.205 × 6.445 × 1.435 in |
| Chassis | Single-DIN, 7.025 × 1.9805 × 6.695 in |
| Screen adjustment | Tilt 15° back / 60° forward · 5 vertical positions (2.125–4.25 in above chassis) · L/R ±1.25 in · depth 2.25 or 3.0 in from dash |
| Amplifier | MOSFET 50: 50 W × 4 peak · 14 W × 4 RMS (CTA-2006) · 22 W × 4 continuous at 5% THD |
| Preouts | 6-channel (front / rear / sub), 4.0 V · sub non-fading with phase |
| Processing | Pioneer dual-core 48-bit DSP/DAC · quad-core ARM Cortex-A53 + dual-core Cortex-A7 |
| Dolby Atmos | Via Apple CarPlay from Apple Music, Apple Music Classical, Audible, Wondery (not TIDAL or Amazon Music) · iOS 18+ · 4-channel rendering |
| Autotuning | PURE Autotuning with included headrest mic via rear A/V jack · ~5–7 min |
| EQ and tuning | 13-band graphic ±12 dB, 7 presets · time alignment 0–200 in · Standard and Network crossovers · ASR, loudness, bass boost, SLA |
| Smartphone | Wireless + wired Apple CarPlay and Android Auto · WebLink 3.0 · PxLink app · Alexa via WebLink |
| Wireless | Bluetooth 5.2 (A2DP 1.3.2, AVRCP 1.6.2, HFP 1.7.2, PBAP 1.2.3), 5 paired / 2 connected · 5 GHz Wi-Fi 802.11ac |
| Inputs | USB-A (1.5 A, MSC) · 3.5 mm 4-pole A/V in (video on the sleeve — Pioneer's cable is discontinued, a camcorder cable works with the yellow and red plugs swapped) · 2 composite camera inputs · wired remote · GPS antenna · 2.5 mm mic |
| Radio | HD Radio built in, Supertuner IIID, RDS · SiriusXM-ready (SXV300) |
| File support | MP3/WMA/AAC 320 kbps · FLAC/WAV 24/192 · video AVI/MP4/MKV/MOV/FLV/WMV 1080p30 · JPEG/PNG/BMP |
| OEM integration | iDatalink Maestro RR / RR2, Metra Axxess |
| Luminous Bar | Turn guidance, voice sync, music sync (stationary only), security blinker · brightness 1–10 |
| Weight | Not Available |
| Warranty | 1 year parts and labor |
| Price | around $1,300 |
Pros and cons
Reasons to buy
- The calibration mic tunes time alignment, response and levels in about six minutes. No other head unit in this class does it.
- Real Dolby Atmos decoding over Apple CarPlay, rendered to the four speakers you already have.
- Network-mode crossover turns the 6-channel preouts into a three-way active crossover with slopes to 36 dB per octave.
- Two physical buttons on the top edge and a dedicated CarPlay/Android Auto key on the left instead of all capacitive touch keys like some other units.
- 5 GHz wireless CarPlay and Android Auto, Bluetooth 5.2 with two phones connected, and OTA firmware through the PxLink app.
Reasons not to buy
- Atmos is iPhone-plus-Apple-Music only. Android, Spotify, USB, Bluetooth and radio get stereo or an upmix.
- No HDMI input, and the one composite input needs a cable Pioneer no longer sells, or a plug-swap trick the manual does not tell you about. The WT8600NEX, Alpine, Kenwood and Sony alternatives all have HDMI.
- 14 W RMS × 4 and 4-volt preouts are ordinary at $1,300. The Sony 9500ES gives you 5.31 V and a parametric EQ for less.
Who should buy it
If you have an iPhone, an Apple Music subscription, a dash with a DIN opening and no interest in tuning by hand, the SPHERA is the unit to buy. If you are on Android or Spotify and need a unit now, buy the WT6000NEX or the AX8500 and put the difference into speakers (consider checking back in a few months to see if Google has announced timelines for Android Auto or if Pioneer announces anything with Spotify). If you tune by hand, the 9500ES is still the better choice for that as well. And if you need HDMI, this is not your unit, full stop.
The rule of thumb: the Atmos logo on the box is an important reason to buy this head unit, but the little round microphone in the bag is actually more important right now unless you use Apple Music and specifically want Atmos.
FAQ
Does Dolby Atmos work with Spotify on the SPHERA?
No. Spotify does not send an Atmos stream, so the SPHERA runs its Stereo Spatial Sound upmix instead. Real Atmos comes only from Apple Music, Apple Music Classical, Audible and Wondery through Apple CarPlay. TIDAL and Amazon Music have Atmos in their own apps but do not pass it through CarPlay — Pioneer confirmed that to me directly.
Does the SPHERA do Dolby Atmos with an Android phone?
No. Android Auto has no way to carry Atmos, so an Android phone gets the upmix, the Autotuning and every other feature, but not Atmos. Google said at I/O 2026 that Android Auto will support Dolby Atmos in the future, with no date, and Pioneer says the timing is Google's.
Do I need new speakers or an amplifier for Atmos?
No. The SPHERA renders Atmos to four speakers — front and rear — and Crutchfield's demo car was a 2016 Camry with ten-year-old factory speakers. You do need at least four. Better speakers will sound better, as always.
Does the SPHERA have HDMI?
No. The only outside video input is a 3.5 mm four-pole composite A/V minijack, and Pioneer's own adapter cable for it has been discontinued. A generic camcorder cable works if you swap the yellow and red plugs, because the unit wants video on the sleeve — details in the video section above. Pioneer's WT8600NEX, still sold alongside it, has micro-HDMI.
Will the SPHERA fit my car?
It needs a single-DIN opening and about 10.2 × 6.4 inches of clear space in front of the dash, with the screen sitting 2.25 to 3 inches out. Vehicles with a factory touchscreen that is not a DIN opening cannot take it. Check your year, make and model in the Vehicle Fit Guide.
How long does Autotuning take, and do I have to redo it?
About five to seven minutes with the mic on the driver's headrest and you outside the car. Redo it after any speaker, amplifier or sound-deadening change — and run the A/V jack somewhere you can reach it so that is easy.
What iPhone do I need for Atmos on the SPHERA?
An iPhone with an A12 chip or newer — the XR, XS, second-generation SE and anything after — plus an Apple Music subscription. Pioneer's pages disagree on the minimum iOS version (14.6 versus 18). I used my iPhone 16 Pro Max with iOS 27.
Can I watch video while driving?
Not without bypassing the parking-brake interlock, which is illegal in most states. CarPlay and Android Auto do not require the brake. USB video, A/V-in and WebLink do.
Is the SPHERA worth the extra money over the WT6000NEX?
Only if you will use Atmos, which means an iPhone and Apple Music, or if the calibration mic alone is worth it to you. For an Android or Spotify household the answer is no.
What is the warranty?
One year, parts and labor.
Why trust this review

Pioneer sent me this unit for review and had no say in what I wrote. I have been reviewing head units on this site since 2010 and installing them in my own vehicles for longer than that — the 9500ES that the SPHERA is replacing in my Tundra was one of them.
More reviews & comparisons

