In this article: I'll walk you through the process of removing an OEM head unit from a Toyota Tundra, and replacing it with an aftermarket head unit along with all of the parts and accessories required.
I love Toyotas. I've had several, including a Tundra. But I haven't been overly impressed with the technology packages in their vehicles for a long time. They tend to be a generation behind in terms of features and design. I think the perfect example of this is the 2019 Toyota Tundra that I'll be working with for this installation and overview. It's a Platinum 4×4 – probably one of the most loaded and expensive trucks Toyota has to offer. It has leather interior, heated and A/C seats, adaptive cruise control, the JBL amplified system and many more upgraded features. But it doesn't have CarPlay or Android Auto, and the head unit interface and GPS feels like it's from 2015 or earlier. Although it's a 2019 truck, it just doesn't feel like it in many ways when you look at the head unit.
The good thing is that most Toyotas, like this generation of Tundra, are very easy to upgrade a car stereo on and generally benefit from even some of the entry level head units on the market today. There are also all-in-one options, like Stinger's HEIGH10 that we unboxed and installed on a 2017 SR5.
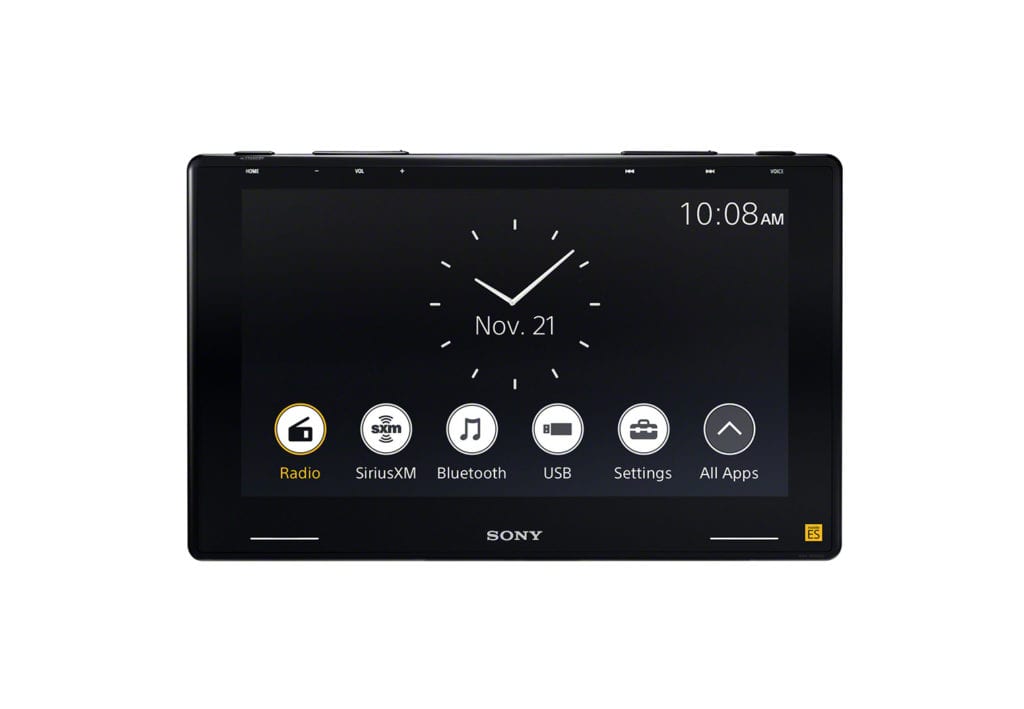
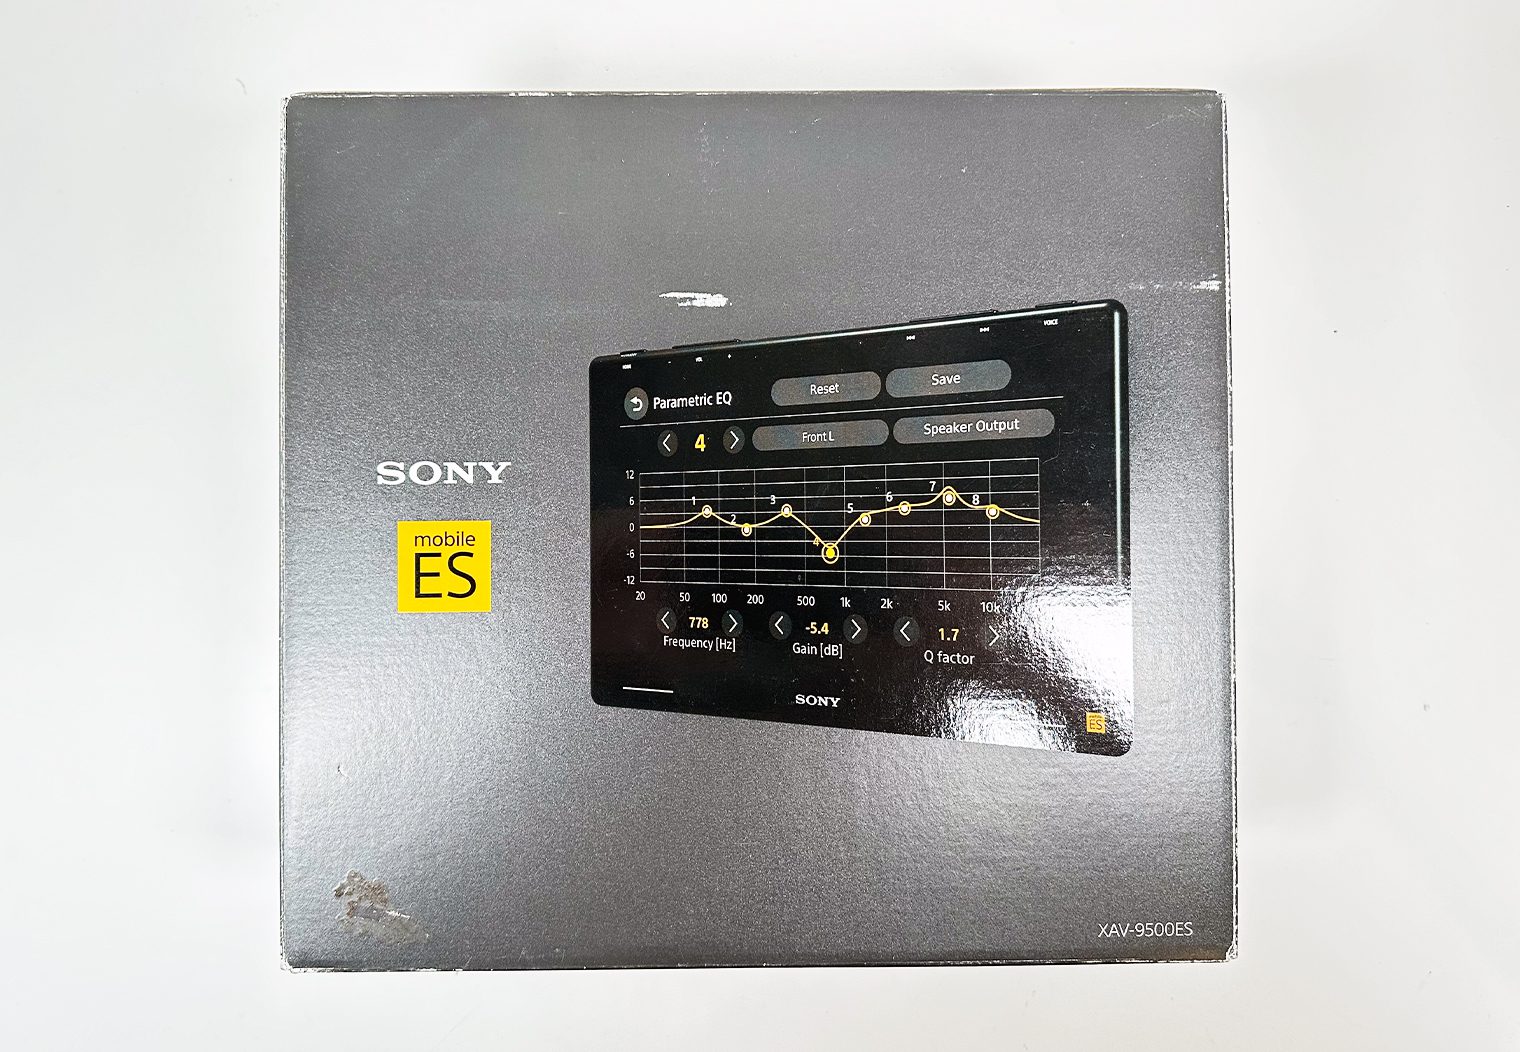
In this article, I'll walk you through the more universal approach (compared to the HEIGH10). I'll be using the Sony XAV-9500ES that we reviewed as my head unit of choice but you could apply this method to virtually any head unit. Let's get started.
Products Used for this Installation
If you haven't already picked out a head unit, I recommend taking a look through our list of best car stereos to see what we'd recommend on the market right now.

There are a few key components that you'll need to purchase for your Tundra's head unit upgrade. Here's what I chose for this setup. Note that your setup might require different harnesses or dash kit. I recommend navigating to PAC Audio or MetraOnline and typing in your vehicle information to ensure these parts'll work for you:
- Head Unit – Sony XAV-9500ES
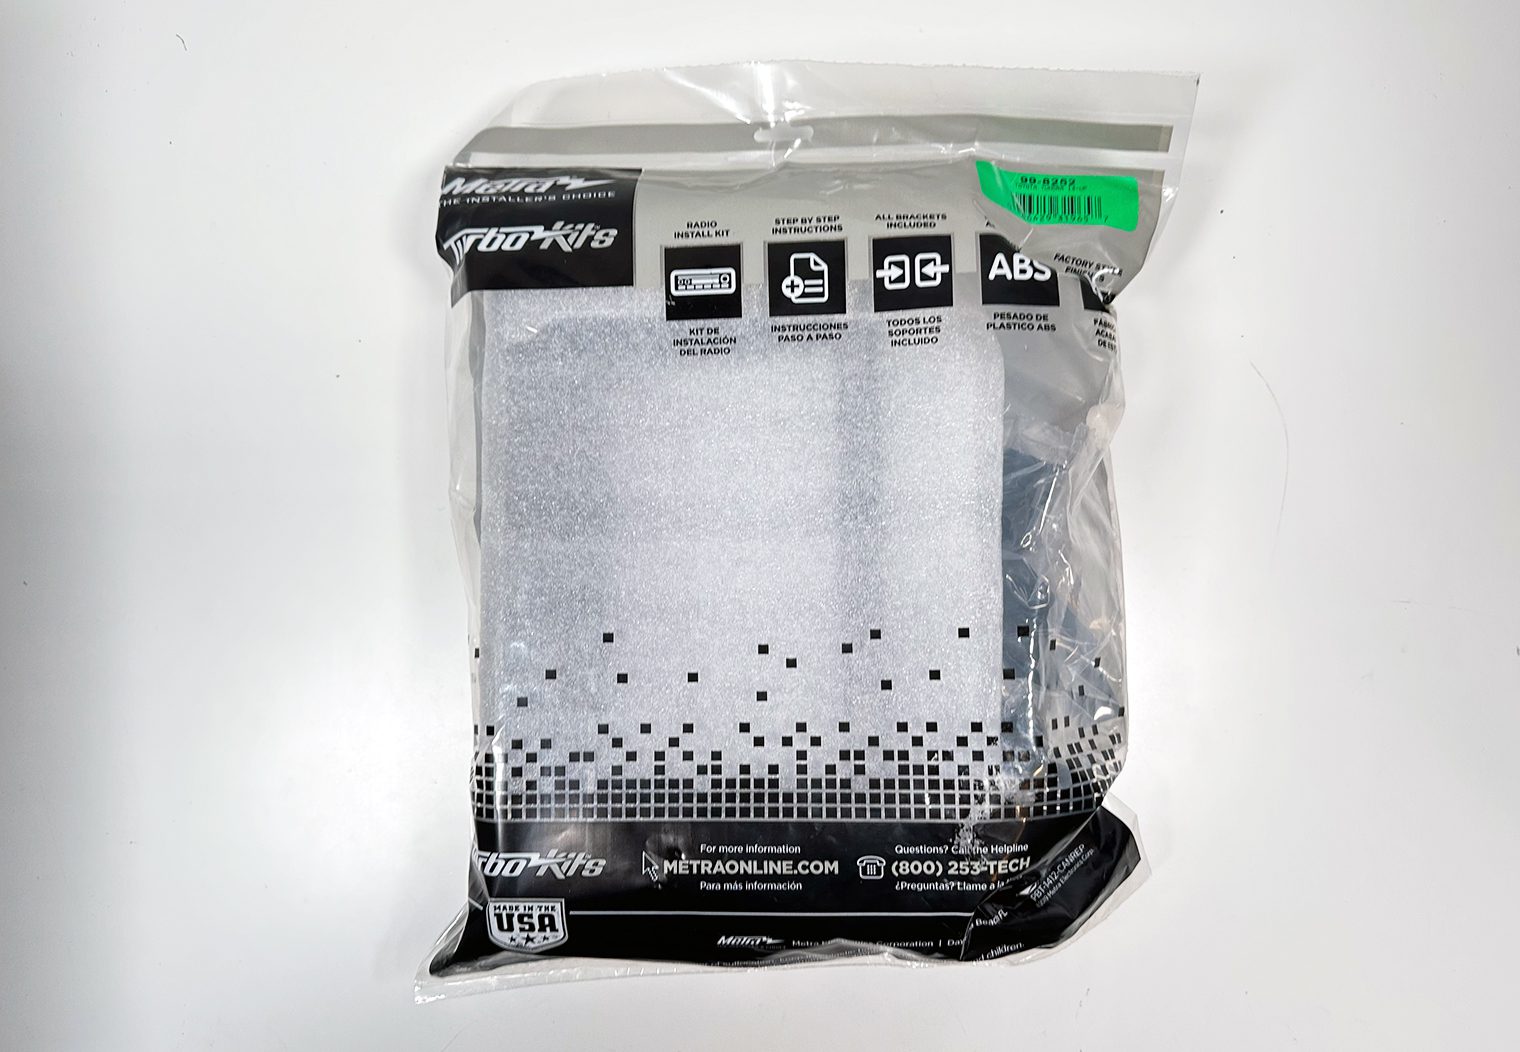
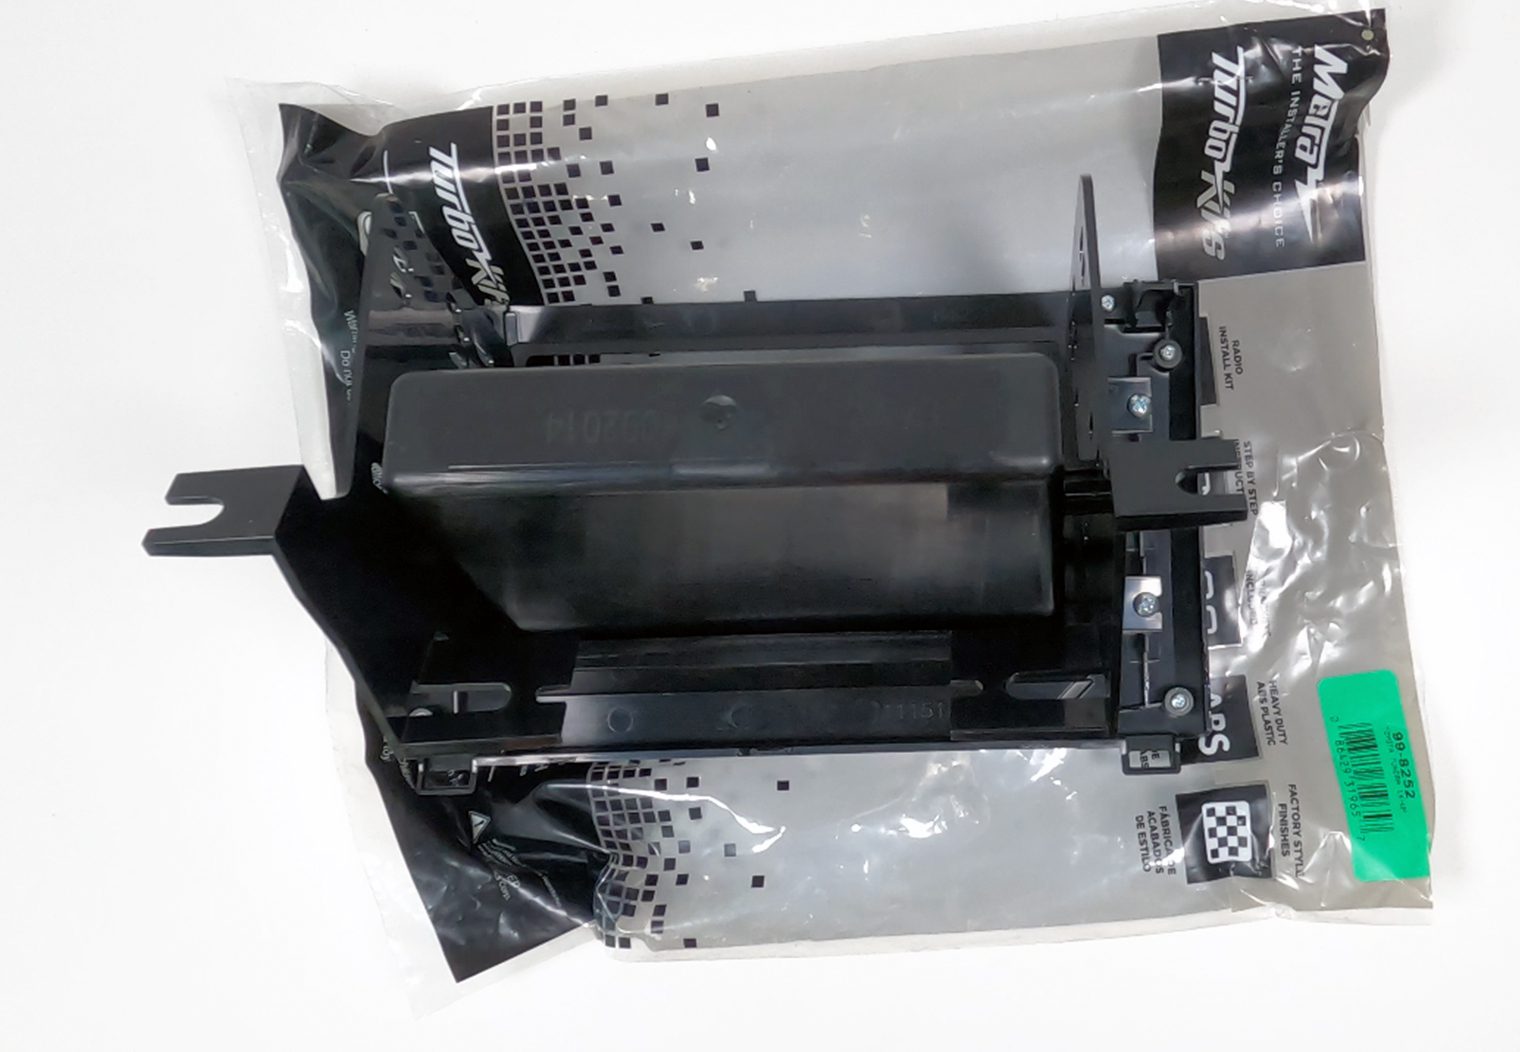
- Dash Kit – Metra 99-8252
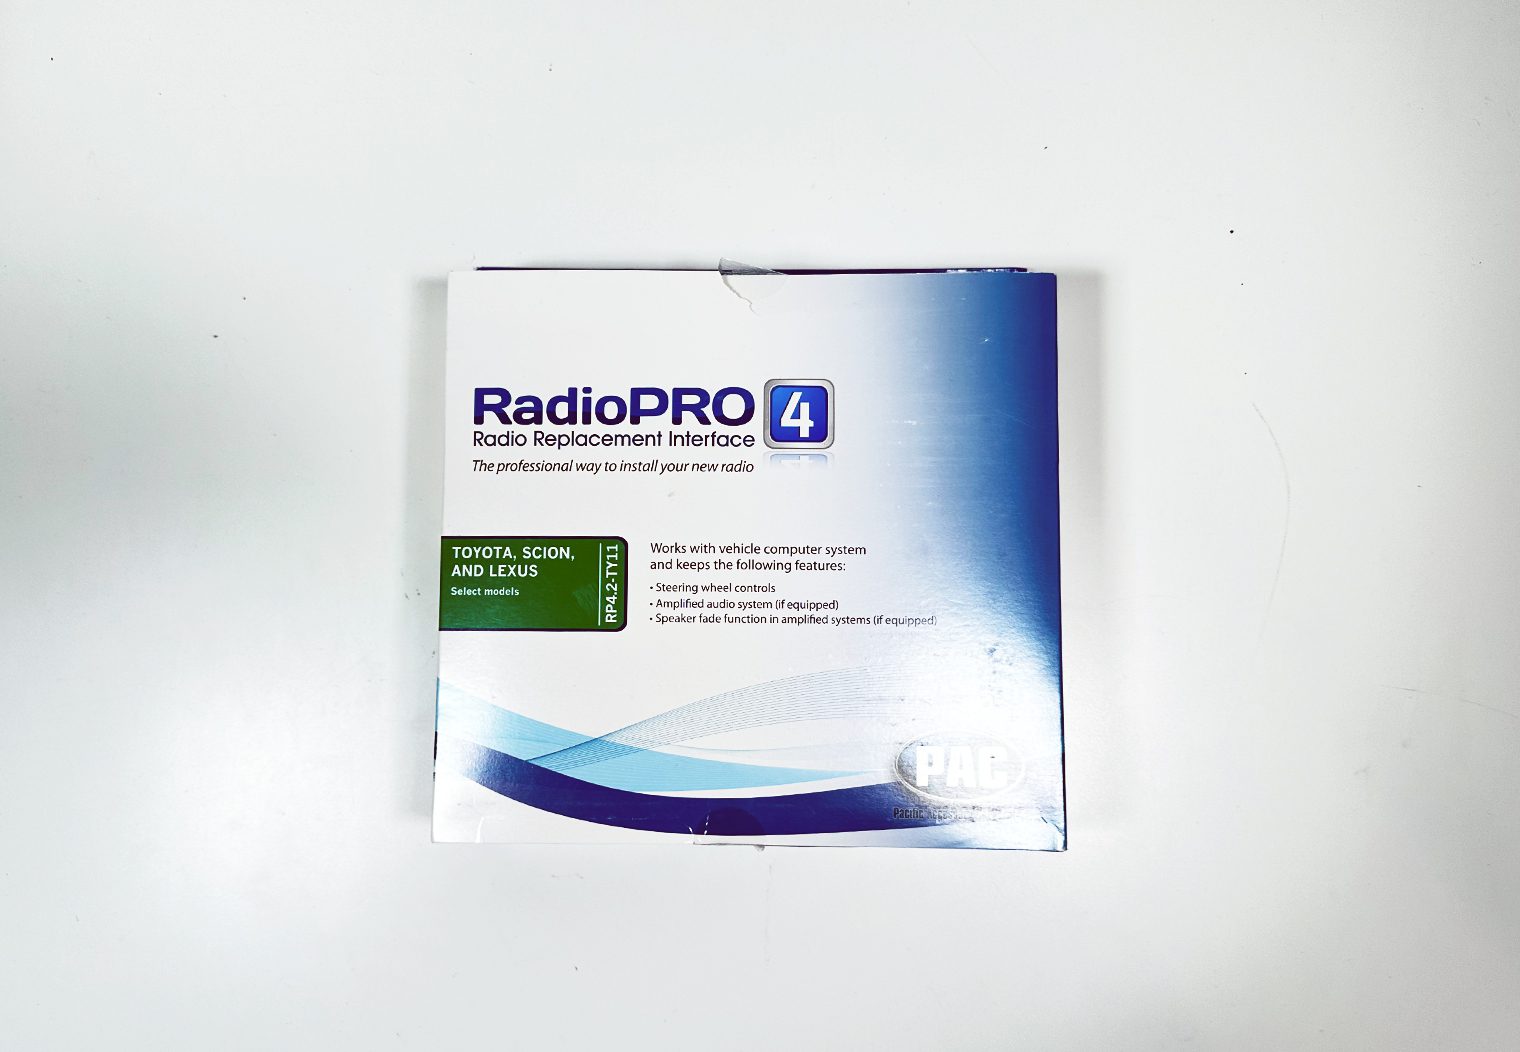
- Adaptive Wiring Interface (JBL Compatible) – PAC RadioPro4 RP4.2-TY11
- Rear View Camera Adapter – PAC CAM-TY11
- USB Retention Harness – PAC-TY2
- FM Radio Antenna Adapter – Metra 40-LX31
Step 1: Prepping the Wire Harnesses & Interface
The first step I like to take during a head unit install is to prepare all of the wiring before I begin to remove the OEM unit. Some people like to do this after the head unit is removed in order to confirm that the wire harness they ordered is 100% the correct harness. But that means your truck is sitting in the garage for a few more hours. By prepping ahead of time, you can get 75% of the work done without touching your vehicle. The caveat – if your harness isn't correct you might have to do it all again so be sure you chose the right harness.
Before you begin merging harnesses, I definitely recommend referencing the manual to ensure that you're wiring the correct harnesses together based on your vehicle's year and trim.
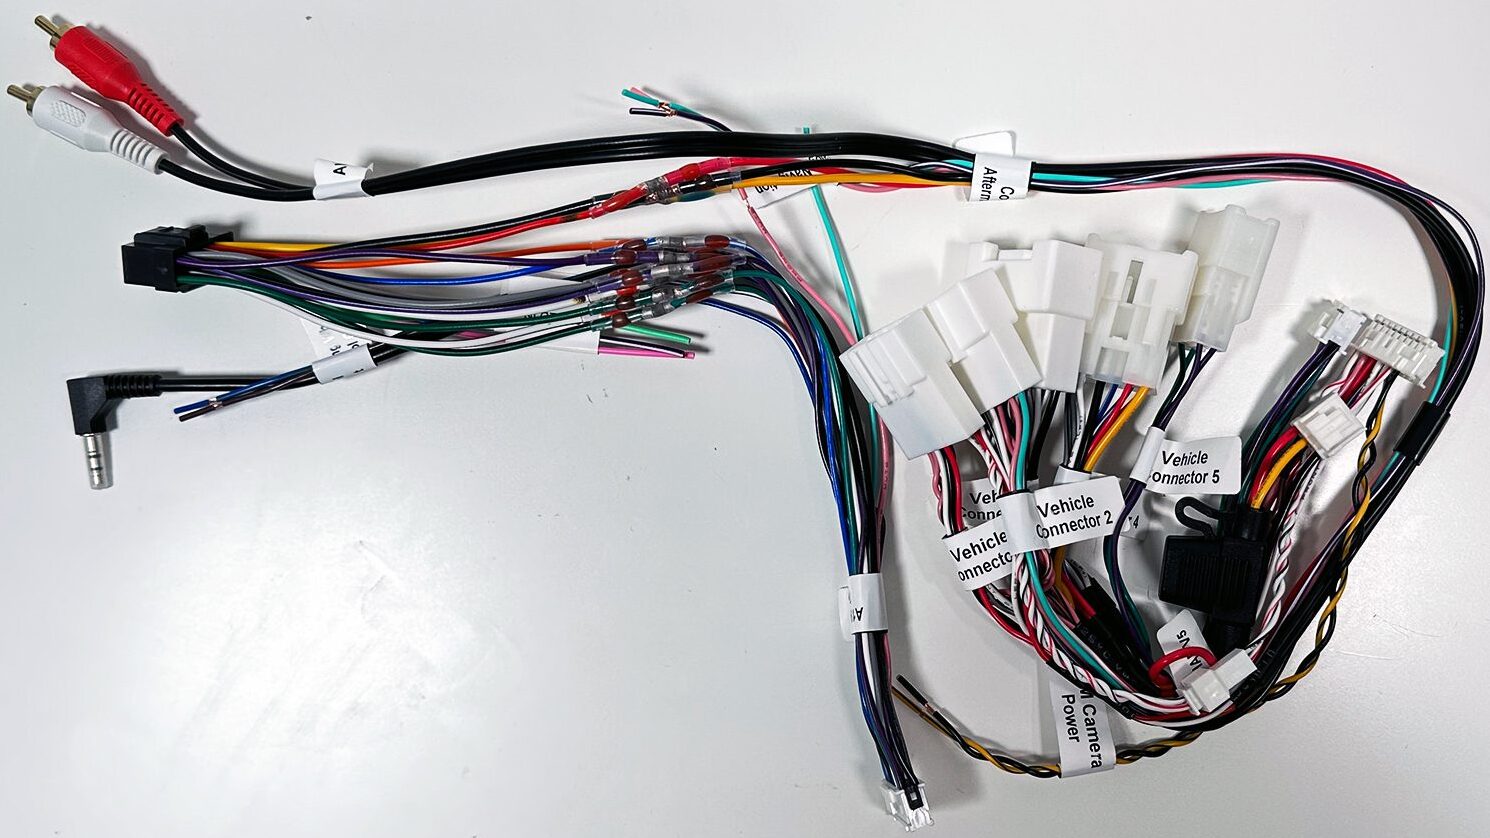
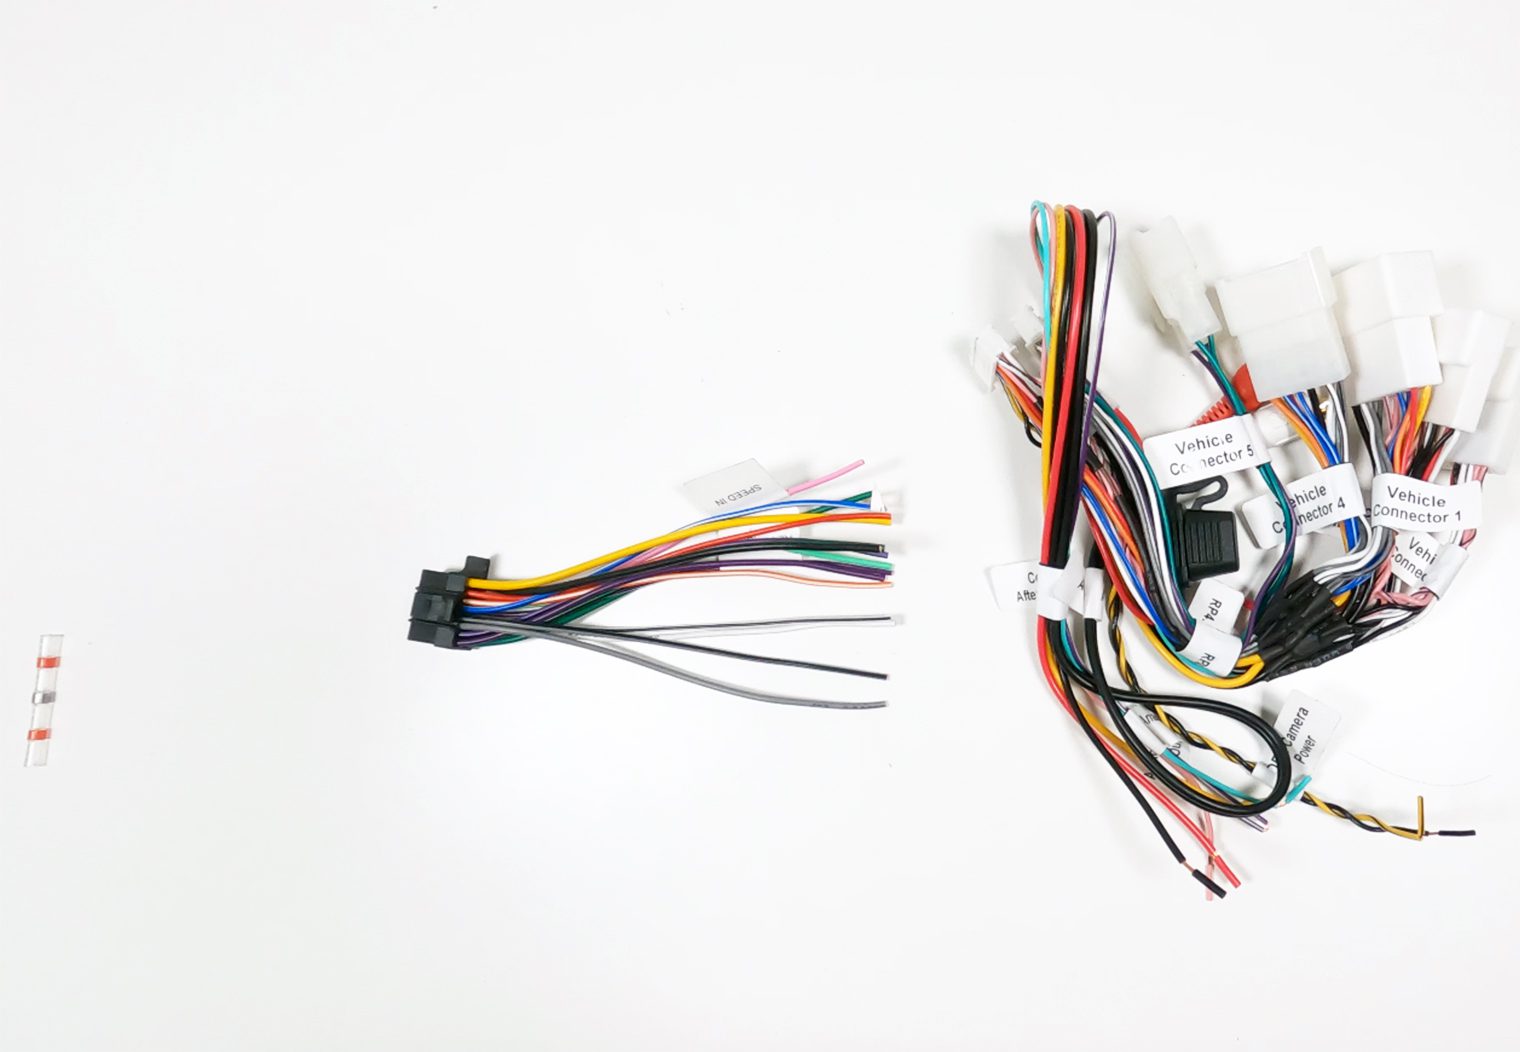
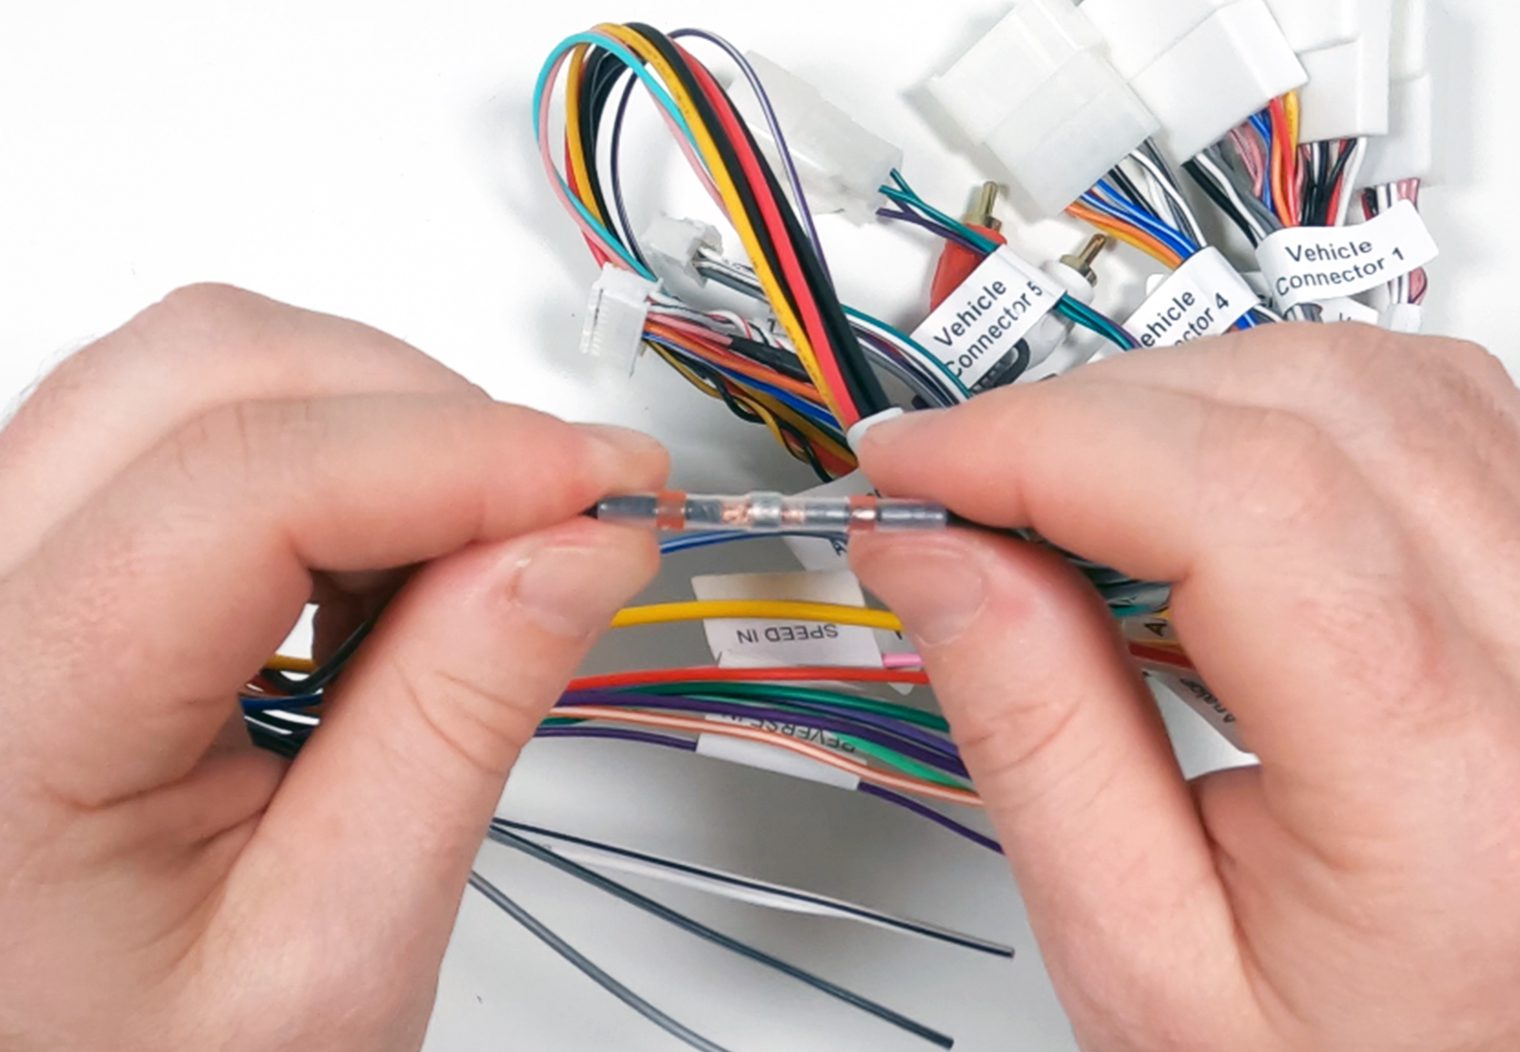
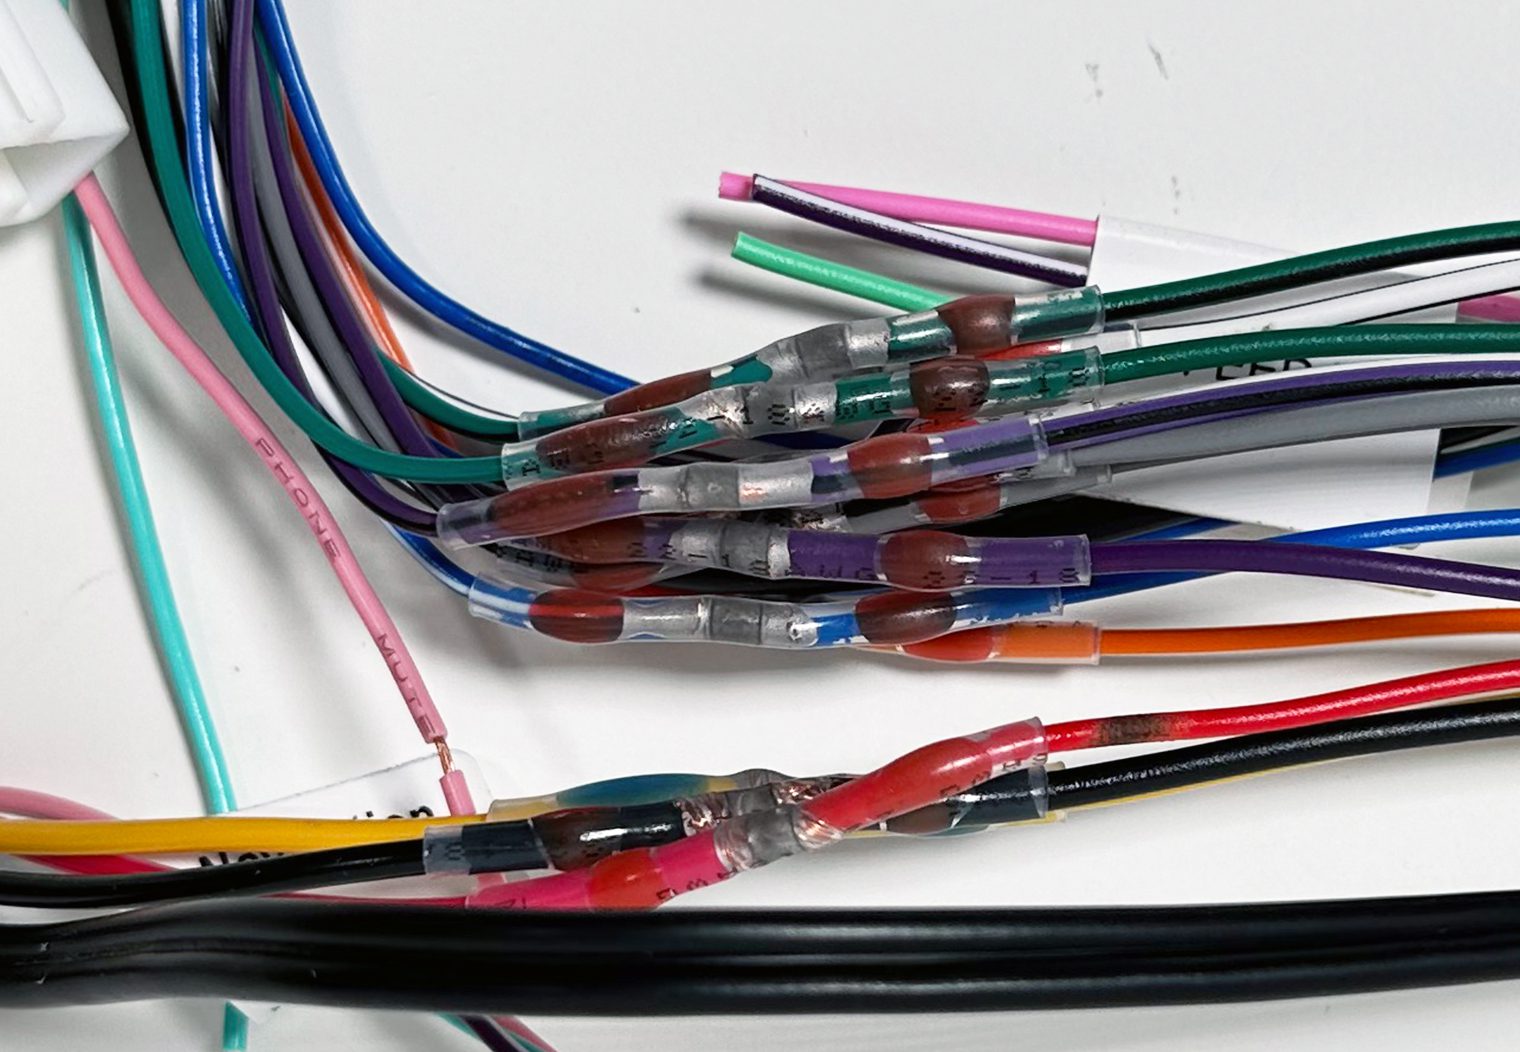
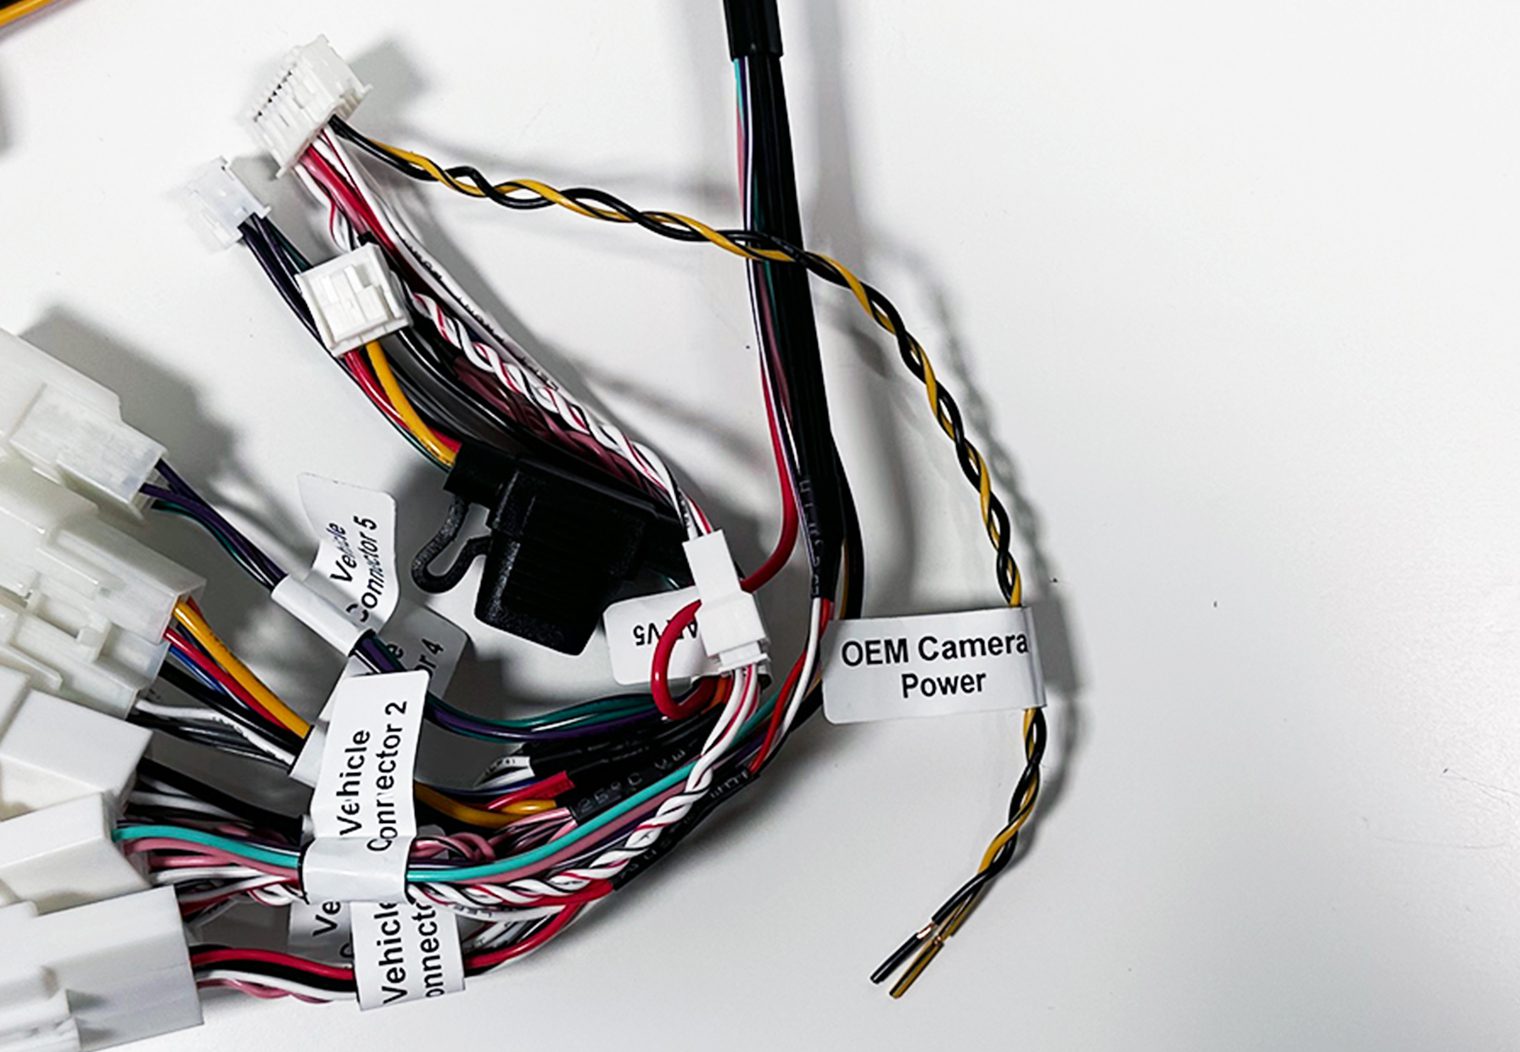
To prep this particular harness, I merged the Sony-specific wiring harness with the two separate PAC harnesses that came with the TY11. Every wire is color matched, leaving very little guess work. I like to use solder seal connectors for this step – they're as quick as crimping but much more durable and prevent corrosion and shorts in the long term. I highly recommend using these.

Couple of things worth noting during this merge process:
- The “OEM Camera Power” wires (black and yellow/black) will be used with the CAM-TY11 to provide the camera with power and ground. Connect these two to this harness.
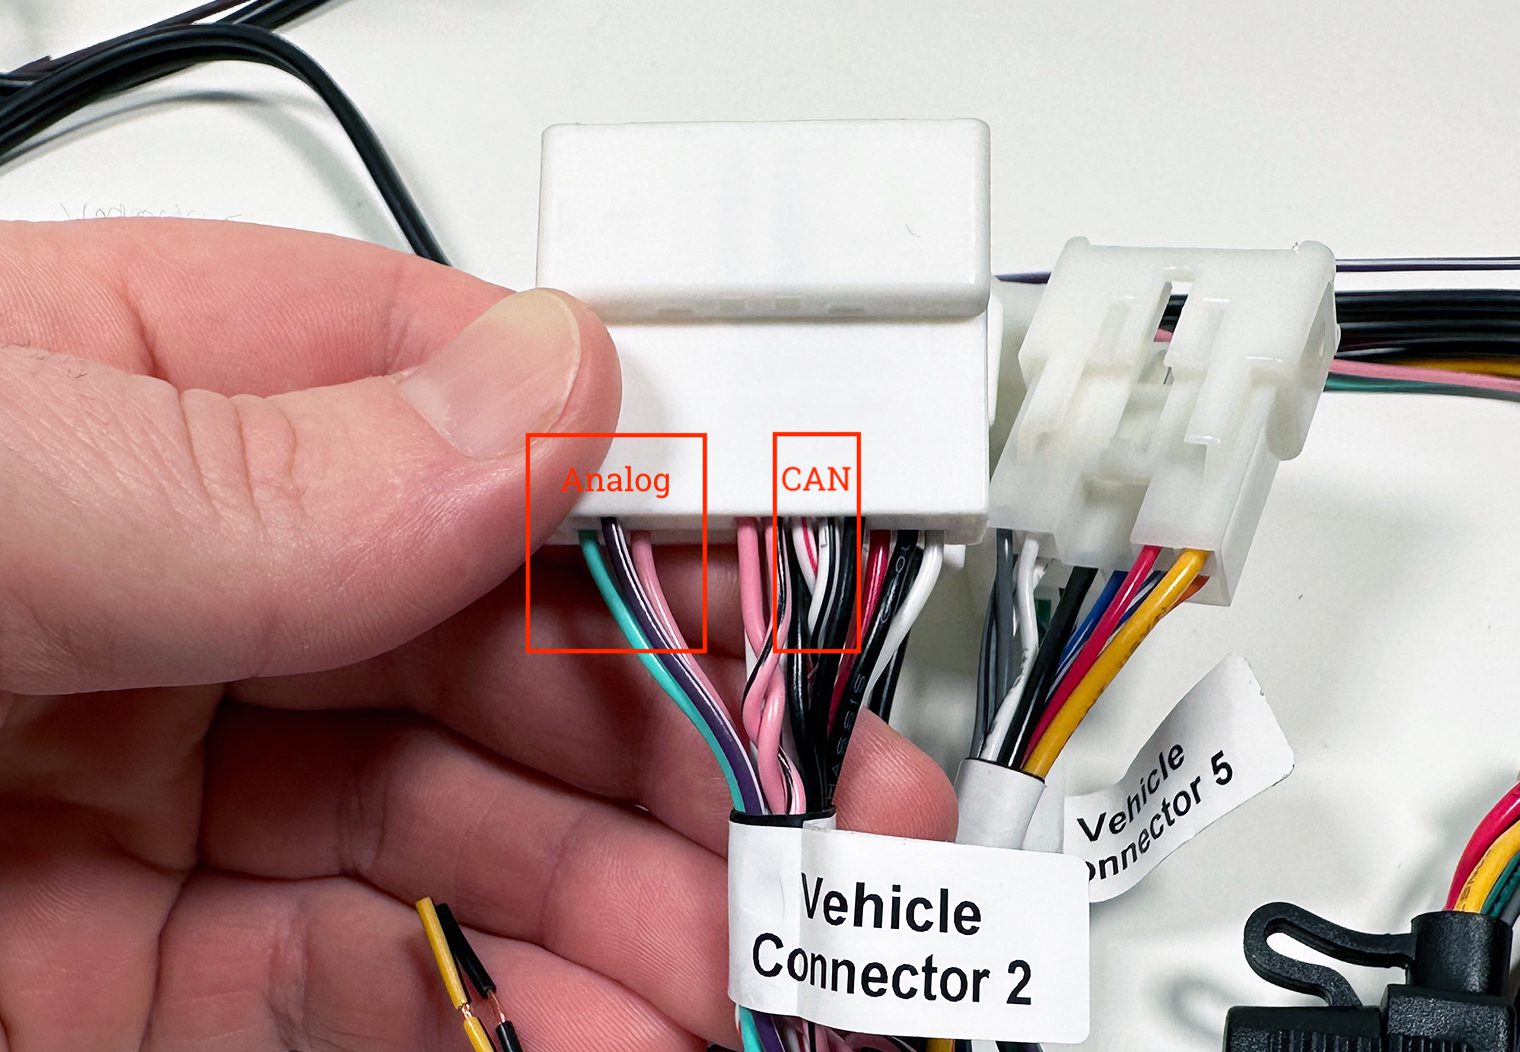
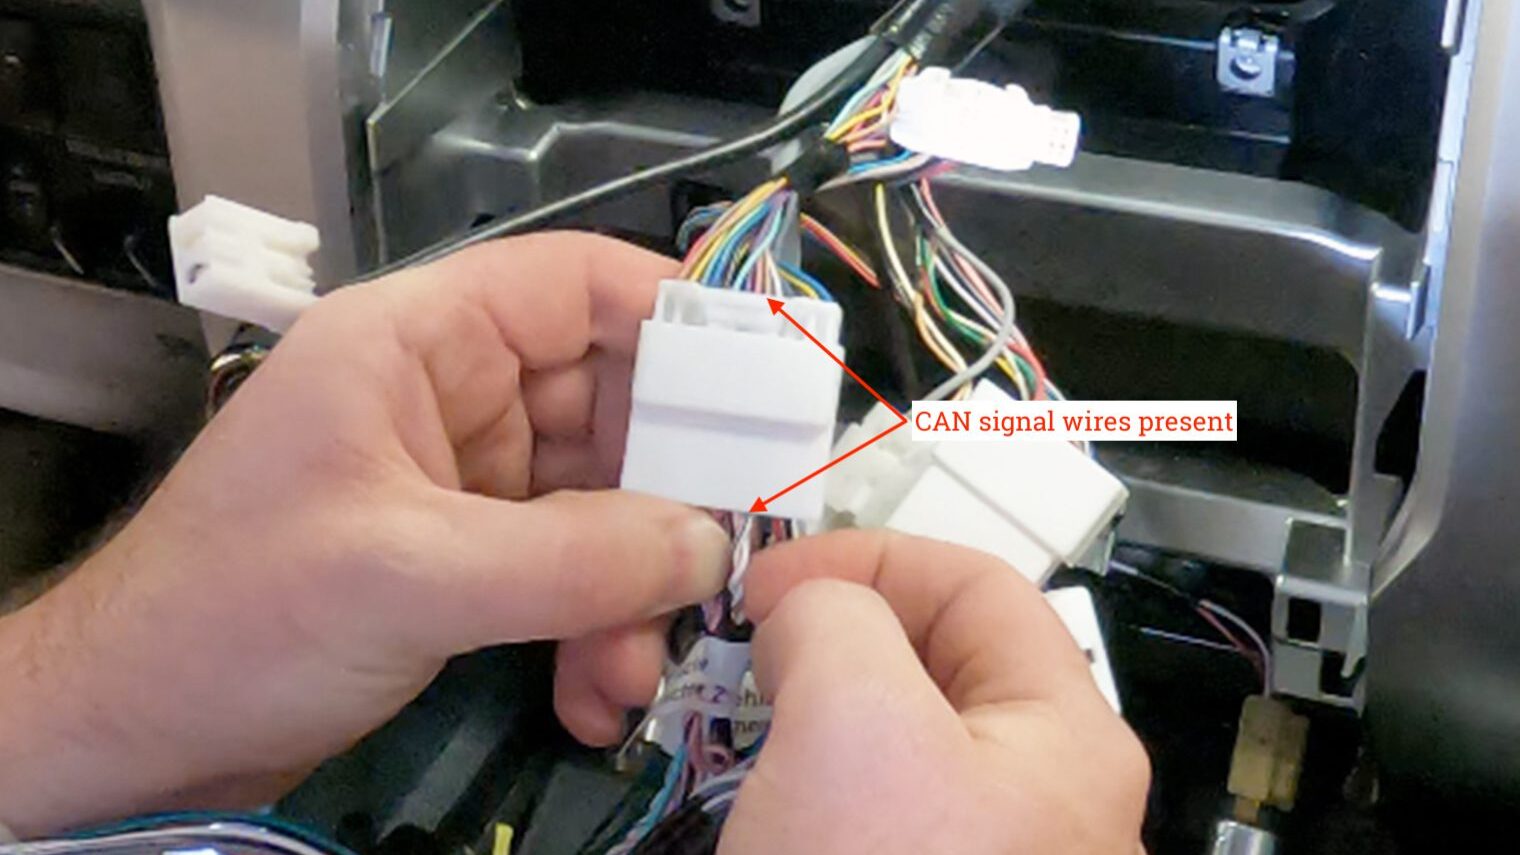
- There are two pairs of sensor wires (speed sensor, parking break and reverse) that you can use to connect to your head unit's harness. The one you use depends on whether there are wires on the other side of the plug when you plug it into your truck's harness. Before you choose, plug the connector into your truck's harness to see:
- If there are corresponding wires that match up with the pink, green and purple/white wires on the PAC harness – use the wires labeled “Analog Navigation Outputs” on the harness to connect to the aftermarket head unit wire harness.
- If there are corresponding wires that match up with the white/red and white/black wires – use the wires that come from the harness that plugs into the control module.
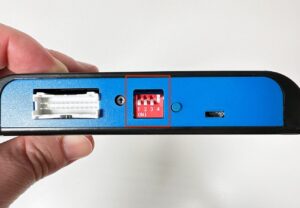
Once the harness is completed and merged (with the exception of the sensor wires), I prepped the control interface by using the program pins to configure it for a Sony unit. PAC's instructions manual told me which pin to switch. In my case, for Sony, it was pin #4. All other pins were turned “ON” while pin #4 is switched “OFF”.
Step 2: Configuring & Mounting the Head Unit to the Dash Kit
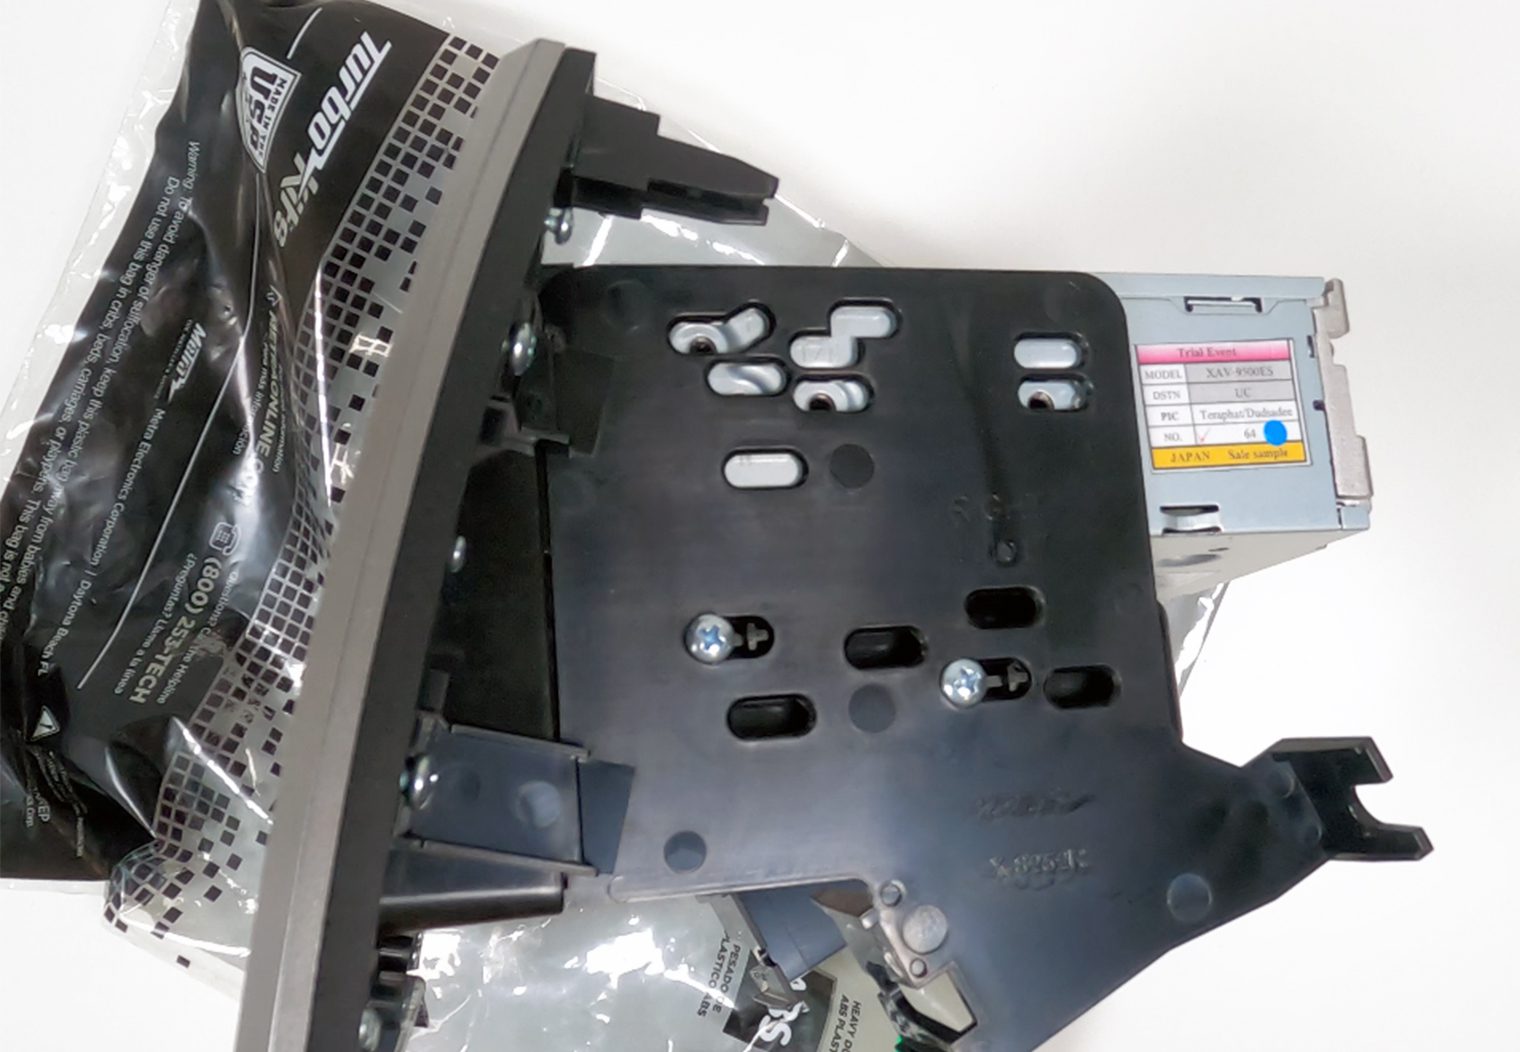
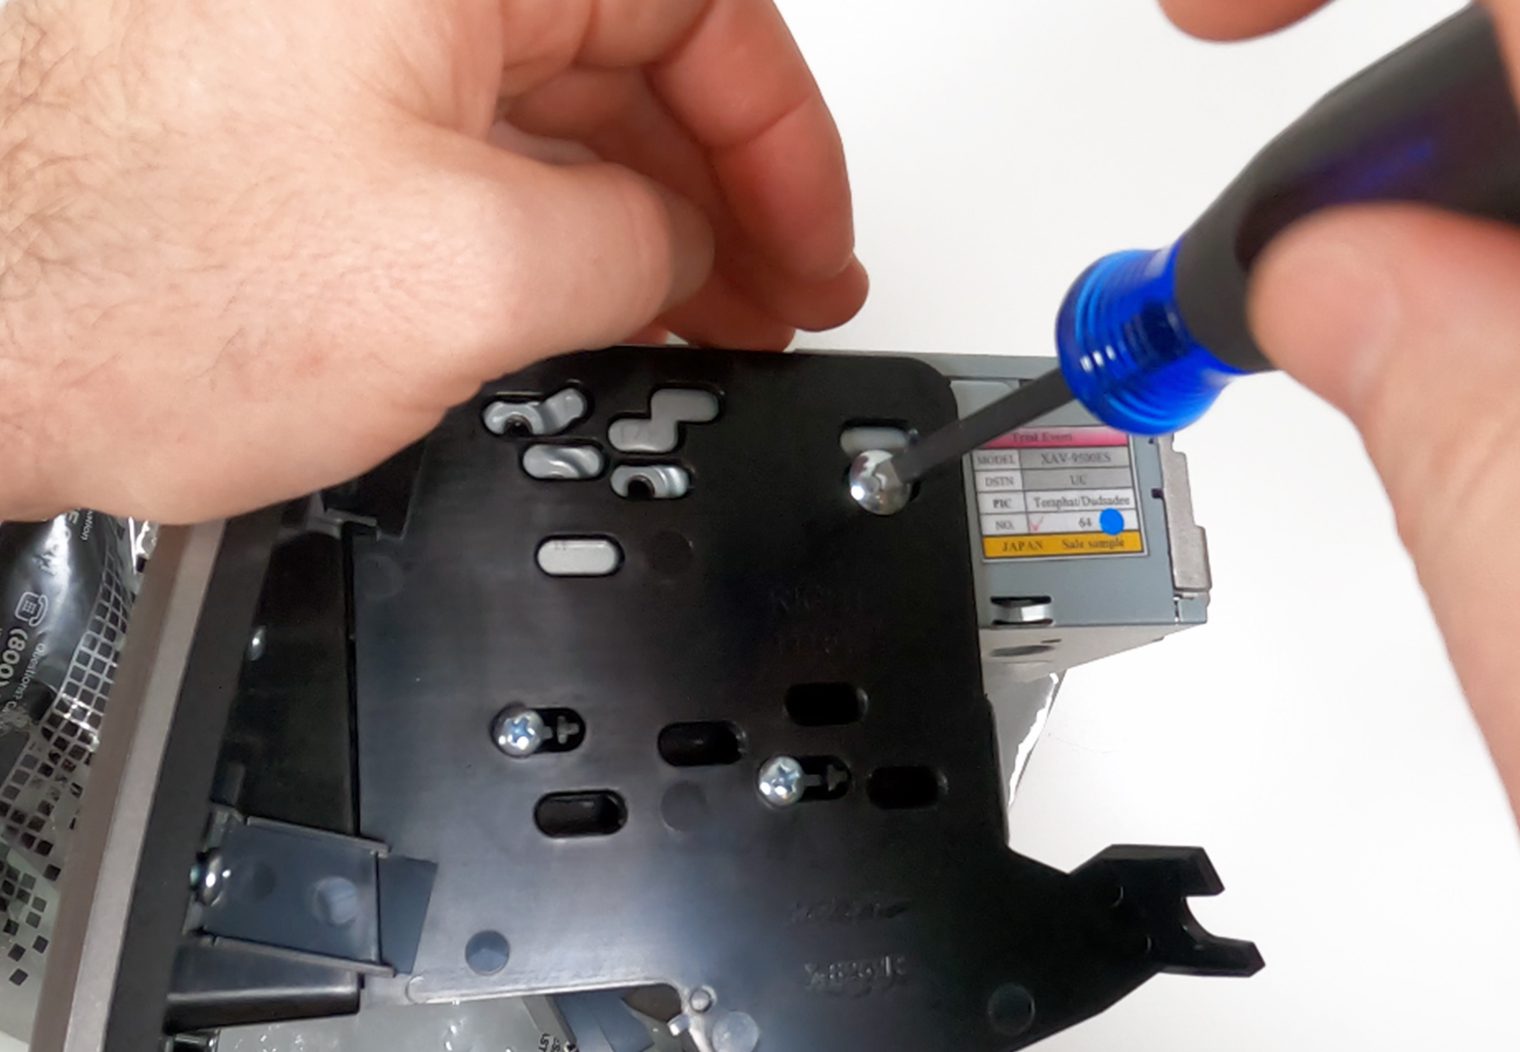
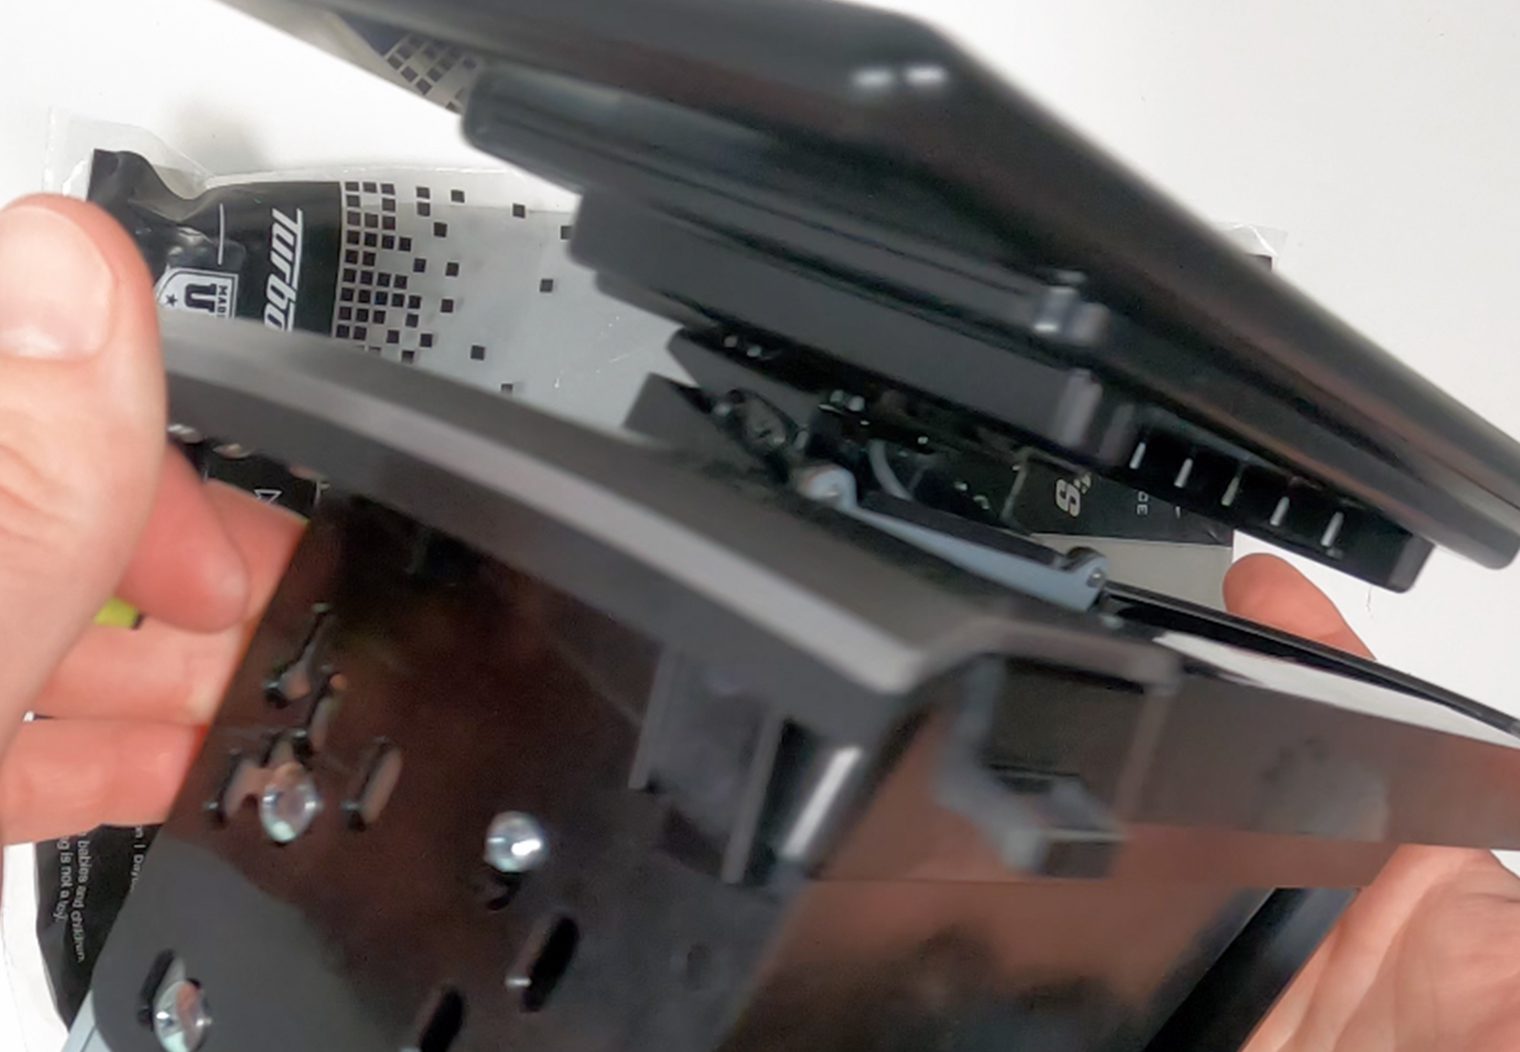
Like the wiring harness merge, I like to do this step before I touch the car. By installing the head unit in the dash kit ahead of time, I can virtually drop it in once I want to start working on the truck. Metra's 99-8252 gives you the adaptive dash kit, which fits either a single DIN or double DIN sized unit and provides you with the mounting hardware to put everything together. The instructions are clear and easy if you need them too.
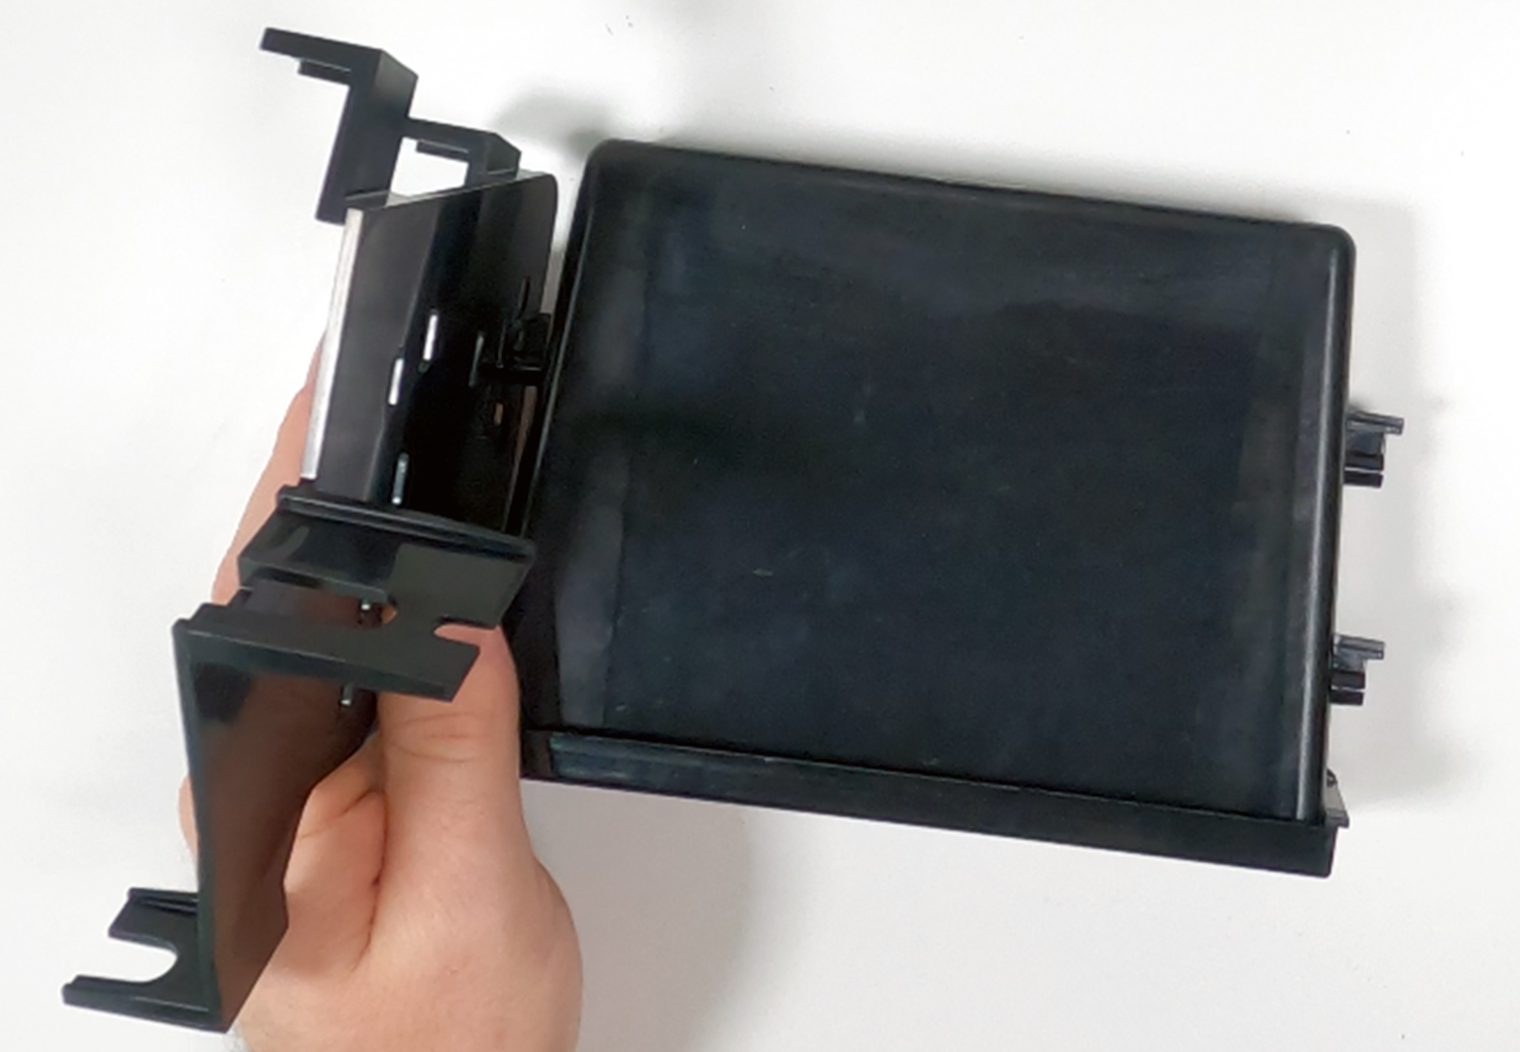
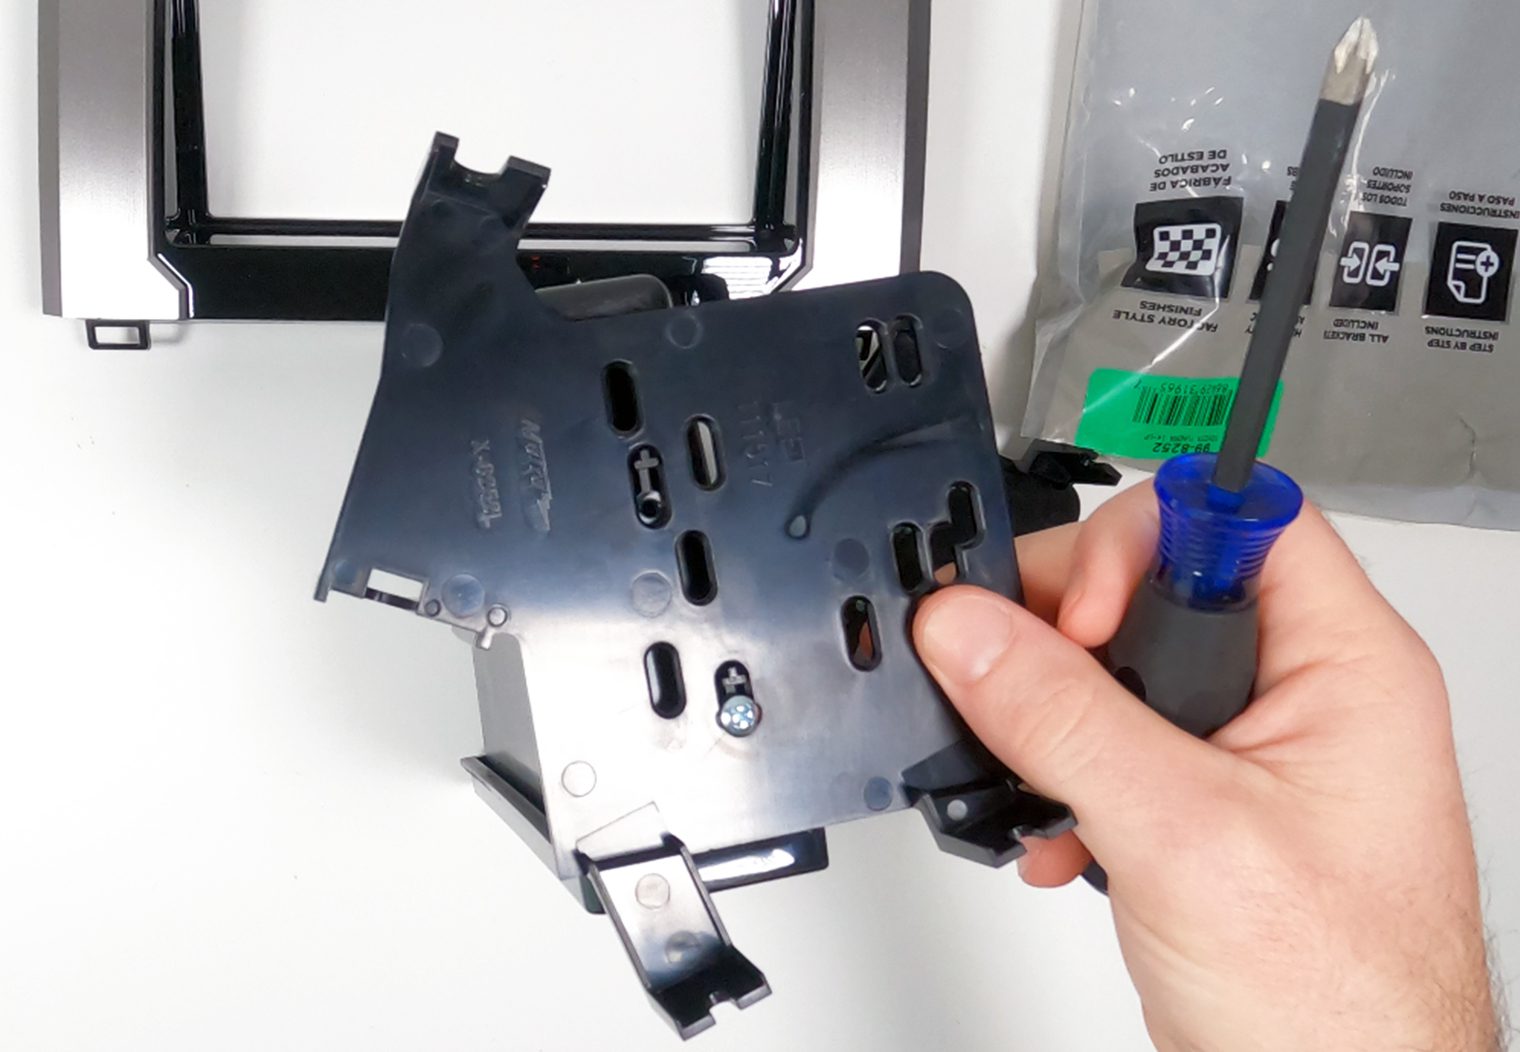
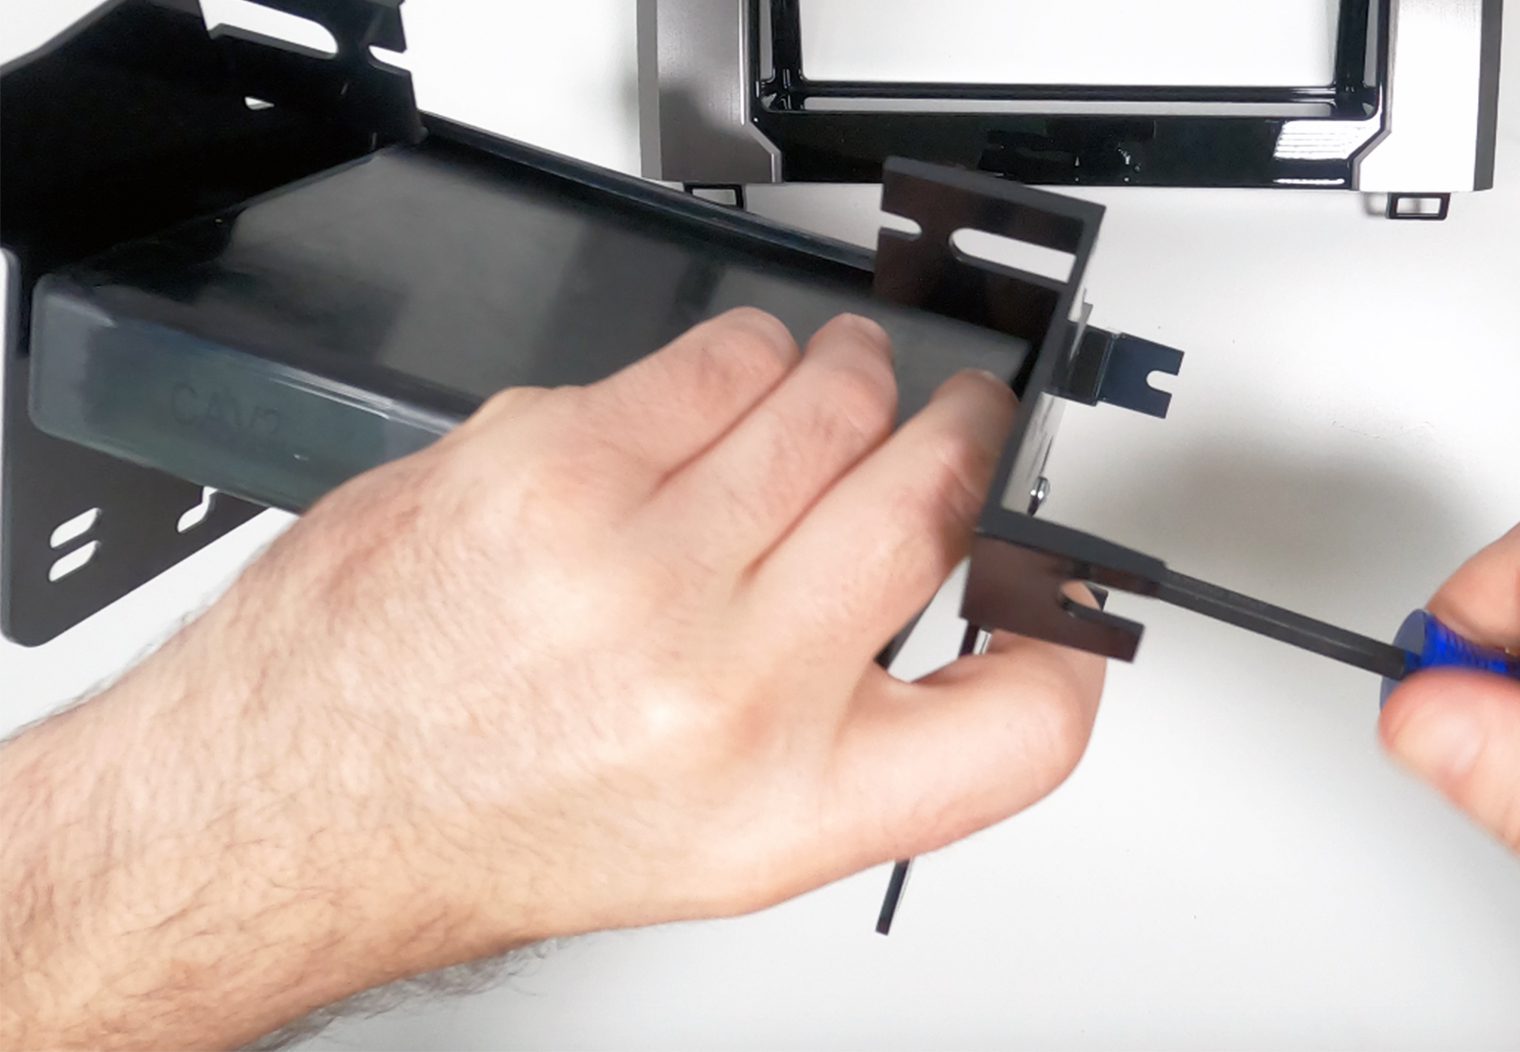
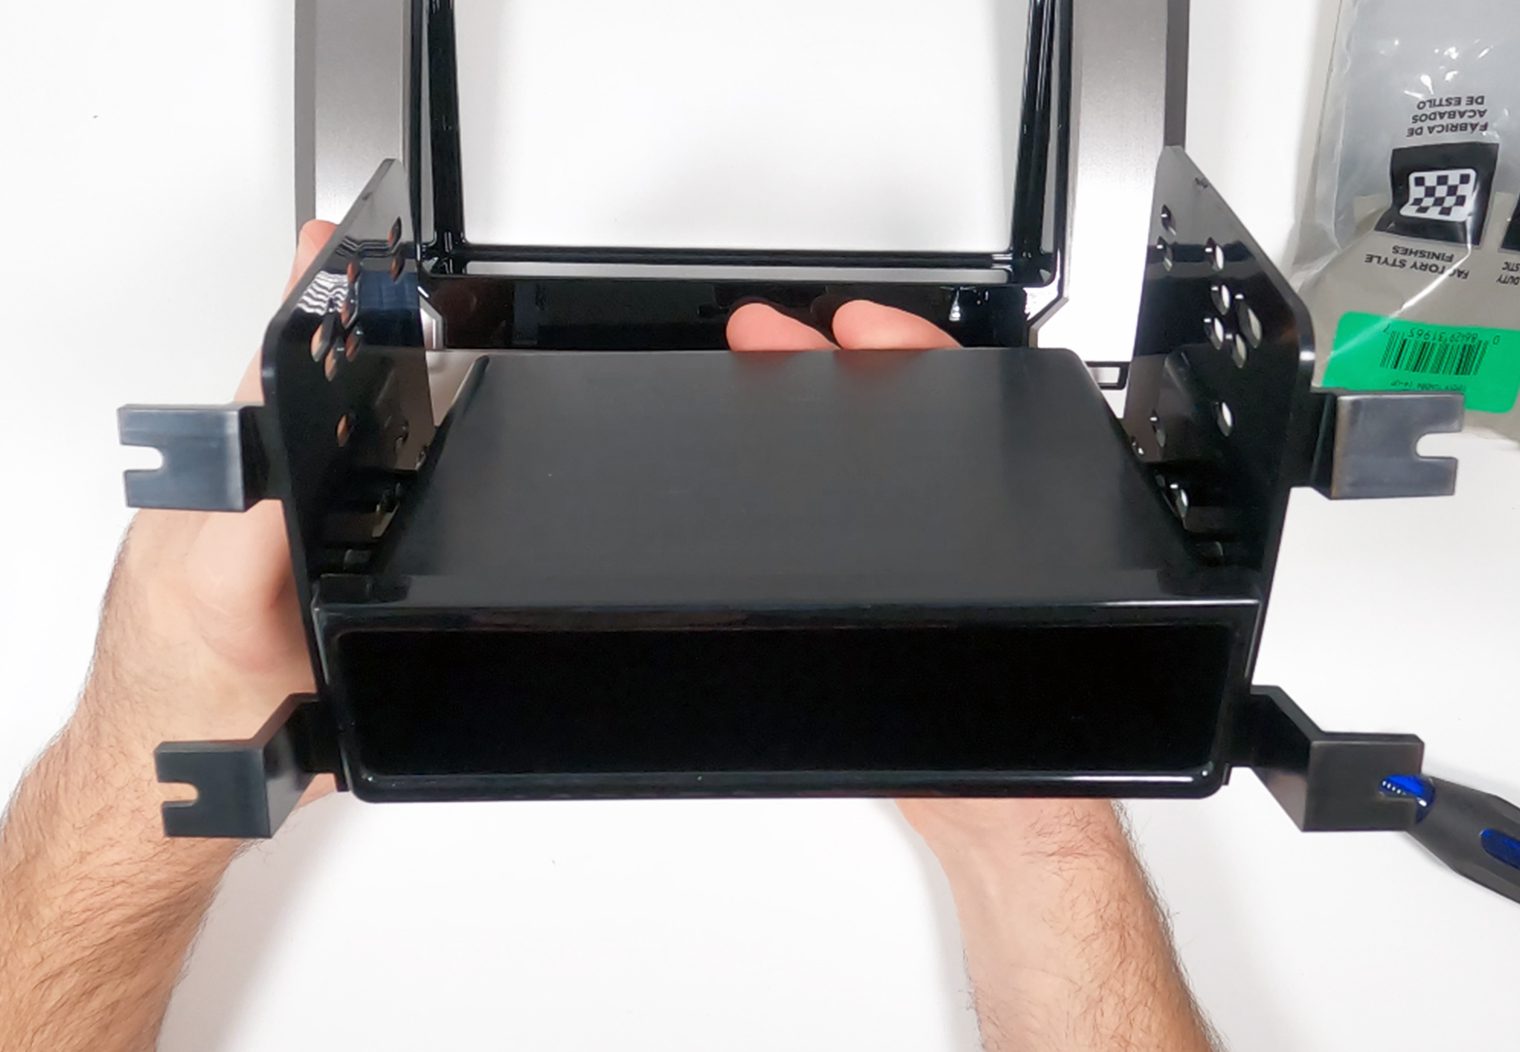
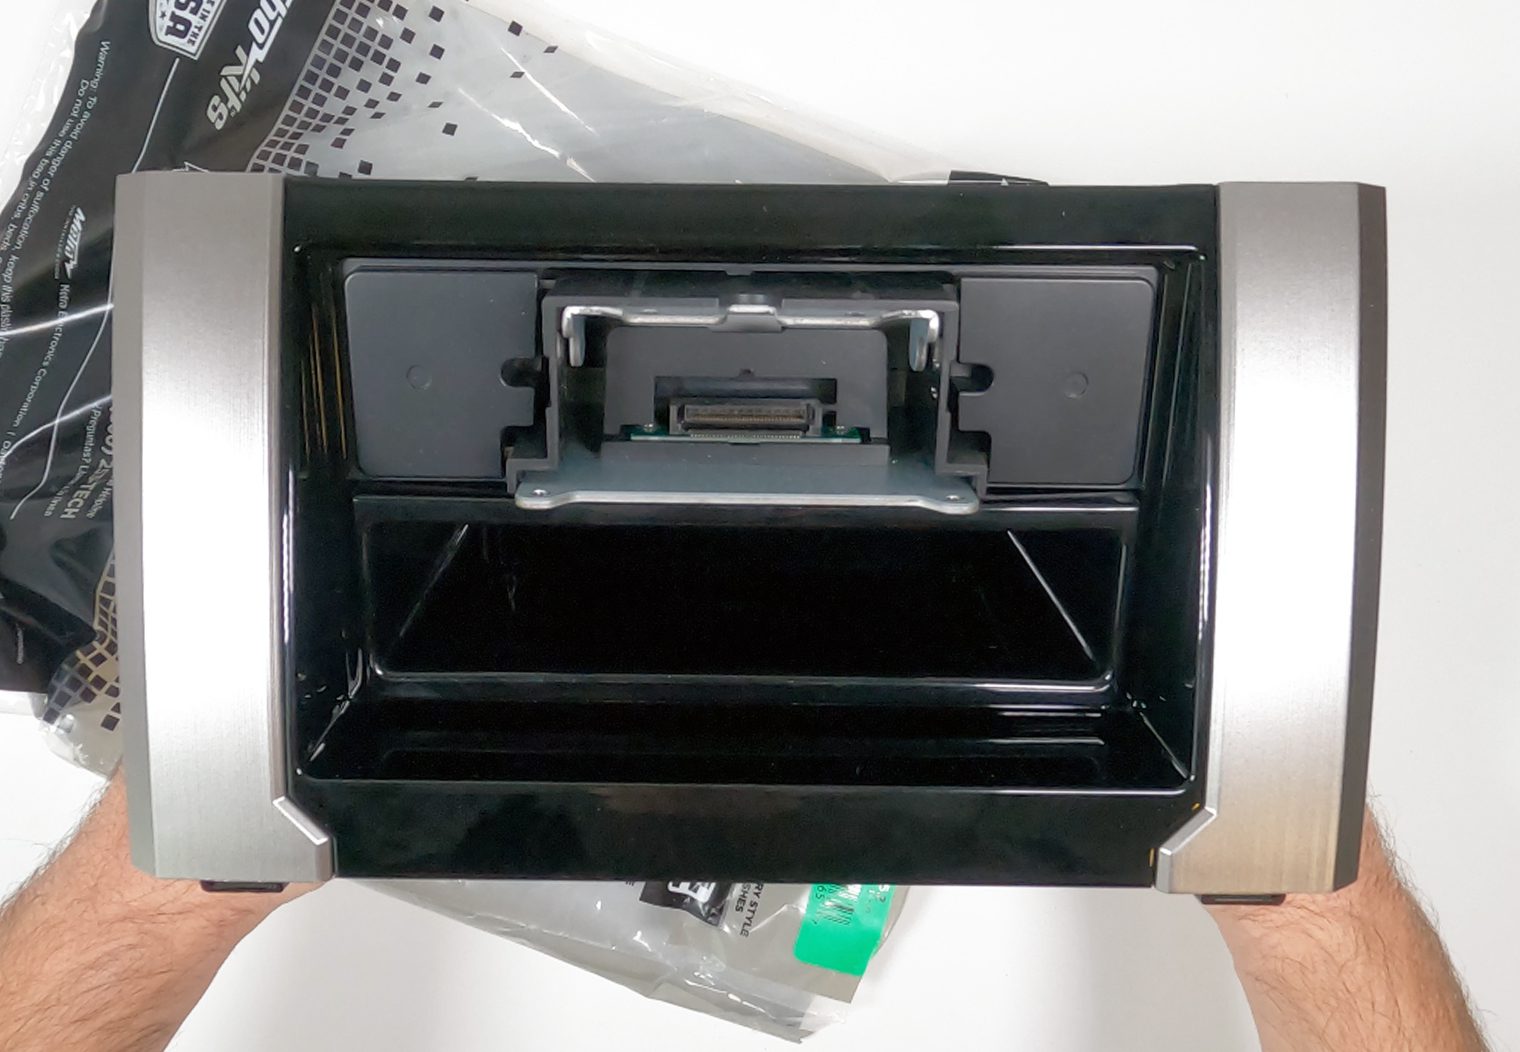
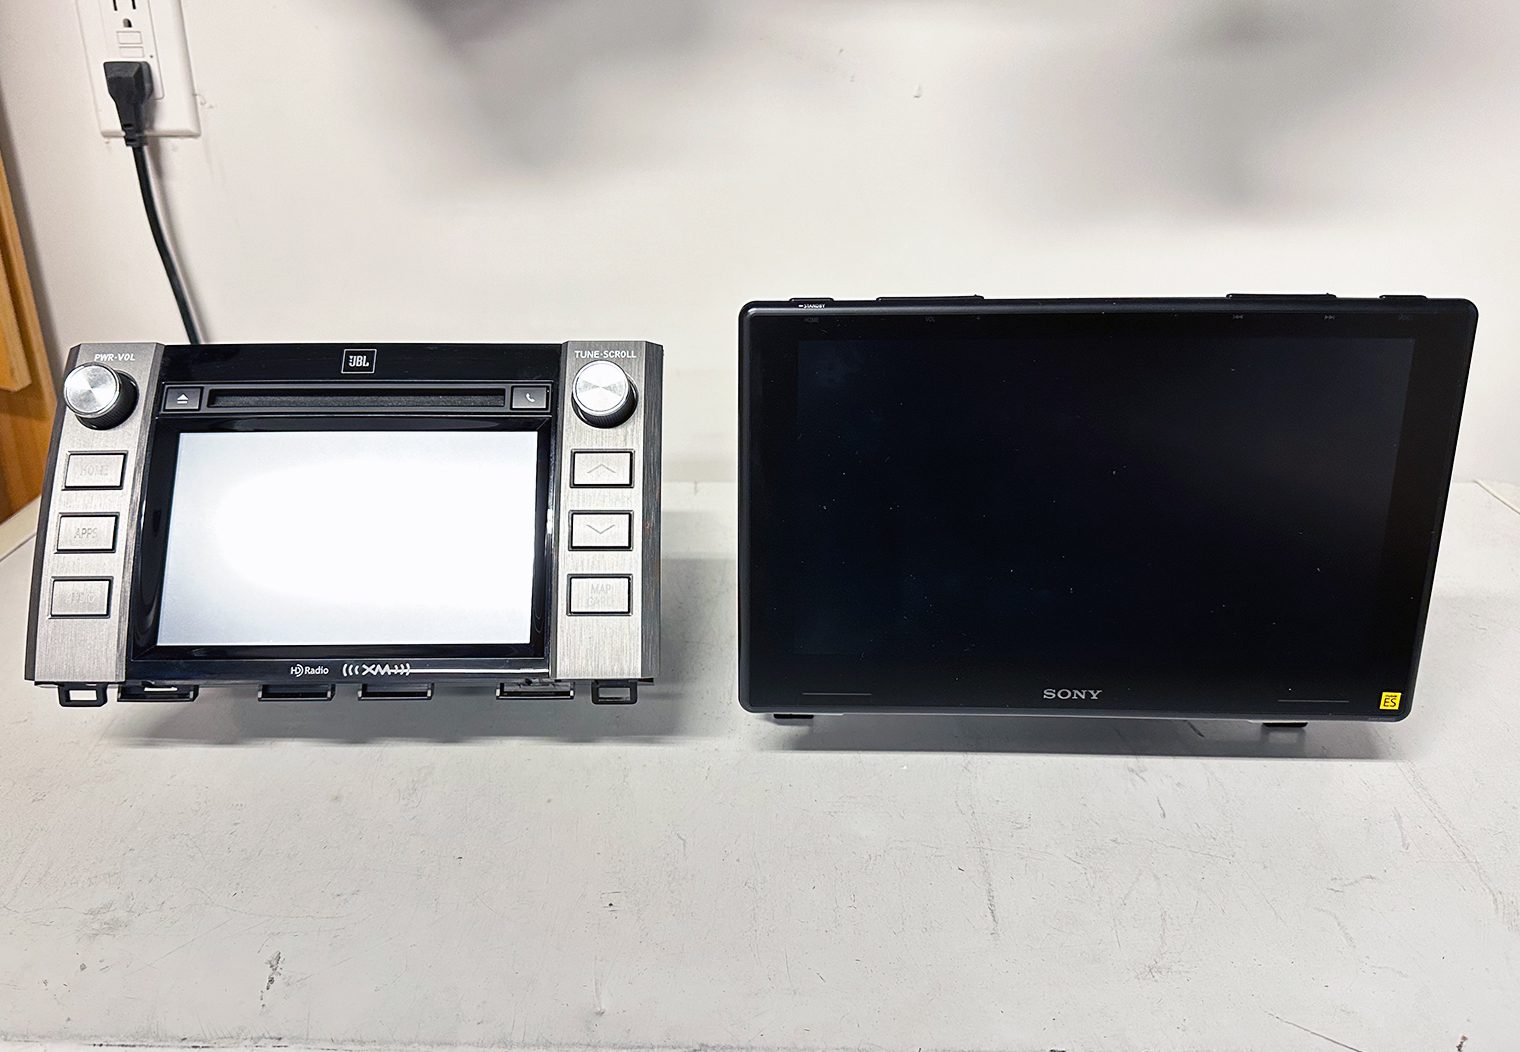
For this installation, I leveraged the cubby that Metra provides in order to turn the dash kit into a 1DIN opening. Although the Sony XAV-9500ES is an oversized screen, the chassis is actually a single DIN. With the cubby and mounts assembled, I then mounted up the Sony chassis to the dash kit, flus to the face of the opening.

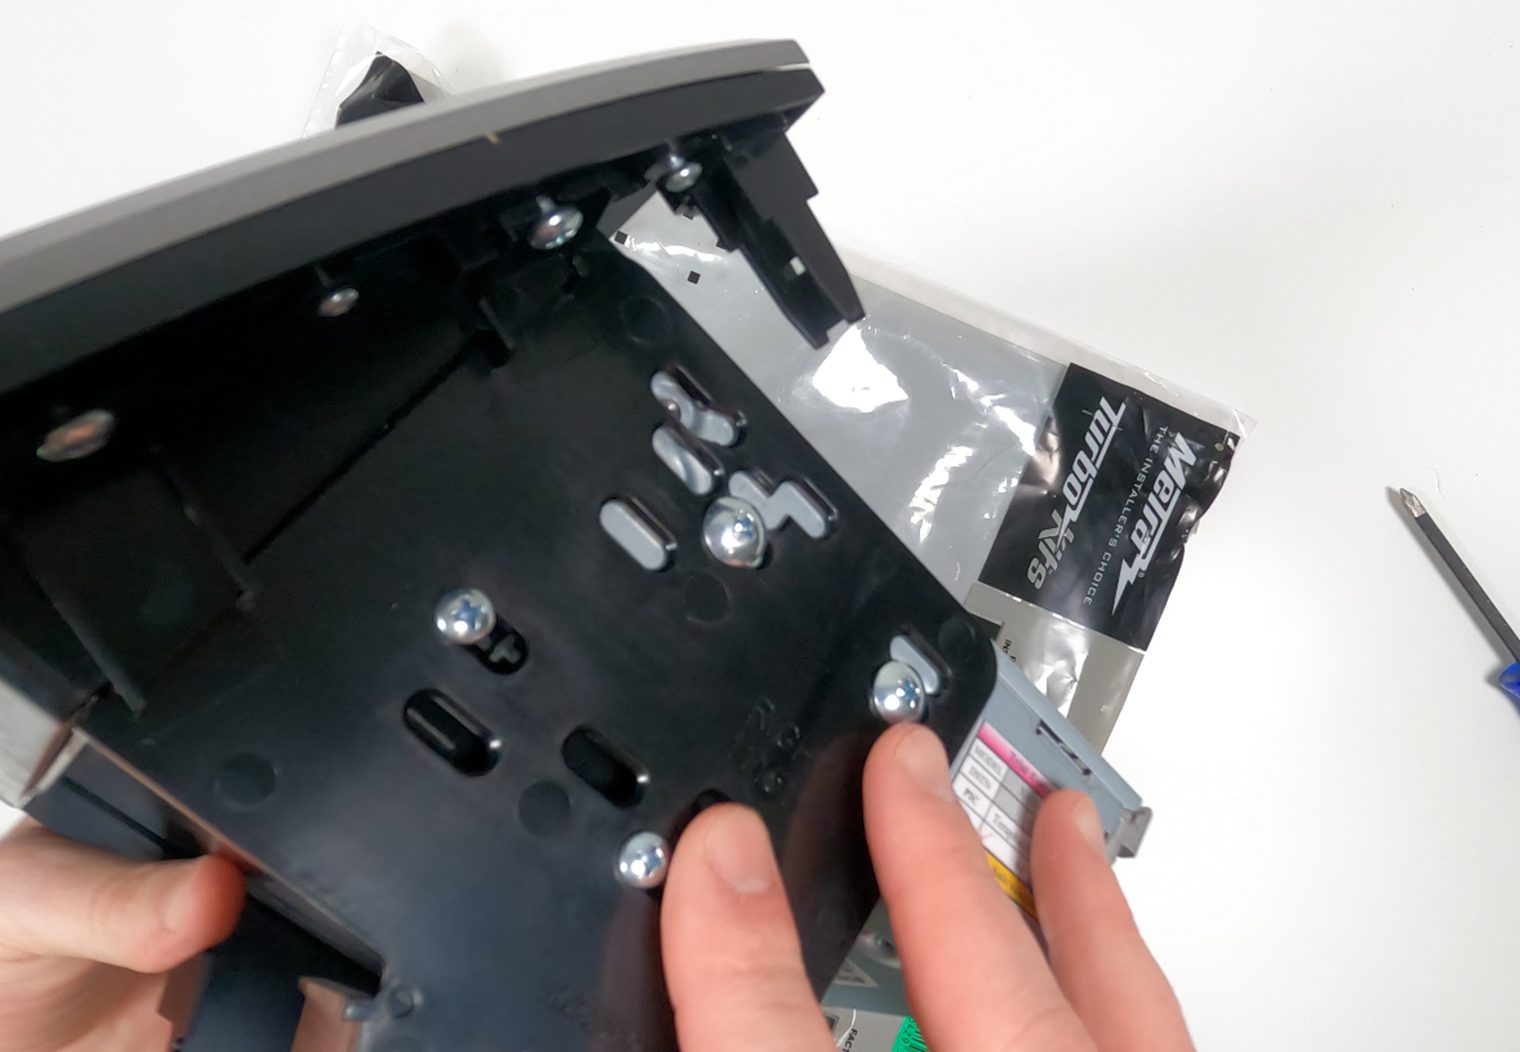
For standard 1DIN and 2DIN head units that don't have a separate screen like this Sony, the mounting process is the same, just disregard the next step.
Optional (for oversized screens)
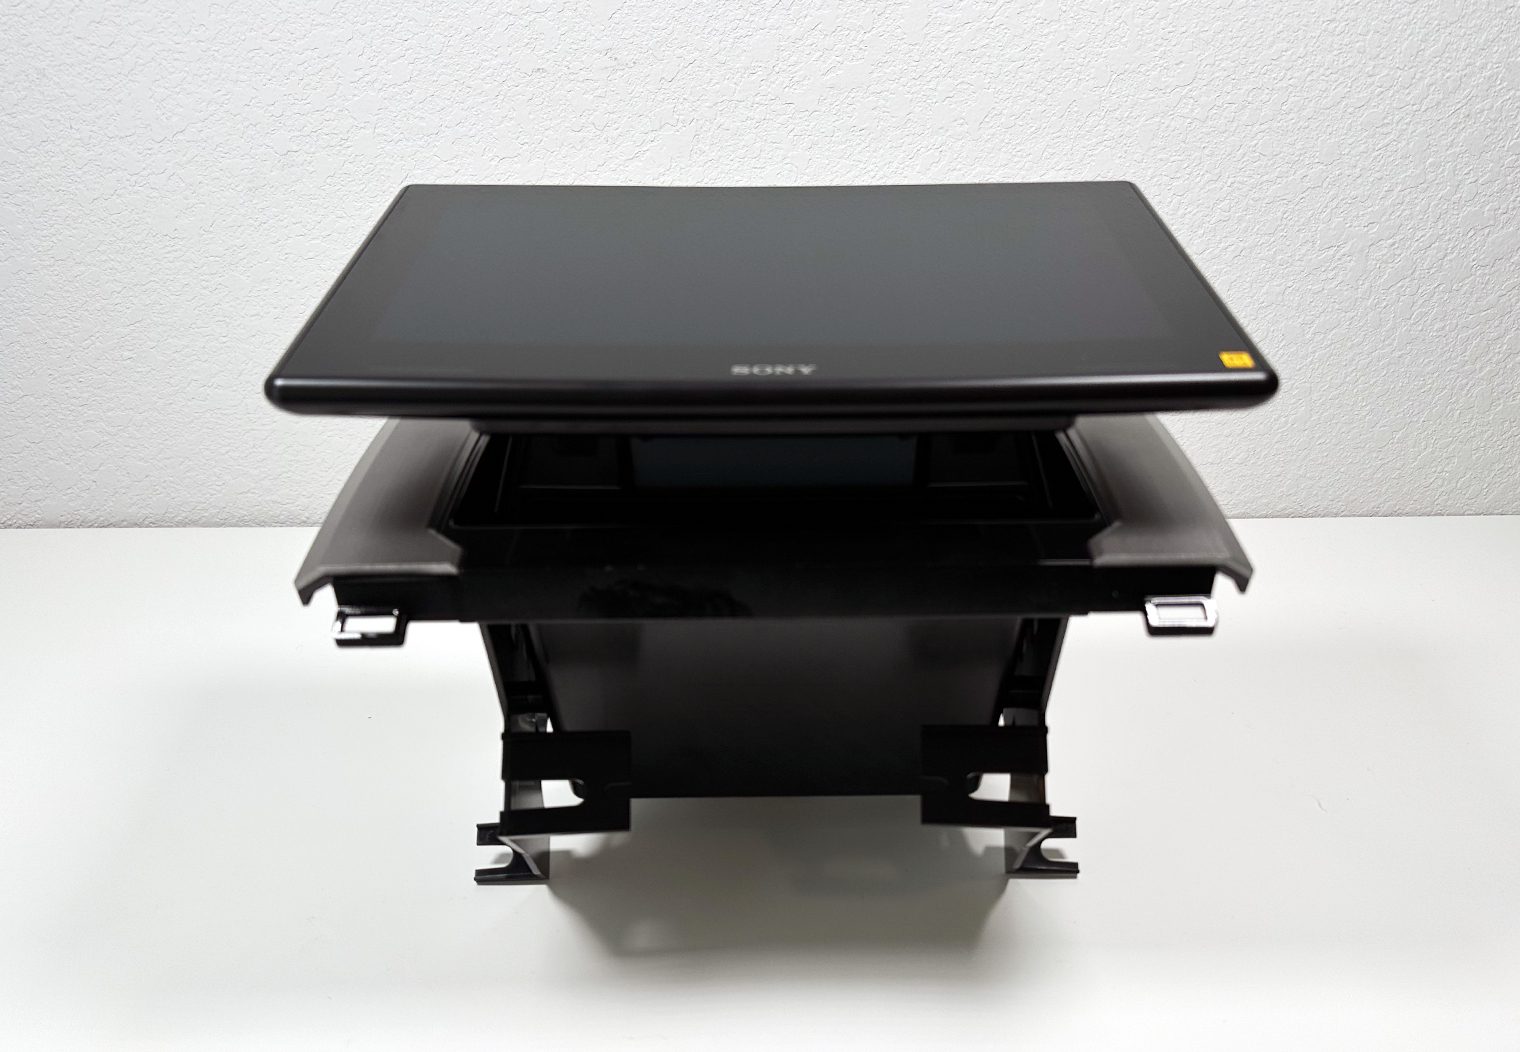
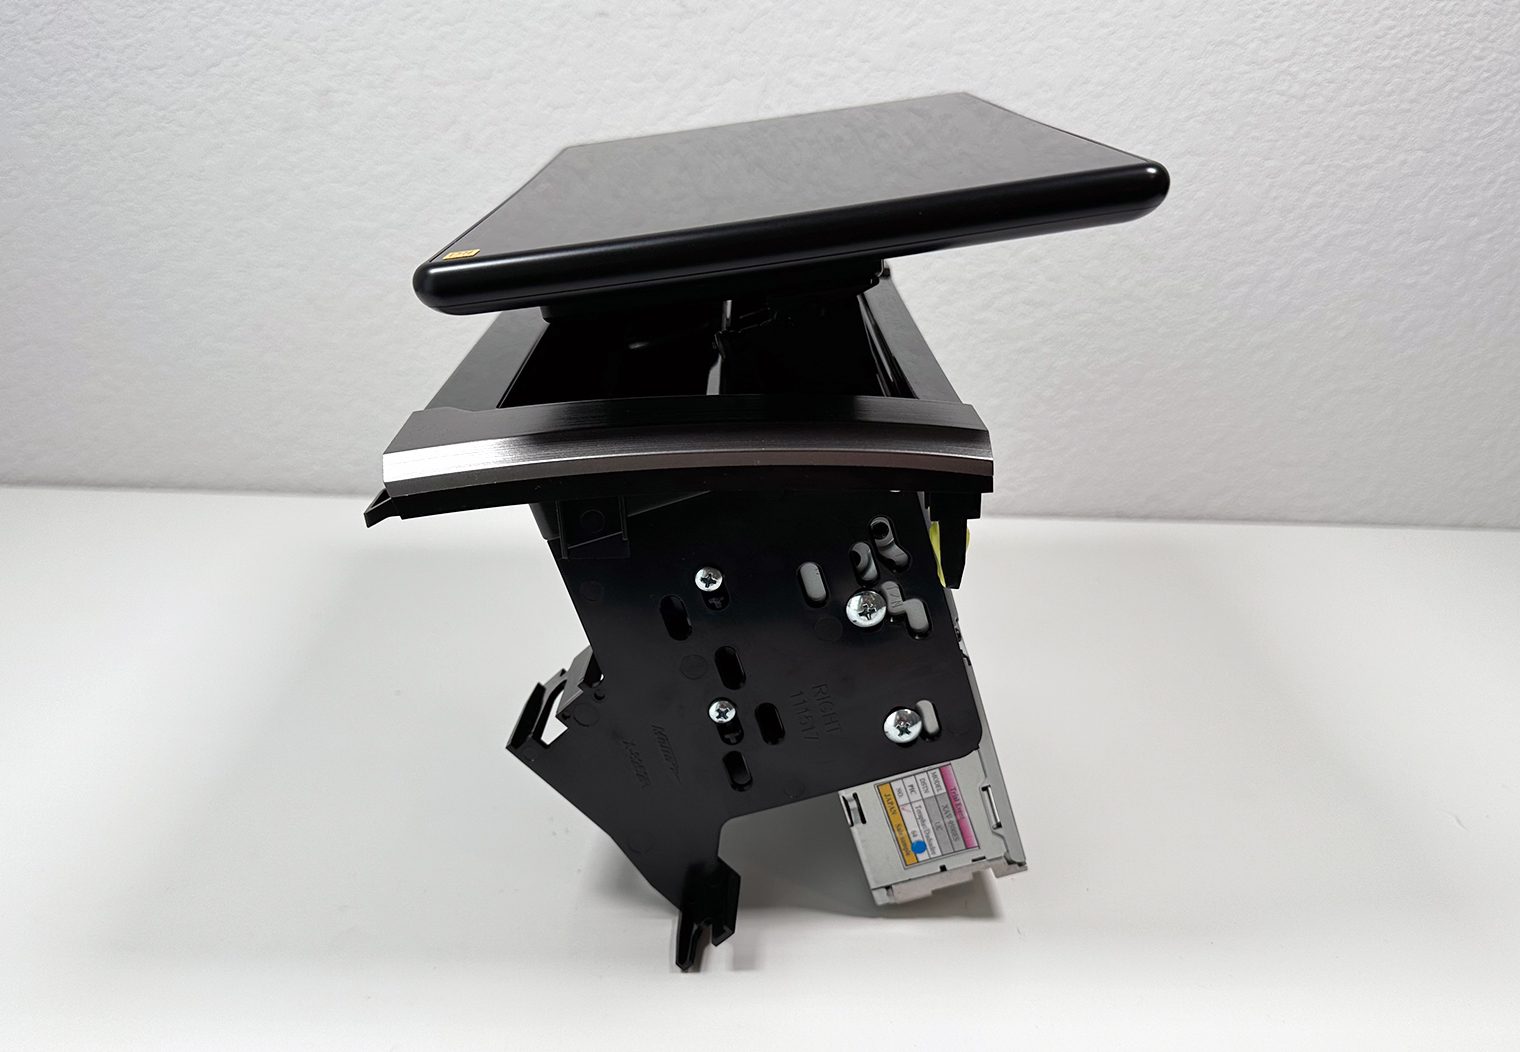
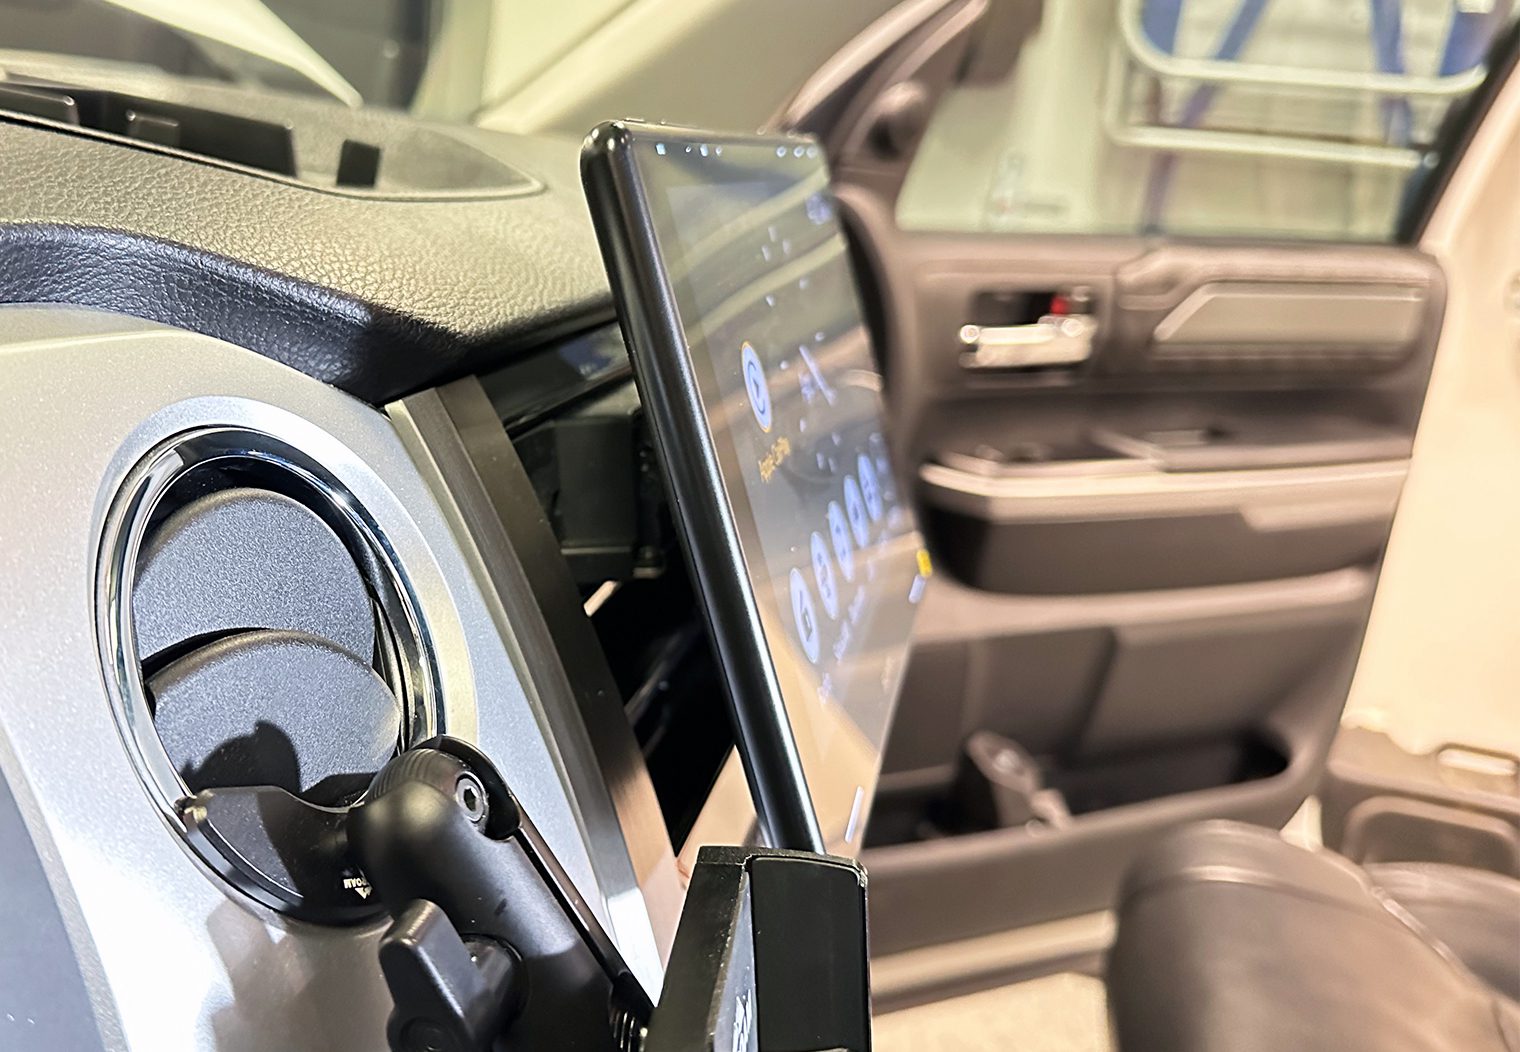
With an oversized unit like the 9500ES, I also set up the multi-point adjustments on the screen so that it would sit as far back towards the dash, as centered to the opening as possible and with the angle I wanted. This doesn't apply to non-oversized units though since they do not have an adjustment like this.

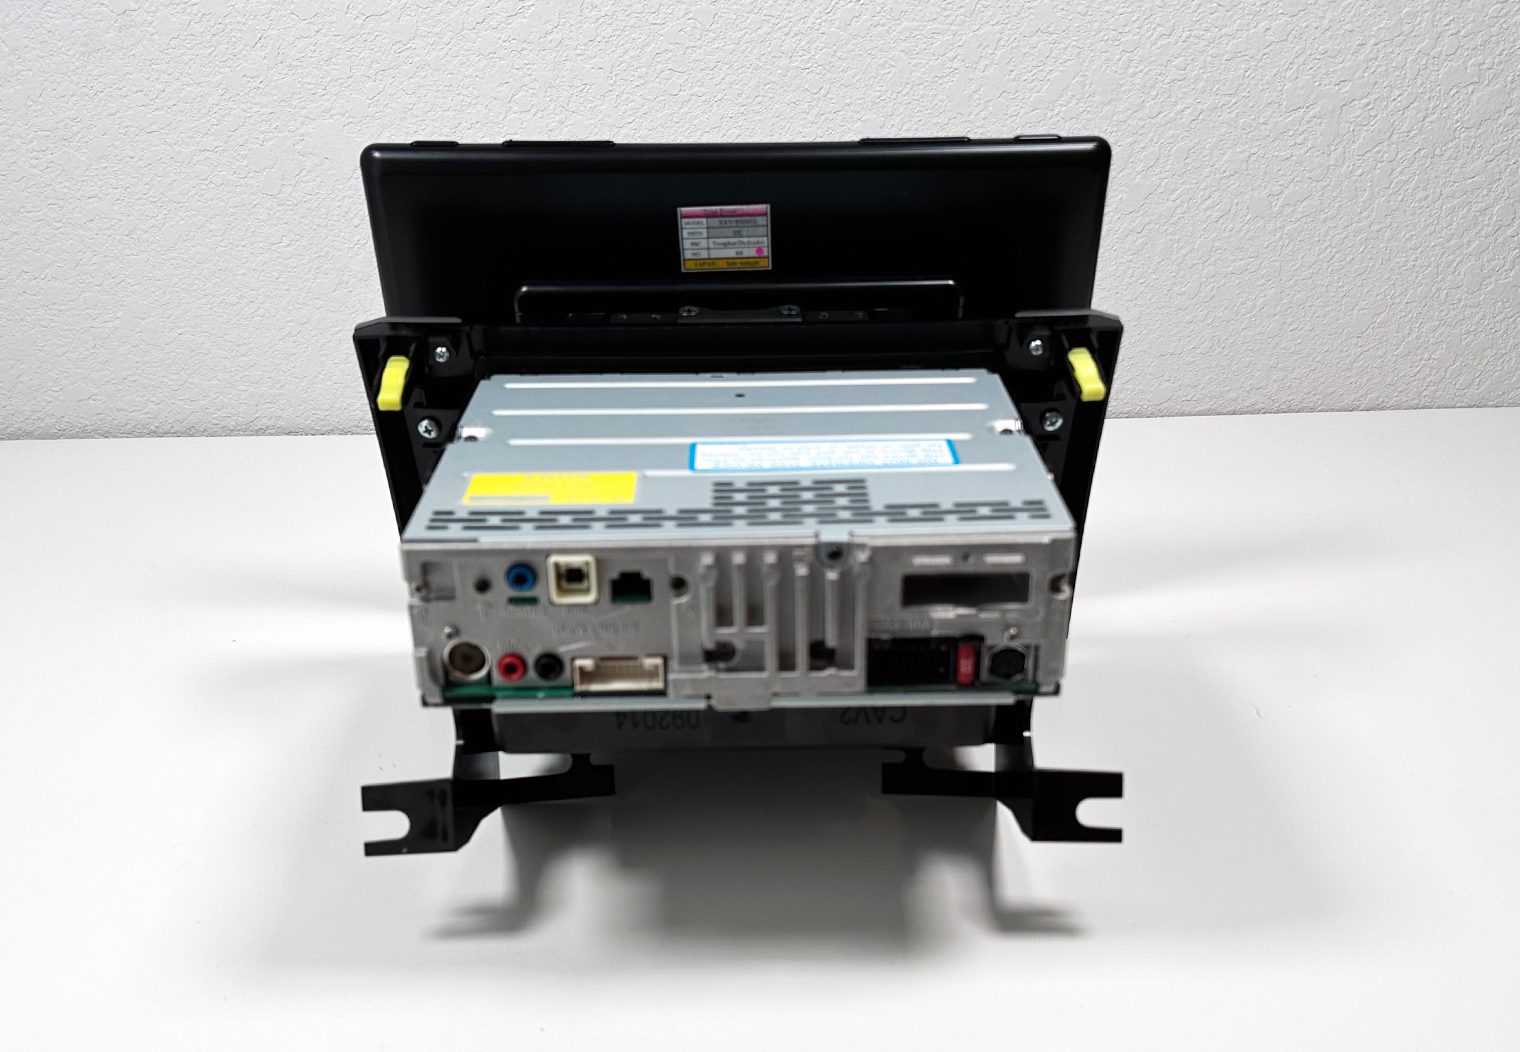
Then I mounted the screen to the chassis to complete the install of the unit in the dash kit. At this point, with the exception of the sensor wires I need to complete on the harness, both the wiring and the head unit are ready to drop into the truck.

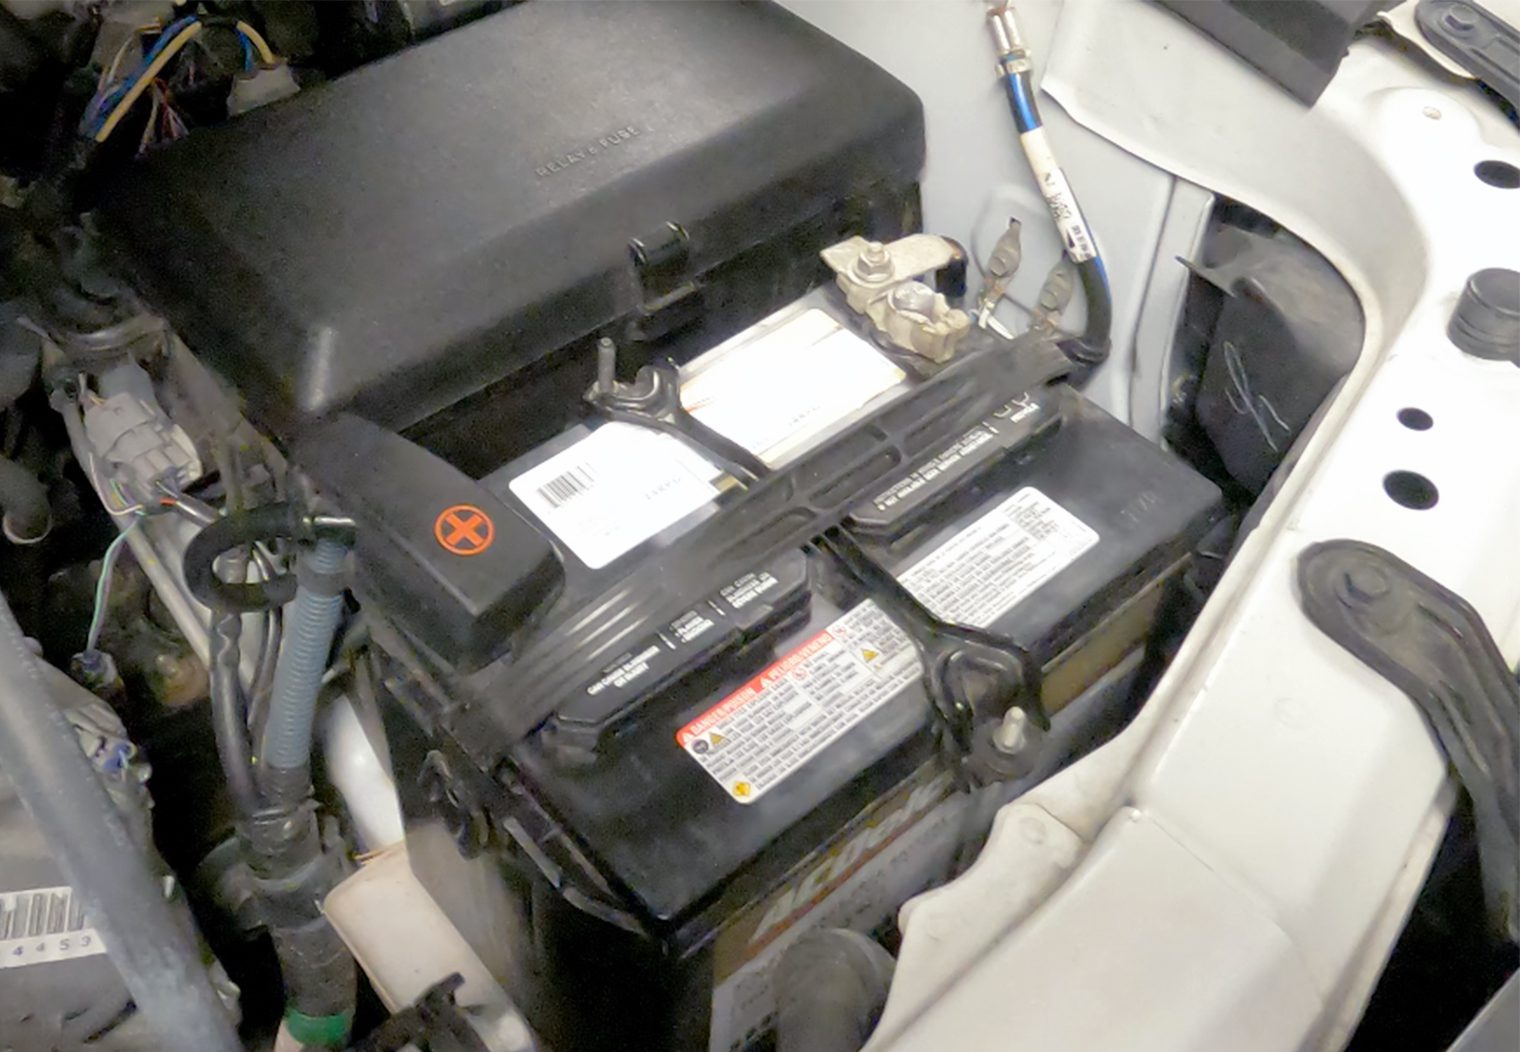
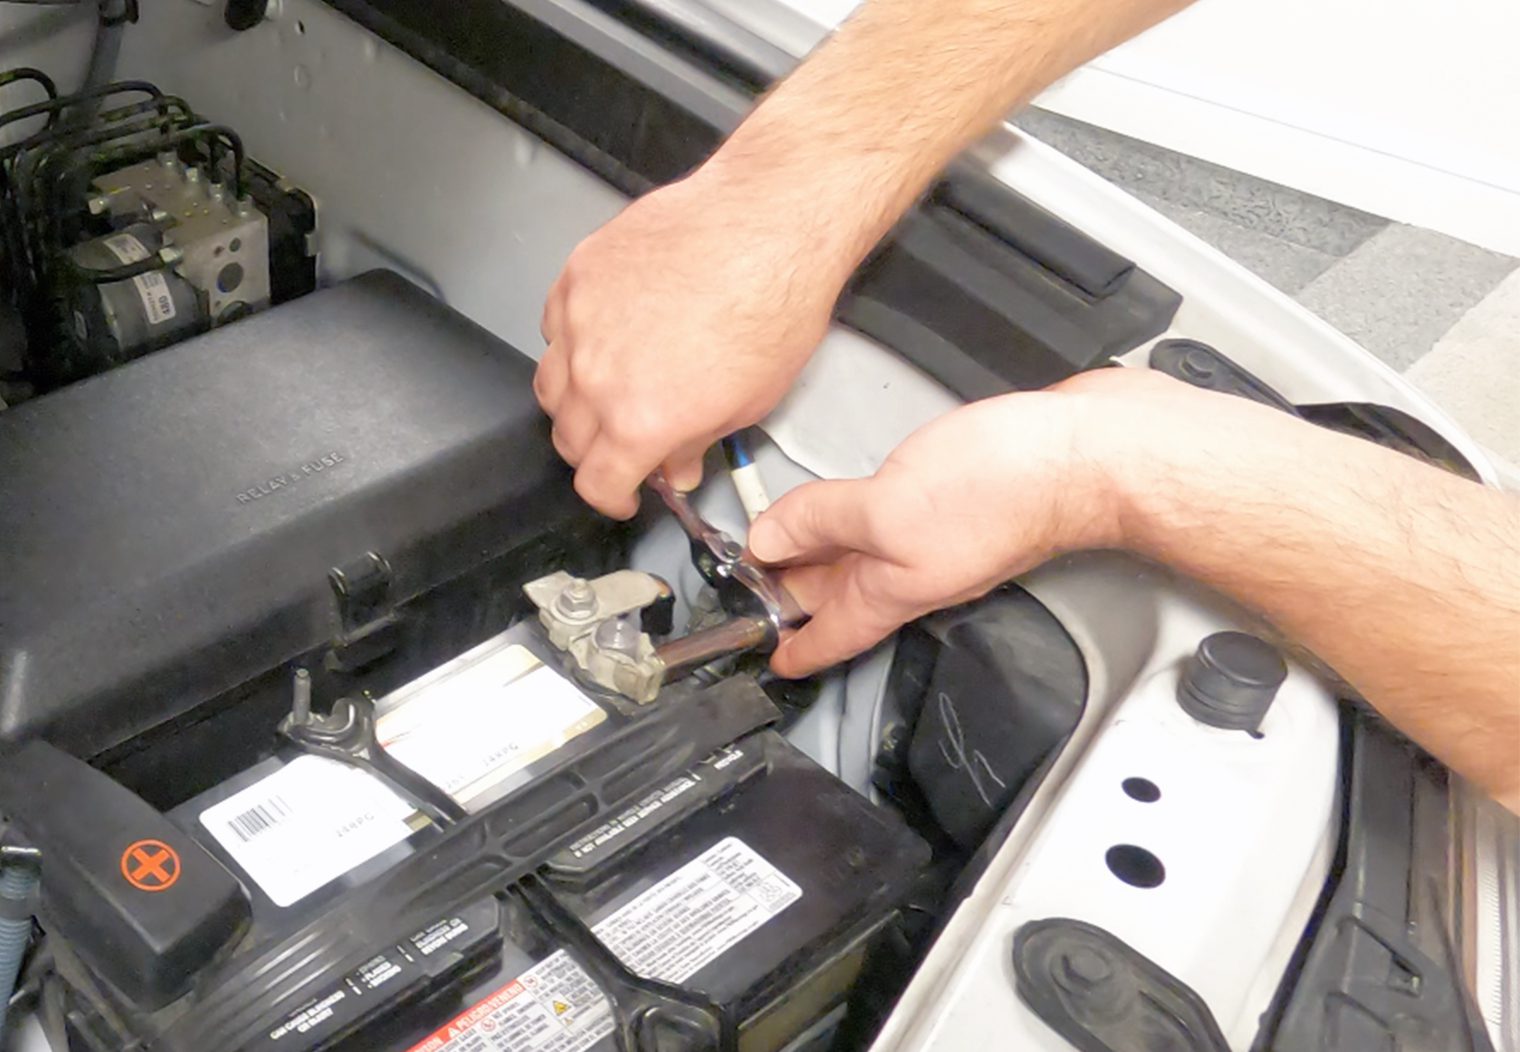
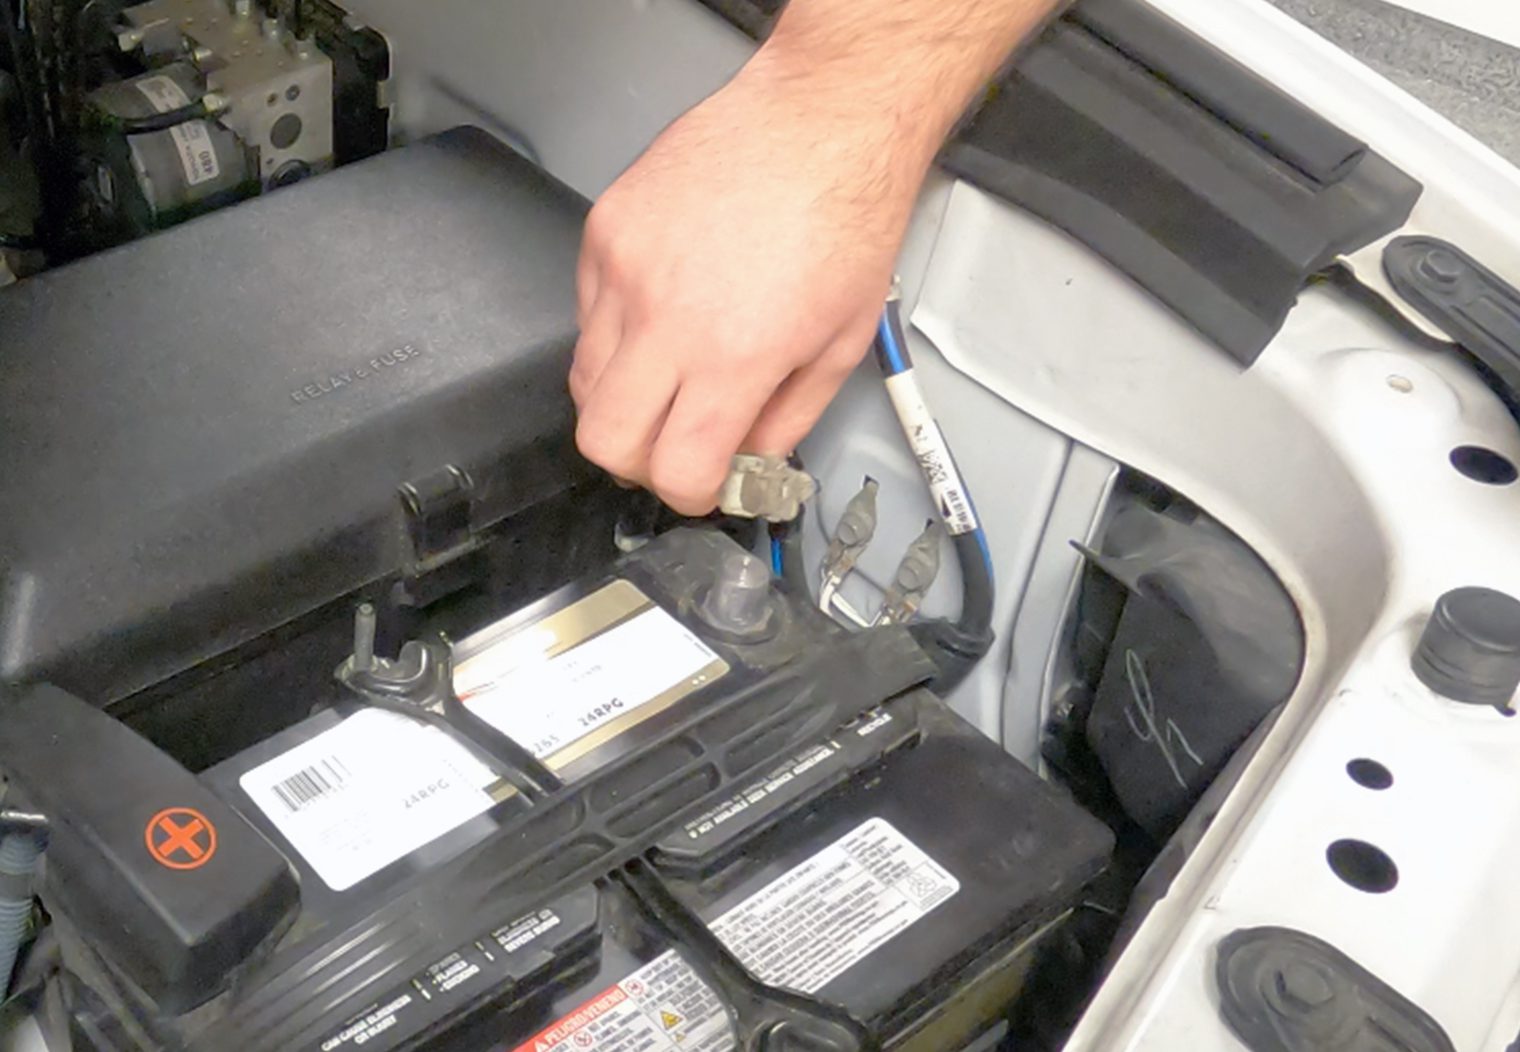
Step 3: Disconnect Truck Battery
Now that I'm ready to work on the truck, I disconnected the battery. Disconnecting the battery is good practice in case you accidentally short something. It prevents damage and blown fuses so I recommend always disconnecting the battery when working on any wiring on your vehicle.
Step 4: Removal of the Head Unit
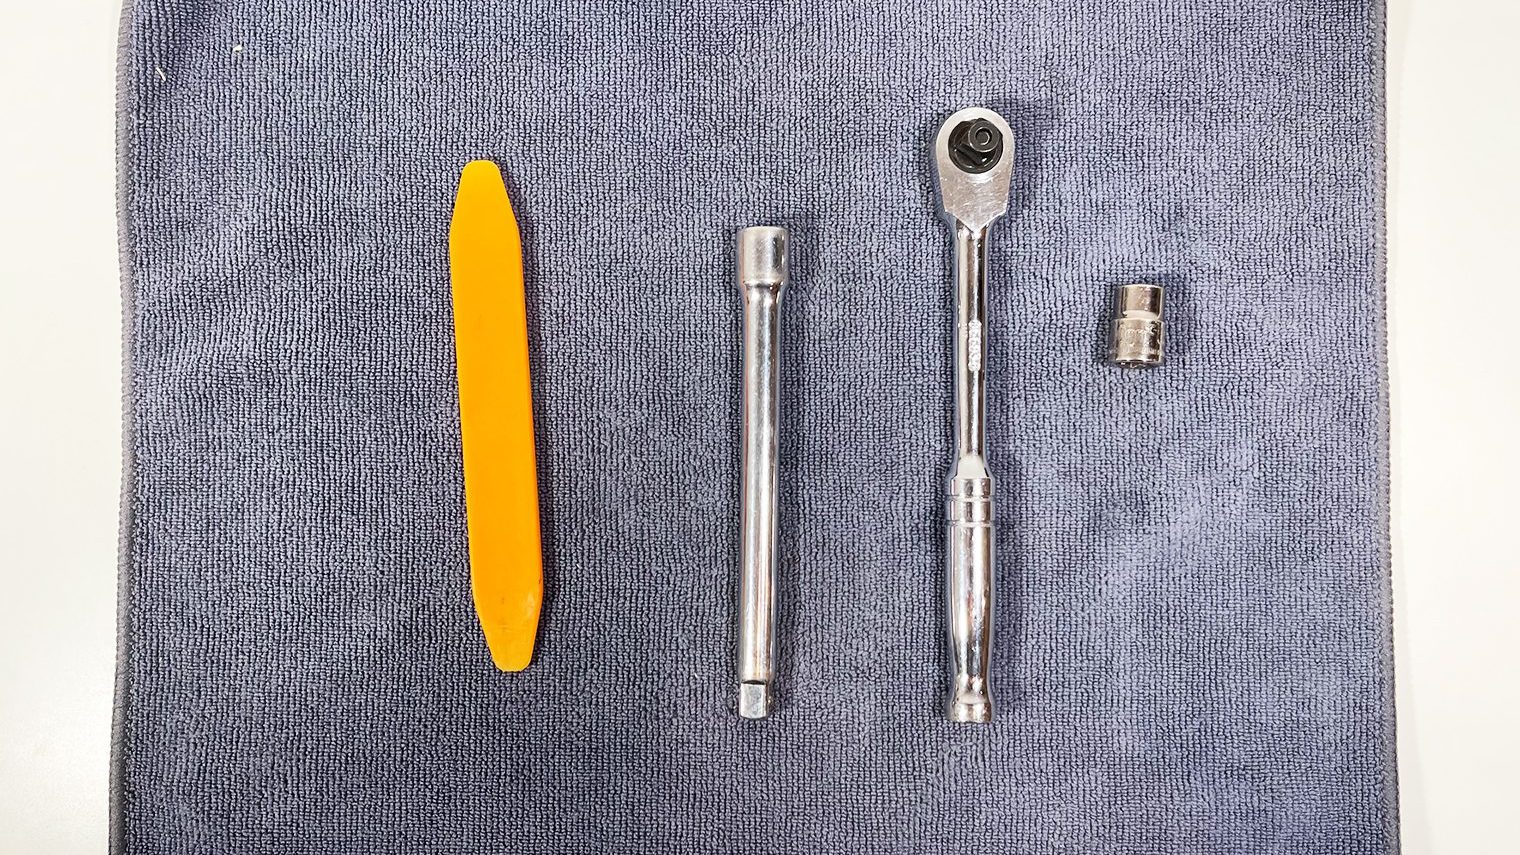
I always enjoy working on Toyotas. They're quick, easy, and have plenty of room for aftermarket head units and their wiring behind the dash. This generation of Tundra is no exception. To remove the factory head unit on a 2014-2021 Tundra, you need all but four tools:
- 10mm Socket
- Ratchet
- Ratchet extension
- Trim tool
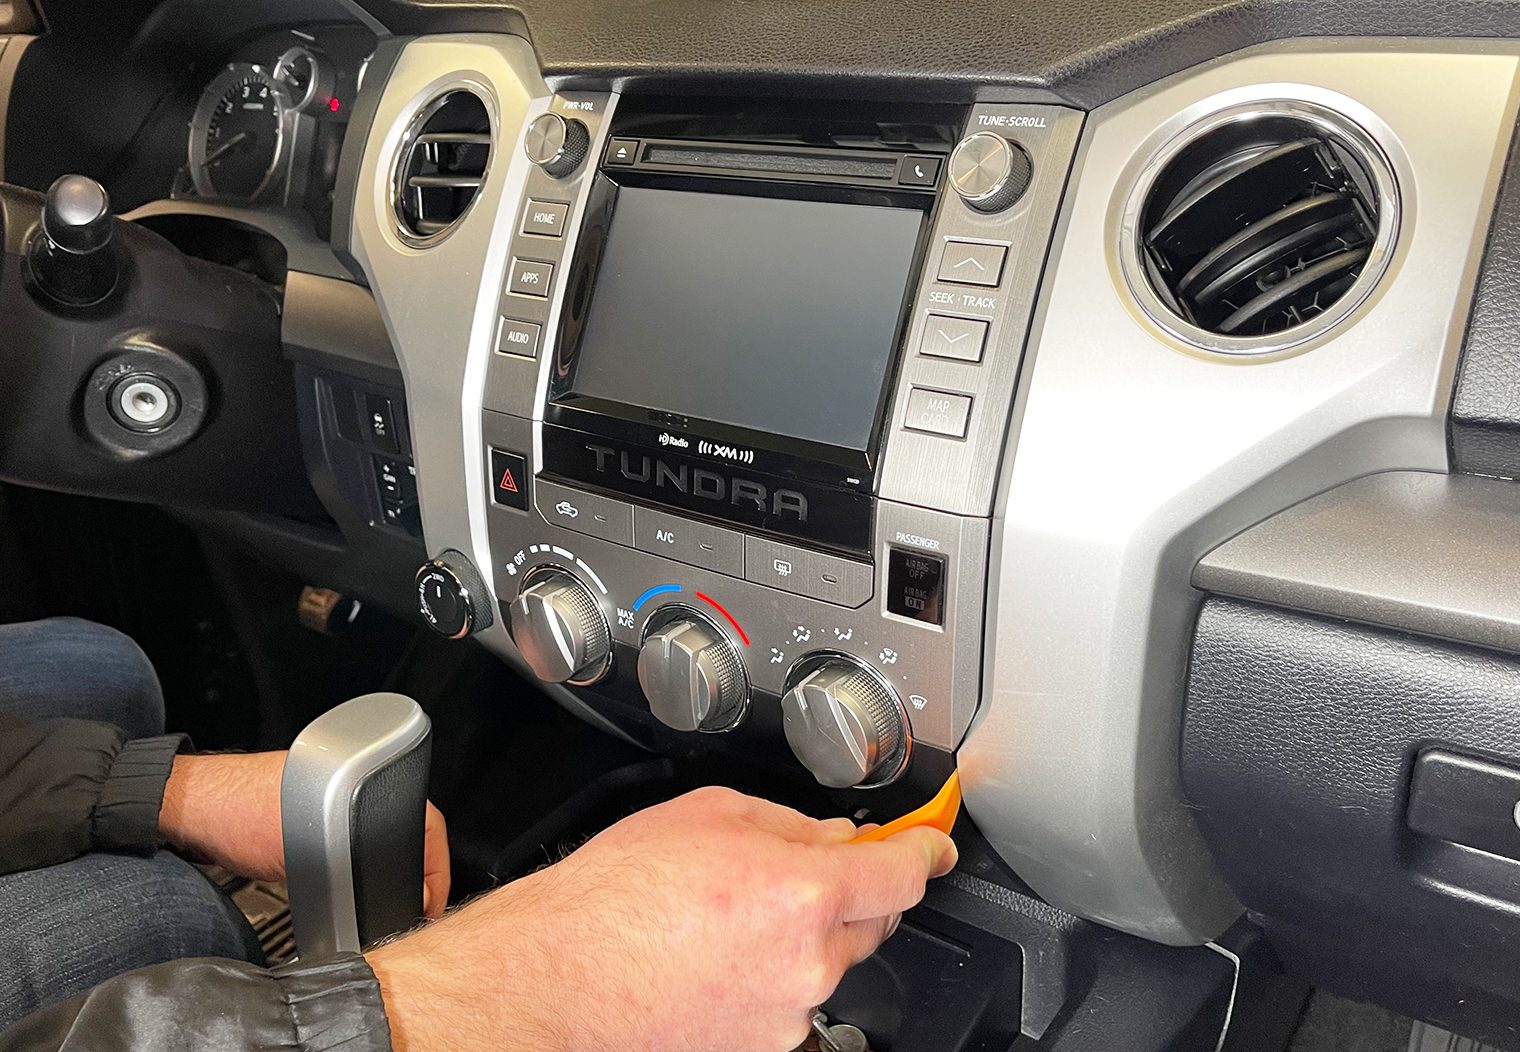
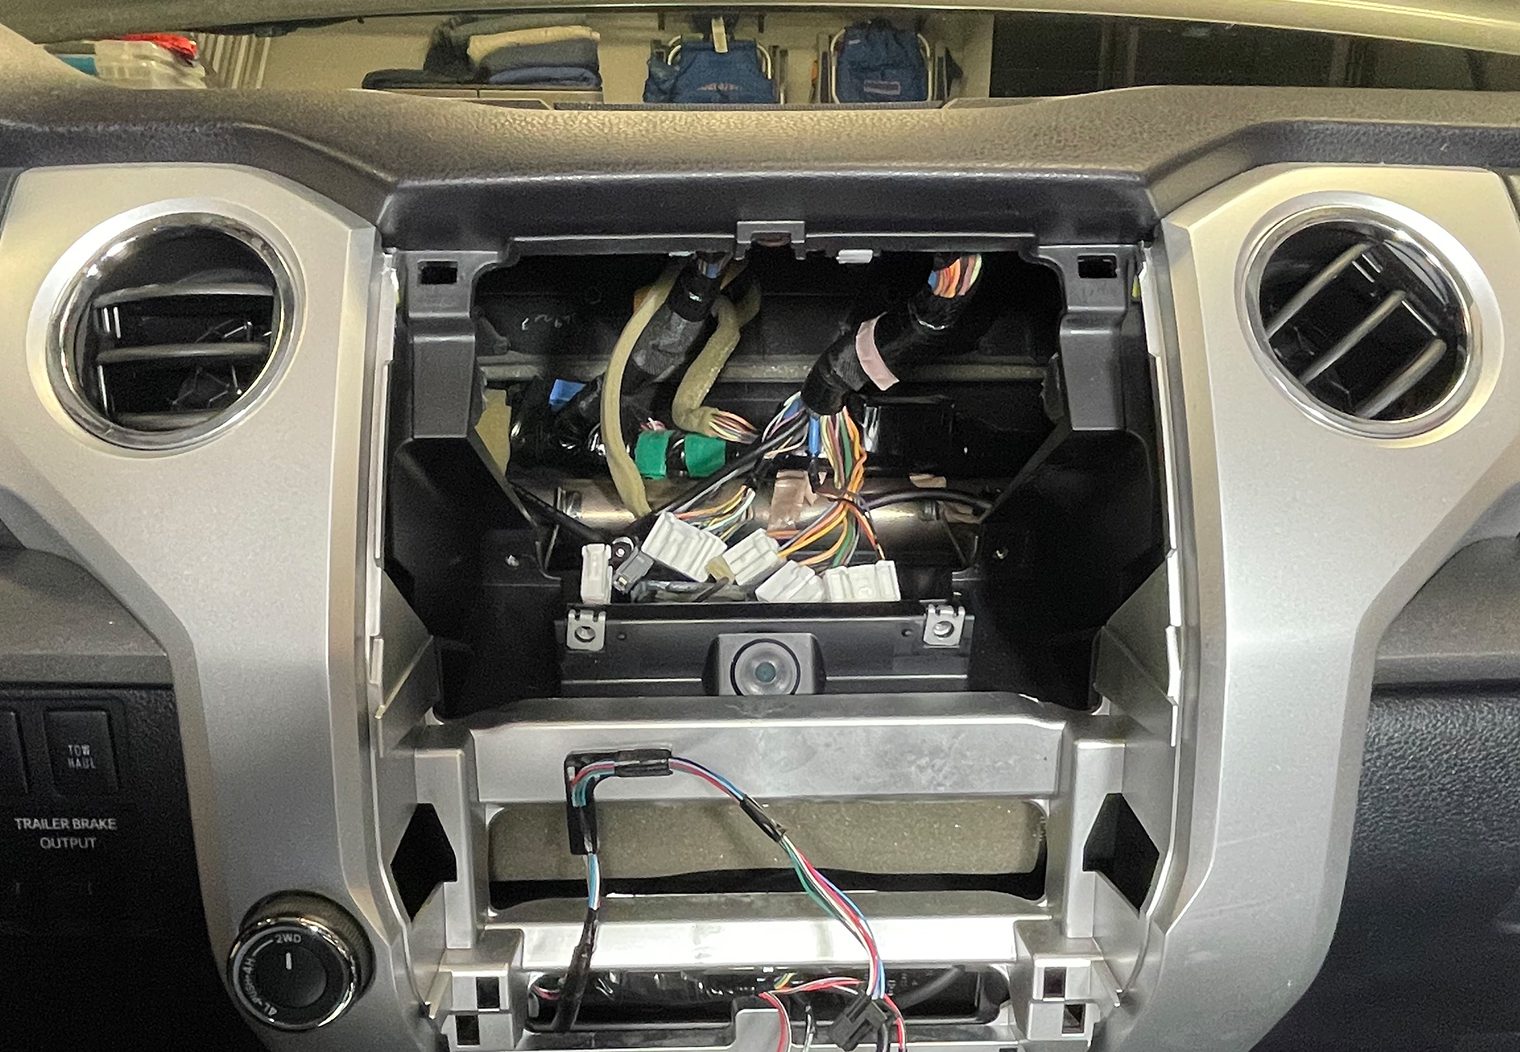
First, use the trim tool to remove the bottom most trim piece on the center of the Tundra's dash below the climate control. There are a series of clips along the top and a few on the bottom. Use your trim tool to wedge along the top and unclip it. Once the top clips have been removed, you can pull the entire unit from the dash and unplug it.
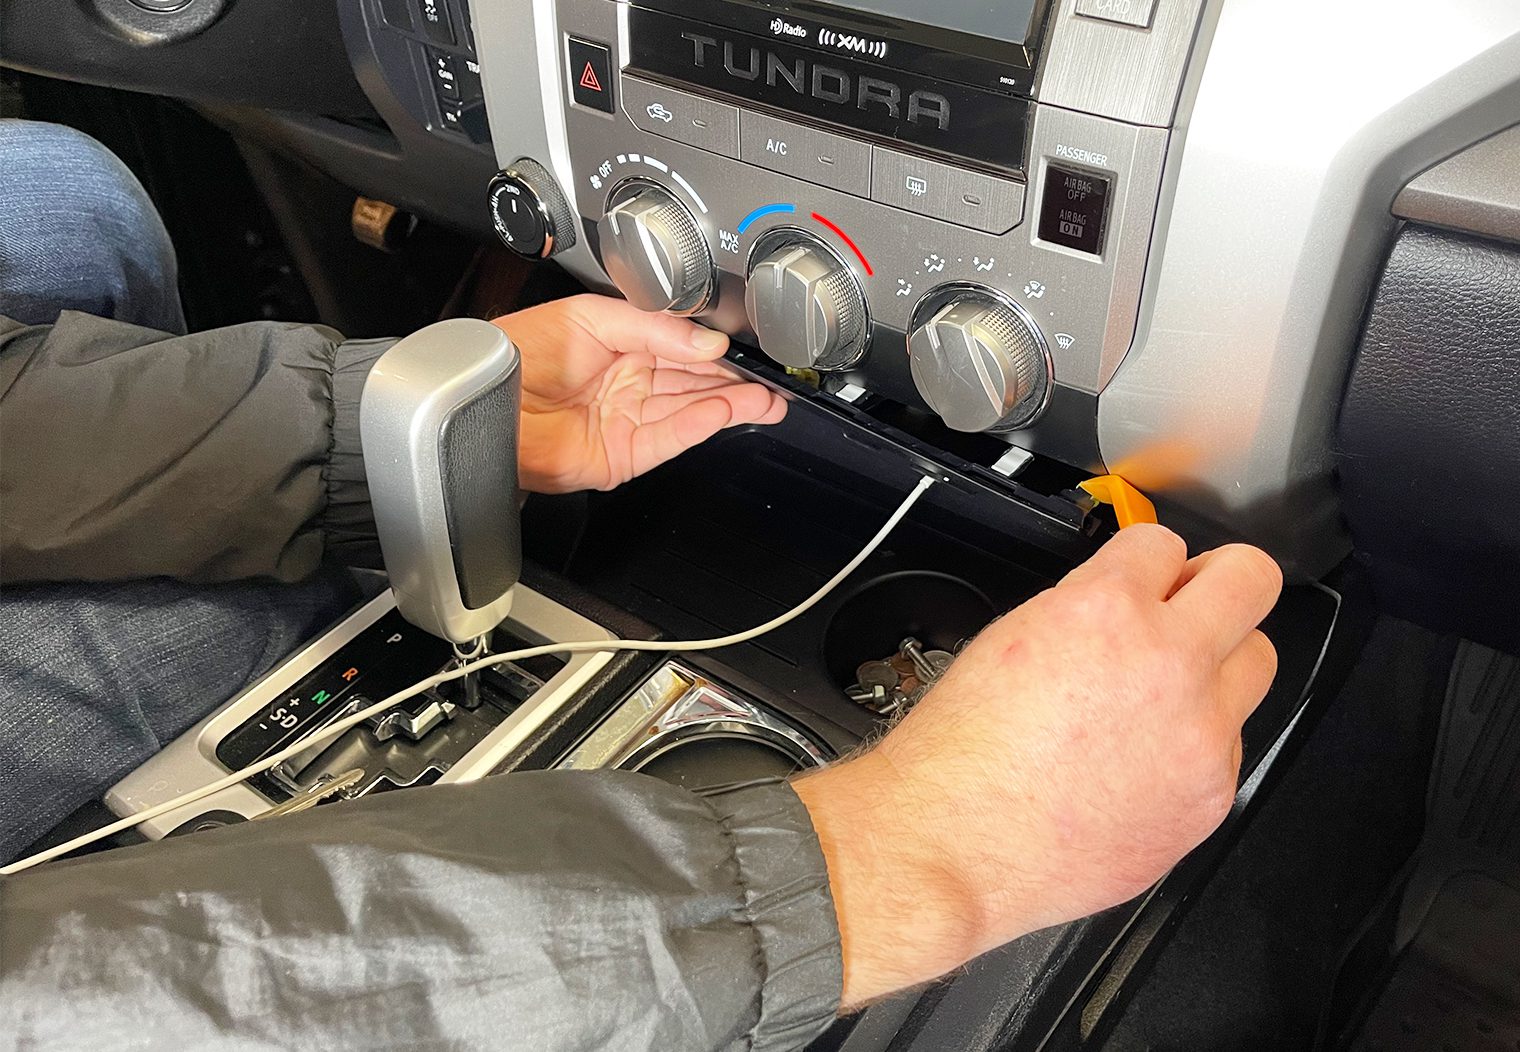
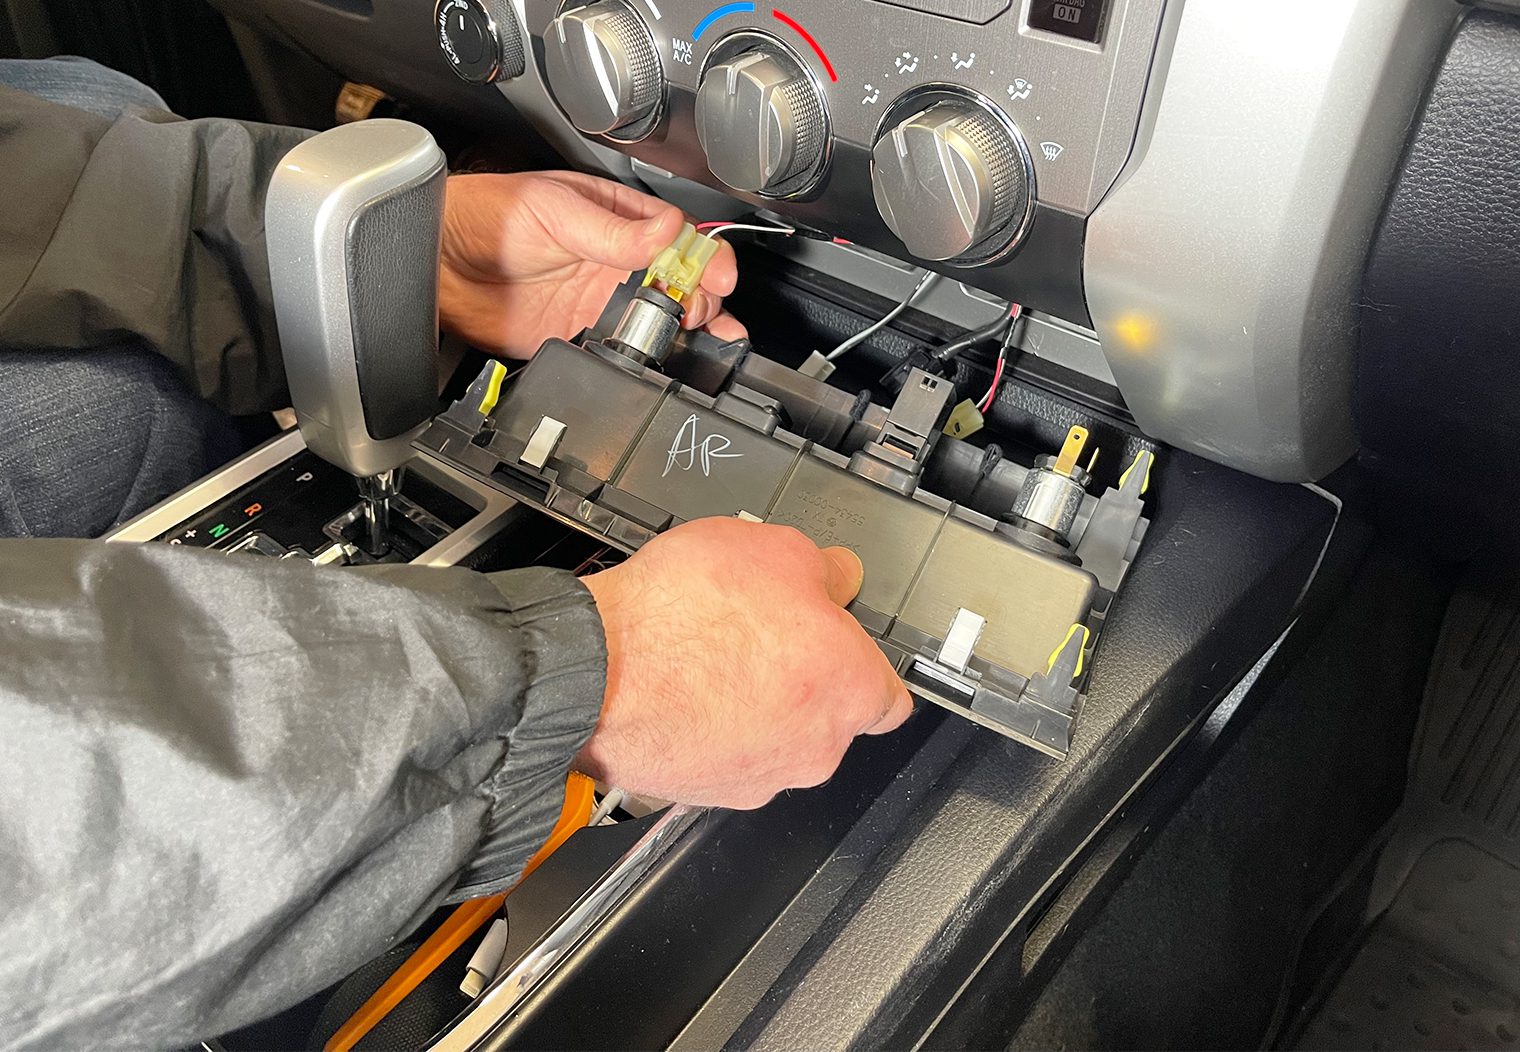
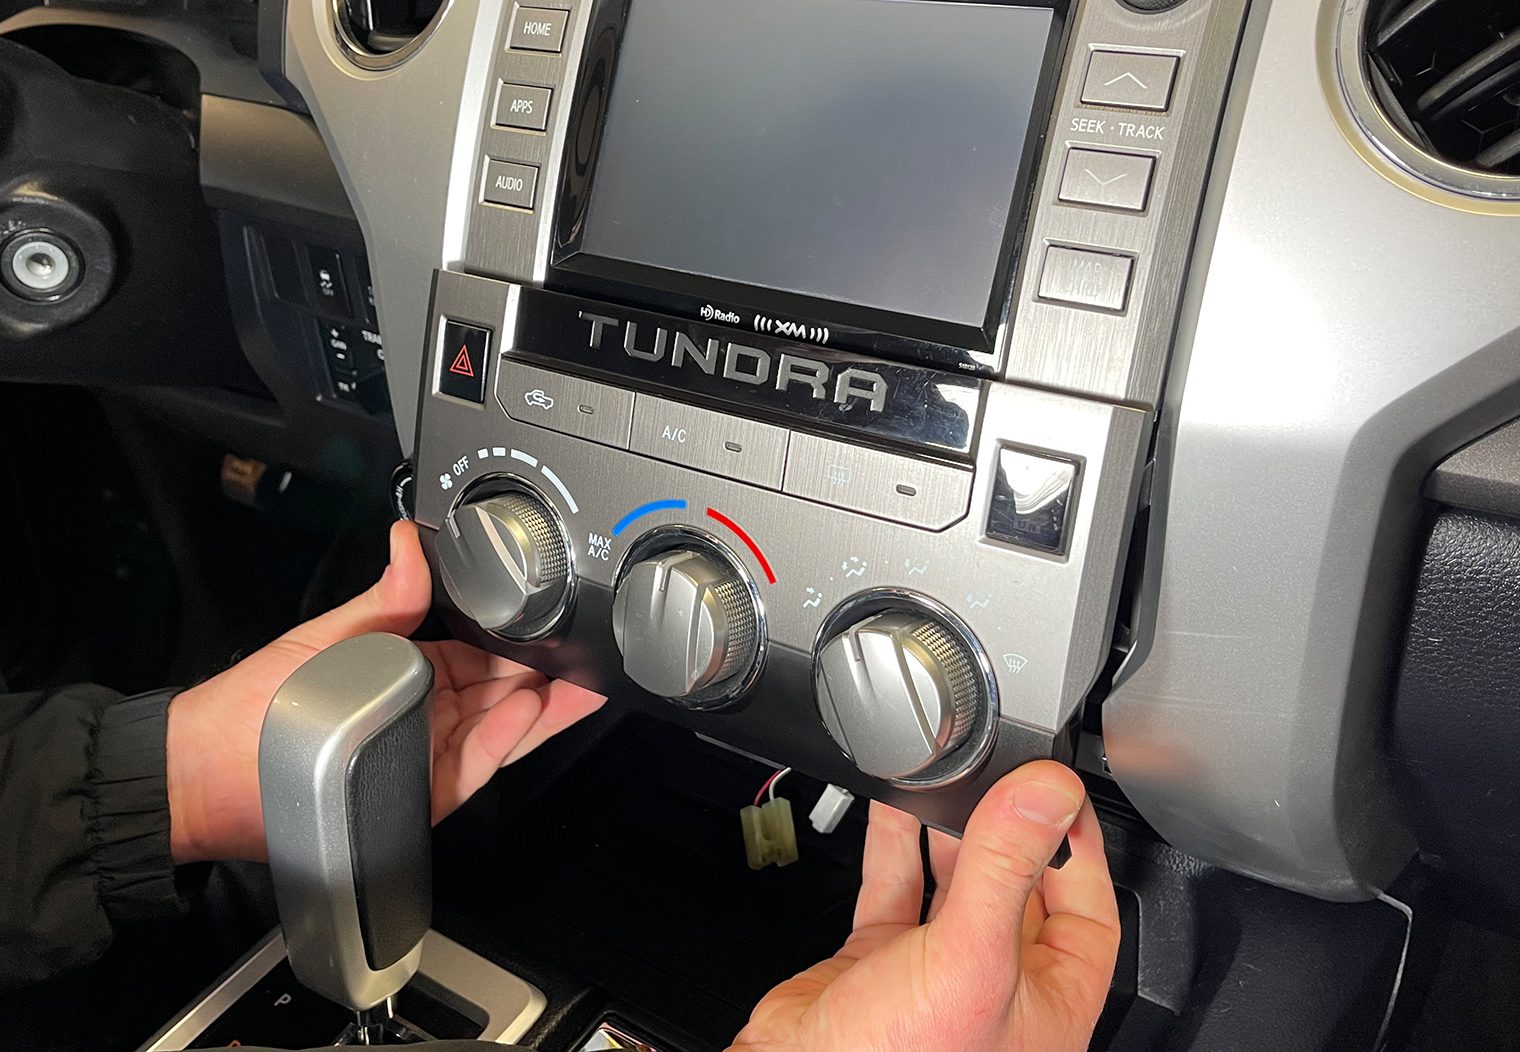
Next, you'll remove the climate control piece. This is even easier than the first trim piece since you can get your hands behind it. Simply pull outwards and it will unclip. Unplug the harnesses on the back and set it aside.

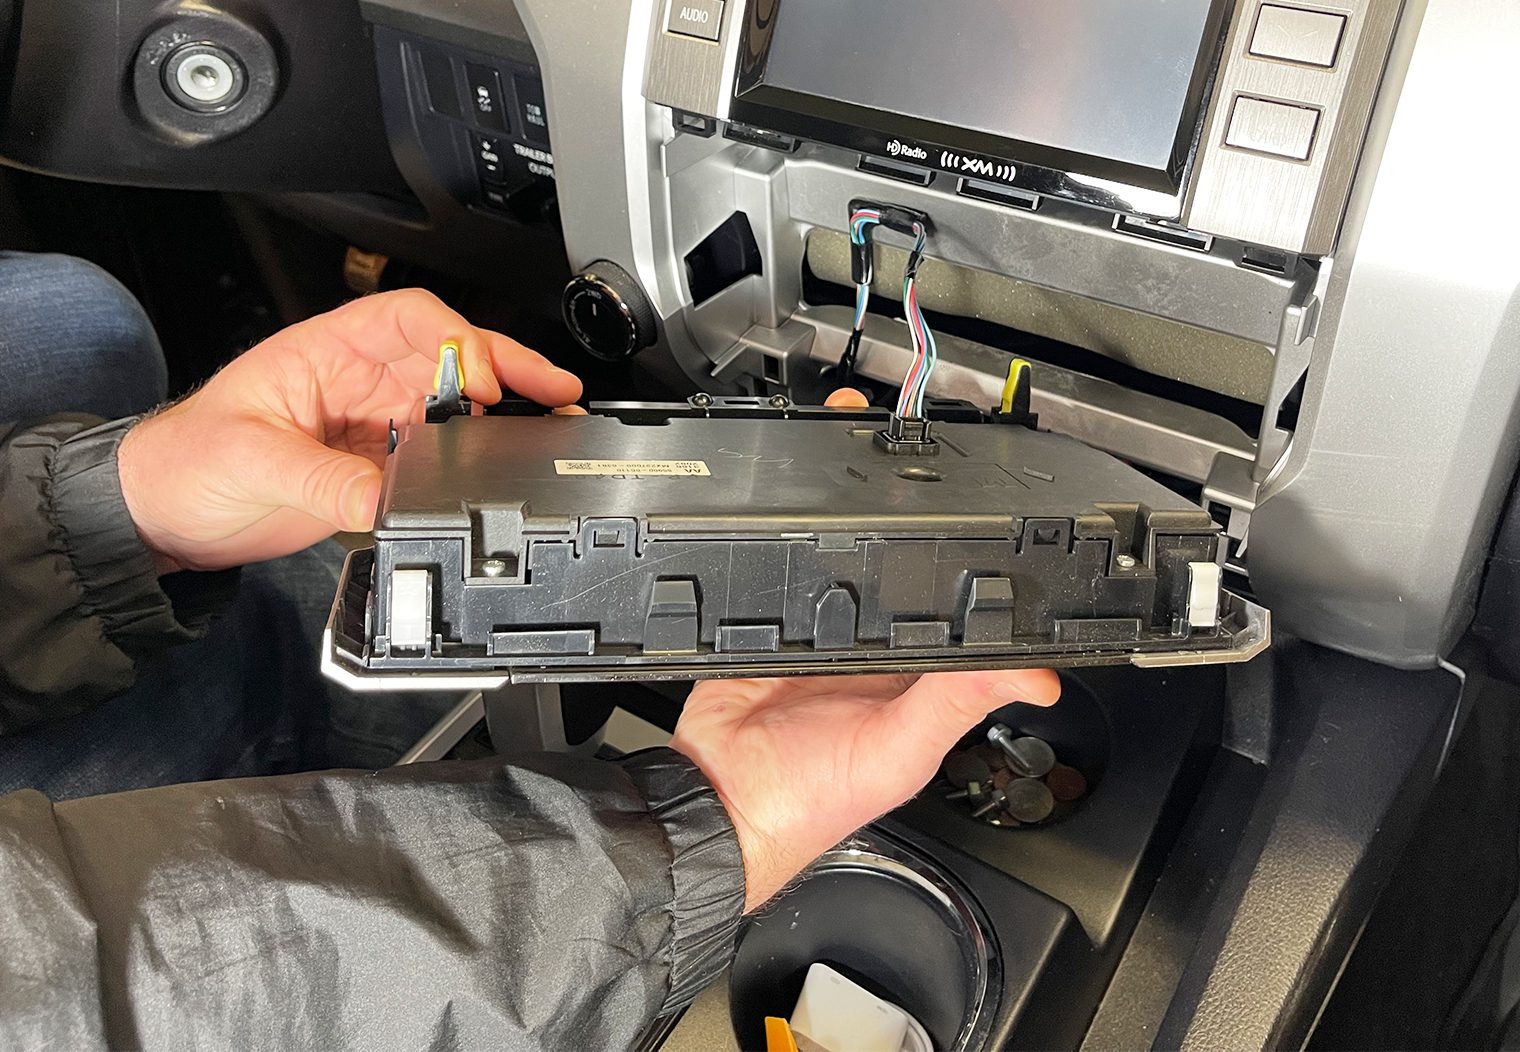
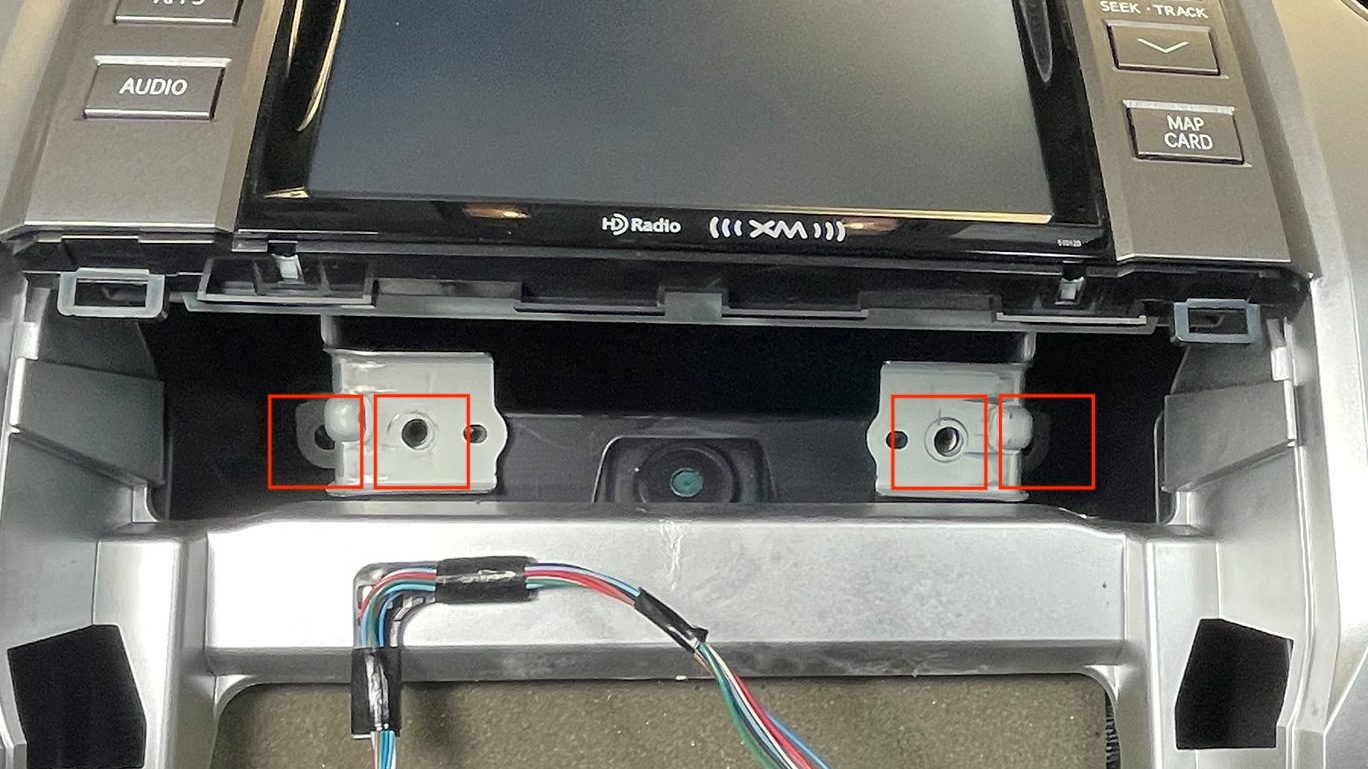
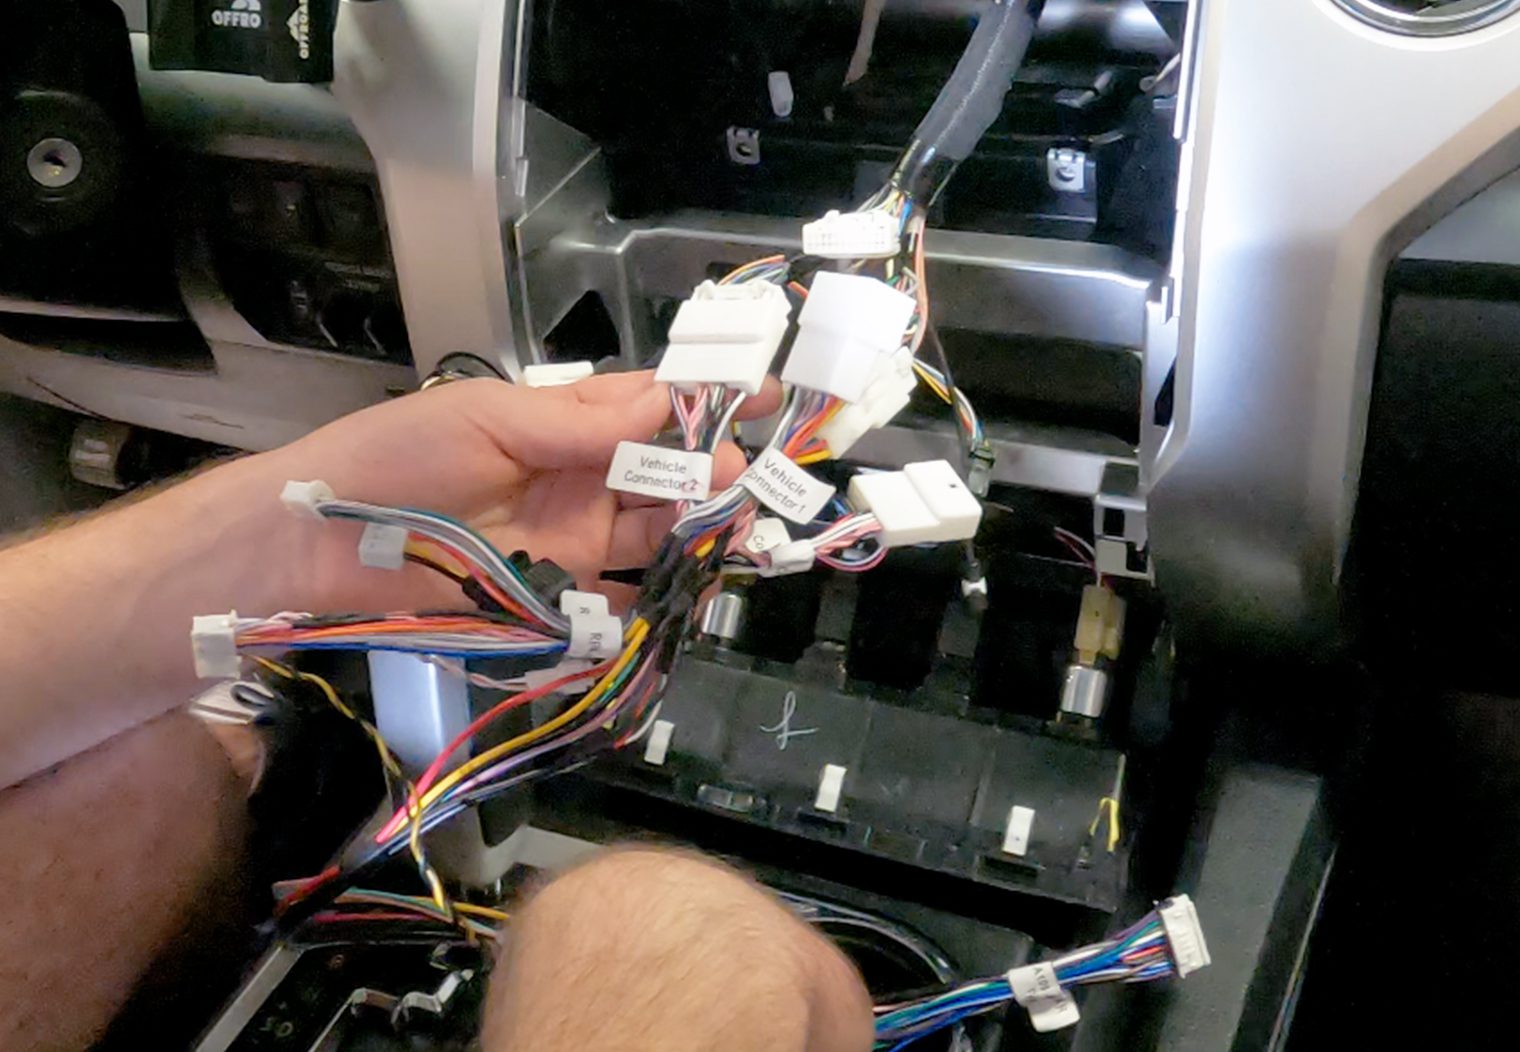
Finally, with the climate control piece removed you can access the four 10mm screws that hold the factory head unit in place. These are located along the bottom of the head unit. Two towards the center (easy and in view) and two along the bottom edges (further back and require a longer extension). Use your 10mm socket and extension to unscrew the four and then simply pull outwards on the head unit to unclip the two clips on the outer-top edges of the unit.
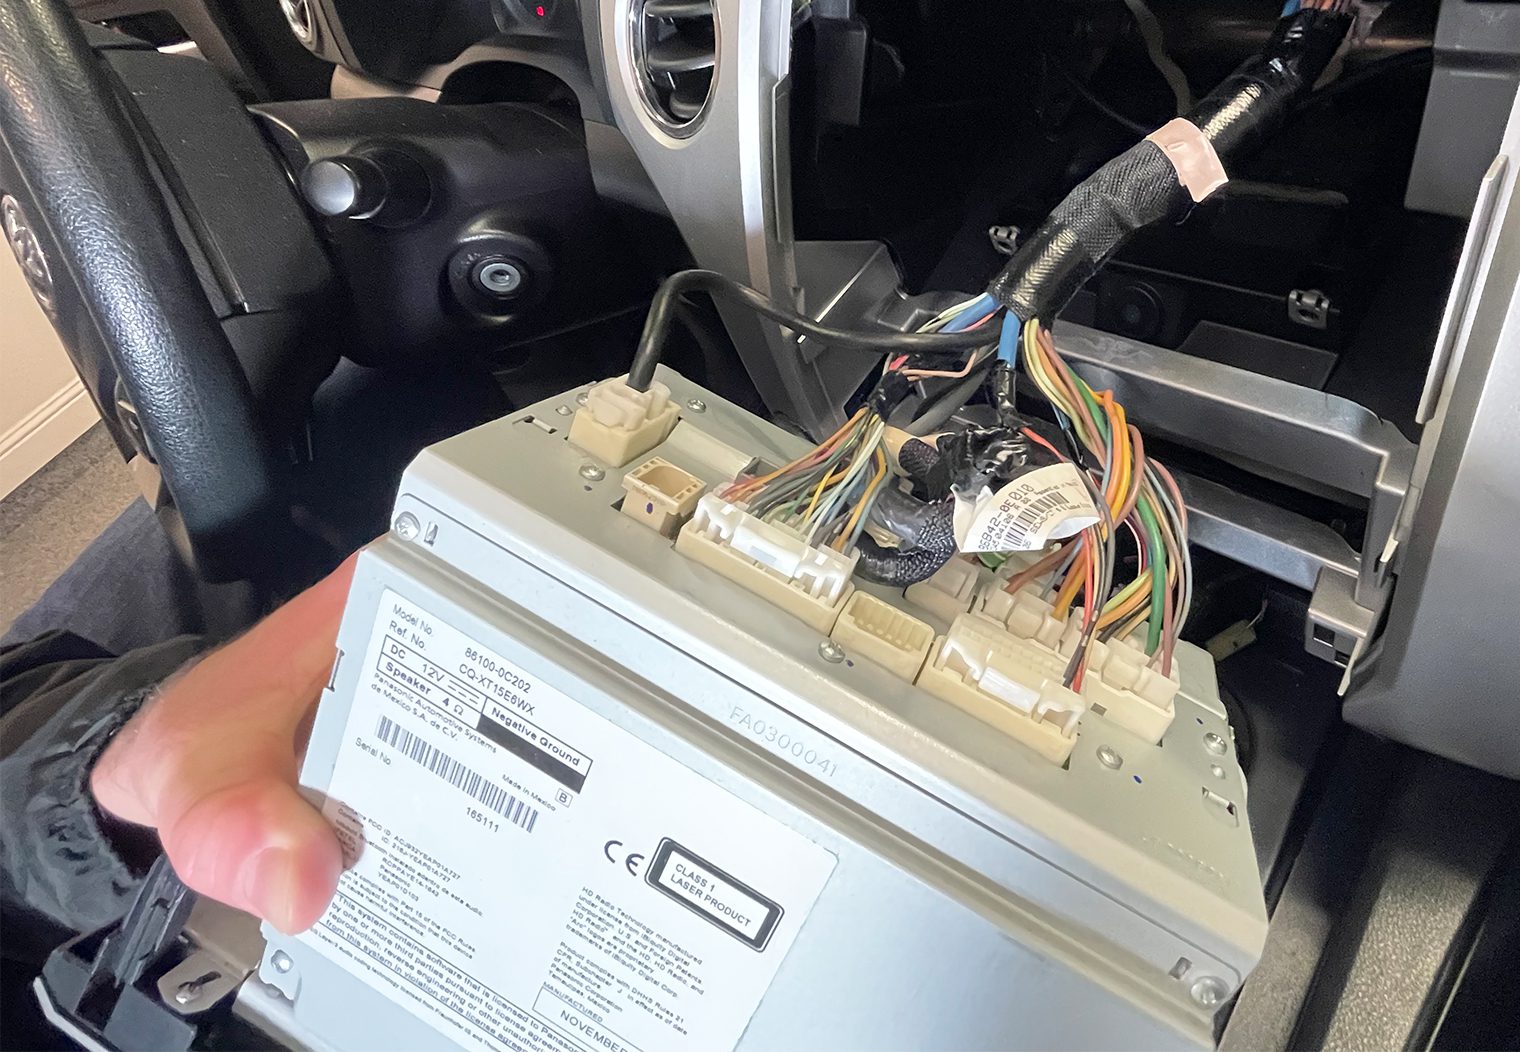
Unplug all of the harnesses along the back side of the head unit and set the head unit aside.

Step 5: Installing Your Aftermarket Head Unit
Since I pre-wired and pre-installed the head unit onto the dash kit, installing the new head unit is very straight forward. I checked to see which signal wires I needed to use first and then solder sealed them to their appropriate wires on the harness, then plugged everything in.
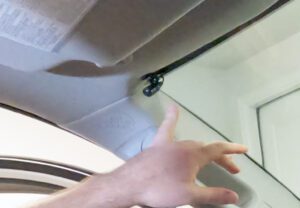
I then used the Sony-provided microphone, wired and mounted it to the upper left hand corner of the driver window.
Once everything is plugged in I reconnected the battery and tested the unit to make sure a few critical things work:
- Power
- Audio
- Radio
- Backup Camera
- USB Connection
- Auxiliary Input
- Steering Wheel Controls
Once everything checked out, I secured the PAC control module and neatly tucked the wire harnesses and re-installed the head unit in the reverse order as the removal process.

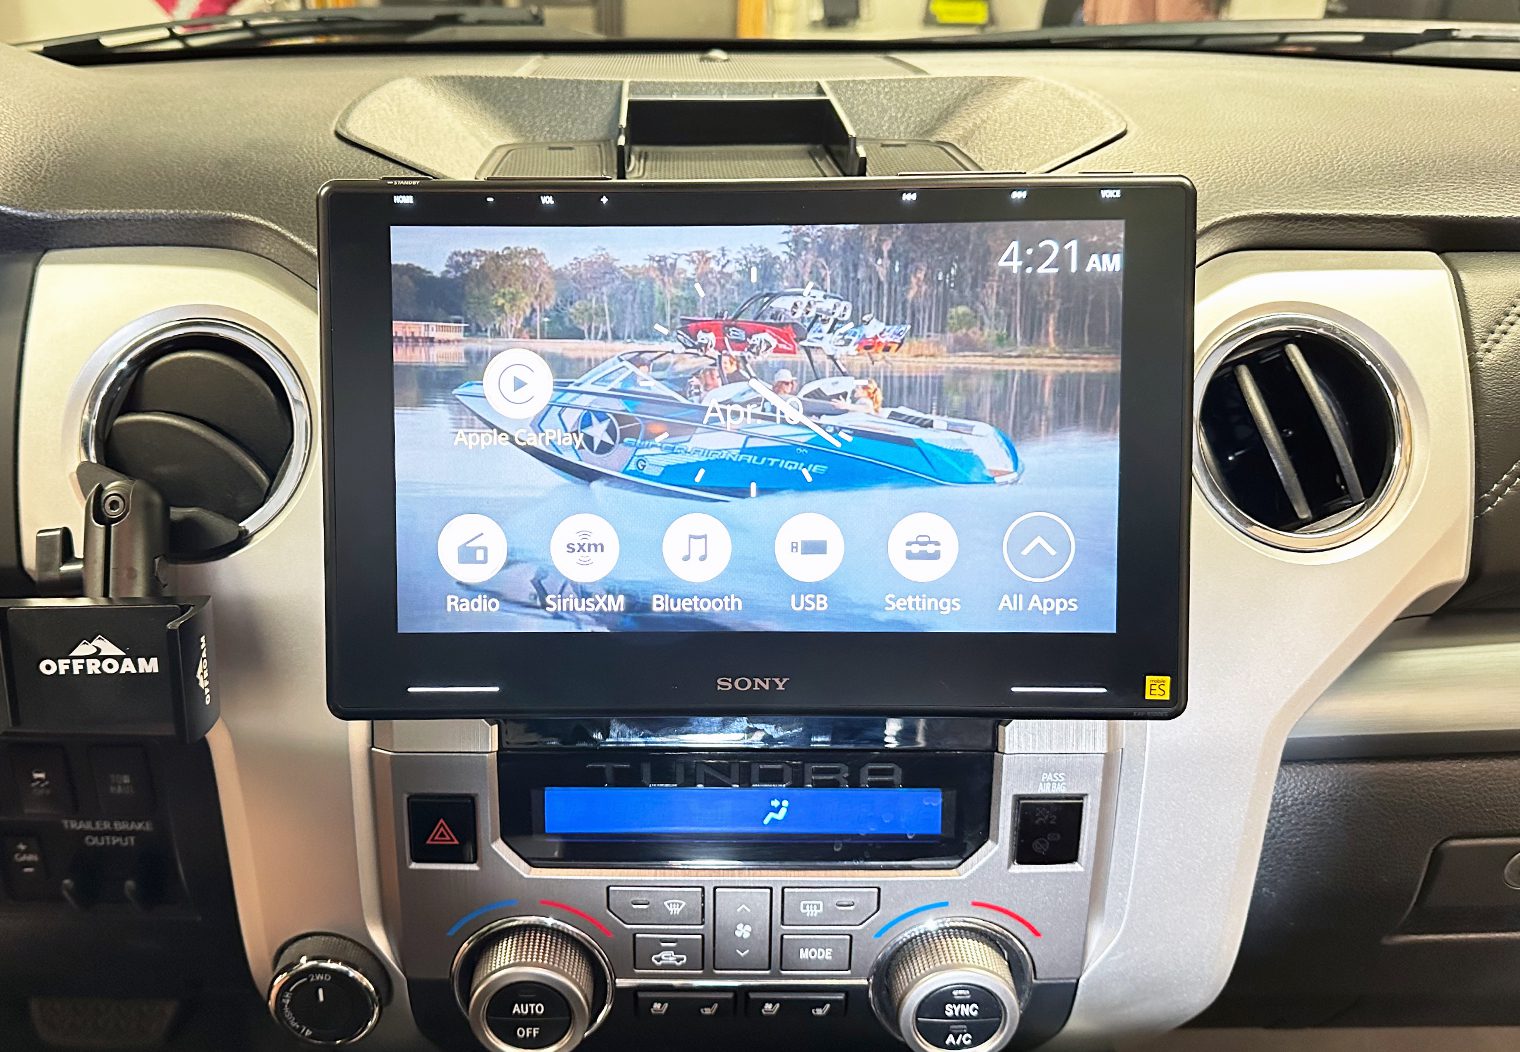
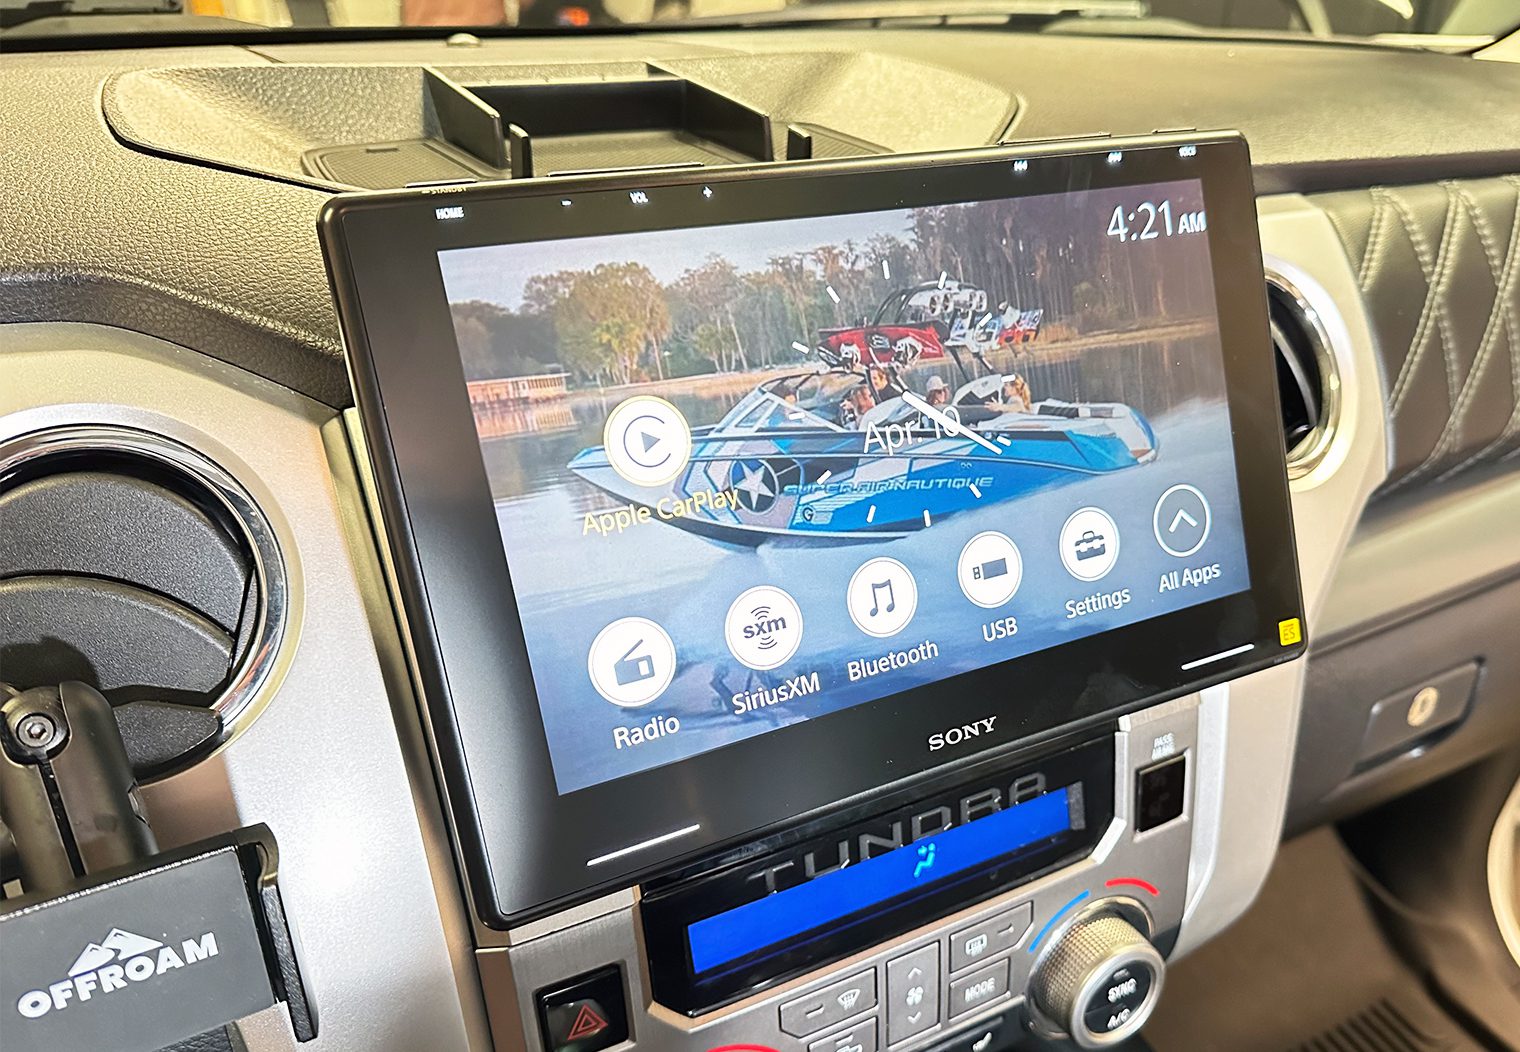
The end result was a super-clean, OEM looking head unit with all of the modern tech and features on the market today. The audio was clear and load thanks to the integrated PAC unit and the unit seamlessly integrated into the Tundra's dash thanks to the 99-8252. Very pleased with the overall look and functionality of this setup.

Amazing guide! would you recommend any speaker set to swap out the JBL factory installed ones?
This tutorial would be amazing and if done on this Sony 9500ES even better because its a great system but the Tundra suposivelly is not compatible with the Sony speaker it came out with (the 162ES, etc).
Thanks!
Hello, I’m trying to follow your write up but I’m just lost on some wiring. The 2 wires that came with the headphone jack, where does it go? The PAC CAM-TY12, I connected it to the twisted yellow and black, but it doesn’t work. I’m stuck right now. I’ve been trying to figure it out, but just cant. Can you please help me?