In this article: We'll walk you through a full installation of Kicker's marine stereo equipment on a 2007 Lightning 247SX, including their coaxial speakers, amplifiers, subwoofers and more.
Stereo Overview, Setup & Goals
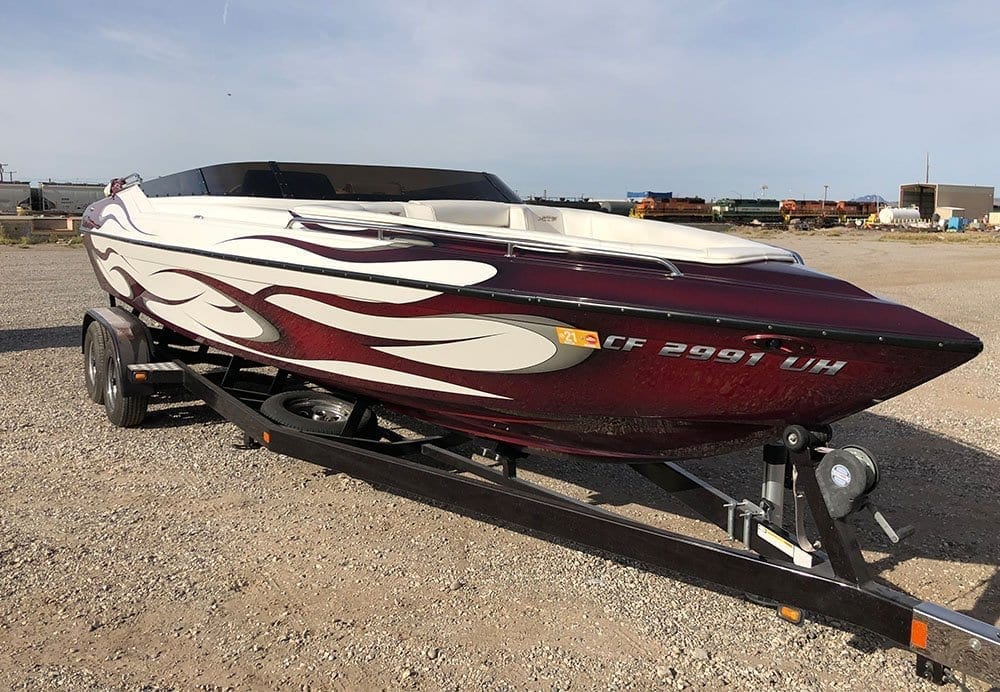
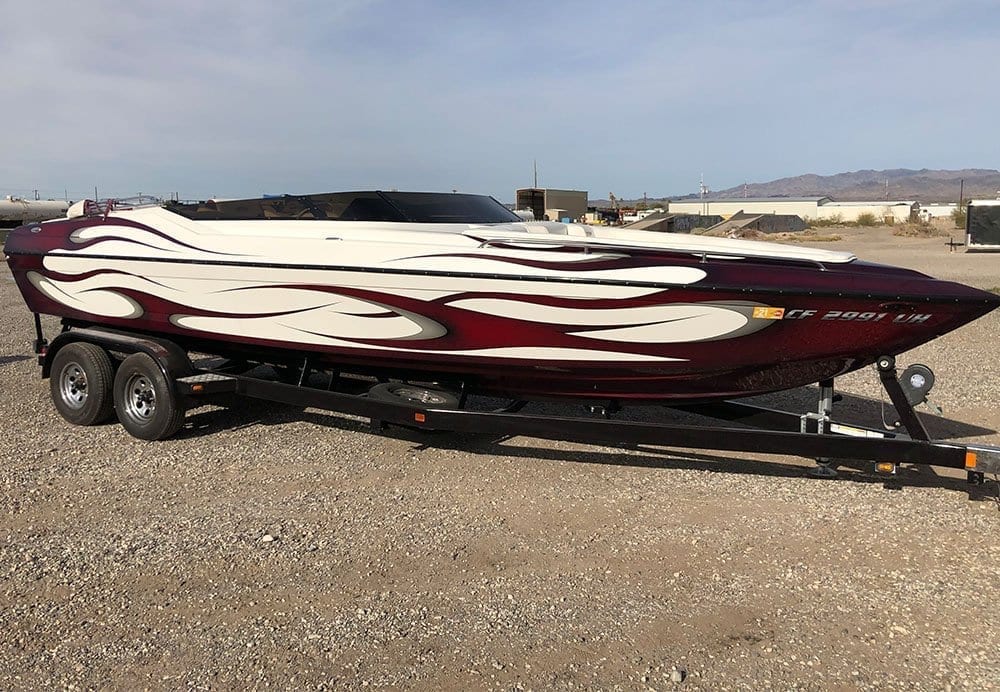
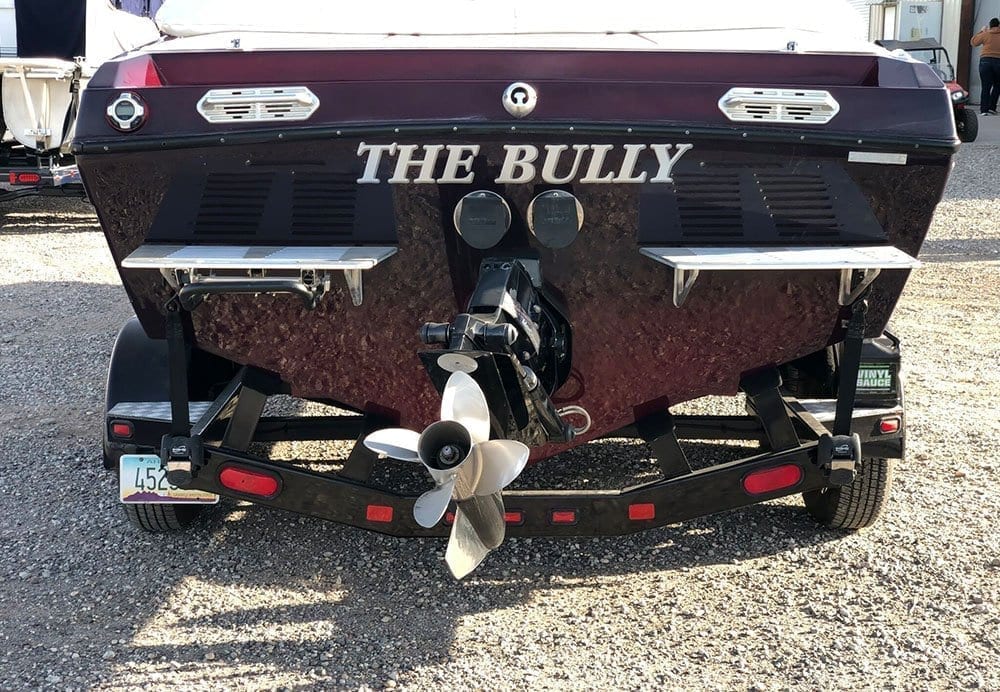
Let me start by introducing the boat! It's a 25ft Lighting 247SX. Here's a few quick features and notes before our installation and upgrade:
- 496 Mercruiser Mag HO
- Open bow and nook
- 10 Speaker Stereo system
- 4x 6.5″ Coaxials
- 4x 6×9″ Coaxials
- 2x 10″ Subwoofers
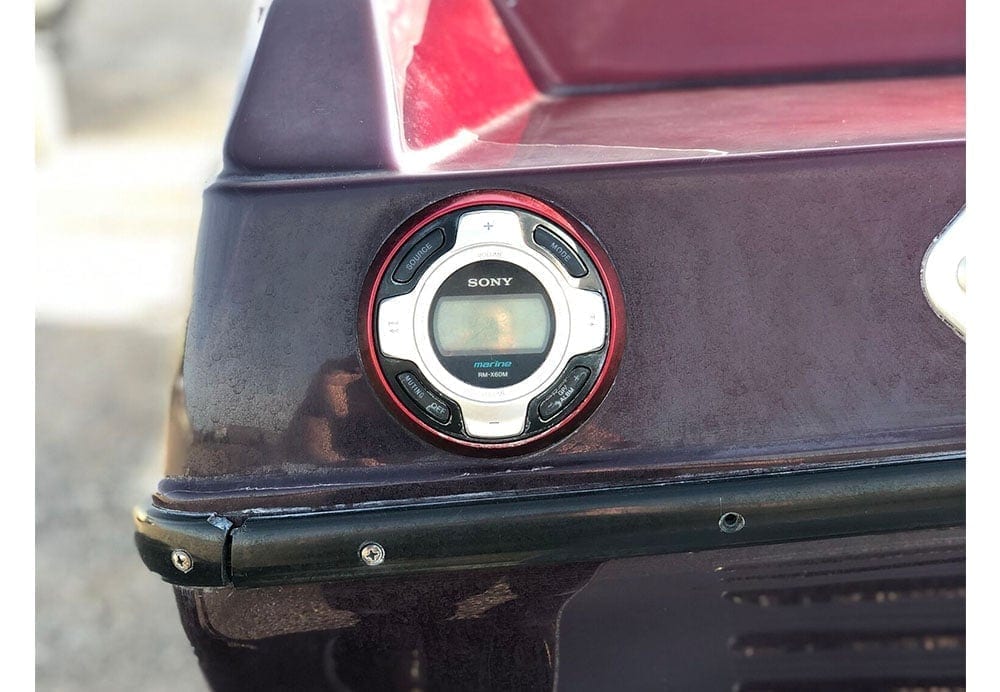
- Sony head unit and stern remote
- 2 battery setup with Perko switch
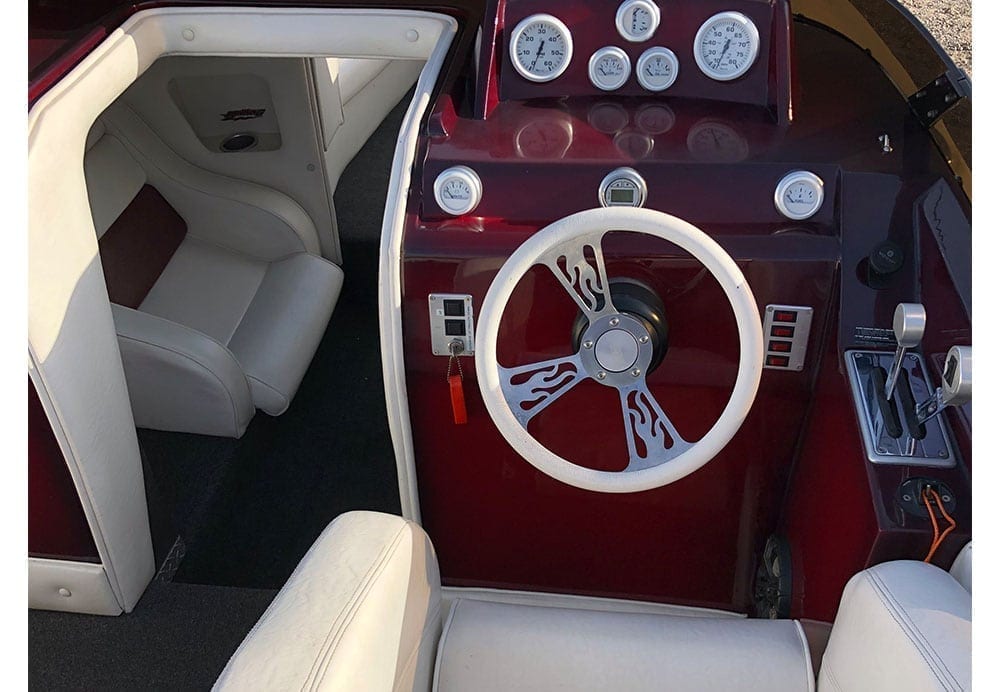
- White/Burgundy exterior and interior
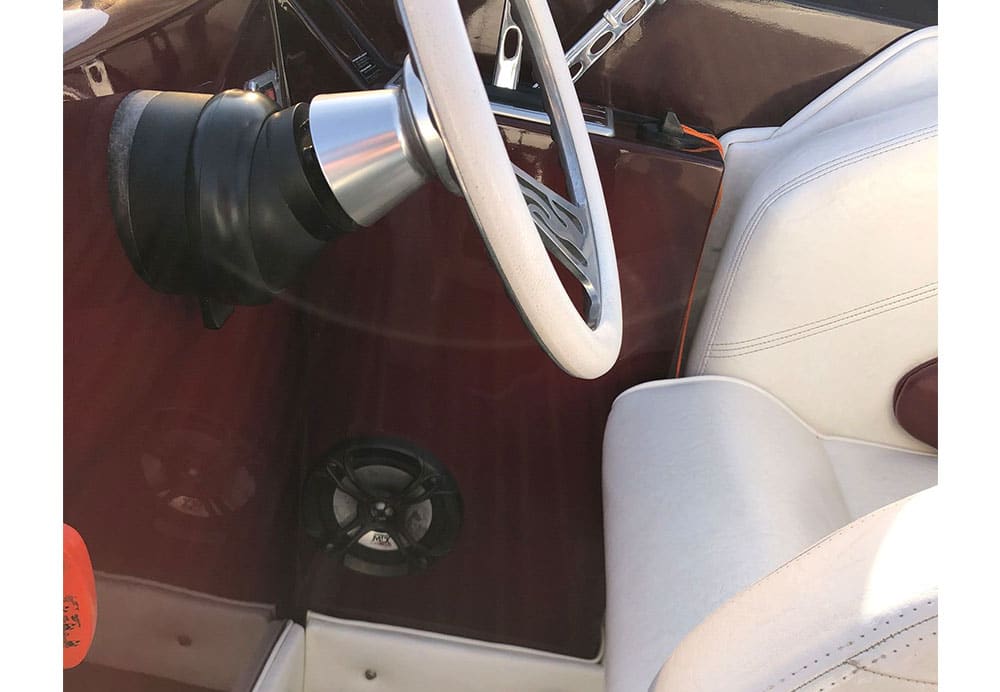
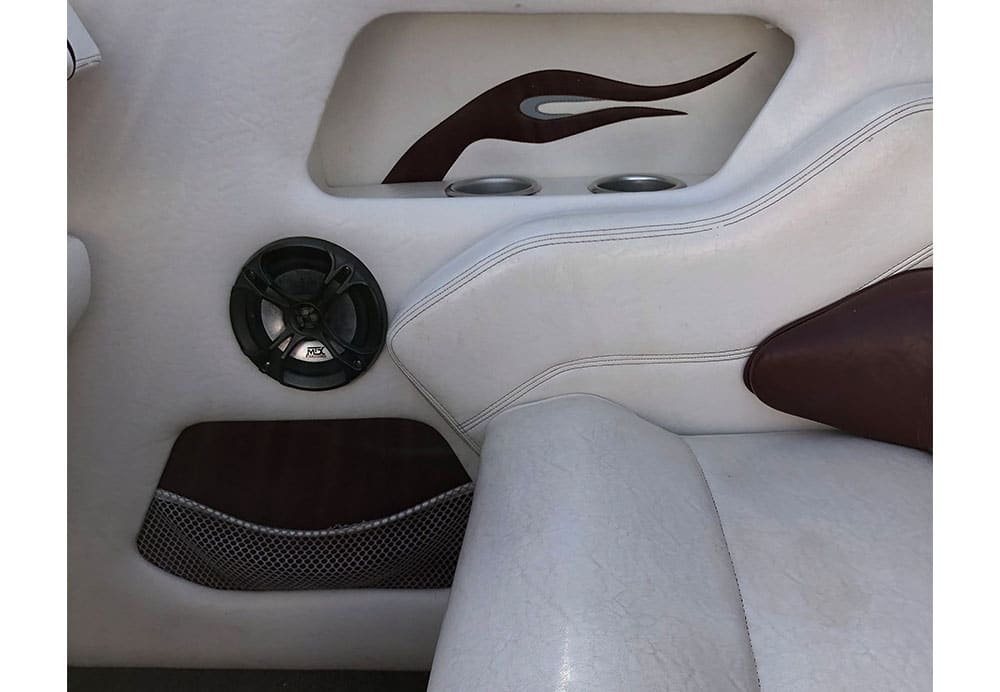
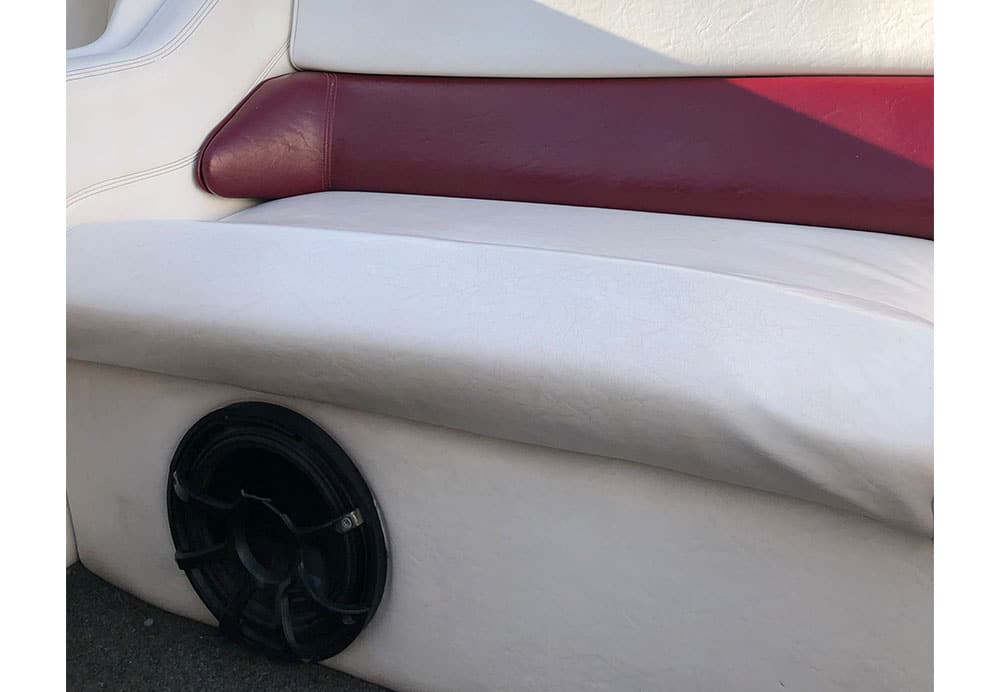
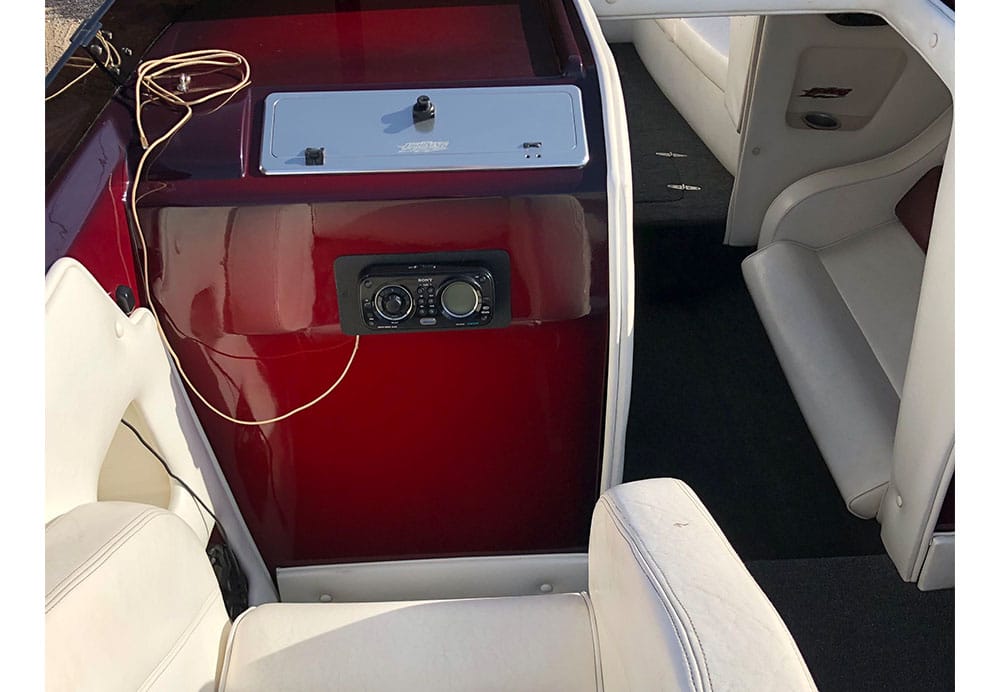
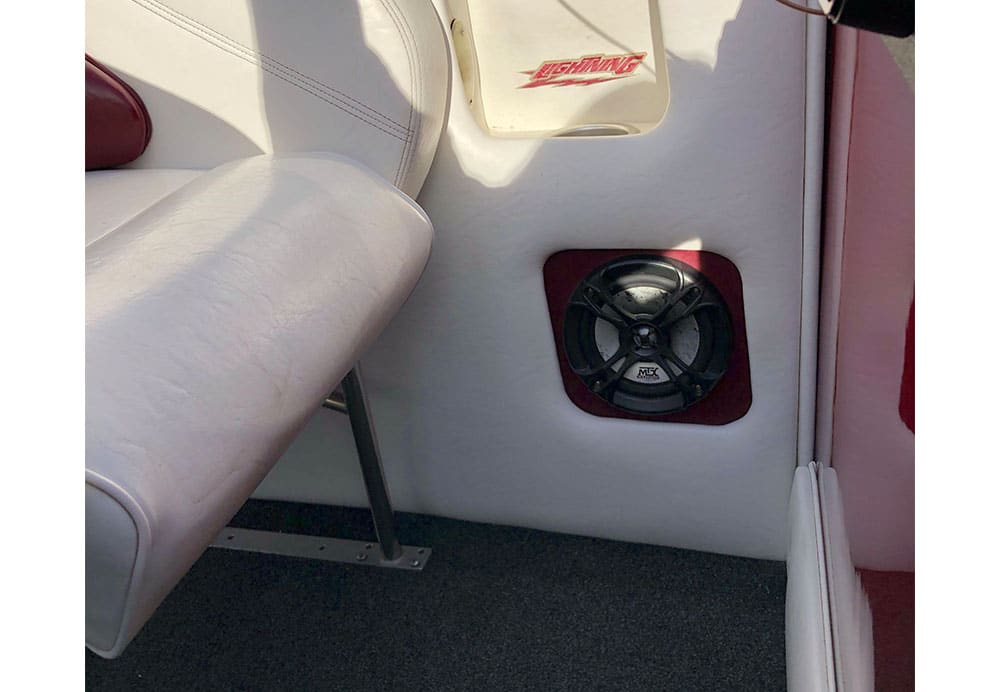
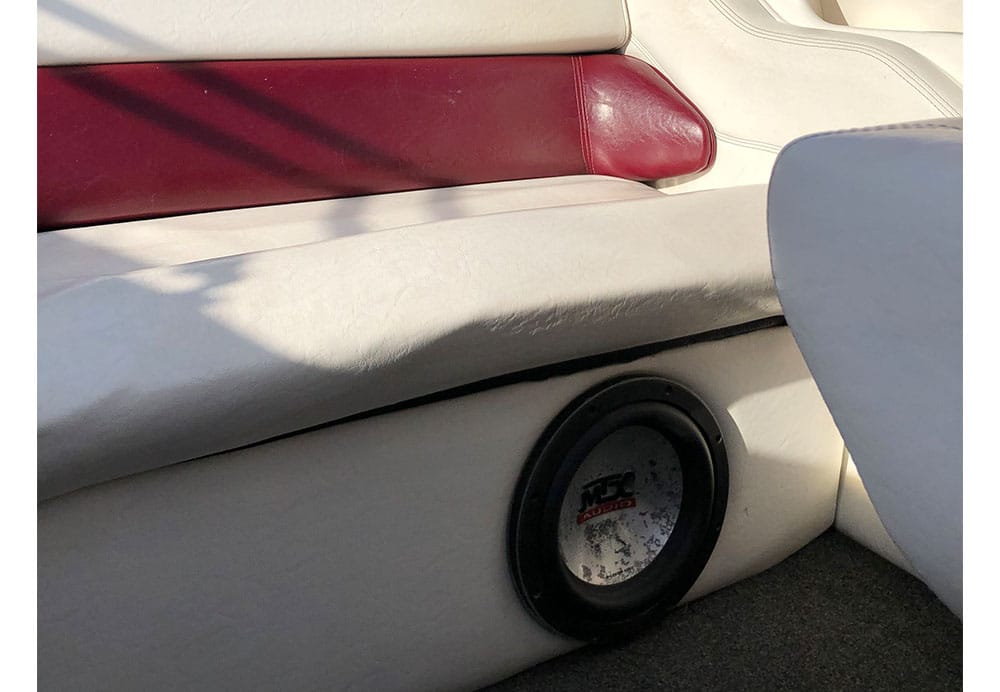
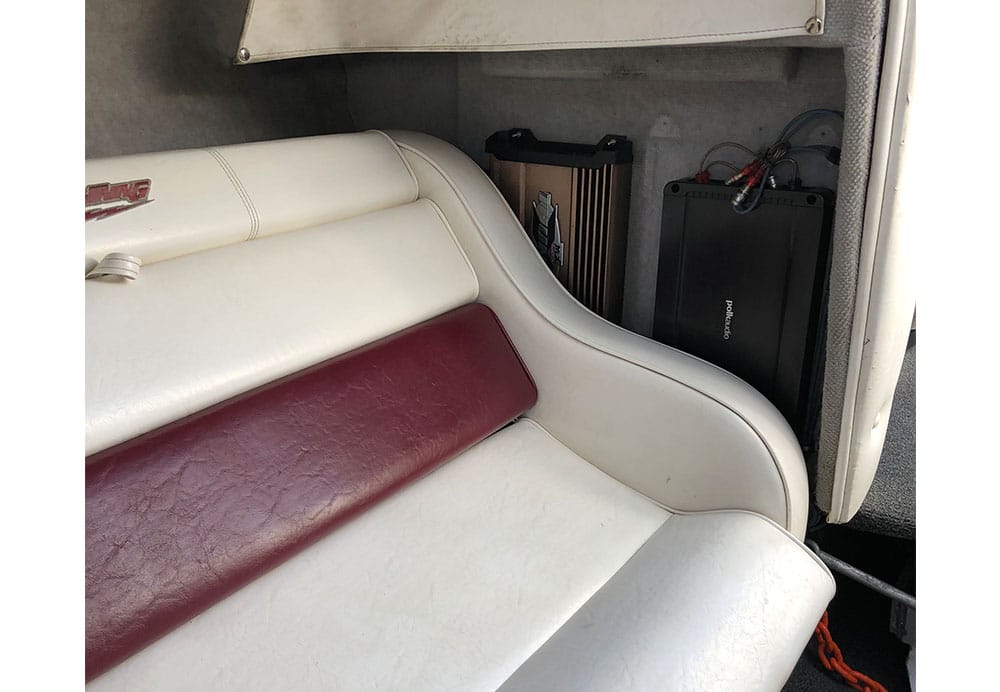
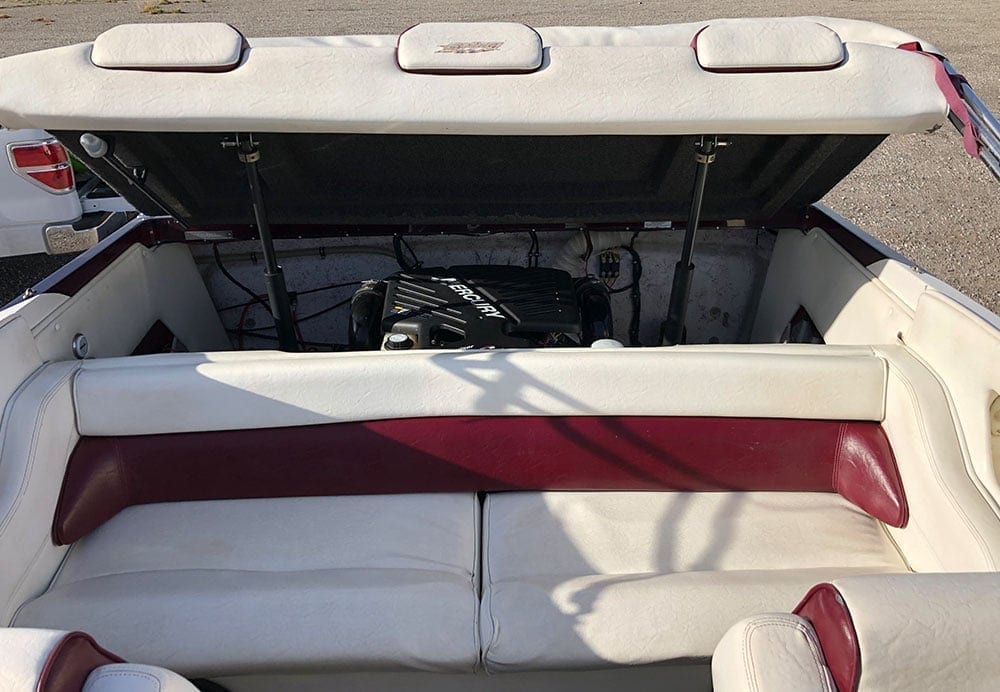
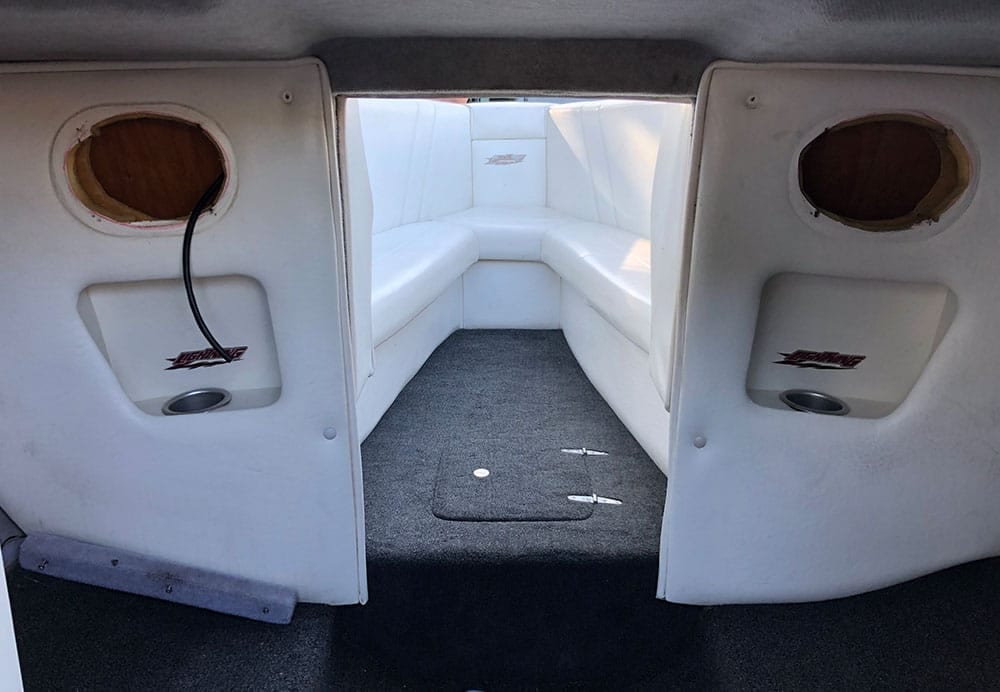
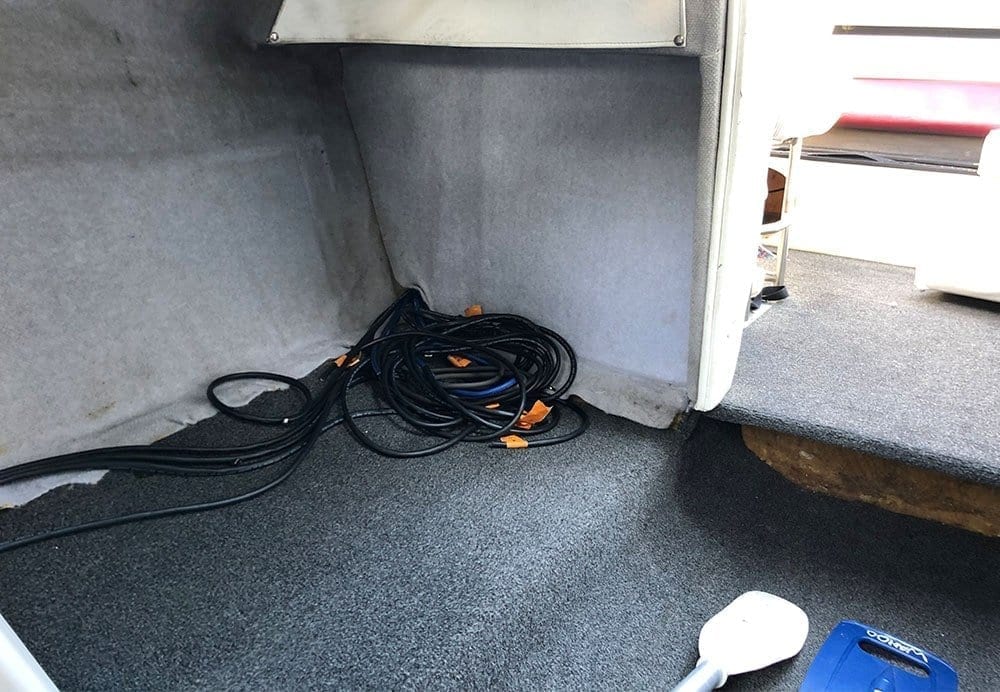
All in all, it's an excellent platform with a great layout, super strong drivetrain and a perfect setup to put a great upgraded stereo in! But the stereo was old. Speakers were cracking and looked like they were 10 years old (which they probably were), the amplifier wiring looked like spaghetti, the head unit would turn off and on and the system was significantly underpowered. On the outside, the boat looked and ran incredible but when you turned some music on it was an instant let down! Check out some photos of the boat with the original stereo.

Goals
To set expectations up front for this installation, I wasn't looking to completely blow the stereo setup out. My goals for this setup were pretty simple:
- Utilize the existing speaker placements with minimal/no custom fabrication or vinyl work
- If we did vinyl work we'd have to replace everything since the vinyl is original still (but in incredible shape!)
- Utilize the existing amplifier placements with minimal/no custom fabrication
- Replace and upgrade the head unit with one that had some of the latest tech – Bluetooth, zones, usb, etc
- Add LED lighting to the interior for night cruises
- Utilize existing 2-battery setup with existing Perko
- Replace the rear controller unit – not necessarily because they're all that functional though. In my opinion (and in my own boat) everything can be controlled with an Apple Watch and bluetooth Equalizer like the WS-420. But to prevent fiberglass work and a waste of a controller we decided to replace it with a new one.
- All while choosing products that would maximize the value to quality/feature ratio. I wanted the best products that won't completely drain your bank account and after this stereo installation I can honestly say that Kicker makes a hell of a marine product(s) that are more than worth the price and will go toe to toe with any other marine product on the market if installed, powered and tuned properly.
In a nut shell, I wanted a well-powered and great sounding system with quality marine-grade products that would last but would be easy enough to replace and install for the average/experienced DIYer. The setup that Kicker provided us with is JUST that…
The Upgraded Kicker Stereo
Kicker is well known for their automotive and marine-grade audio products. Their iconic heavy hitting Solo Baric subwoofers and powerful speakers have raised the bar in the audio industry on multiple occasions. And their marine products are among the most highly reputable and reviewed on the market. At the same time they're affordable. I wouldn't say that they're the cheapest.. but you definitely get what you pay for (in this case a good product).
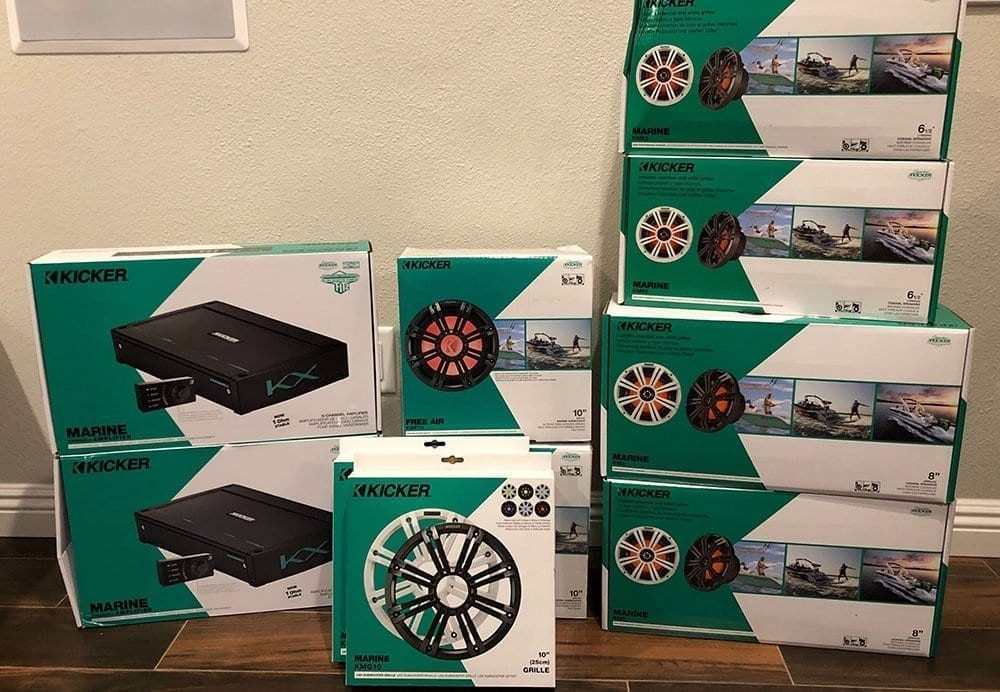
We reached out to the guys over at Kicker to help us get the ideal setup for the Lightning. They were super helpful and knowledgeable. After a few back and forth conversations we landed on a very well rounded, efficient system with plenty of power and plenty of volume. Here's the recommended setup that Kicker provided. We'll be walking through each individual products with our opinions in separate review articles, linked below. If there isn't a link on the product yet, we're still working on the review.
Kicker Product List:
- KM Series Speakers:
- KMF Series Freeair Subwoofers:
- 45KMF102 10″ (x2)
- Amplifiers:
- KXMA 800.5 5ch (x2)
- Accessories & Wiring
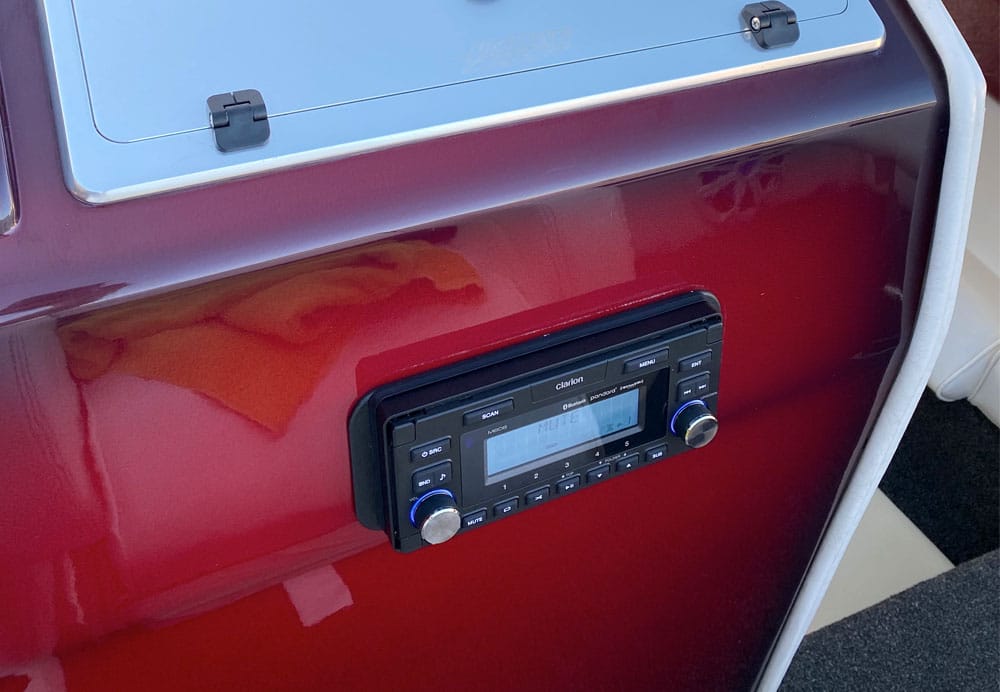
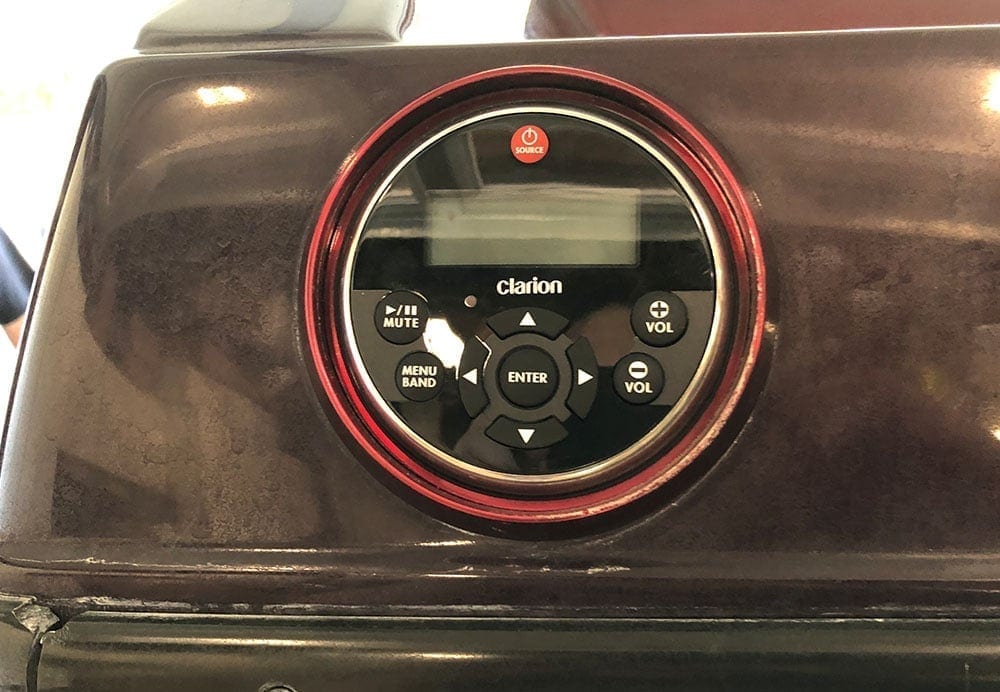
In addition to the power, speaker and accessories we also picked up a new head unit and remote unit. There are a ton of great source units on the market for marine applications. Kicker has a few powerful units as well, but we wanted to maintain the existing single din opening along with the rear mounted remote. To do this, we decided to go with Clarion. We chose:
- Clarion M608 1.5 DIN Receiver
- Clarion MW1 Marine Remote Control
We'll walk through these separately in another article as well (TBD).
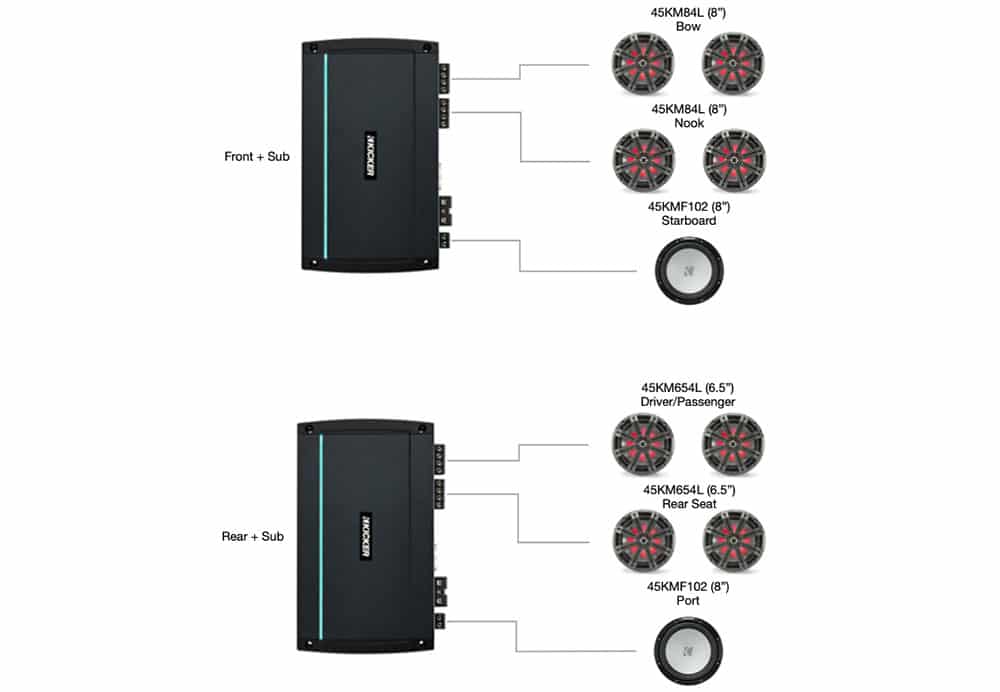
Amplifier Channel Distribution & Setup
In my opinion, one of the most critical aspects of a well rounded system is power and how that power is distributed from the amplifiers. Tuning is imperative as well. Here's how we configured our two KXMA800 amplifiers with the 10 speaker setup on the boat and how they match the ratings of the speakers themselves. I'll start with the general specs:
- 45KM84L 8″ Speakers:
- 150W RMS @ 4ohms
- 45KM654L 6.5″ Speakers:
- 65W RMS @ 4ohms
- 45KMF102 10″ Freeair Sub:
- 175W RMS @ 2ohms
- KXMA800 5ch Amplifiers:
- 50W x 4ch RMS @ 4ohms (Speakers)
- 400W x 1ch RMS @ 2ohms (Sub)
All in all, the two 5ch amplifiers delivers plenty of power and volume. The setup doesn't necessarily max out the specs of each speaker but after tuning the system screamed. Yes, there may be other amplifiers and setups that would maximize the volume and power ratings of the speakers but it did not need it.
Below, you can see how I broke out each channel and wired each speaker based on the channel outputs on the amplifiers.
Battery & Perko Switch Wiring
Power is obviously another critical element. No one wants to be stranded on the water in the middle of the desert in the heat (or wherever you may be). Battery and ground wiring and seclusion is critical to:
- Protect your primary ‘start' battery
- Maintain voltage required to power your system
- Keep your tunes playing for hours without running up the hours on your boat
- Properly charging your battery when your boat is running
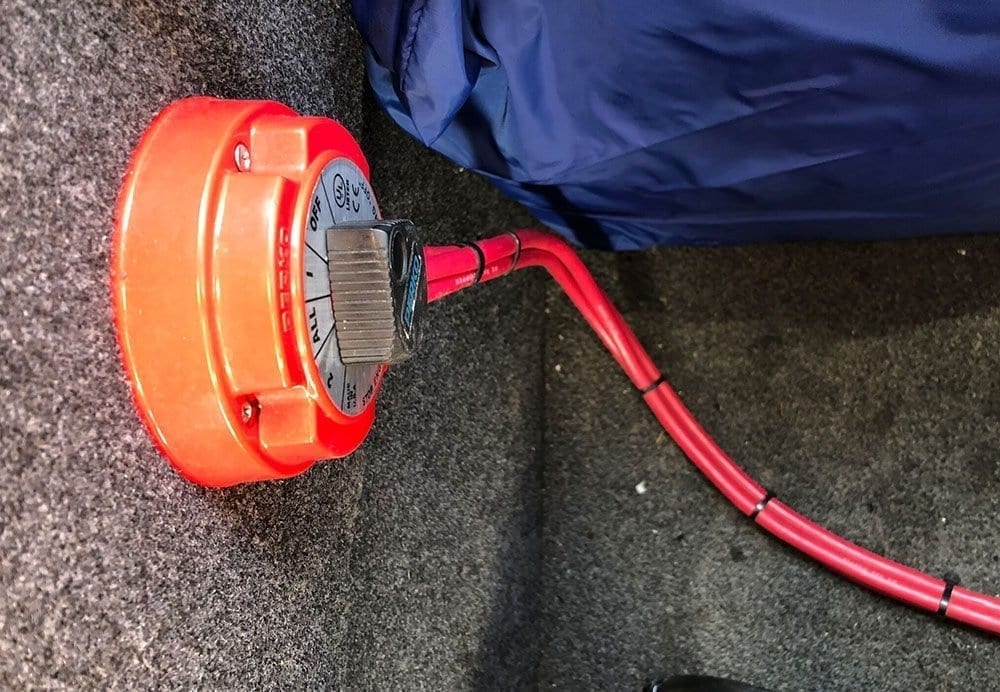
Here's how we decided to run the Perko & battery wiring
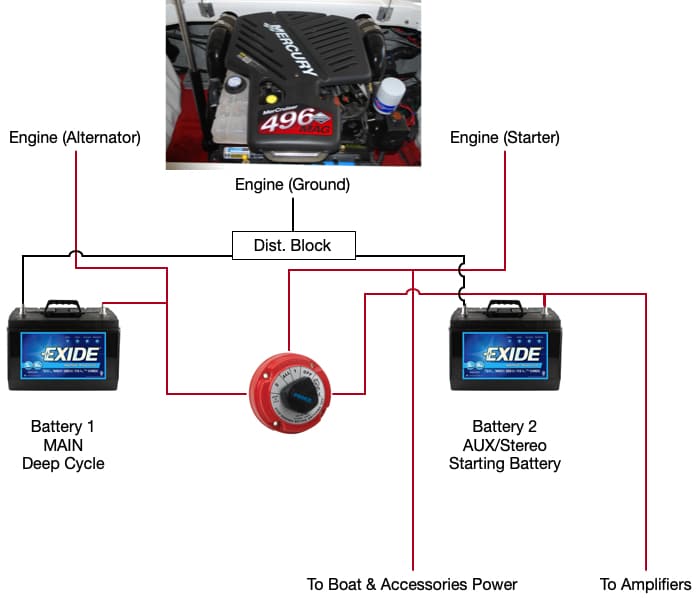
Now, there's a number of different ways that you can combine bridge and wire the Perko. I landed on this schematic when diagnosing low voltage and poor grounding (hissing and alternator wine) in my own personal boat when I was running about 3k watts between 3 separate amplifiers along with a number of lighting and accessories and it worked great.
The key thing is proper ground and to seclude your stereo if you need onto your auxiliary/stereo battery and I think that this does it well. Please feel free to comment if you have a better design! Run all of your power through your Perko if you can too. Boat power, your trim power (if you have an outdrive) – everything. This allows you to shut everything off when you leave the boat over night or for a few weeks and eliminates annoying draws that may drain your battery while you're away.
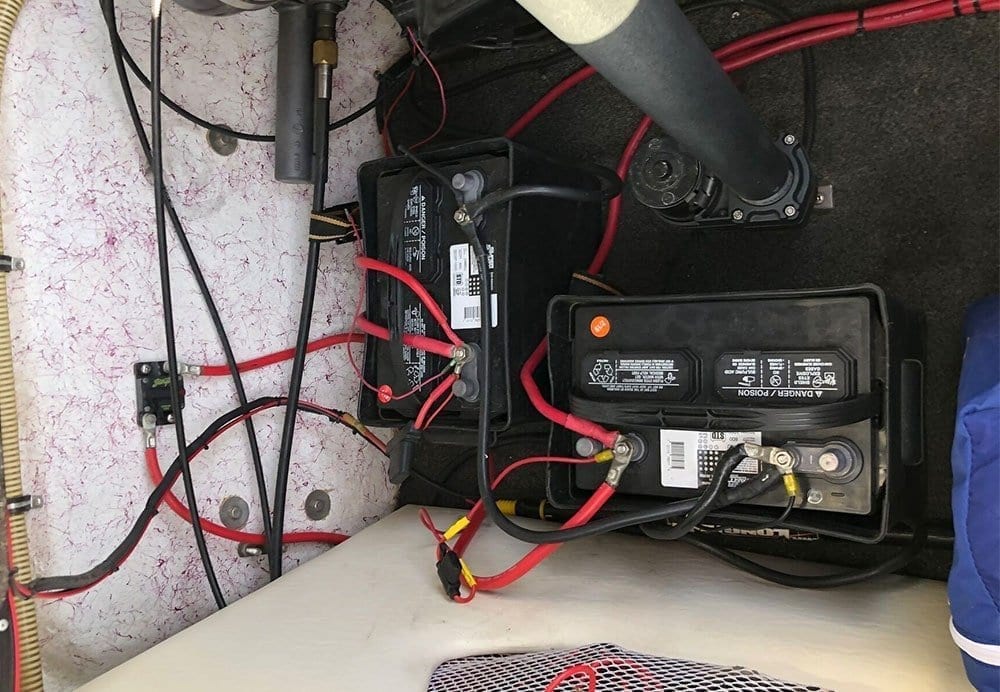
You'll notice I also chose a deep cycle for the starting/main battery and an actual starting battery for the auxiliary/stereo battery. This was my own choice. I felt like if I needed extra amps because my deep cycle was low at any given time, combining the two batteries with the “All” on the Perko would boost the system. And, if my aux/stereo battery (and system as a whole) was ever running low the deep cycle would give me the best chance of getting the boat started. It's worked for me for almost a decade now without any issues.
Speaker & Amplifier Installation
Wiring
For this installation, the boat was pretty much pre-wired. It had all of the speaker wire to each of the 8 speakers along with the two subs wired. It had a 4AWG positive and negative wire that was ran to where we wanted to mount the amplifiers too. But this wasn't really good enough for us. The previous installer had joined multiple speaker channels, the wiring was old, and it wasn't wired for LED lit speakers either. I also didn't feel like the 4AWG wiring was sufficient for the power given the fact that it was being ran nearly 20ft.
So we replaced ALL of the wiring for the stereo. All speakers were re-ran with Kicker's RGB Speaker Wire which includes a total of 6 wires – 4 for the LED wires & ground, and 2 for the positive and negative for the speaker. We loved this stuff. One spool of it literally was the perfect amount for the 25ft boat. The only thing that was tough with this speaker wire was its diameter. The loom has 6 wires so it's thick. We had to drill out a few holes between walls in the boat to make room for the wire which was a pain but it was worth running wire once instead of separately for the speakers and LEDs for every speaker.
We also upped the power and ground wire for the amplifiers from the 4AWG to 0AWG so we re-ran these wires using Kicker's PKD1 Amp Kit. Additionally, the existing RCA wire was old, and didn't support the channel configuration we wanted to run so we re-ran RCAs as well.
Removing old wires, speakers and running new wire took three of us about 5-6 hours all said and done. But having fresh wire that has 0 corrosion and fresh RCAs was worth it for the amount of power and quality of speakers we were installing.
We ran all of the speaker and power wiring to the nook of the boat where the previous amps were installed and hooked up all of the speaker wire and power and RCAs to the Amps. We also wired in a waterproof stereo ‘turn-on' so that we could run the stereo from the accessory battery without racking up the Hobbs hours on the boat. We combined all of the LED wiring to the KMLC Lighting Controller here too.
One thing worth noting – this boat was wired in such a way that when the key is turned to accessory it runs the Hobbs meter. So we decide to run a marine-grade switch to power the stereo independently of the accessory mode and the rest of the boat. Since the amplifiers were ran directly to our AUX battery, we tapped into that power at the distribution block next to our amps and ran this switched power to the head unit, which returned a remote power wire to tell the amplifiers when to turn on. This allowed for the stereo to be on without requiring power to any other parts of the boat and also not running up the Hobbs meter. And since we also had a Perko separating the AUX from the Main battery, if we turned the Perko off or to battery #1, we could run the stereo solely on the AUX battery without draining the starter battery.

Speakers
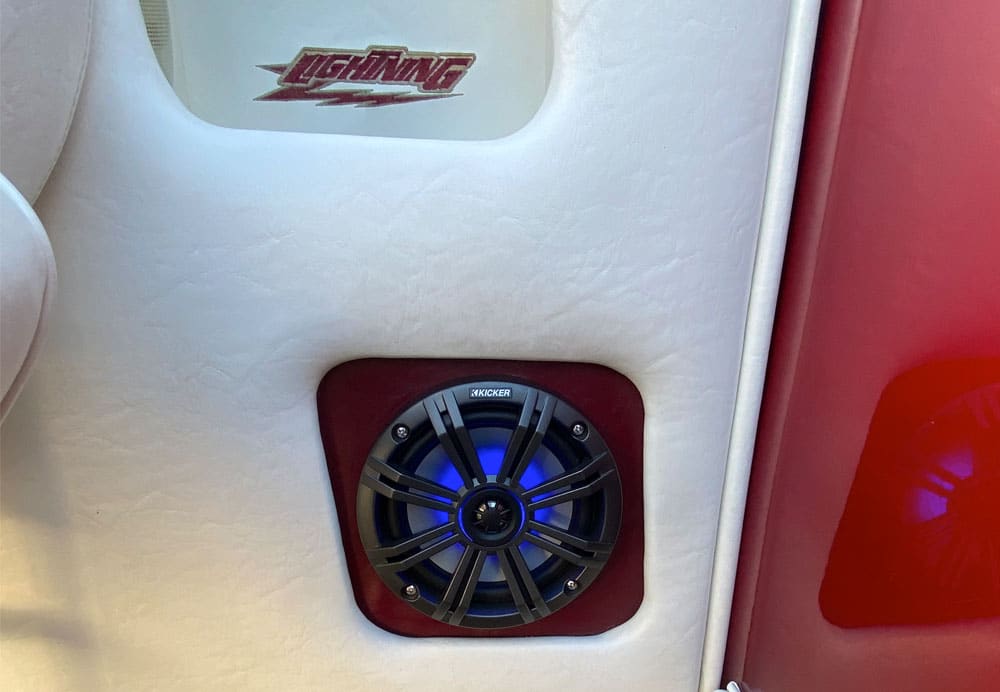
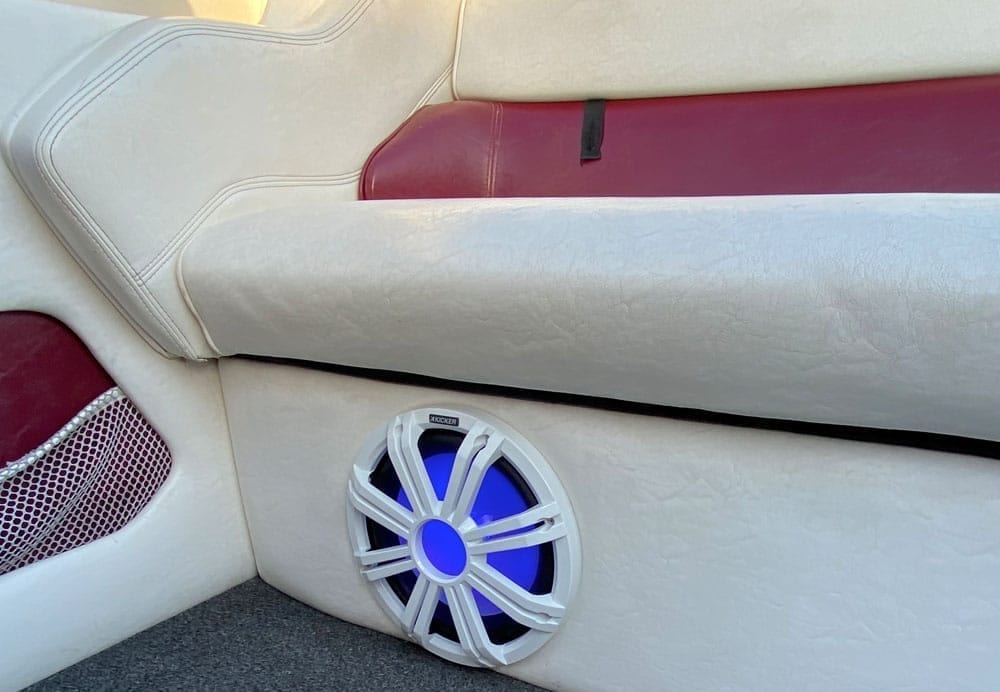
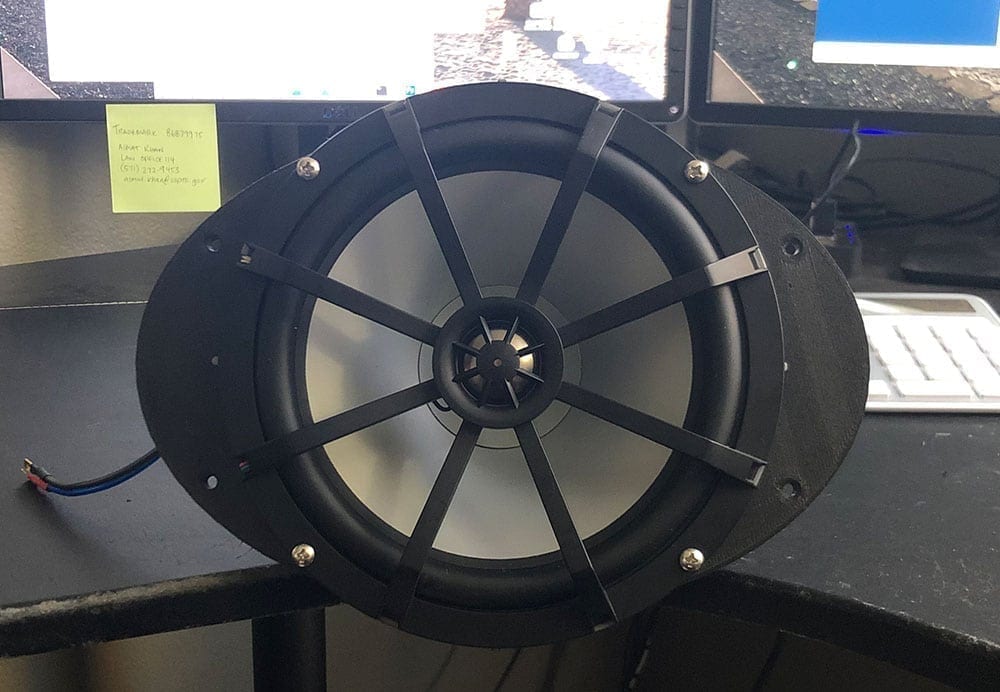
Speaker installation for the most part was pretty straight forward, at least for the cabin area. We replaced the 10″ subs with 10″ subs, and the 6.5″ Speakers with 6.5″ Marine Speakers. The holes were meant for the speaker size.
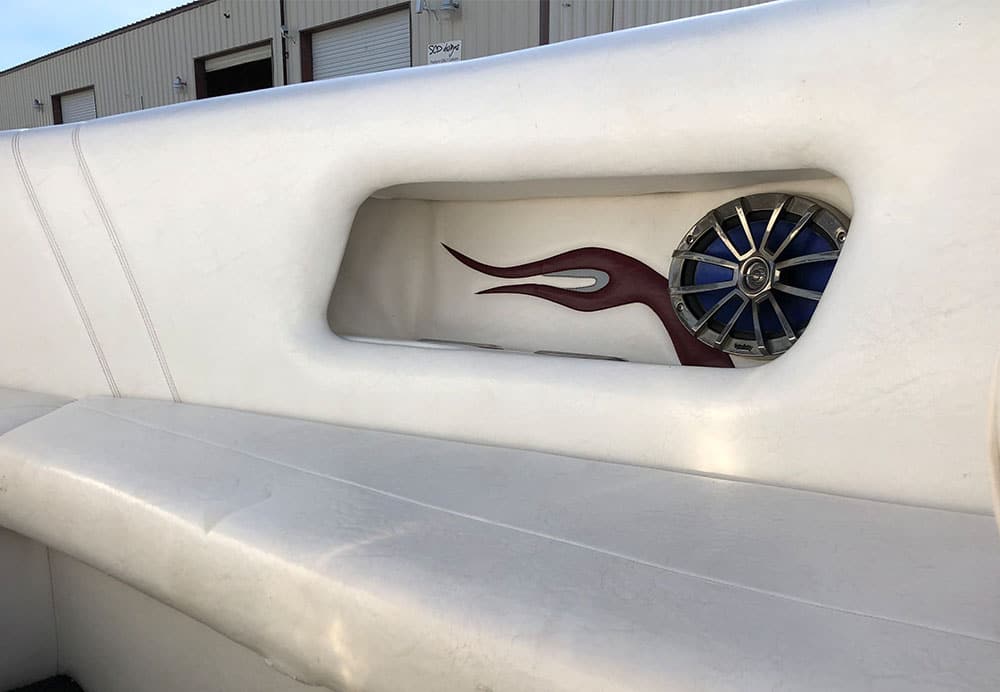
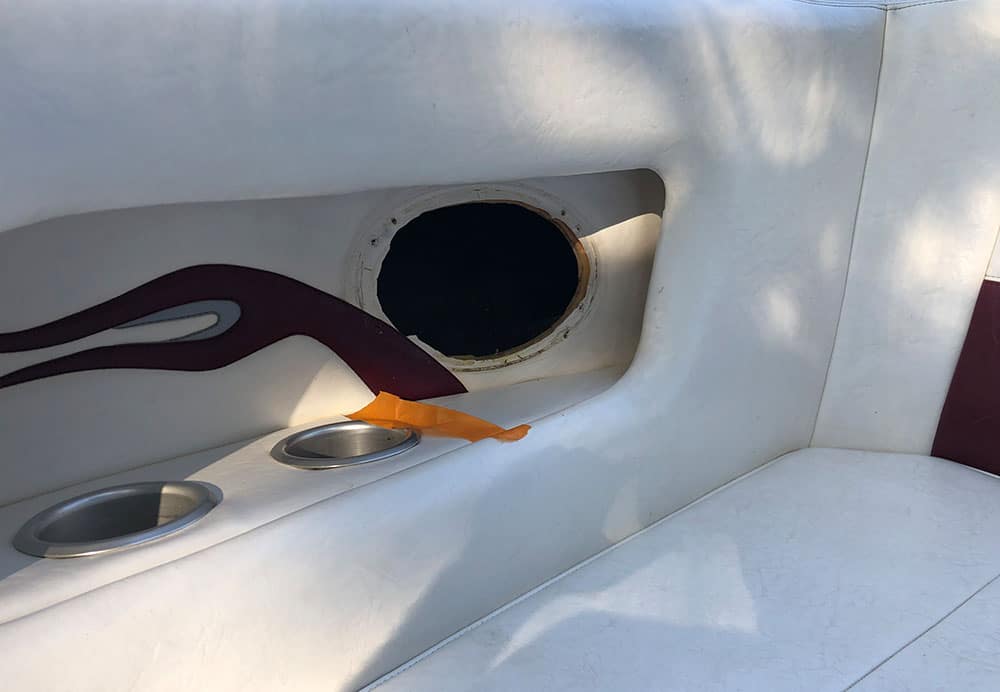
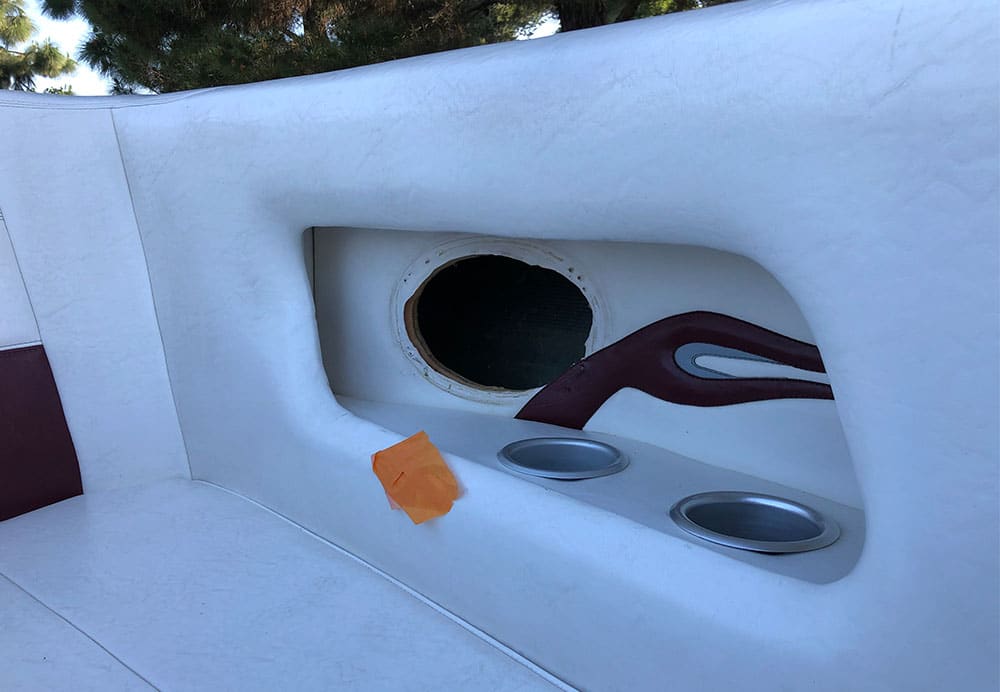
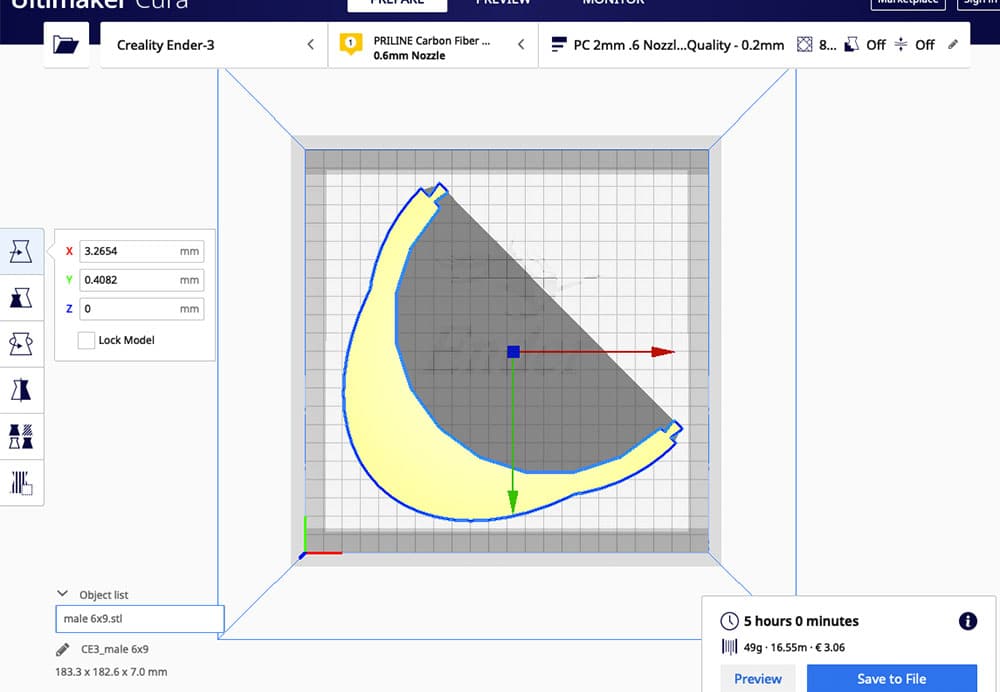
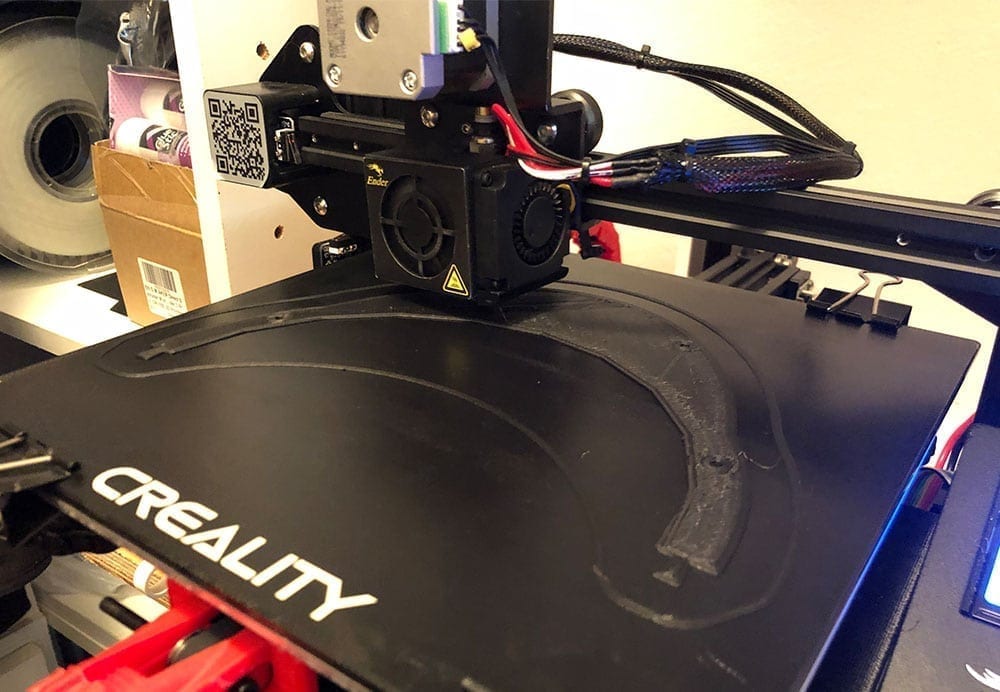
But when we got to the nook and the front, we wanted to upgrade from 6x9s to full range 8″ Marine Speakers. Kicker's KM84s wouldn't fit the 6×9 openings and we didn't want to re-do any upholstery so we had to get creative in order to fill up the extra gaps. We recently purchased a 3D printer, and decided to make the most out of it.
Our solution was to create a custom 6×9″ to 8″ speaker adapter. The adapter would mount to the existing 6×9 opening, and with a little adjustment to the mounting hole, adapt it to the new KM84 speaker. So went into our CAD program and created a custom trim adapter and printed it out using Carbon Fiber Polycarbonate. Here's what the result looked like!


LED Lighting
I'll start by saying that it's worth it. But, wiring 4 additional wire for 8 speakers and 2 subwoofers is no easy task. Even when Kicker cuts the work in half with their RGB speaker wire that has all 6 wires in one (relatively) easy to fish wire. One KMLC unit can light up to 12 speakers at a time though.
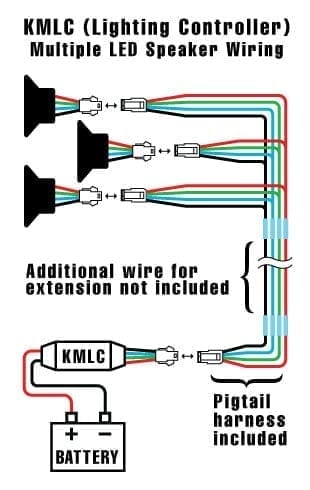
When you get past the additional wiring, and the fact that you need to combine all 10 led wires (x4 since there's RGB and ground) into one small wire on the KMLC unit, it's not so bad. On Kicker's website, they recommend splicing each of the wires inline as you join the speaker wire together to the source. But, if you use the RGB speaker wire that would mean you would have to break open the bundle of wire, pull out the four wires and splice them there which didn't seem feasible or like the best way to do it so we ended up running them all to one at the source. But once you're wired up properly all you need to do is turn the power on.
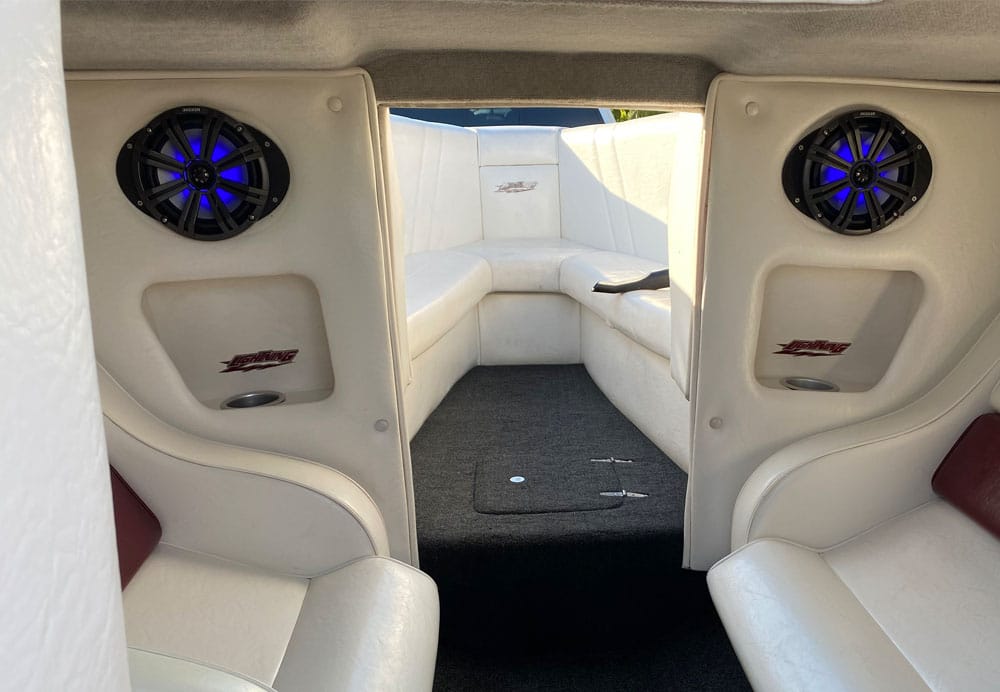
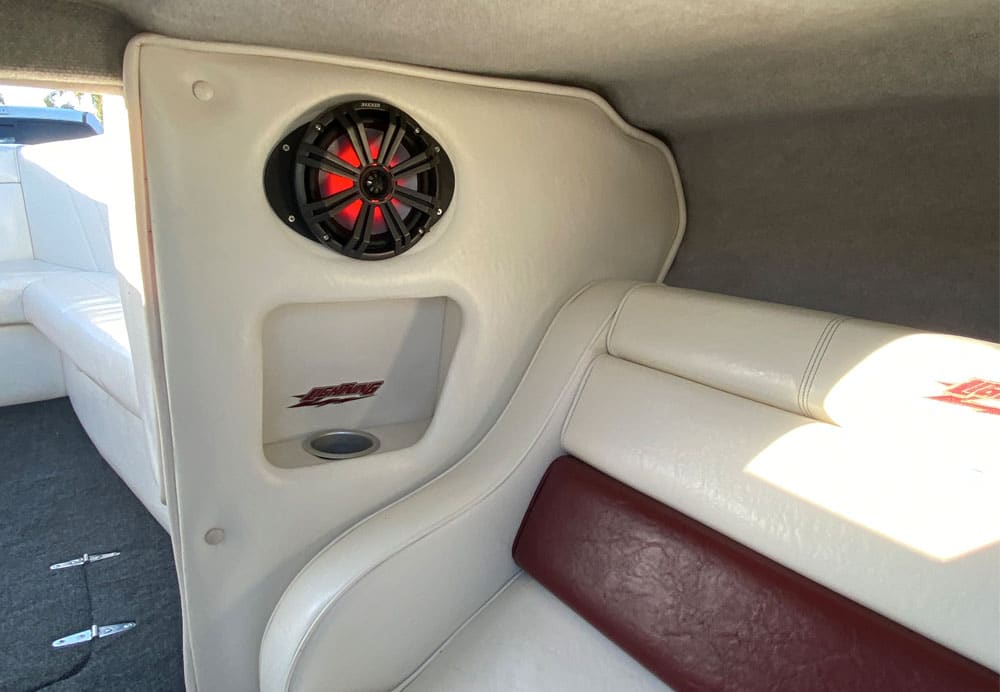
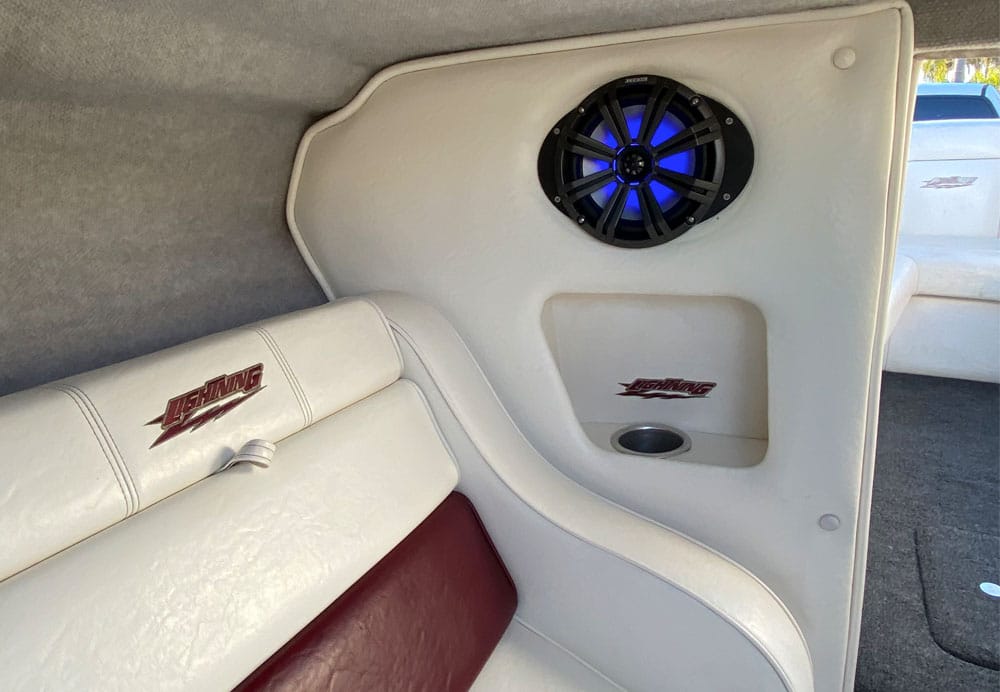
In a boat like the Lightning, this upgrade completely changed the entire look of the interior. Even in the daytime the LED is a fantastic add, especially in the nook since it's pretty much always shaded. The remote gives you options to increase or decrease the light intensity, change the mode and the speed of the mode, or just run through and choose the single color you love the most.
Amplifiers & Tuning
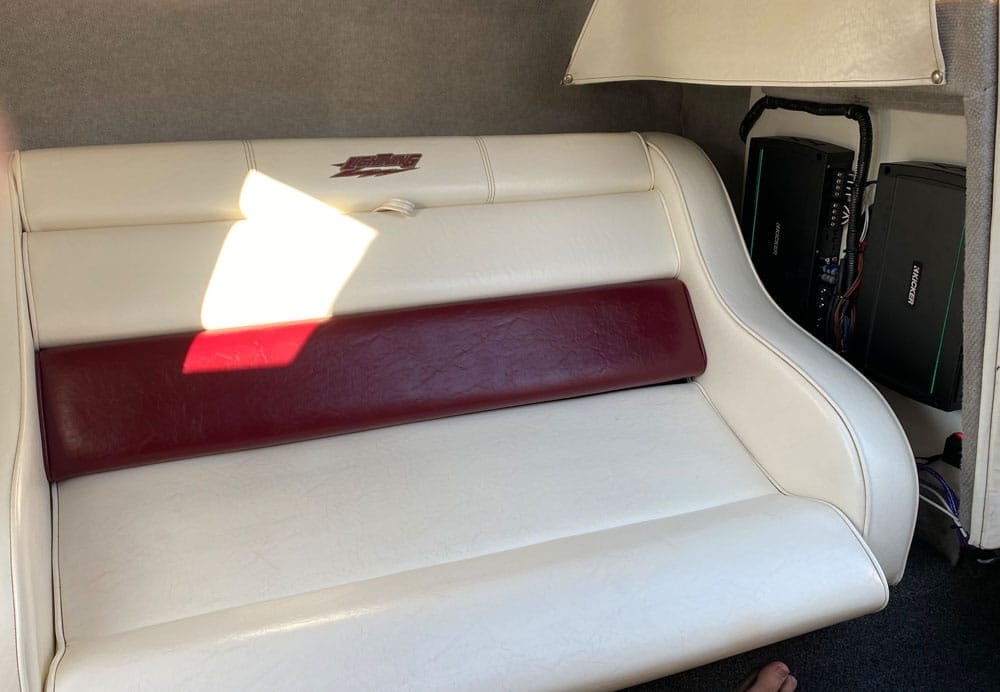
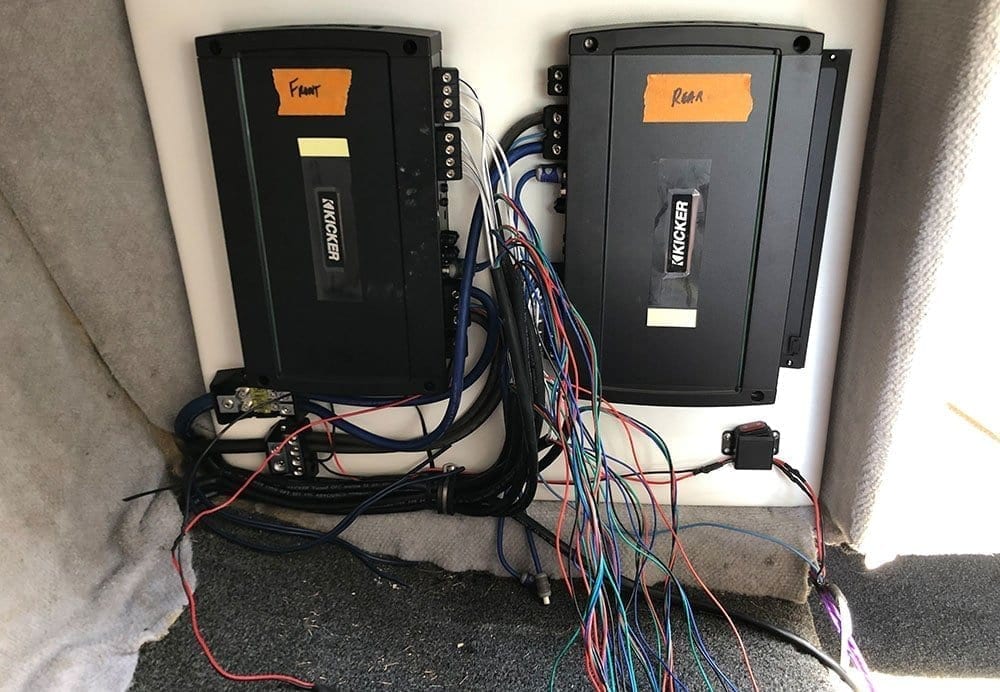
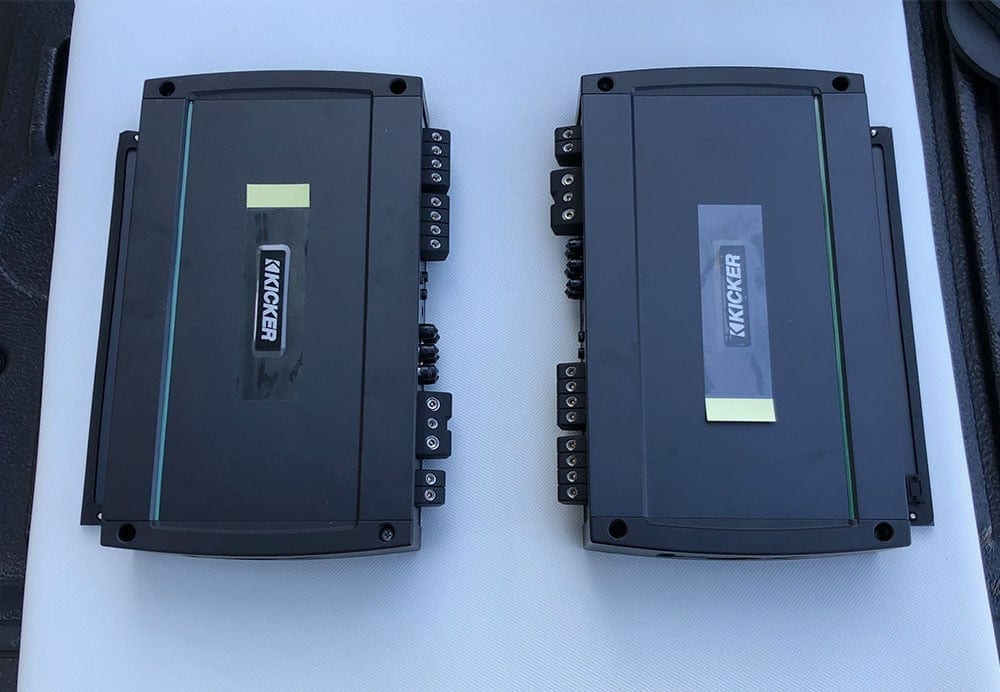
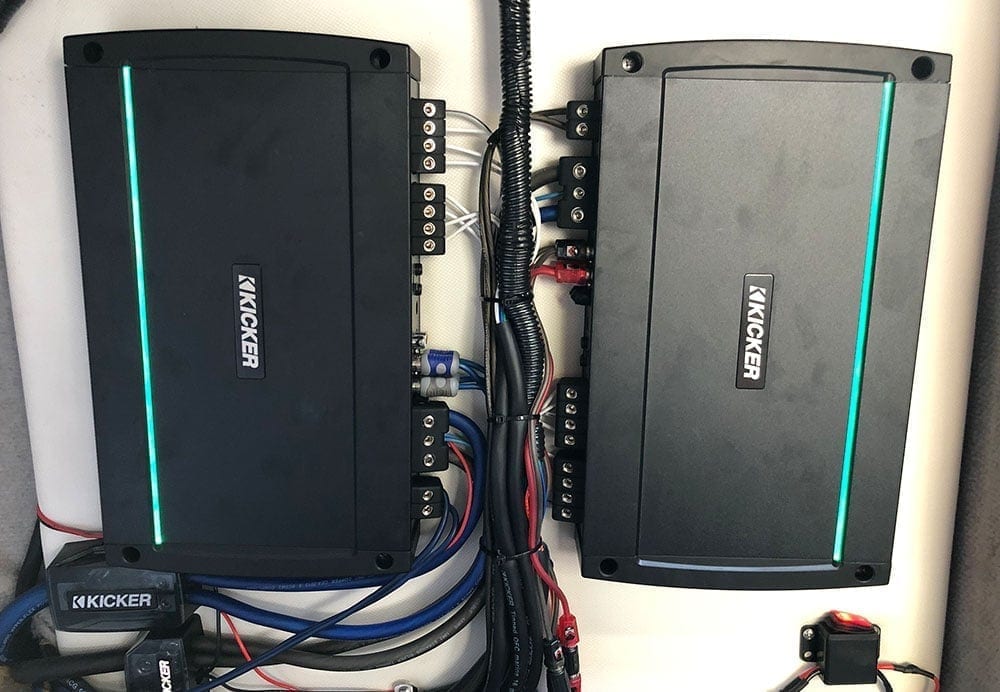
We chose to use the same location in the nook where the old amplifiers were located to mount and wire the new amplifiers. It's a great spot that's tucked away but not hidden or confined. Not to mention it was already configured to house two amplifiers with a carpeted floating wall to mount them to.
We actually updated the old floating wall with some new vinyl to match the interior vinyl, which added a nice touch and mounted the two side-by-side with all the terminals facing inwards.

Once the amps were mounted and positioned in the nook we wired them up. Pictures of this are in the Wiring section. We decided to run all of the wiring along the central column between the two amplifiers to try to make the cleanest wiring job. We did run the RCAs along side the power however we were confident in the quality of the RCAs enough to do so. And all said and done, there was no distortion or interference as a result of it.
We ran out of time to wire everything 100% how we wanted, but here's how the temporary wiring came out. In the near future, we'll be re-running the 40 (yes 40) LED wires to another location. This is the packed loom that runs up and past the amplifiers and to the left. We'll also be tidying up the central column of wires for visual. Stay tuned for those updates, we'll post them here!
We cover all the benefits of tuning the KXM series subwoofers in our KXM Amplifier Review, but I will tell you that the illuminating gain notifier that's directly on the tuning panel of the amplifiers is a great way to gauge whether or not you're gains are too high and it'll help a lot of people who may not exactly know what they're looking at on the tuning panel.
Our procedure for tuning was pretty simple, however tuning is really in the eye of the beholder. It's how you prefer your stereo to sound and how far you'd like to push it. You can read our quick guide to tuning, but we essentially set the frequency ranges (via the high pass and low pass) for each of the channels then set the gains while the head unit is around 80% volume channel by channel. What was really nice was that the illuminating gain feature on the amps were pretty much spot on so if you want to simplify your tuning just set the gains until you see the flashing light then back them off. Here's a video of the Kicker guys explaining the feature.
End Results (With Photos)
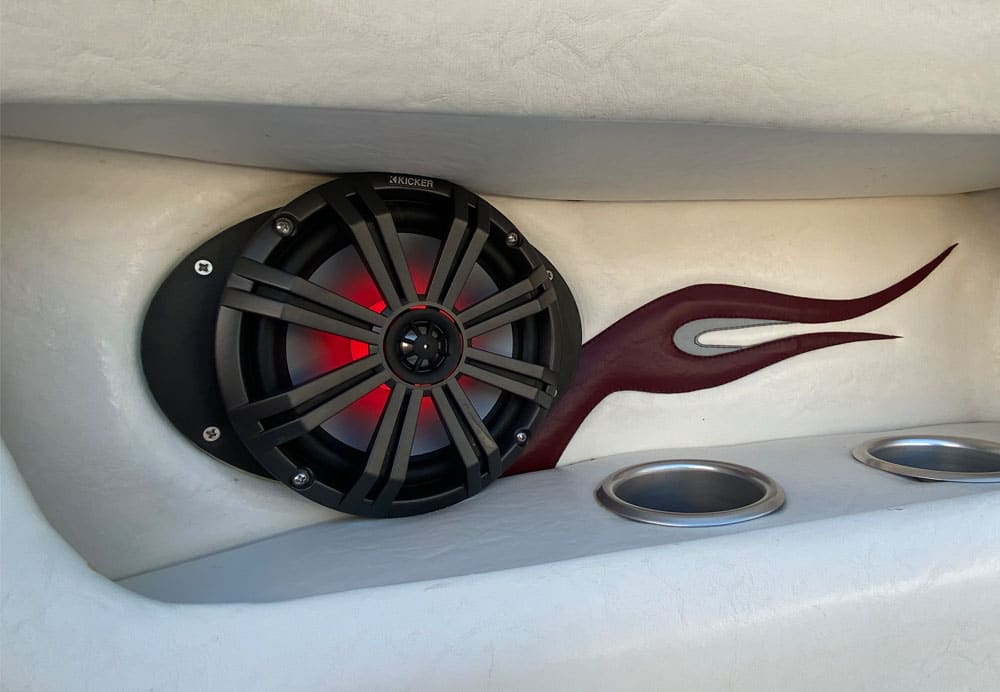
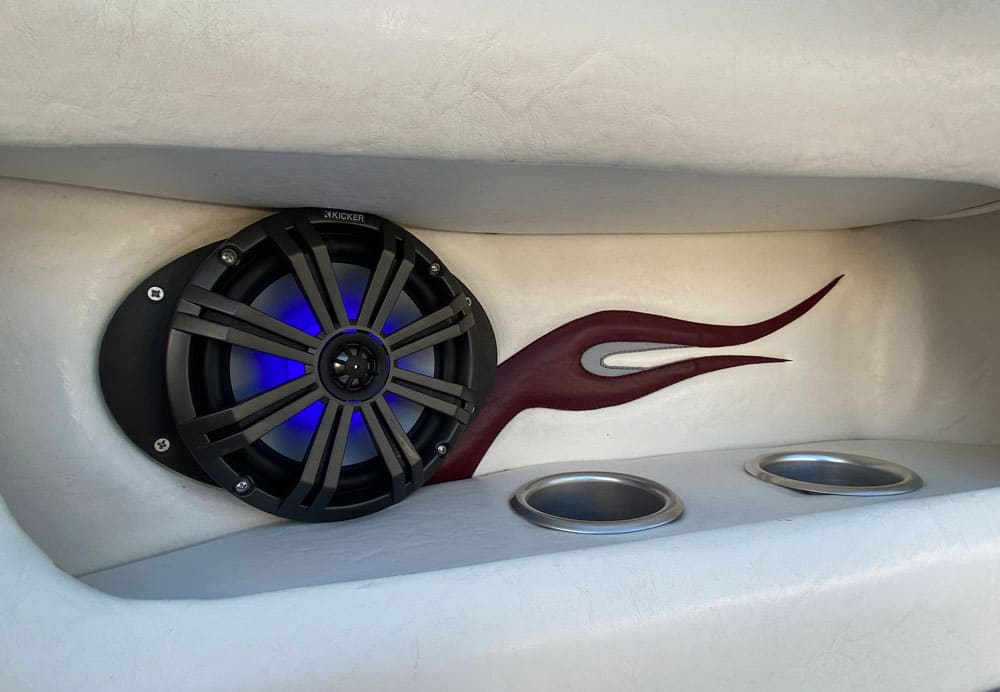
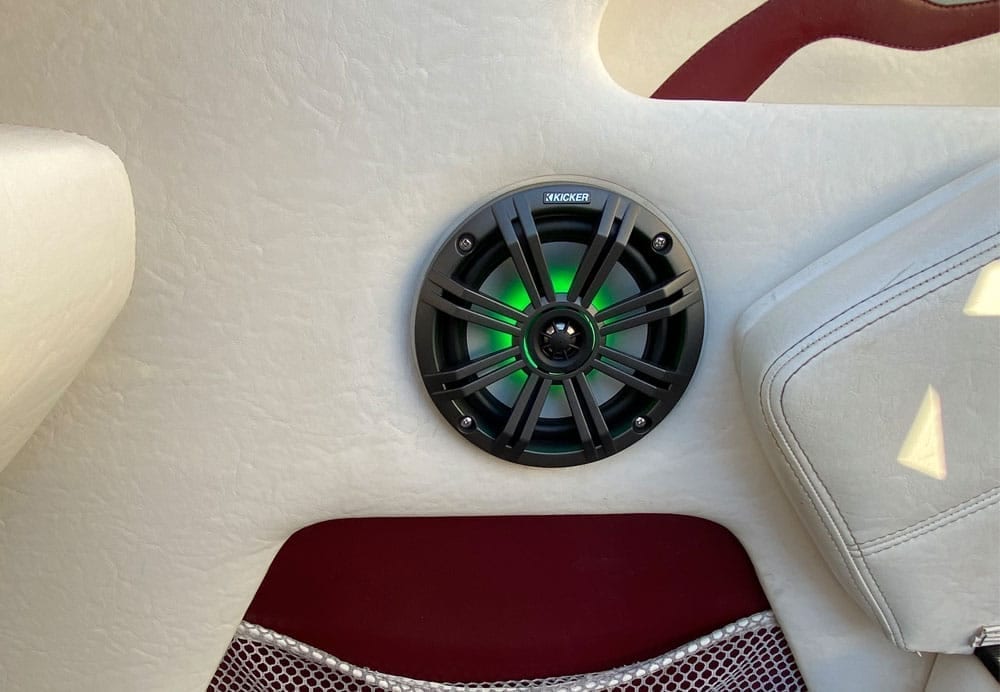
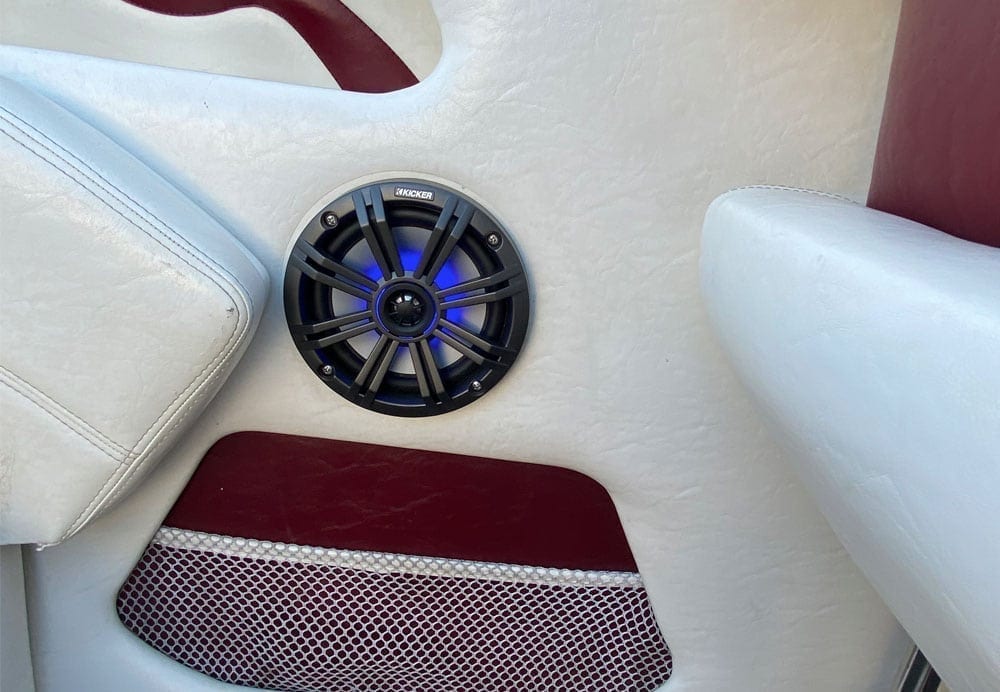
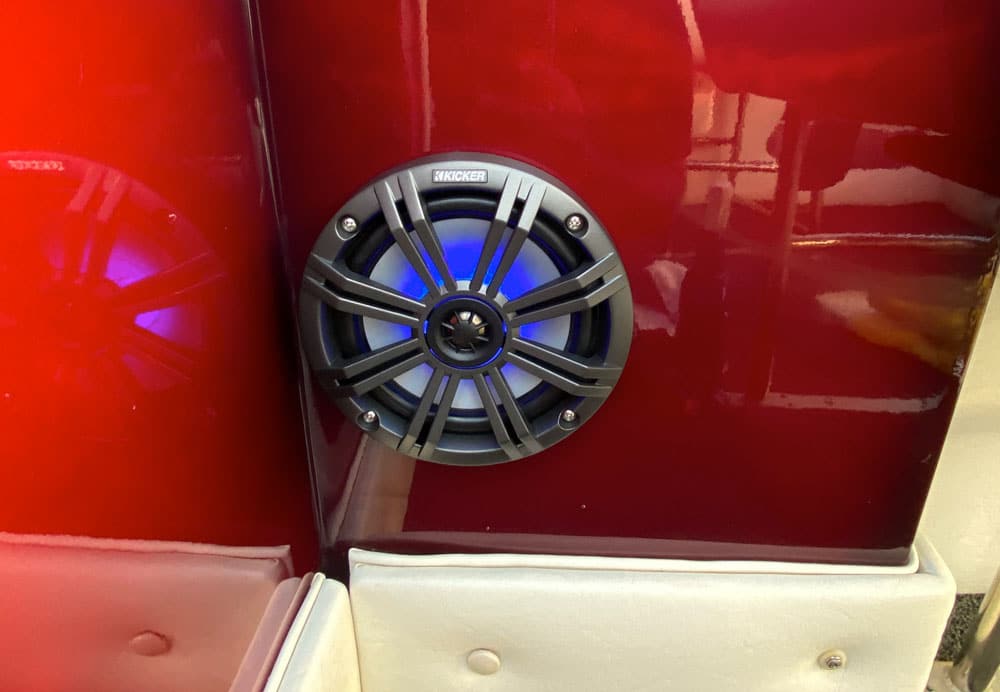
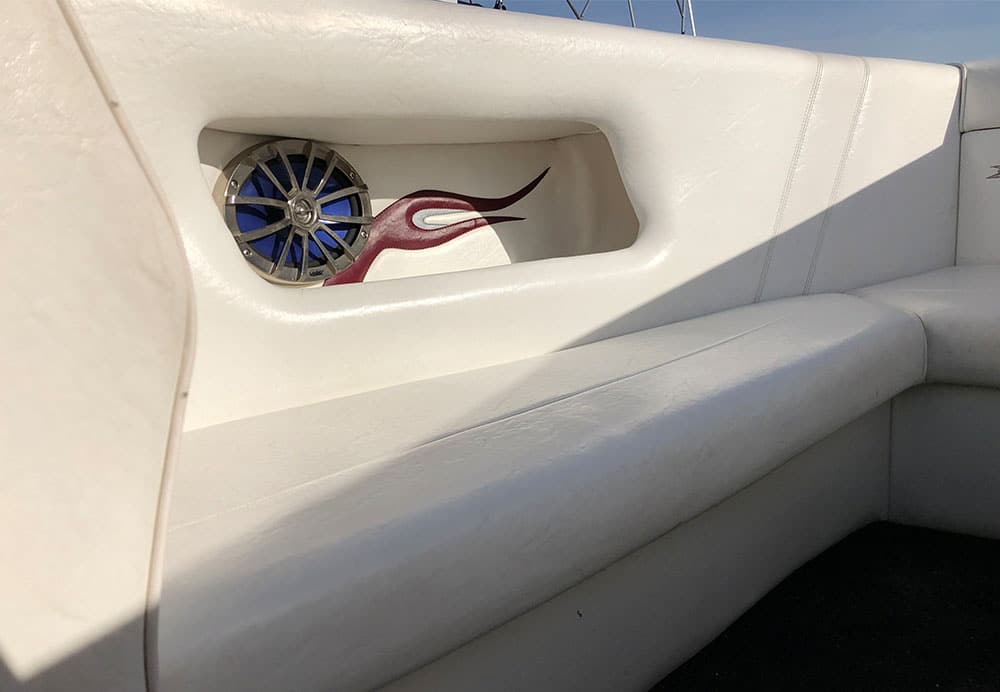
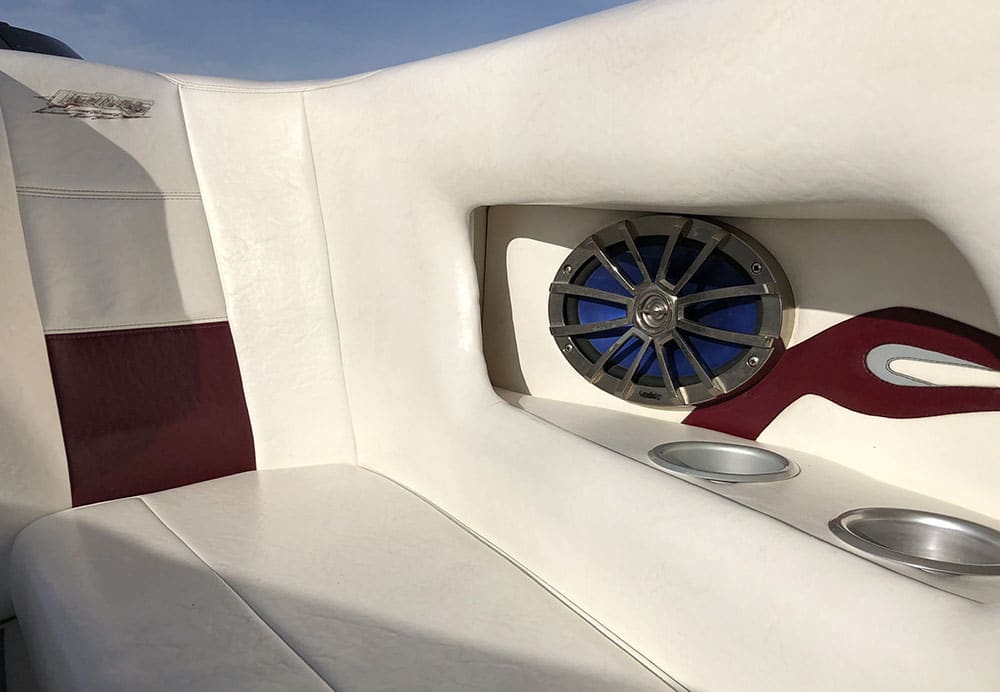
We were blown away with this upgrade. The marine-grade quality of all of the stereo components that Kicker puts out is phenomenal. The stylish, matching grilles on all of the speakers completely changed the interior look of this boat too. It's much more aggressive and really pops. Combined with the synchronized, matching LEDs on every speaker of the boat powered by the KMLC controller – this feels like a different boat when you step into the cockpit and the nook.
The combination of 8″ and 6.5″ speakers brought this stereo to another level too. Since the two 10″ subs are nearly 20ft away from the bow, having four 8″ speakers in the front of the boat brought full range music that had plenty of bass and not too much high. And in the back where the 6.5″ speakers were close to the 10″ subwoofers, we tuned the subs to cover a little higher range of frequencies so that we would have that same fullness. It also allowed us to get more volume from the 6.5″ speakers without sacrificing clarity.
The one let down that we had, and knew that we'd have, is the amount of volume that the stereo had in the cockpit area given the amount of power we were pumping to the system. This ISN'T because of speakers or power though, it's because of the position of the speakers. Every speaker in the cabin is at or below the knee level, yet you sit and stand well above normal seating level. This is pretty common in the older speedboats and sometimes can hold back the volume of your stereo. All that said, I'm pretty sure anyone in their right mind (including the owner of the boat) would be thrilled with the clarity and volume.
This was our first full marine-grade Kicker stereo install with their latest equipment, and we're happy to say that it's a 5 out of 5. It's an incredibly well-balanced and well-matched set of products, from the power and amplifier features to the LED and controlling remote. And with the noticeable build quality that's tailored to the harsh marine environments, we know this boat will have loud and clear tunes for many seasons on the Colorado.
We kept this install overview pretty high level in terms of product features and such. For a more in-depth breakout of each of the products that we used on this install, check out the reviews below:
Check out photos of the end result!