In this article: We'll walk you through the steps to install a double din head unit in a 2002 – 2005 Mercedes CLK 320 with a review of the head unit we used.
Installation Overview:
- Vehicle: 2005 Mercedes Benz CLK 320
- Head Unit: Pumpkin Android 9.0 Double Din Head Unit
- Difficulty: Medium
- Time: 3-5 hours
Let's face it, most vehicles in the 2000s era have head units, or just car stereo technology in general, that's outdated. Bluetooth was just catching on (although aux inputs were the thing), GPS navigation was a luxury and touchscreen head units were few and far in between from the factory. At the time, the 05 CLK 320 was a great, stylish and luxurious car but to bring it into the modern age it needs an upgrade.
We sought a price-friendly but powerful head unit to upgrade our 2005 CLK 320's stereo and bring it up to speed with some of the latest technology to make it a decent commuter. We were thrilled when PUMPKIN reached out to us with a unit that we could test for them.
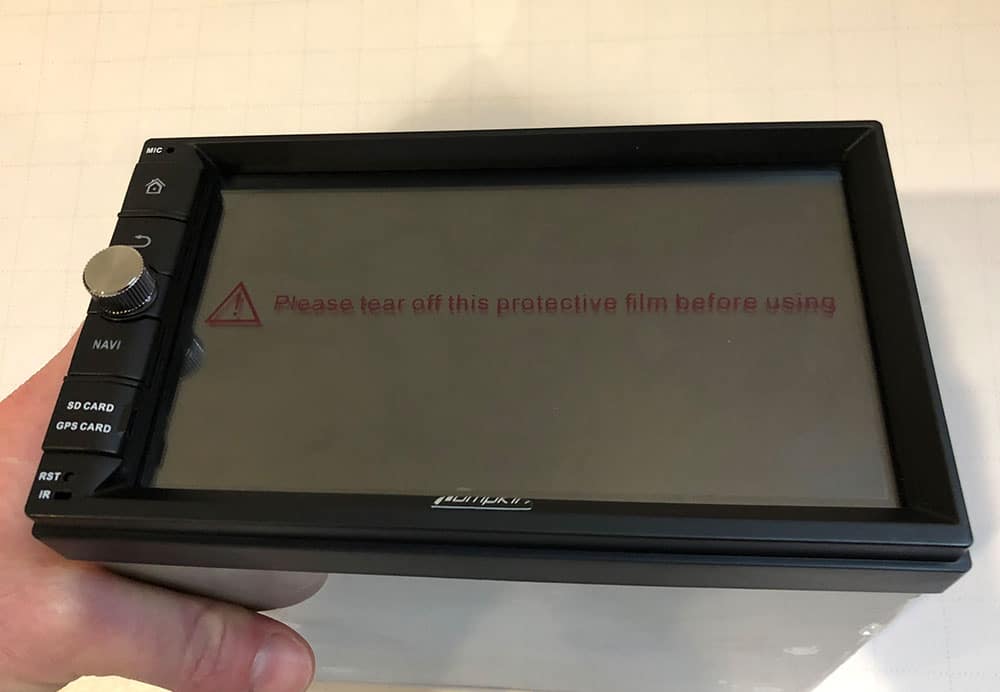
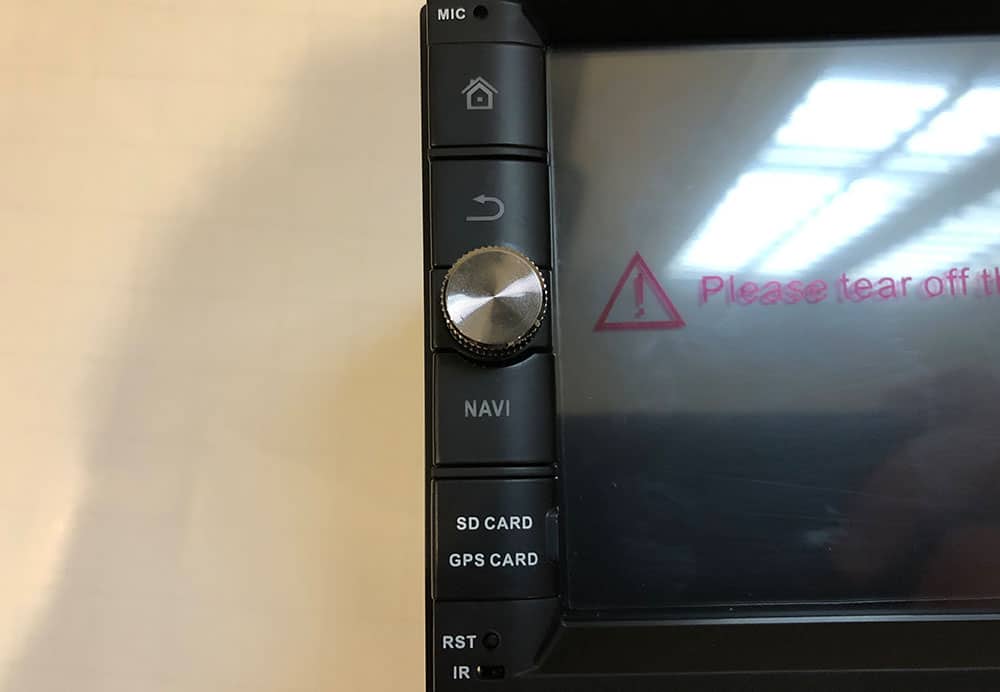
The Head Unit – PUMPKIN Android 9.0 Double Din
This installation will apply to nearly all double din touch screen head units, Apple CarPlay and Android Auto, or double din multimedia head units regardless of the unit we chose to install. If you're looking to match the product we used in this installation, the head unit that we chose was PUMPKIN's Android 9.0 Double Din, model AA0495B. You can find it on amazon and directly on Pumpkin's site here.
About PUMPKIN
PUMPKIN is a China-based manufacturer that was founded in 2014. They're primarily focused in the European market, but also have a presence in the U.S. Their staple products include OEM replacement head units, double and single din head units, portable and dual screen DVD players along with headrest monitors. Most of their products are Android systems, including the one that we installed in our CLK 320.
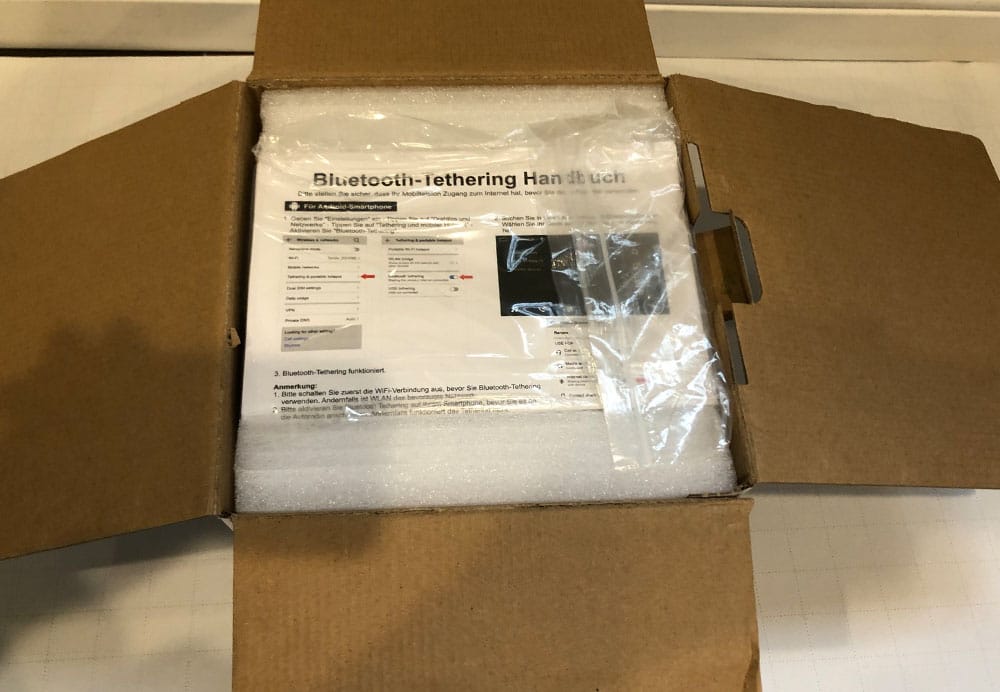
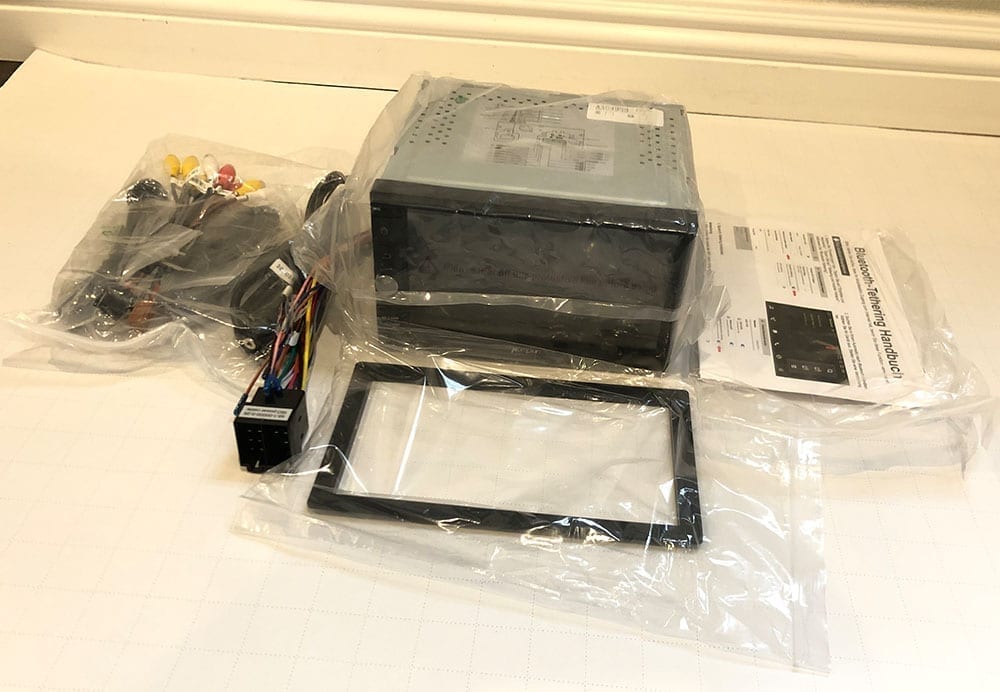
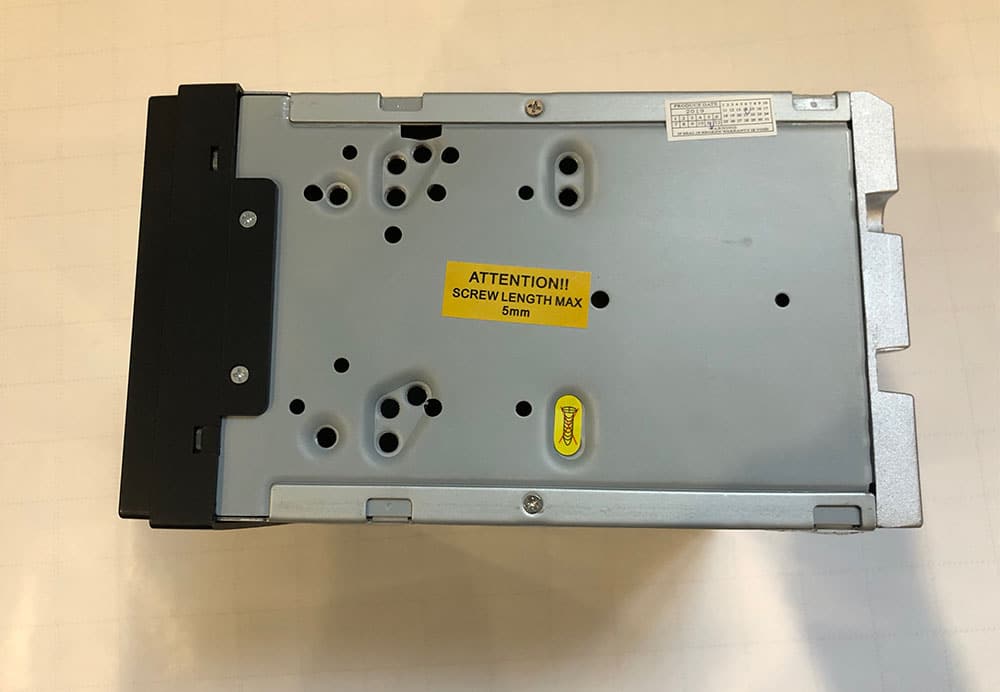
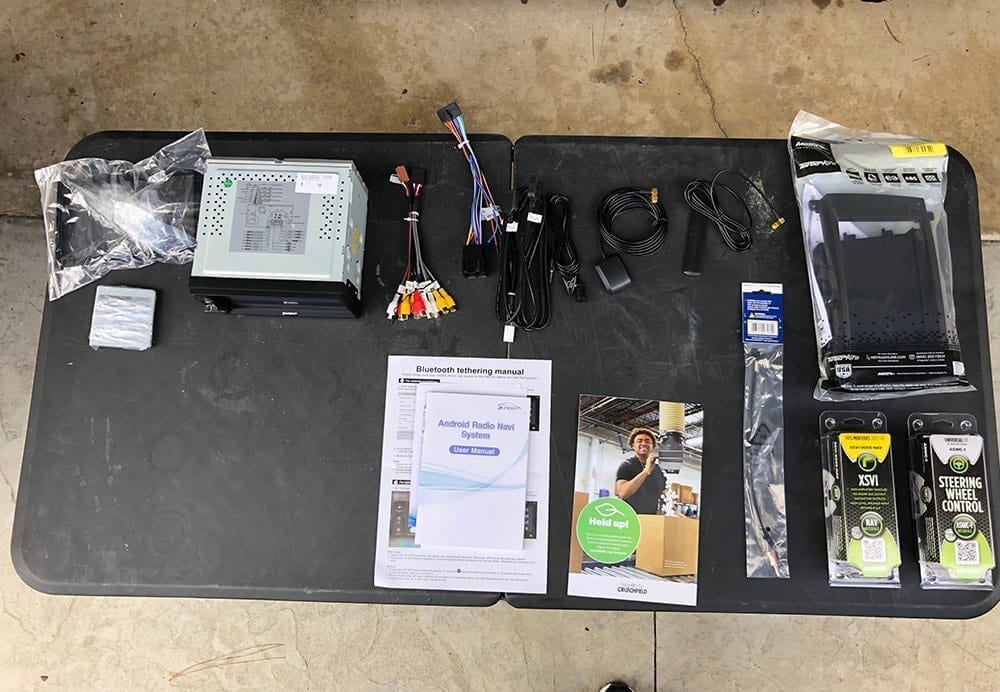
Out of the Box
In the box, the PUMPKIN head unit comes with:
- 1x Android Head Unit
- 1x ISO cable
- 1x external microphone
- 1x USB+ Mic cable
- 1x Audio Output cable
- 1x wifi antenna (4.9ft)
- 1x GPS antenna
- 1x AUX Input cable
- 1x Cam-in cable
- 1x Installation Accessories (wire harnesses)
- 1x User manual


Installation In 2002 – 2005 Mercedes CLK320
Note that the instructions and parts below are for a CLK320 WITHOUT Harman Kardon. If you're looking to install a head unit in a CLK320 with Harman Kardon/amplified stereo you'll need a special harness. It's all-in-one so the only thing you'll need to do is substitute this harness for the Axxess harnesses that we show below.
Necessary Parts for the Installation:
- Head unit (of course) – We used our PUMPKIN double din head unit
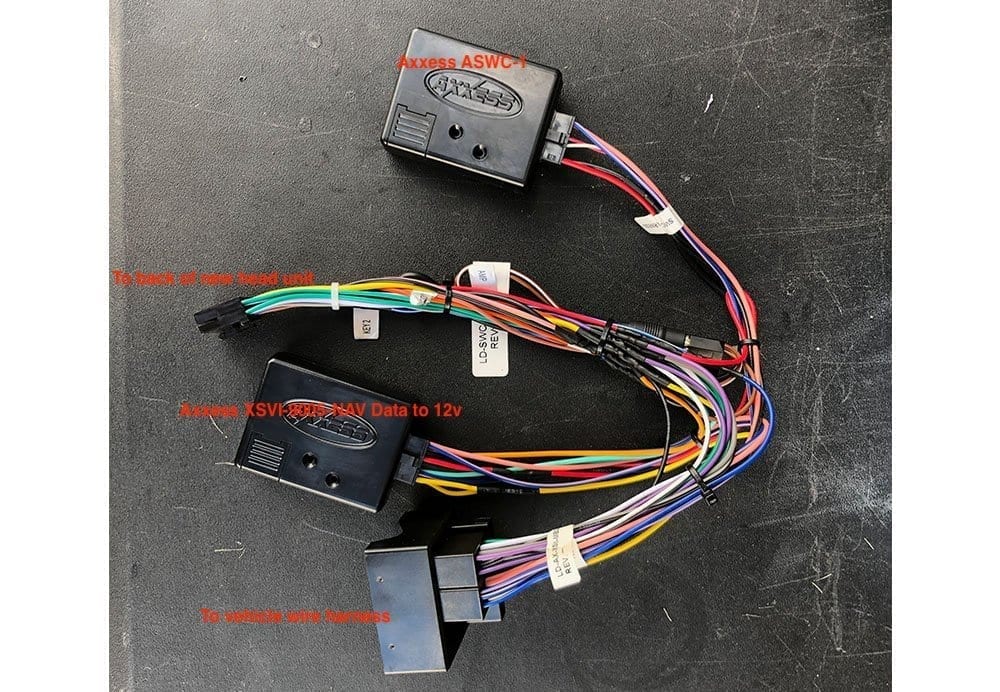
- Axxess XSVI-9005-Nav harness – adapts the OEM Mercedes head unit wires to the aftermarket head unit. Also creates an accessory 12v power. Without this harness and adapter, you'll have to find another source for wiring your accessory turn-on power. This harness also plugs right into the ASWC-1 below.
- Axxess ASWC-1 – Steering wheel control interface. Optional if you want to retain steering wheel controls.
- Metra 40-EU10 – Adapts the OEM radio antenna plug to an aftermarket plug.
- Metra 99-874B – Dash kit that adapts the double-din to the factory dash cutout.
Here's a quick walkthrough of the products that we chose to do the install.
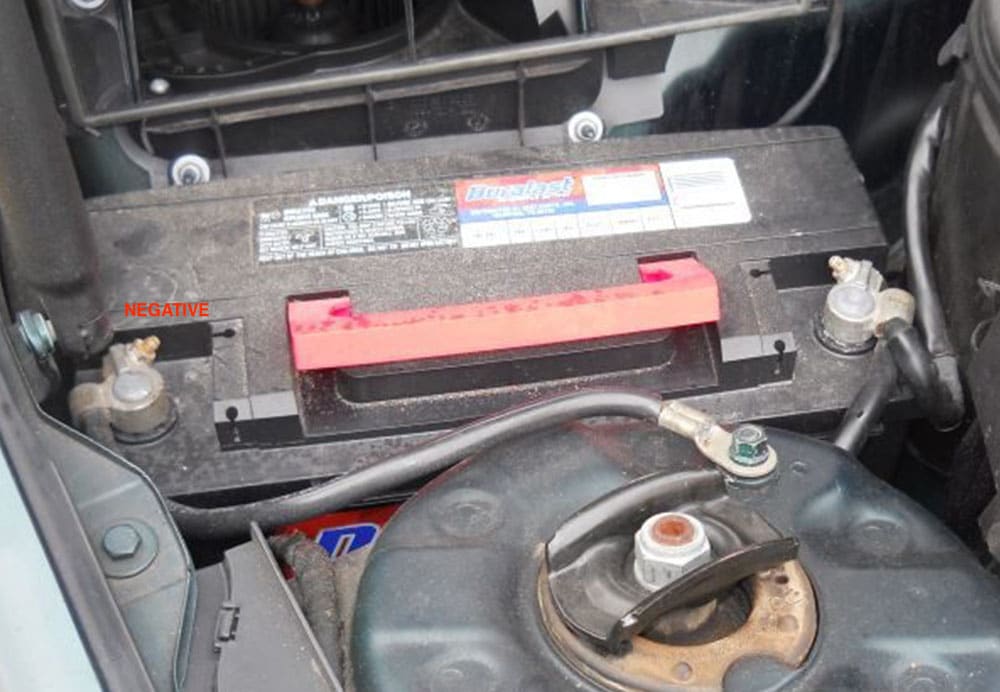
Step 1: Disconnect Your Battery
First things first – you'll need to disconnect your battery so that you don't blow any fuses during your install. The battery in the CLK 320 is located on the passenger side of the car under the hood, just in front of the firewall. Remove the negative terminal on the left hand side of the battery (when facing it).
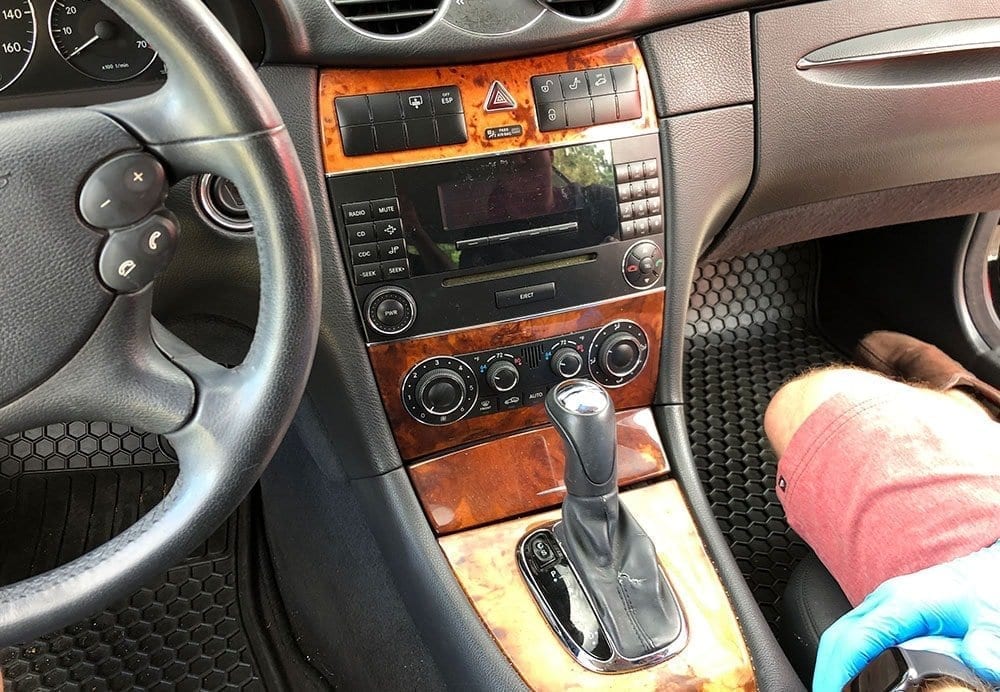
Step 2: Remove Dash Trim
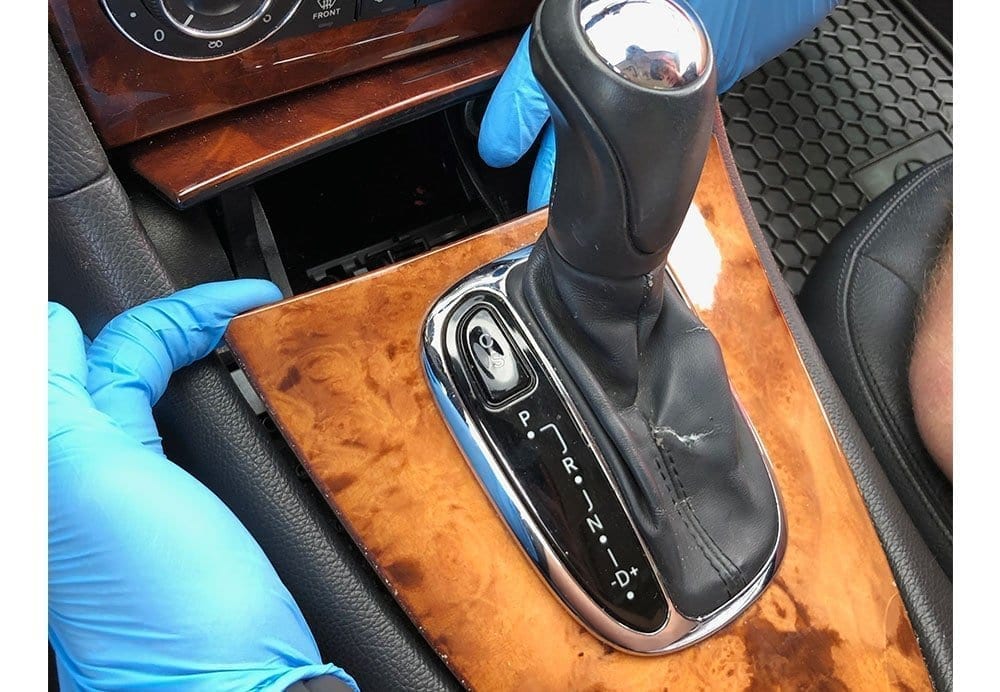
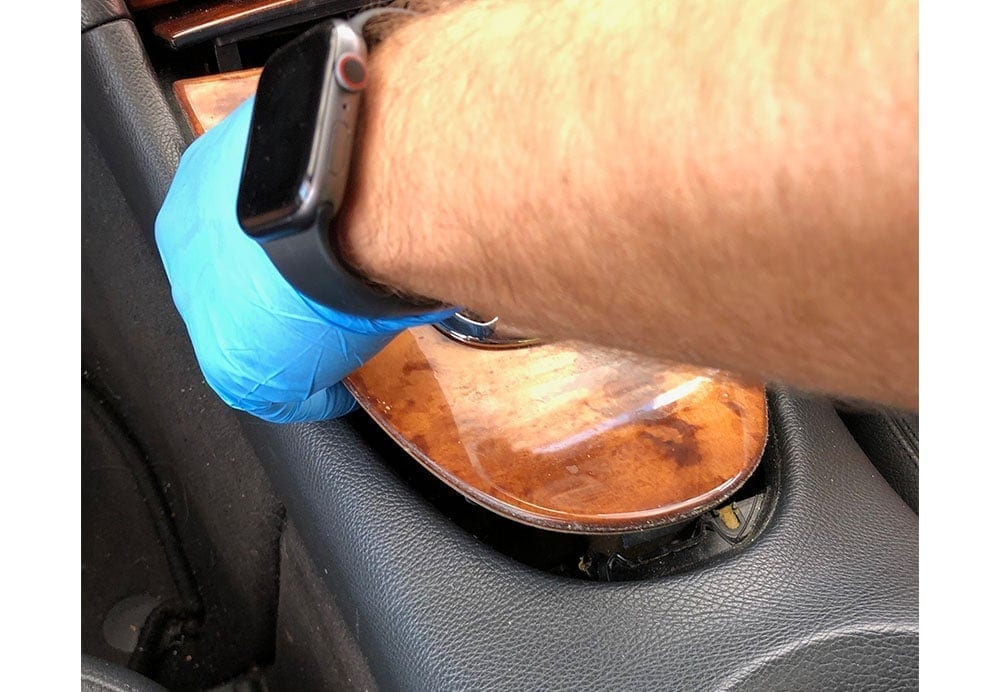
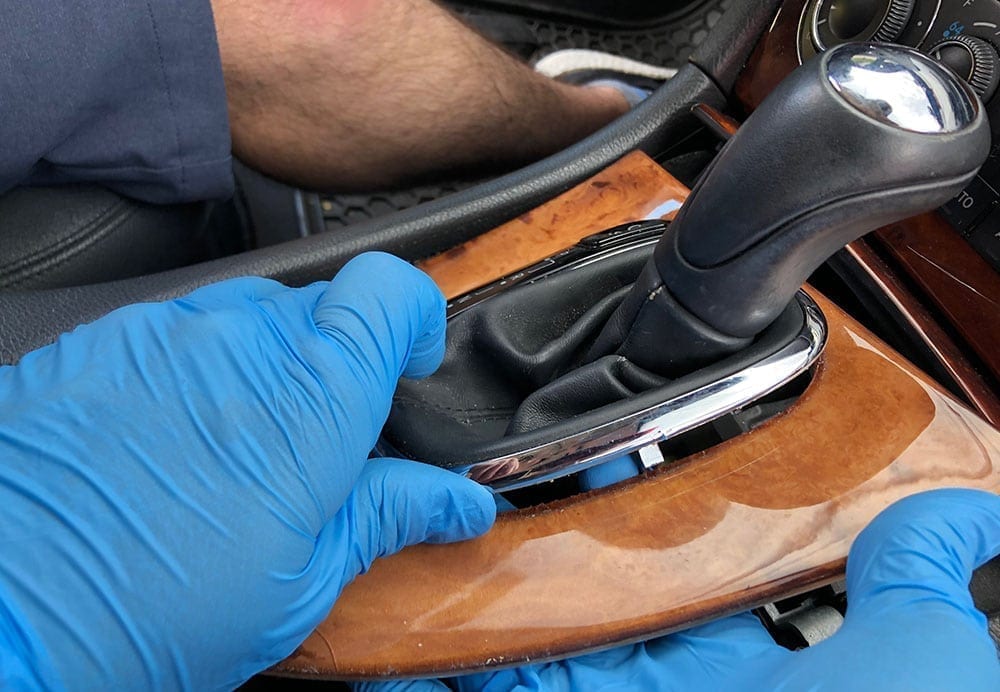
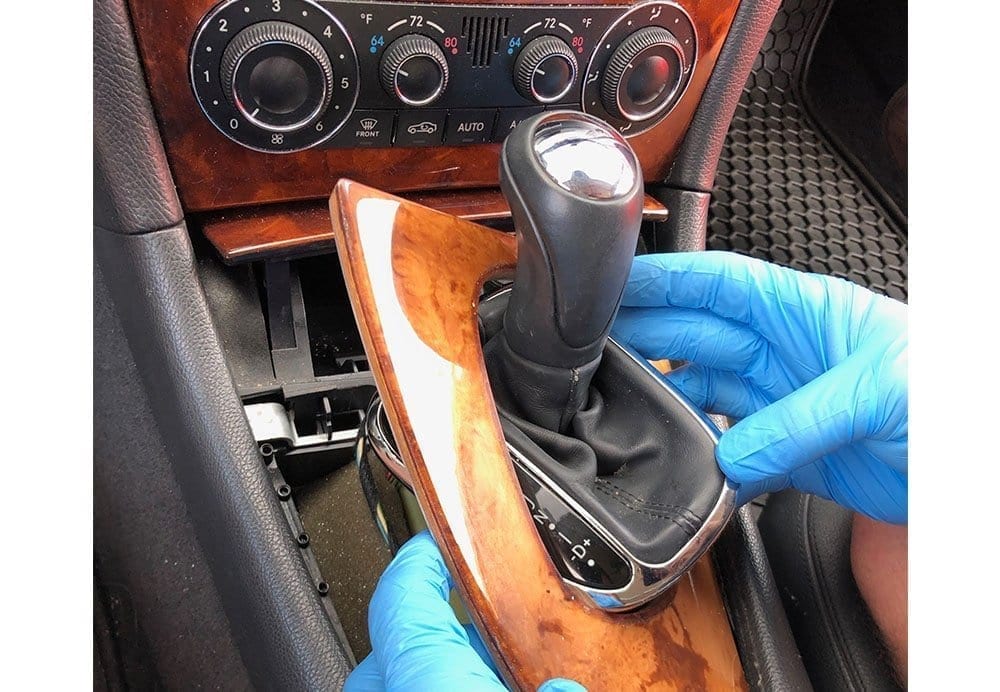
Start with the console trim piece that surrounds the shift boot. Open up the ash tray and pull upwards starting from the front, working your way backwards. Next, gently pry the back side of the shift boot trim upward and work your way to the front. Once the boot trim has been removed, you can then feed this trim piece through the hole in the console trim piece and fully remove the console trim piece.
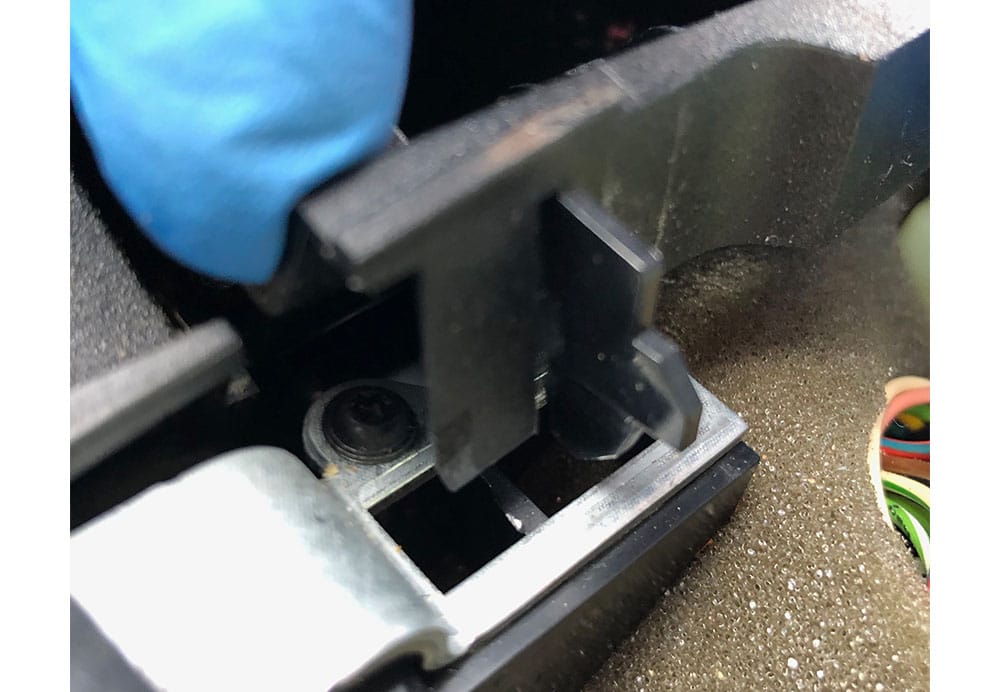
Next, you'll remove the ash tray by pulling the two pronged-like clips on the bottom towards you and lifting it out of the dash.
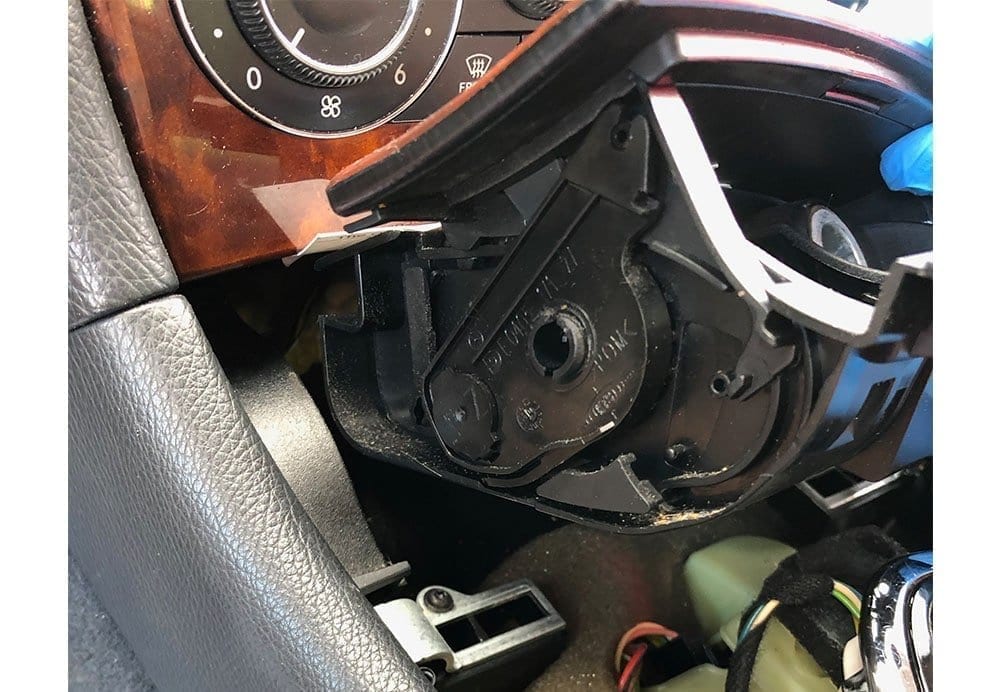
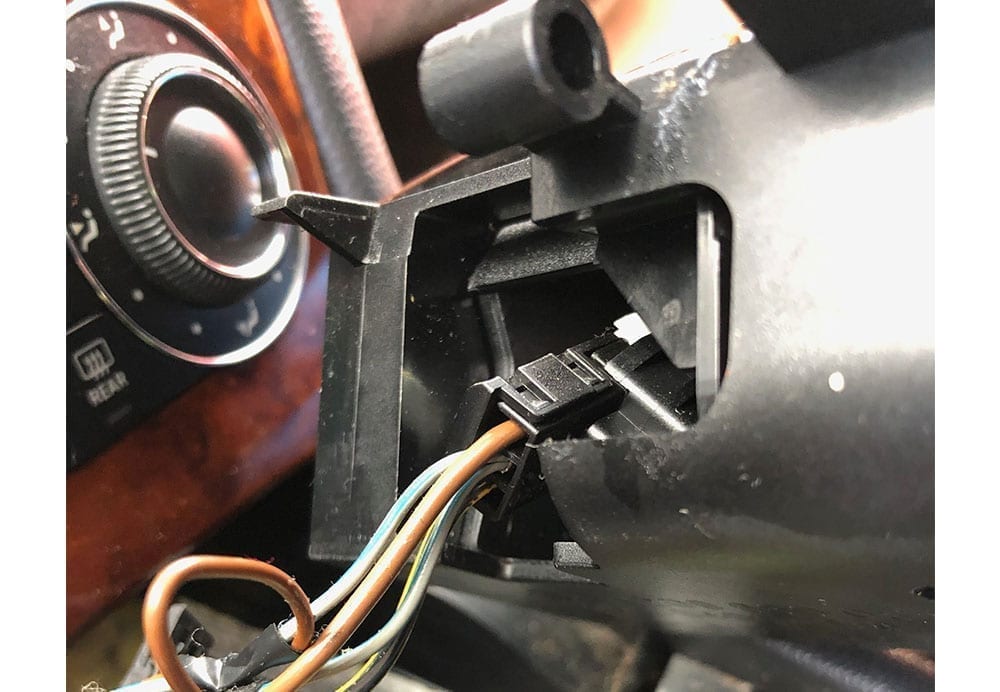
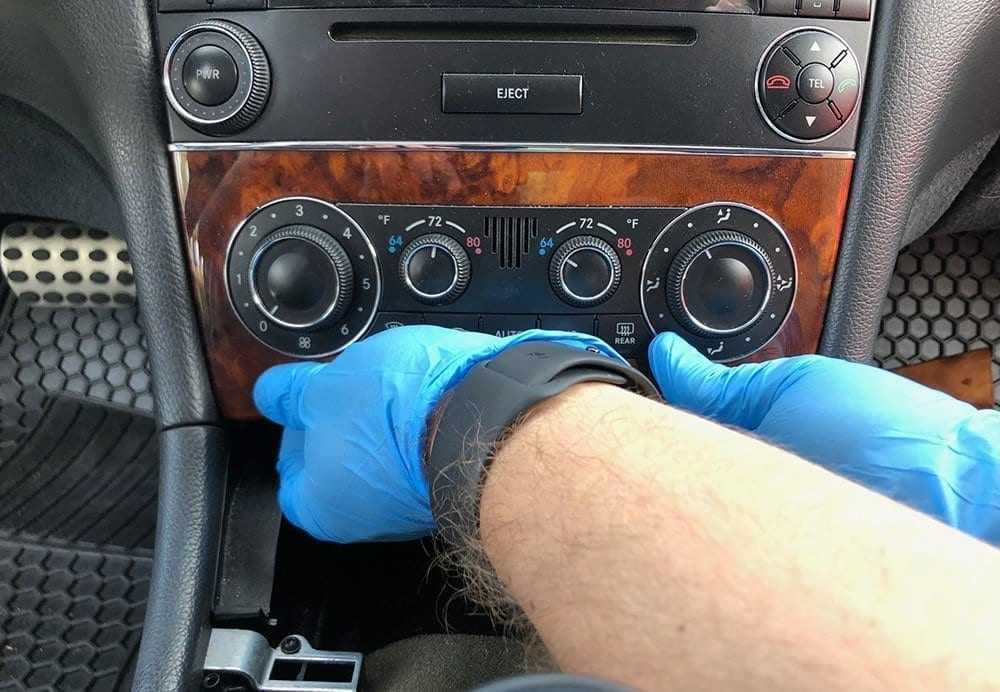
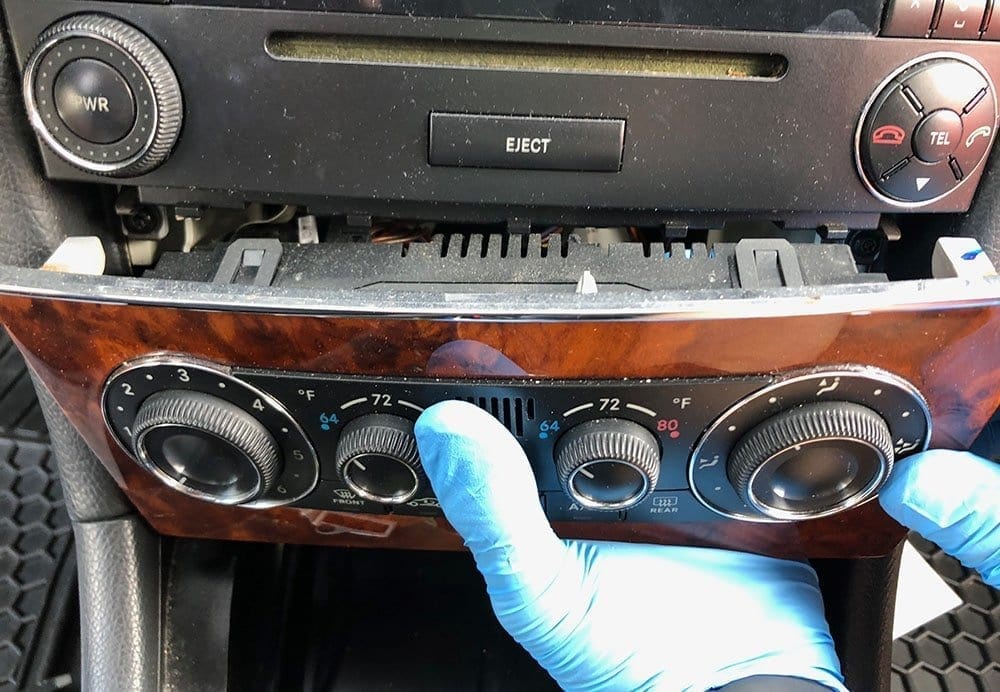
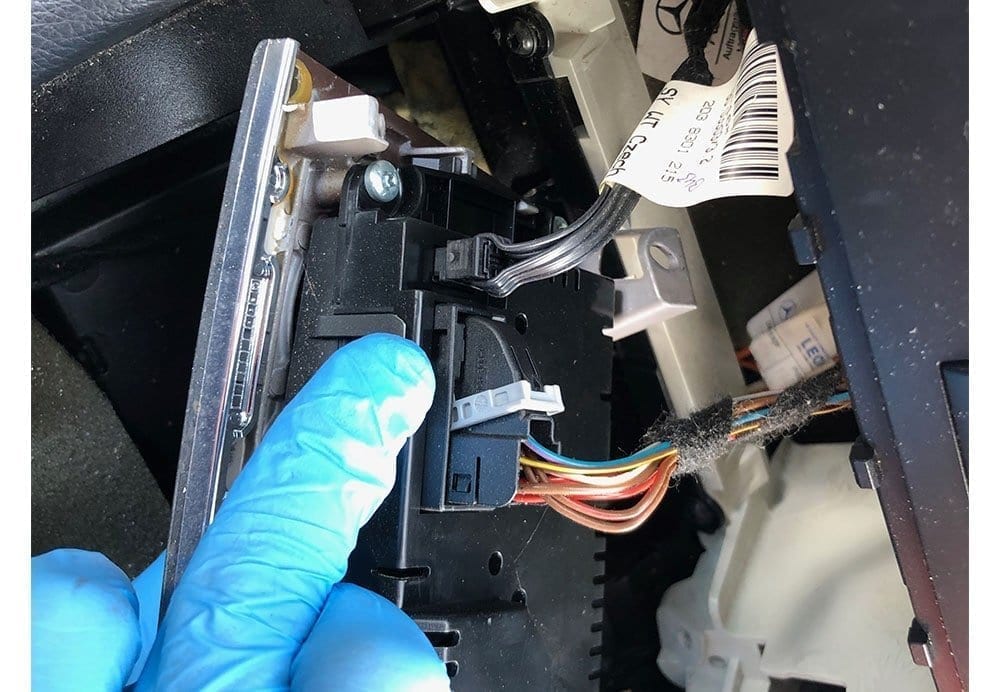
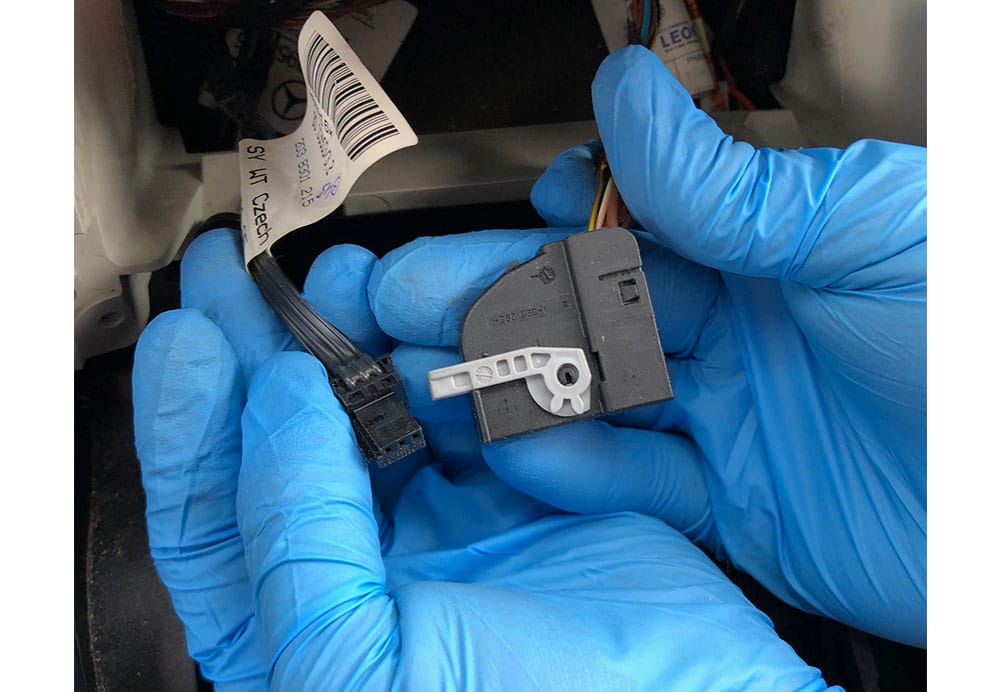
Now that the ash tray is out of the car, you'll have access to two torx screws below the climate control unit. Remove these two screws and pull the climate control unit out. Note there are two clips at the top corners that are holding it in that'll ‘pop' out as you pull it. Once the unit is removed, you'll pull the connected wires – there are two to remove. Remove these two wires and remove the unit from the dash.
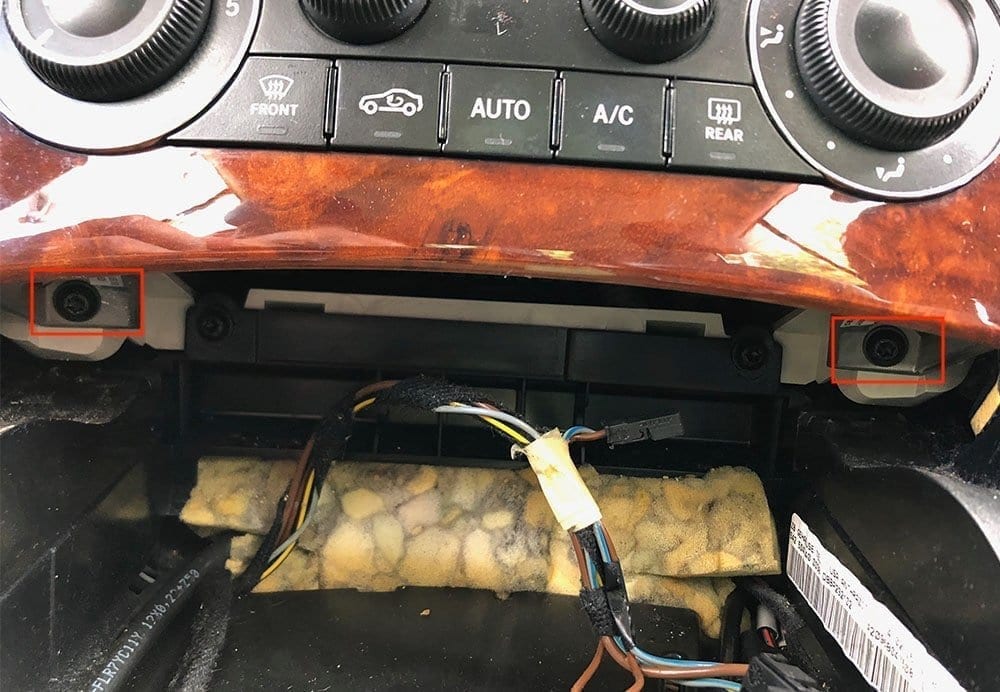
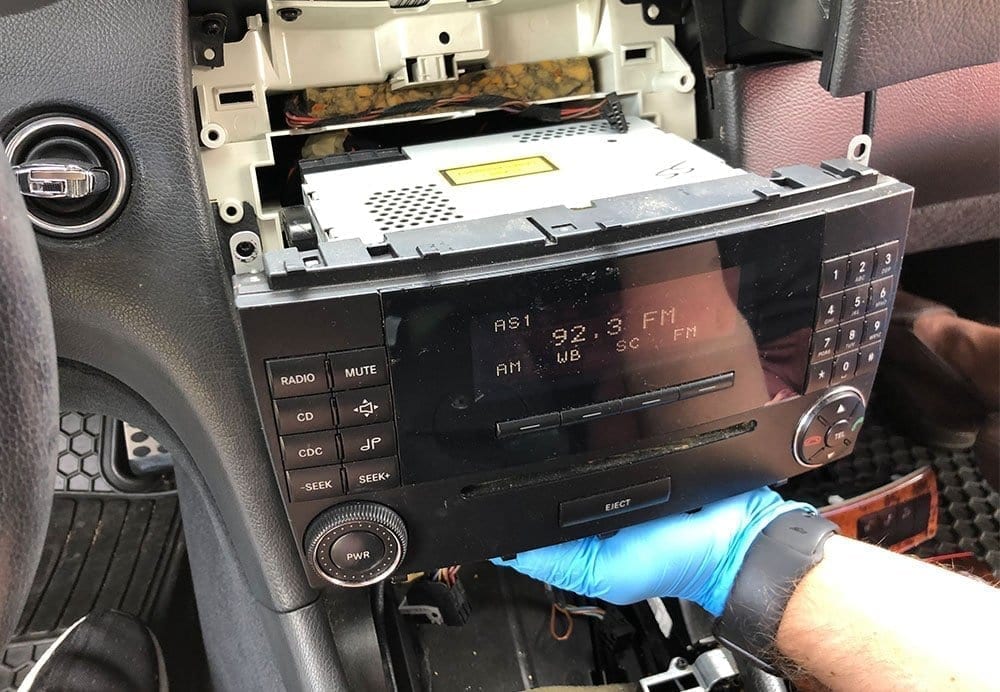
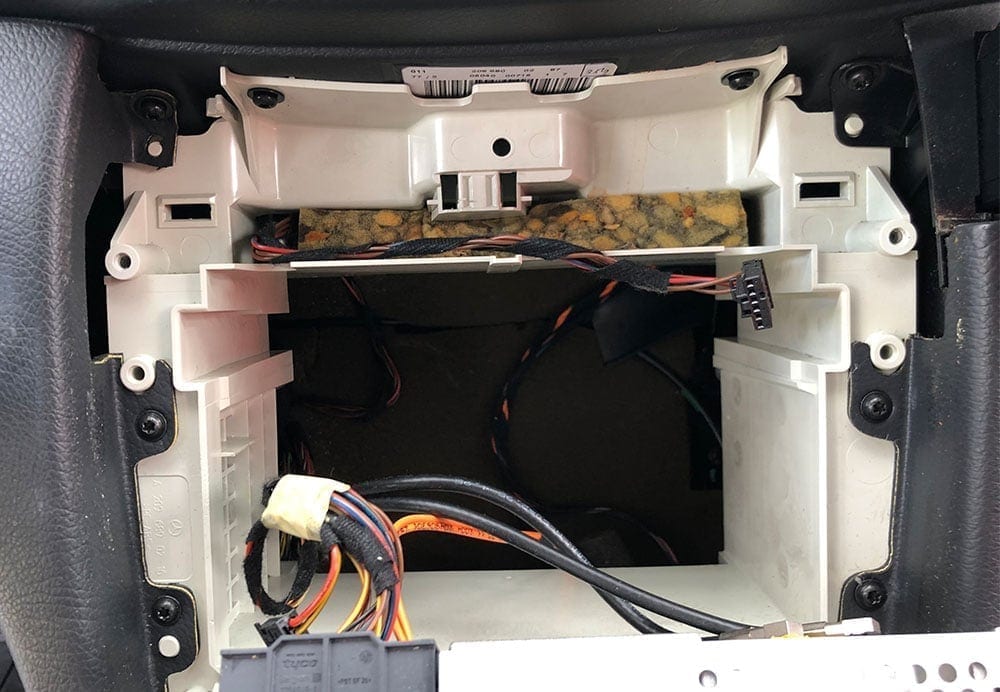
With the climate control removed, you now will have access to the two bottom screws that hold in the head unit. However, there are two above the unit as well so before you remove them, you'll need to pull the trim panel and buttons off that are above the head unit. To do this, press the cup holder to extend the cupholder out. Using your fingers, pull on the inner right hand corner of the panel to unclip the corner, then work your way to the left. With the trim piece removed, unclip the wire harness from the back of the unit in order to remove it entirely.
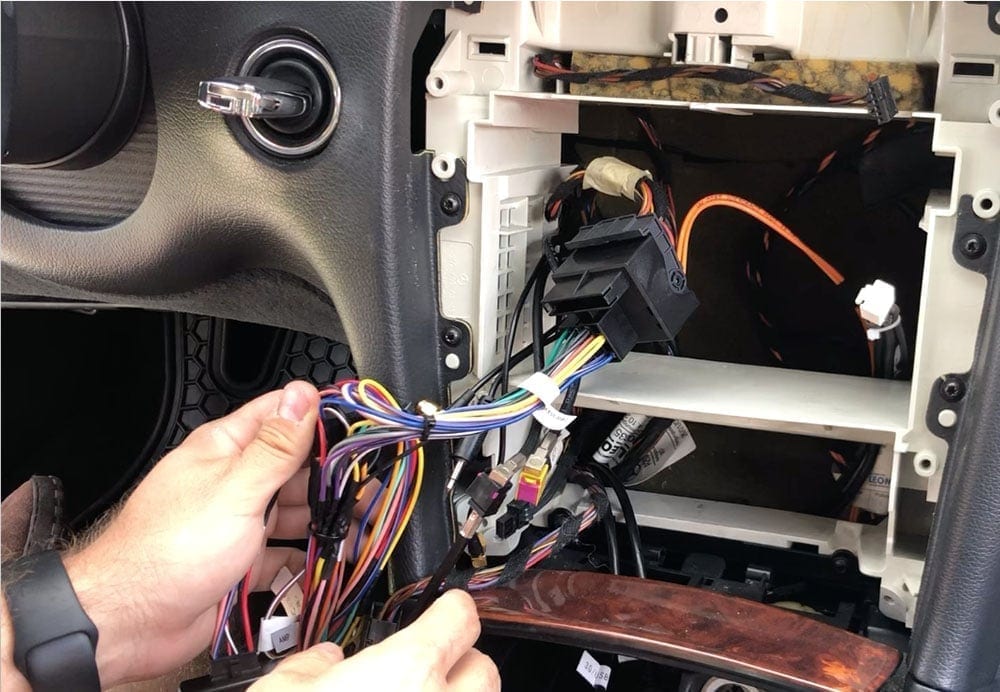
Step 4: Prepare Your Wiring Harness & Head Unit
With your OEM head unit out and your dash ready for your new head unit, the next step is to prepare your wire harness adapter and your head unit for installing in the car. In our case, the adapting Axxess XSVI-9005-Nav and ASWC-1 plugged together, but we needed to adapt the aftermarket head unit wire harness to the vehicle adapting Access harnesses. To do this, we soldered each of the wires from one harness to the corresponding wire on the other. Typically, all of the colors will match but just in case, we have a list of all of the aftermarket wire colors to help guide you.
Couple things to note:
- Brake wire – we typically just combine this with the main ground wire so that any features that are restricted by movement will be unlocked. Note that some units are smarter and use GPS to sense motion but this will typically open up any video or other features that are locked when your vehicle isn't in park.
- Steering wheel control – the ASWC-1 comes with a 3.5mm plug that will adapt to most head units by plugging into the rear of the unit. However, in some cases it needs to be further adapted into two wires: Key 1 and Key 2. These two wires will need to be connected to the corresponding Key 1 and Key 2 wires from the aftermarket head unit harness.
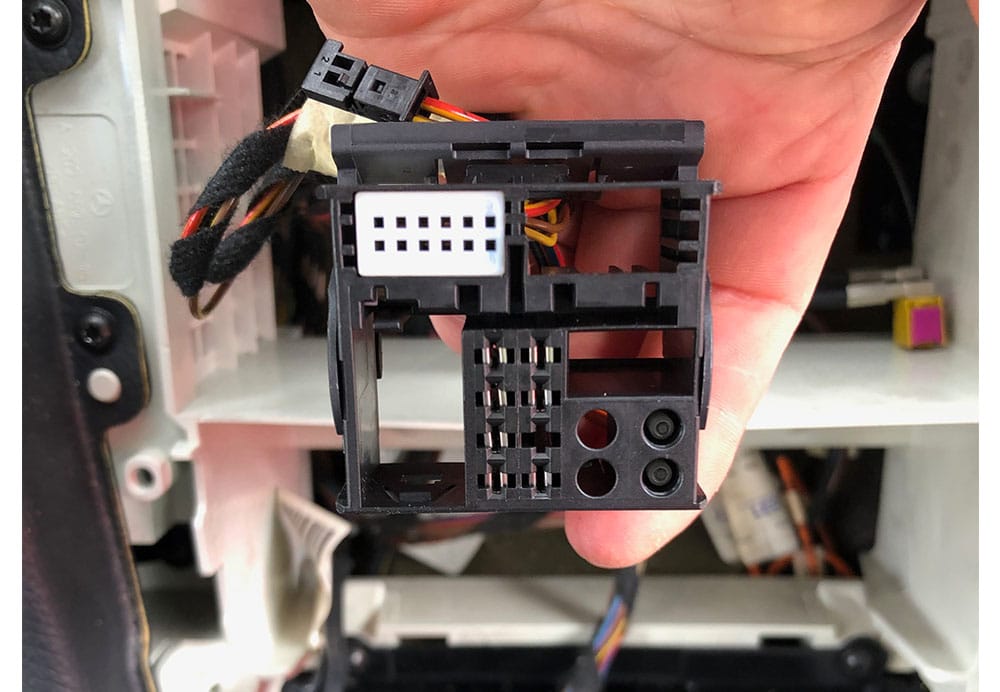
You can either solder each of the wires like we did, or use crimps and a crimping tool. Here's what the resulting wire harness looked like:
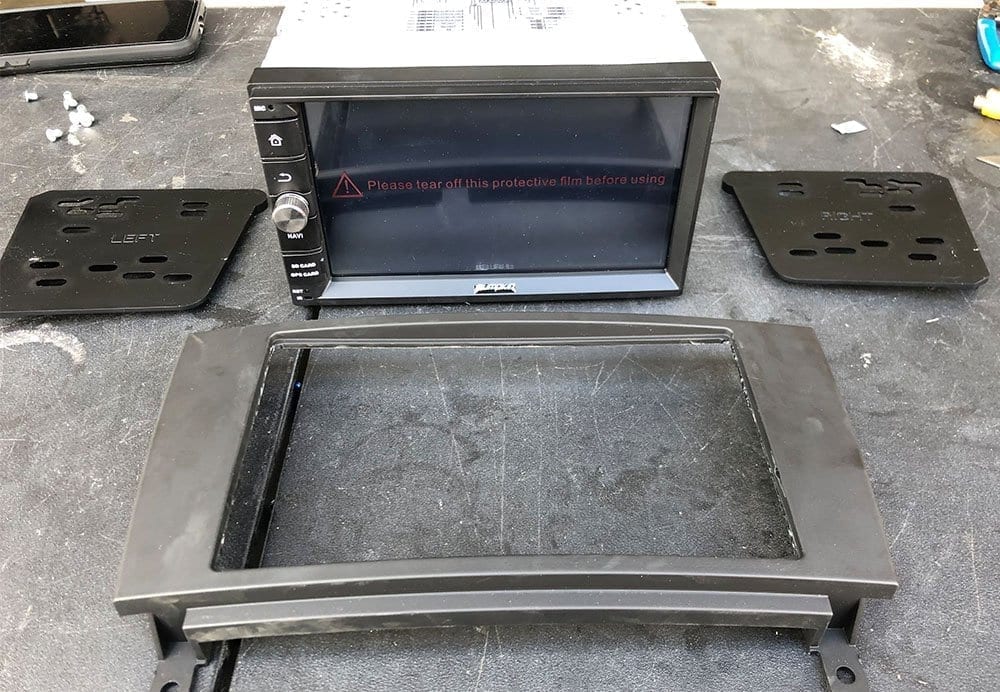
To prepare your head unit to be mounted into the dash, you'll need to mount your new aftermarket head unit to the Metra 99-874B dash kit. Do this by mounting the two left and right mounting plates to the head unit losely. Once they're mounted, place the adapting dash trim over the face of the head unit to check your mounting point and that the unit sticks out as far as you would like it. If your satisfied, tighten the side plates and mount the trim piece to the side plates.
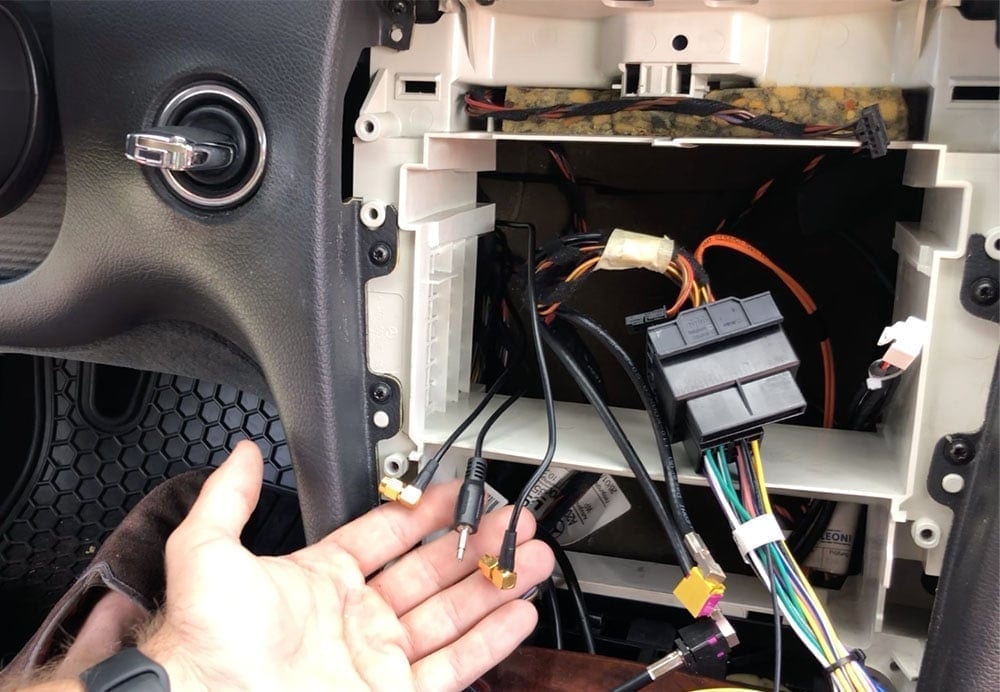
Step 5: Wiring Accessories – Antennas, USB & Microphone
Before you mount your new head unit in the dash, you need to make sure that all the wiring that plugs into the back of the head unit are wired into the back of the dash. This includes things like:
- USB chords
- GPS and WiFi Antennas
- Microphone
The PUMPKIN head unit that we chose had all of the above so we wired up all three to the back of the dash before we re-installed our new head unit.
USB Chords
Our head unit came with two usb inputs that are wired up to the back of the head unit, so we had to choose a spot for the new USB chords to go and then wire them. In our CLK 320, we decide to utilize the ash tray below the head unit. No need to cut holes, simply pull the removable ash tray component out of the ash tray cubby and feed the wires into the ash tray cubby.
GPS & WiFi Antennas, Microphone
For all three of these components, we fed the wire from the dash area, underneath the steering wheel and to the far left side of the dash. To do this, there's a panel above your feet that has two torx screws. Remove the torx screws and pull the panel to gain access to behind the dash under your steering wheel. Then, remove the panel on the left hand side of the dash that faces the door (when closed). Feed the wires from the central dash area through to the left side of the dash. We used zip tie to fasten the wire under the dash.
Once your GPS, WiFi and microphone (or any combination of the three) are through the dash and out of the side panel of the dash, we mounted the WiFi antenna straight to the dash right next to the fuse box. Continue to feed your GPS and Microphone up through the pillar by placing the wire in between the pillar panel and the rubber seal. Tuck your wires behind the pillar panel.
At the top of the pillar, feed your wires across and to the window. We typically mount our microphones in the top left hand side of the windshield and clip it in between the head liner and the windshield. For the GPS, continue to tuck the wire behind the head liner through to the left hand side of the rear view mirror. This is where we mounted our GPS unit.
Step 6: Installing Your New Head Unit
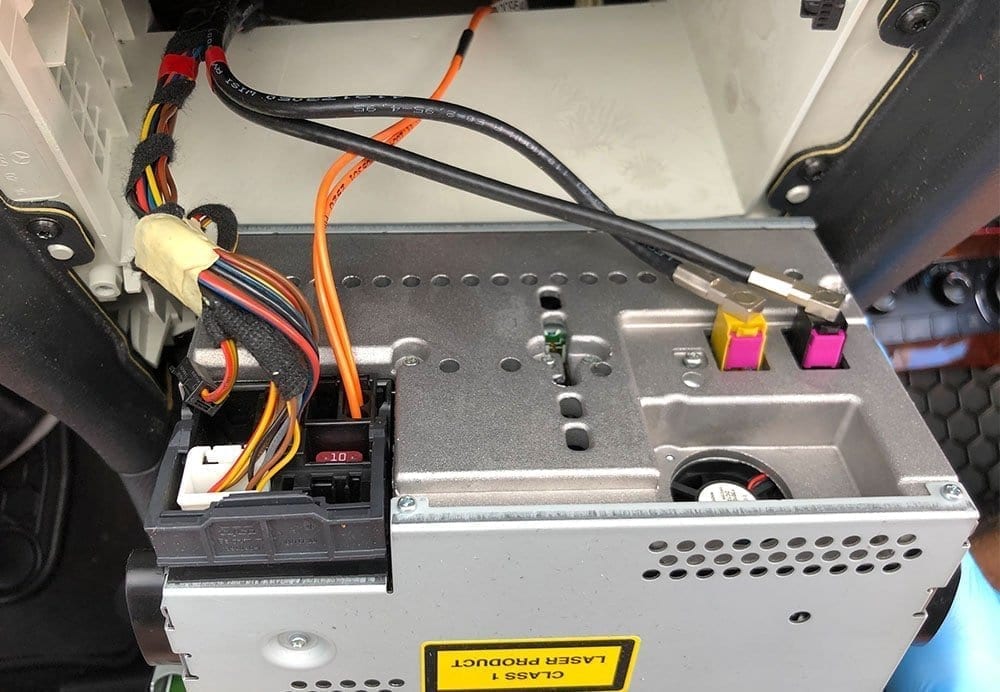
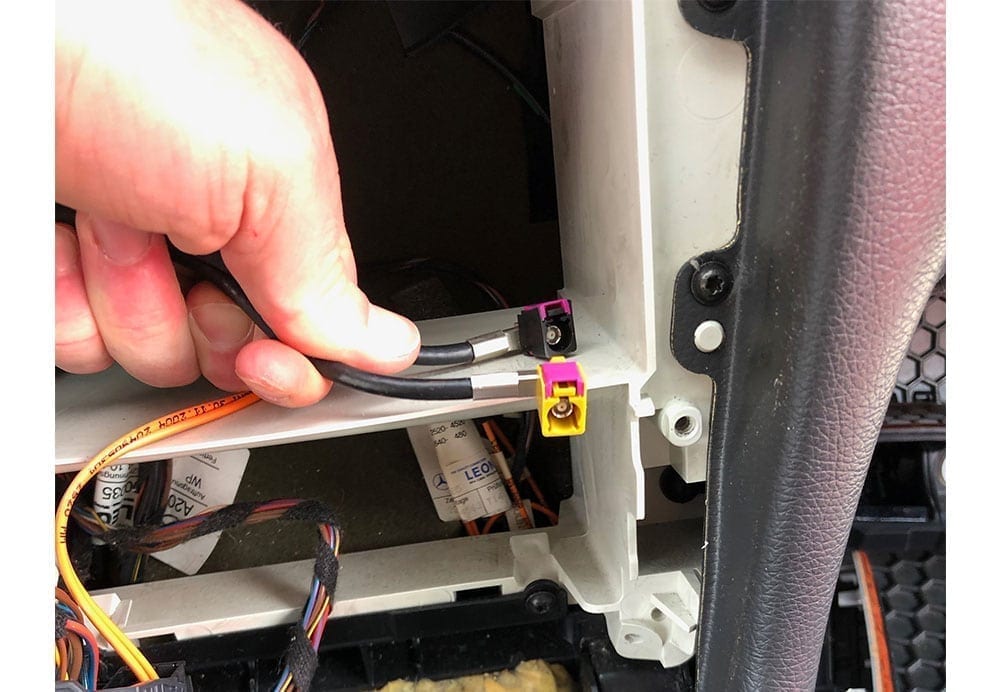
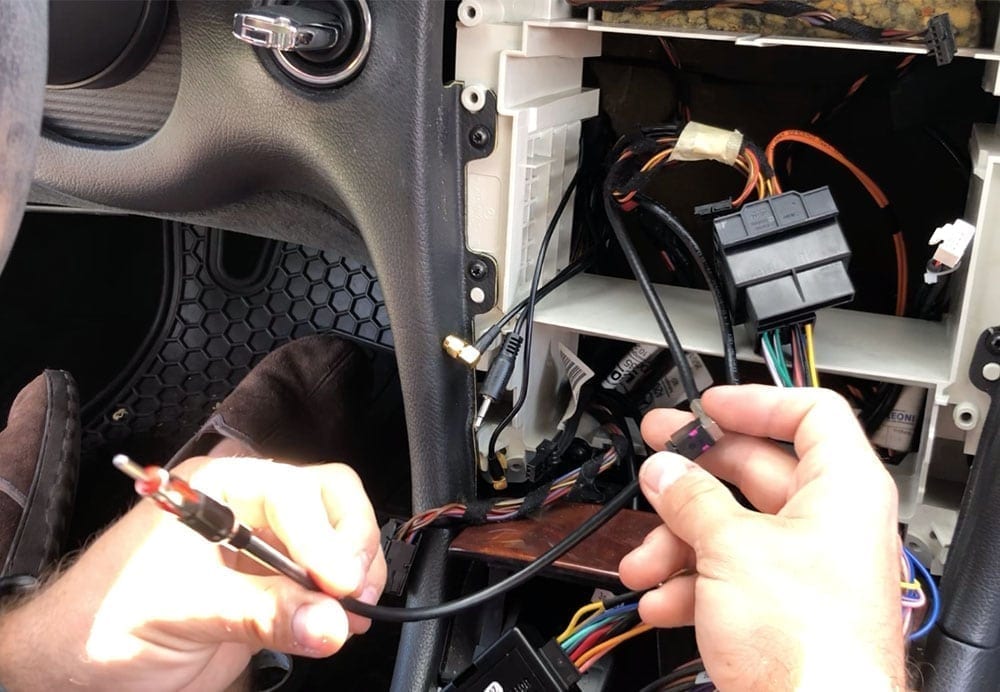
Finally, you're ready to re-install your head unit and connect all of the wires. One last step before you place start connecting your head unit and screwing it in – use the Metra 40-EU10 to connect to the black antenna wire that was connected to the back of your OEM head unit (there was a black and a yellow/tan one – use the black). Plug the antenna wire into the back of the unit.
Now, move on to the microphone, GPS and WiFi connections (if your head unit has them). Connect these to the back of the unit. Finally, connect your new adapting harness with the Axxess modules connected and tuck the modules behind where the climate control would go. You'll need to make as much room behind the head unit so that it will have enough depth to mount. If you don't tuck your wires and modules neatly out of the way of the back of the head unit it will not have enough room to mount flush.
At this point, you should have all of your wires connected and the head unit should not be fully mounted yet. Re-connect your vehicle's battery and test out your unit. You'll want to check:
- Power – obviously this is the most important first-check
- Radio – check sound and that the radio has reception
- GPS – If your unit has GPS ensure that it has signal
- Bluetooth call – make sure that your new microphone works
- USB – check that your USB connection works
- WiFi – in our case we had a WiFi antenna, check that you have signal and that you can connect to a WiFi network
- Test general features – Roam around the features of your new head unit. Make sure that nothing is defective before you permanently re-install it!
Once you've checked your unit and everything is confirmed working, you can begin mounting it back. Mount the unit by screwing the four torx screws.*Note – the climate control has clips that you'll need to remove from the old head unit. Take these clips and place them on the back side of the screw holes on your new unit BEFORE you screw it in.
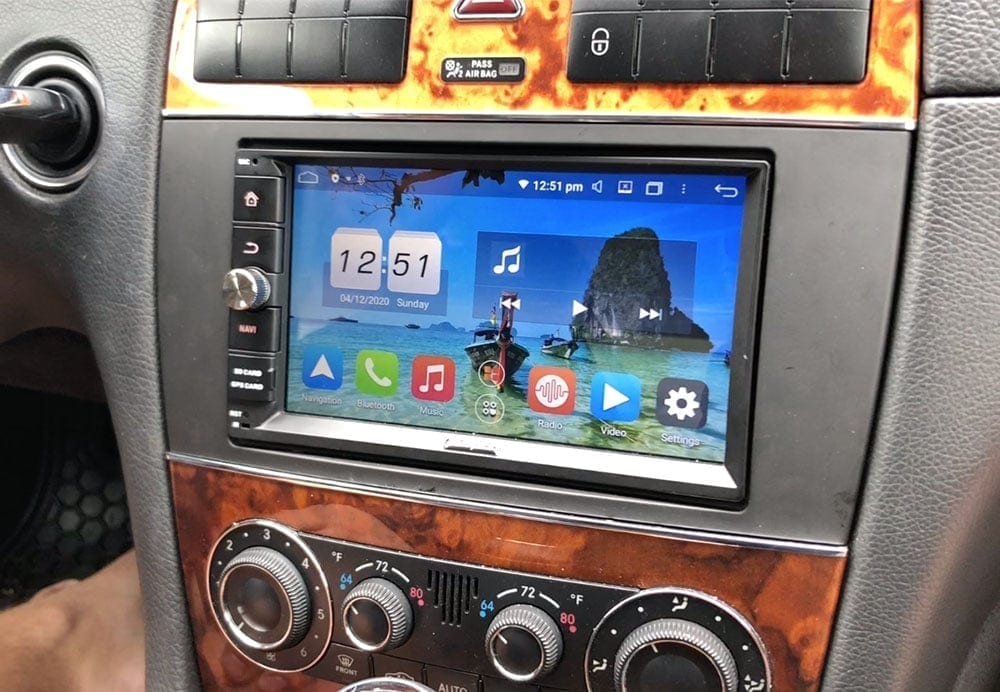
Move on to the trim pieces, reversing the process that you took to remove them. And your finished product:

Handy article, going to upgrade the head unit in my Merc.
Too bad no one makes an adapter to connect the alpine ilxw650 to the fiberoptic amp loop that goes to all six speakers. As of now one can only connect two speakers……..DISAPOINTING AT BEST. leaving out to two front door tweeters and center dash speaker as well as the Harmon Kardon sub woofer in the rear seat area.
2 hours Max. Not sure why the 3 to 4 hours. 25 years exp installing car audio. Maybe 3 to 4 for a novice or DIYer
Hi
I have 2003 Mercedes Benz clk320 ,I bought 70-9401harness to install Boss audio, but don’t work.please suggest me which harness to buy.
Thanks
Hi. Is anyone still monitoring this article & comments? I’ve got a 2004 CLK 500 with the Bose fiber system . I’d like to upgrade the head unit. I see that there is now a fiber decoder available for the D2B (pre-MOST/model year 2005) fiber systems. I’d not super interested in figuring out how to splice in the 4 power wires (always on/acc power, ground, and D2B wake up). Anyway, I am in Southern CA. Does anyone here know anyone who is familiar with early 2000s fiber systems and how to upgrade without a total rip & replace? Thanks.