In This Article: We will put the BlackVue DR900X Plus and DR750X Plus to the test in real-world situations to determine how well these cameras operate. We’ve written up a detailed article comparing the specifications of the two cameras and a step-by-step installation and setup guide for both of these top-rated camera systems.
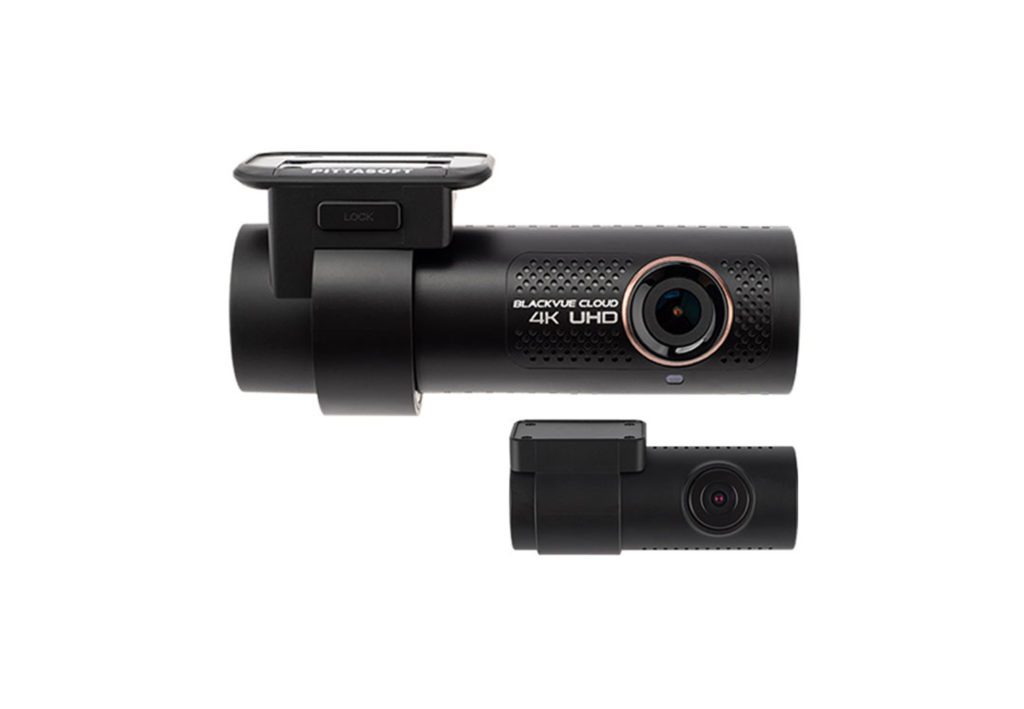
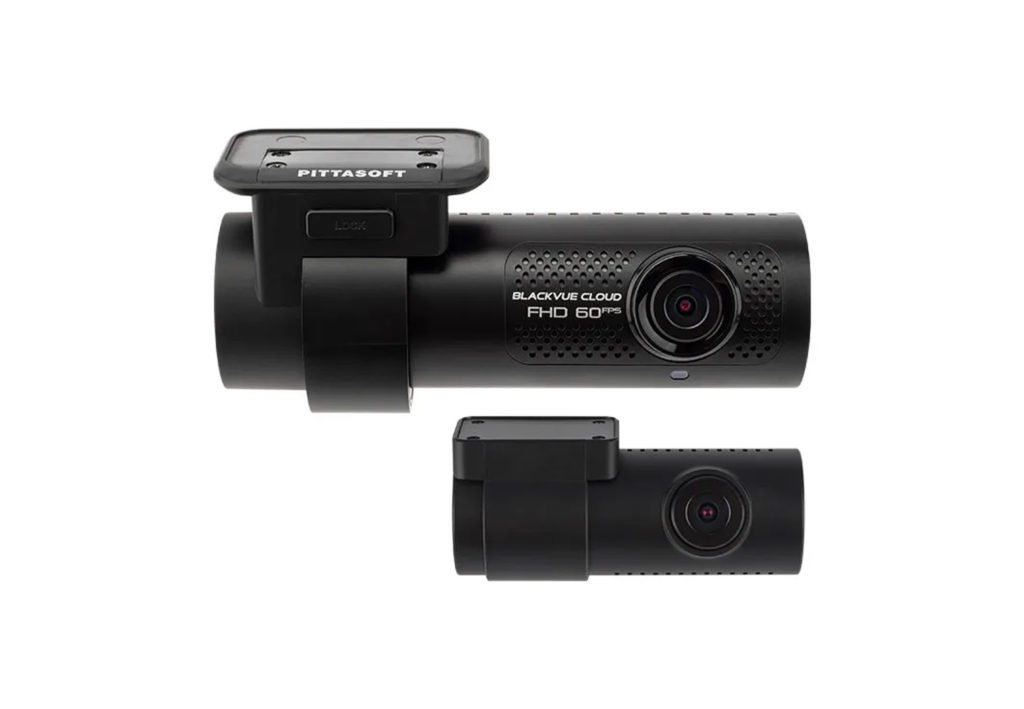
Over the past several weeks, we have experimented with two of the top dash cameras on the market; the BlackVue DR900X Plus and the DR750X Plus. These cameras are very similar in appearance and have the same basic functions. The primary difference is the front-facing camera resolution. The DR900X Plus captures 4k UHD images while the DR750X Plus is limited to 2k FHD resolutions. We also installed the three-channel version of the DR750X Plus to test the interior IR camera.
At this point, the cameras are installed, setup is complete, and we’ve been using the cameras for a bit. The first thing to do to view the footage is to open the BlackVue app that is available for a free download on the Google Play Store or Apple App Store. You’ll also need to have the camera powered on and be within 30 feet of the camera to access the video files.
Purchase the BlackVue Cameras Used in this Review
Using the Camera App
Start the car and open the free BlackVue app. The camera will announce ‘BlackVue – for your driving safety. Normal recording started.' Connect to the camera. When the camera connects, the screen will display a ‘Connection Successful' message. You can select the camera to bring up video files or you can select the three dots on the right that bring up the settings menu to rename the camera, update the firmware, reboot, format the MicroSD card, or delete the camera.
Accessing Videos
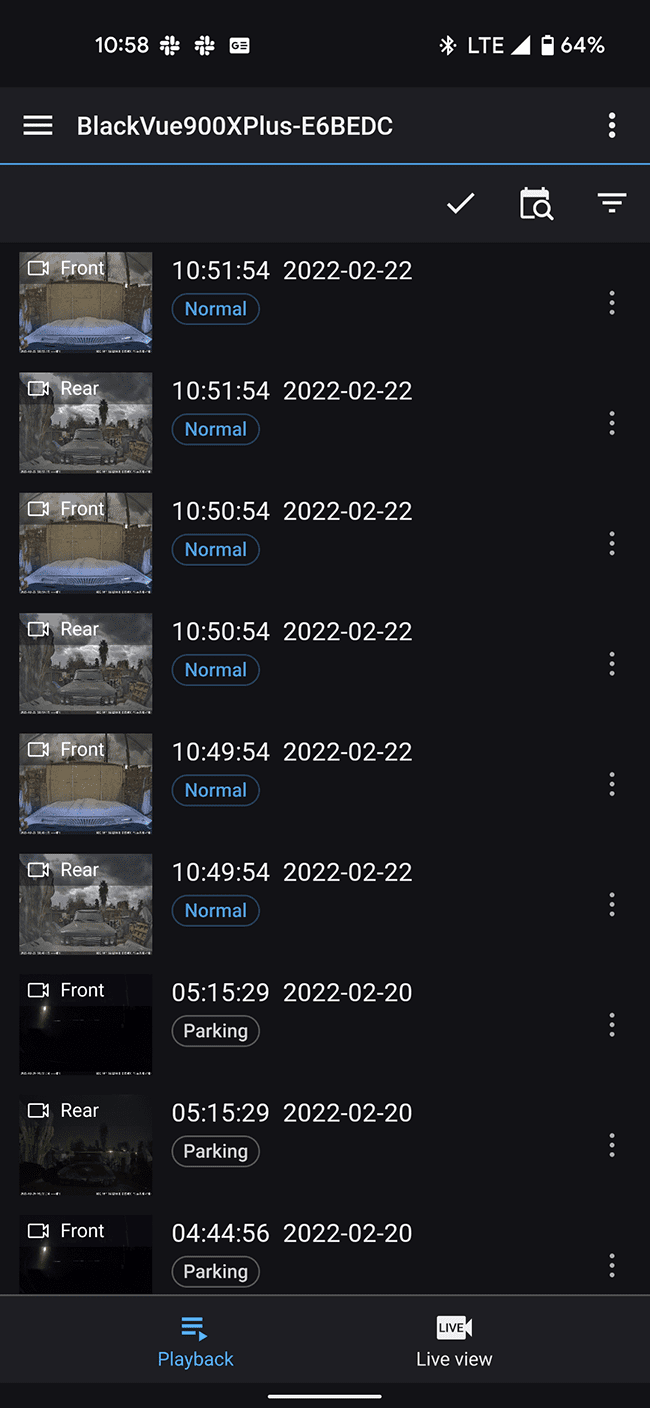
Select the camera from the list that you want to view images from. Image files are displayed on the camera’s main page with thumbnail images. Files are described by the time and date of the capture. The image will say whether the file is front, rear, or interior. The images will also include the mode of recording, whether it is normal, parking, or an event recording.
You can select the thumbnail images to view the video files. You also have the opportunity to watch the file in a condensed format or the original quality. Once you select an option, the video begins playing.

Downloading Files
With a smartphone connected to the camera, you can select a video file and download it to the phone's internal memory by pressing the download button on the top right corner of the image.. You’ll find the downloaded videos on the home page of the BlackVue app where you can share them to Google Drive or save them to a particular destination.
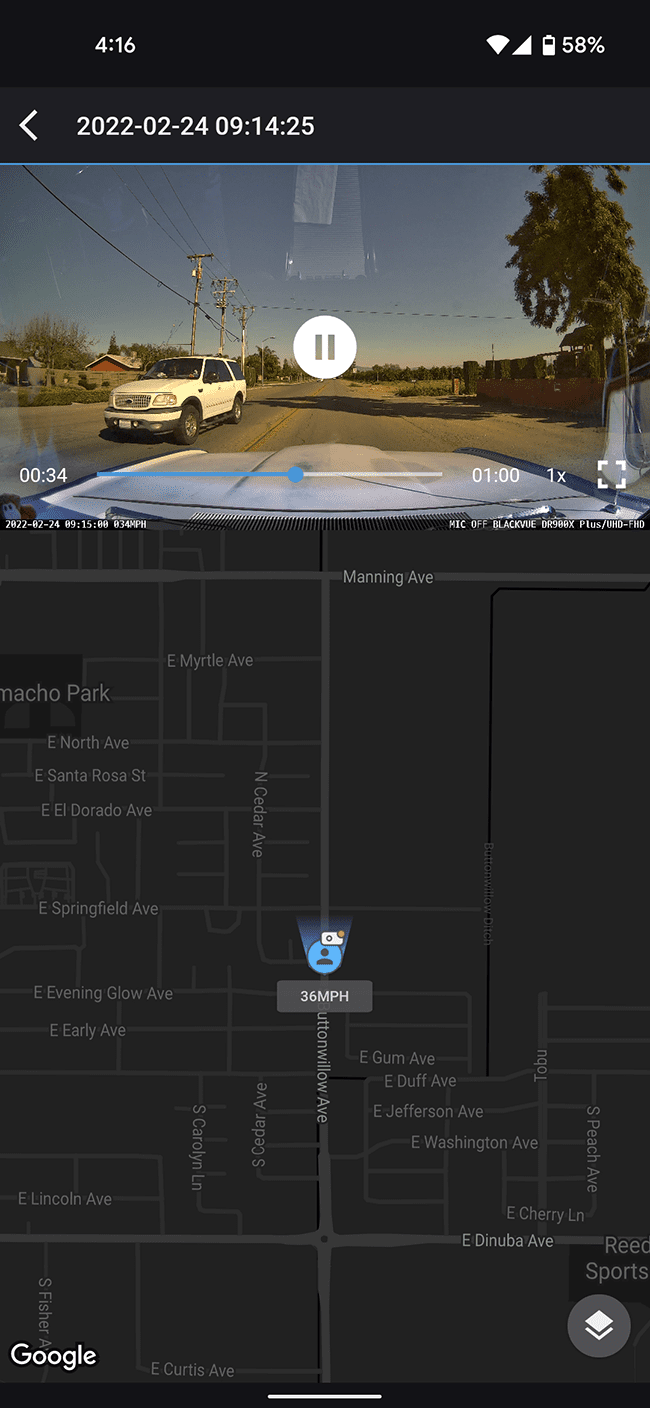
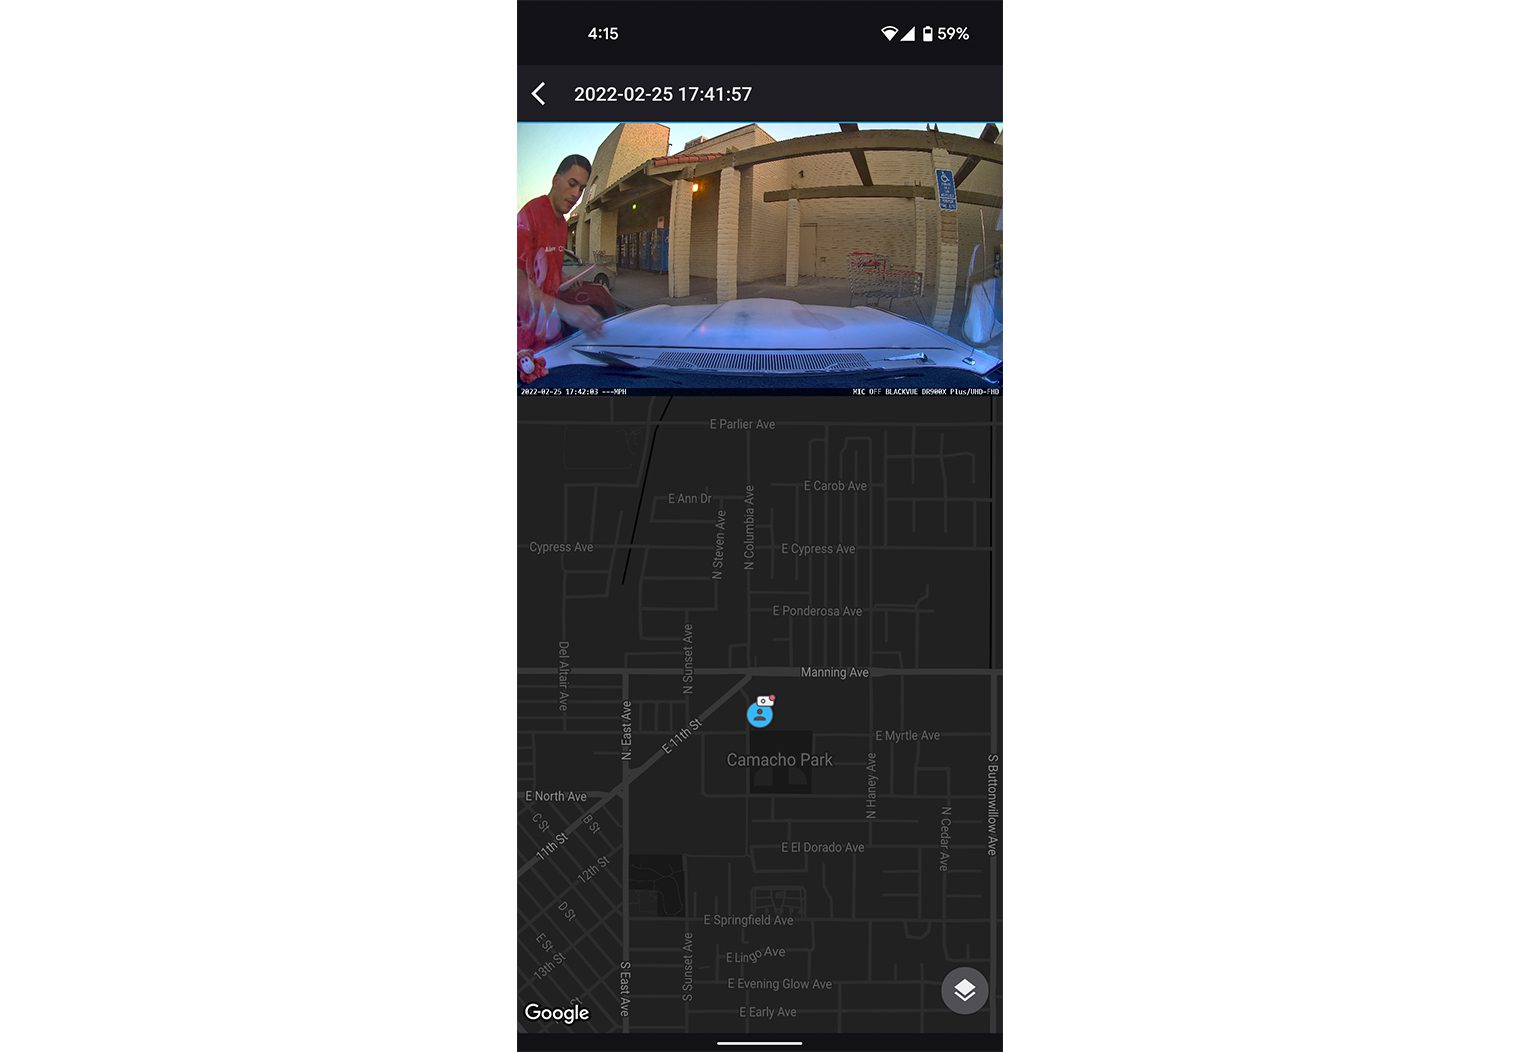
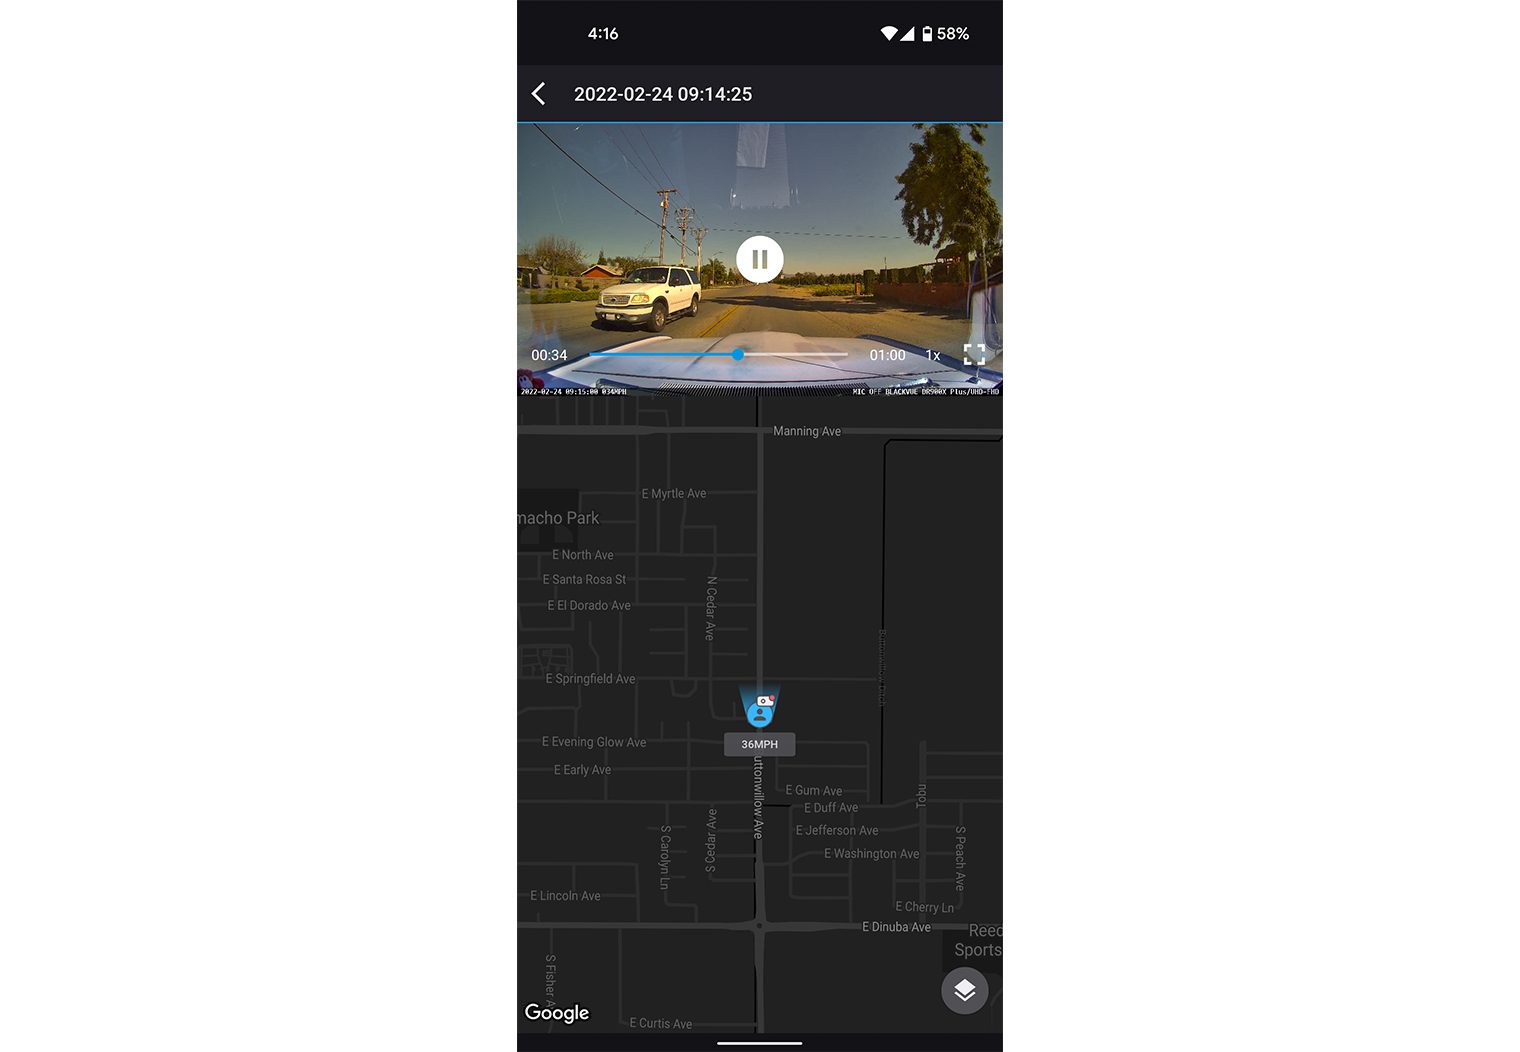
When you view the video files from the download screen, you’ll see the built-in GPS logging data that shows speed and location on a map. The logging is accurate, but there is a stutter in the GPS data as it updates coordinates.
Impressions of the App
Most of the time, the app works well and is easy to connect to the camera, view files, and download videos. However, there are times when the app is simply unusable, which gets frustrating quickly. We experienced periods of time in which the Wi-Fi connection to the camera was unstable, even when sitting in the car. This led to the inability to view videos wirelessly which is one of the main reasons a person would want one of these cameras. We experienced the same level of connectivity issues on both the DR900X Plus and the DR750X Plus cameras. Sometimes, we were able to restart the app to get the connection back up, but there were times when the camera simply refused to connect. An hour or so later, there was no issue.
The solution was to remove the camera, remove the MicroSD card, and view the files on a laptop when the camera wouldn’t connect.
Accessing Files on a Computer
BlackVue offers a program for PC and Mac users called BlackVue Viewer. The software isn’t available for Chromebook products, leaving us unable to test the program at this time.
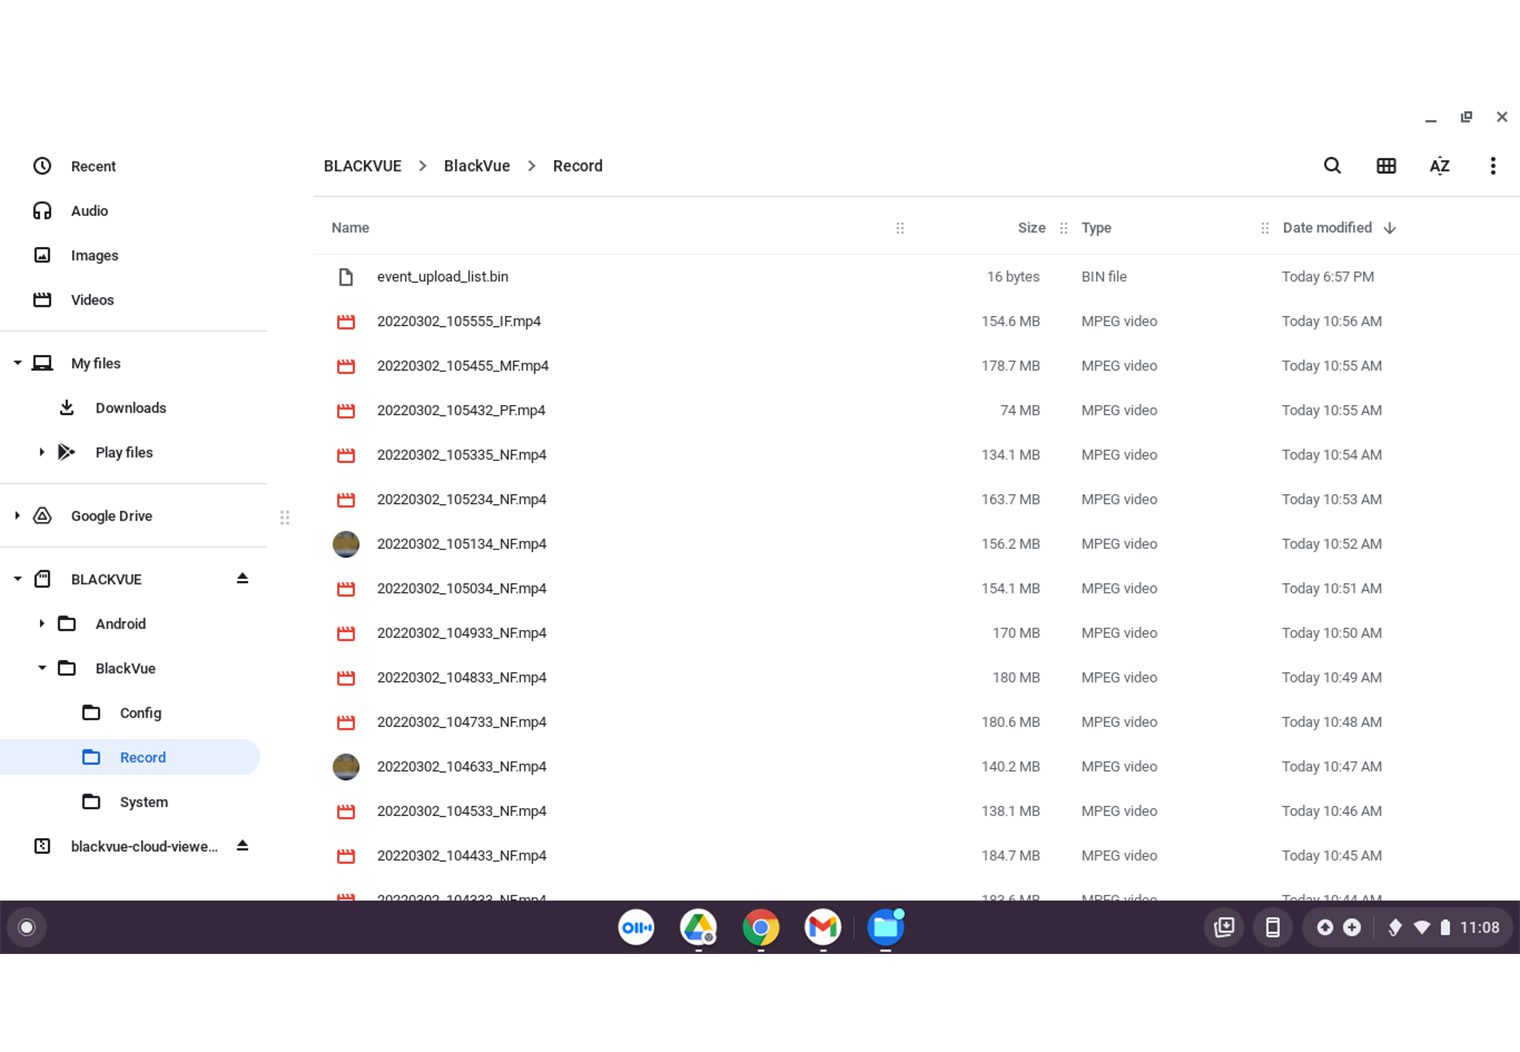
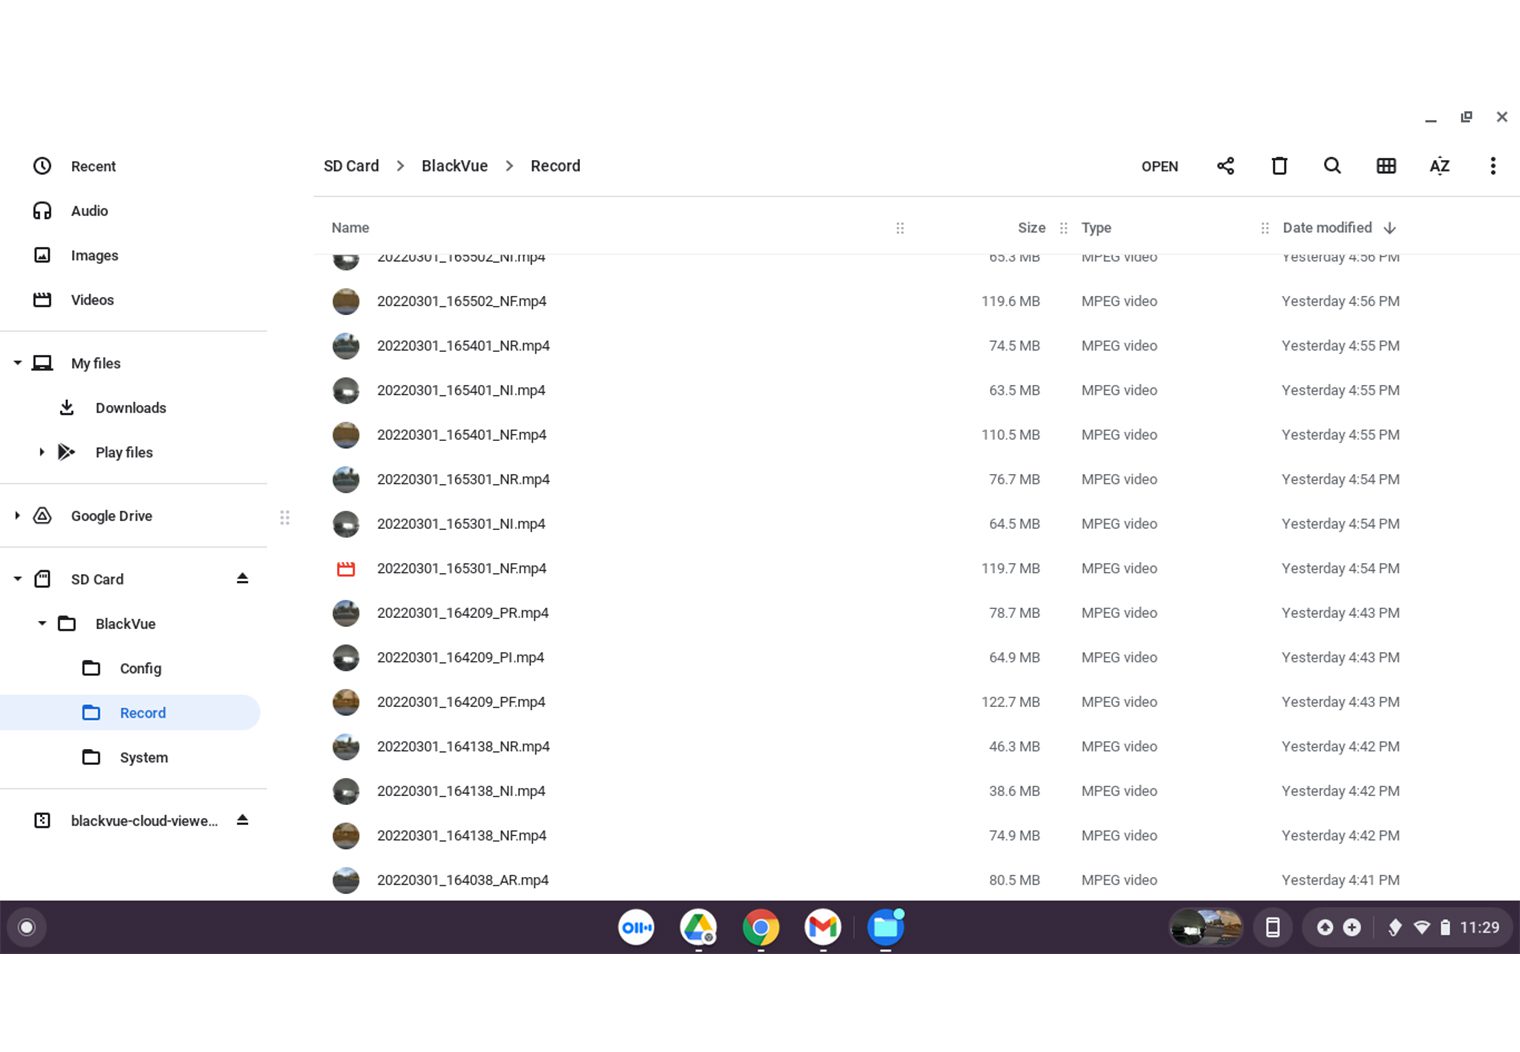
On a Chromebook, we were able to insert the MicroSD card directly and pull up the video files on screen. The native video player handled the files with ease. This became the primary way we viewed files, even though it was somewhat inconvenient to have to remove the camera to access the card.
There is an app available for Chromebook users called BlackVue Legacy which is no longer supported by Pittasoft. We did not try the legacy app due to a warning asking if we ‘really wanted to set a path on the MicroSD card.’
The file names include codes that indicate normal mode, parking mode, events, and whether the image is front, rear, or inside, but the thumbnail images are hard to decipher. The process of accessing files worked well enough, but it wasn’t as convenient as it could be.
Using the Cloud
Both the DR900X Plus and DR750X Plus include Cloud access that is offered free to users and as a paid subscription. The free version allows you to access one camera and limits file sizes.
After initially logging into the Cloud, we were unable to continue testing the process. We are in the process of troubleshooting what went awry and will update this section once a solution is found. Currently, we are getting an ‘Unable to load camera list’ error that kicks back to the homepage on the app that is impacting both cameras.
Length of Video Files
The cameras will capture one-minute files and continuously record in normal mode, storing files every minute. You’ll see two different files for the front and rear camera but you can also switch cameras mid-playback. The 750X Plus-3ch will also include the option to switch to the interior camera.
Event footage is also a one-minute video. In the settings menu, you can select whether to save event files or allow them to overwrite. Saving stored files will reduce the available memory on the card, so pay attention to how many files you are keeping.
File Size
The front camera on the DR900X Plus averages around 178 mb file sizes. The DR750X Plus front camera files range from around 65 mb up to 125 mb. Rear camera images tend to fall around 15 mb. Interior images recorded on the 3-channel DR750X Plus came in around 16 mb.
Storage
The included MicroSD card is adequate for normal use, but you’ll want to pay attention to how the camera settings are arranged for parking mode. We noticed that when sensitivity was too high or when we set the camera to time lapse, the card filled up rather quickly.
As we reviewed footage for this article, a few curious things came up. We took screenshots of certain images that were date stamped, but when we tried to retrieve those images from the MicroSD card, they were not listed. Video files from the day before and the day after were on the list, but not the files we were looking for. We have not found out what the issue with saving the files is but will update this article when we figure it out.
Comparing the Images
We set up both cameras and spent some time cruising around town, playing with settings, and getting a general feel for how well each of the cameras functioned. Both cameras were easy to set up and get working once the installation was finished.
BlackVue DR900X Plus-2ch Images
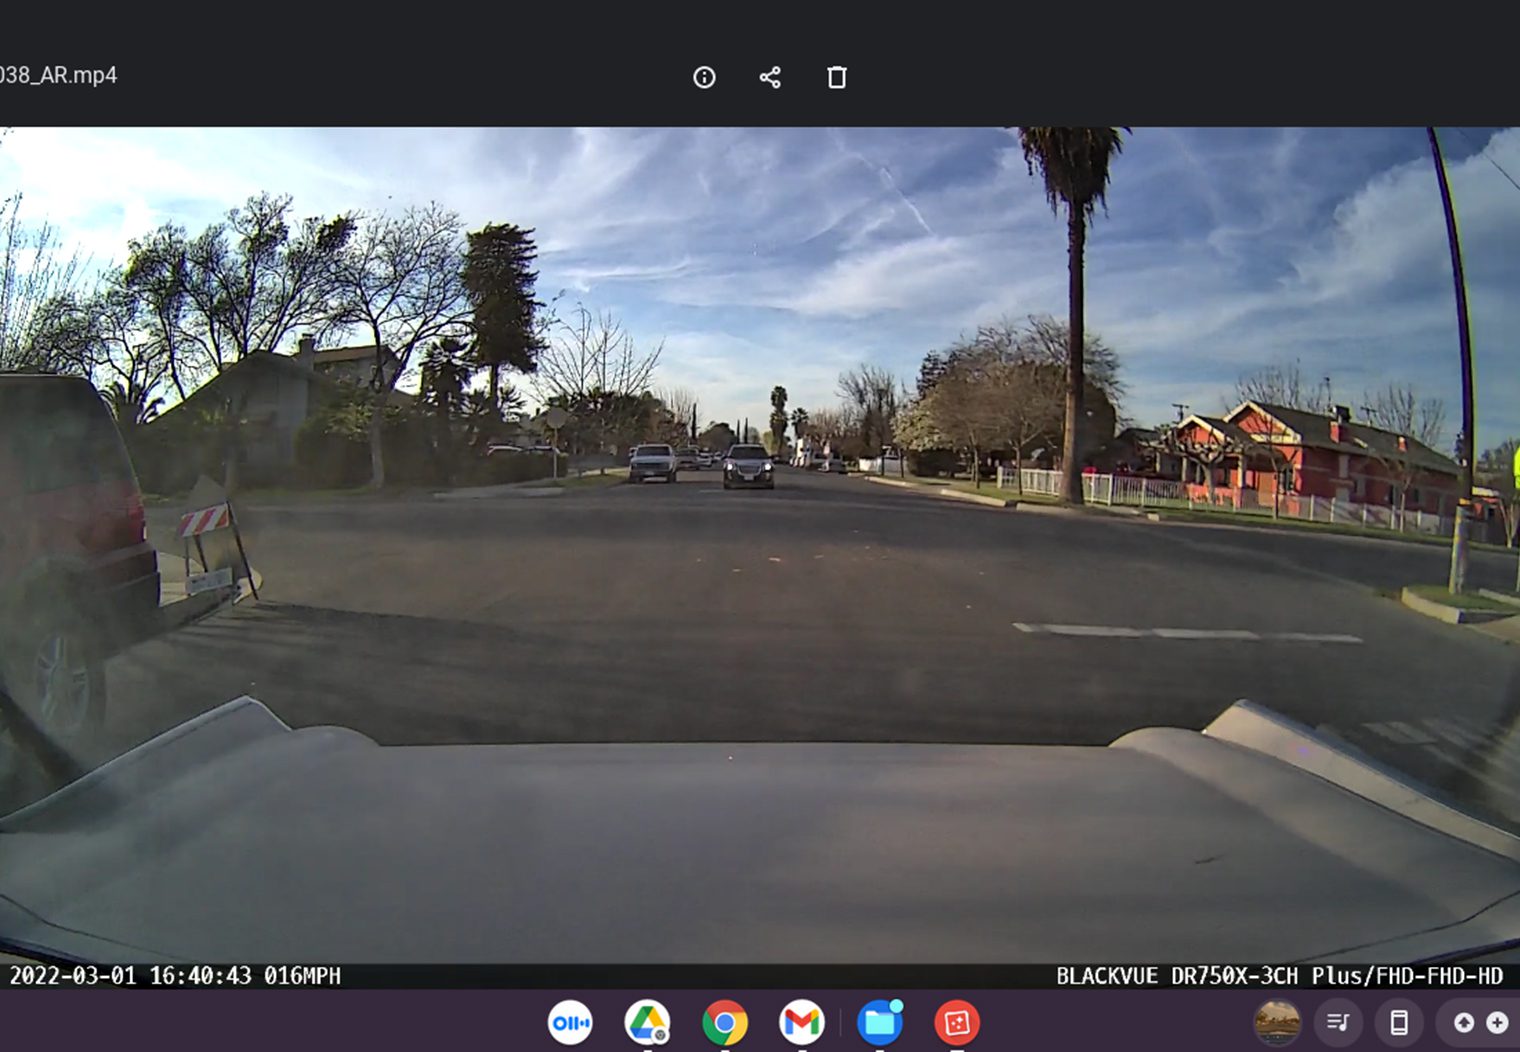
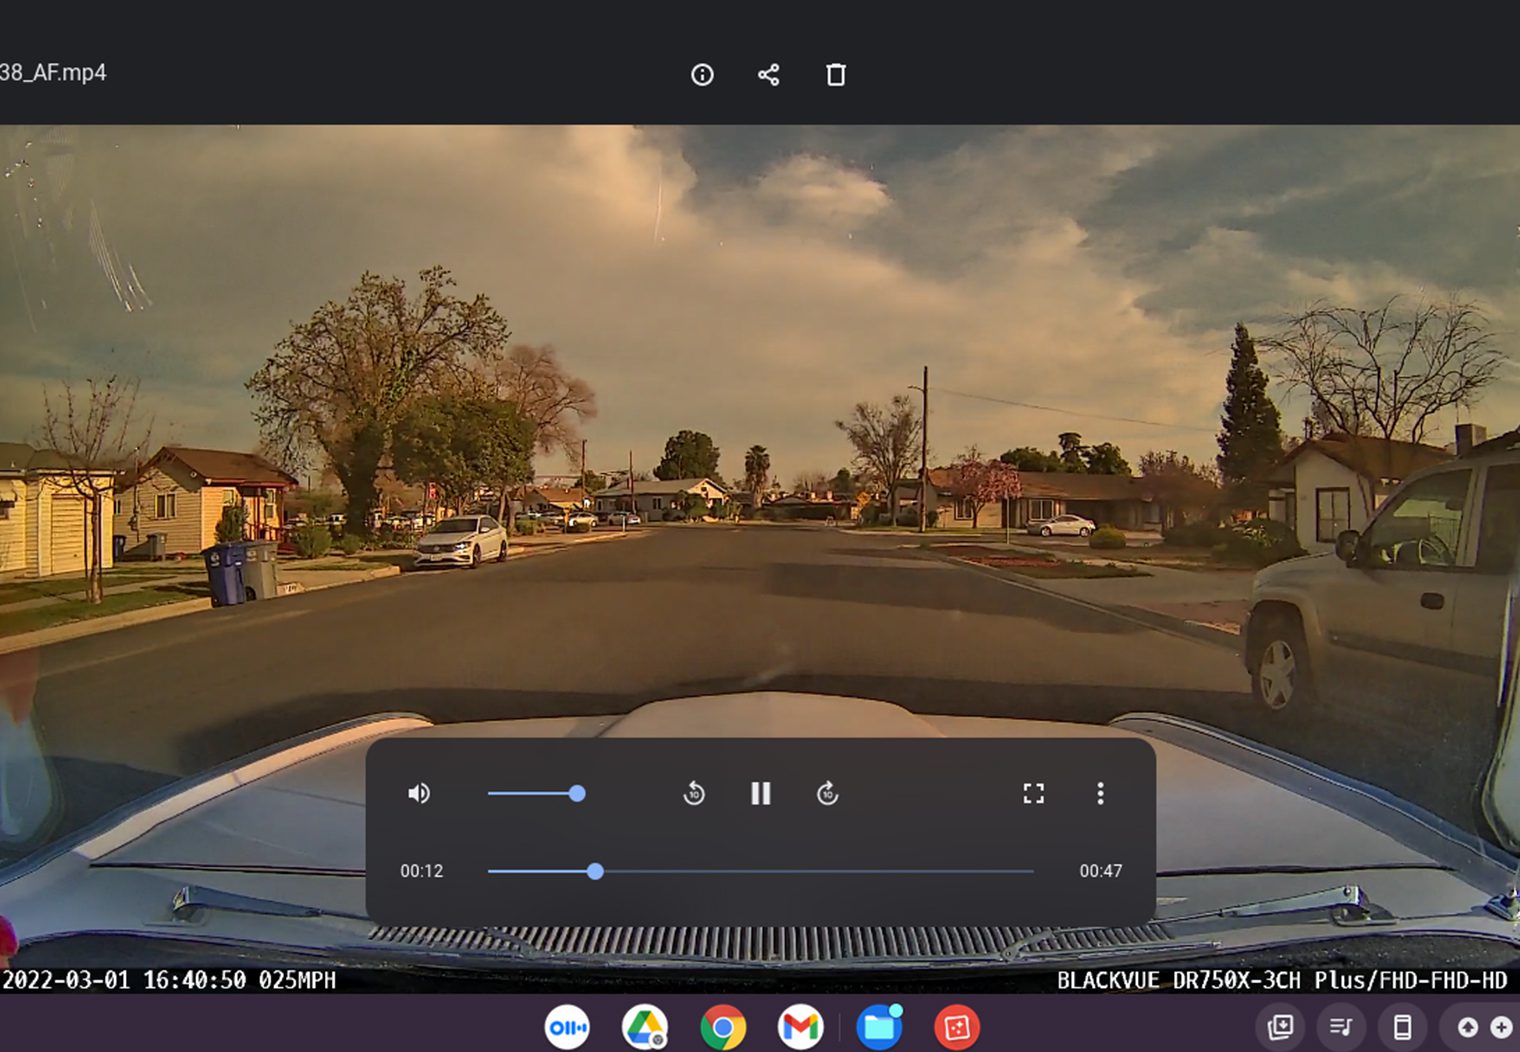
BlackVue DR750X Plus-3ch Images
Parking Mode Results
One of the main benefits of these cameras is the parking mode function. The cameras can be set to either record a constant loop time lapse or to wake up and record when motion or impact is detected.
DR750X Plus-3ch Parking Mode Images
DR900X Plus Parking Mode Images
Camera Image Quality
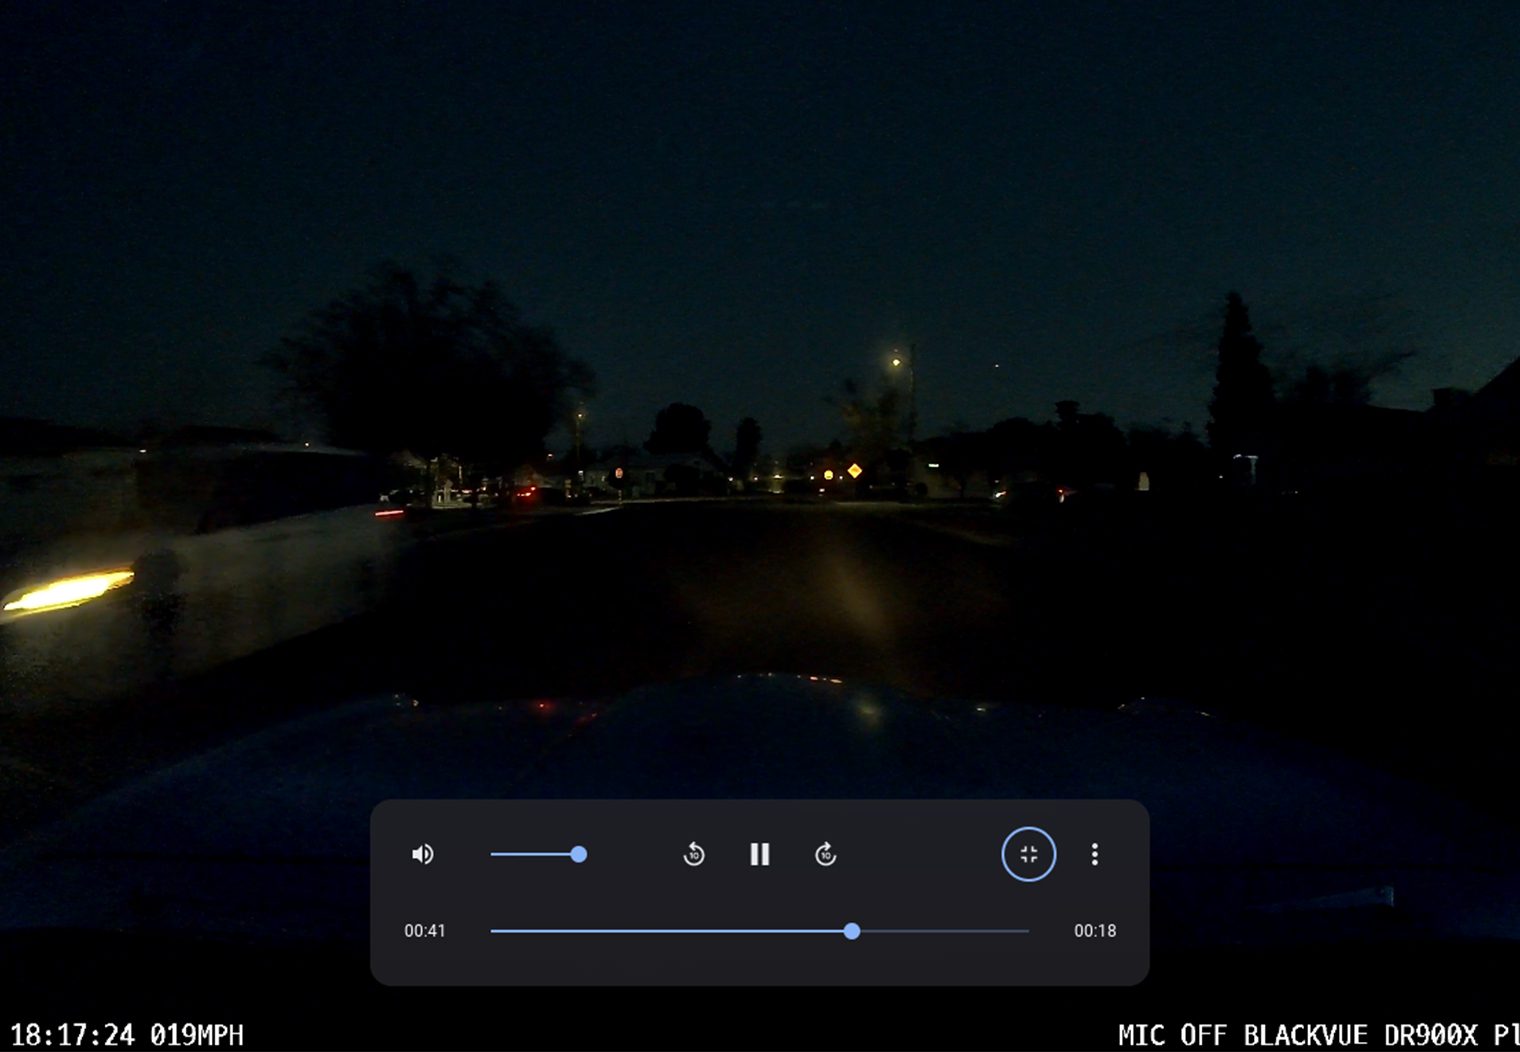
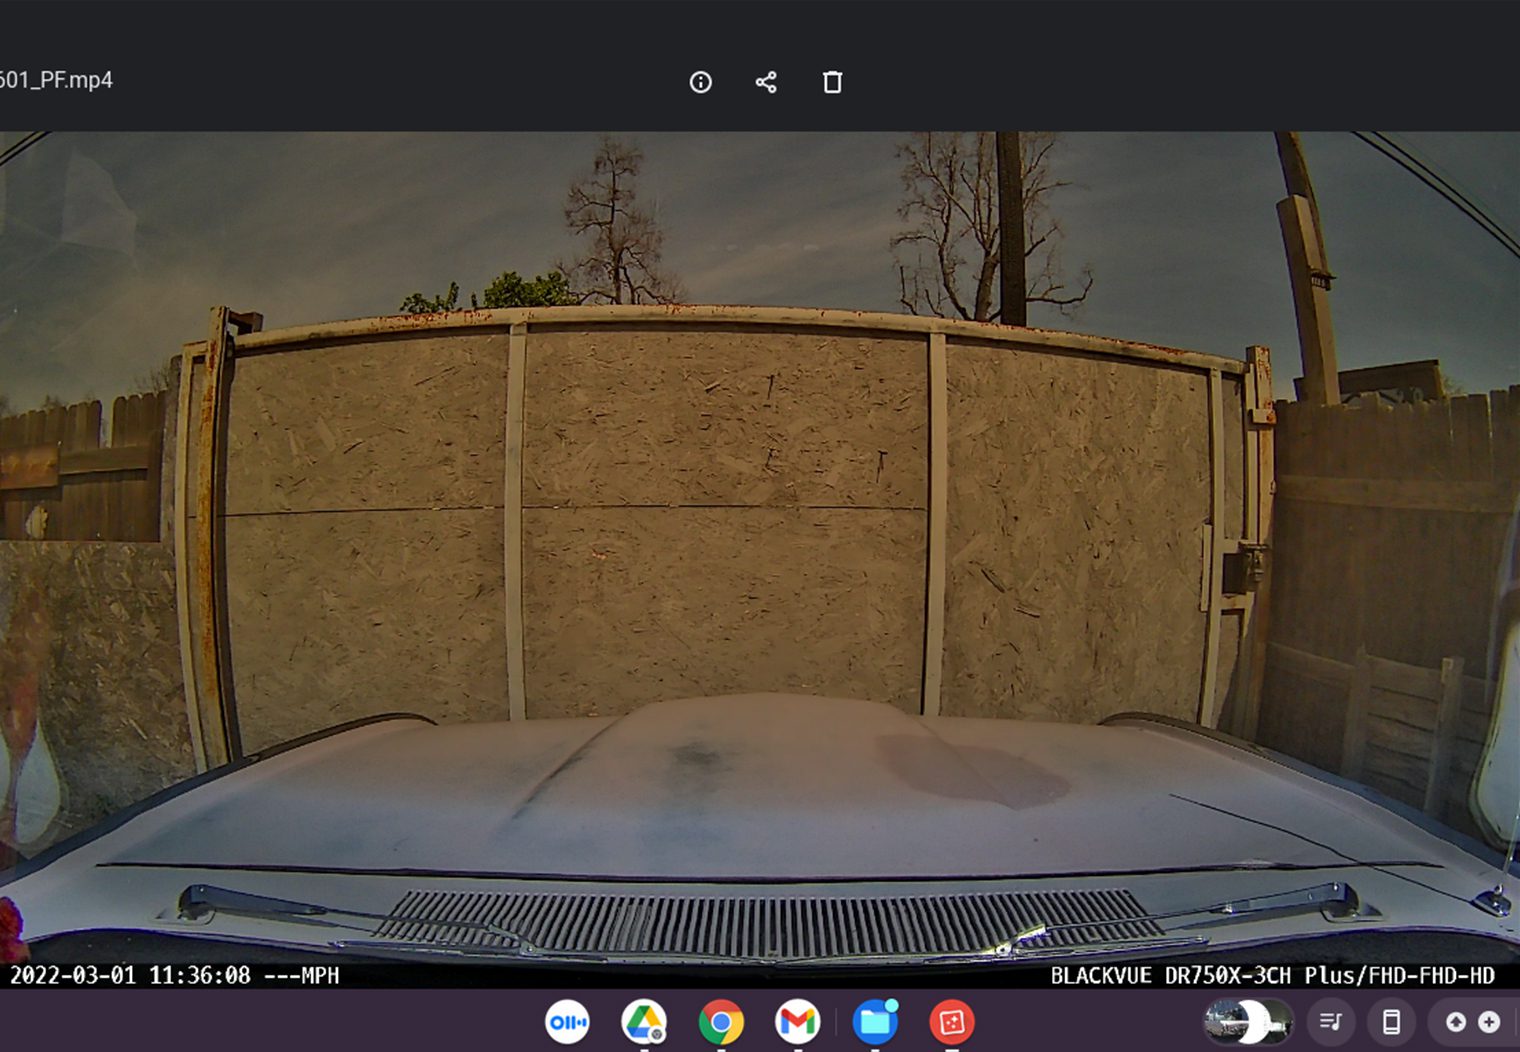
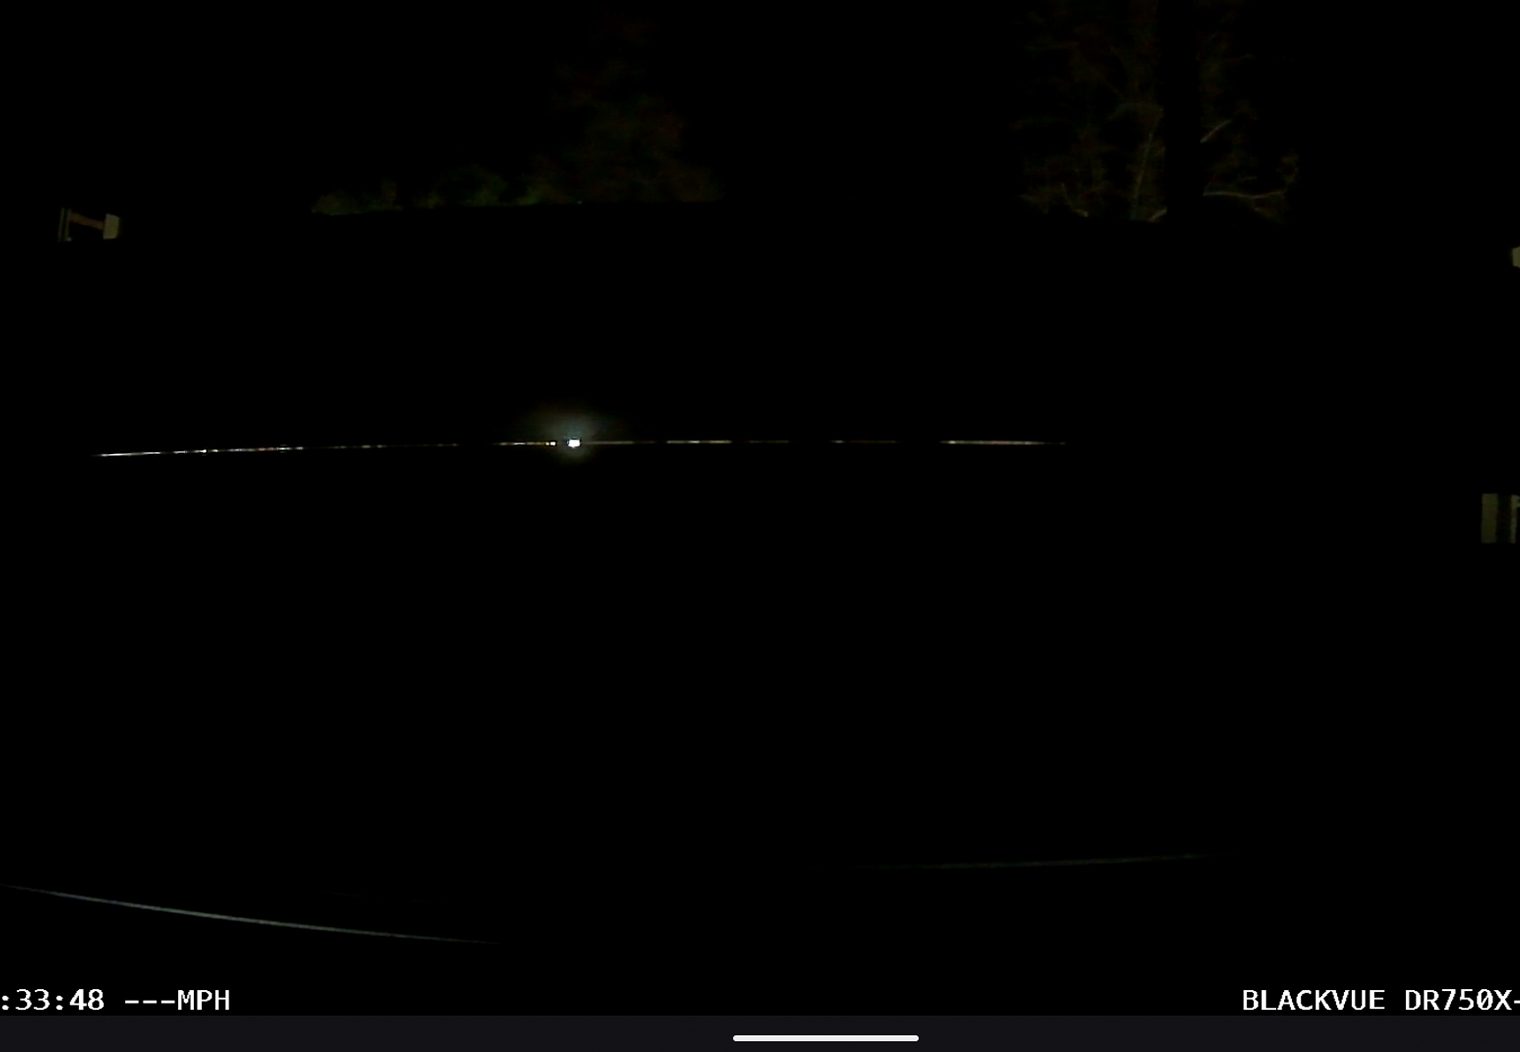
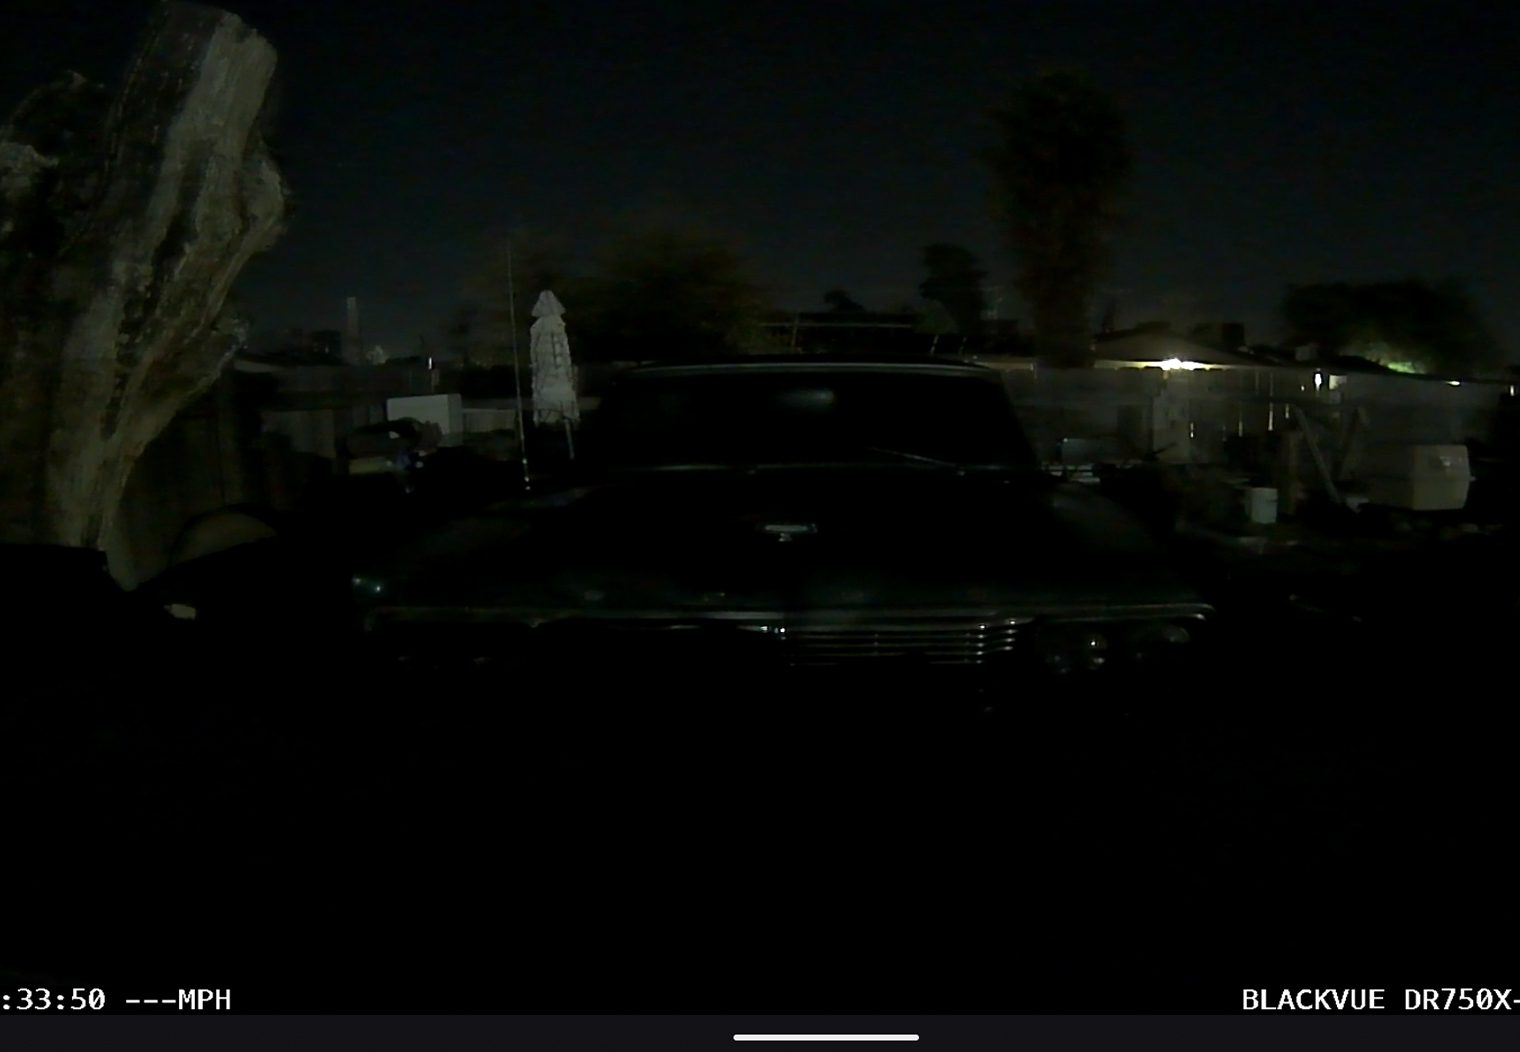
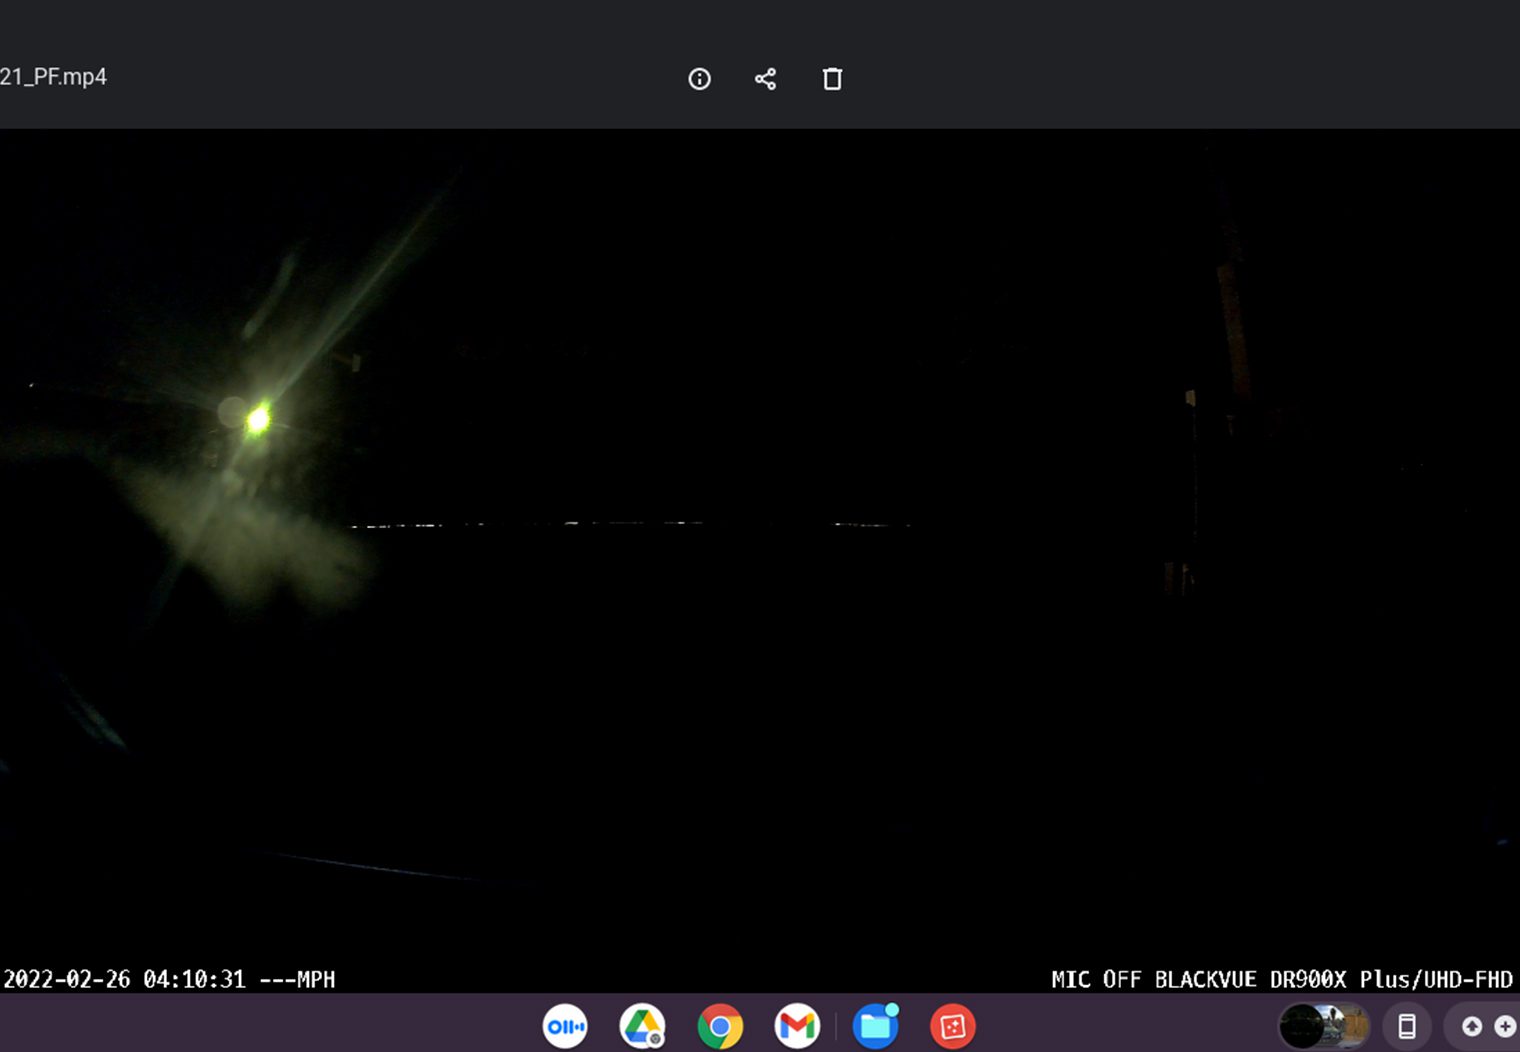
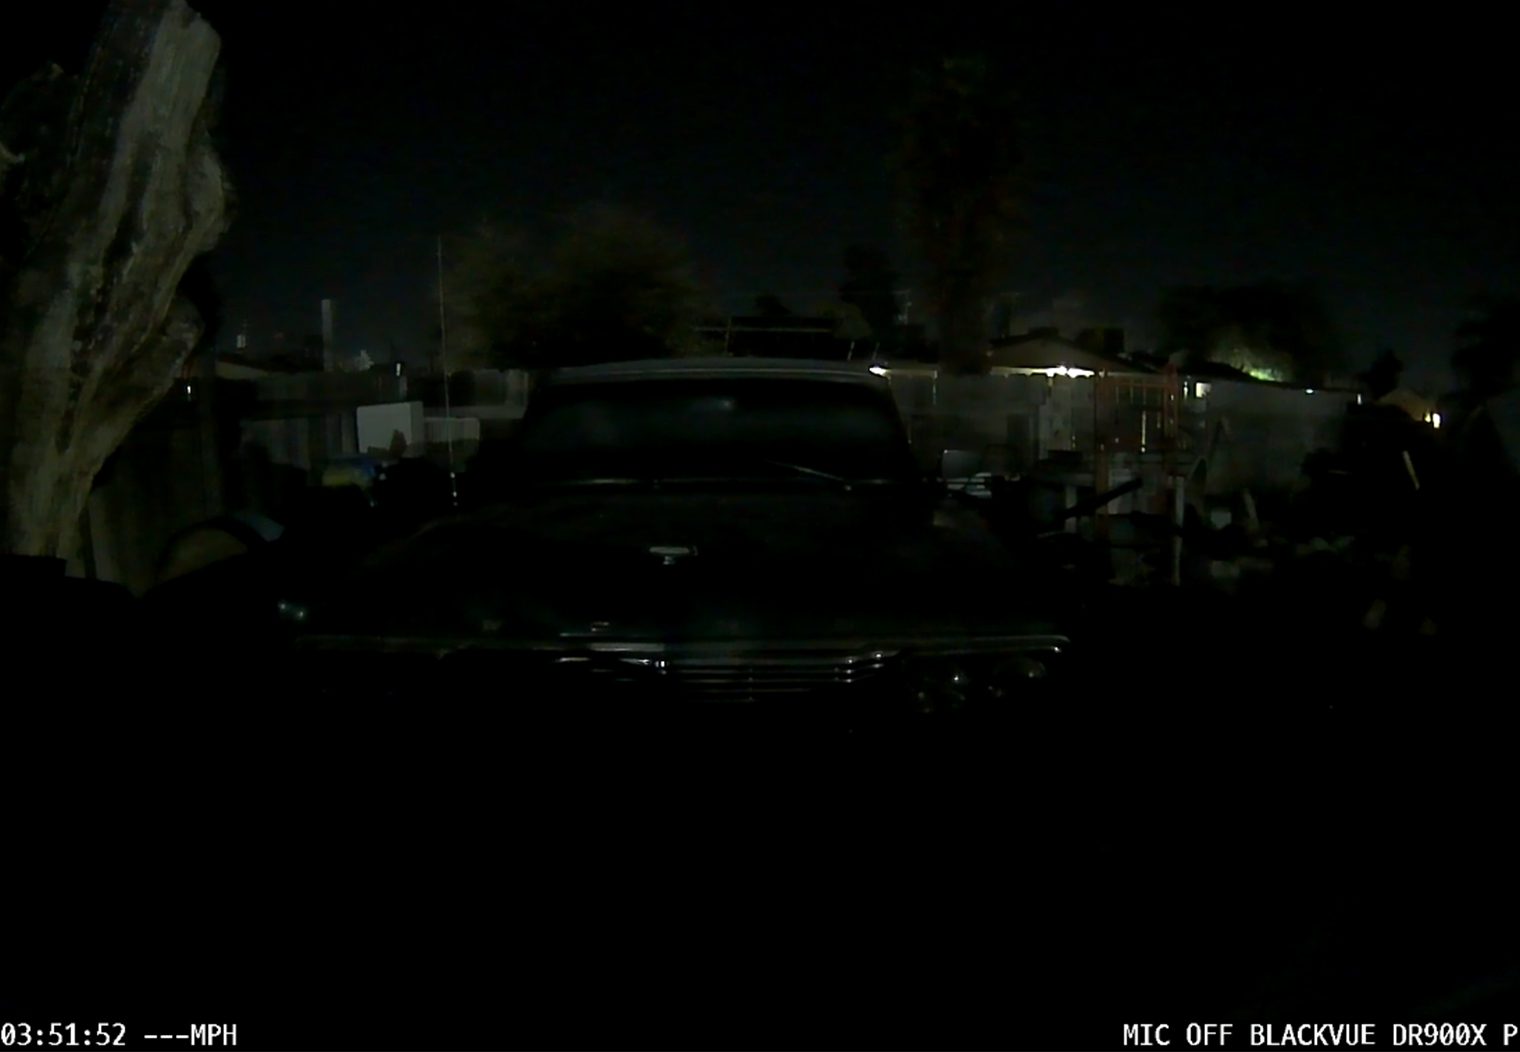
Without lighting from the headlights and parked in an unlit area, neither camera captures much detail from the front camera at night, however the DR900X Plus is noticeably more legible. The rear camera is similarly dark in parking mode.
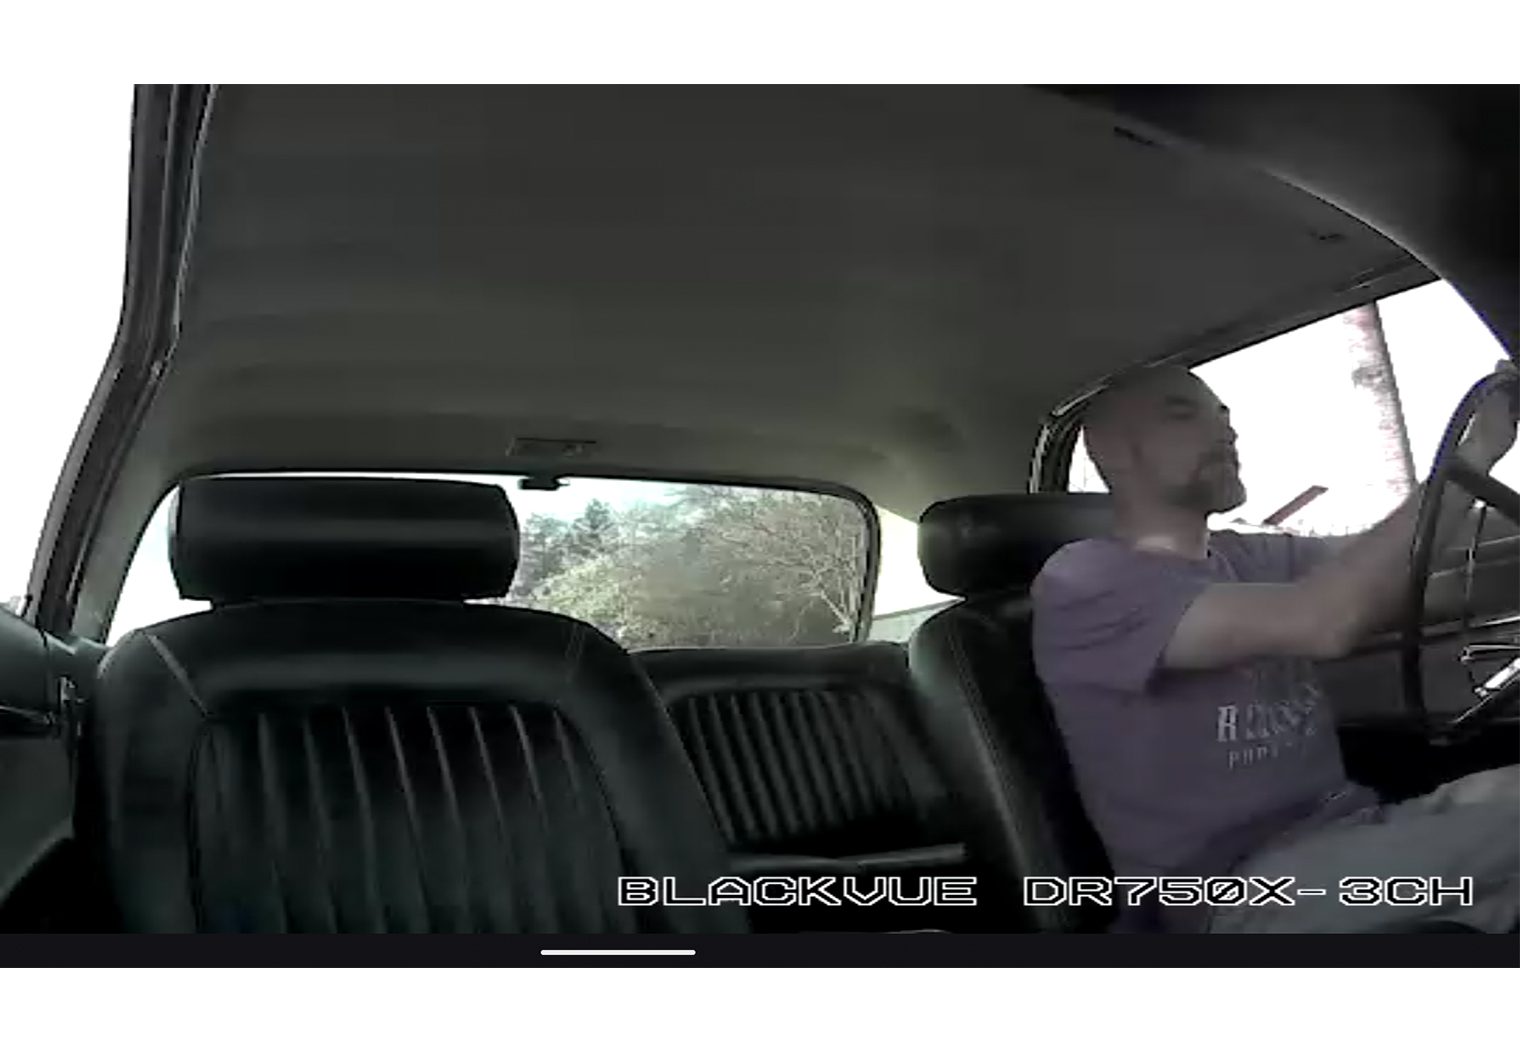
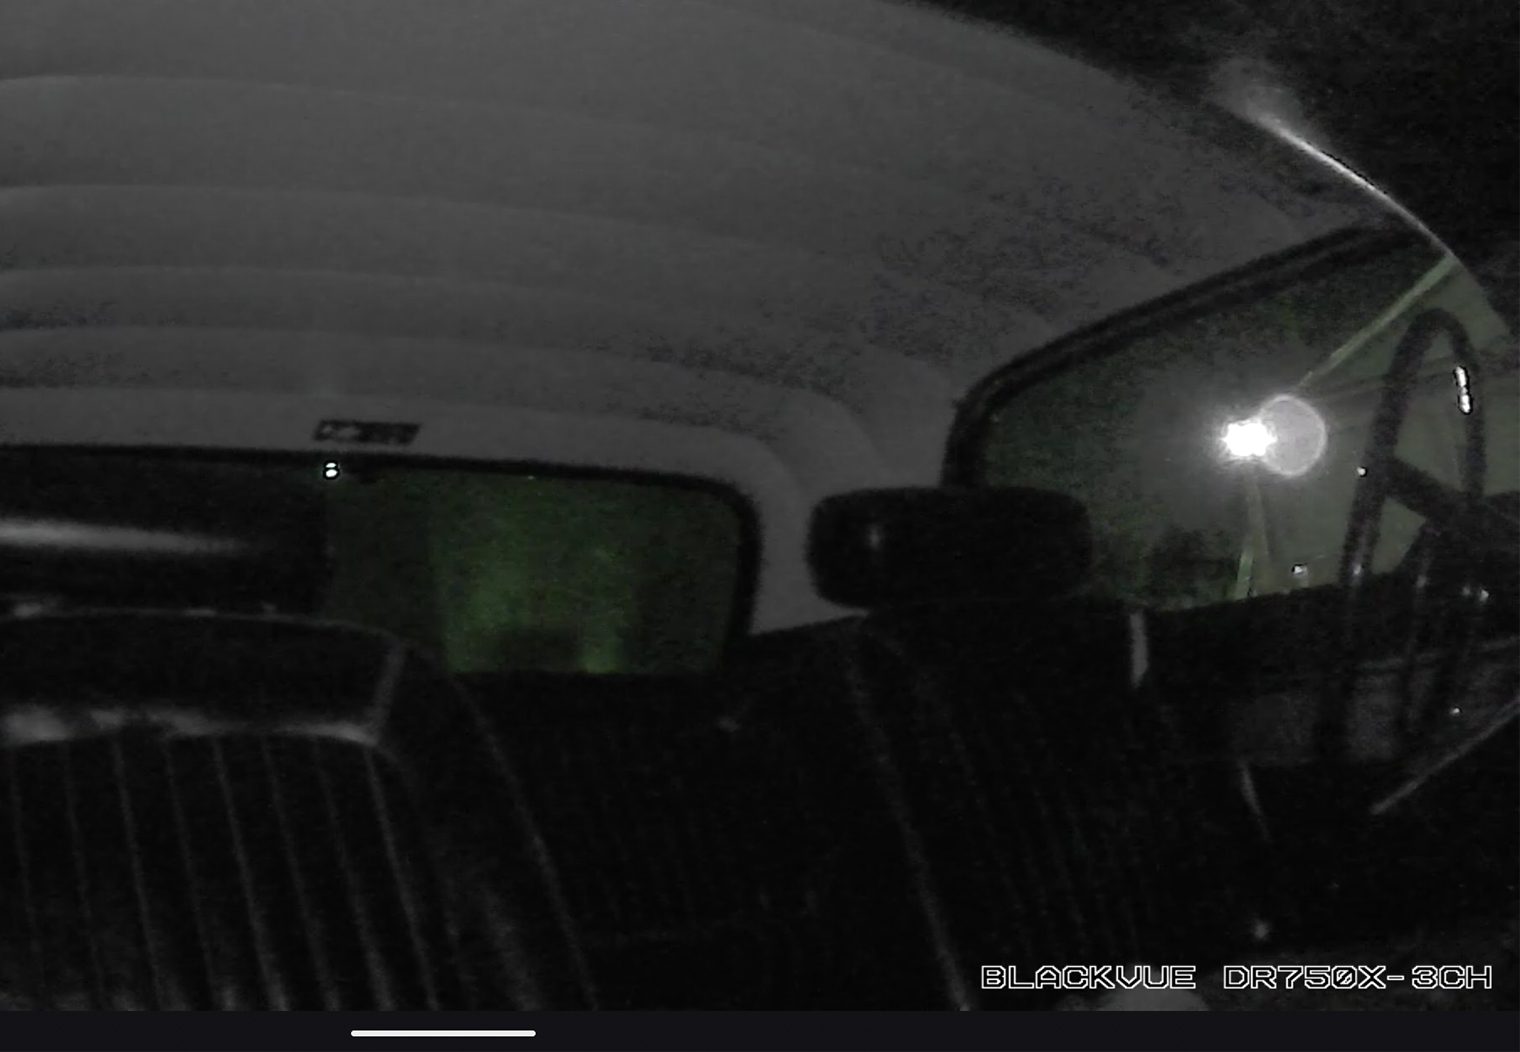
The interior IR camera performed exceptionally well in the dark. Image captures are clean, clear and very legible, even when there was almost no light at all. Probably the biggest benefit of the three-channel system is the interior camera for use when the car is parked. The two-channel system is susceptible to people or vehicles traveling perpendicular to the car where the cameras can’t see.
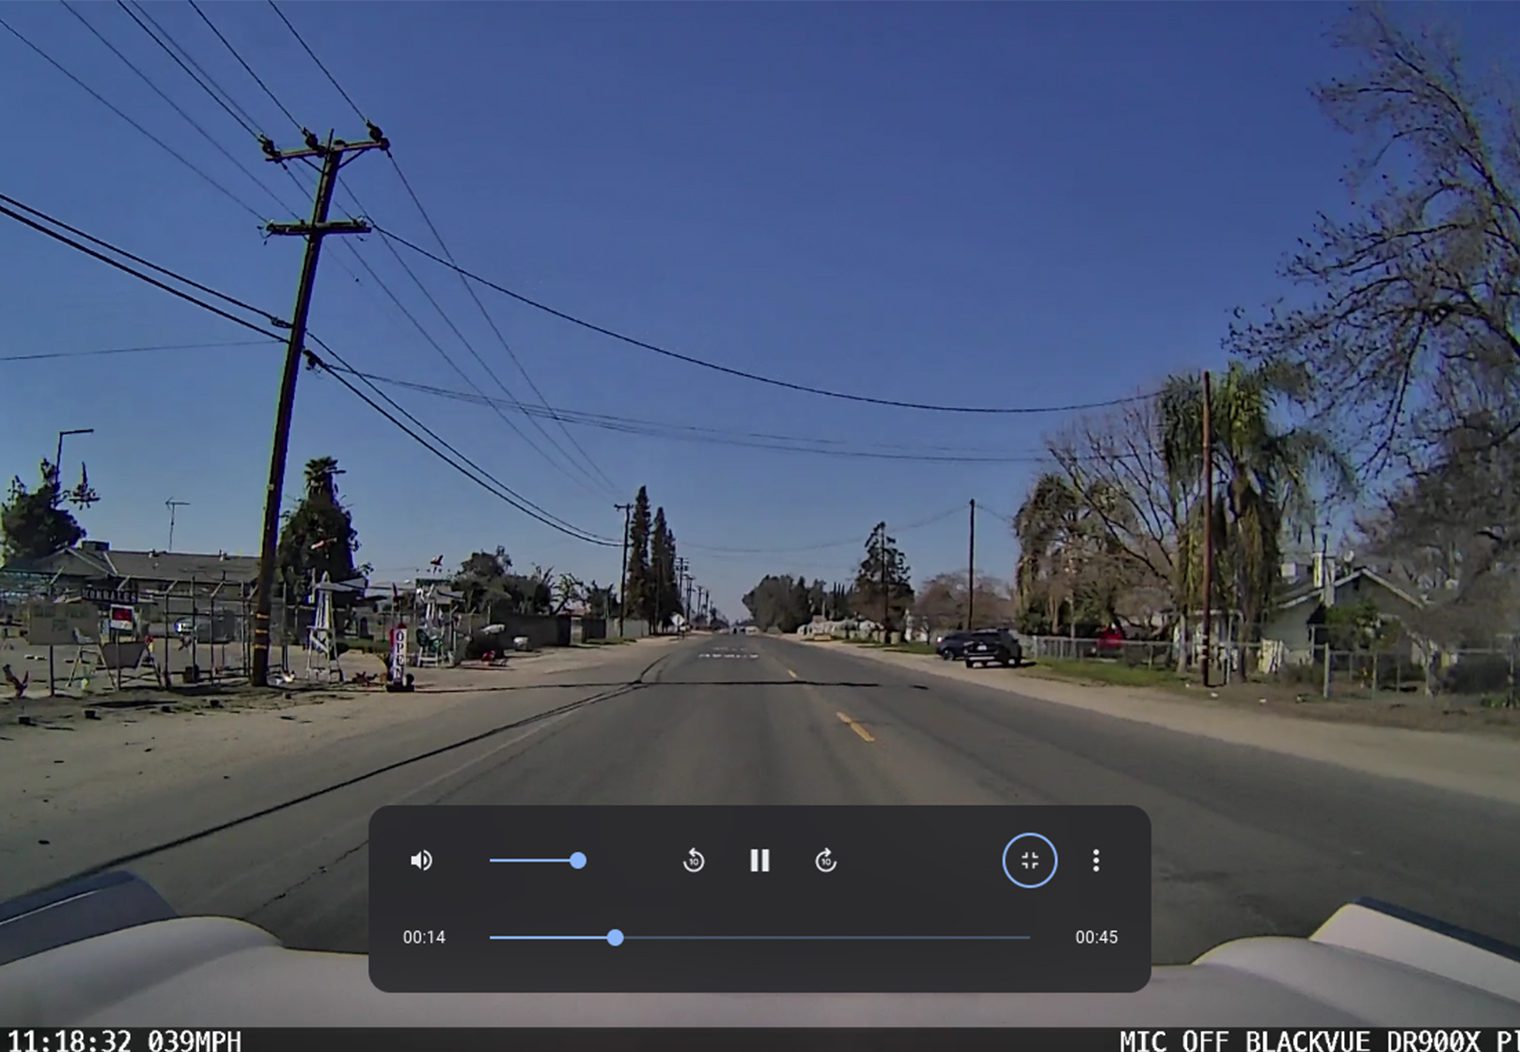
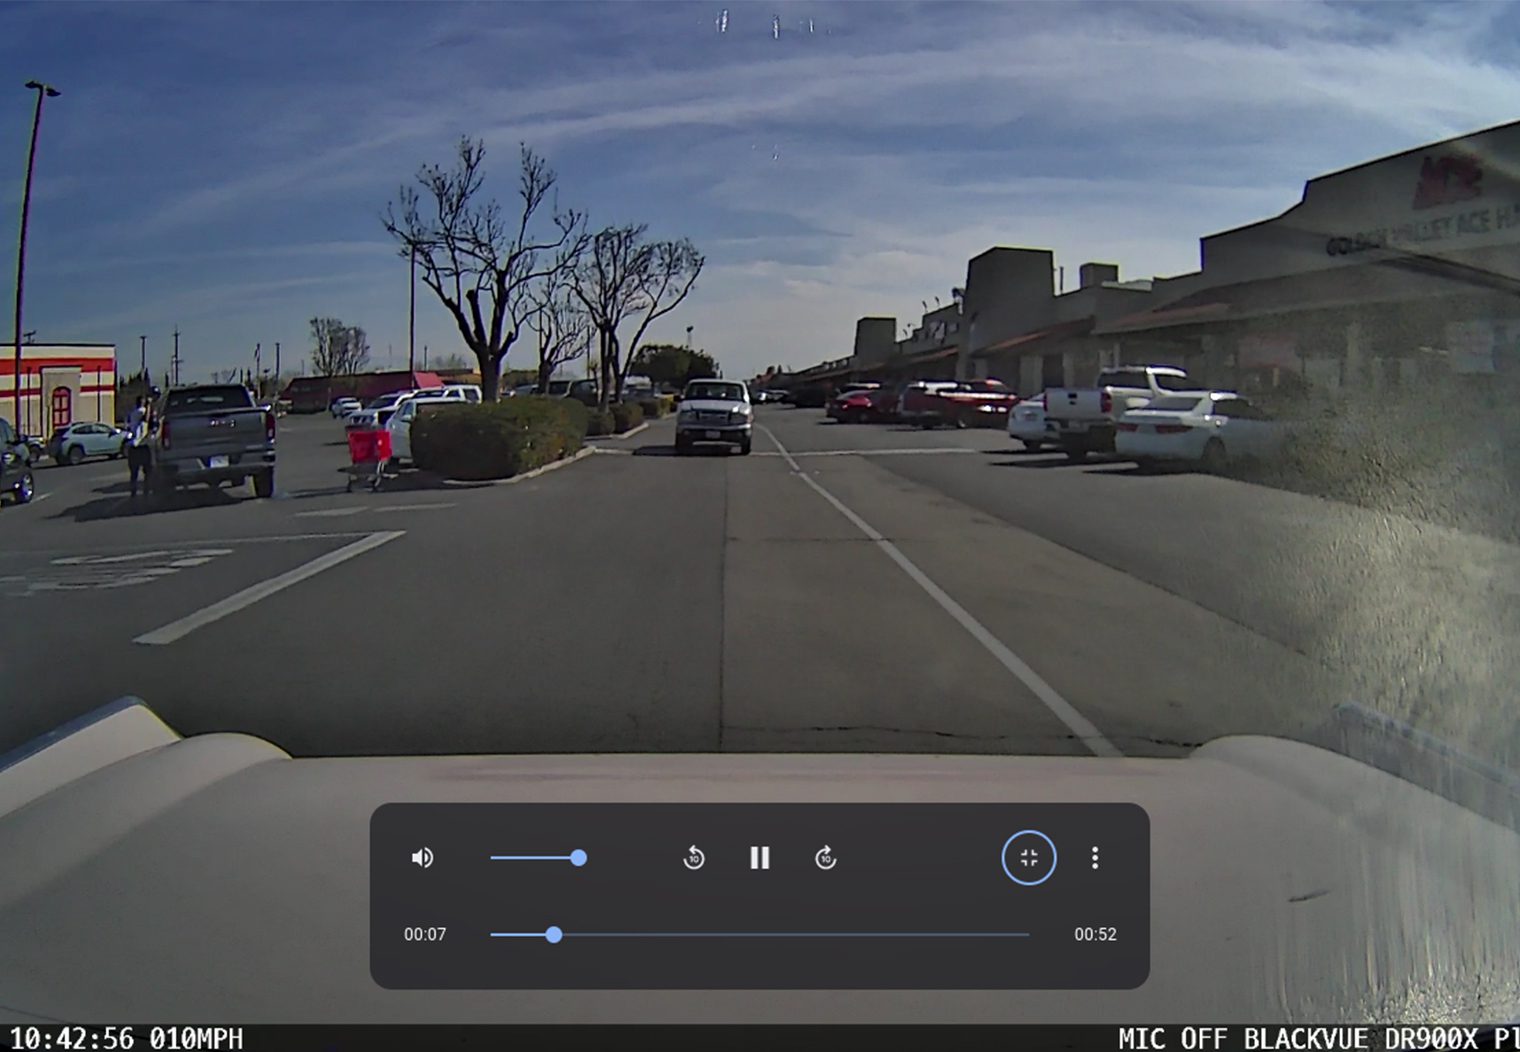
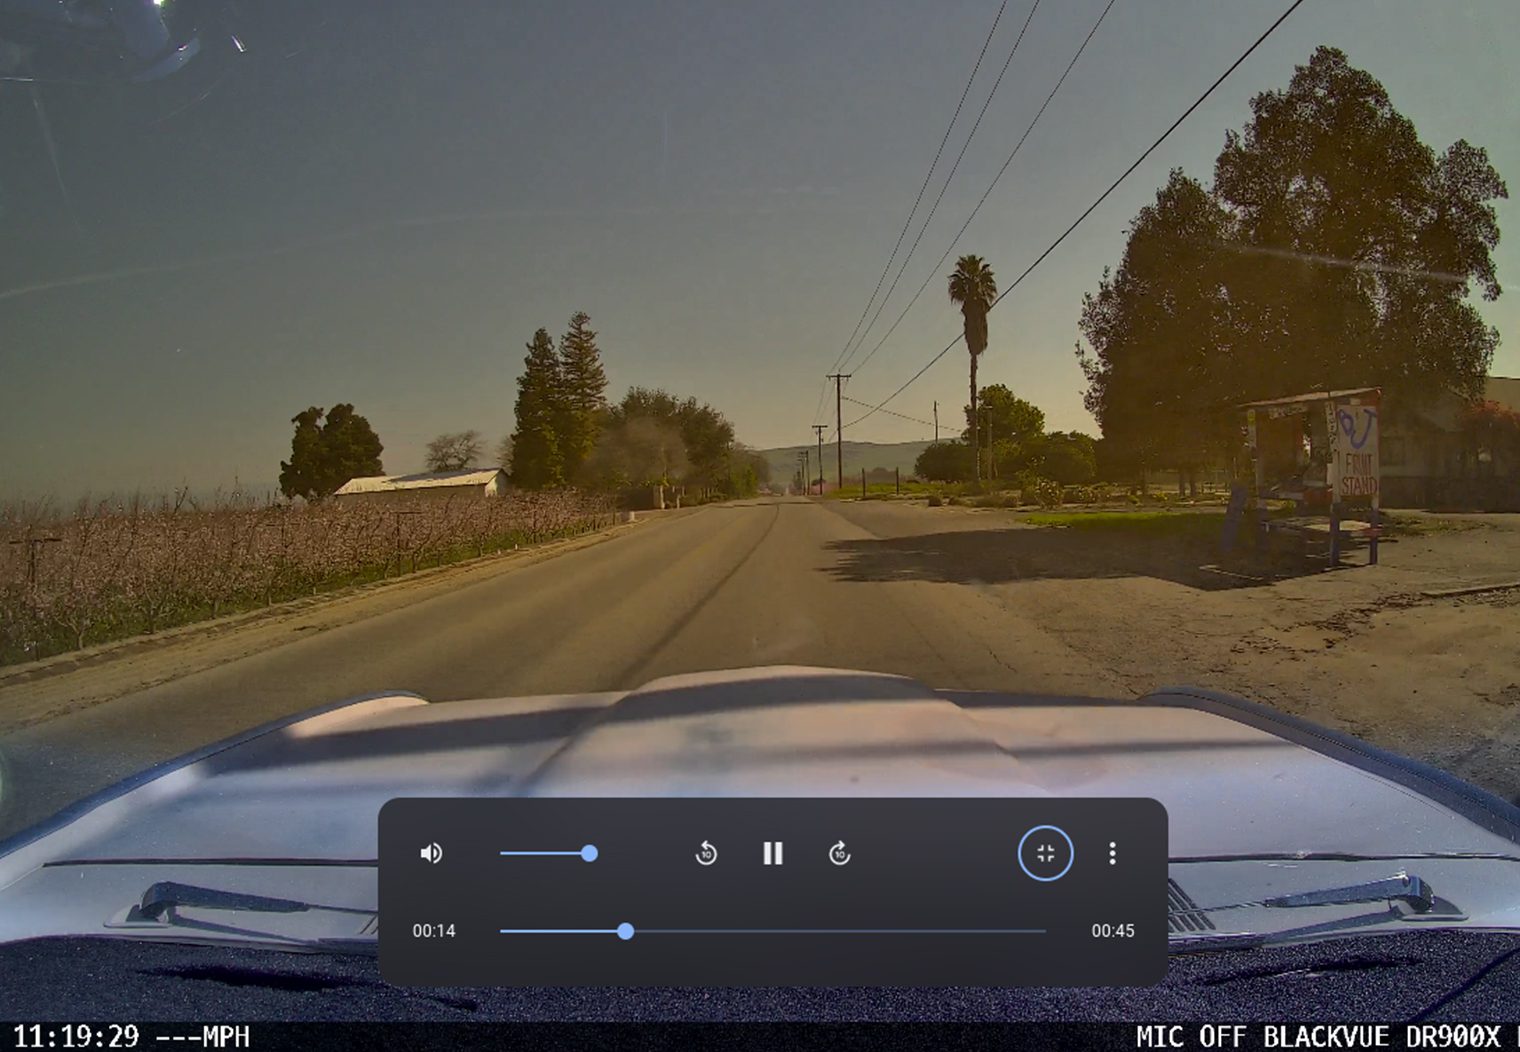
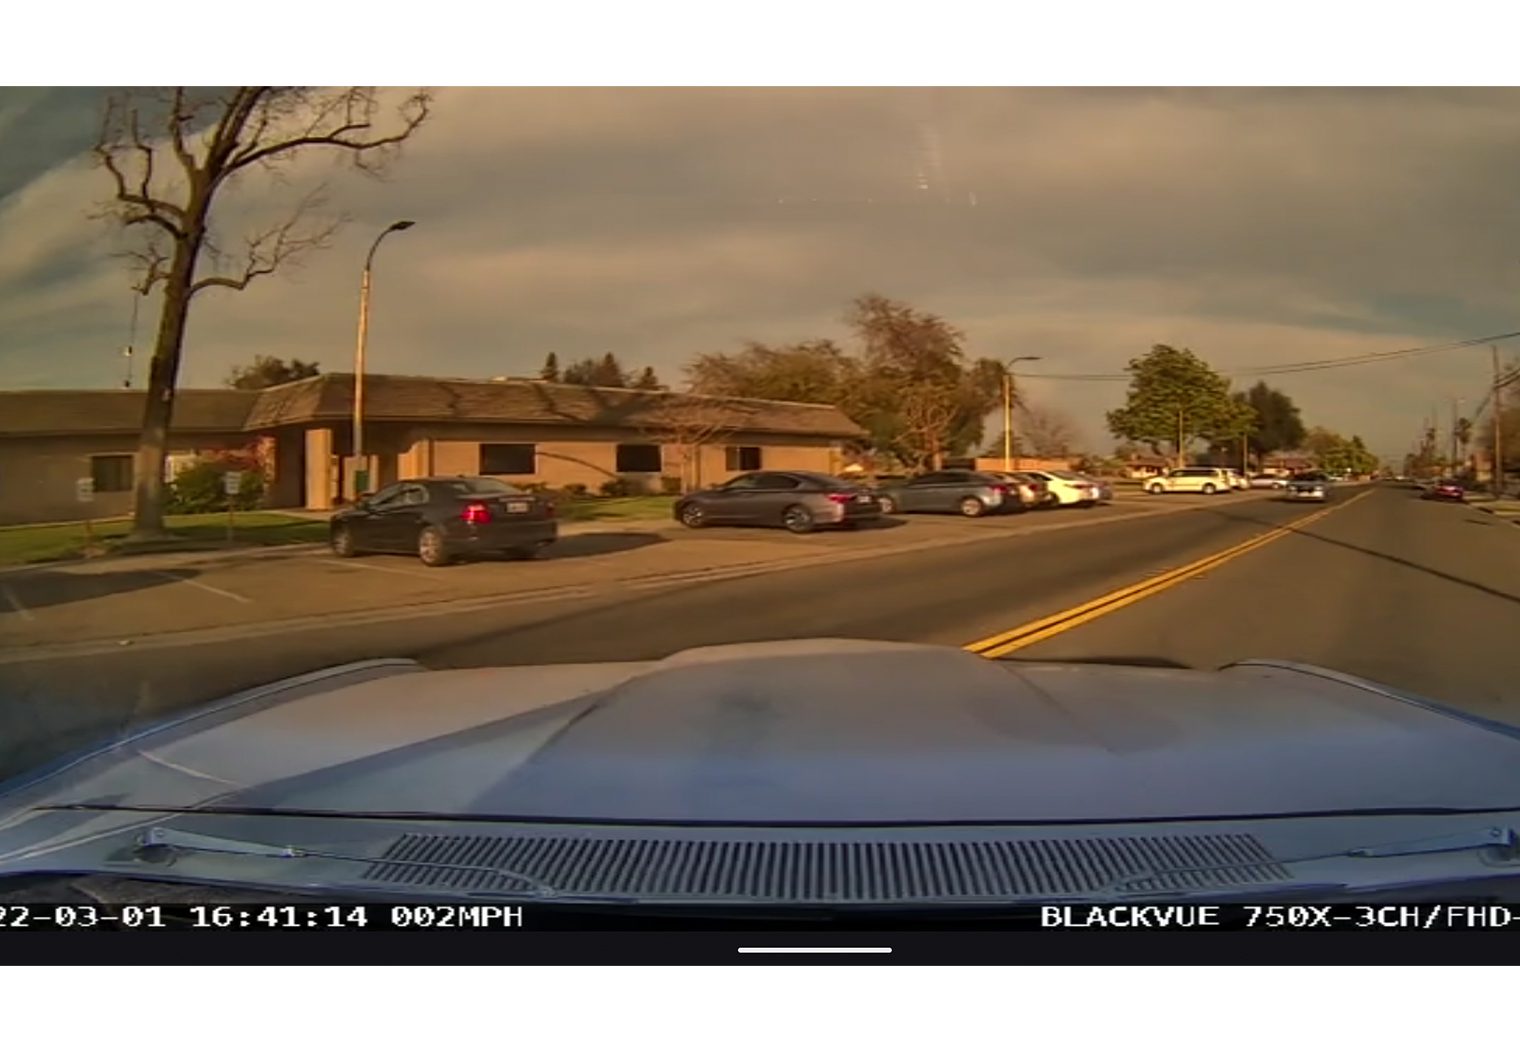
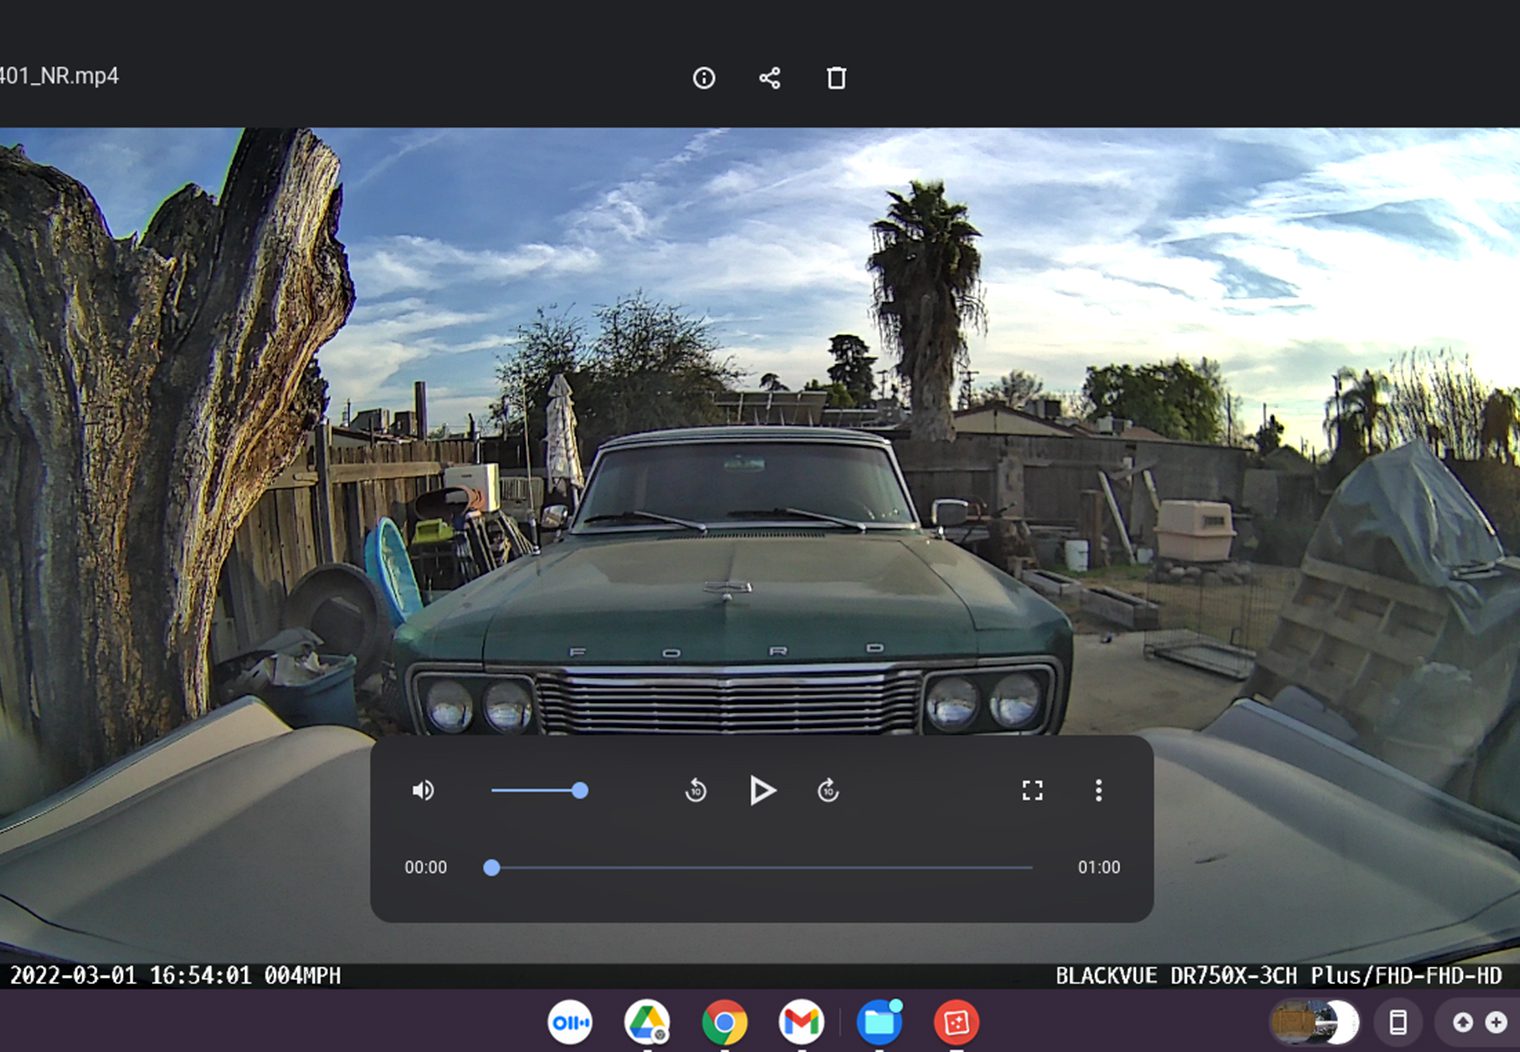
During daylight hours, both camera images are very good. The DR750X Plus shows more of a sepia tone which is actually the tint of the factory windshield in the Thunderbird. The DR900X Plus cleaned up the color a bit better which made the image more legible.
Problems We Encountered
We encountered some issues with using the wireless connection to download or even view video files, but that was not the most critical problem we encountered. Both the DR900X Plus and the DR750X Plus have the ability to shut down the camera when the battery voltage drops too low. Getting the balance between the camera shutting off and the car battery discharging was a struggle.
The factory setting is 12.5 volts. The Thunderbird uses tons of old electrical wiring and charges its battery with a 22-amp generator, not an alternator like modern cars. This means the battery tops off at about 12.4 volts.
Initially, we were testing to see how long the parking mode would record in time lapse, but this required that we dropped the setting on the cut off to below 12 volts. As we tested the camera, we played with various settings to help prevent dead batteries.
Using time lapse, we were able to either record only part of the night before hitting a safe cut off point, or all of the night and have a dead battery in the morning. This wouldn’t necessarily be the same result everyone will have given the age of this vehicle, but the Thunderbird does have a nearly new battery and a recently-rebuilt generator.
A battery-saving option is to set the cameras to record on motion and impact. You’ll want to play with the sensitivity settings to find the right balance. In our tests, too sensitive of settings caused the camera to essentially loop record all night long, filling the 64 mb MicroSD card in about four hours or hitting the battery cutoff. You’ll want to adjust the sensitivity down until you don’t have false recordings.
One downside of using the hardwire kit to the car battery is that the voltage will drop enough to shut the cameras down rather quickly. We were unable to get the DR750X Plus-3ch to record in parking mode for more than a few minutes on time lapse due to the power demands and limits of the 60-year old wiring in this car. A remote battery would be the solution to ensure all-night time lapse recording without stressing the vehicle electrical system.
Final Thoughts
The primary difference between these cameras is the front-facing camera resolution. Both cameras created better-than-expected quality under bright, daylight conditions. The DR900X Plus was noticeably easier to get fine-focus details when enlarging images.
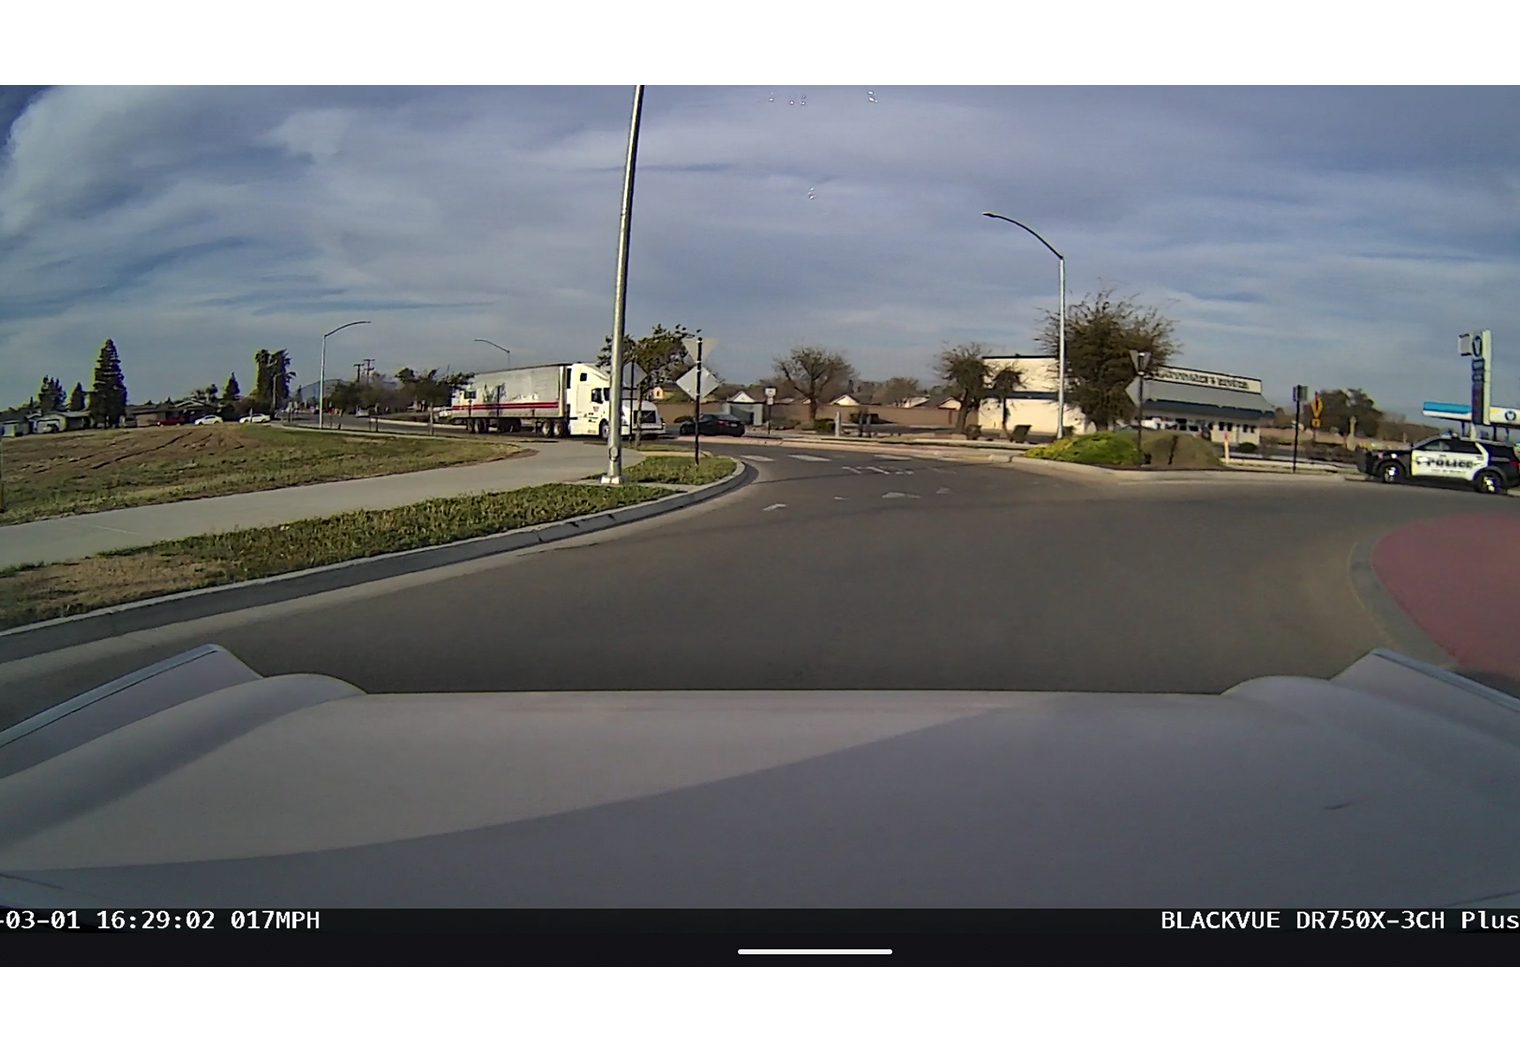
License plates were easily legible on vehicles passing in the opposite direction, across an intersection, and when parked on the side of the road. That means the 140-degree lens is doing a good job of reducing distortion around the perimeter of the image.
Both cameras have identical rear cameras, and both did a very good job of capturing rear images. The quality of the image was better than expected during daylight conditions.
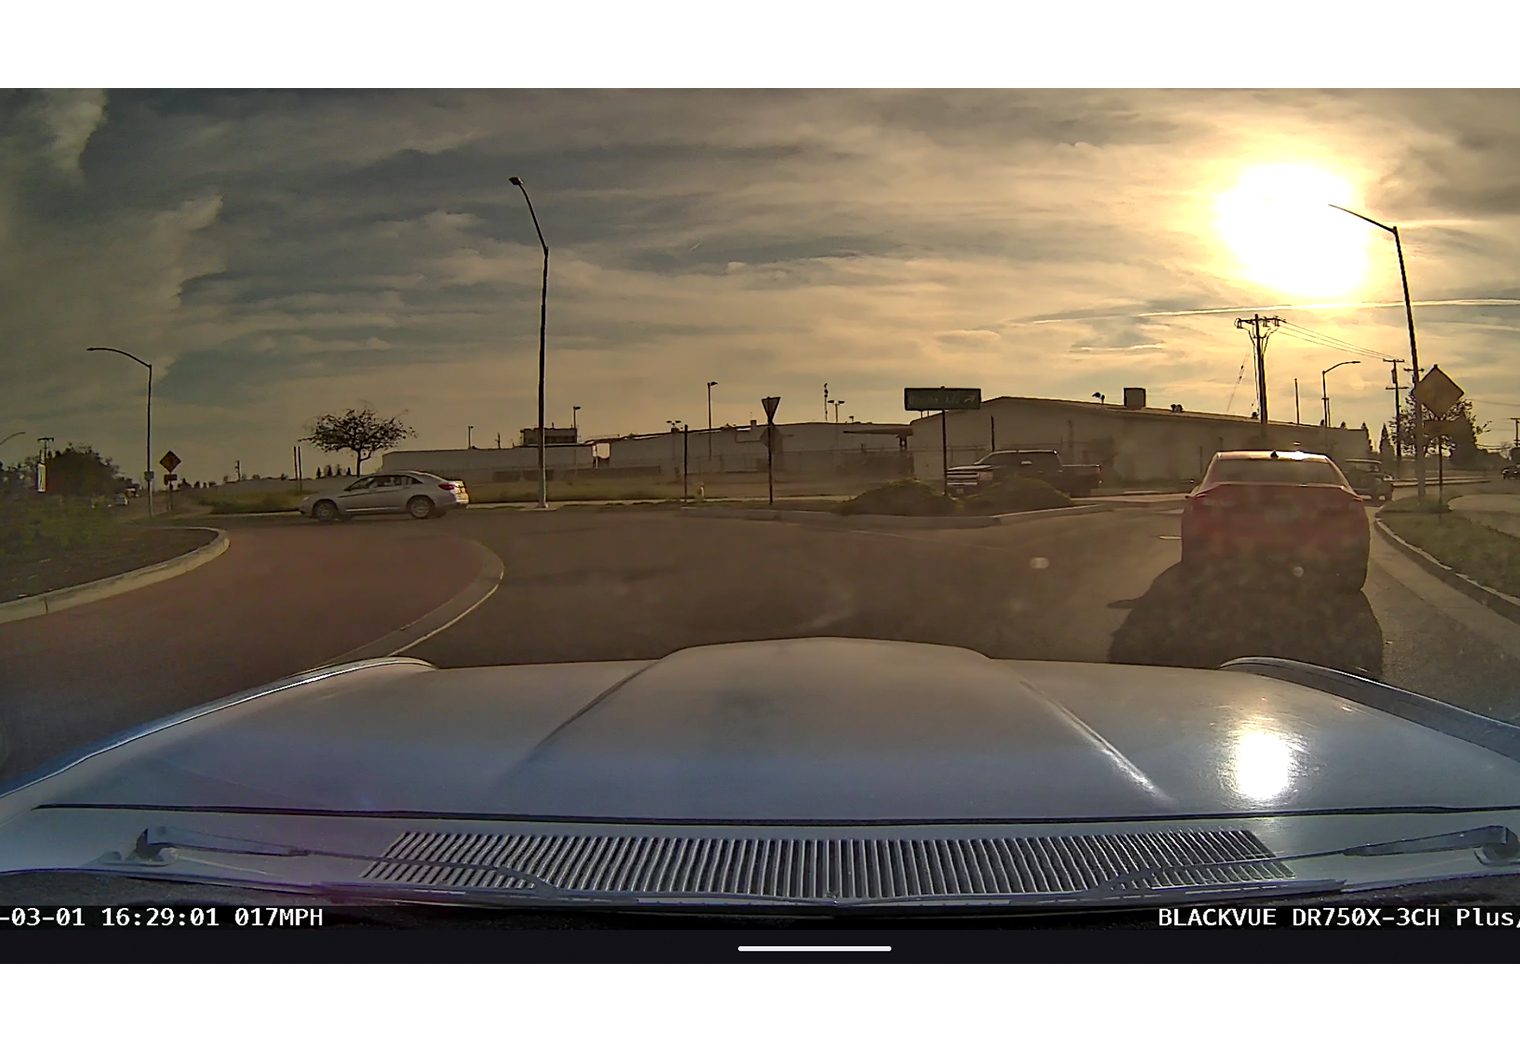
Challenging the Cameras
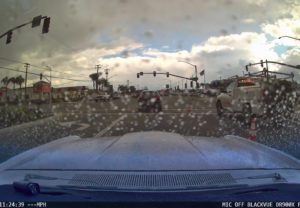
We got a few opportunities to put these cameras through some challenging situations. A light rain shower gave us the opportunity to try out the cameras during weather events, along with a great opportunity to drive into the setting sun as it broke from the clouds.
One flaw with the installation location in our case is that the Thunderbird uses tiny 15-inch wipers that don’t clear the top (or sides) of the windshield view. This seriously limited the ability to capture details but was clear enough to tell types of vehicles in the rain.
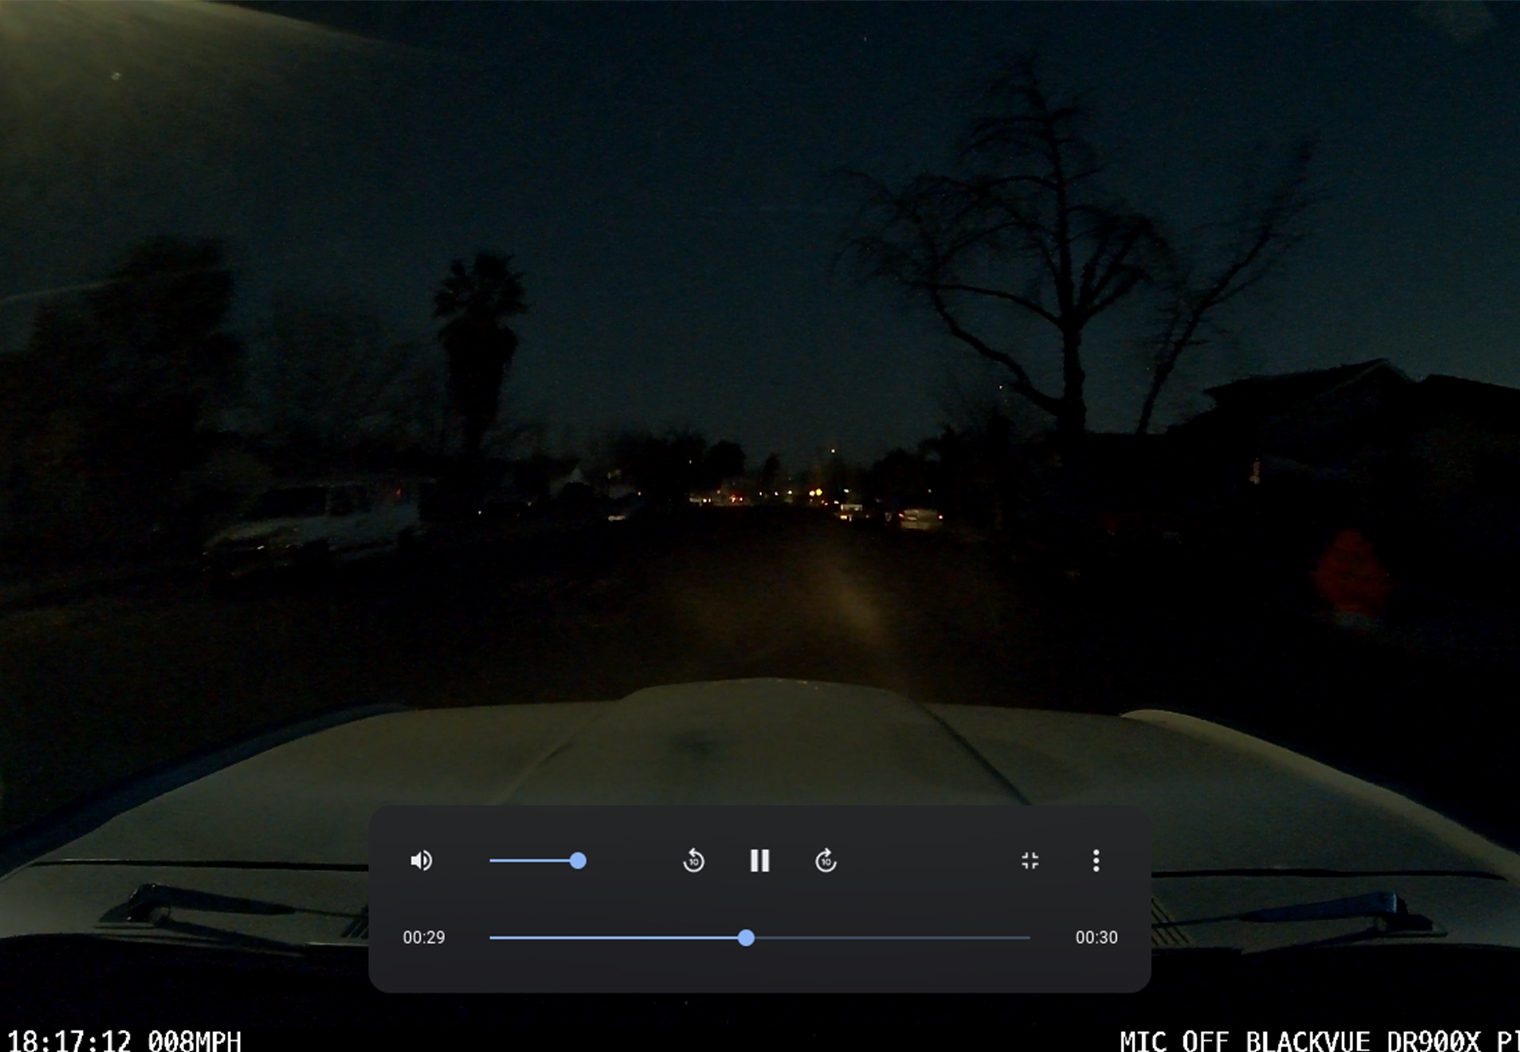
Nighttime driving showed a significant difference between the two camera models. The DR900X Plus was brighter, clearer, and had better contrast. The DR750X Plus has excellent image quality overall, but the images are less sharp and every image is noticeably darker than those of the DR900X Plus.
The DR900X Plus has a much more clear image quality in comparison with the DR750X Plus, but not so much that it is clearly superior. The three-channel option of the 750X Plus-3ch offers something unique in that it can capture the interior of your vehicle. We can see this being useful for dealing with law enforcement, protecting yourself while working as a rideshare driver, or even just for fun, but the best use of the IR camera is really for security.
In parking mode in a dark environment, neither of the cameras front-facing or rear-facing cameras do a great job of capturing legible images. The inside camera is a game-changer in that regard. We imagine that at some point in the future, BlackVue will offer an enhanced three-channel of the 900X Plus to include the interior camera.
