In this article: We'll walk you through the process of blacking out your taillight trim on a 2014 – 2020 Jeep Grand Cherokee.
DIY Project Overview:
- Difficulty: Easy
- Amount of Time: 8hrs (to let the paint dry mainly)
- Cost: $20 (~$200 if you purchase Mopar Trim Replacements)
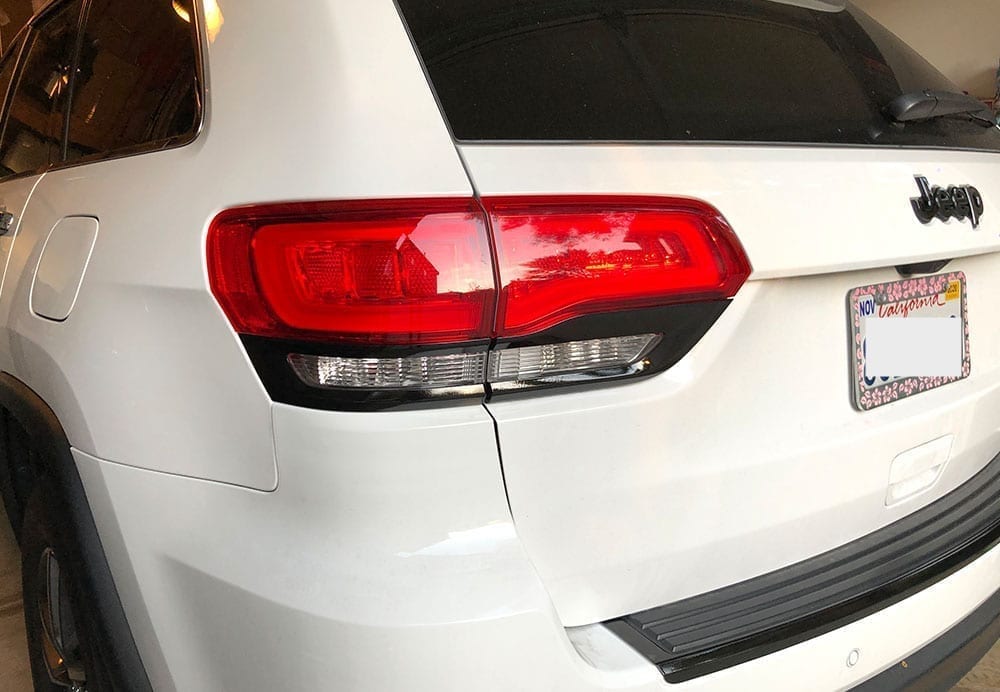
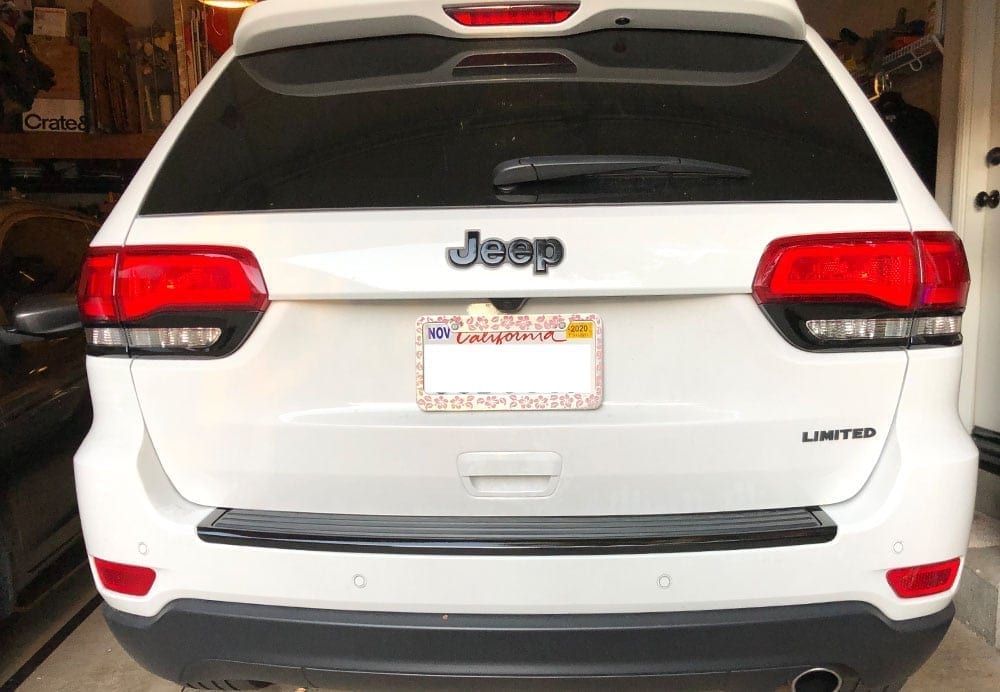
I recently picked up a white 2018 Jeep Grand Cherokee, Limited. It's white with chrome accents including the door handles, taillight trim, window trim, and the rear hatch trim (among other things). I've seen a number of very well-done white Jeeps with black accents, in fact they make a kit for it with some of the higher end and much more expensive models, and decided to black out all of the accents on the car. The first step I took was replacing the Jeep emblems which I'm not covering in this article, but my next step was the black trim pieces in the rear. This includes the chrome trim around the tail lights on the rear panel and the rear hatch.
There are two ways to black out these trim pieces – you can either buy the Mopar black taillight bezel kit for about $170-$190, or you can use the existing trim and paint them with some automotive paint for about $10 bucks.
Obviously the Mopar approach is going to take a little less time and reduce your risk of error, but not everyone wants to spend nearly $200 bucks on a small project like this, including me, so I put together a How To. IF you do choose to purchase the Mopar pieces in the link above, this article is still relevant to you. Just leave out step 3.
In this article I'll review the steps that I took to remove the trim from the lights, prep it for paint and ultimately painting the trim pieces to black them out.
Step 1: Removing Your Jeep's Lights
The most challenging part to this DIY project is the removal of all of the lights. You'll want to remove the lights so that you can access the trim screws on the back of the taillights and the rear hatch lights. Without removing these screws from the back side of the light housing, you won't be able to remove the chrome trim pieces from your light.
Taillight Removal
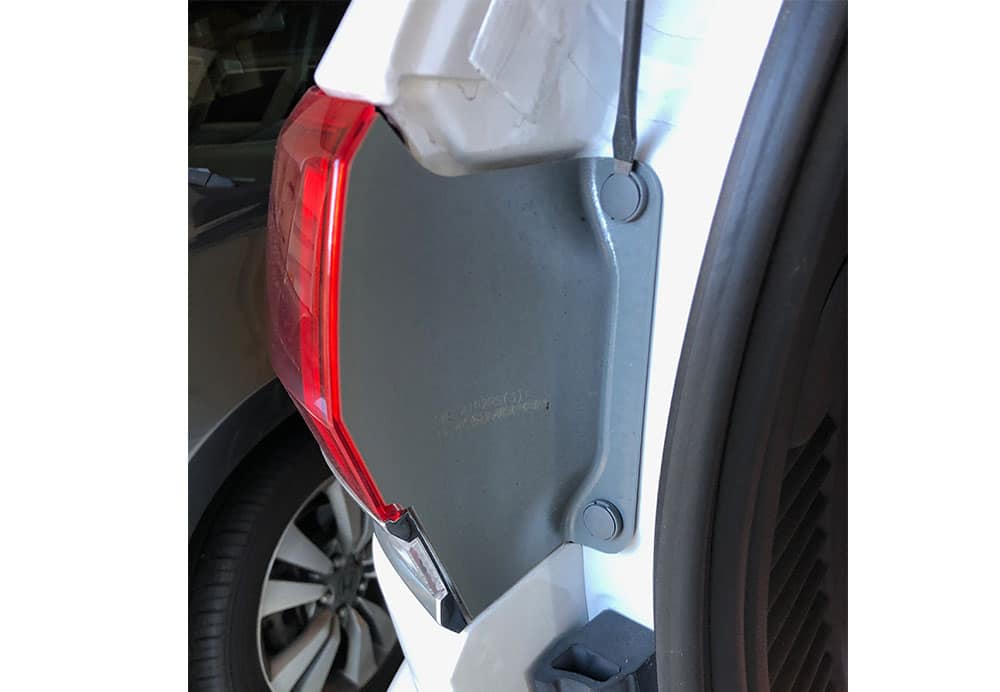
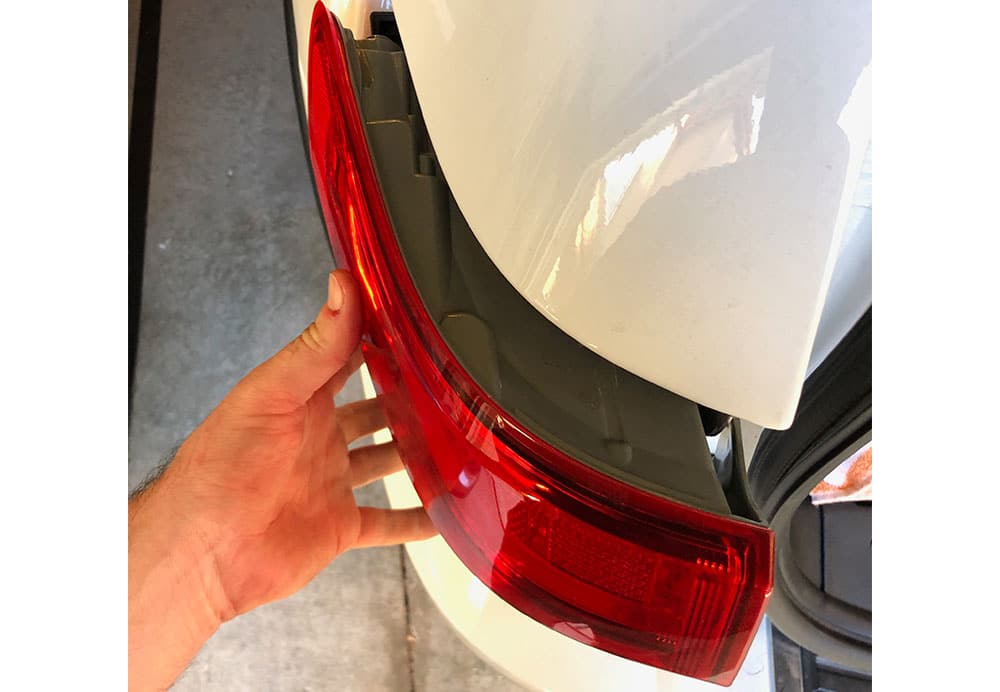
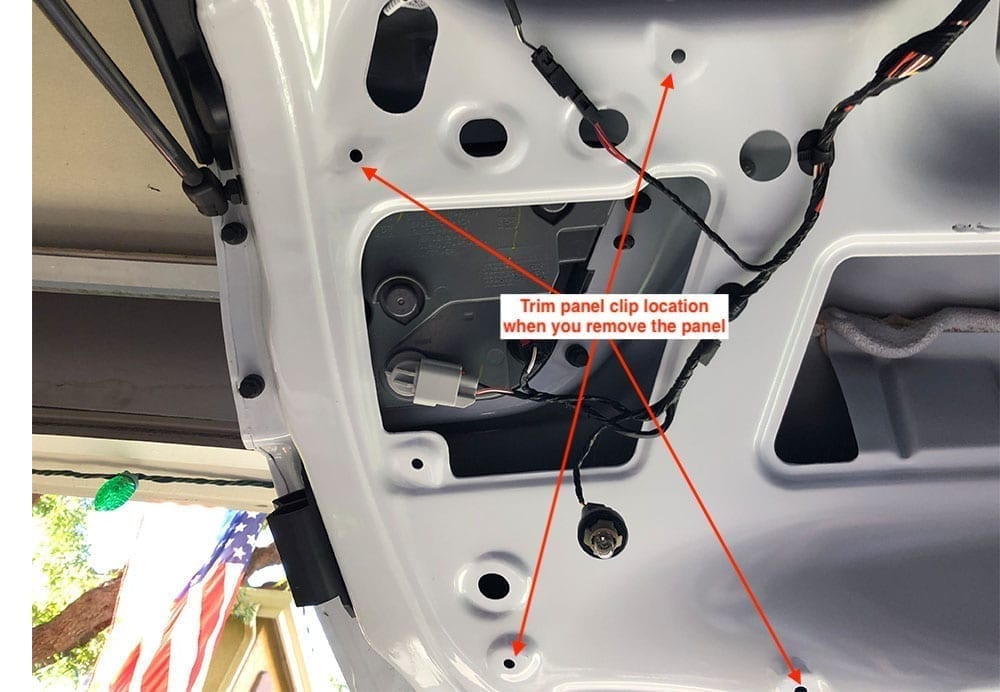
The taillights on the rear quarter panels are fairly simple to remove. There are two clips on the inner part of the panel when you open up your hatch. Remove these two clips by placing a flathead screwdriver in the slot of the clip and rotating until the center piece of the clip pops out. Then, remove the clip.
Once the clips are removed, you can pull the taillight straight out. It may need a bit of a wiggle because there are metal dowels that are wedged in a rubber grommet at the front side of the light.
Hatch Light Removal
You'll need to remove the light in the quarter panel like I showed above, along with the lights in the rear hatch door in order to remove the trim and black them out. To remove the lights in the hatch, the first step that you'll need to take is to remove the inner hatch plastic panel. This panel spans the entire inner part of the hatch and has a number of clips holding it to the door.
To remove this, use a door trim tool to begin popping out the clips, beginning on one of the bottom corners and working your way upwards. You'll need to remove the light bulb from the panel and a few other clips once you've worked your panel loose.
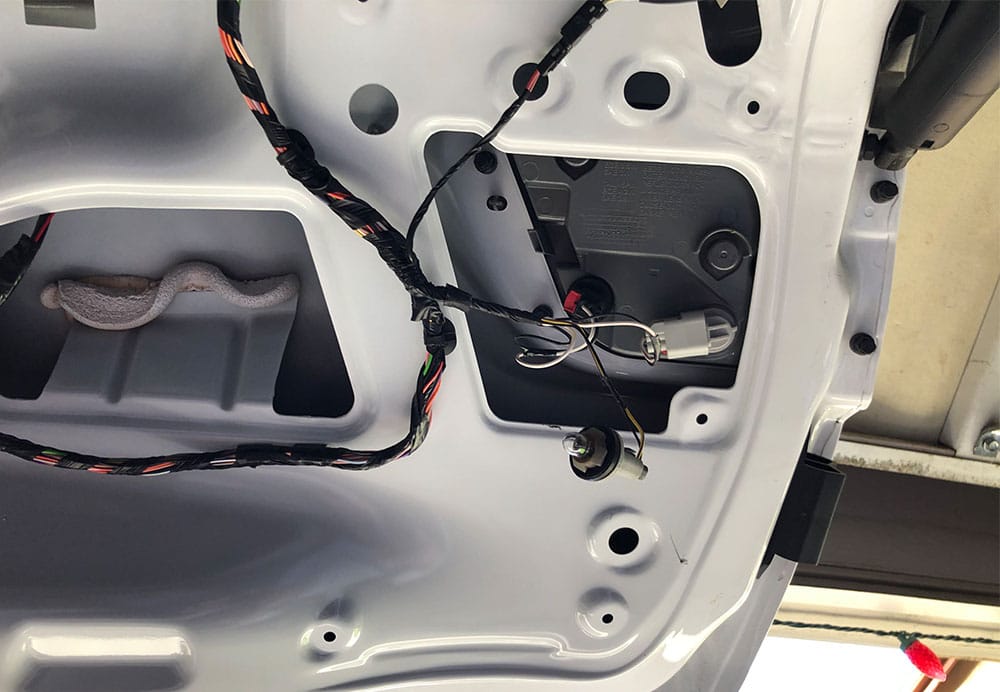
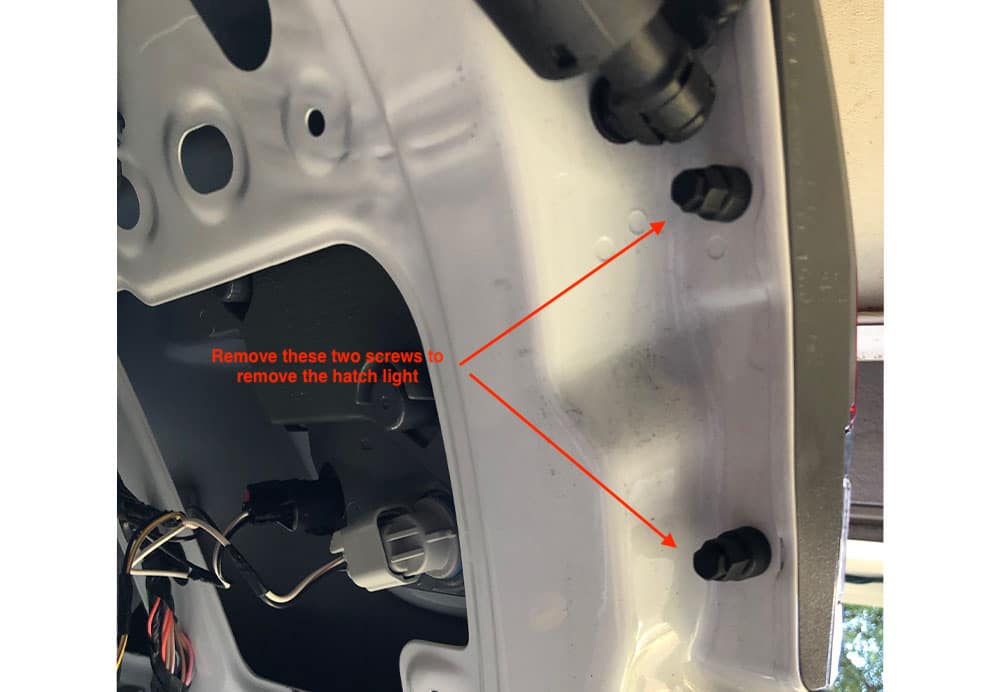
Once your panel is removed, you'll now have access to the back of the lights and the screws that hold them to the hatch. Unclip and remove the wiring from your lights and remove two screws that are holding the light in. Once you've removed the two screws you can begin pushing on the back of the light to pop them off of the hatch. Note that there is double sided adhesive that's holding the light to the hatch so they may be a little tough to remove. Keep one hand on the light itself as you push it out so that if it comes loose quickly it won't drop on the floor.
Step 2: Removing Trim from Lights
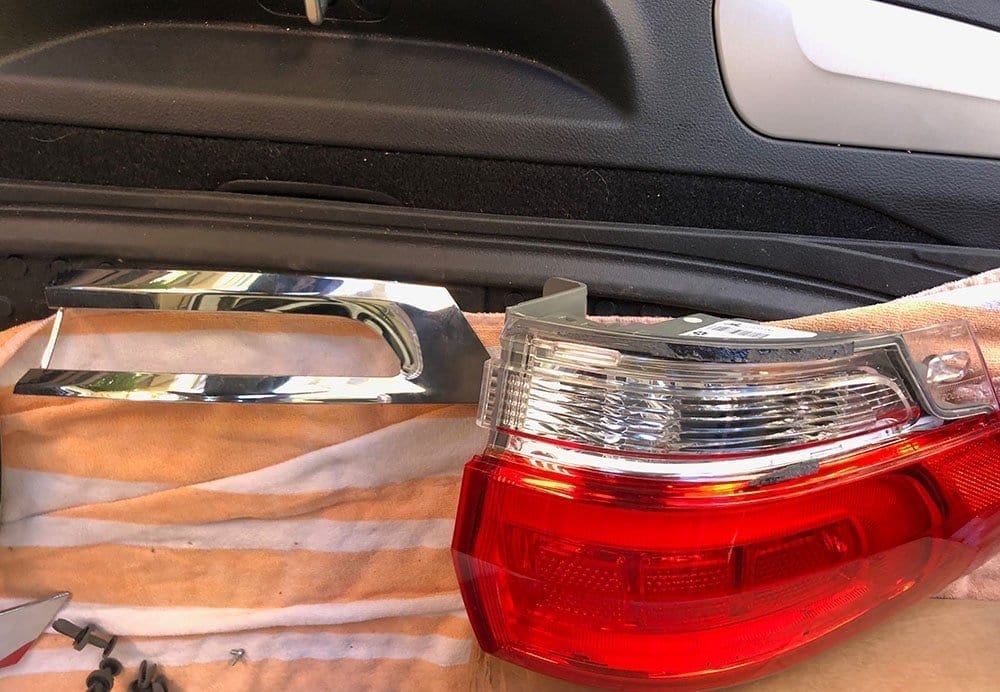
Now that your lights have been removed from the car, you can begin to remove the trim pieces from the lights. This is an easy task since the lights are off the car. Let's go through the process of removing both trim pieces from the taillights and the hatch lights
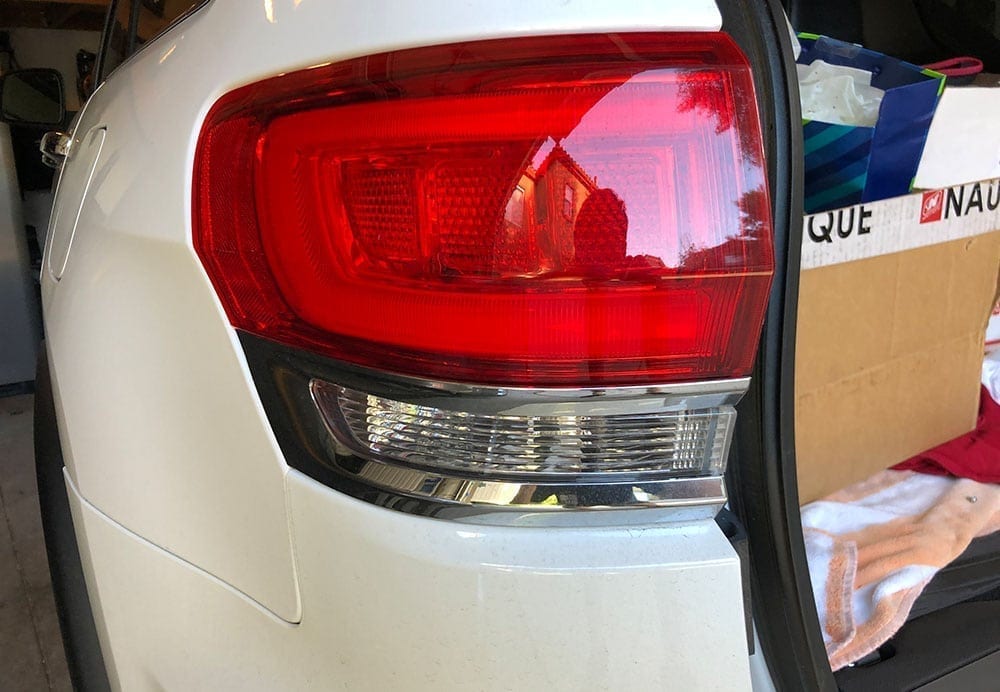
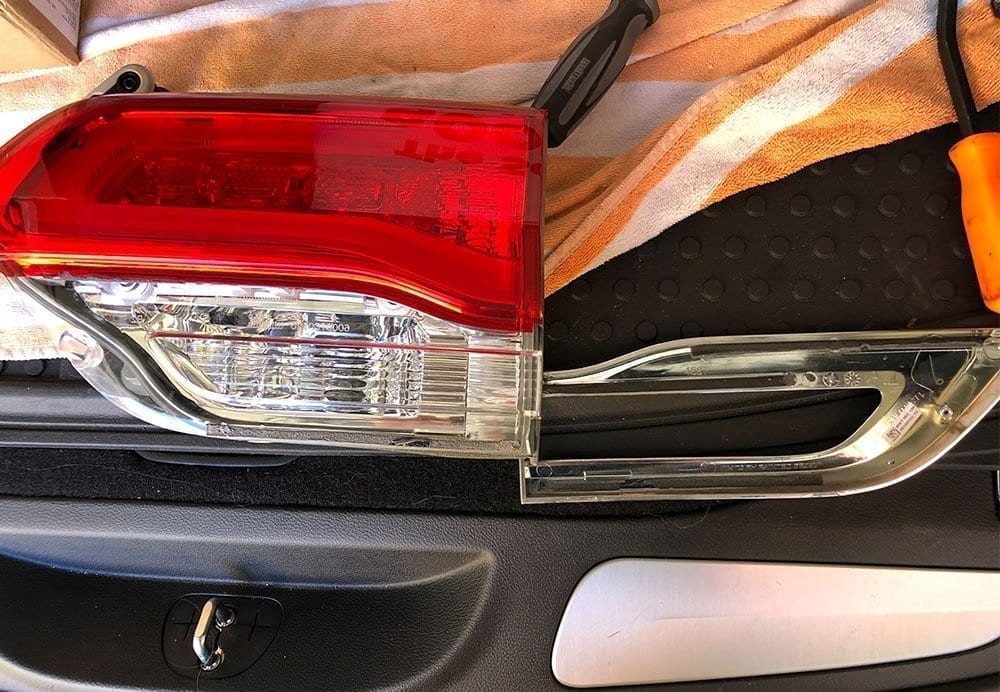
Taillight Trim Removal
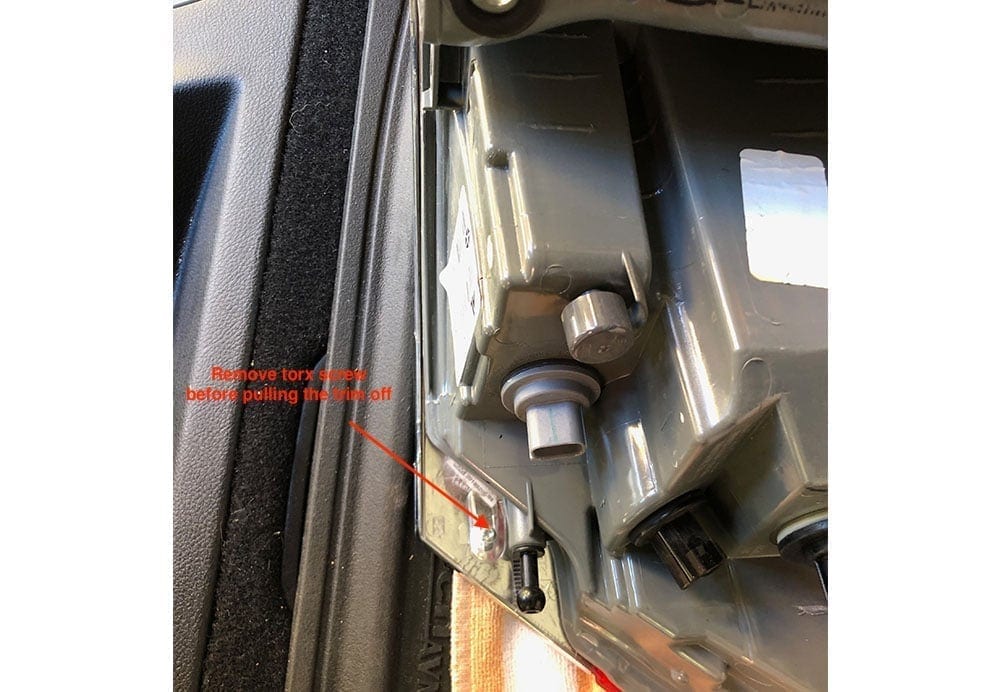
To remove the trim pieces from the taillights, turn the taillight around. on the back side, towards the edge of the trim you'll see a torx screw that holds the trim piece to the tail light. You'll want to remove this screw first. It's small, so put it in a safe place so that you don't lose it!
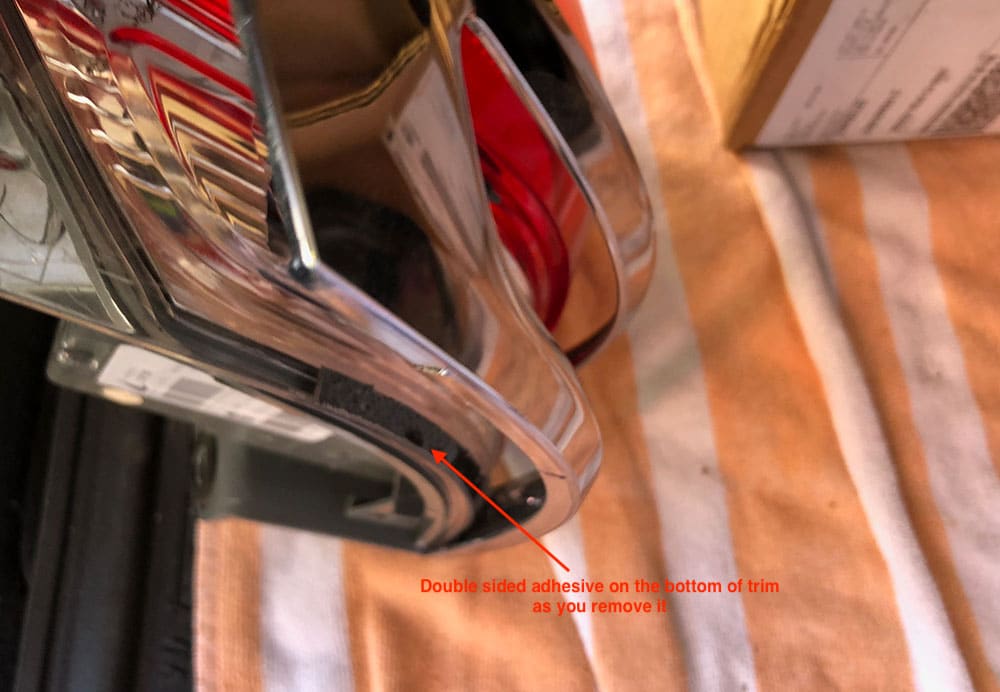
Once the screw is removed, use a plastic pry tool or something similar that won't scratch the trim piece to begin prying the trim from the light housing. Start with the corner that you just removed the screw from and work your way around the other side. There are a few pieces of double sided adhesive tape that are holding the trim piece to the taillight but that should be all (as long as you removed the screw first).
Be extra careful with the edge of the trim piece where there's a very slim edge piece to the plastic trim. This small vertical piece of plastic breaks easy (I did it and had to glue it back together).
Hatch Light Trim Removal
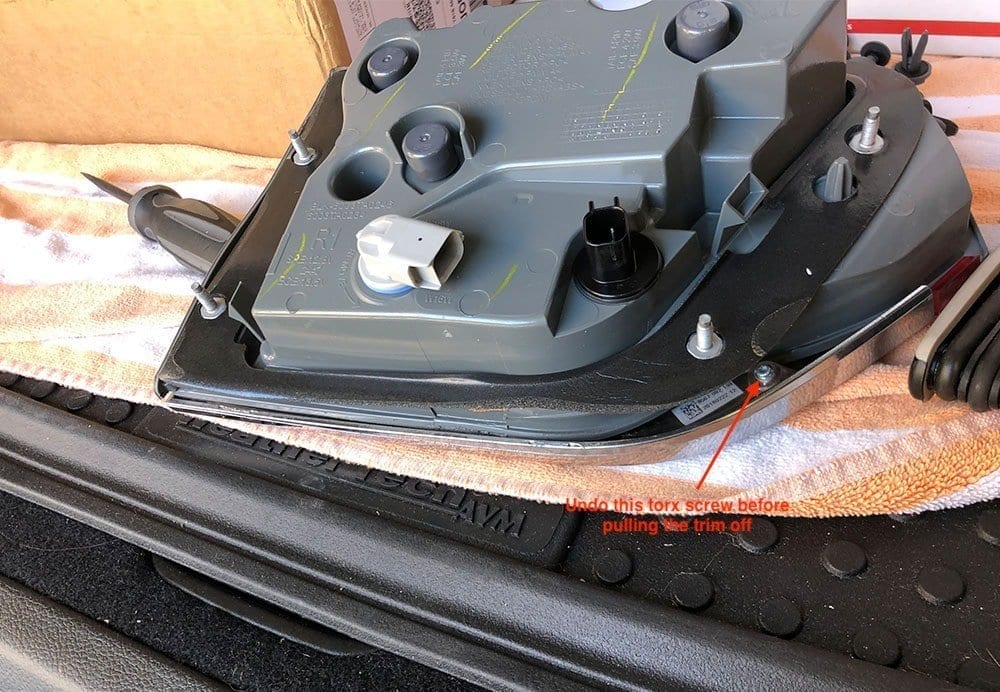
Similar to the taillight, the hatch light also has a torx screw on the back that will need to be removed prior to pulling the trim piece off. Locate the small torx screw (same size and look as the taillight) on the corner of the light and remove it.
Once the screw is removed, you can begin to pry off the trim piece slowly. Like the taillight there are pieces of double sided adhesive that are holding the trim to the light. Again, be extra careful with the edge of the trim piece where there's a very slim edge piece to the plastic trim.

Step 3: Prepping and Painting Your Trim
Now that the hard work is done, you can prep your trim pieces and paint them. I used some standard 3M wet or dry 500 grit sand paper and lightly sanded the surfaces of the trim. Once sanded I cleaned them with some alcohol on a rag and placed them on top of a piece of cardboard to paint.
For paint, I chose a universal Dupli-Color universal automotive gloss spray paint. It matched the black vinyl trim covers that I put on the window trim well along with the Jeep logo that I replaced in the rear. If you're going for a matte finish, this isn't the paint for you but it looks great for a gloss finish.
Use the spray paint and spray each trim piece in a left to right (or top to bottom) motion from about 8-10 inches away. Cover the surface with a light first coat and wait several hours before applying a second coat. I didn't wait long enough between coats and there's a slight orange-peel affect on mine. If this happens to you, you can always use paint thinner to remove the paint and start fresh again. I've since done this after I took pictures to get a clean, smooth and gloss look.
Once you've applied your second coat, wait a 3-4 more hours before putting back on the car to reduce the change of scratching.
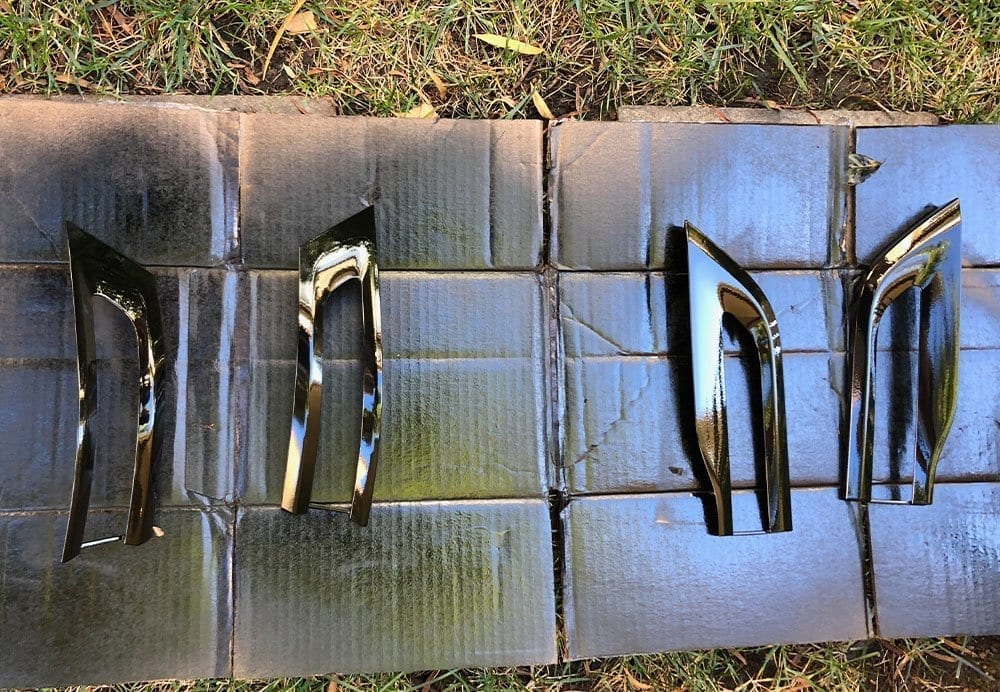
End Result
After you've waited a few hours for your trim to dry, you can begin re-assembling your lights. I used some 3M VHB double sided tape, cut into small strips, to replace the existing double sided tape between the trim and the light housing.
Here's a couple pictures of the end result! Please feel free to comment and let us know your thoughts or questions below!