In this article: We'll define what Ceramic Coating, when to use it, how it helps your car's paint and how you apply it.
How long does it take to apply Ceramic Coating: 5hrs (including wash and clay bar)
I've been hearing a lot of buzz about ceramic coating for car paint over the past few years. Friends recommending that I try it, conversations in facebook groups and on the forums. It's a pretty expensive product ($75 – $200 for a decent full kit), so the decision to make the purchase wasn't a quick and easy one. Additionally, if you want it professionally done it's a fortune. I received a quote for $475 to do my truck at a local detail shop.
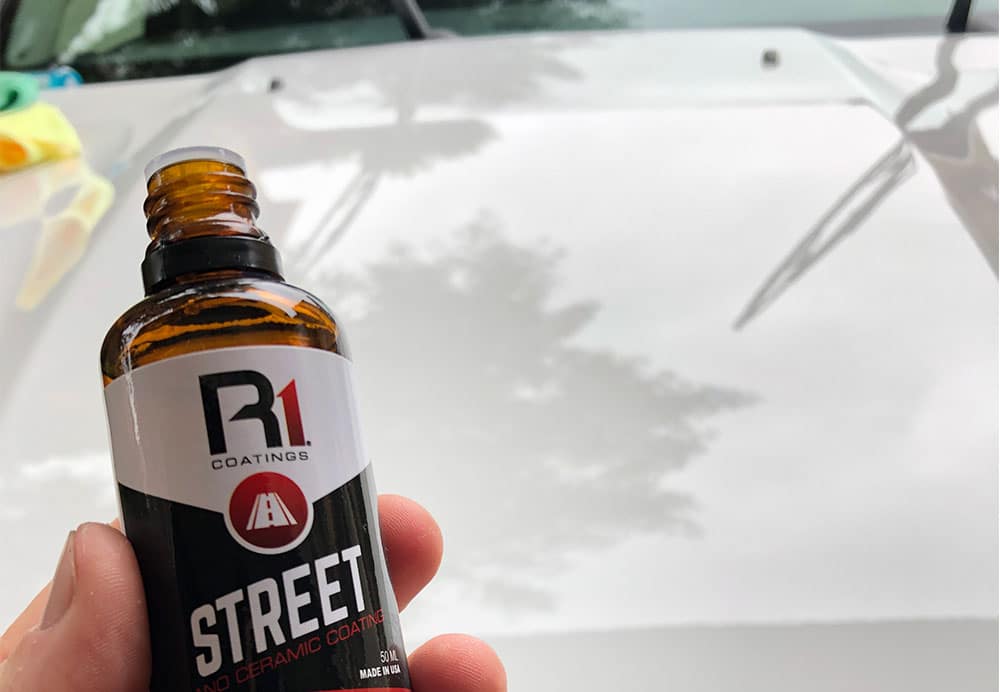
I have three cars, and at this point I've done all three of them. I'm the type of person who waxes their car after every wash, so when I heard that ceramic coating could limit the amount of times I wax my car (especially for my Ram 1500) I was really interested. I did a ton of research across the net, spoke to some of the car groups and friends and finally decided on a product to purchase. I chose R1 Coatings, and was pleased with the product.
What Is a Ceramic Coating and What Does it Do?
Ceramic Coating is a product that ultimately adds a layer of protection to your car's paint. Check out our list of best ceramic coatings for a few examples. It's a liquid polymer that's applied by hand to your vehicles exterior. It bonds to your vehicles paint or other components and creates a fine layer of protection. Similar to to wax, it helps to keep your paint looking like new and protect it from the elements. There are several key benefits to Ceramic Coating:
Protection from Etching and Chemical Corrosion or Stains
One of my vehicles was sitting in the parking lot while I was at work. I came out to a car covered with bird poop. It was on the hood, roof and windows. It was a hot Friday in Southern California and I figured I'd wash the car over the weekend to clean up after the birds. BAD IDEA. The amount of time I left the bird poop on the car, combined with the heat left serious etching in a few areas where the bird poop was.
Ceramic coating will help to prevent cases like this, where animal excrements, acid rain, tree sap or other acidic liquids can severely damage the surface of your paint. It bonds to your vehicle's paint, leaving a protecting layer that will block these types of contaminants (obviously if you remove it in a reasonably timely manner).
Simplifies Cleaning
At the time of writing this article, I've had my vehicles ceramic coated for about 3 months. My truck sits outside in the elements 24×7, and I've washed it 3 times now. What I've noticed is that when you first spray your vehicle down, a much larger portion of the dirt, dust and grime washes off without even wiping it down with soap. The water beads off like it was just waxed, even after the third wash.
One of the great features of ceramic coating is ‘hydrophobic'. It repels water. Along with water, the dust and grime has a hard time bonding to the paint like it normally would without ceramic coating which makes it much easier to clean. I wouldn't say this is an end all solution for those who like to play in the mud with their trucks or other offroad vehicles, but water continues to bead off of my truck after a few washes and it requires a lot less effort for me to wash it.
UV and Oxidization Protectant
Along with its chemical erosion protecting qualities, UV and oxidization protection was one of the key reasons I decided to purchase ceramic coating in the first place. My two car garage isn't deep enough to fit my truck, so the most expensive vehicle I own ends up sitting on the street.
When vehicles sit out in the sun year after year, paint starts to oxidize and fade or even flake and lift. Ceramic coating has been proven to help protect paint from sun exposure, which'll help your paint last for longer. It's especially great for cars that endure extreme heat in the deserts.
Glossy Finish
Another benefit of ceramic coating is that it leaves a glossy finish once you're done, leaving your paint looking like new. This is why it's a great, longer lasting alternative to wax as well. Although, I will say that a quality wax leaves a better shine and that ceramic coating shouldn't be expected to be a wax alternative for shine and gloss.
What Does Ceramic Coating NOT Do? Common Misconceptions
There's a lot of claims across the internet about what ceramic coating can do. A lot of them are true, like the ones I listed above. But many of them aren't and can be misleading. Here's a few common misconceptions about ceramic coatings:
Eliminate Water Spotting
Yes, ceramic coating is hydrophobic and does create a layer on top of your paint that makes water bead and run off easily at speed. But, if your car sits in front of a sprinkler with hard water and you don't move the car or wipe it down the water's going to dry and leave water spots and deposits.
Eliminate Washing
Similar to spotting, it doesn't keep your car clean in all scenarios. If you're driving your car, it's going to get dirty no matter what. There is not substitute to cleaning your car to maintain its look. But, one of the benefits that I mentioned above is that it's much easier to clean your car and takes less time and money since you don't have to wax is as frequently. Ceramic coating doesn't make your car clean though, but it will help to protect the paint paint when it's dirty and make it easier to clean off.
Prevent Swirls, Scratching and Chips
Ceramic coating is a FINE protective layer on your paint. But it isn't thick enough to protect your paint from a rock on the freeway, key marks or swirls from using a dirty rag when you wash your car. These claims are false.
How to Apply Ceramic Coating to Your Car
Applying a ceramic coating to your car isn't as difficult as you'd think. It's less demanding than applying wax, however it does take some time. Let's walk through the steps involved with applying a high quality DIY ceramic coating to your vehicle.
Step 1: Prepping Your Car
Before you apply any type of paint sealer or protection to your car's paint, you need to prep your car first this. Generally, this involves two to three steps depending on the condition of your car.
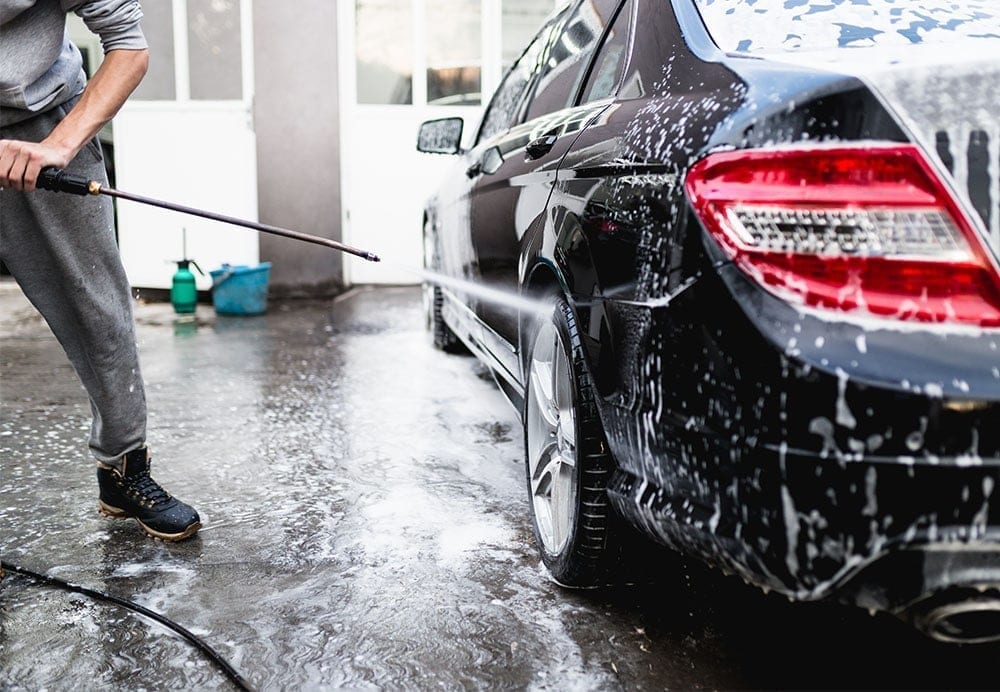
Wash & Dry
Start with a good wash. The purpose of washing your car is to remove any dirt, debris, chemicals and surface grime from the paint before you apply your coating. This is the most important step. Without a “clean” canvas to work with, you'll be sealing all of the surface contaminants onto your paint when you apply your ceramic coating. You want your car to be as clean as possible before you begin with your ceramic.
Once washed, ensure that the car is completely dry. There should be no water drops or runs.
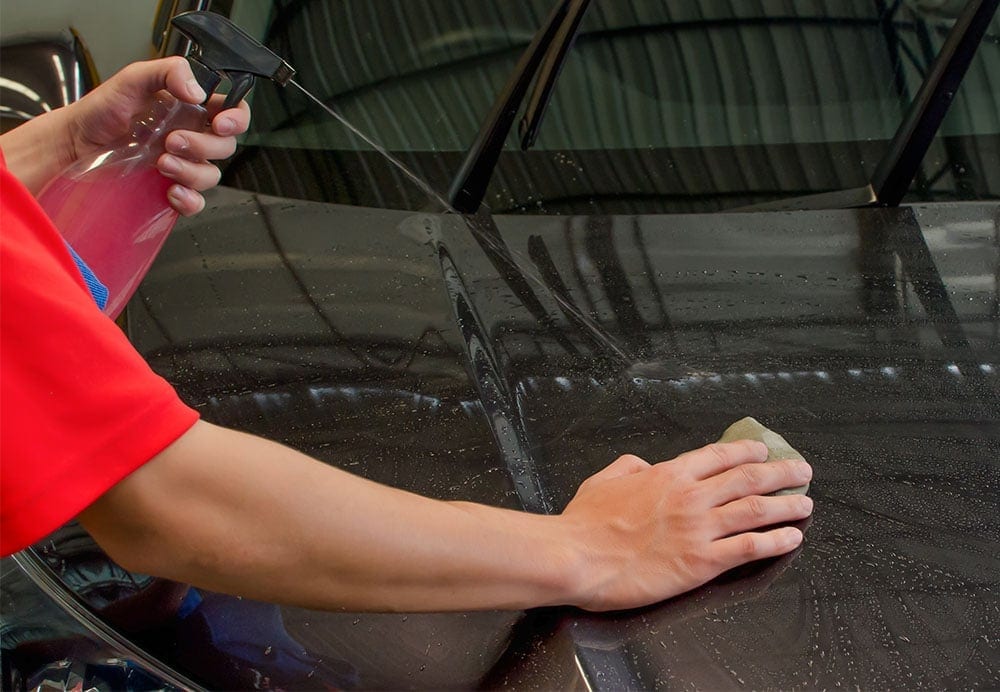
Clay Bar (Optional)
Clay baring your paint after your initial wash will help to further ensure that you are applying your ceramic coating to a clean slate. Clay bars are blocks of soft clay that are used with a lubrication (typically a spray on wax-like material) to pick up contaminants deep in the paint. You may not be able to see them, but your paint has microscopic crevices that hold dirt and grime. When you clay bar your paint, the clay gets deep in these crevices and removes the dirt.
If you're applying a ceramic coating to a brand new vehicle, or relatively new, this may not be as necessary as it is for an older car that's over two years old or hasn't been clay bared recently. I typically clay bar my vehicles one to two times a year and this was a good excuse for me to do it again. Personally, I would recommend this step. For cars that haven't been clay bared recently, ceramic coating will trap the dirt in the micro crevices of your paint, and since it's a semi-permanent solution you'll be trapping this dirt for a long time.

Polishing & Paint Correction
I mentioned earlier that Ceramic Coating doesn't prevent scratches, swirls, dings or anything of that nature. It doesn't fix them either. For those who would like to make corrections to their paint before applying ceramic coating, I recommend doing it before hand.
Think of ceramic coating as a preservative. You can either preserve the best version of your car or preserve it how it is. Similar to clay bar, your car may not need this. I personally didn't buff or polish any of my cars. My goal was to preserve from future and further damage. But, if your car has a bad case of swirls or light scratches it's a good idea to get them buffed out prior to sealing your paint with ceramic.
Step 2: IPA Wipe
Once your car is where you'd like it to be prior to applying your ceramic coating, you'll need to apply a coat of IPA (Isopropyl Alcohol) to the car. IPA will remove any remaining chemicals from the paint to ensure a strong bond between the paint and ceramic.
Typically, this will come with a ceramic coating kit. It should always be sold by the ceramic coating manufacturer that you choose.
With your IPA solution and a clean microfiber towel, spray sections of your paint roughly 4′ by 4′. You'll do this just prior to applying your ceramic coating to ensure the cleanest surface. Some how-to's instruct to IPA your entire car at once, but applying ceramic is a time consuming process and by the time you may reach the other areas of your car there may already be contaminants.
Spray and wipe down the 4′ by 4′ section of your car, and immediately follow it by step 3 below and repeat until the entire car is complete.
Step 3: Applying Ceramic Coating
Now that you have a 4′ by 4′ section of your car wiped down with an IPA solution, it's ready to apply your ceramic coating. If it's a hot day, pull your car into a shaded area prior to applying your IPA solution and ceramic coating so that the surface temperature can cool. Ceramic coatings bond best when applied to a surface temperature between 50 and 70 degrees Fahrenheit. Don't apply your ceramic coating in direct sunlight or when it's exceptionally hot and outside of the recommended temperature range!
Every ceramic coating manufacturer has their own steps to applying ceramic. This instructional walk through is mean to be generic and should apply to most ceramic coatings but be sure to double check the instructions before you begin. Also, I recommend wearing gloves at this point to prevent the ceramic coating from getting onto your hands while applying.
Apply Drops of Ceramic
Your ceramic coating kit should have come with a microfiber sponge, or a sponge with a small cloth. Take the sponge (wrap the sponge if it came with a separate cloth), shake your bottle of ceramic, and apply 7-10 drops of ceramic depending on the size of your sponge. The sponge should always be damp and smooth so re-apply drops as needed.
Take your sponge and wipe the surface of your 4′ x 4′ prepped area on your paint in a grid-like pattern. Start with a horizontal grid, moving in a side to side motion. Once you've covered your surface, check your sponge to ensure it's damp (apply 1-3 additional drops if needed) and then wipe the same area in a vertical grid motion, moving up and down. This will ensure that the entire area is covered.
After you've completed applying the ceramic coating, let it sit for 1-3 minutes depending on the temperature. The hotter it is, the shorter the wait time.
Removing Excess Ceramic
Take a 2nd microfiber rag (not the one you are using with your IPA solution), and lightly wipe your area down to remove excess ceramic from the paint. This should be done with a light touch, but enough force to remove any ‘rainbow' of color.
Final Buff
With a 3rd microfiber rag, lightly ‘buff' the area down one last time to ensure any cloudy areas are removed.
Once you completed your final buff, move back up to step 2 again to apply your IPA solution to the next 4′ x 4′ section of your car and repeat until the entire vehicle is completed. Leave the ceramic coating to dry for a minimum of 2-3 hours to bond. If you'd like to apply a second coat, you can do this after the 2-3 hour wait time as well.
Step 4: Curing
Bonding takes minutes/hours, curing takes up to two days. Even though the ceramic might appear like it's dry, it takes time for it to fully cure. Every ceramic coating is different, so check the curing time for your ceramic coating on the manufacturer's instructions or website.
Leave your car in shade or indoors for 24 to 48 hours to fully cure. Make sure it's not exposed to water – dew, sprinklers, rain, etc. The goal is to give the ceramic the best chance at a full cure as possible without exposing it to water.
And Voila! You're done! Your car is now ceramic coated.
Conclusion
Applying a ceramic coating to your vehicle is relatively easy. Unlike wax, it can last for years and it doesn't require any elbow grease removing dried wax from the car. There's tons of great benefits from ceramic coating that will help to preserve your paint for years to come from the harsh elements of the road and weather. Considering the cost to apply ceramic coating at a local detailer, I would recommend this as a DIY project. It's time consuming, but rewarding as well.
Be sure to contact the ceramic coating manufacturer if you have any questions regarding their application process before you begin applying your ceramic!
