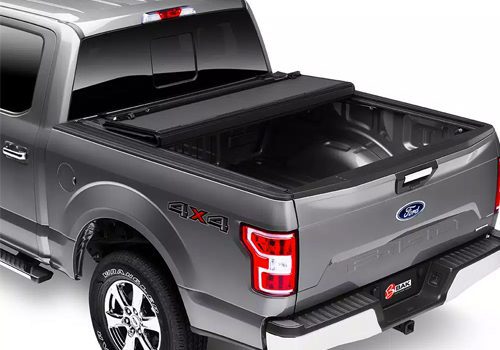
In this article: We'll unbox and install a BAKFlip MX4 hard tonneau cover on a 2021 Ford F150 step by step and review its features and what we thought about it.
I recently picked up a 2021 Ford F150 and right out of the gate, one of the first items I chose to install was a hard tonneau cover. I love the look of the hard, flush tonneau covers and needed something that would also flip forward as far as possible to get ample usage of the bed. After some research I decided on the BAKFlip MX4.
Installation Difficulty: Easy
Time Required: 1 hour
I chose the MX4 for a few reasons:
- It was highly reviewed across the board for durability and functionality. The comparable option is the Gator FX but I preferred the finish of the BAKFlip.
- It needed to flip forward against the cab so that I could get as much space as possible towards the front of the bed.
In this article, I'll walk you through my installation process with some notes and recommendations along the way. I'll point out things that I liked and didn't like about it. By the end of this article, you should have the information you need to make a decision about whether or not this is the tonneau cover for your truck, regardless whether it's an F150 or not.

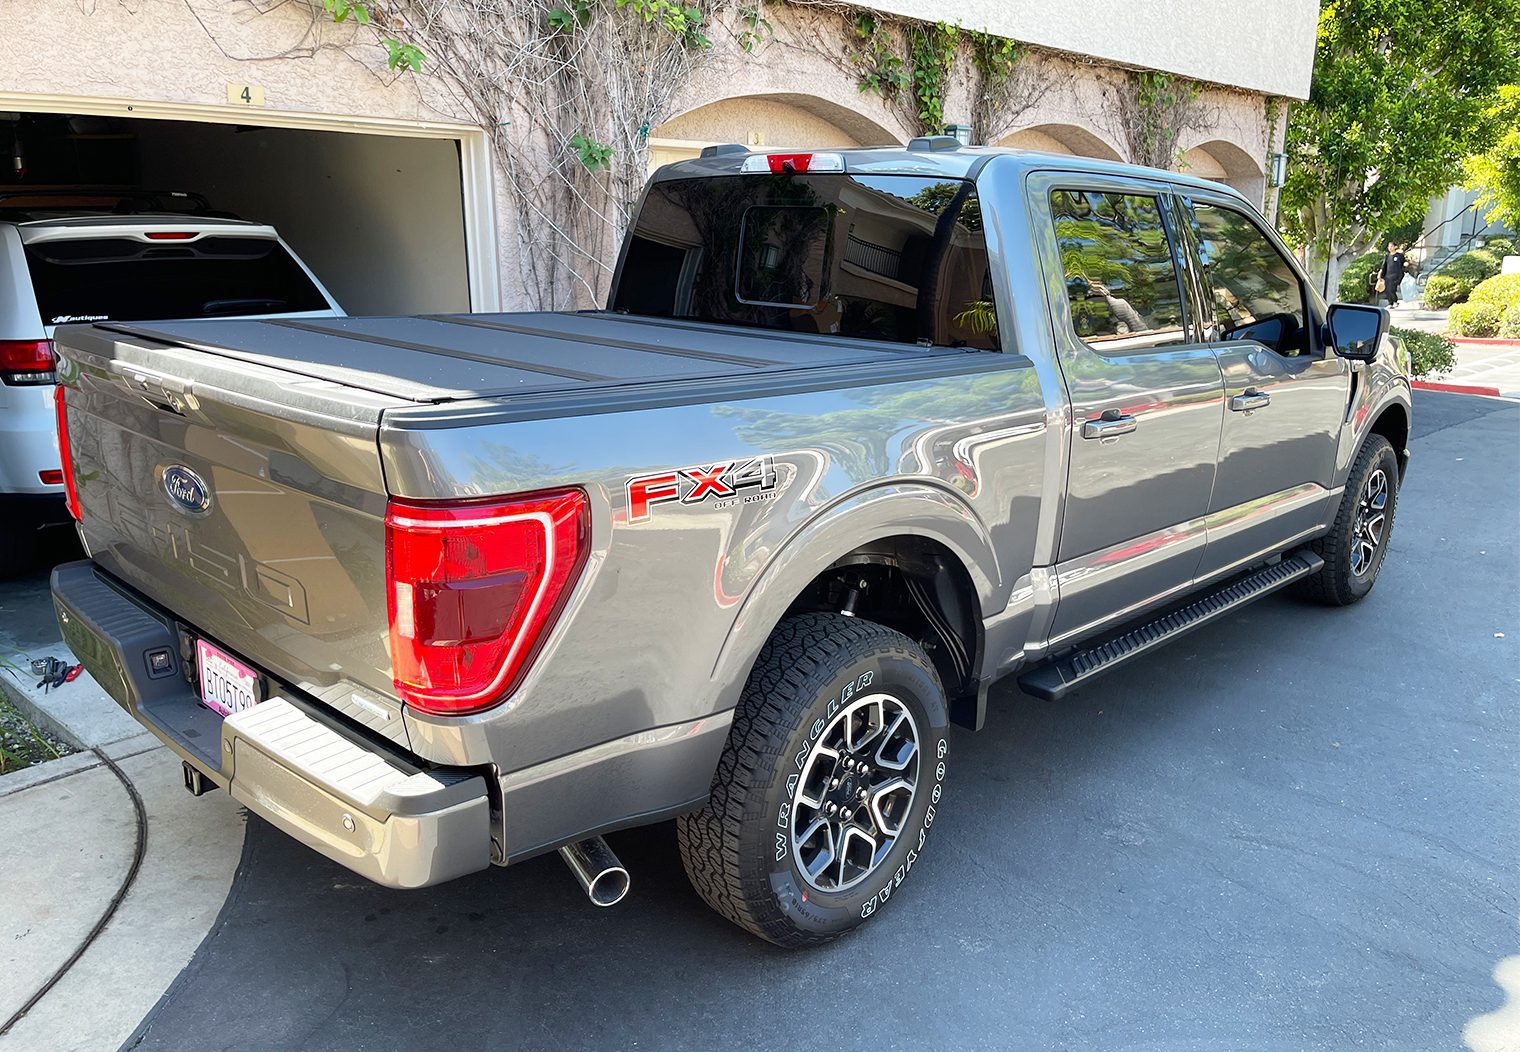
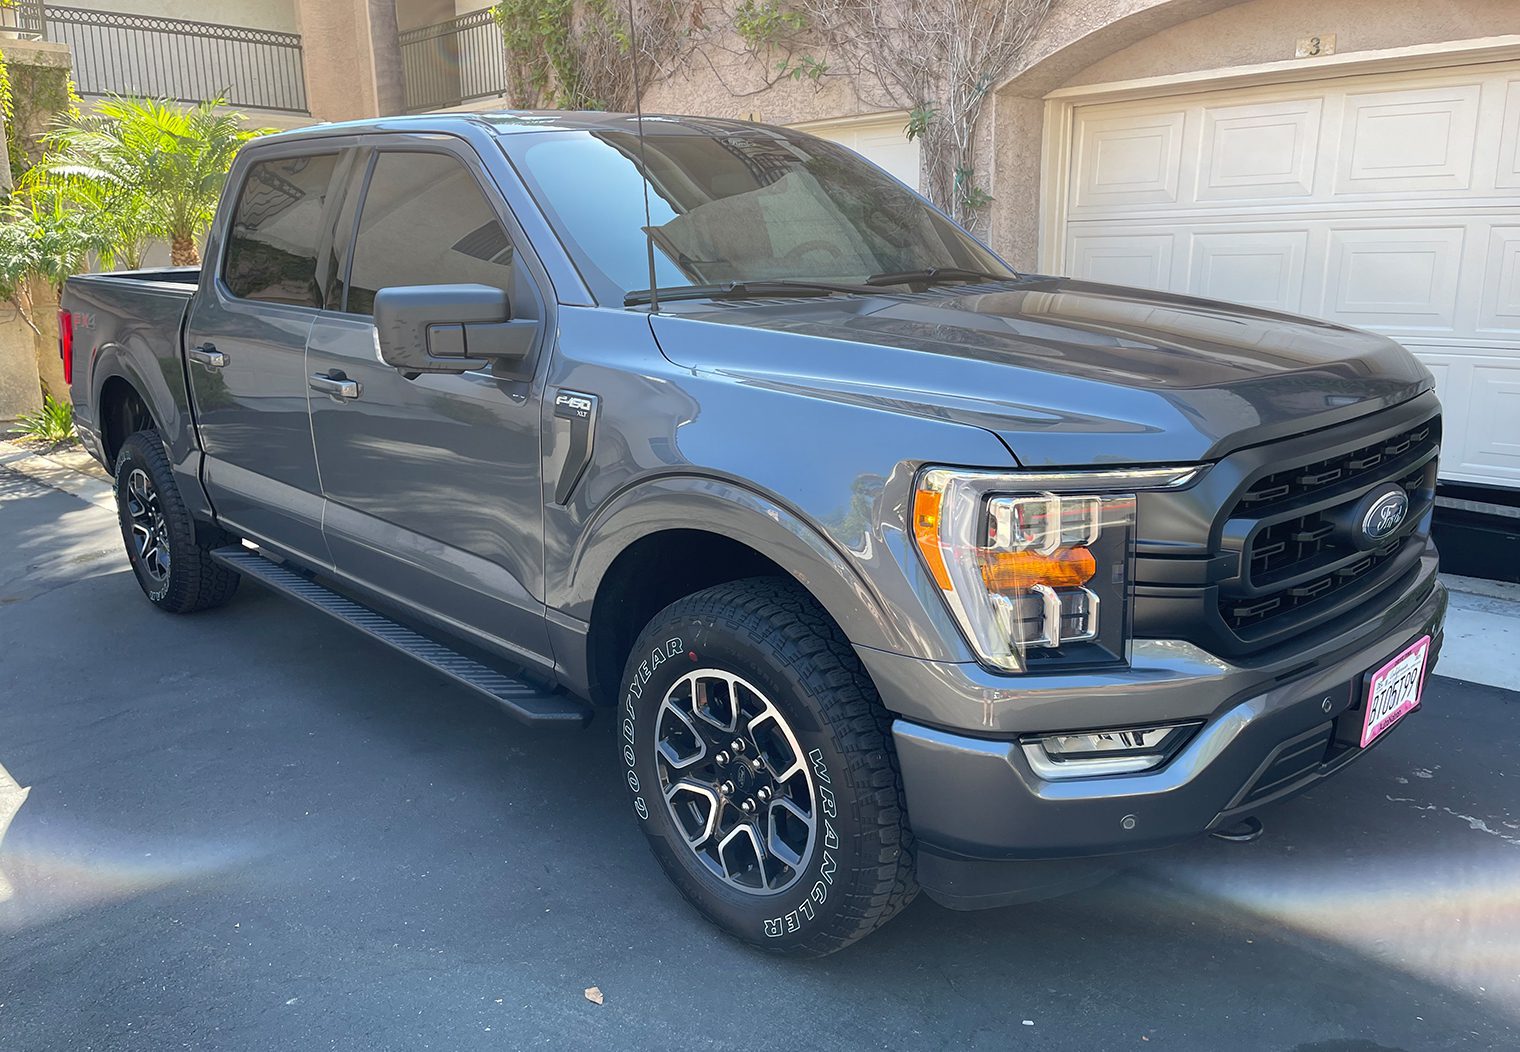
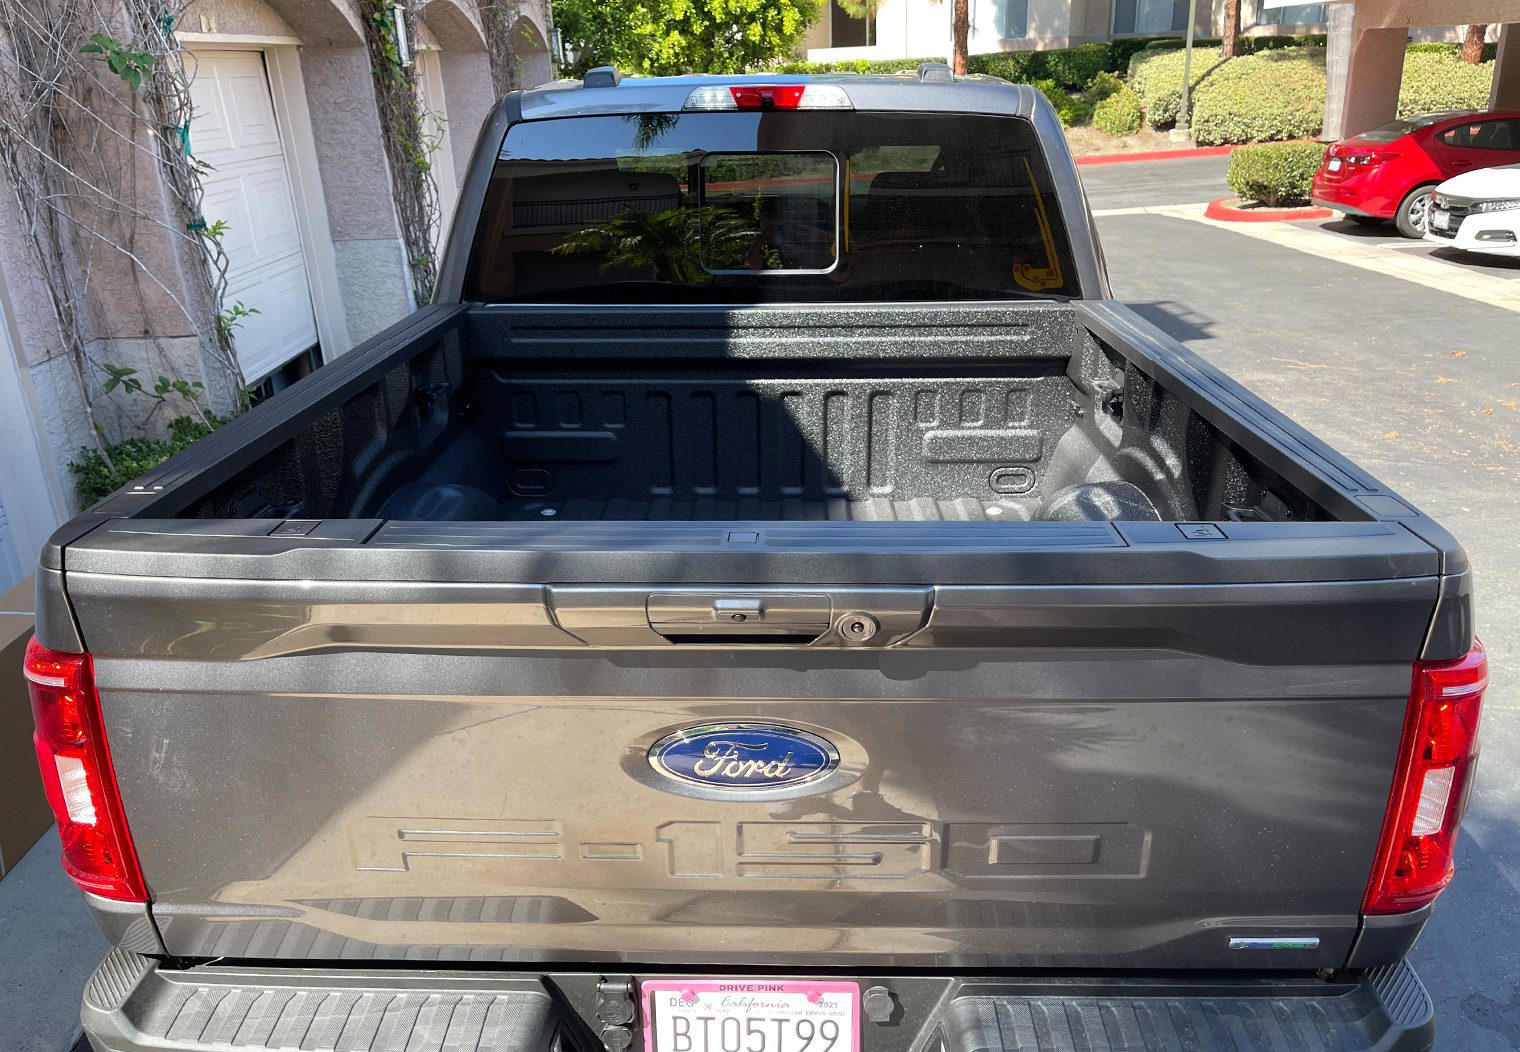
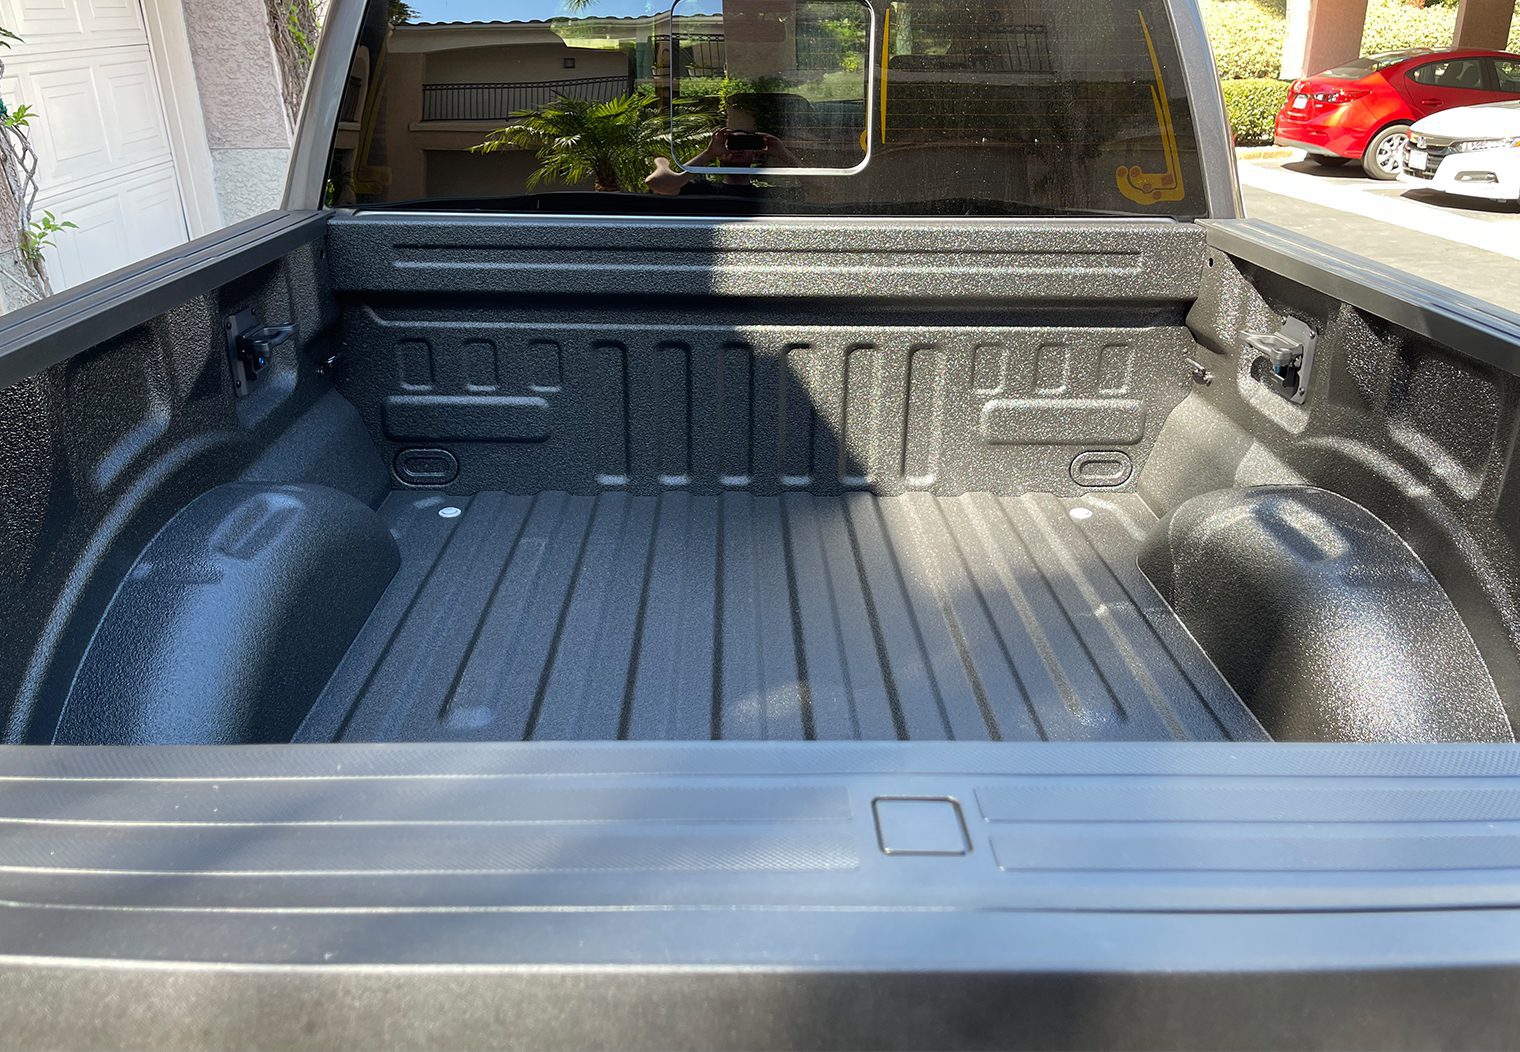
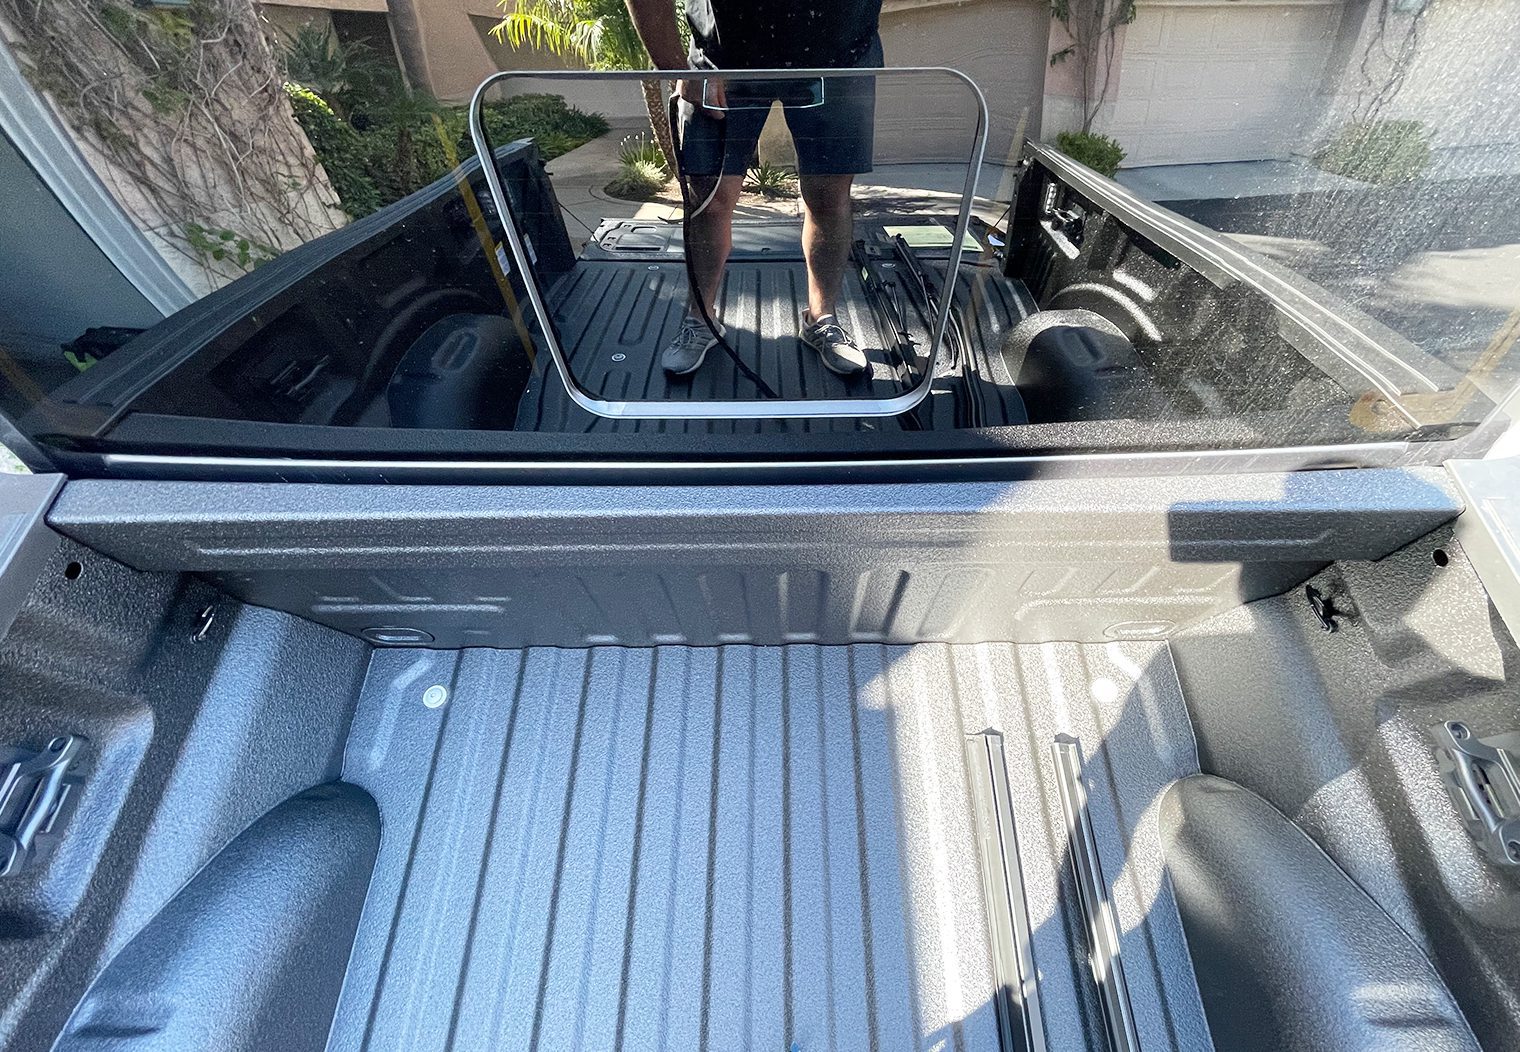
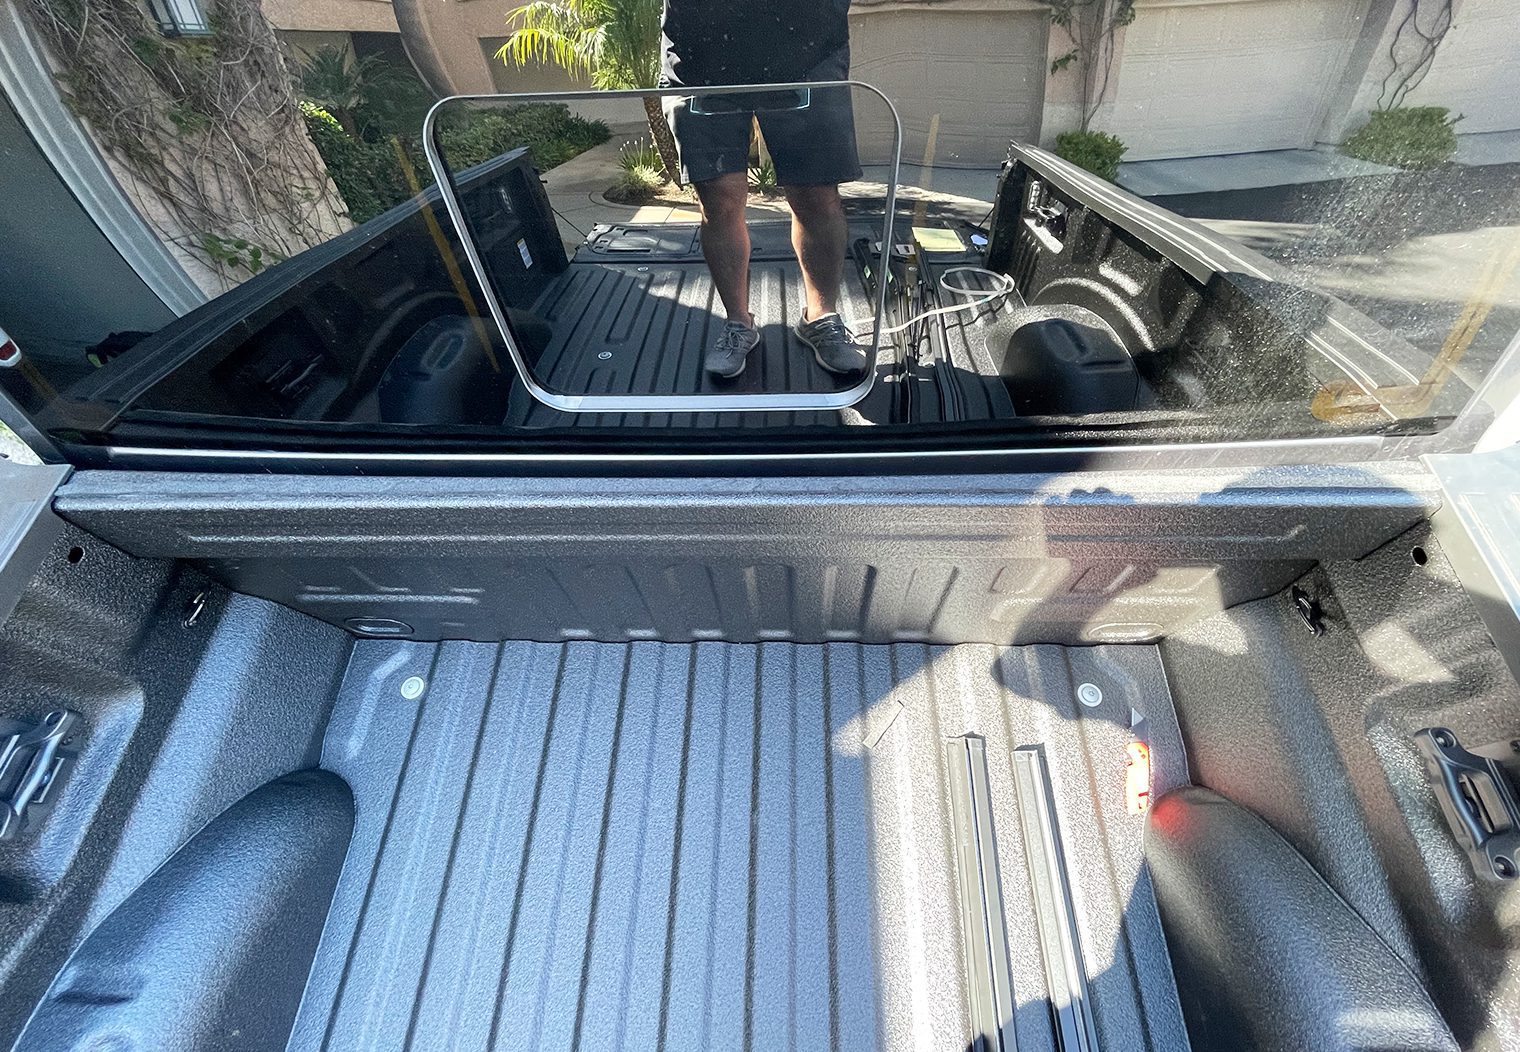
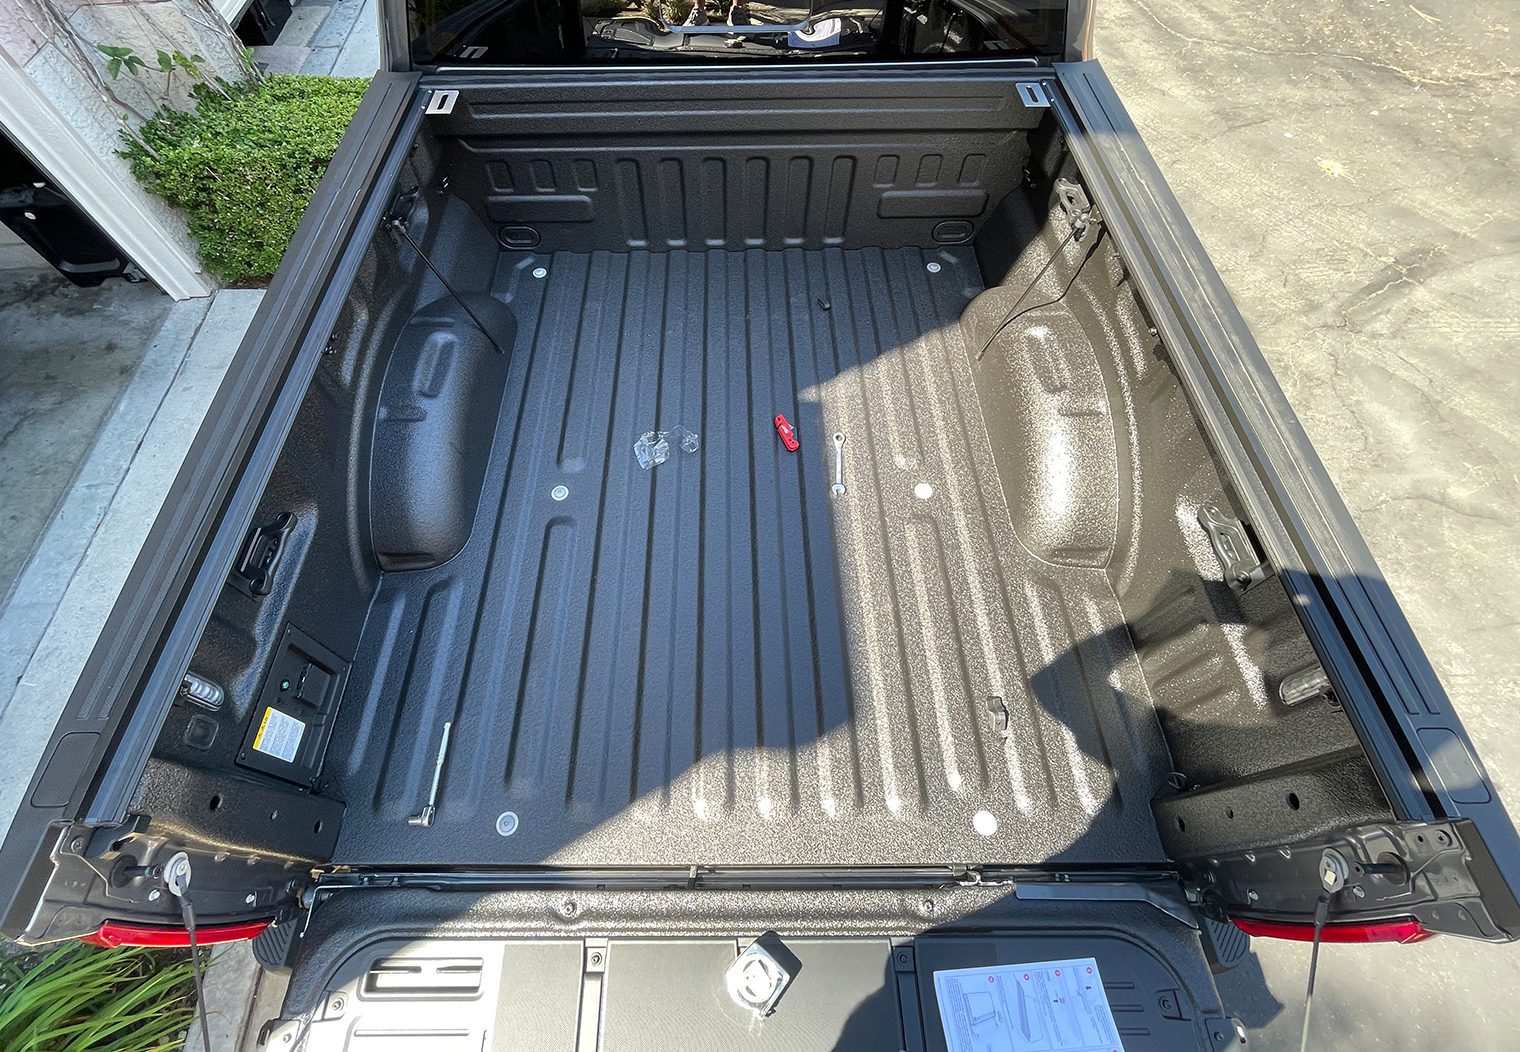
The Truck – 2021 Ford F150 XLT 5.5′ Bed
This BAKFlip was installed on a 2021 Ford F150 XLT with the 5.5′ bed. It has a spray in bed liner (Line-X). Here's a few photos of the truck before installing the tonneau cover.
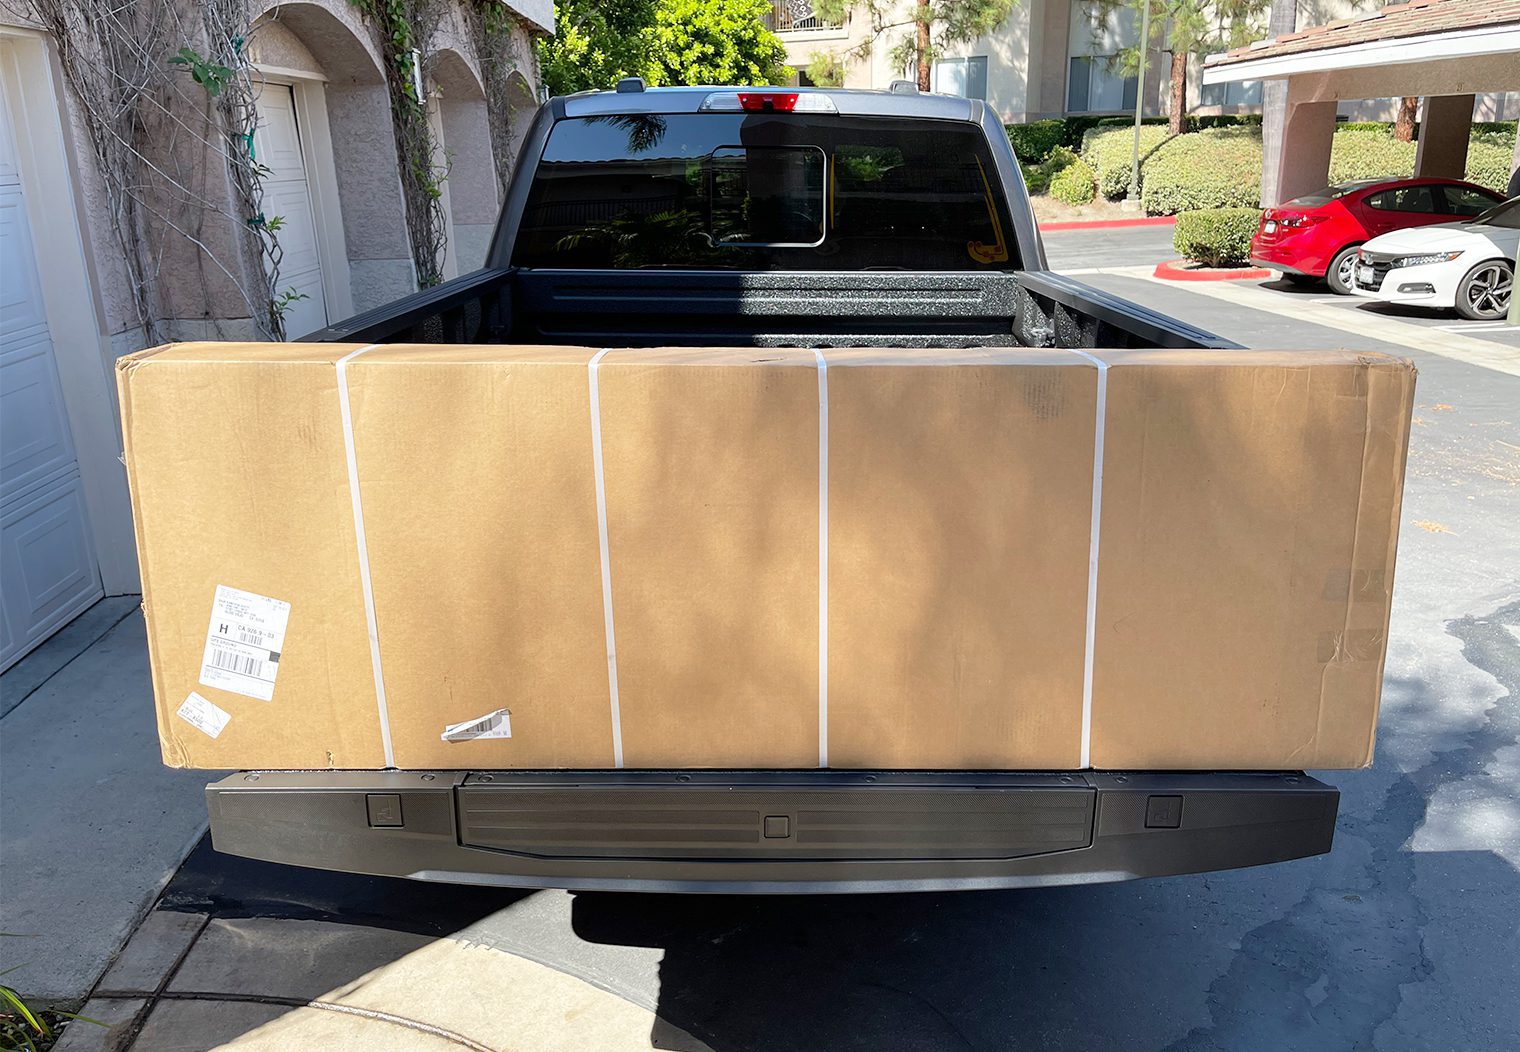
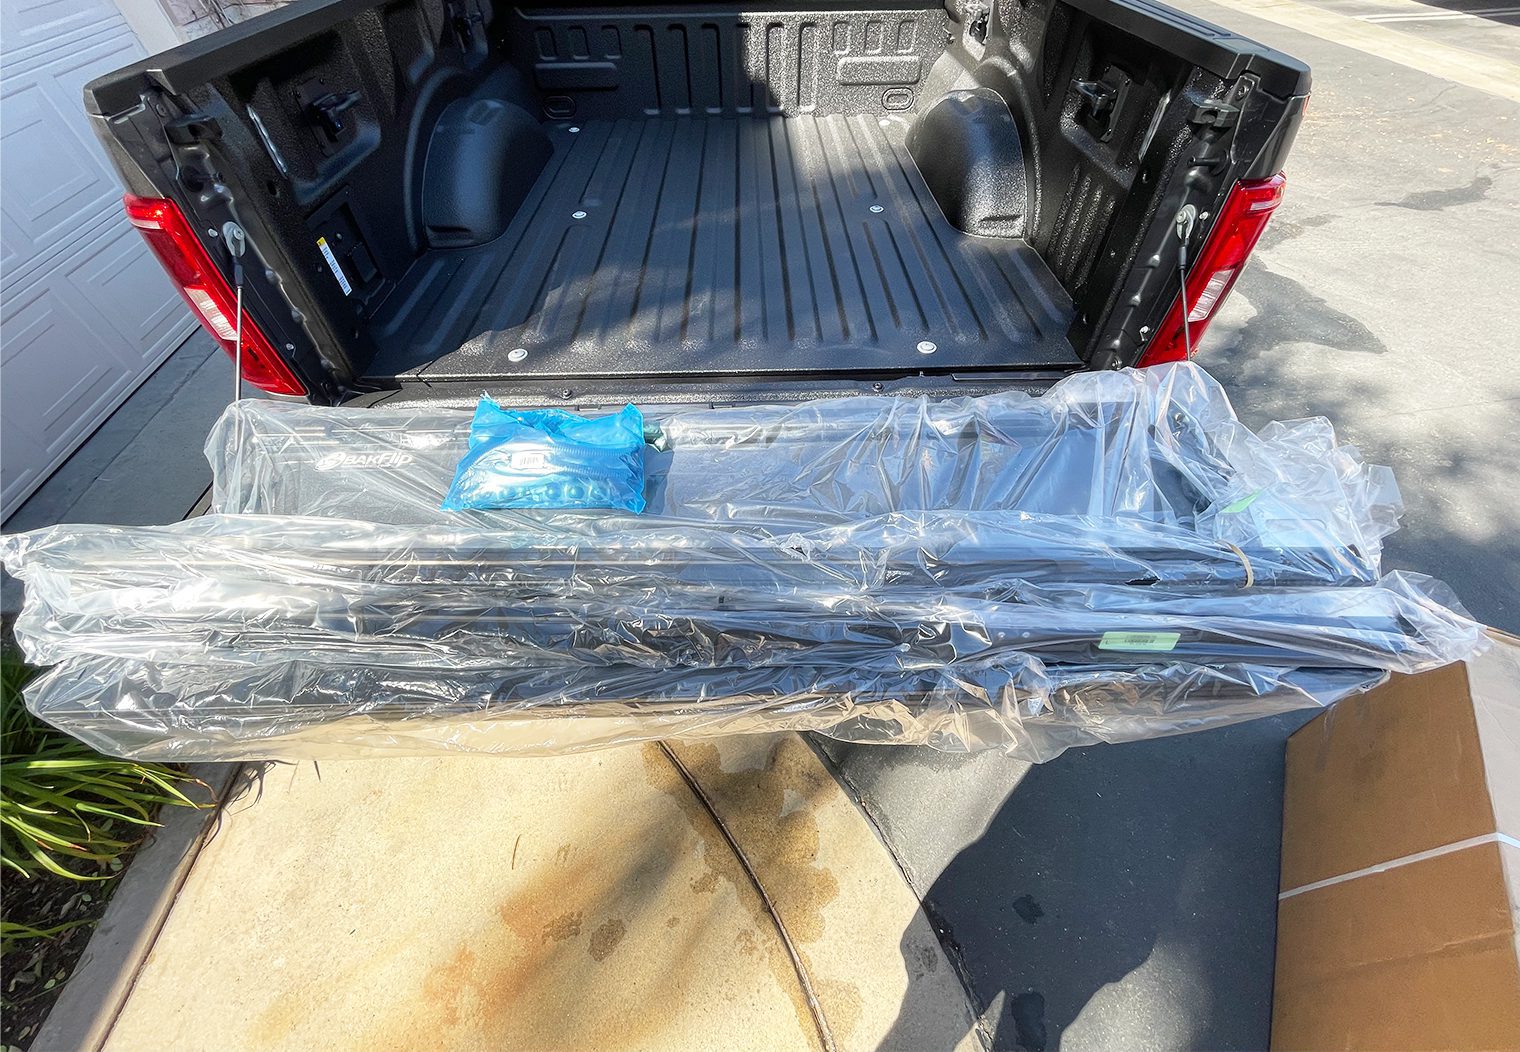
Unboxing & First Impression
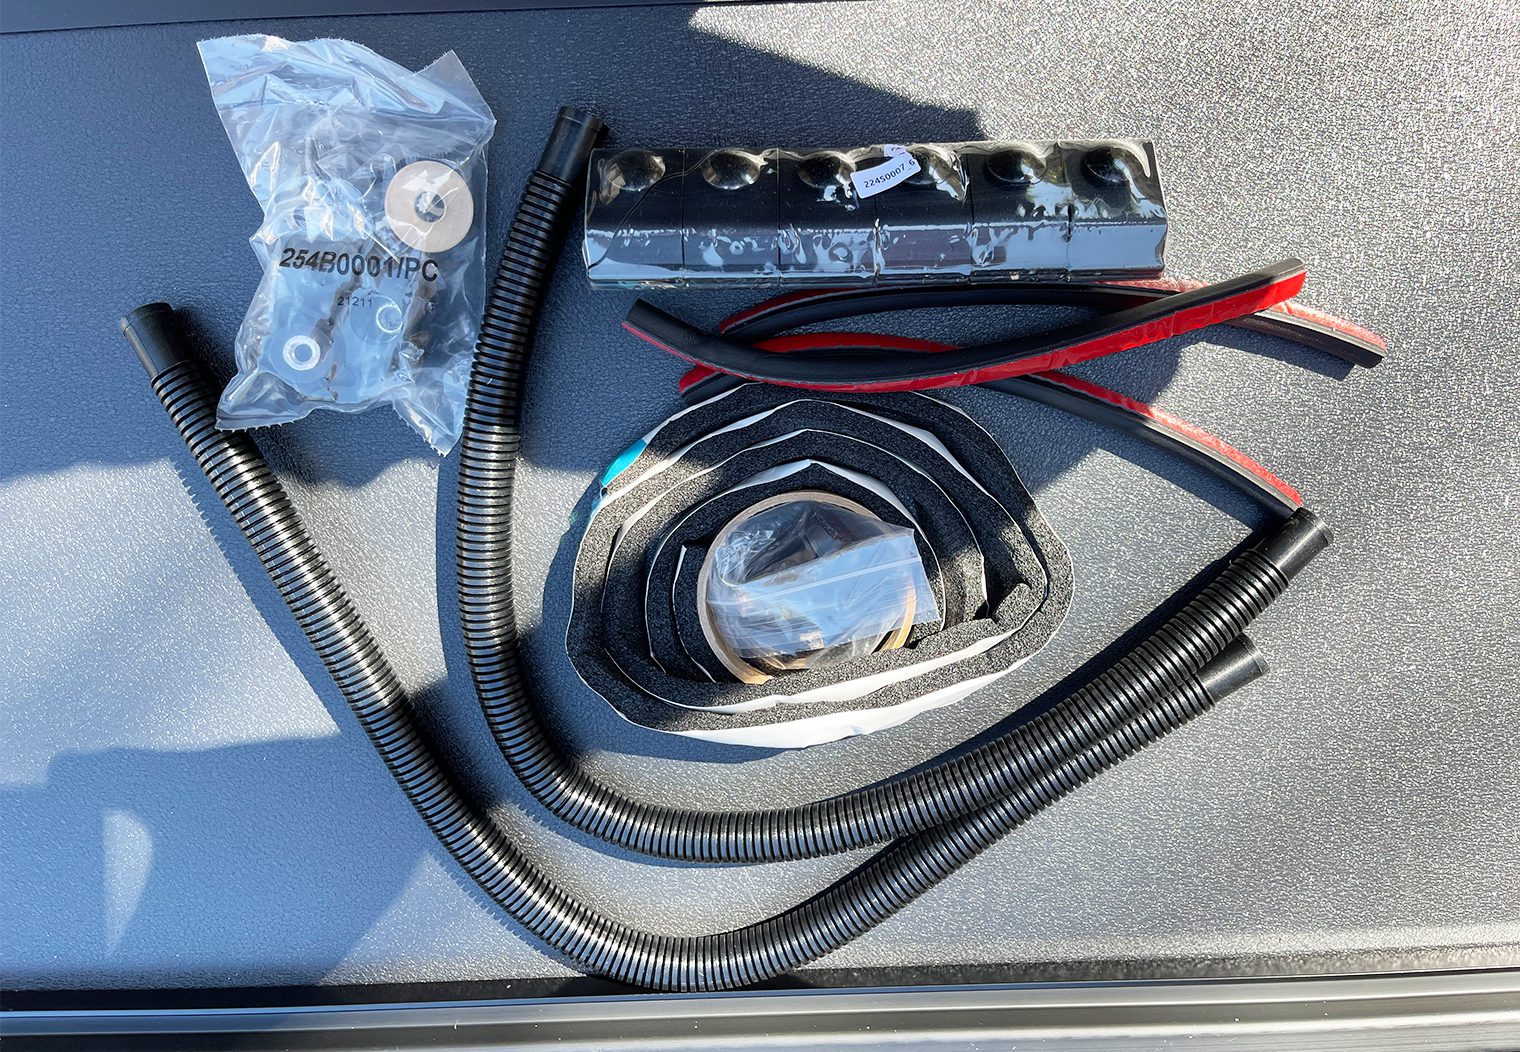
The BAKFlip MX4 comes to your door in a large package, as you'd expect. It's neatly wrapped and covered and all of the components are tucked and organized in their respective bags. You might want two people to pull it out of the box though. It weights between 40 and 50 pounds.
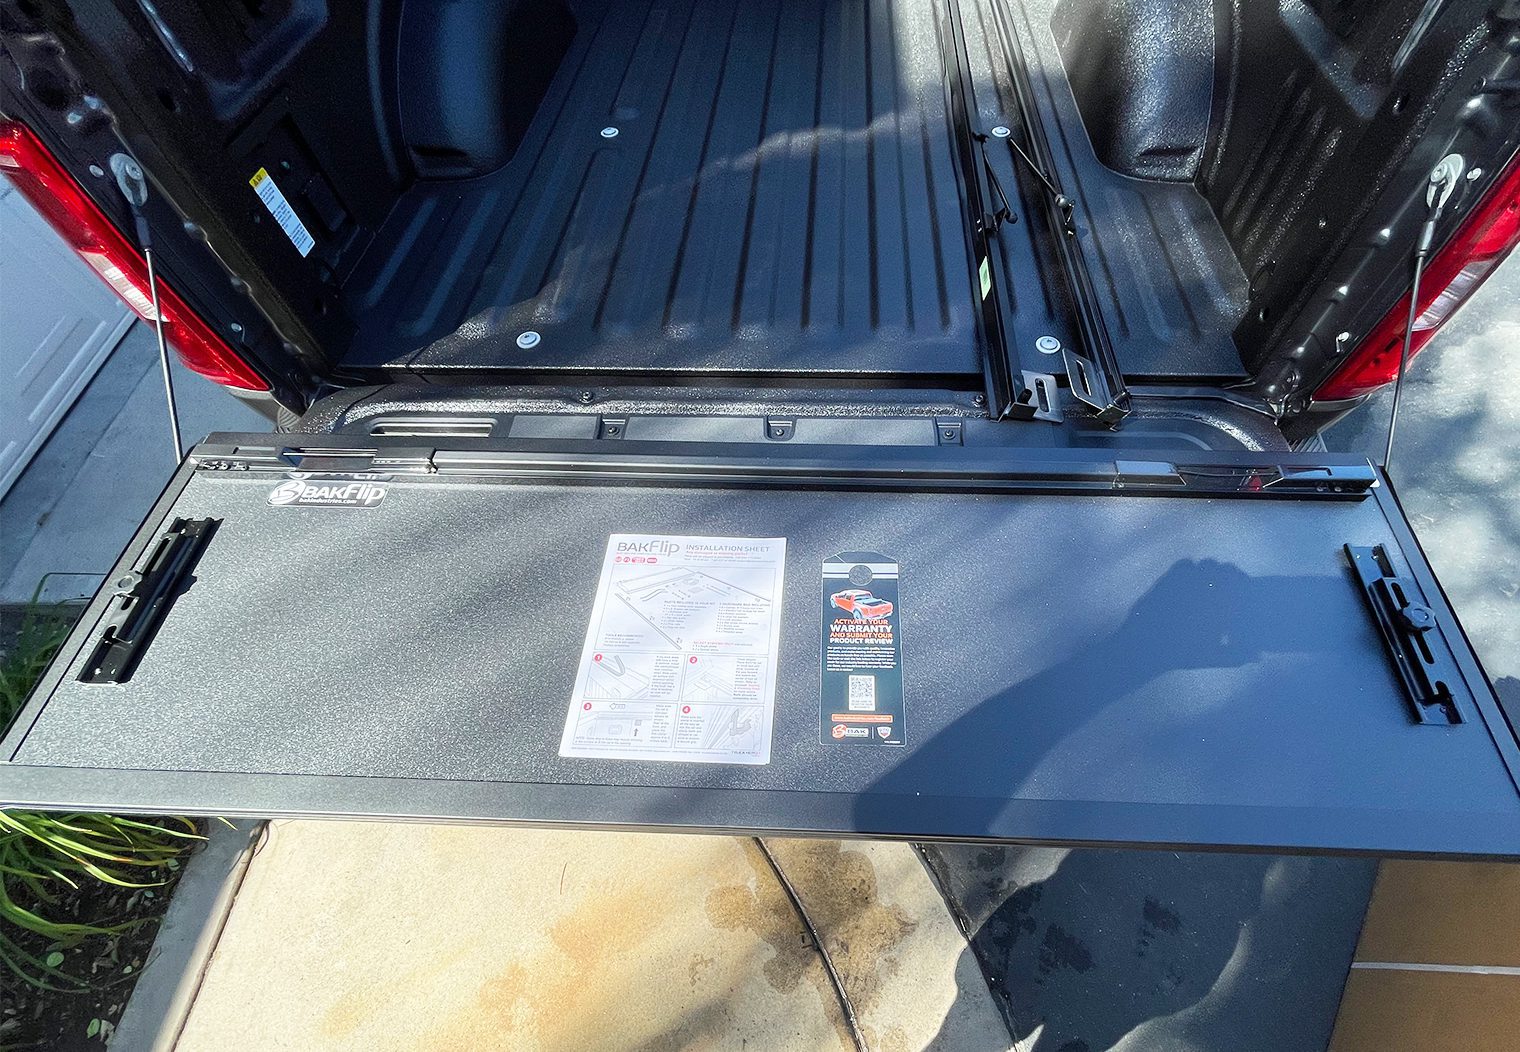
Installation
The installation of this tonneau cover is really straight forward on an F150. Especially since the rails are squared and you don't have to shim anything. The instructions manual that BAKFlip gives you is pretty straight forward and easy to understand. It leaves very little to questioning.
It took me about an hour from the moment I pulled it out of the box. If you've done one before it'll probably take you half that time. I'll walk through the steps (as per the instructions) that I took to install the tonneau cover with some pictures though so that you can get a better sense of what's actually happening beyond a black and white drawing.
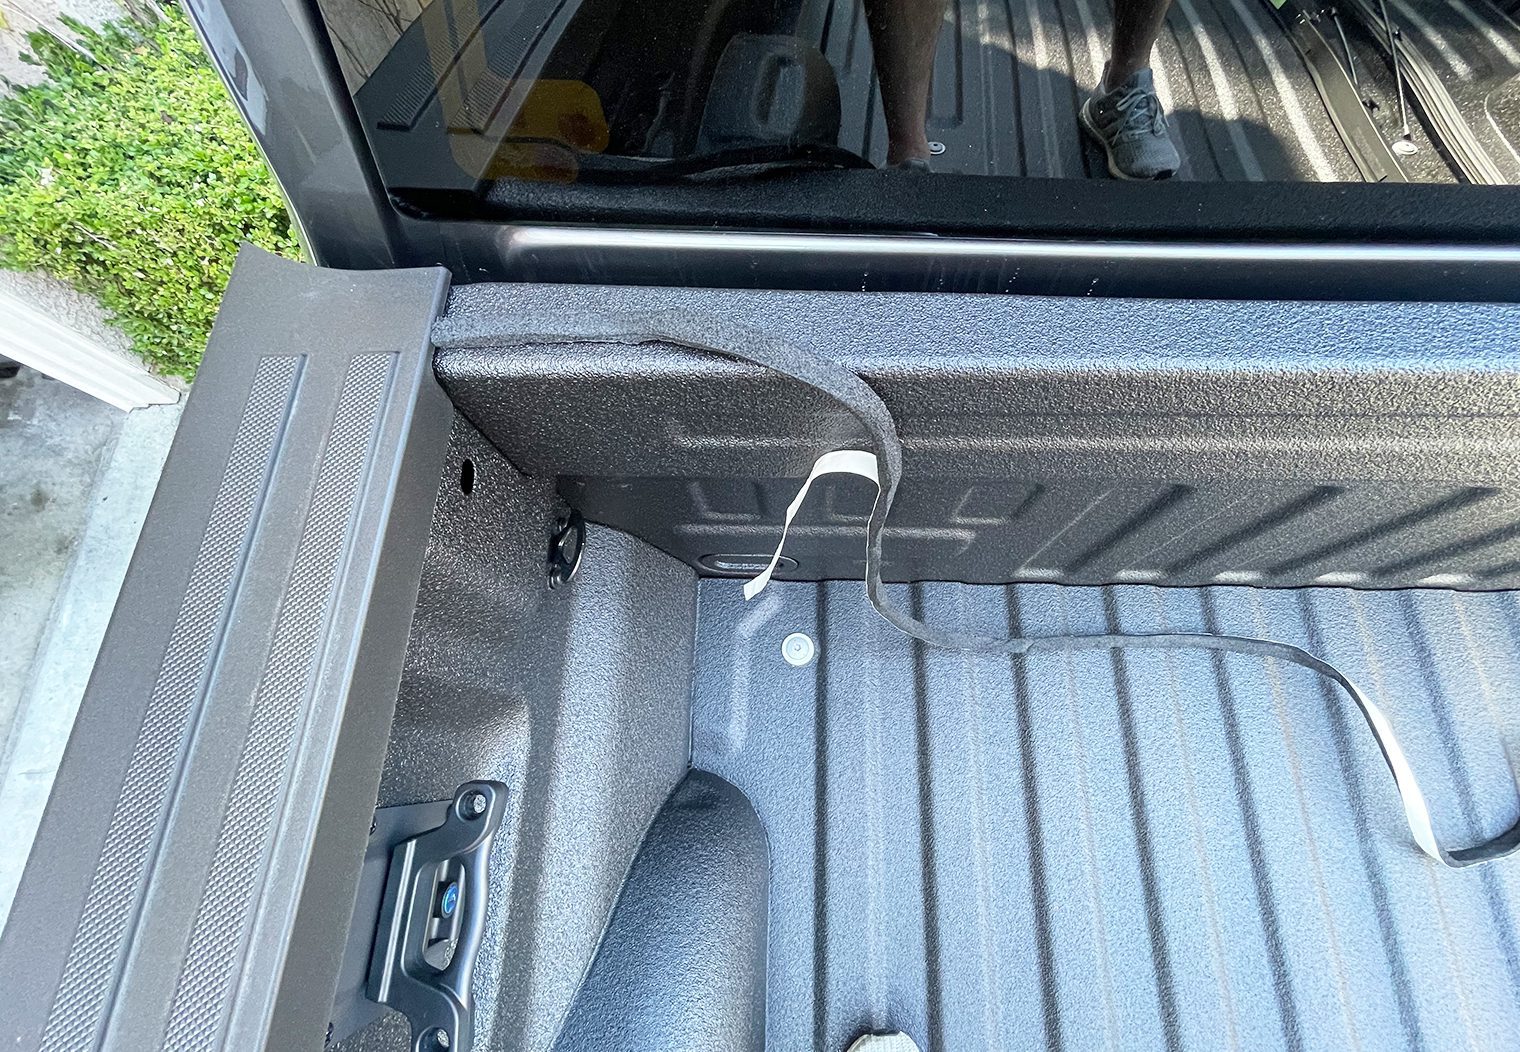
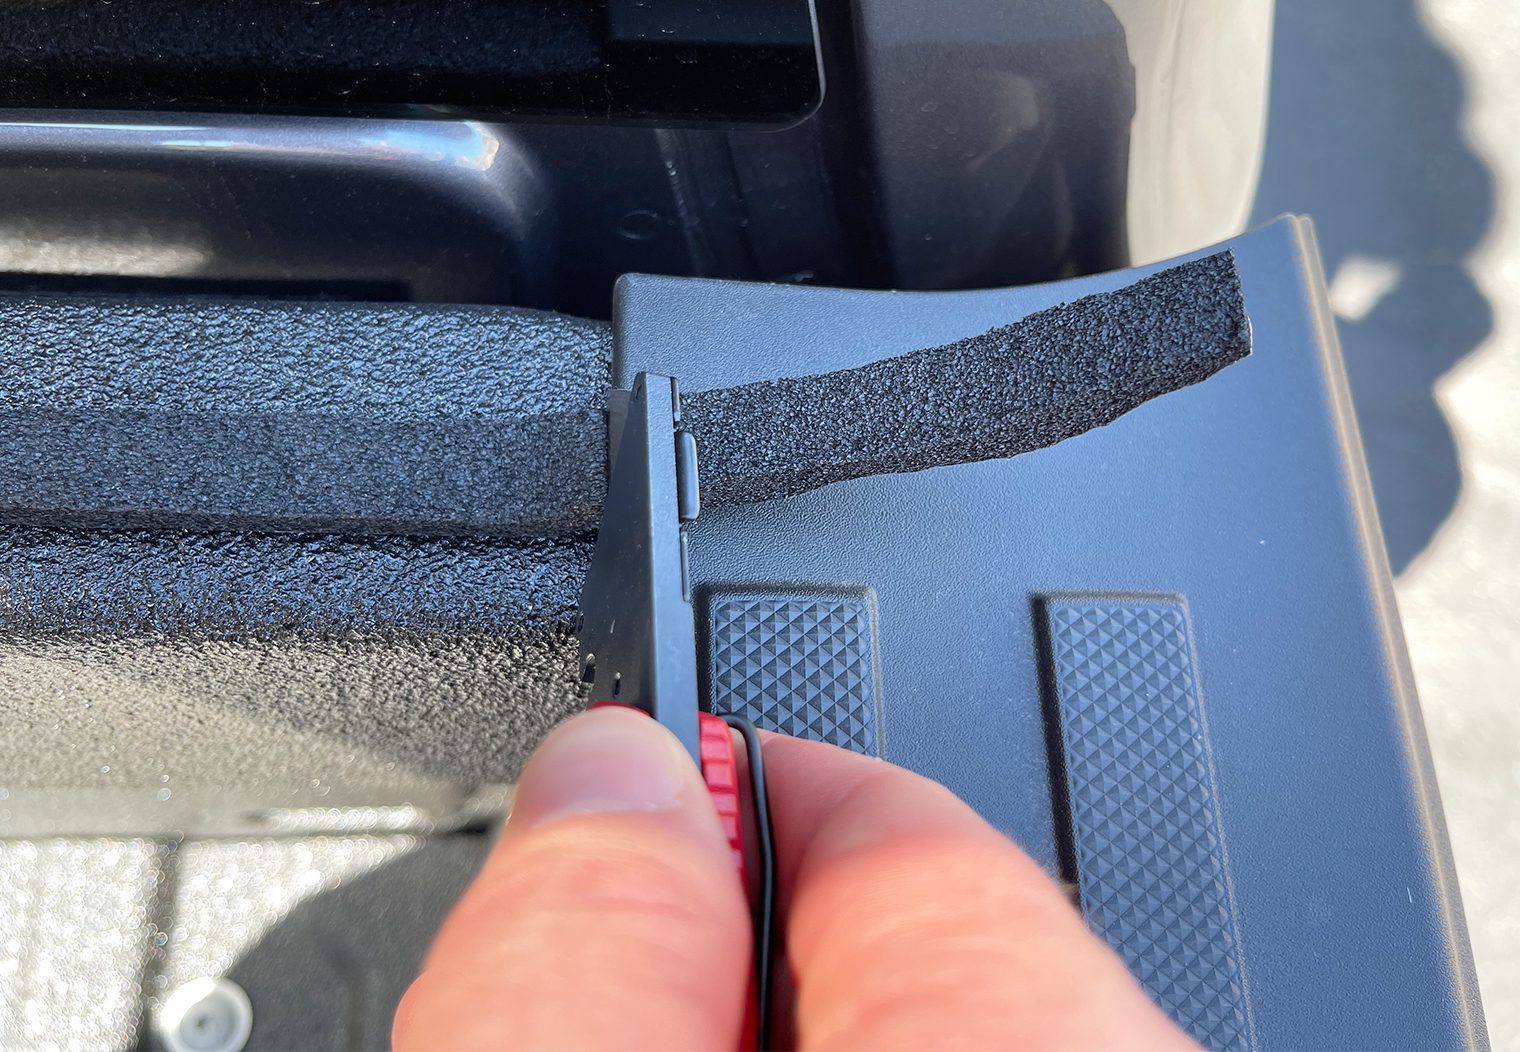
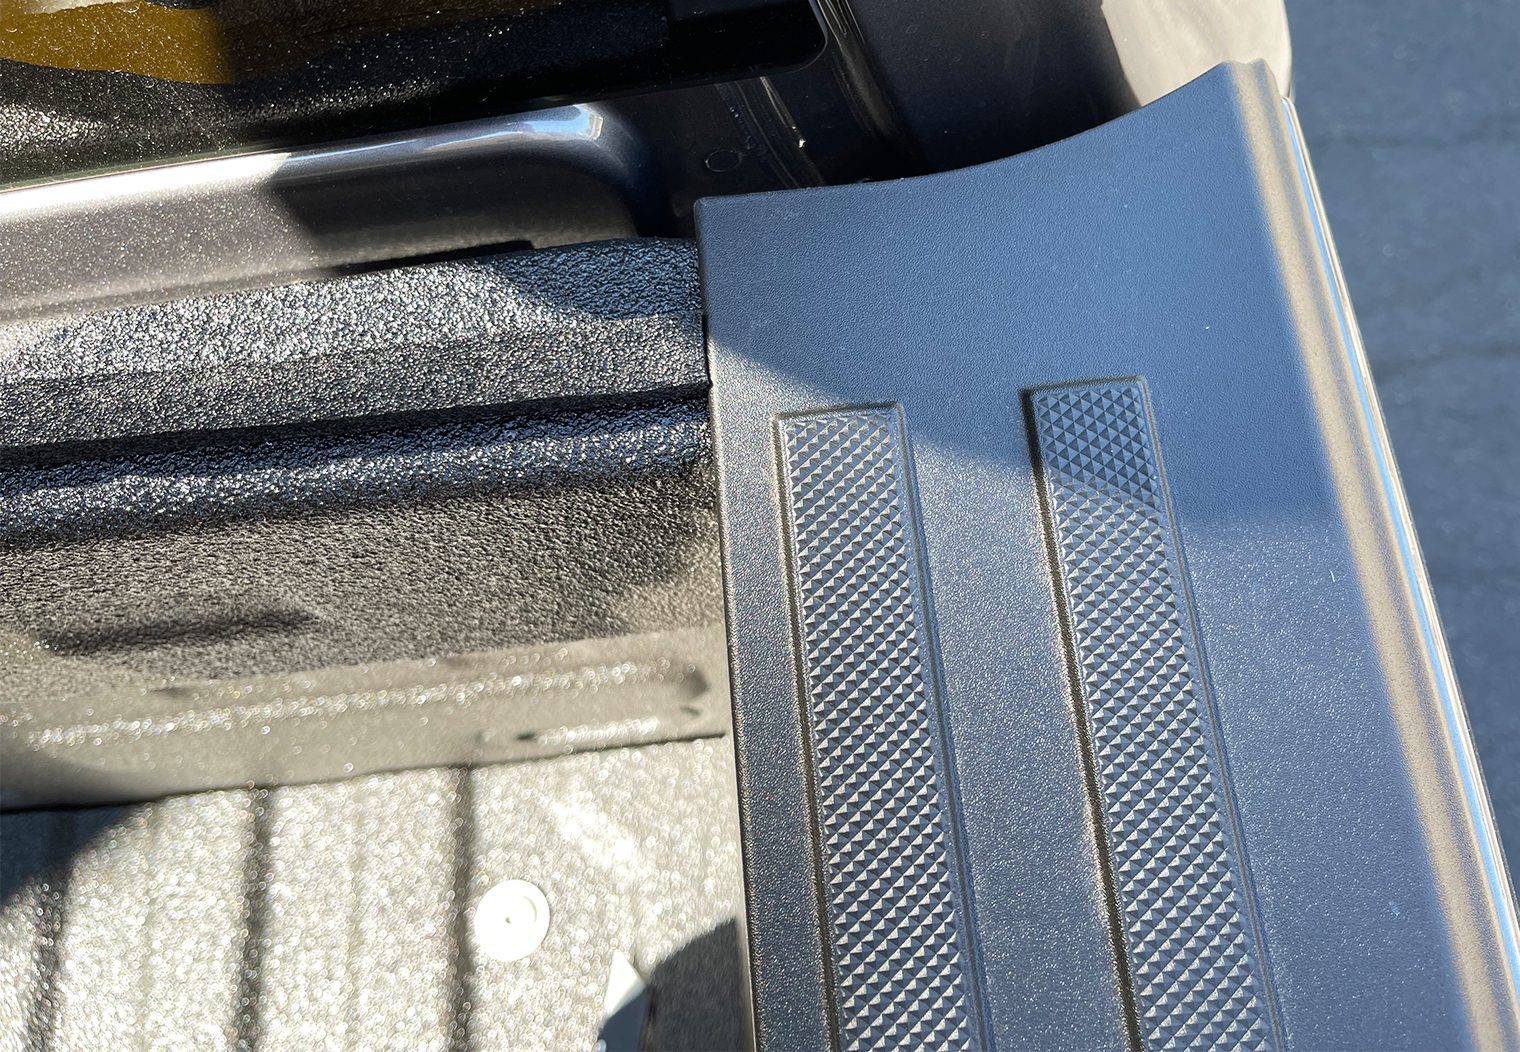
Step 1 – Sealing the front edge of the bed
The first thing that the instructions call for is to put a strip of sealing foam along the front side of the bed. This is specific to those who do not have a drop in bed liner. In my case, I have a spray on liner so I needed to add this strip to the front. It's as easy as it sounds – pull the adhesive backing from the foam strip, put it onto the bed and then cut the excess.
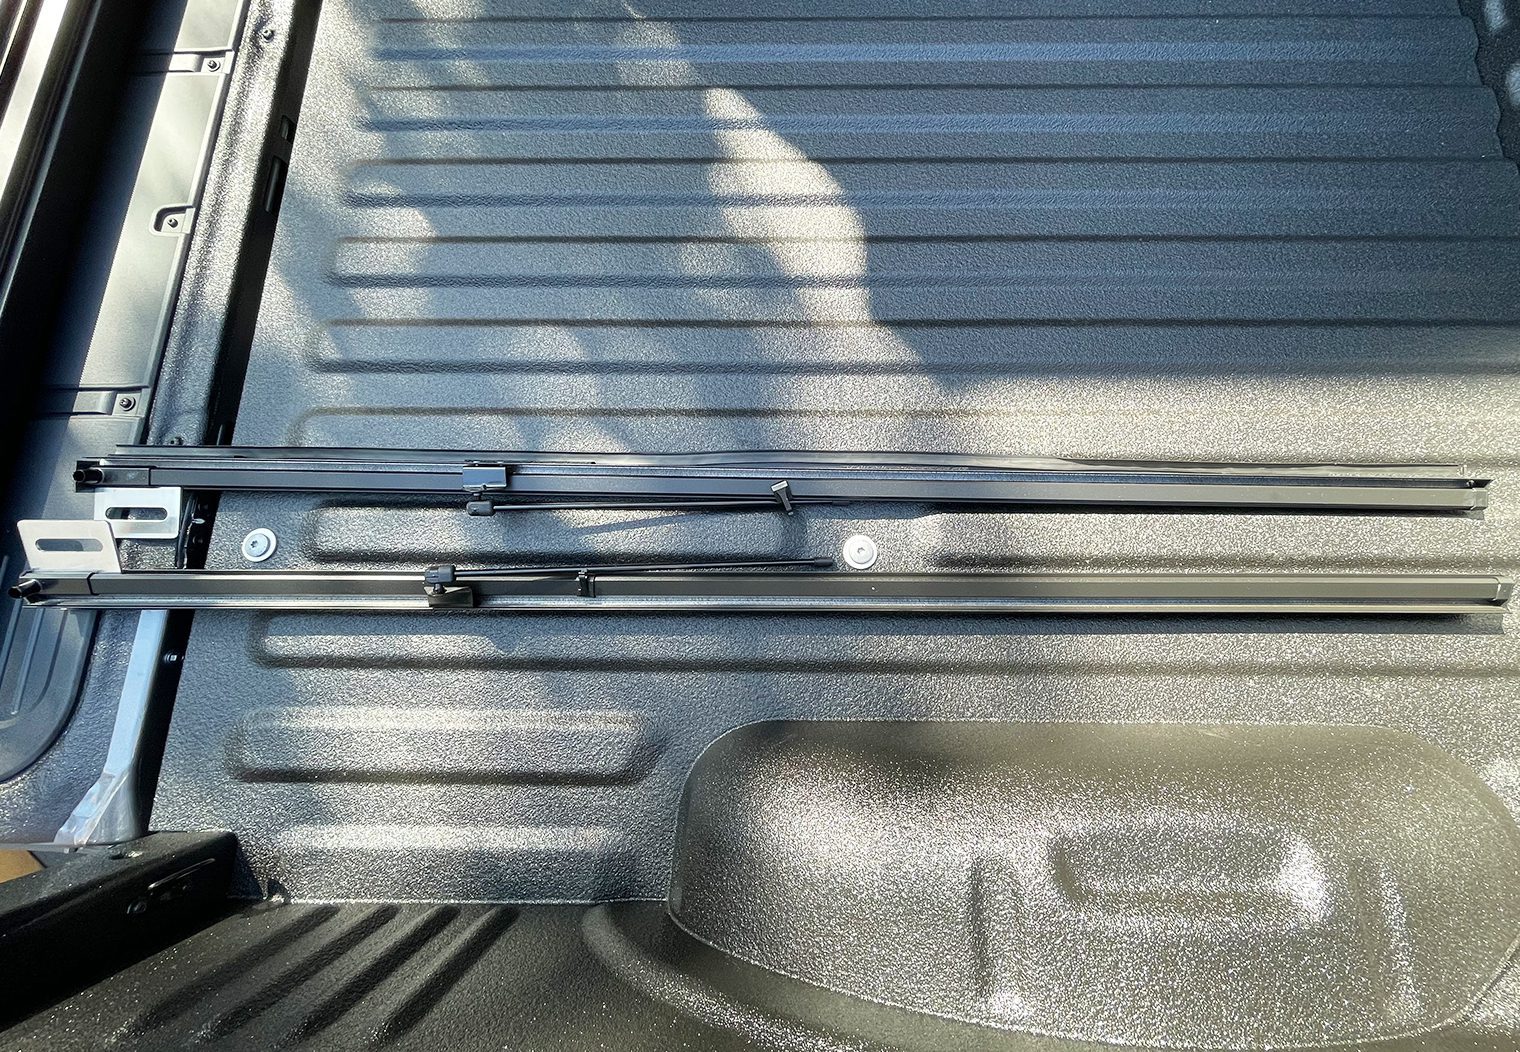
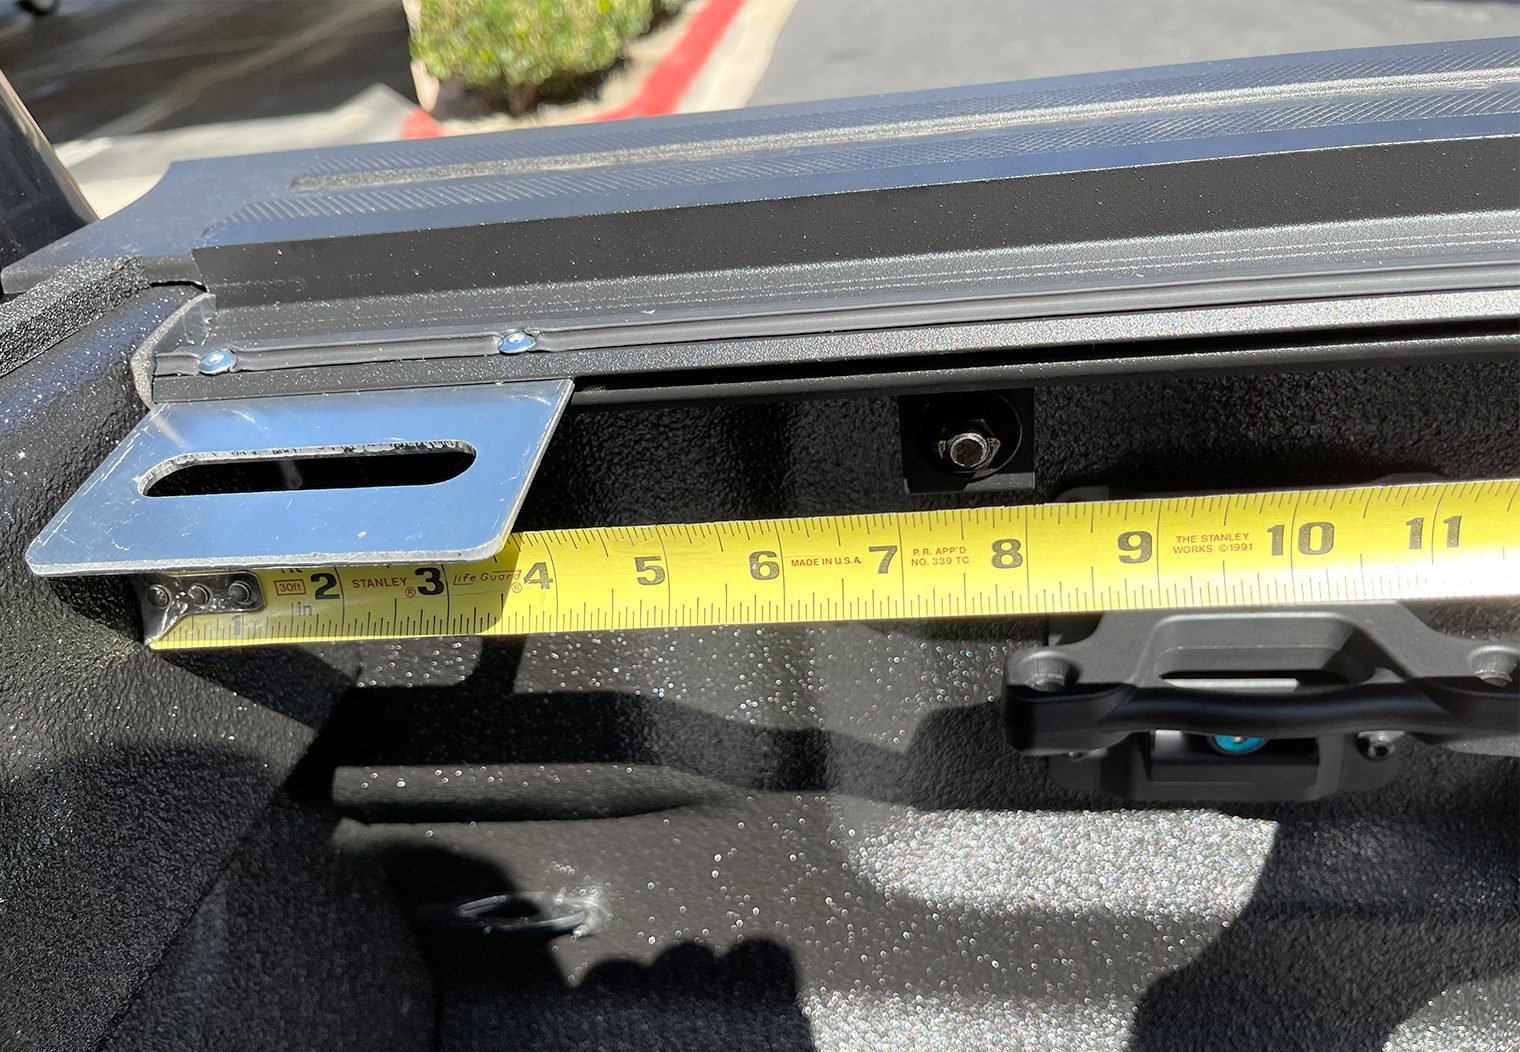
Step 1 – Installing the rails
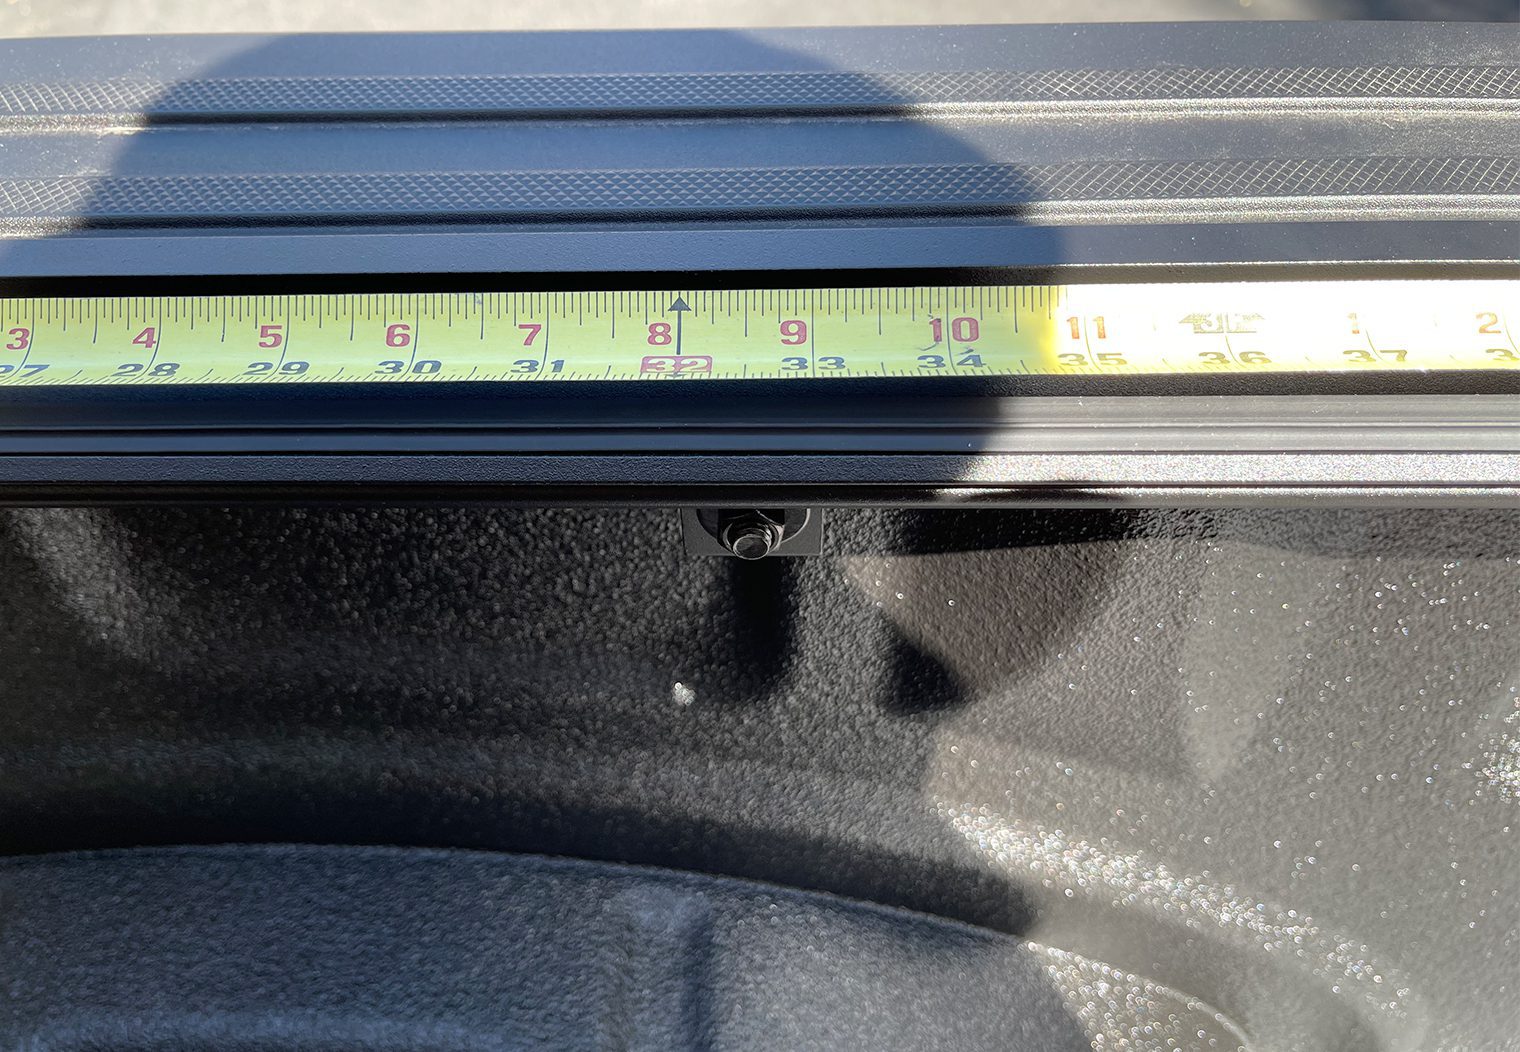
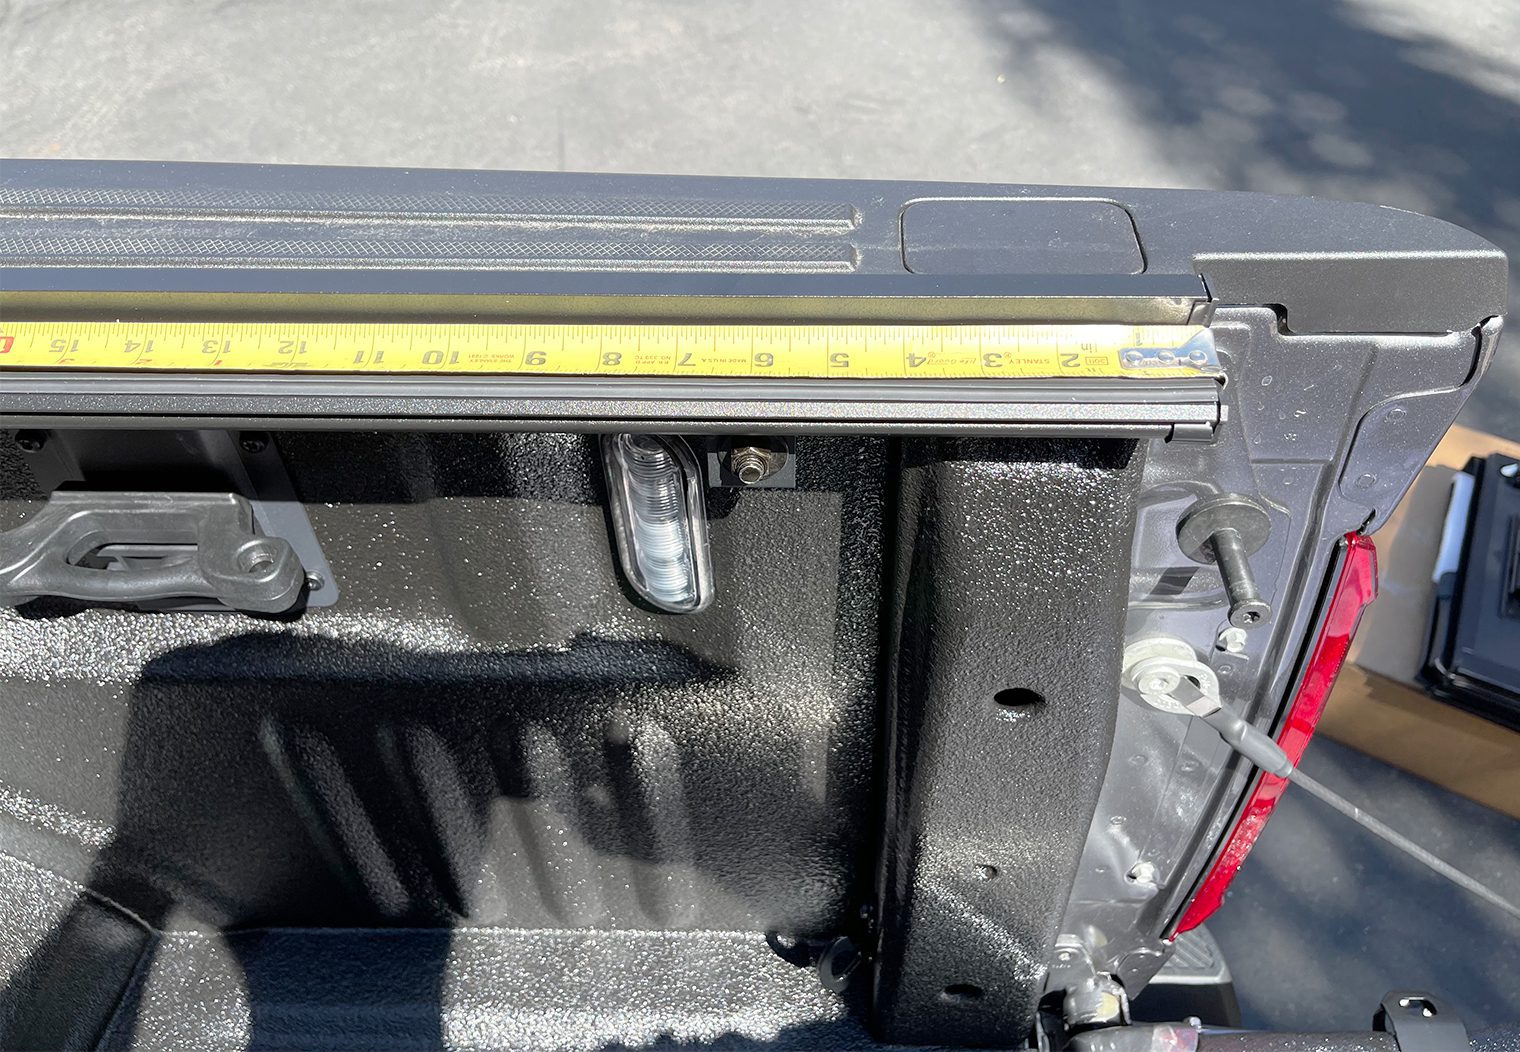
The next thing to do is install the rails that hold the tonneau cover to the bed and where the cover clips and secures itself to. BAKFlip gives you 6 clamps – three on each side. Using a 9/16 socket, start with the front side of the bed. You'll place the first clamp between 6-9 inches from the front of the rail, then you'll put the second clamp directly in the middle of the rail and finally the third one 6 inches from the back side of the rail that borders the tailgate.
The clamps are pretty heavy duty and have grooves that fit perfectly into the edge of the rail. BAKFlip calls for 10ft/lb of torque on each of these bolts but I felt like that was a little light so I tightened it around 15-20ft/lb. While you're tightening the clamp bolt, be sure to put pressure on the top side of the rail so that it fits flush with your bed rail. It took about 15 min to get the clamps measured where I wanted and tightened up on both sides. And since the F150's bed rails are squared off, you won't need to do any shimming.
One thing I would recommend you do before installing the rails is to check the weather stripping along side the rail where it meets your bed. In my case, the weather strip wasn't completely straight and was actually almost completely off of the rail. It was a quick fix – just pull the weather strip off in the area that needs to be adjusted and re-position it.
Step 3 – Prepping and Mounting the Cover
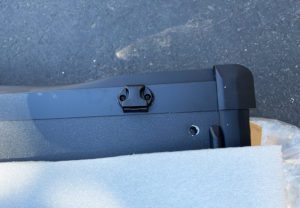
After your rails in, you'll need to do a quick prep of the cover by installing two female buckles on the top of the front side of the cover. It's basically two screws that hold each onto the cover. The buckles appear to be quality made and have insulating foam in between the buckle and the cover to prevent scratching or direct contact between the plastic and the aluminum cover.
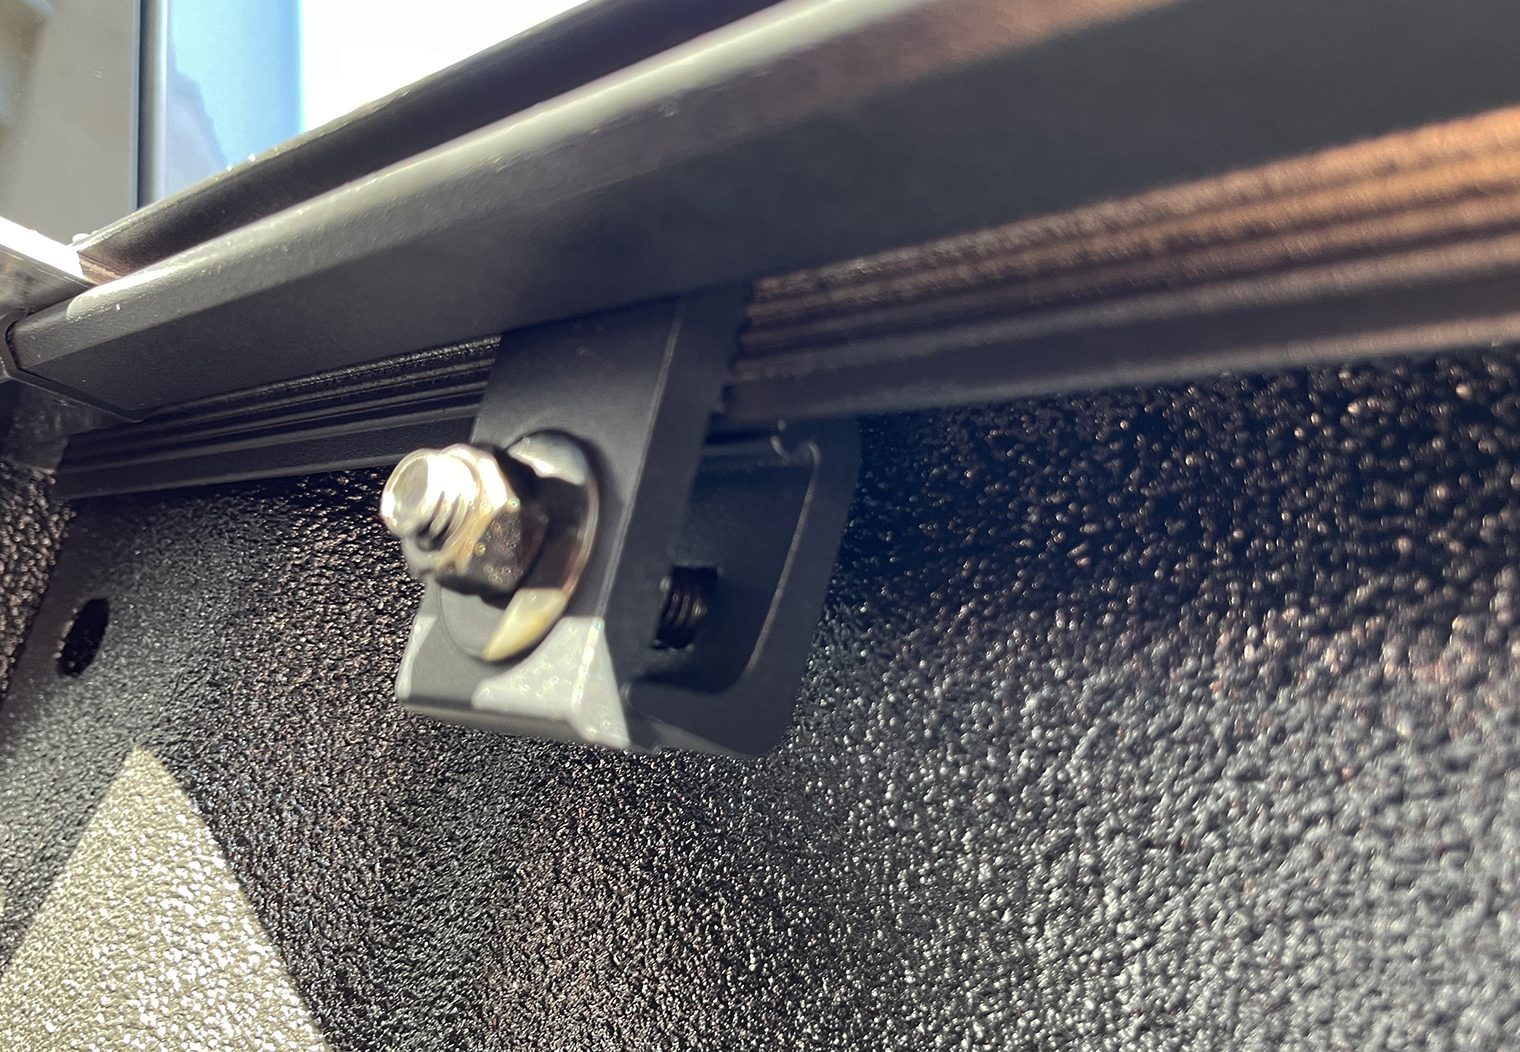
With these buckles installed, next is to position the cover on the rails. The cover is held to the rails with two heavy duty bolts that go through the top of the cover and then down into the rail mounts. You can see in the picture to the left the holes next to the buckle. This is where the mounting bolts will go.
Be sure to use the series of washers as instructed by the manual, including a locking washer between the nut and the rail mount. What I did was tighten the two bolts on loosely, closed the tailgate and closed up the MX4 cover all the way as if it were installed to ensure that it was positioned properly on the bed. After making sure that it was in the exact position I wanted it, I opened up the tailgate and slid underneath the cover to tighten the nuts fully by hand.

Once everything was tightened up I tested opening and closing the cover a couple times to make sure that it opened up and closed without any friction.
I really liked the low profile mounting bolts that sit almost flush with the top of the cover. Once these bolts were tightened down it was very well-secured. The mount and rails felt very sturdy and heavy duty and there was no give anywhere when opening up and closing the cover.
Step 4 – Drainage and Rubber Bumpers
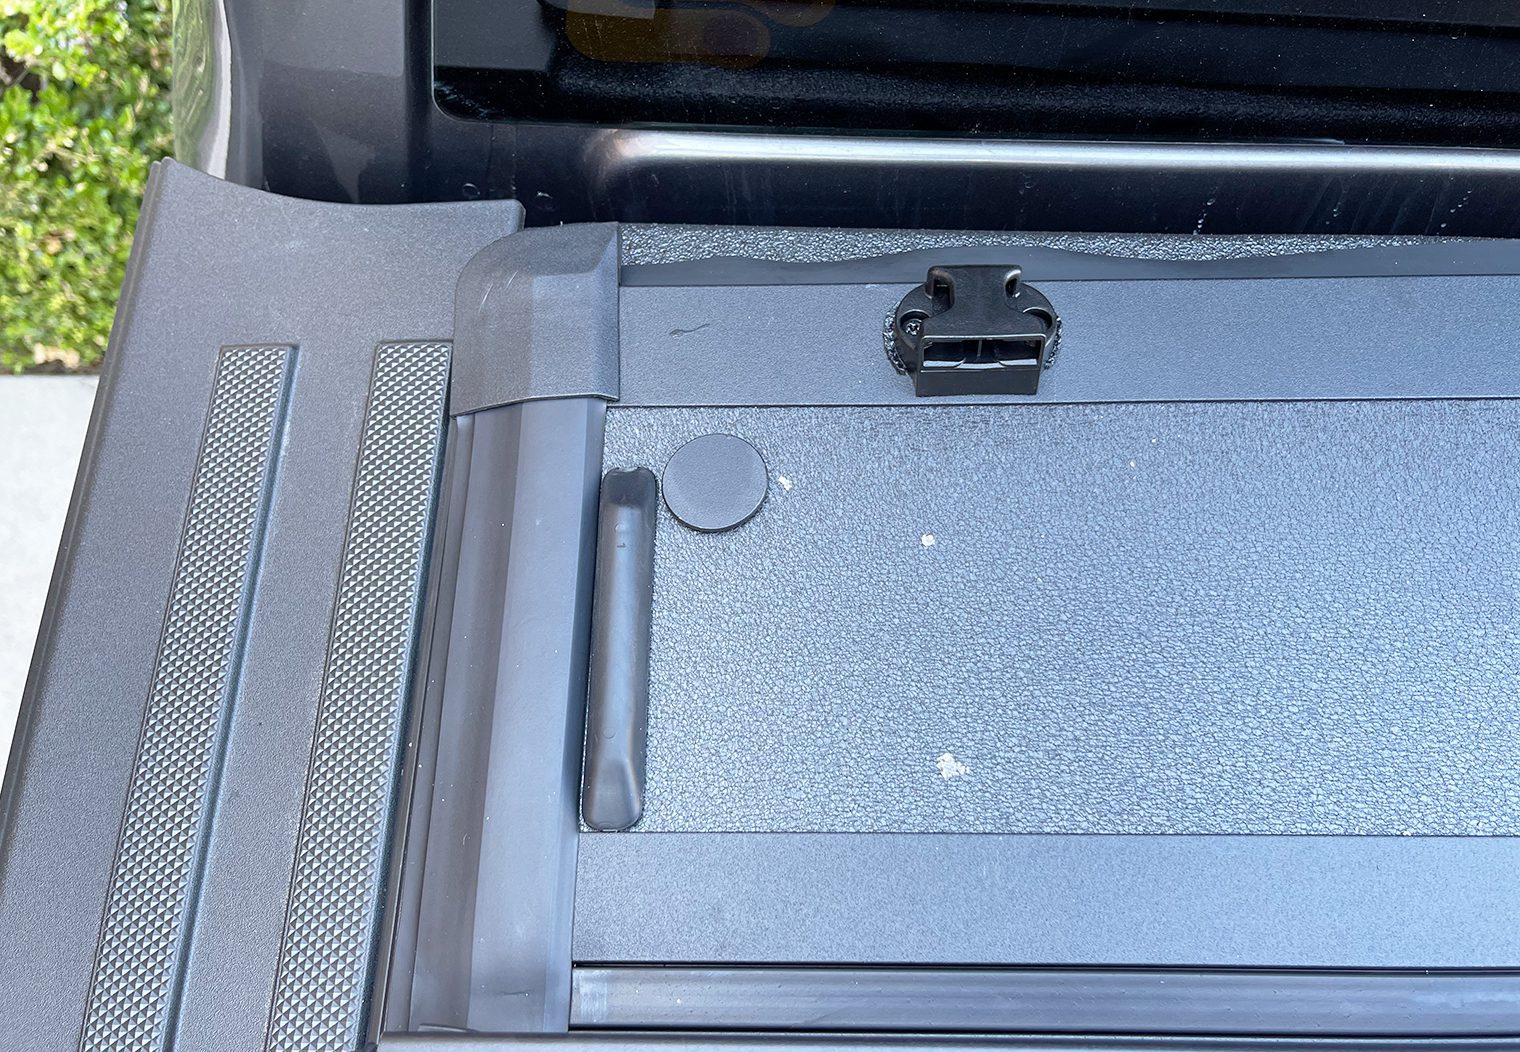
With the tonneau cover installed, you can now wrap up the final touches. The drainage is a necessity with these types of tonneau covers that have rails. The water gets trapped in the rail with no way to escape so BAKFlip included a drainage system at the front side of the rail with hoses to direct the excess water outside of your bed.
You can really funnel the hoses wherever you want. The beds on these trucks are aluminum so they're easy to drill through anywhere. I chose to drill through the rubber/plastic inserts alongside the bottom of the bed so that I wouldn't drill into anything that was permanent. The closest option is the hole that's directly to the side of the rail drain but you'll need to probably drill that hole out a little wider if you want it to fit nicely.
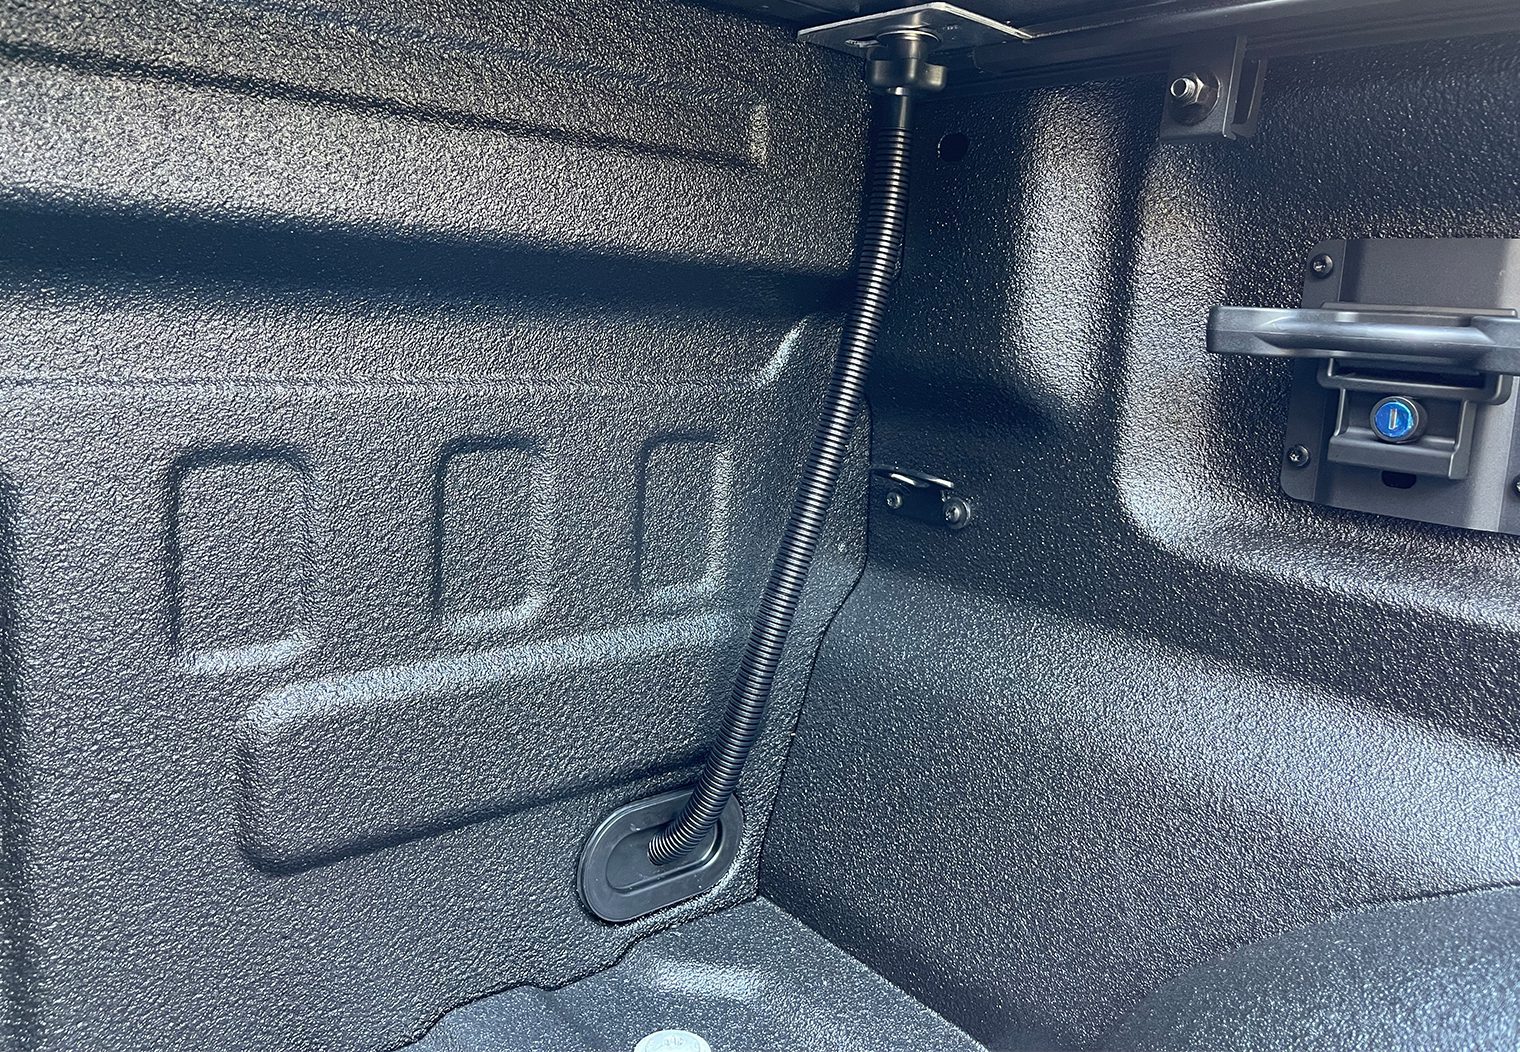
You'll notice in the second picture, I used a zip tie to secure the hose to the rail. My hoses didn't fit well where they meet the rail and would have 100% fell off. So I tightly fixed a zip tie around it to hold it in place.
I'm also not the biggest fan of the location of the hoses I chose, but the truck was less than a week old and I didn't have the guts to drill into the bed and bedliner that I just has sprayed. If I get tired of the location I'll probably drill holes directly to the sides closest to where the hose hooks up to the rails.
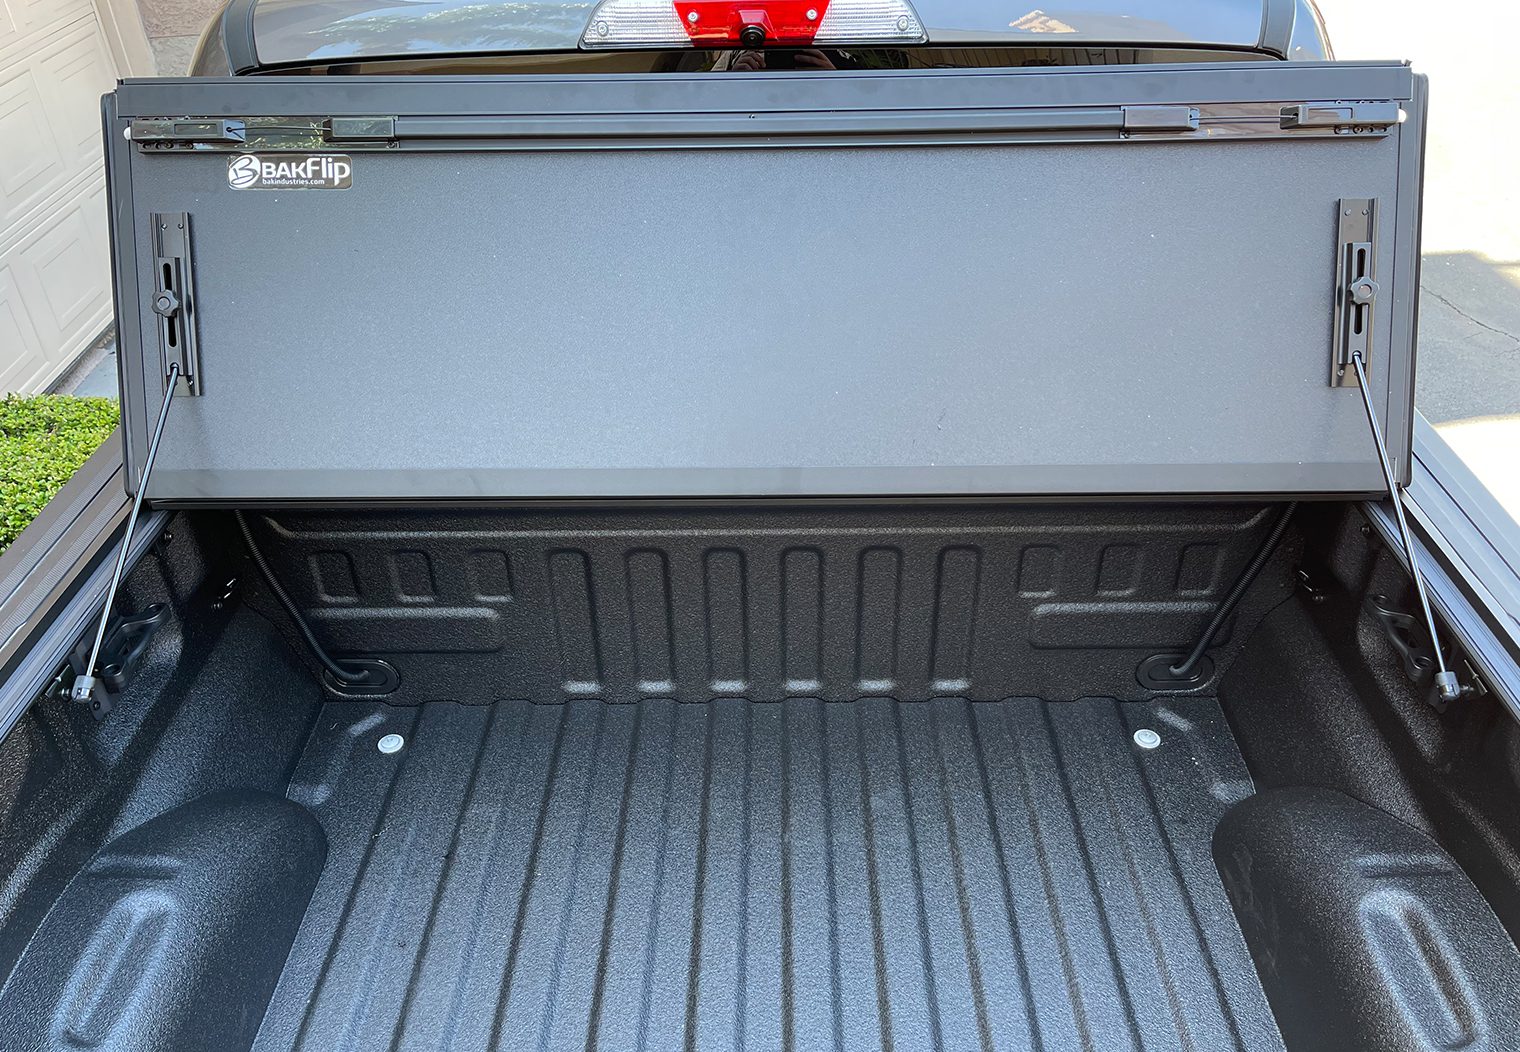
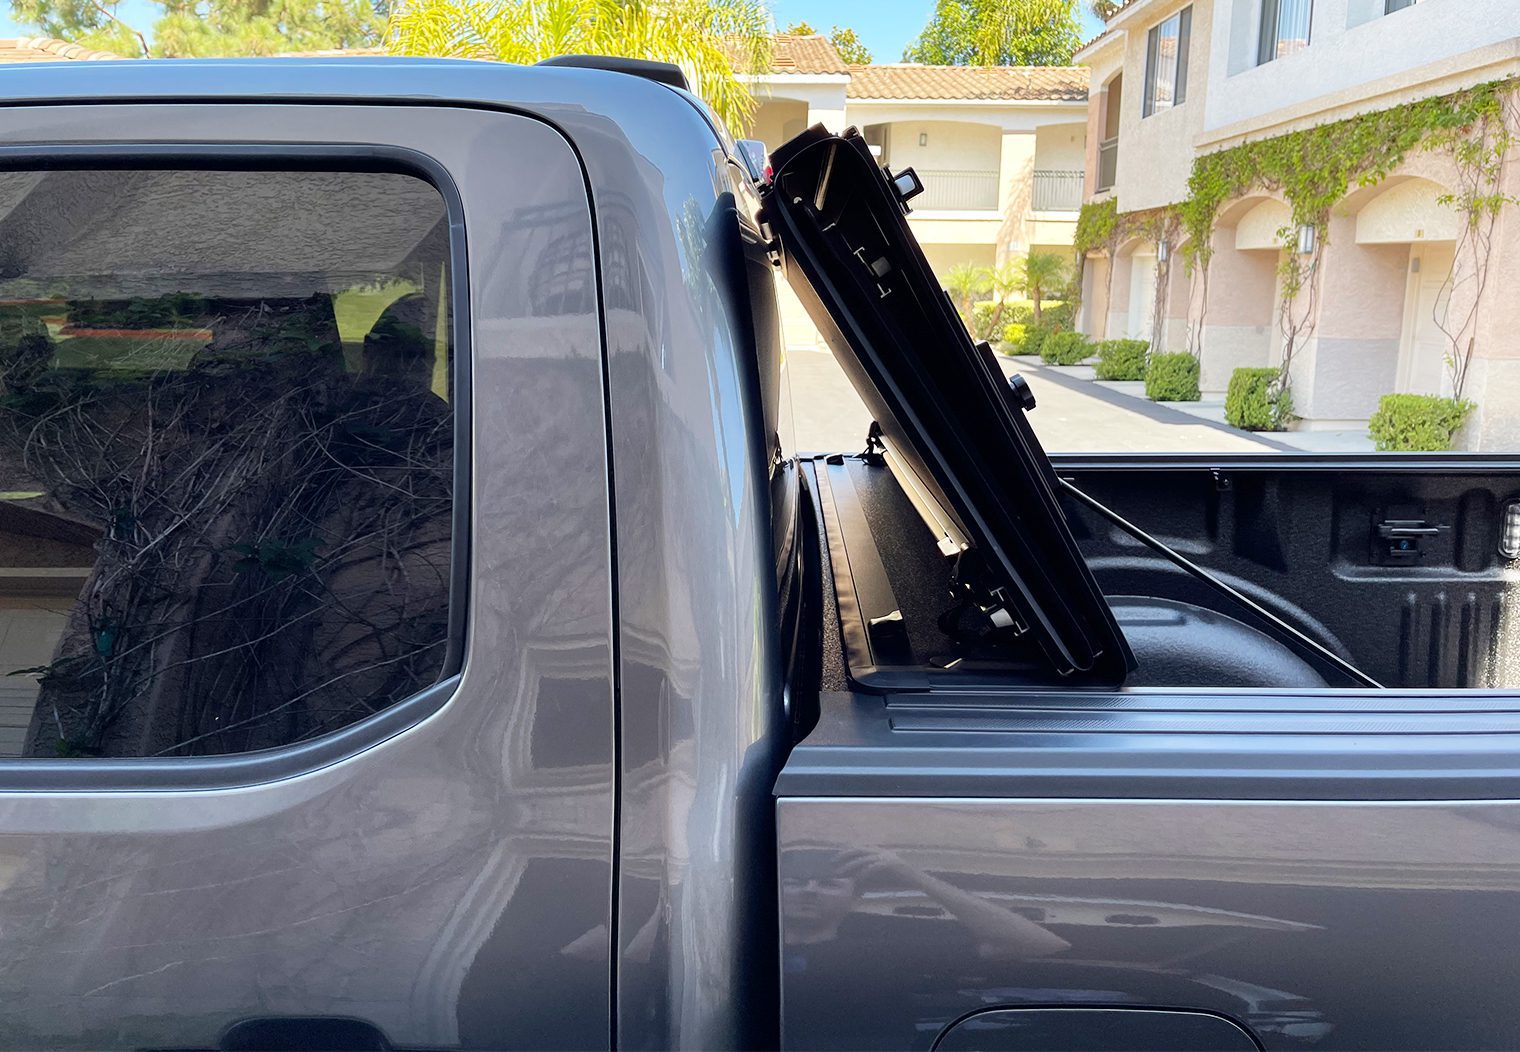
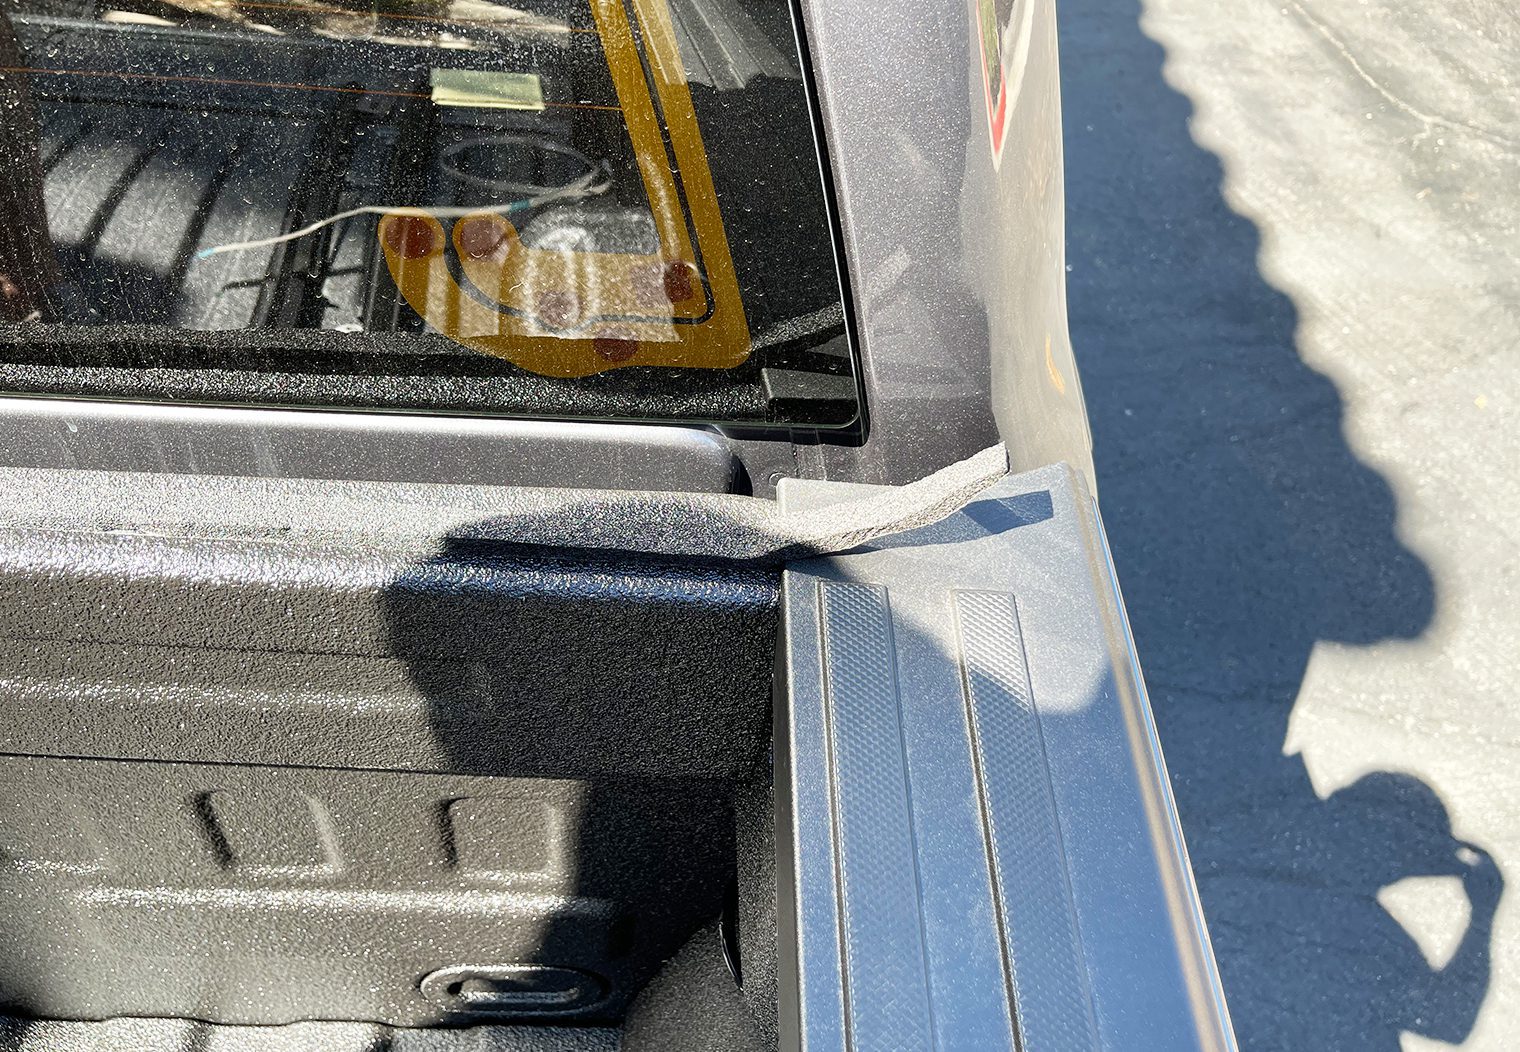
The final step in this installation is to adhere three rubber bumpers to the back side of the cover where it meets the cab window when you flip it up. It's pretty simple – you fix two of the bumpers more than 1″ away from the edges (I chose 5 inches). And then you center the third.
That's it! You're done!
Final Results & Opinion
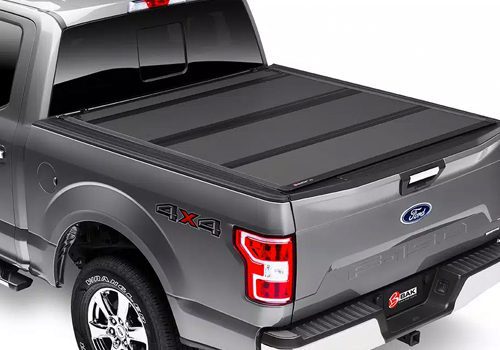
As expected when I researched this hard tonneau cover, this is really a heavy duty and quality made product. From the rail construction and heavy duty clamps to the aluminum cover and drainage system – this is a cover that's going to last and protect the contents of your bed. It's also going to look amazing at the same time.
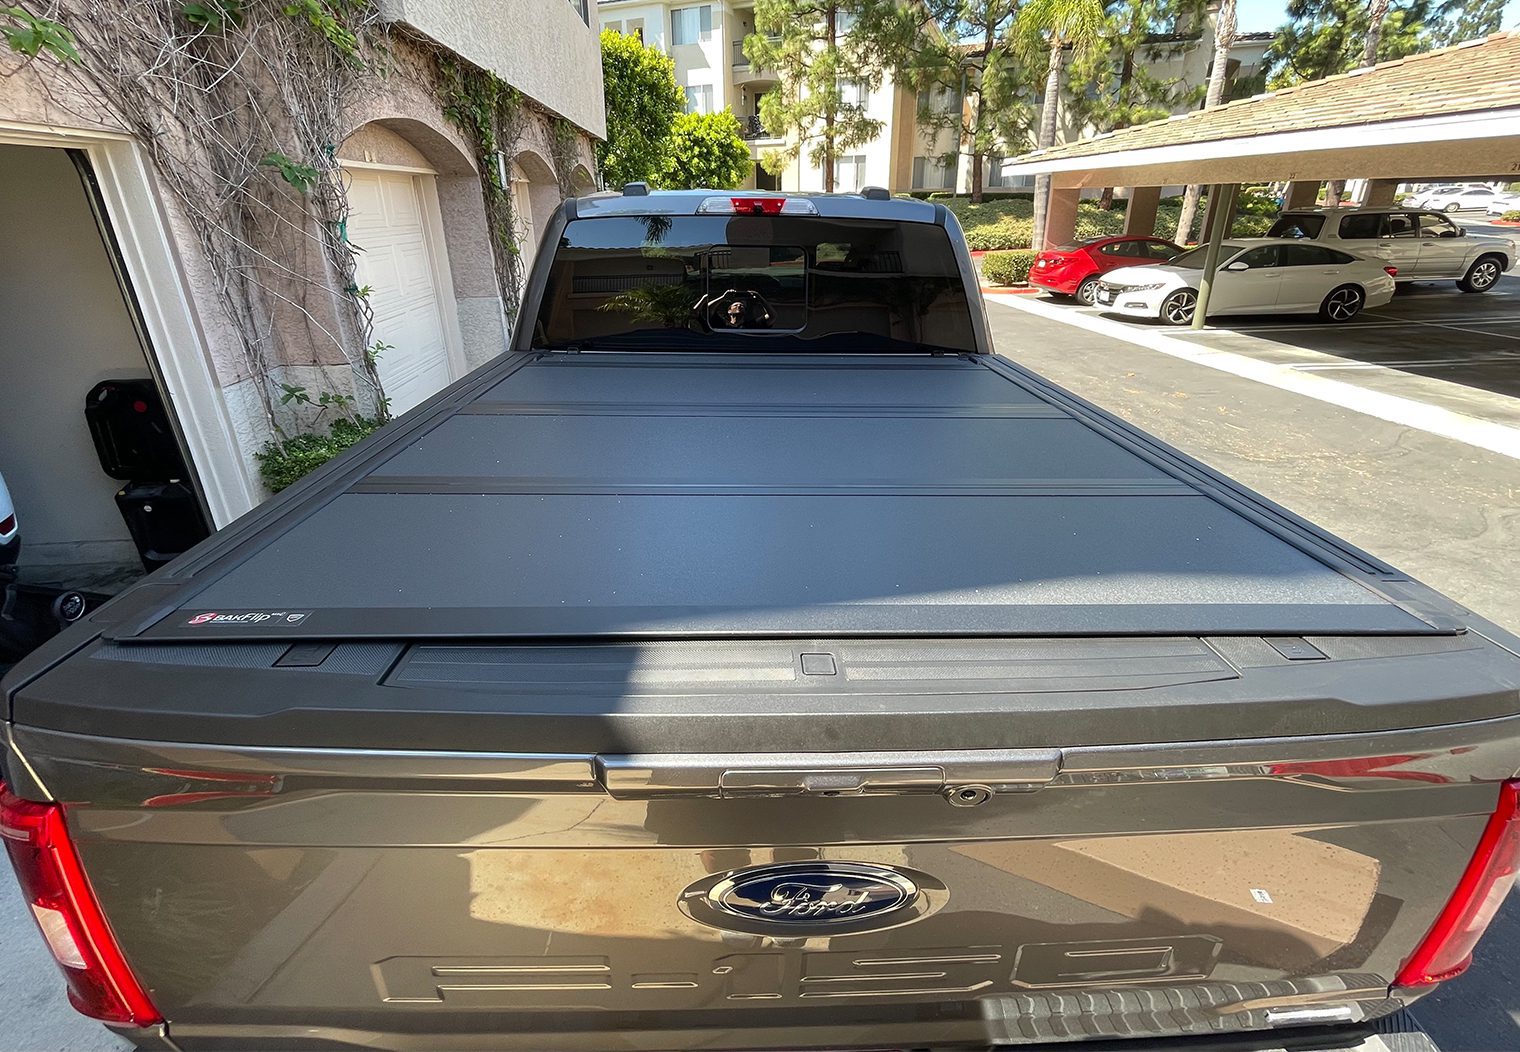
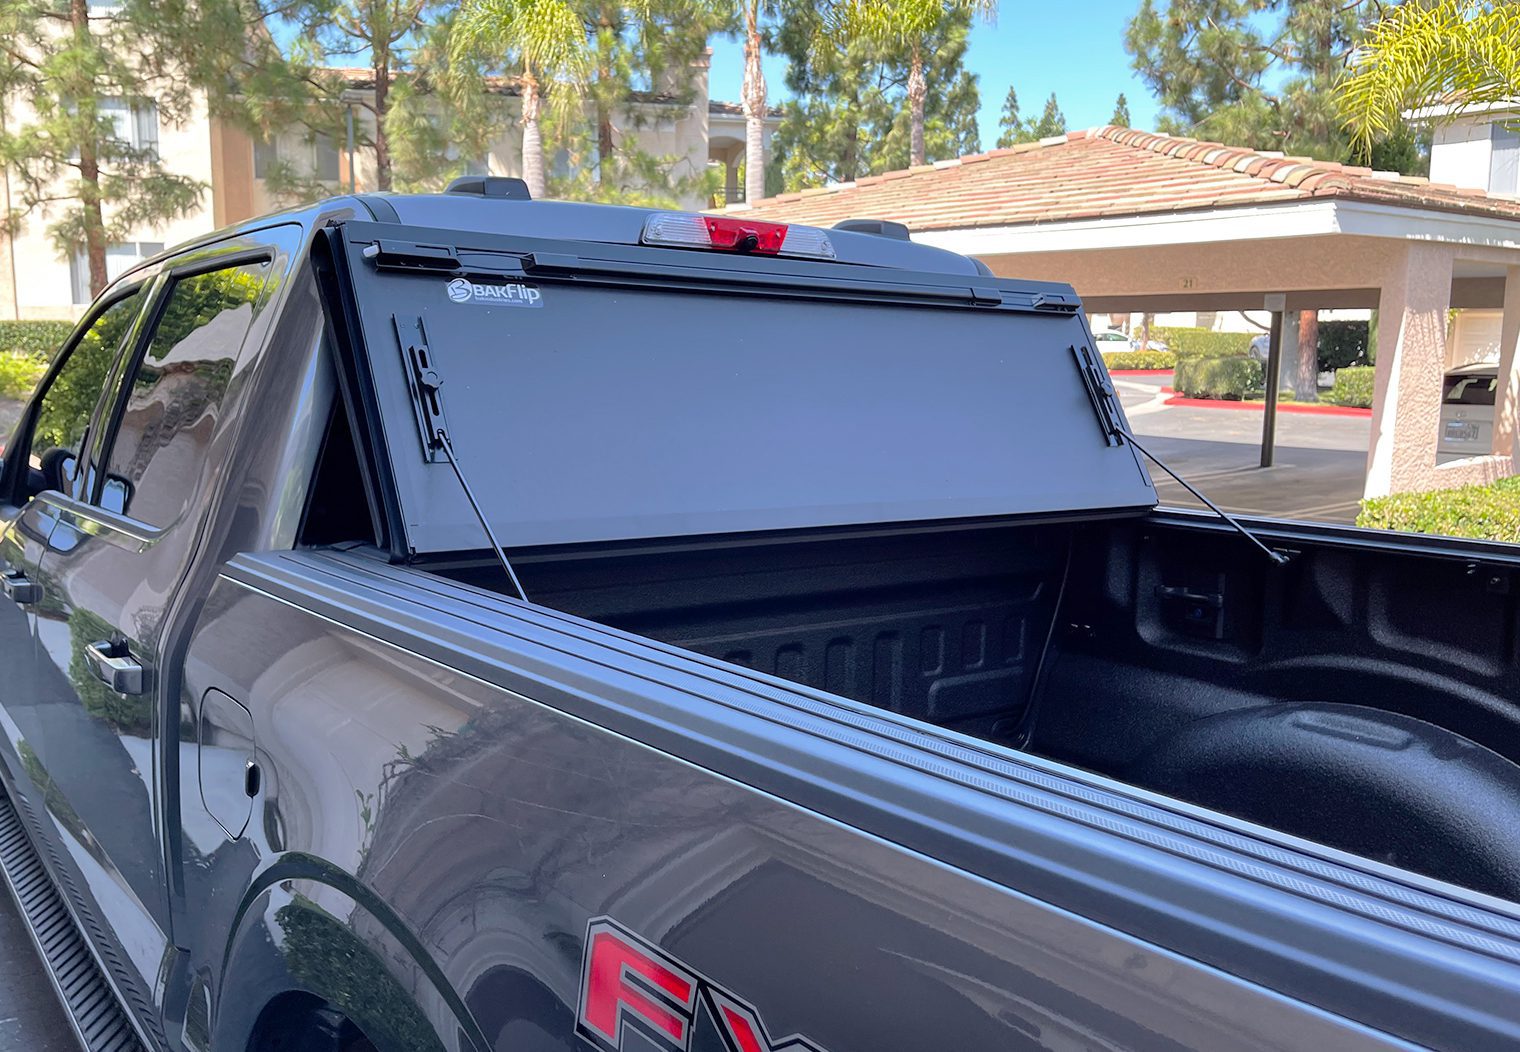
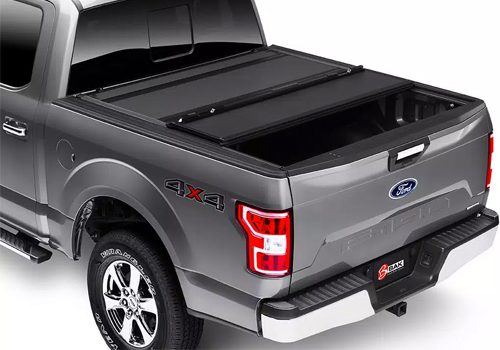
I really like the flip-up feature. I specifically chose the MX4 because I needed as much room at the front of the bed without having to remove the whole cover. The flip mechanism is simple and effective, you just flip it up, place the rods in the bracket and tighten it up.
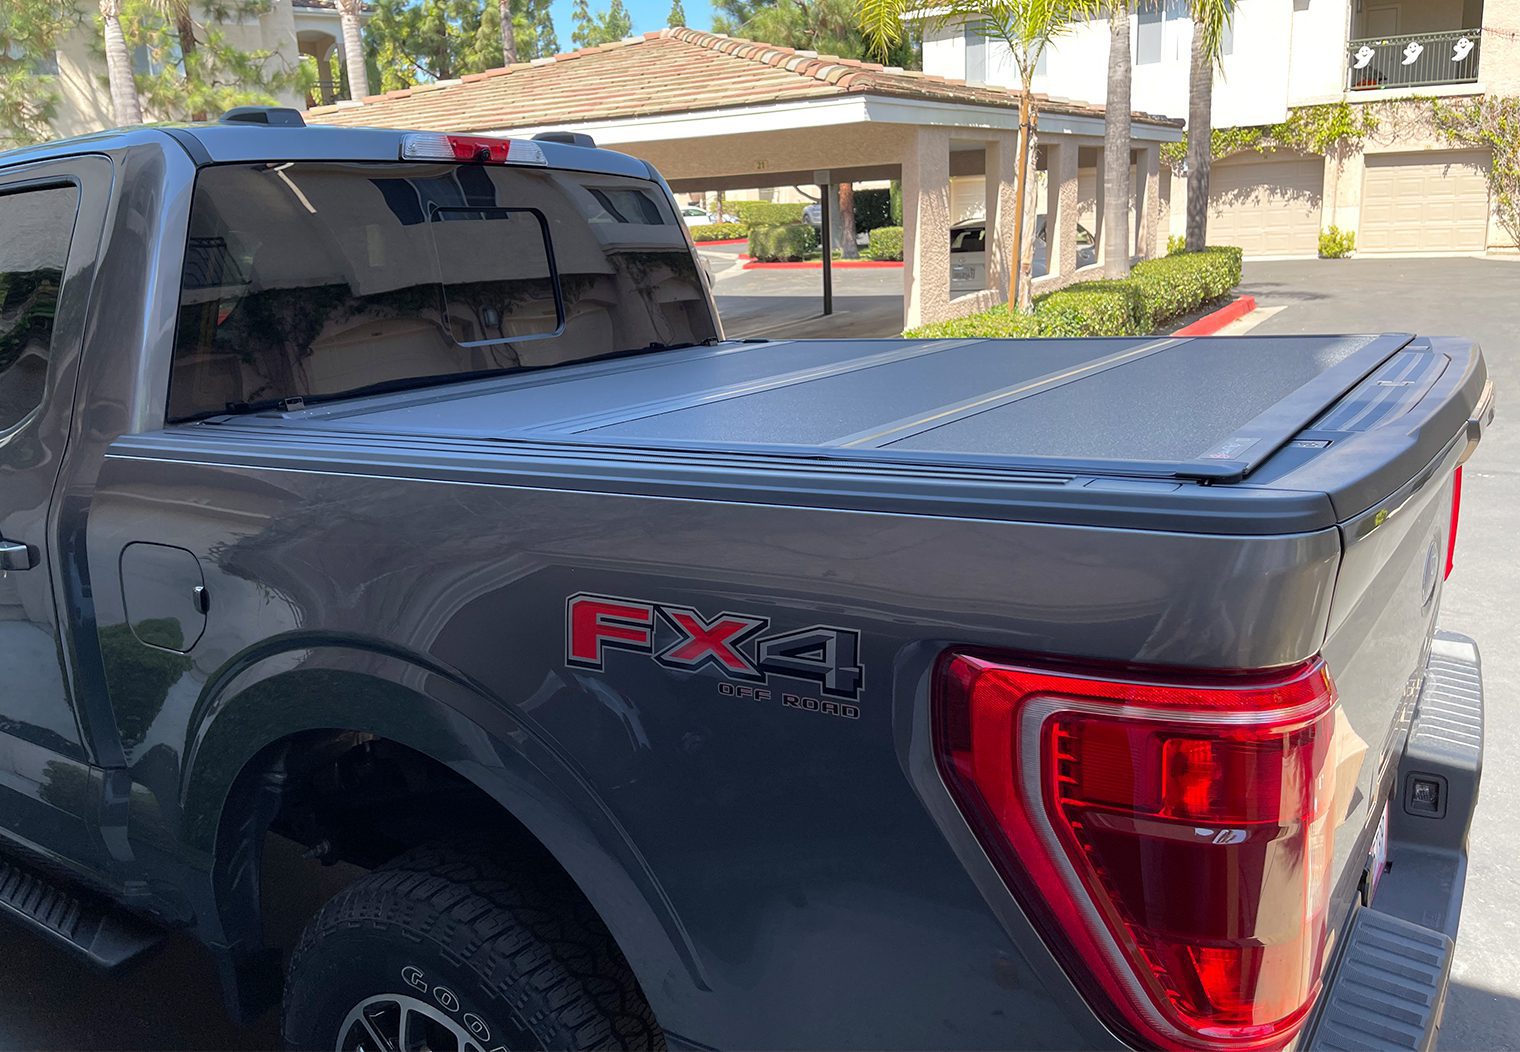
It sits basically flush with the top of the bed rail which was a must. I didn't want the cover to sit an inch or two above the rail. Having it flush really makes for a clean, great looking cover that almost looks integrated with the truck.
Installation was super intuitive and easy. You really don't need to look at the installation instructions to be honest. It's a great morning DIY project that anyone can do.
Overall, I love the product and I'd recommend this cover if you're looking for a hard tonneau cover that has the option to flip forward and give you the extra space at the front of the bed.