In this article: I'll unbox and review Yada's Digital Tiny Traveler baby car monitor, install it in my vehicle, demonstrate it's features, and tell you what I think about it.
If you're a mom, or a dad like me and have driven your infant or toddler in the back seat of your car or truck, I know you've wondered at least once what the heck your child is doing back there, what's making them upset or cry, or god forbid if they're choking on something. My wife and I certainly have. It's what prompted me and some of the other editors here at CarAudioNow to start to research and test some of the best baby cameras for your car.
One camera that stood out to us is Yada's Tiny Traveler. It's a great bang for the buck (~$145), has wireless pairing between the screen and camera, and comes with a variety of camera mounting options to make it virtually universal for any car. In this overview, I'll unbox the camera and screen for you and give you a first-hand look at them. I'll then install them in my car, power it up and give you an idea of what I think about the image quality, screen resolution, and point out anything I do or don't like. Let's get started!
Unbox & Overview
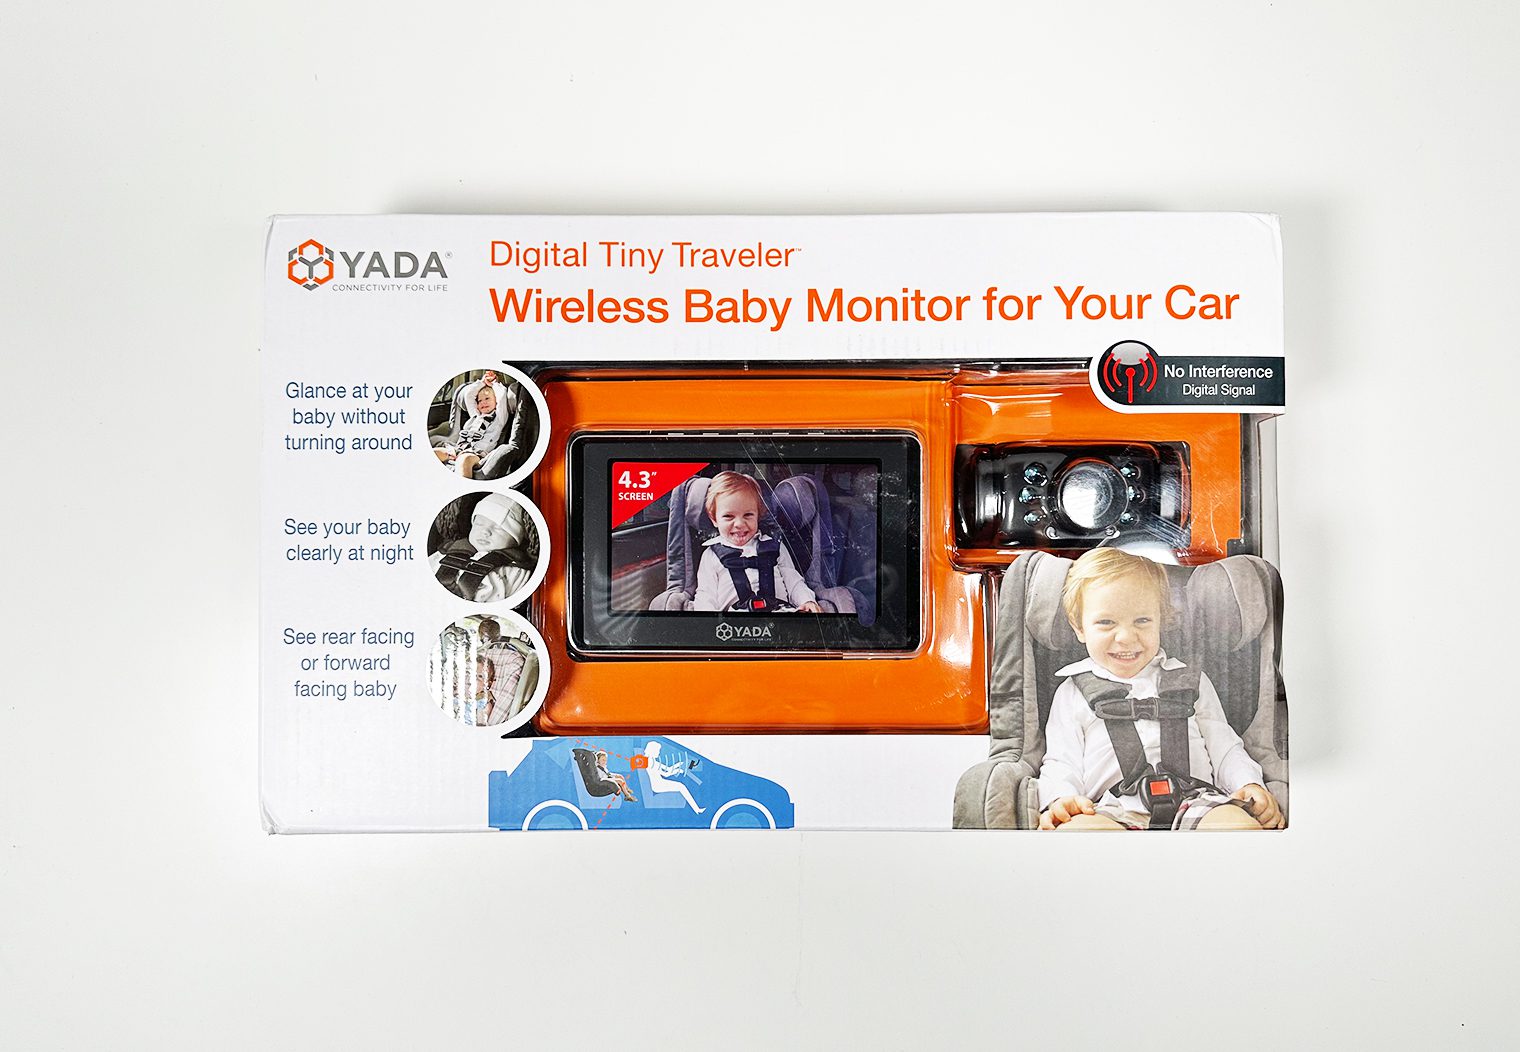
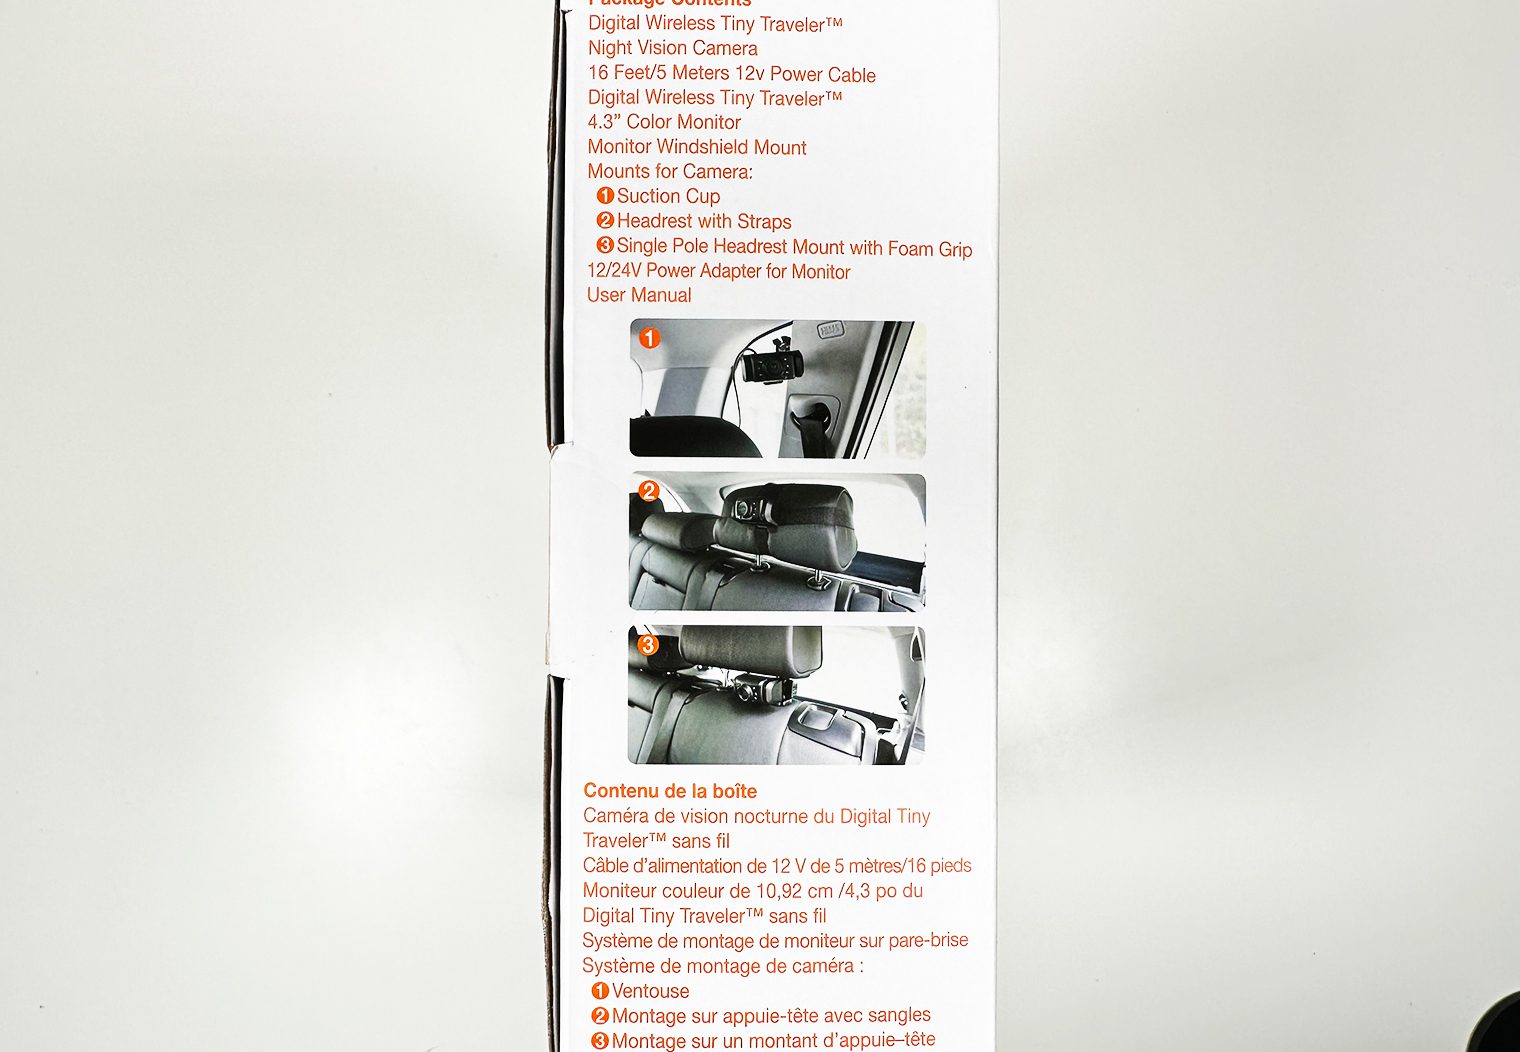
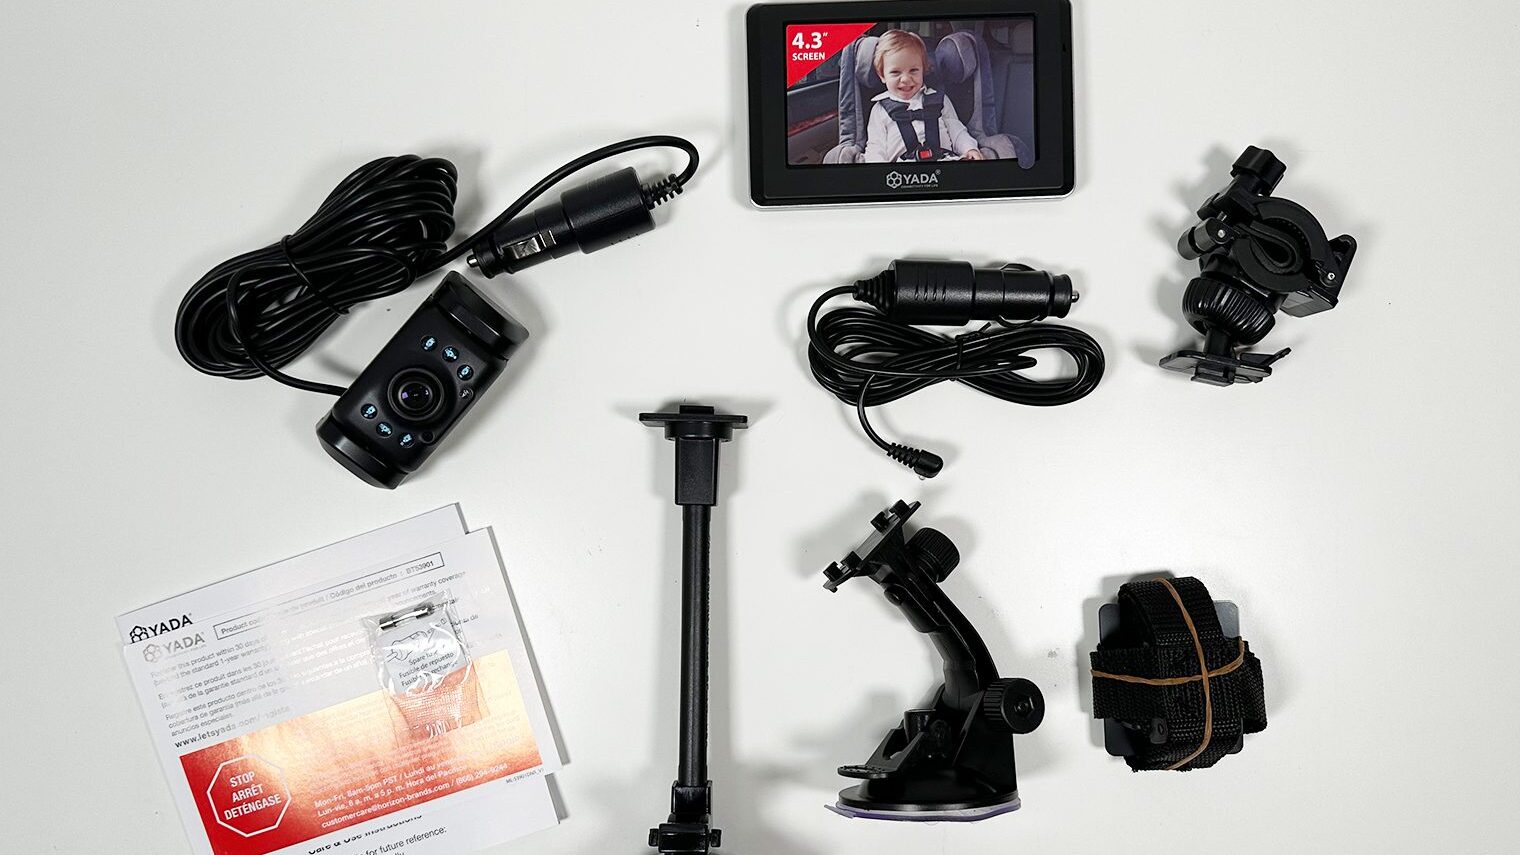
Yada shows you the main components in the box before you even open it up via a transparent piece of protective plastic. Everything is neatly tucked in a retail box that looks like it's meant for the shelves of Target or Walmart. Many of the key features are listed out on the box. In fact, there was more detail on the box itself than the Amazon listing that I purchased it off of!
A little about this unit – the Tiny Traveler is a wireless monitor, meaning it doesn't require a wired connection between the camera and the screen in order for the screen to show a video feed. The screen and camera come paired together in the box. This was a key selling point for me because I didn't want extra wires to tuck in panels or otherwise show in my vehicle. Both the screen and camera do however require power via two separate cigarette lighter-style plugs. I thought this was one of the downsides to this unit because most newer vehicles are shifting away from cigarette lighter plugs and towards USB and USB-C ports.
If you don't have two cigarette lighter plugs in your vehicle, you can purchase a splitter or a cigarette lighter to USB adapter for under $15 bucks.
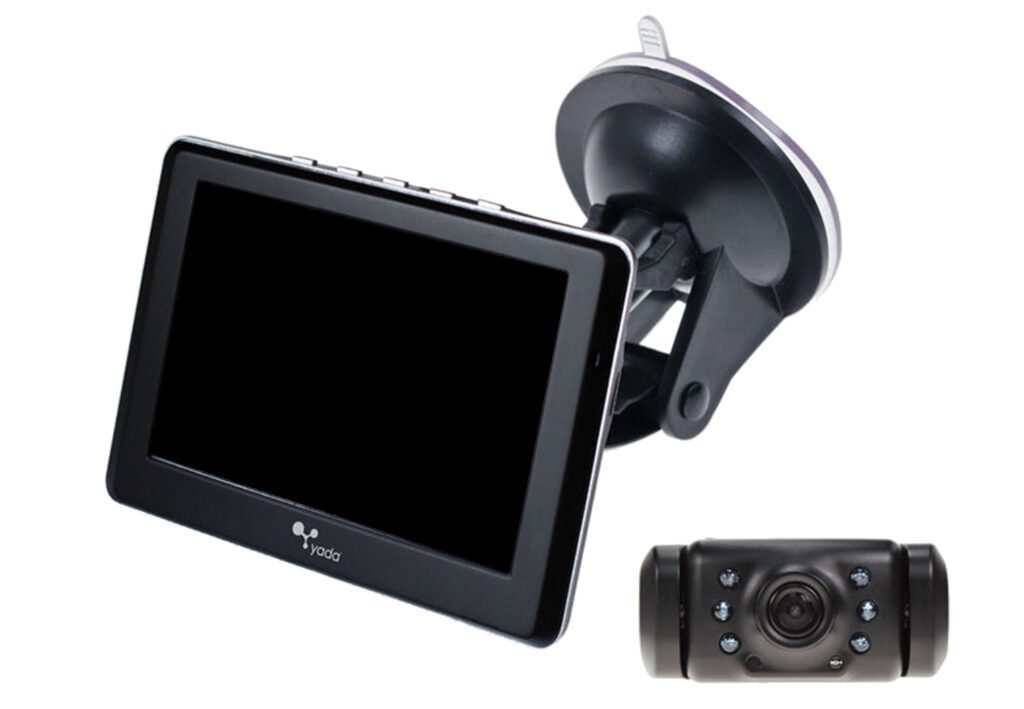
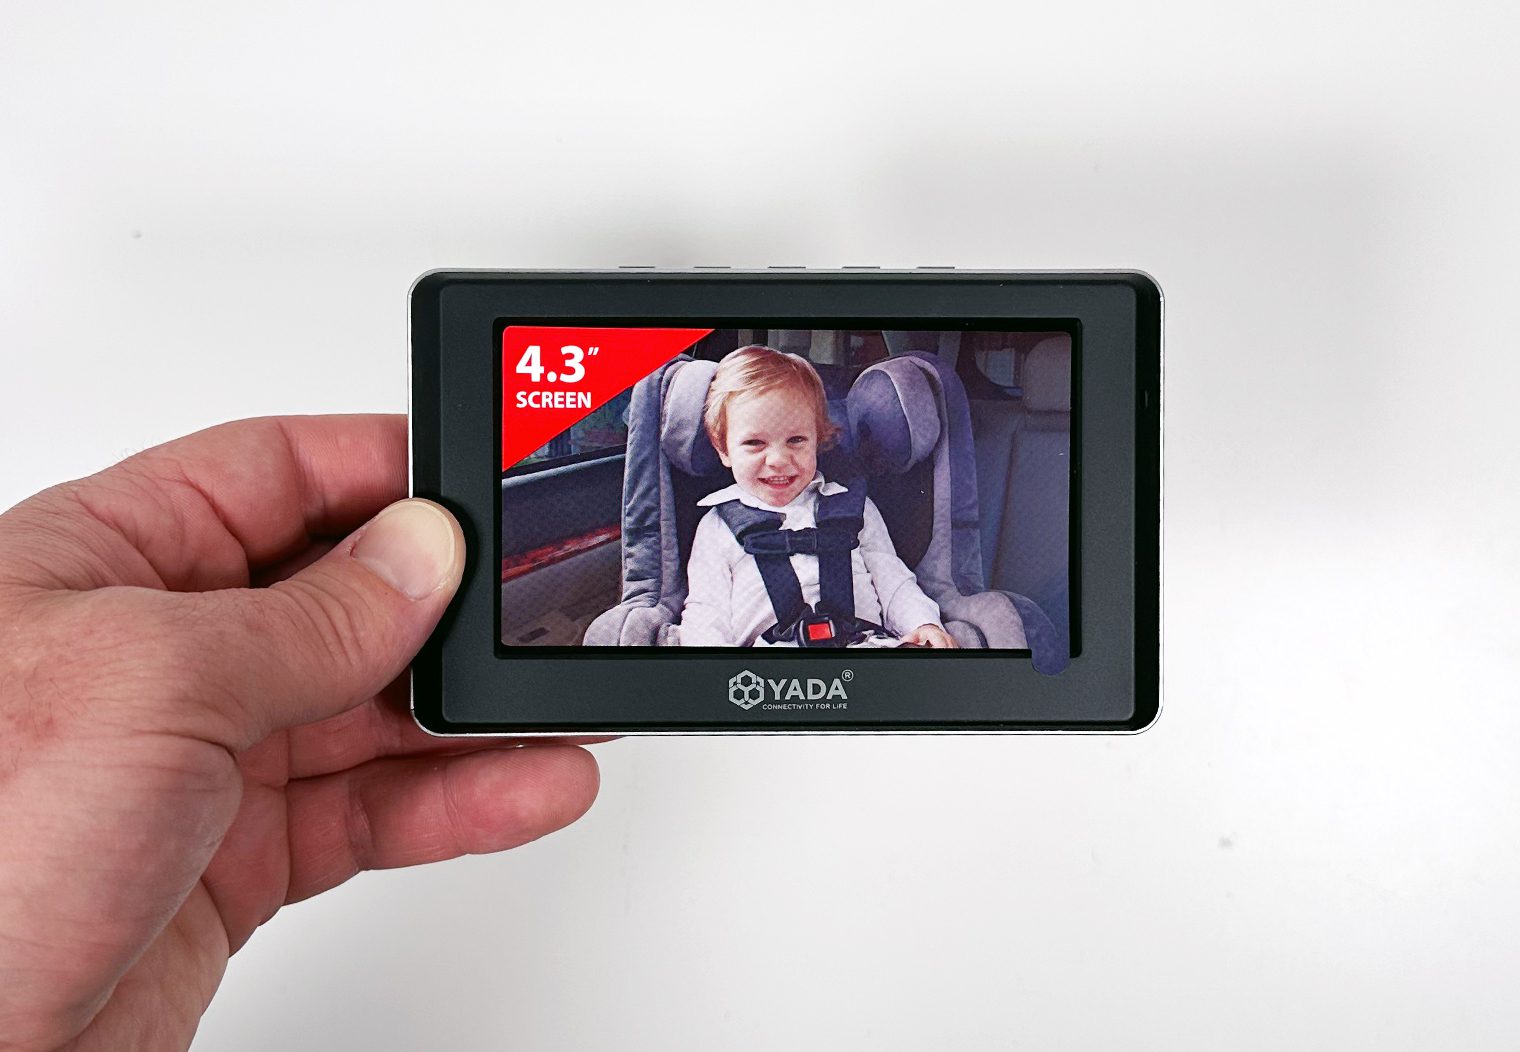
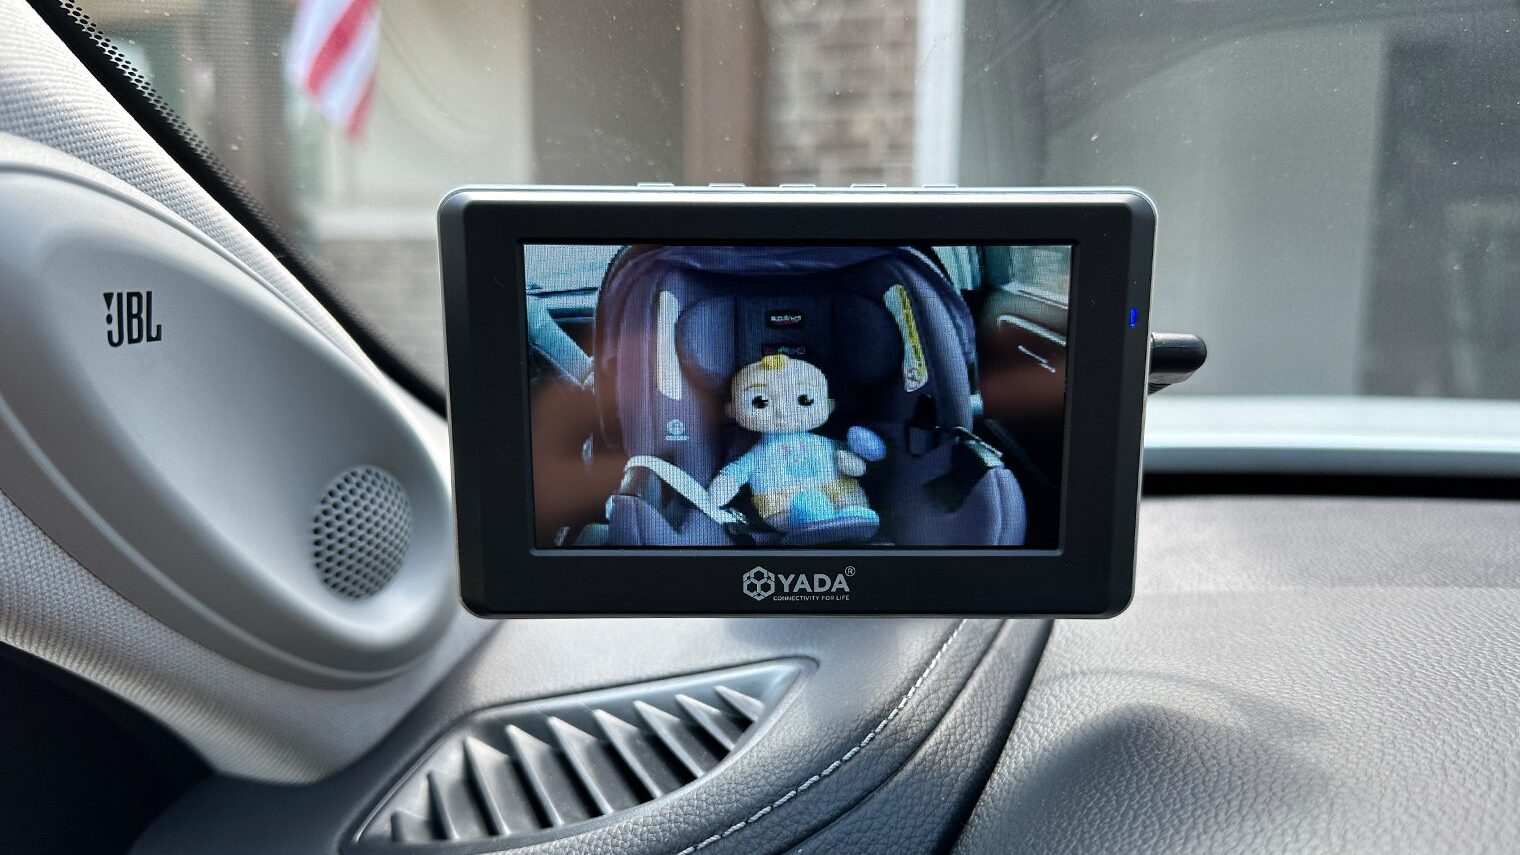
The kit comes with a 4.3″ color TFT monitor that can be mounted to your windshield via a suction mount. I liked this mounting feature because I didn't want the monitor to sit on the dash of my car.
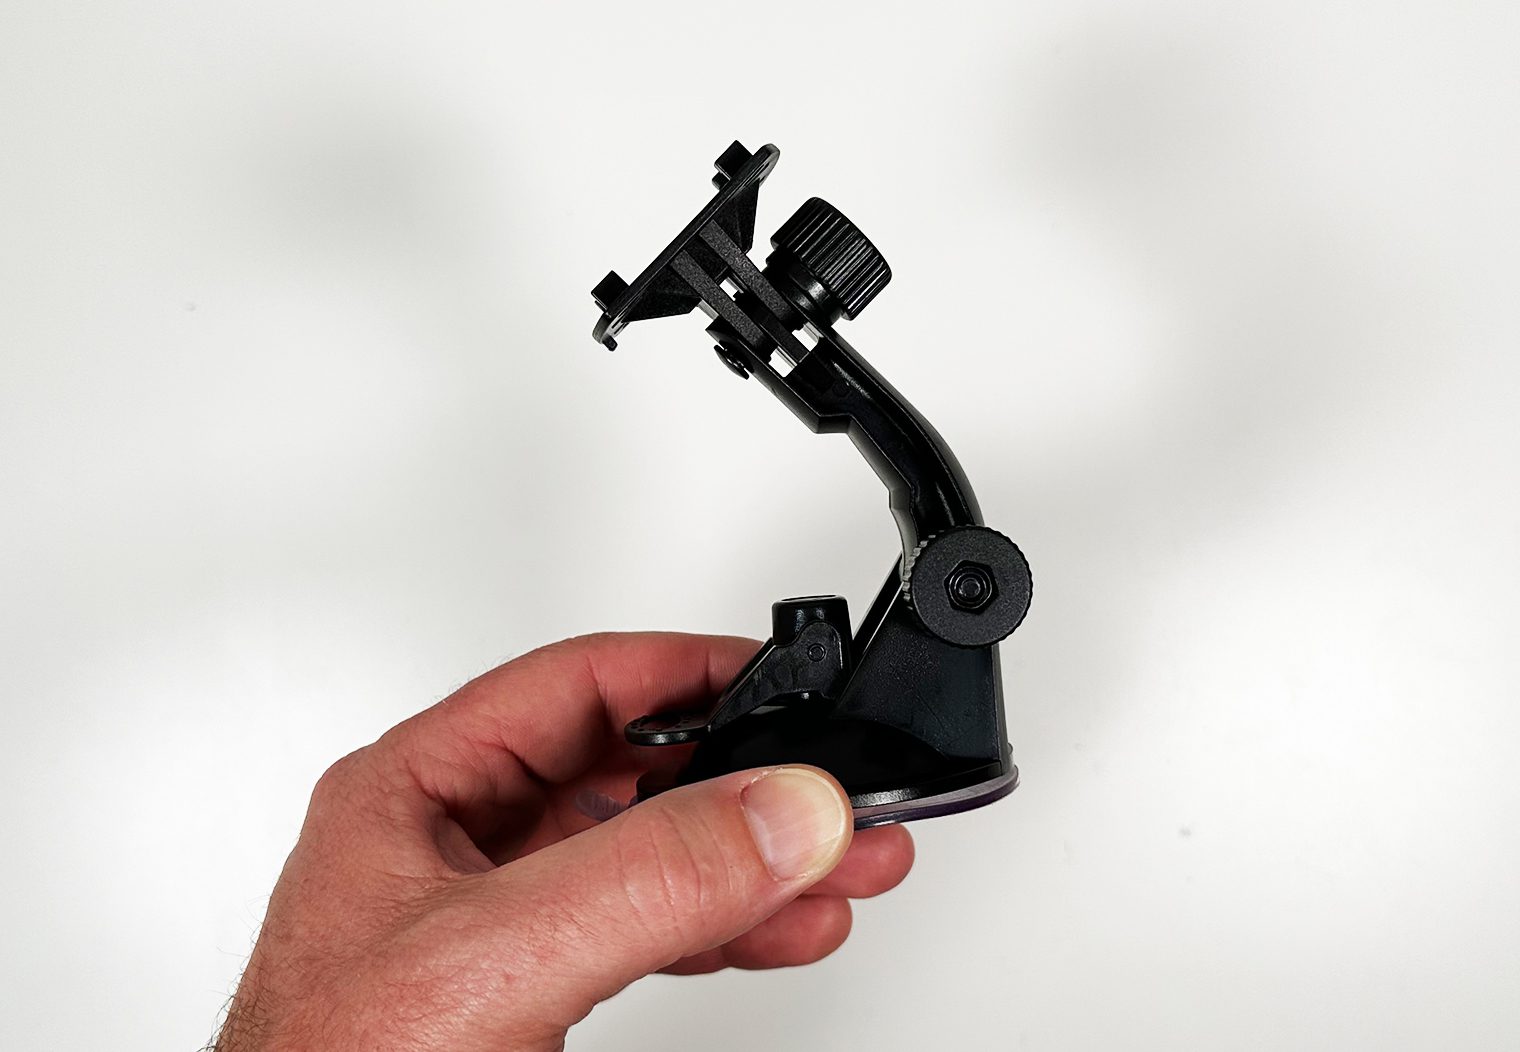

The screen mount also provides a ton of flexibility with vertical and horizontal adjustment to make it fit virtually any location on your windshield. My preference is on the bottom left hand side so that it doesn't impede my view of the road.
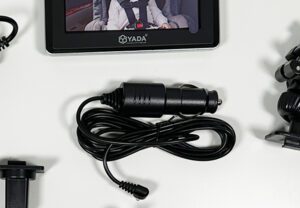
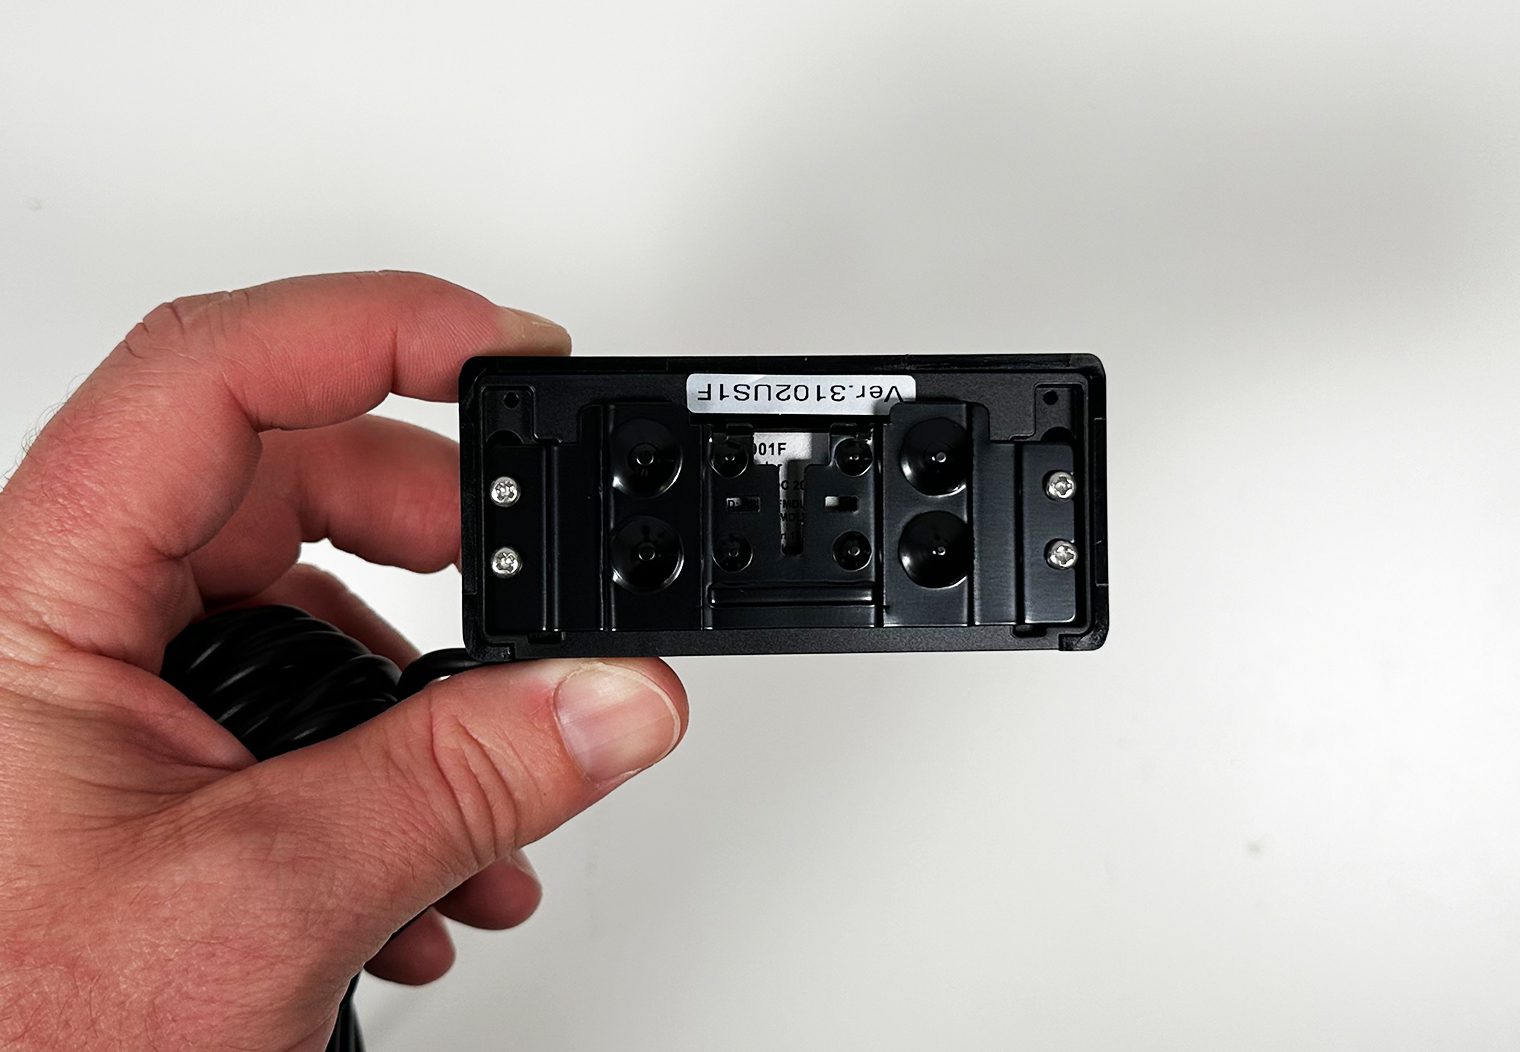
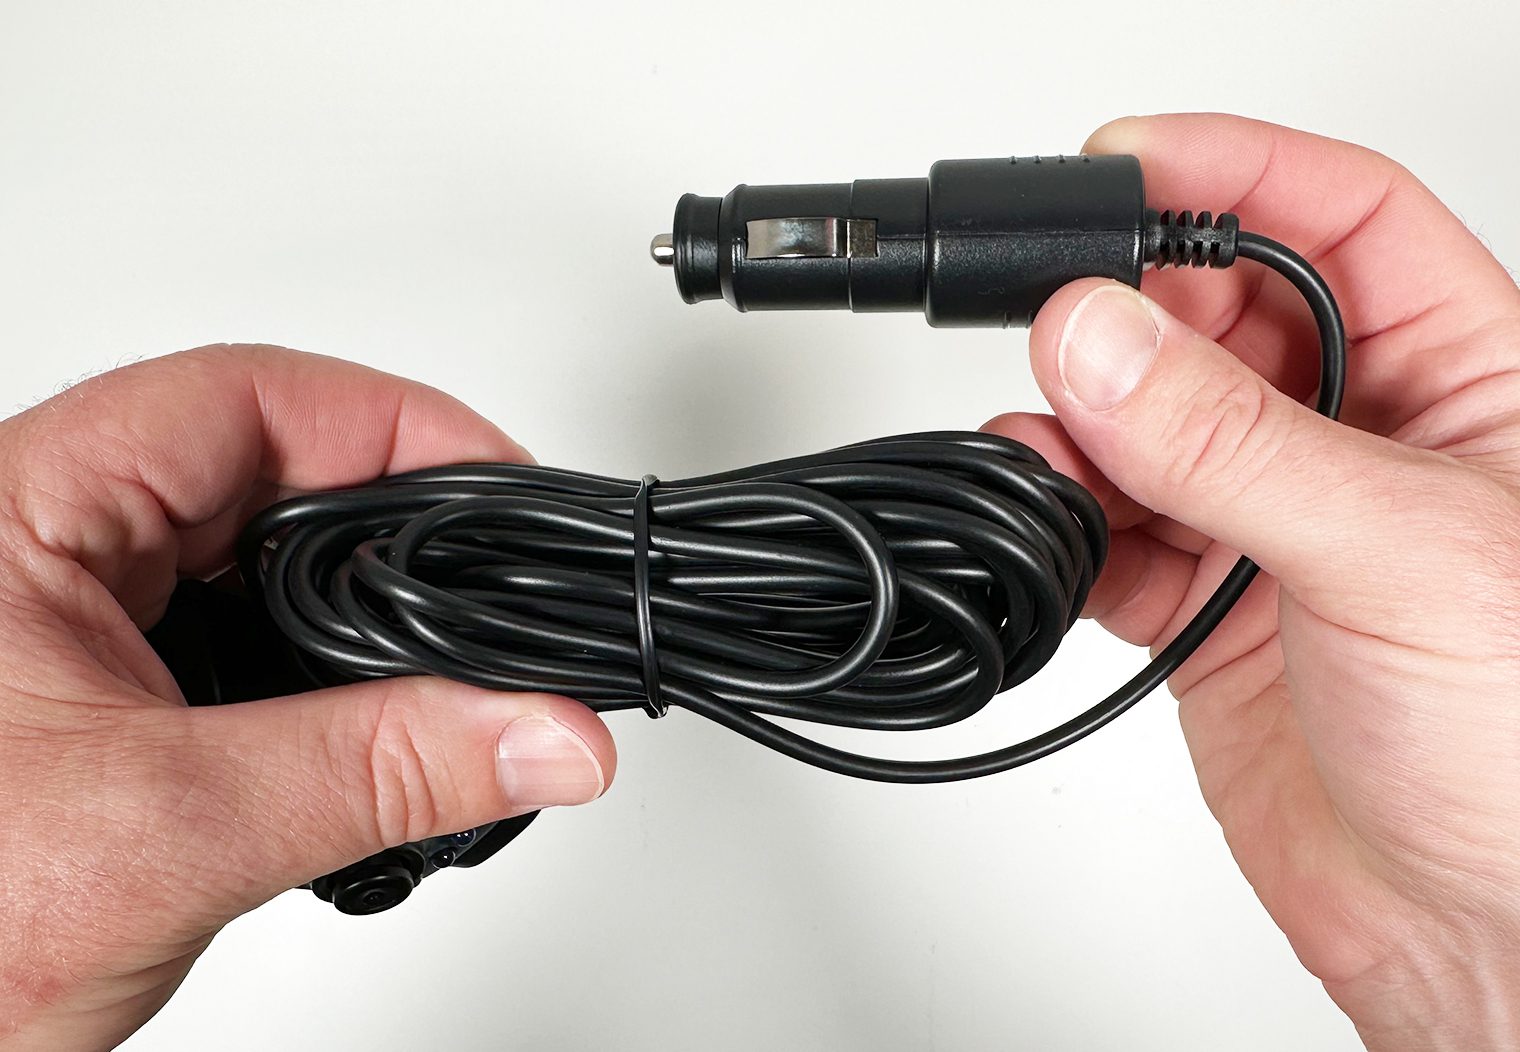
To power the monitor, Yada provides a separate power cord with a cigarette lighter adapter that you can plug directly into your dash or wherever the most convenient accessory port is in your car.
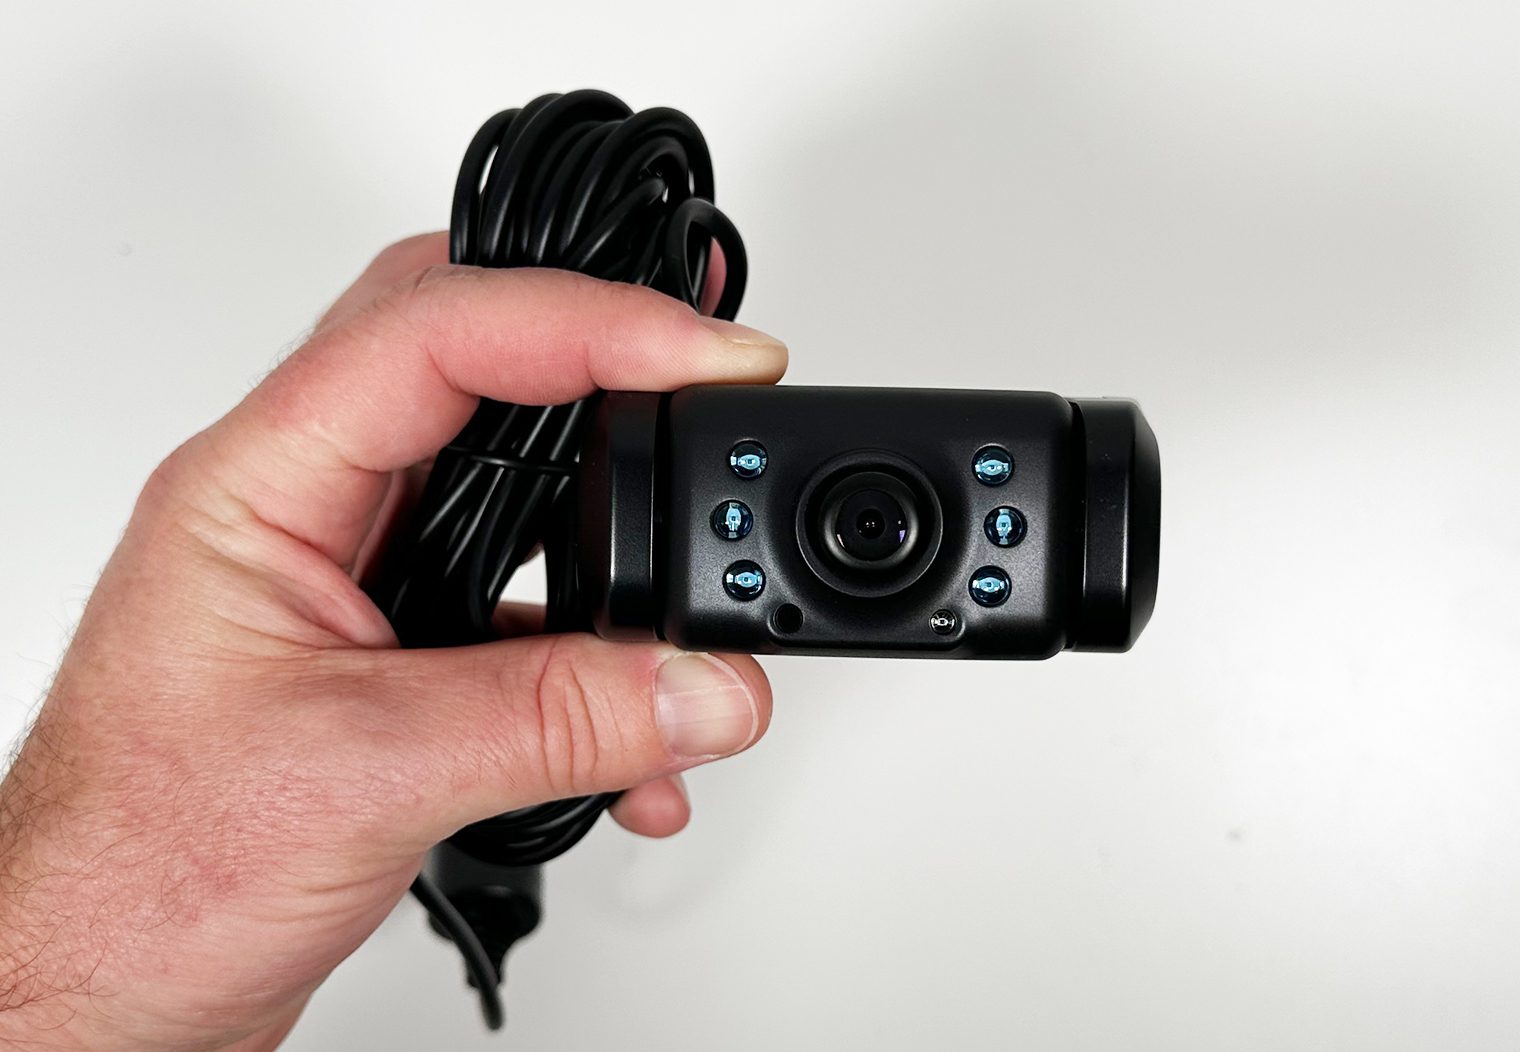
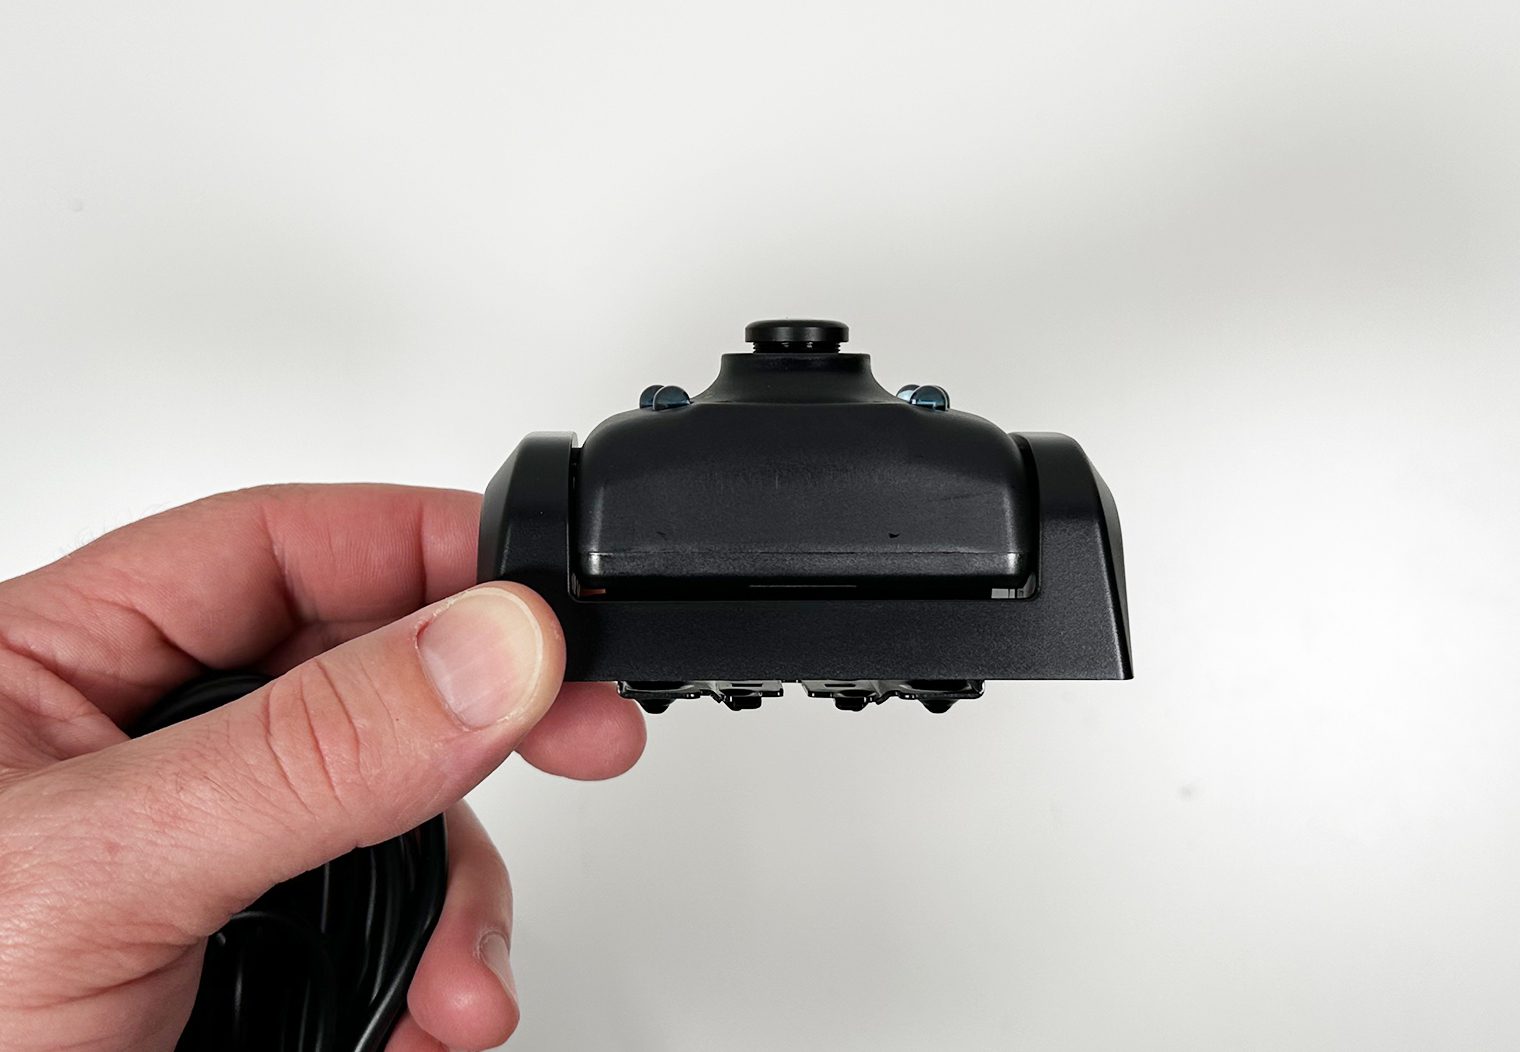
The camera that's included in the kit is moderately sized – around 2.5″ x 1″. Yada calls this an HD camera, I'll tell you more about the resolution and clarity further in the review when I hook it up to power.

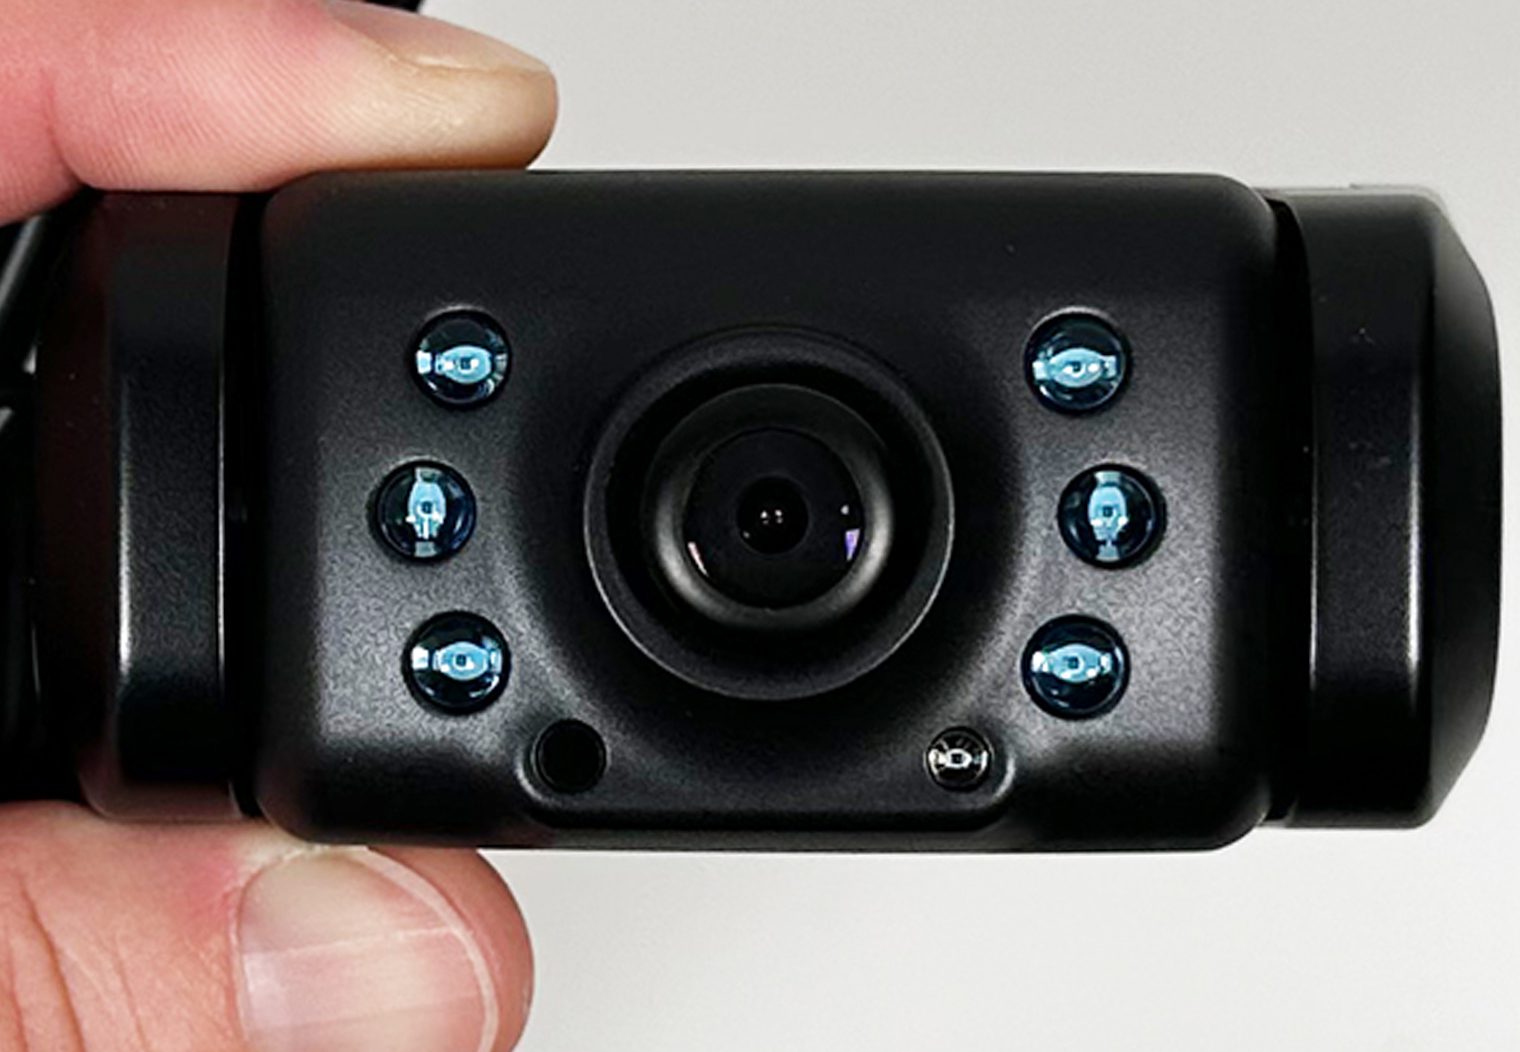
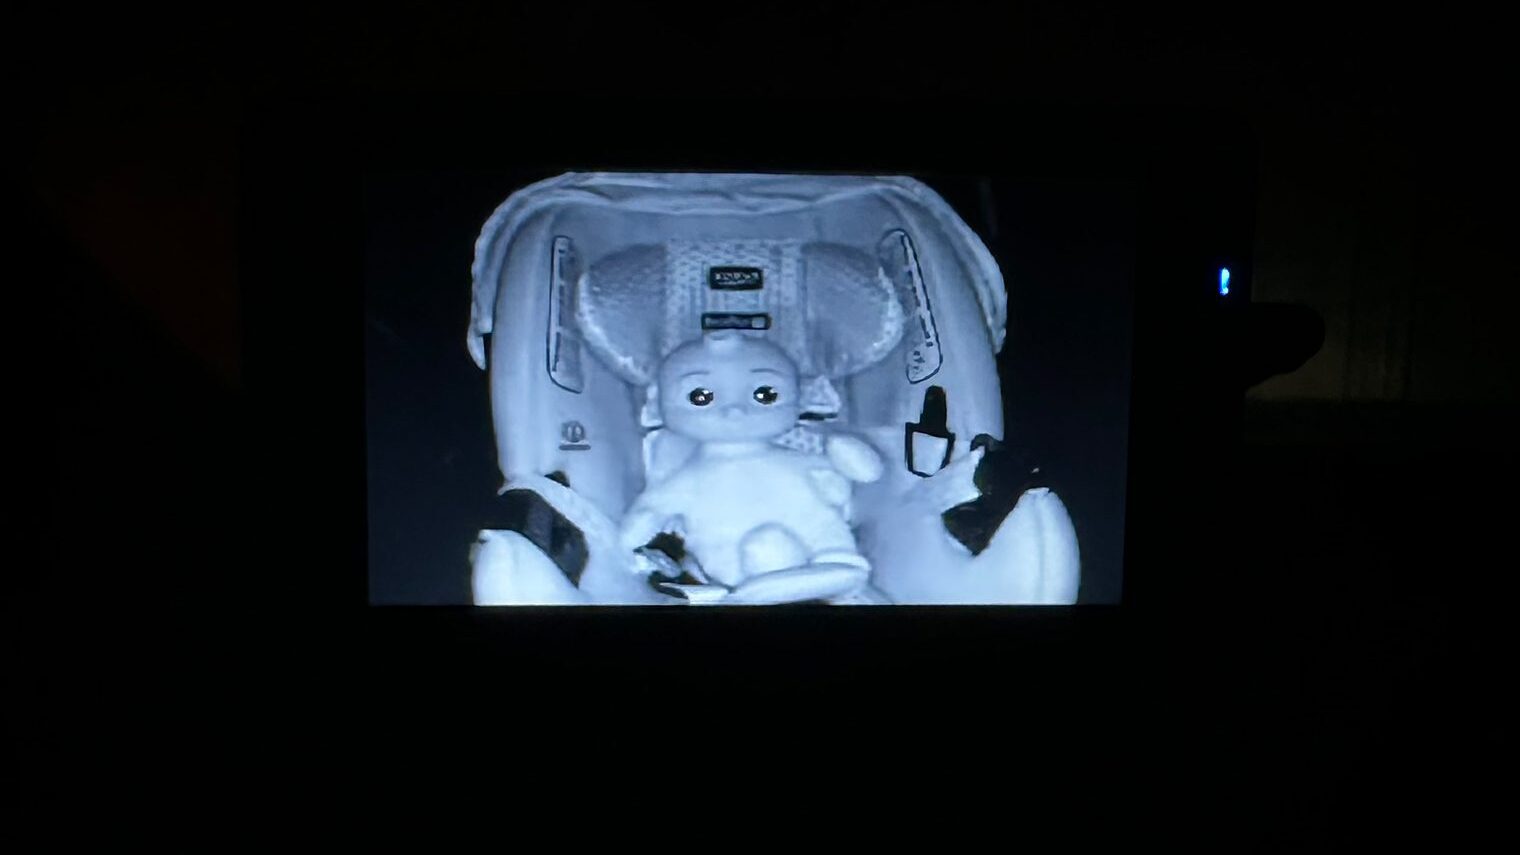
The camera also comes with night vision via six infrared lights along the outer edge of the camera. These infrared lights are what ‘light' your upchild at night (not literally, our eyes can't see infrared light but the camera can) and make it a “night vision camera”. This was also a critical selling point for me. We all will drive at night with our kids, so what good is a camera if it only works during the day?
To power the camera, Yada provides 16 feet of hard wired power cord with a cigarette lighter adapter. Simply plug it into the cigarette lighter and voila.
The camera also has a few different mounting options that provide a lot of flexibility and compatibility with virtually any car.
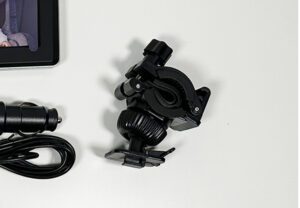
- Headrest pole mount: This will mount to one of the headrest poles in your car. You can use either the front or the rear headrests depending on how your child is seated. It's on a ball joint too, so it has some flexibility to pivot the camera to ensure your child is in view. To me, this is probably the most seamless mounting option. It also has a few different rubber shims provided along with an adjustable pole diameter mechanism to make it fit virtually any headrest pole thickness.
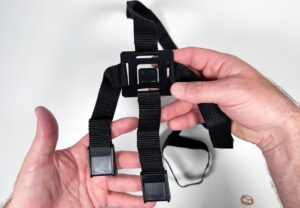
- Headrest strap mount: This mount will strap around the outside of your headrest via two straps – one that goes along the top of your headrest and one that goes along the sides. It uses two clamps to allow you to tighten the straps to whatever the size and shape of headrest your vehicle has. To me, this is the most universal mount of the bunch.

- Pole mount: This option is a simple straight pole mount with a suction cup at the end to mount to a door window, windshield or other flat surface. It doesn't have any angle adjustments though, it's just a straight pole. The best use case I can think of for this one is the door window, but to me this is the least flexible and most invasive mounting option of the three.
What's In the Box
Baby Camera & Screen Installation
Time needed: 5 minutes
Ease of installation was one of the key focuses I had in mind when researching baby car cameras. Thus the wireless video feed capability and mounting options in this camera kit. If you have two cigarette plugs available to you, installing this baby car camera couldn't get easier. It took me less than 5 minutes to plug in, turn on and test out. Let me show you the steps I took.
- Mount and fix the screen to your windshield
Fix the wireless monitor to the included windshield suction cup mount, place the suction cup on your windshield in the location of your choice and mount it. Once mounted, use the two adjustable pivots to tilt the screen how you'd like it.

- Plug in and wire power for the monitor
Plug the included power wire for the screen into your cigarette lighter plug, wire along or behind your dash to the monitor and plug into the power port on the side of the monitor.
- Mount the baby car camera facing your child's seat
Choose the mount that you would like to use in your vehicle, and then fix the mount to either the headrest, headrest pole or other location that works best for you. After you've secured the mount, you can fix your camera to the mount. Then, adjust the position of the camera to point towards your child (or children). Note: The headrest pole mount is used in the image below.
- Plug camera into power
Plug the car baby camera into a cigarette lighter for power.
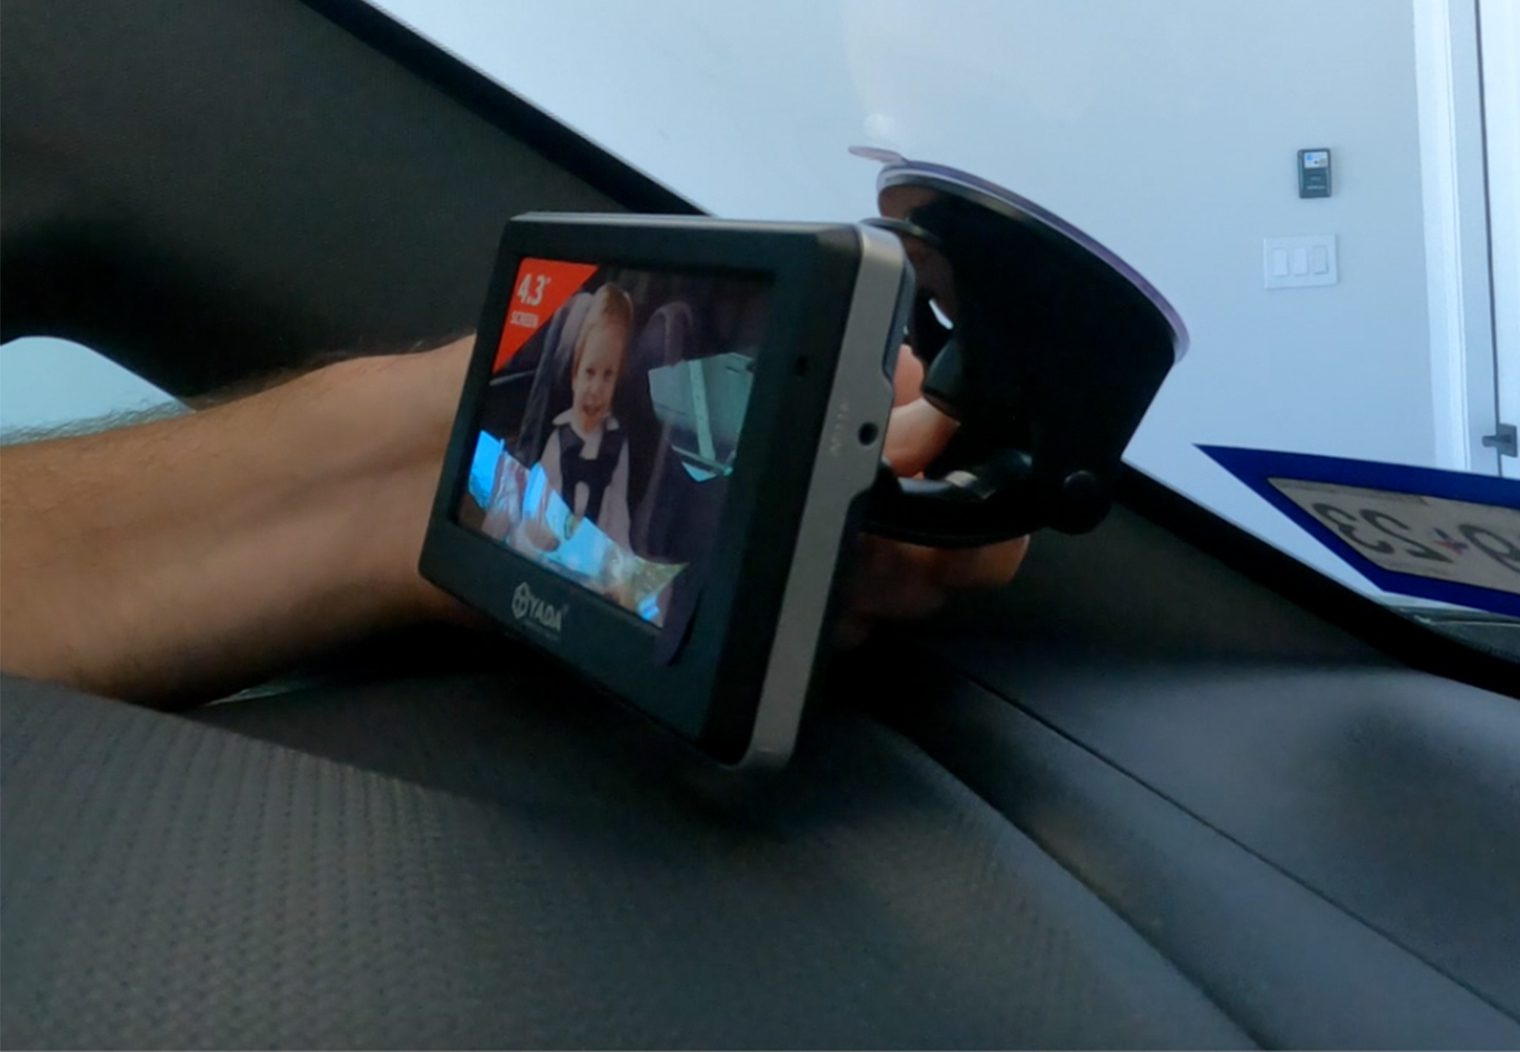
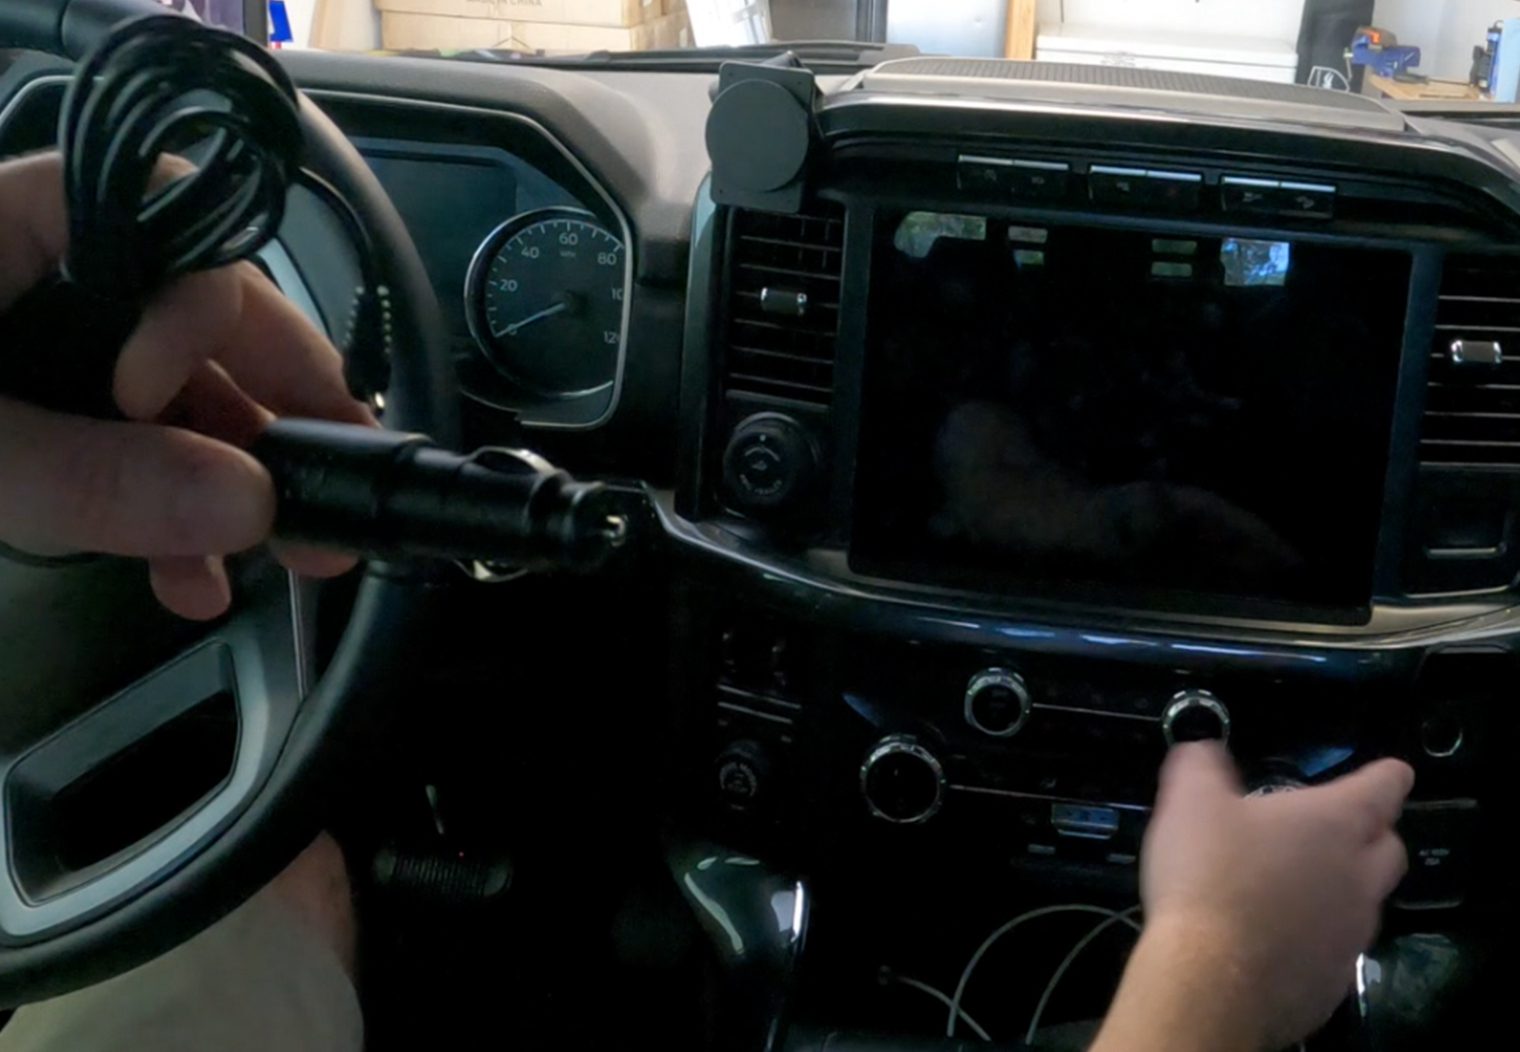
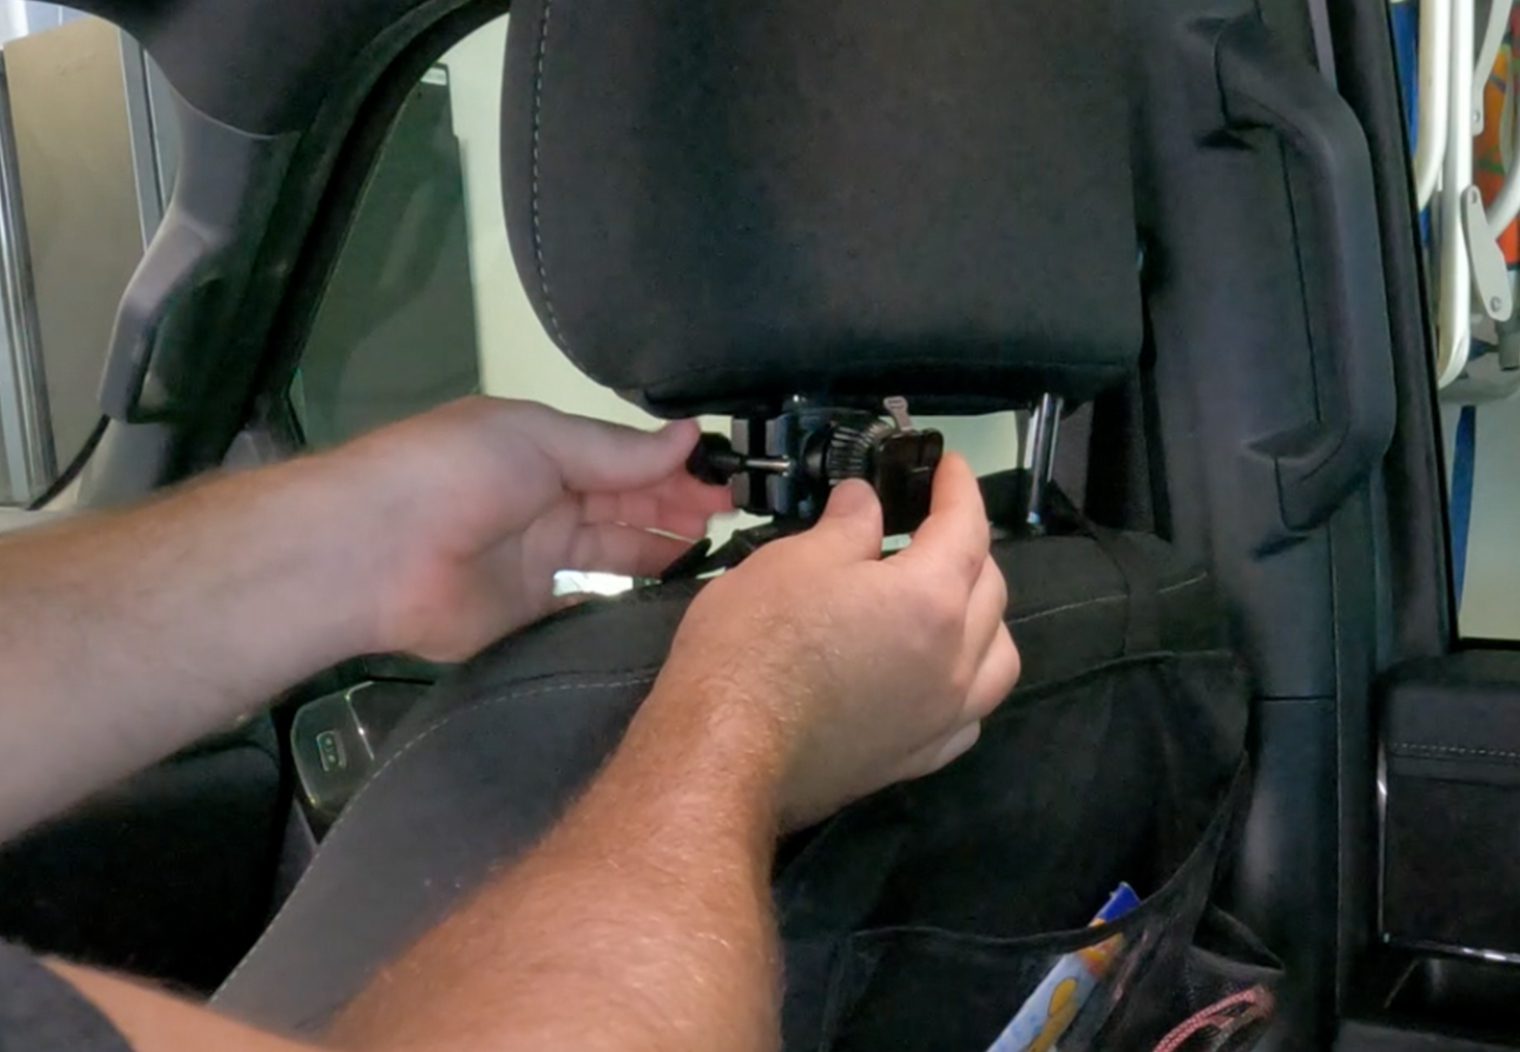
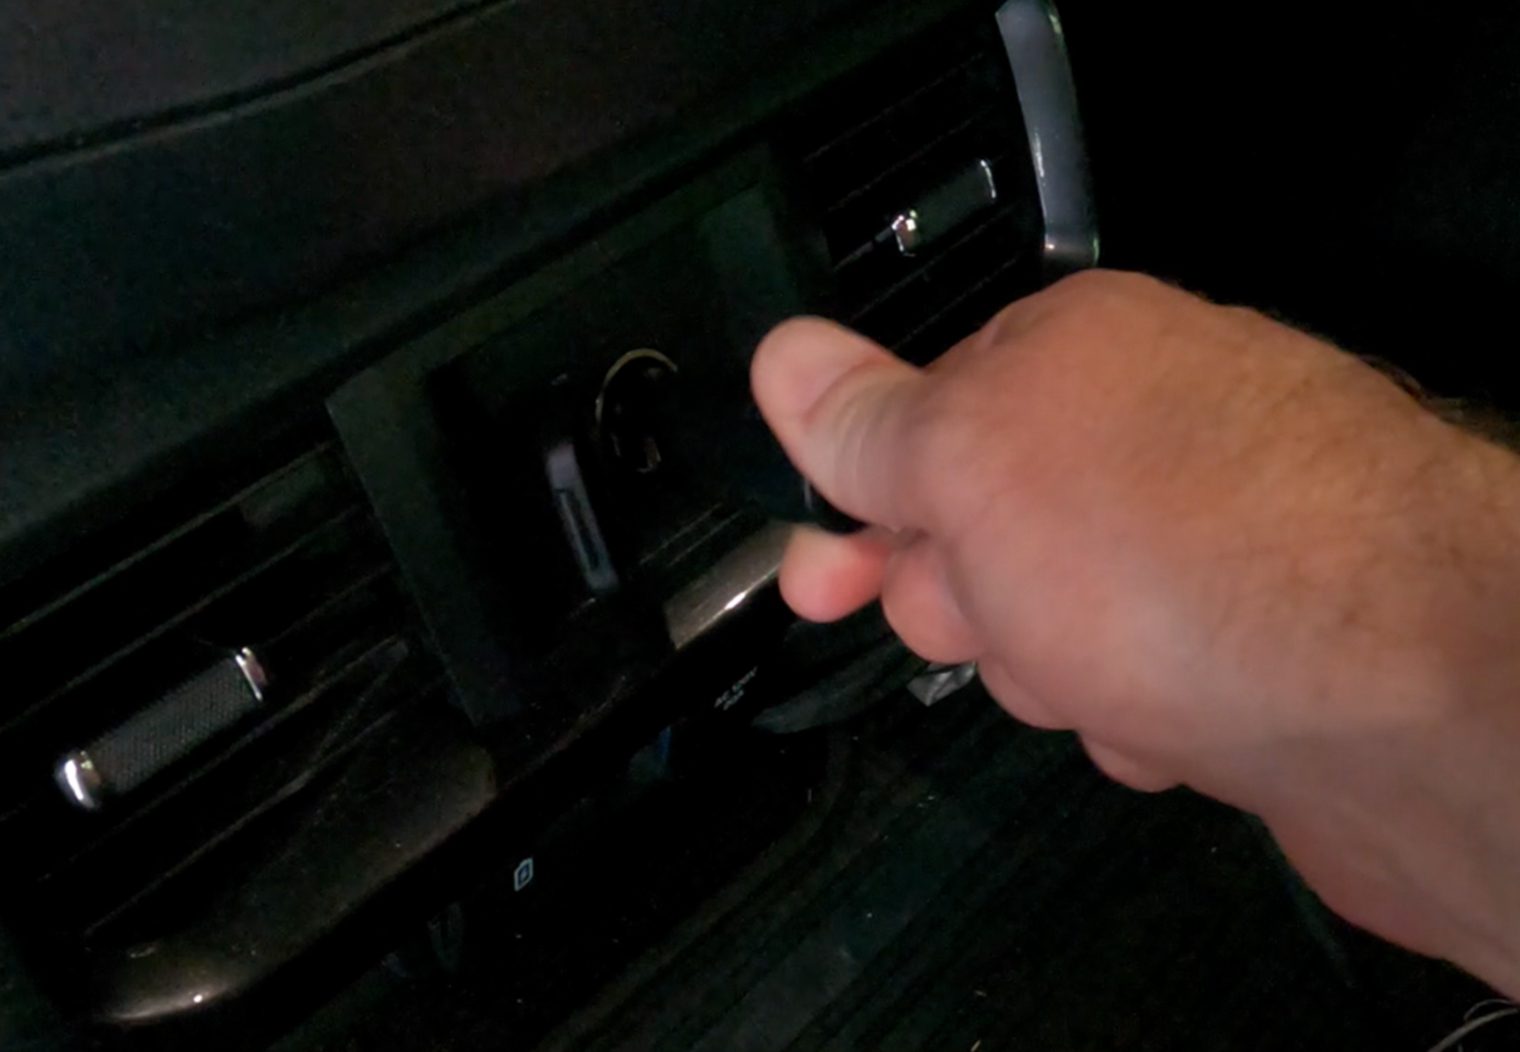
Image and Screen Quality
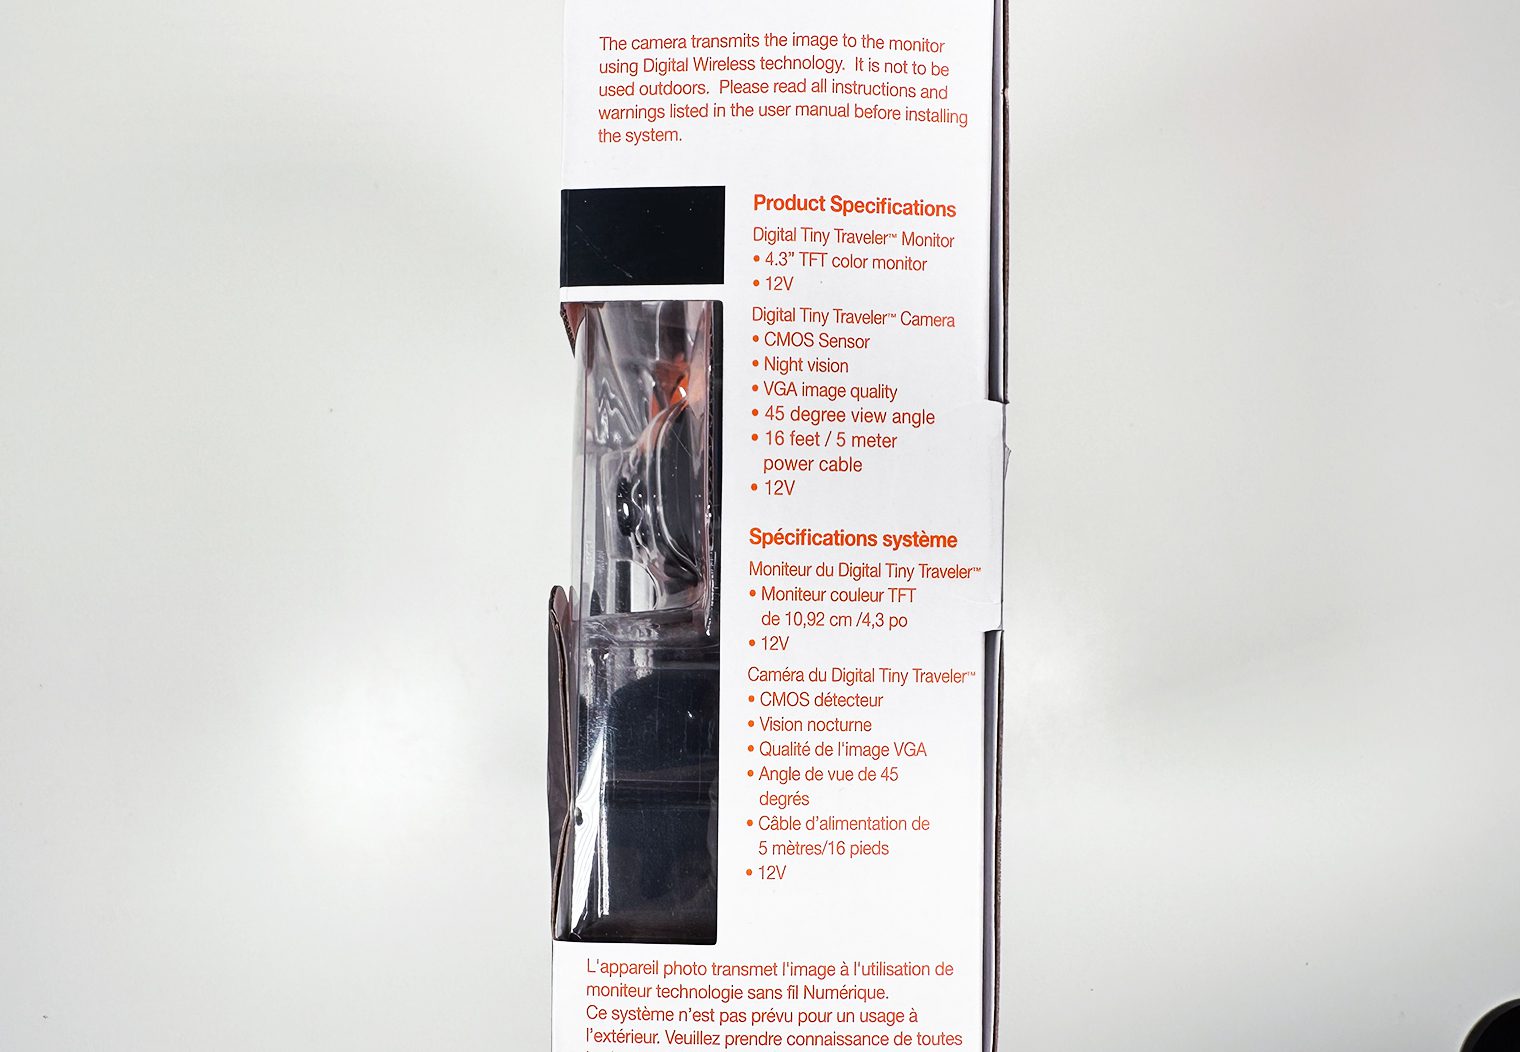
I couldn't find the exact screen resolution or camera quality on any of the listings I found of the product. However, on the box, Yada mentions this is an HD camera with “VGA quality image”. Typical VGA image quality is 640×480 though so I think it's safe to assume that the screen and image quality will be shown in this resolution.
After adjusting the brightness and contrast a bit, I was able to get a good sense of the quality of the image. Overall, I thought the image and screen quality it was ‘OK'. It's plenty enough to see your child's features in detail – eyes, nose, mouth, hands and so on – however, when I picture “HD”, this wasn't what I expected. That said, I was satisfied with the image quality and plenty happy with how clear my child was in the seat.
At night, I thought the infrared lights did a good job lighting up the area as well and could still see the features of my child well enough.
Wrapping Up
Dollar for dollar, I think the Yada Digital Tiny Traveler baby car monitor is an excellent, universal choice to cut the anxiety that comes along with having little ones that you can't see in the back seat while driving.
Personally, I weighed the wireless pairing and various mounting options heavily when choosing this product which made it very easy to install and mount. The screen and image quality isn't what I'd consider “HD”, however it was plenty enough to see the level of detail in an image that I needed. Overall, very happy with this purchase and think that it's worth considering in your search for a car baby camera.
